To set up wireless internet on your LG Smart TV, press the Settings (gear) button on your remote, go to All Settings, then navigate to General > Network (on webOS 6.0+) or Network/Connection (on older models), and select Wi-Fi Connection. From there, choose your home network's name (SSID) from the scan list, enter your Wi-Fi password using the on-screen keyboard (remember, passwords are case-sensitive), and confirm the connection. If a network isn't available, you can still set up a smart TV without internet by using your phone's hotspot or screen mirroring. Once connected, the process to browse the internet on my Samsung smart TV differs slightly, so consult that guide if you own a different brand. This guide walks you through every step of the LG smart TV wifi setup process, including how to verify compatibility and troubleshoot common connection failures.
Before you start: check your LG smart TV wifi setup compatibility
Before diving into the setup, you need to confirm that your LG TV can actually connect to Wi-Fi. Most LG Smart TVs manufactured in recent years come with built-in Wi-Fi, meaning you don't need any extra hardware. To verify this for your specific model, look for the model number printed on the back of the TV or in the settings menu. Then, visit the official LG website, go to the support page, and enter your model number. If your TV is an older model and doesn't have built-in Wi-Fi, you might still be able to connect wirelessly using a dedicated LG USB Wi-Fi dongle. This adapter plugs directly into a USB port on your TV. However, not all LG TVs support these dongles, so it's crucial to verify compatibility on the LG website before purchasing one. Once you've confirmed your TV has Wi-Fi capability (either built-in or via a compatible dongle), you can proceed with the setup.
How to navigate to network settings on any LG TV
The exact menu path to find network settings varies slightly depending on your TV's operating system. Here’s how to get there for both modern and older LG TV models.
For LG TVs with webOS 6.0 or newer (2021 and later models)
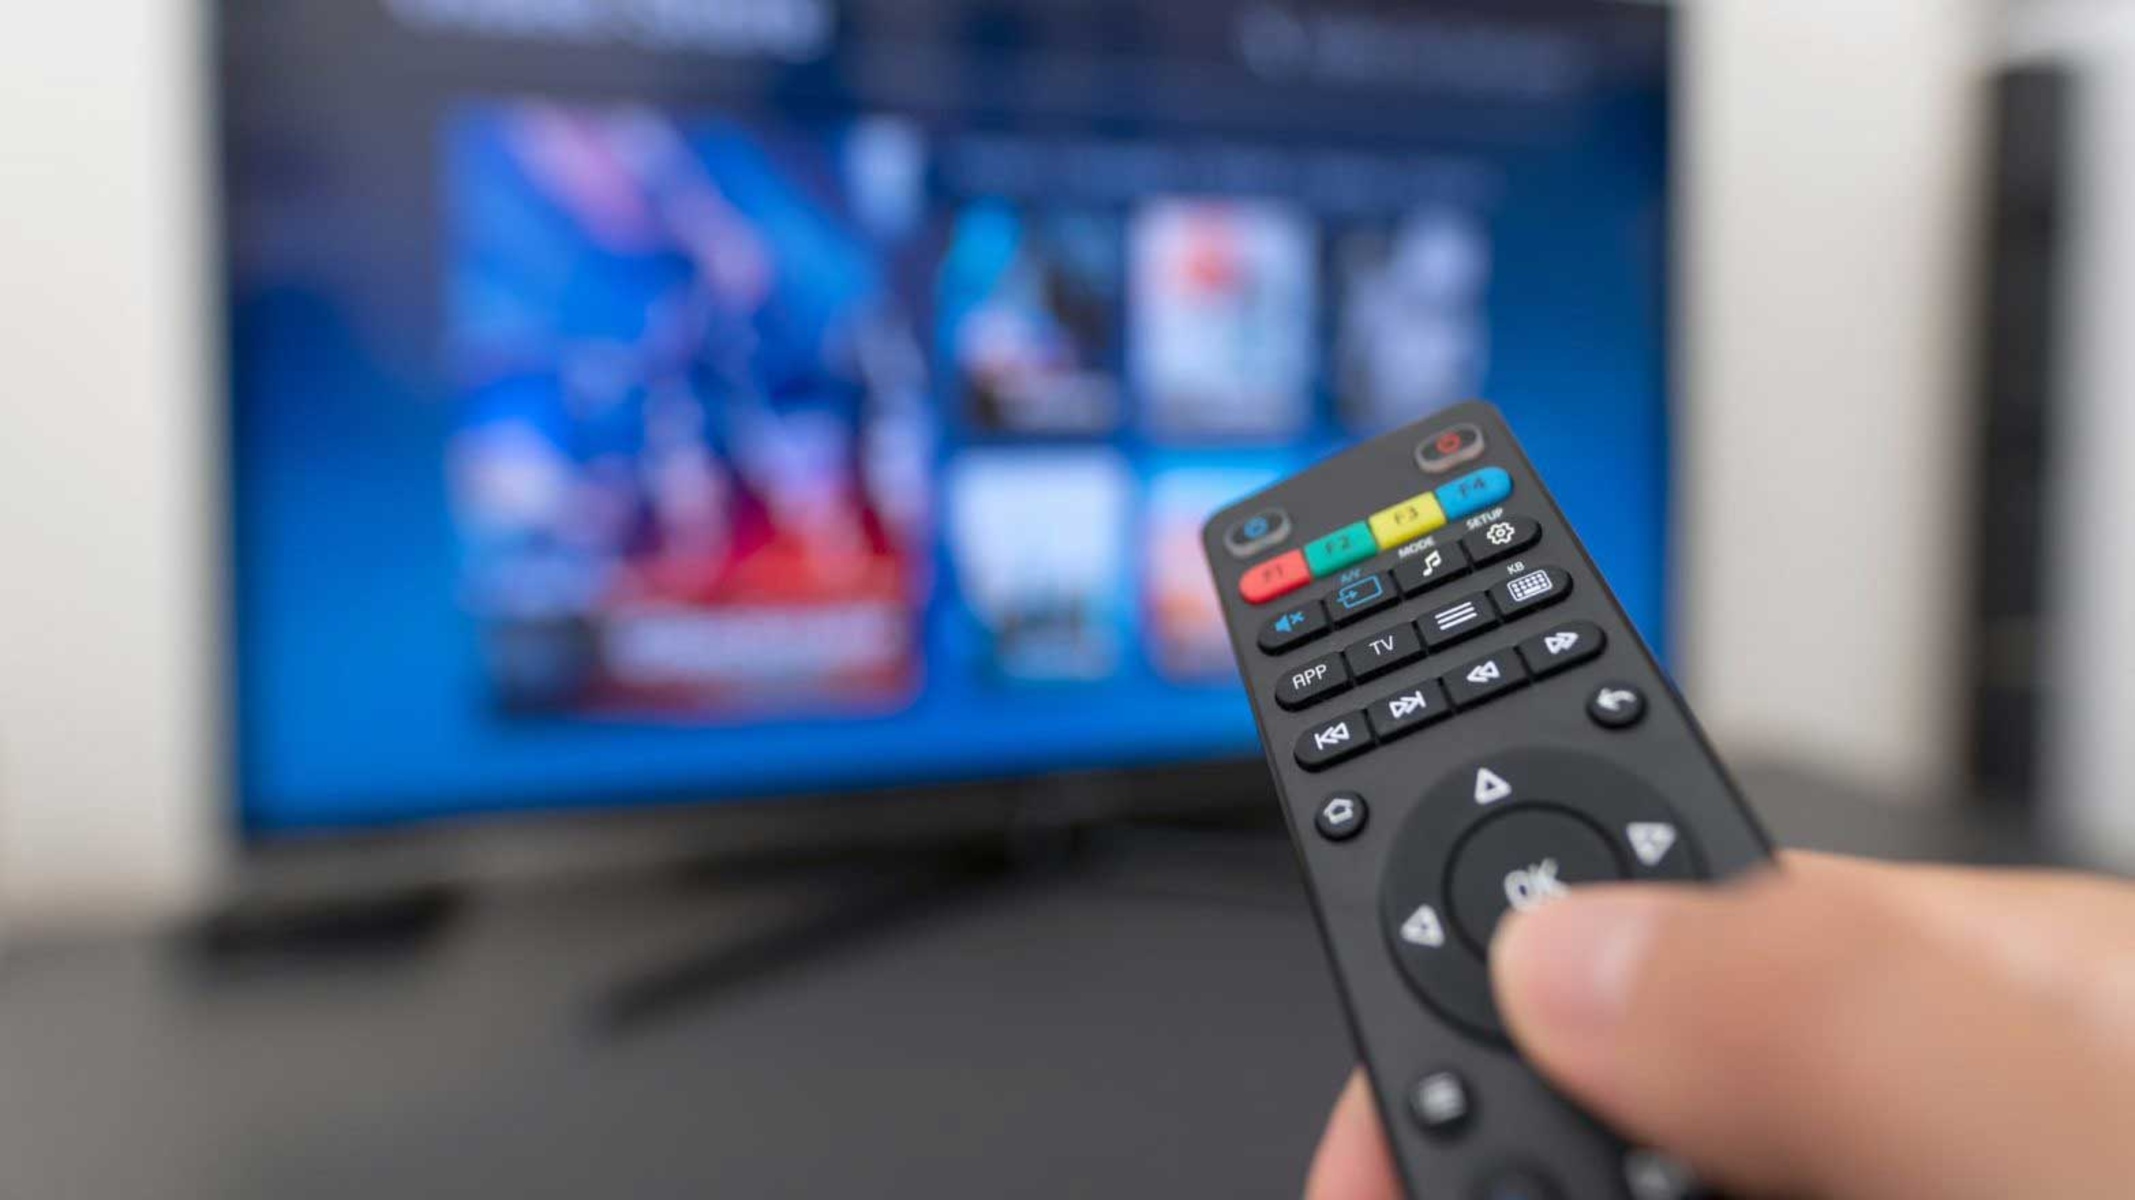
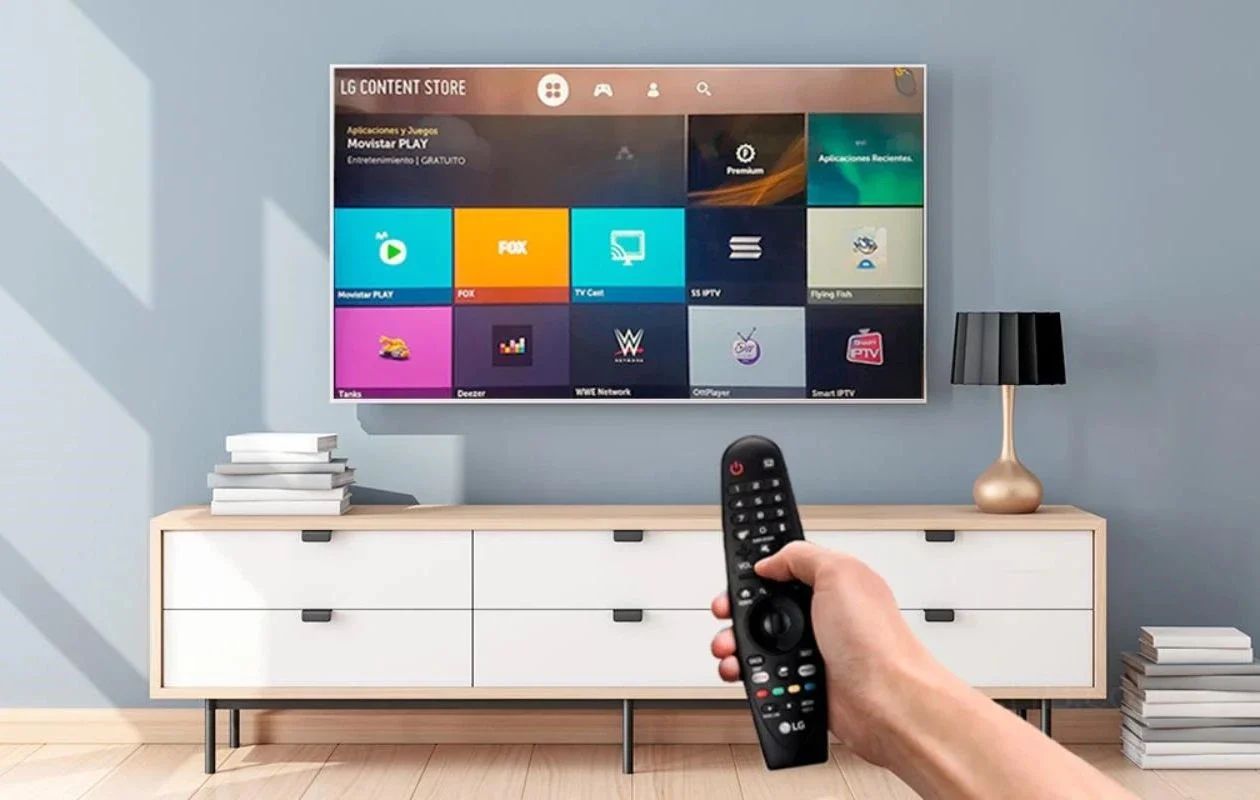
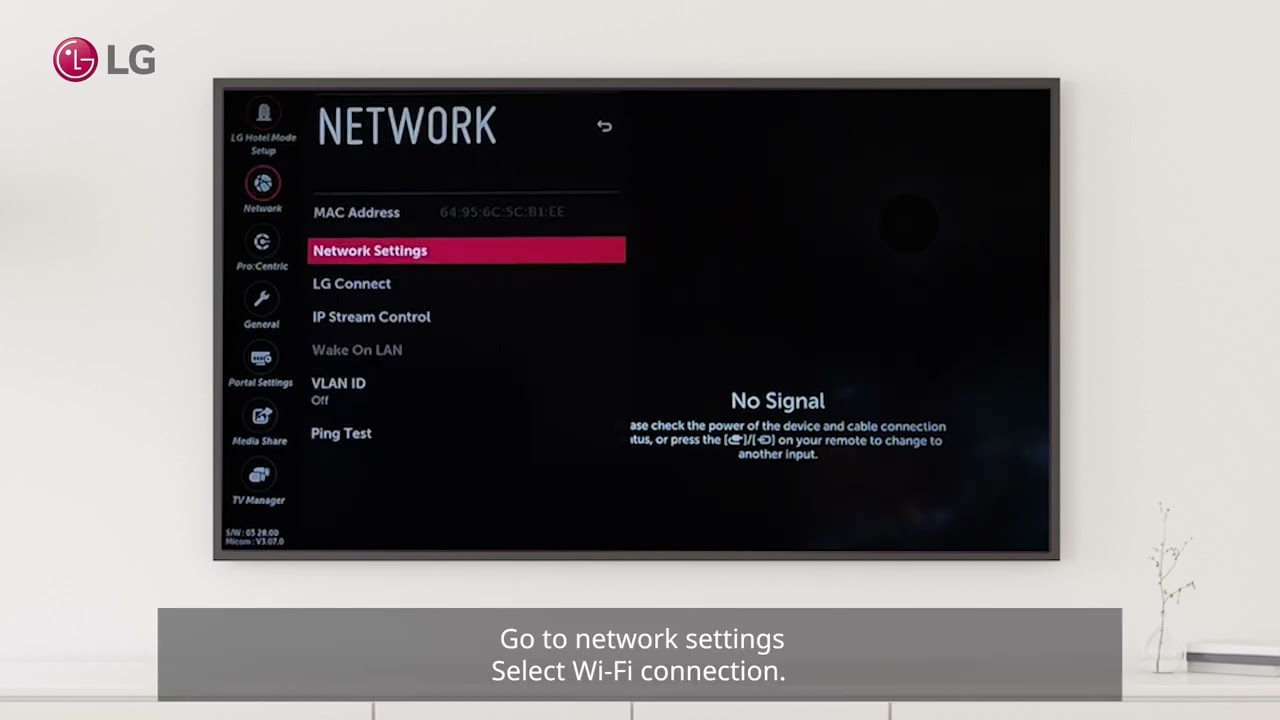
Grab your LG remote control and press the Settings button (the gear icon). This opens the quick settings menu. From there, select All Settings to access the full settings menu. In the left sidebar, scroll down to and select General. Then, navigate to Network in the options list. You'll see the network connection status and options here.
For older LG webOS or NetCast models
On older LG TVs, press the Settings button on your remote. Look for a Network option directly in the settings menu. On some webOS 4.5 models, you might need to go to Connection and then select Wireless Network Connection. The network settings menu is where you'll manage your Wi-Fi connection.
Once you're in the Network settings menu, look for an option labeled Wi-Fi Connection, Wireless Connection, Internet Connection, or Network Connection Settings. Select this to begin the wireless setup process.
Scan for and select your Wi-Fi network
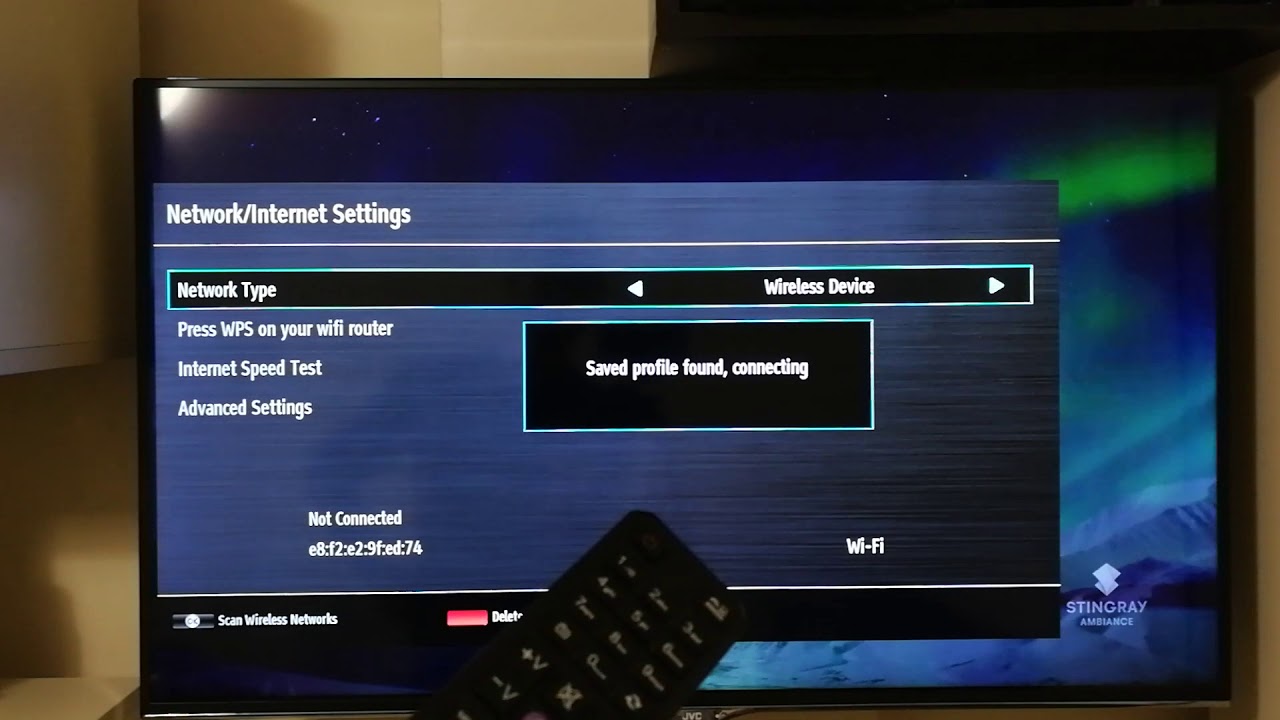
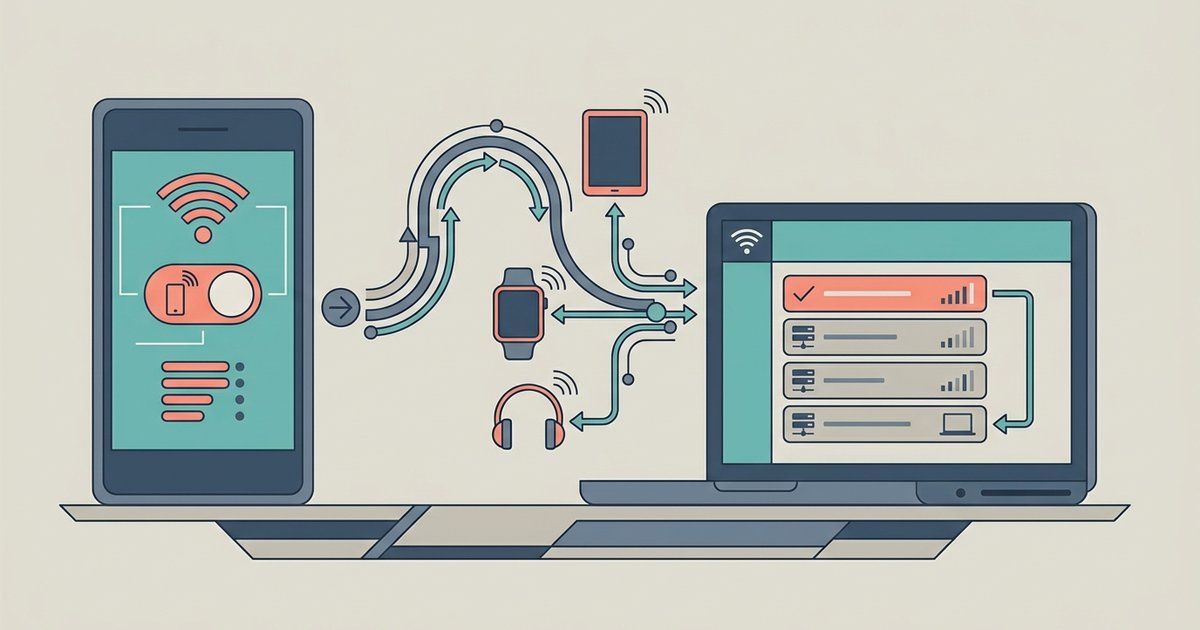
After selecting the Wi-Fi connection option, your LG TV will automatically start scanning for available wireless networks within range. This scan typically takes a few seconds. Once complete, a list of detected network names (SSIDs) will appear on the screen. Look for your home Wi-Fi network's name in this list. You can usually find the correct SSID on a sticker located on your wireless router. The sticker will show the network name and the default password. If you have changed your network name, use that custom name. If your network is not showing up in the list, make sure your router is powered on and that your TV is within a reasonable range. If your Wi-Fi network is hidden (not broadcasting its SSID), you'll need to select the option to manually enter the network name. Select it and use the on-screen keyboard to type in your exact network name (SSID), then proceed to the password entry step.
Enter your Wi-Fi password and connect
Once you've selected your Wi-Fi network from the list, your LG TV will prompt you to enter the network password. An on-screen keyboard will appear. Use the arrow keys on your remote control to navigate the keyboard and press the OK/Enter button to select each character. It is extremely important to remember that Wi-Fi passwords are case-sensitive. This means you must enter uppercase and lowercase letters exactly as they appear in your password. Double-check each character as you type it. If you make a mistake, use the backspace key on the on-screen keyboard to delete the incorrect character. After you've entered the entire password, select Connect or Enter on the screen. Your LG TV will then attempt to establish a connection to your Wi-Fi network. You may see a loading or connecting message for a few moments. If the password is correct and the signal is strong, your TV will connect successfully.
Test the connection and fix common issues
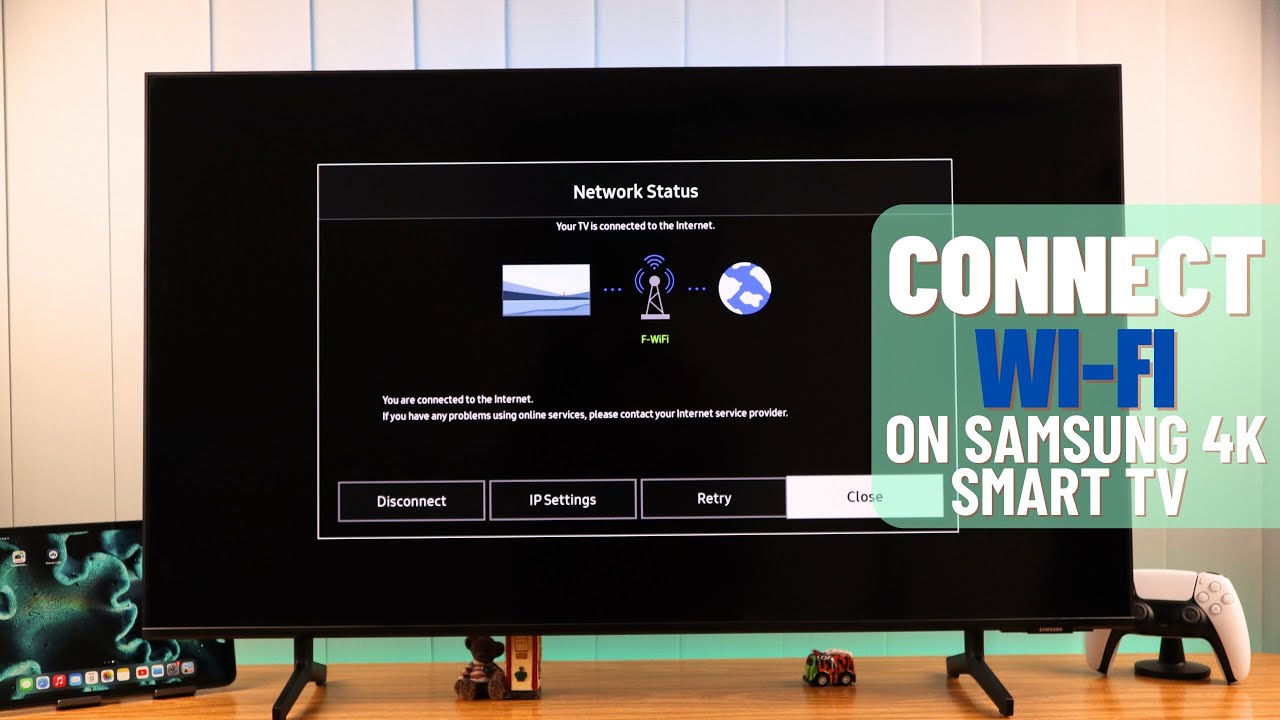
To verify everything is working properly, open any streaming app on your TV, such as Netflix or YouTube, and try loading a video. If the content loads and plays without buffering, your internet connection is active. If you encounter issues, here are some troubleshooting steps to resolve common connection failures.
Restart your router and TV
If the connection fails or is unstable, the first step is to restart your network equipment. Unplug your router/modem from the power outlet and wait at least 30 seconds. While the router is off, also unplug your LG TV from the power outlet. After 30 seconds, plug the router back in and wait for it to fully boot up (all lights are stable). Then, plug your TV back in and turn it on. Try reconnecting to your Wi-Fi network using the steps above.
Test with a mobile hotspot
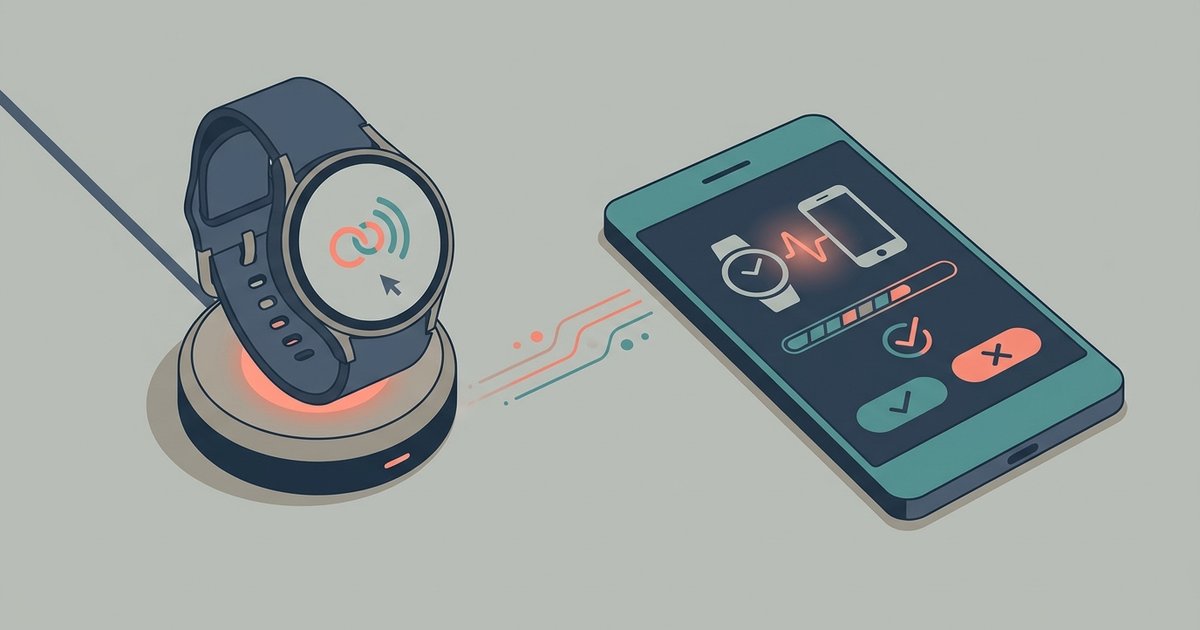
To isolate whether the problem is with your home network or the TV itself, try connecting your LG TV to a different Wi-Fi source, such as a mobile hotspot from your smartphone. On your phone, enable the personal hotspot feature. Then, on your LG TV, go back to the Wi-Fi settings and scan for networks. Select your phone's hotspot name and enter its password. If the TV connects successfully to the hotspot, the issue lies with your home router or internet service. If it still fails, there may be a problem with the TV's Wi-Fi hardware.
Manually change the DNS server
For advanced troubleshooting, you can manually change the DNS (Domain Name System) server in your TV's network settings. Sometimes, your internet service provider's default DNS server can be slow or have issues. To fix this, go back to your TV's Network settings and find the advanced or IP settings for your Wi-Fi connection. Then, enter 8.8.8.8 as the primary DNS server. This is Google's public DNS and is often more reliable. Save the changes and test your internet connection again.
For the wider topic, see connecting a smart TV to Wi-Fi.