Introduction
Welcome to our comprehensive guide on how to turn on a projector. Whether you’re setting up a home theater system, giving a presentation, or hosting a movie night, understanding the process of turning on a projector is essential. While the specific steps may vary depending on the make and model of your projector, this guide will provide you with a general overview of the necessary steps.
Projectors are versatile devices that enable you to display large, high-quality images or videos onto a screen or surface. They are commonly used in classrooms, conference rooms, home theaters, and outdoor events. Regardless of the occasion, knowing how to properly turn on a projector will ensure a seamless and enjoyable experience.
In this guide, we will walk you through each step, from checking the connections to troubleshooting common issues. By following these instructions, you will be able to set up and operate your projector with confidence.
Before we proceed, it’s important to note that while the specific instructions in this guide are generally applicable to most projectors, it is always recommended to consult your projector’s user manual for any model-specific details or recommendations. Now, let’s dive into the world of projectors and learn how to turn them on!
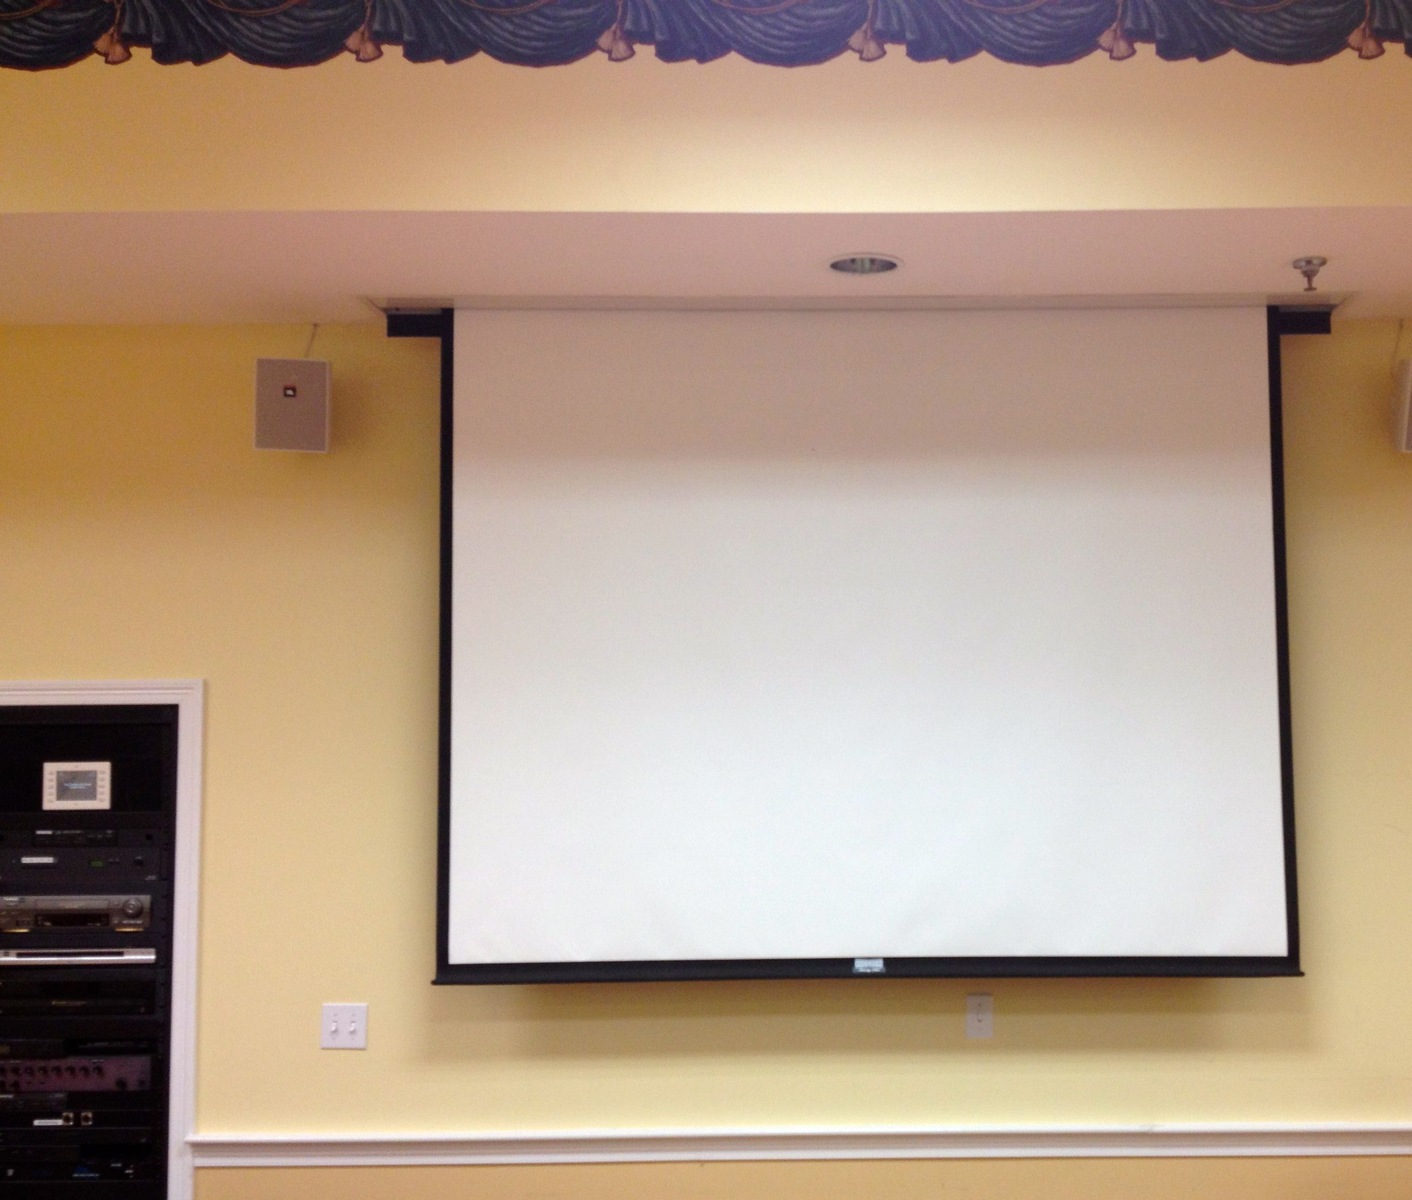
Checking the Connections
Before you power on your projector, it’s important to ensure that all the necessary connections are in place. This step is crucial to ensure that the projector can receive the input signal and display it correctly on the screen. Here’s a checklist of the connections that you need to check:
- Power Cable: Ensure that the power cable is securely plugged into both the projector and a power outlet. Make sure the power outlet is functioning properly.
- Video Source: Connect the video source to the projector using the appropriate cables. This could be an HDMI cable, VGA cable, or any other video cable that is compatible with your projector and the device you are connecting to it.
- Audio Source (Optional): If you want to connect an audio device, such as speakers or a sound system, make sure to connect the audio cables to the respective audio input/output ports on the projector and the audio device.
- External Devices (Optional): If you plan to connect external devices such as laptops, gaming consoles, or DVD players, ensure that the necessary cables are connected to the appropriate ports on both the projector and the external device.
Once you have checked and confirmed that all the connections are secure, you are ready to move on to the next step of powering on the projector. It’s important to ensure that the connections are properly established to avoid any technical issues that may arise during the projection process.
Powering on the Projector
Now that you have checked and confirmed that all the necessary connections are in place, it’s time to power on your projector. Follow these steps to ensure a smooth and successful power-up process:
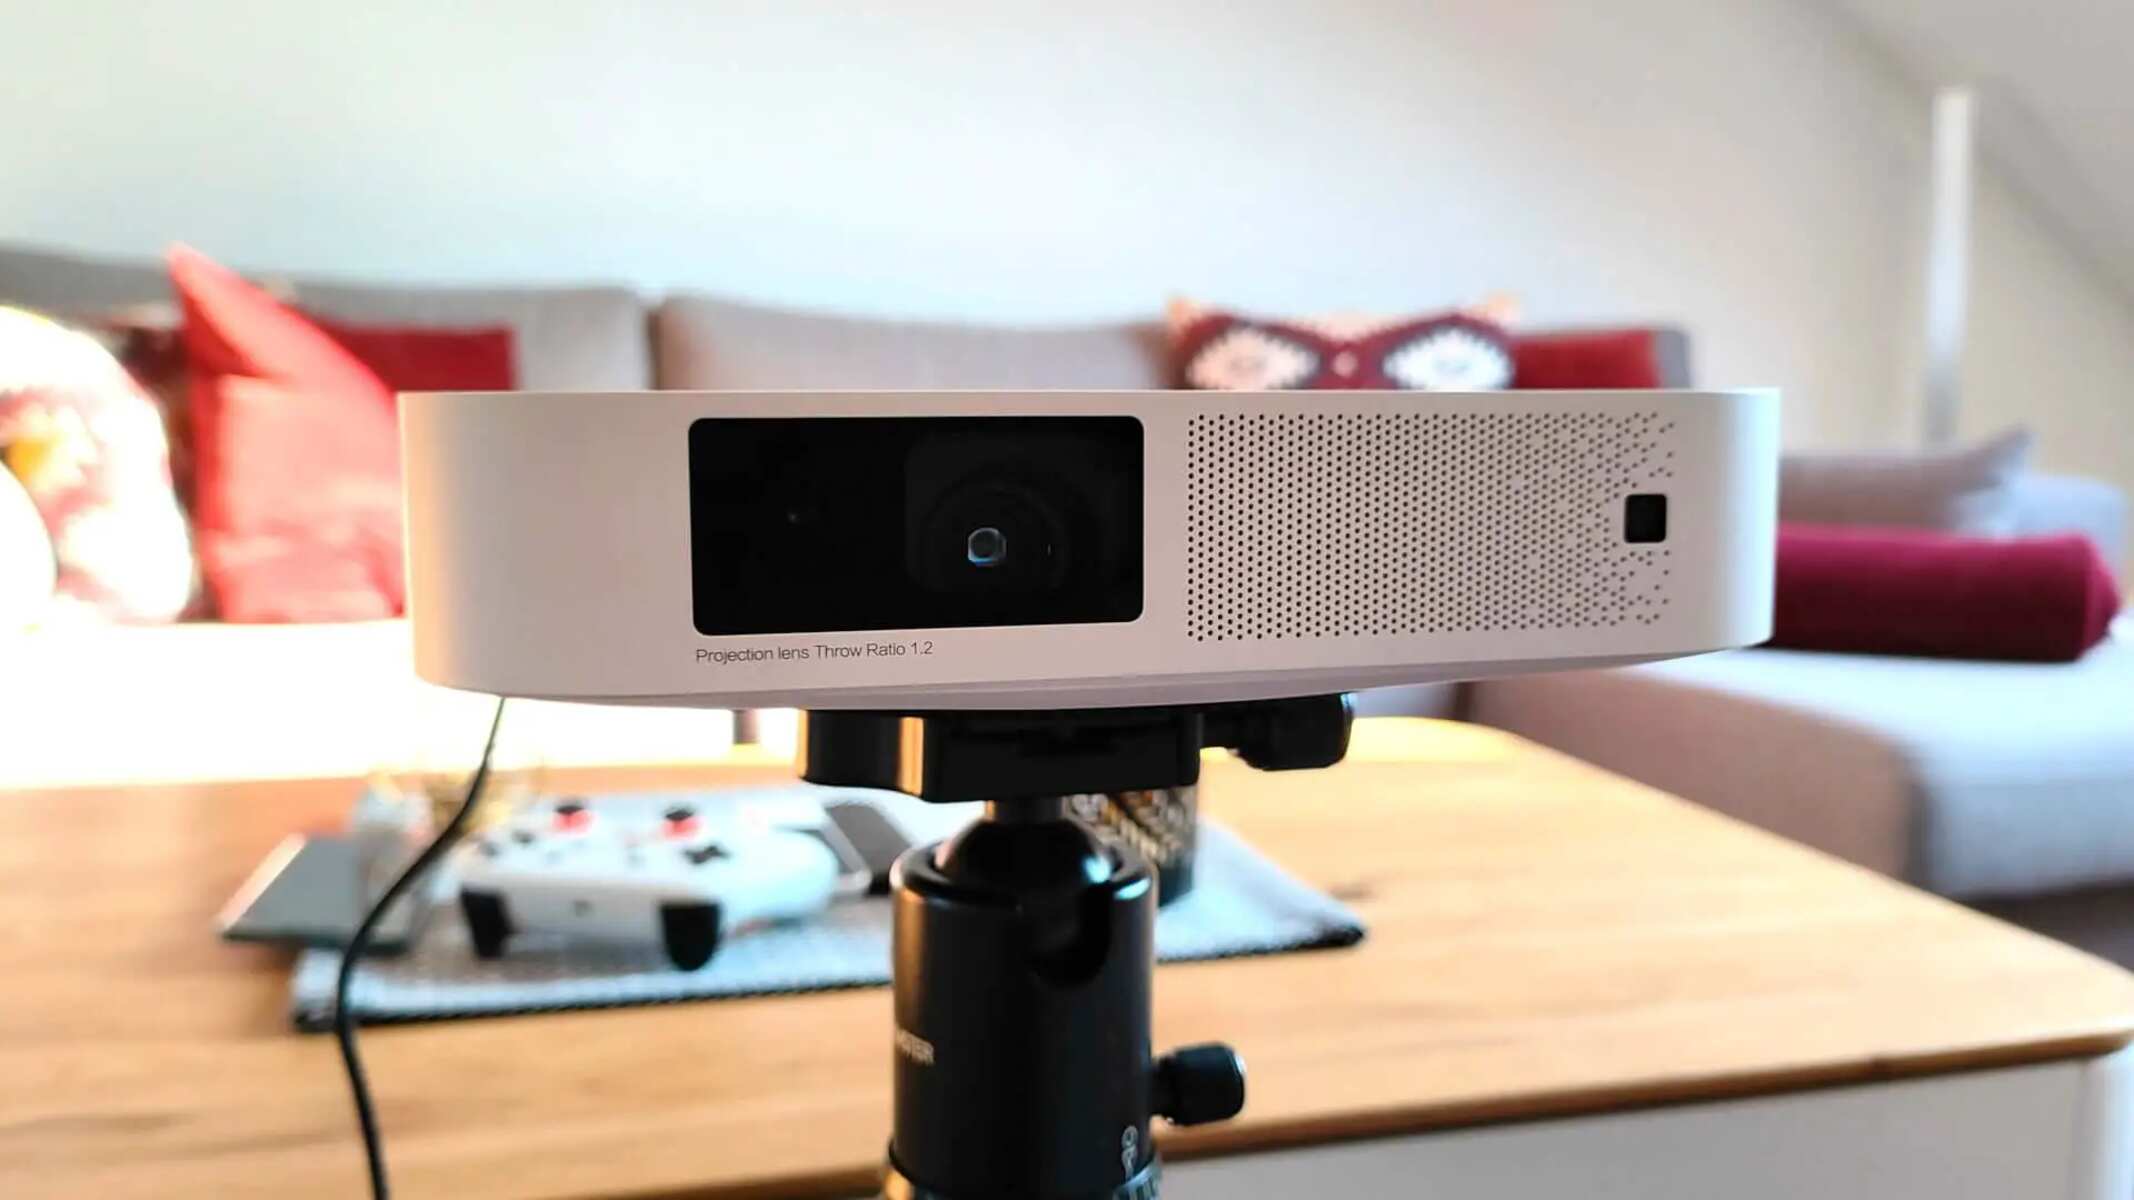
- Locate the Power Button: Identify the power button on the projector. It is usually located on the top or front panel of the device. If you can’t find the power button, refer to the user manual for your specific projector model.
- Plug in and Switch on: If the projector has a power cord with a separate switch, plug in the power cord to the power outlet first. Then, switch on the power outlet to supply power to the projector. If there is no separate switch, simply plug in the power cord directly.
- Press the Power Button: Press and hold the power button for a few seconds until you see some indication that the projector is turning on. This may be displayed through an LED light, a power indicator on the control panel, or an image or logo appearing on the screen.
- Wait for Initialization: Allow the projector a few moments to initialize and go through its startup process. During this time, you may hear the internal fan running or the projector making some noise, which is normal.
- Confirm Power Status: Once the projector has powered on, check the status indicators on the control panel or screen to ensure that it is fully powered and ready to use.
It’s important to note that the power-up process may vary slightly depending on the specific model and manufacturer of your projector. Always refer to the user manual for detailed instructions if you encounter any difficulties or if the power-up process differs from what is outlined here.
With your projector now powered on, you are ready to move on to the next step of selecting the input source.
Selecting the Input Source
After successfully powering on your projector, the next step is to select the input source. This is necessary to tell the projector where to retrieve the video or audio signal from. Here are the steps to select the input source on most projectors:
- Access the Menu: Locate the menu button on the control panel or remote control. Press the button to access the projector’s menu options.
- Navigate to Input Source: In the menu, find the option for selecting the input source. The exact wording might vary depending on the projector, but it is usually something like “Input,” “Source,” or “Input Selection.”
- Choose the Desired Source: Once you have entered the input source menu, you will see a list of available input sources. Use the navigation buttons on the control panel or remote control to scroll or toggle through the options.
- Select the Source: When you have highlighted the desired input source, press the “Enter” or “OK” button to select it. The projector will then attempt to detect the signal from the selected source.
- Confirm Signal Detection: After selecting the input source, keep an eye on the screen to see if the projector successfully detects the signal. If the signal is detected, you should see the content from the source displayed on the screen.
It is worth noting that newer projectors may have automatic source detection, meaning they can detect the input source without manually selecting it. However, if the projector does not automatically detect the source or you prefer manual control, you can follow the steps outlined above.
By correctly selecting the input source, you ensure that the projector receives the appropriate signal and can display the content correctly. Now that you have selected the input source, it’s time to move on to adjusting the focus and zoom to achieve optimal image quality.
Adjusting the Focus and Zoom
Once you have selected the input source and the content is being displayed on the screen, it’s important to adjust the focus and zoom settings to achieve the best possible image quality. Follow these steps to fine-tune the focus and zoom on your projector:
- Locate the Focus Ring: Look for the focus ring or focus control on the lens of the projector. It is usually a ring that you can rotate.
- Adjust the Focus Ring: Turn the focus ring clockwise or counterclockwise to sharpen the image until it appears clear and in focus on the screen. It’s best to do this adjustment while sitting at your normal viewing position to ensure the image is sharp from that perspective.
- Locate the Zoom Control (if applicable): If your projector has a zoom control, it is usually located next to the focus ring or on the control panel. The zoom control allows you to adjust the size of the projected image without physically moving the projector.
- Adjust the Zoom Control: Use the zoom control to either zoom in or zoom out until the image fills the screen in the desired size. You can do this by sliding the zoom control or pressing the “+” or “-” buttons on the control panel or remote control.
- Fine-tune the Focus and Zoom: After adjusting the focus and zoom, take a moment to ensure that the image is still in focus and properly sized. You may need to make minor adjustments to the focus or zoom to achieve the desired result.
It’s important to note that not all projectors have a zoom control or adjustable zoom capability. In such cases, you will need to physically move the projector closer to or farther away from the screen to achieve the desired size of the projected image.
By adjusting the focus and zoom settings, you ensure that the image appears sharp, clear, and correctly sized on the screen. Once you have achieved the desired focus and zoom, you can proceed with setting up the display modes for optimal viewing conditions.
Setting up the Display Modes
After adjusting the focus and zoom of your projector, the next step is to set up the display modes to optimize the visual quality based on your viewing environment and preferences. Most projectors offer different display modes that are designed for specific types of content or lighting conditions. Here’s how you can set up the display modes on your projector:
- Access the Menu: Locate the menu button on the control panel or remote control. Press the button to access the projector’s menu options.
- Navigate to Display Settings: In the menu, look for the display settings or picture settings option. This option might be labeled as “Display Mode,” “Picture Mode,” or something similar.
- Choose the Display Mode: Once you have entered the display settings menu, you will see a list of available display modes. These modes typically include options like “Cinema,” “Game,” “Dynamic,” “Presentation,” “sRGB,” and more. Each mode is optimized for different content or lighting conditions.
- Select the Desired Mode: Use the navigation buttons on the control panel or remote control to scroll or toggle through the available display modes. Select the mode that best suits your viewing environment and personal preference.
- Adjust Additional Settings (Optional): Depending on your projector, you may have the option to further adjust settings such as brightness, contrast, color temperature, and more. Explore these options if you want to fine-tune the display settings to your liking.
- Preview and Confirm the Display Mode: After selecting the display mode and adjusting any additional settings, take a moment to preview the changes on the screen. Ensure that the displayed image meets your expectations in terms of brightness, color accuracy, and overall visual quality.
It’s important to note that the available display modes and settings may vary depending on your projector model. Refer to the user manual for specific instructions and recommendations for your projector.
By setting up the display modes, you can easily optimize the projector’s visual settings without manually adjusting individual parameters. This ensures that the projected image is displayed with the ideal settings for your viewing environment and content type.
Now that you have set up the display modes, let’s move on to adjusting the keystone correction for a perfectly aligned projection.
Adjusting the Keystone Correction
Keystone correction is a crucial feature that allows you to correct any distortion in the projected image caused by the angle at which the projector is positioned. This adjustment ensures that the image appears rectangular and properly aligned on the screen. Most projectors offer manual or automatic keystone correction options. Here’s how you can adjust the keystone correction on your projector:
- Locate the Keystone Correction: Look for the keystone correction controls on the control panel or remote control. It might be labeled as “Keystone,” “Keystone Correction,” or represented by a symbol resembling a trapezoid.
- Select the Keystone Correction Option: Depending on your projector, you may have the option to choose between manual or automatic keystone correction. Automatic keystone correction uses built-in sensors to detect and correct the keystone distortion, while manual keystone correction allows you to adjust the correction manually.
- Automatic Keystone Correction: If your projector has automatic keystone correction, simply select the option and let the projector adjust the keystone distortion automatically. The projector will analyze the image and make the necessary adjustments to correct the distortion.
- Manual Keystone Correction: If your projector does not have automatic keystone correction or if you prefer manual control, select the manual keystone correction option. Use the arrow keys on the control panel or remote control to adjust the keystone correction until the projected image appears rectangular and properly aligned.
- Preview and Confirm the Keystone Correction: After making the keystone correction adjustments, take a moment to preview the changes on the screen. Ensure that the projected image is free from any noticeable distortion or skewing. Make further adjustments if needed.
It’s important to note that excessive keystone correction may result in a slight loss of image quality, so it’s recommended to position the projector as close to the desired projection angle as possible to minimize the need for excessive correction.
By adjusting the keystone correction, you ensure that the projected image appears properly aligned and rectangular, regardless of the projector’s position or projection angle. Now that the keystone correction is adjusted, let’s move on to fine-tuning the image and color settings for optimal visual experience.
Fine-Tuning the Image and Color Settings
After ensuring that the keystone correction is properly adjusted, the next step is to fine-tune the image and color settings on your projector. This will allow you to optimize the visual experience and achieve the desired picture quality. Here are the steps to fine-tune the image and color settings:
- Access the Menu: Locate the menu button on the control panel or remote control. Press the button to access the projector’s menu options.
- Navigate to Image or Picture Settings: In the menu, look for the display settings or picture settings option. This may be labeled as “Image Settings,” “Picture Mode,” or similar.
- Adjust Brightness and Contrast: Use the navigation buttons on the control panel or remote control to adjust the brightness and contrast settings. Increase the brightness if the image appears too dim, and decrease it if the image is too bright. Adjust the contrast to achieve the desired level of distinction between light and dark areas of the image.
- Modify Color Settings: In the image or picture settings menu, you may find options to adjust color settings such as saturation, hue, and color temperature. Experiment with these settings to achieve a color balance that suits your preference and enhances the overall image quality.
- Enable Image Enhancement Features: Some projectors offer additional image enhancement features such as sharpness, noise reduction, or motion smoothing. These features can help enhance the sharpness, clarity, and fluidity of the projected image. Enable or adjust these features as per your preference.
- Preview and Confirm the Settings: After fine-tuning the image and color settings, take a moment to review the changes on the screen. Ensure that the image appears vibrant, well-balanced, and pleasing to your eyes.
Keep in mind that the optimal image and color settings may vary depending on factors such as the content being projected, the lighting conditions in the room, and personal preference. Take the time to experiment with the settings until you achieve the desired visual experience.
By fine-tuning the image and color settings, you can enhance the overall quality and visual appeal of the projected image. Now that you have adjusted the image and color settings, let’s move on to connecting audio devices for a complete audio-visual experience.
Connecting Audio Devices
When setting up your projector, it’s important to consider the audio aspect as well. While projectors have built-in speakers, connecting external audio devices can significantly enhance the audio quality and create a more immersive experience. Here’s how you can connect audio devices to your projector:
- Identify Audio Input/Output Ports: Locate the audio input/output ports on both the projector and the audio device you want to connect. The common audio ports include 3.5mm headphone jack, RCA, HDMI, or optical audio.
- Select the Audio Cable: Choose the appropriate audio cable based on the available ports. For example, if your projector and audio device both have 3.5mm headphone jacks, use a 3.5mm aux cable. If they have RCA ports, use an RCA cable.
- Connect the Audio Cable: Plug one end of the audio cable into the audio output port of the audio device and the other end into the audio input port of the projector. Ensure the connections are secure and properly inserted.
- Adjust Audio Source Settings: Access the menu or settings on the projector and navigate to the audio settings. Select the audio input source as the connected audio device to ensure the audio signal is routed correctly.
- Adjust Audio Volume: Once the audio devices are connected, you can adjust the audio volume either through the projector’s control panel, remote control, or the audio device itself. Ensure that the audio level is set to a comfortable level.
- Test the Audio: Play a test audio or video file to ensure that the sound is coming through the connected external audio devices. Make any necessary adjustments to the audio settings to achieve the desired audio quality.
By connecting audio devices to your projector, you can enjoy enhanced audio quality, whether you’re watching movies, giving presentations, or playing games. External speakers, soundbars, or a home theater system can significantly improve the overall audio experience and add depth to the visuals.
It’s important to note that the specific audio connection options and settings may vary depending on the projector and audio device you are using. Refer to the user manuals for detailed instructions and options specific to your equipment.
With the audio devices successfully connected, you are now ready to enjoy a complete audio-visual experience. However, if you encounter any issues or face challenges during the process, we’ll address some common troubleshooting tips in the next section.
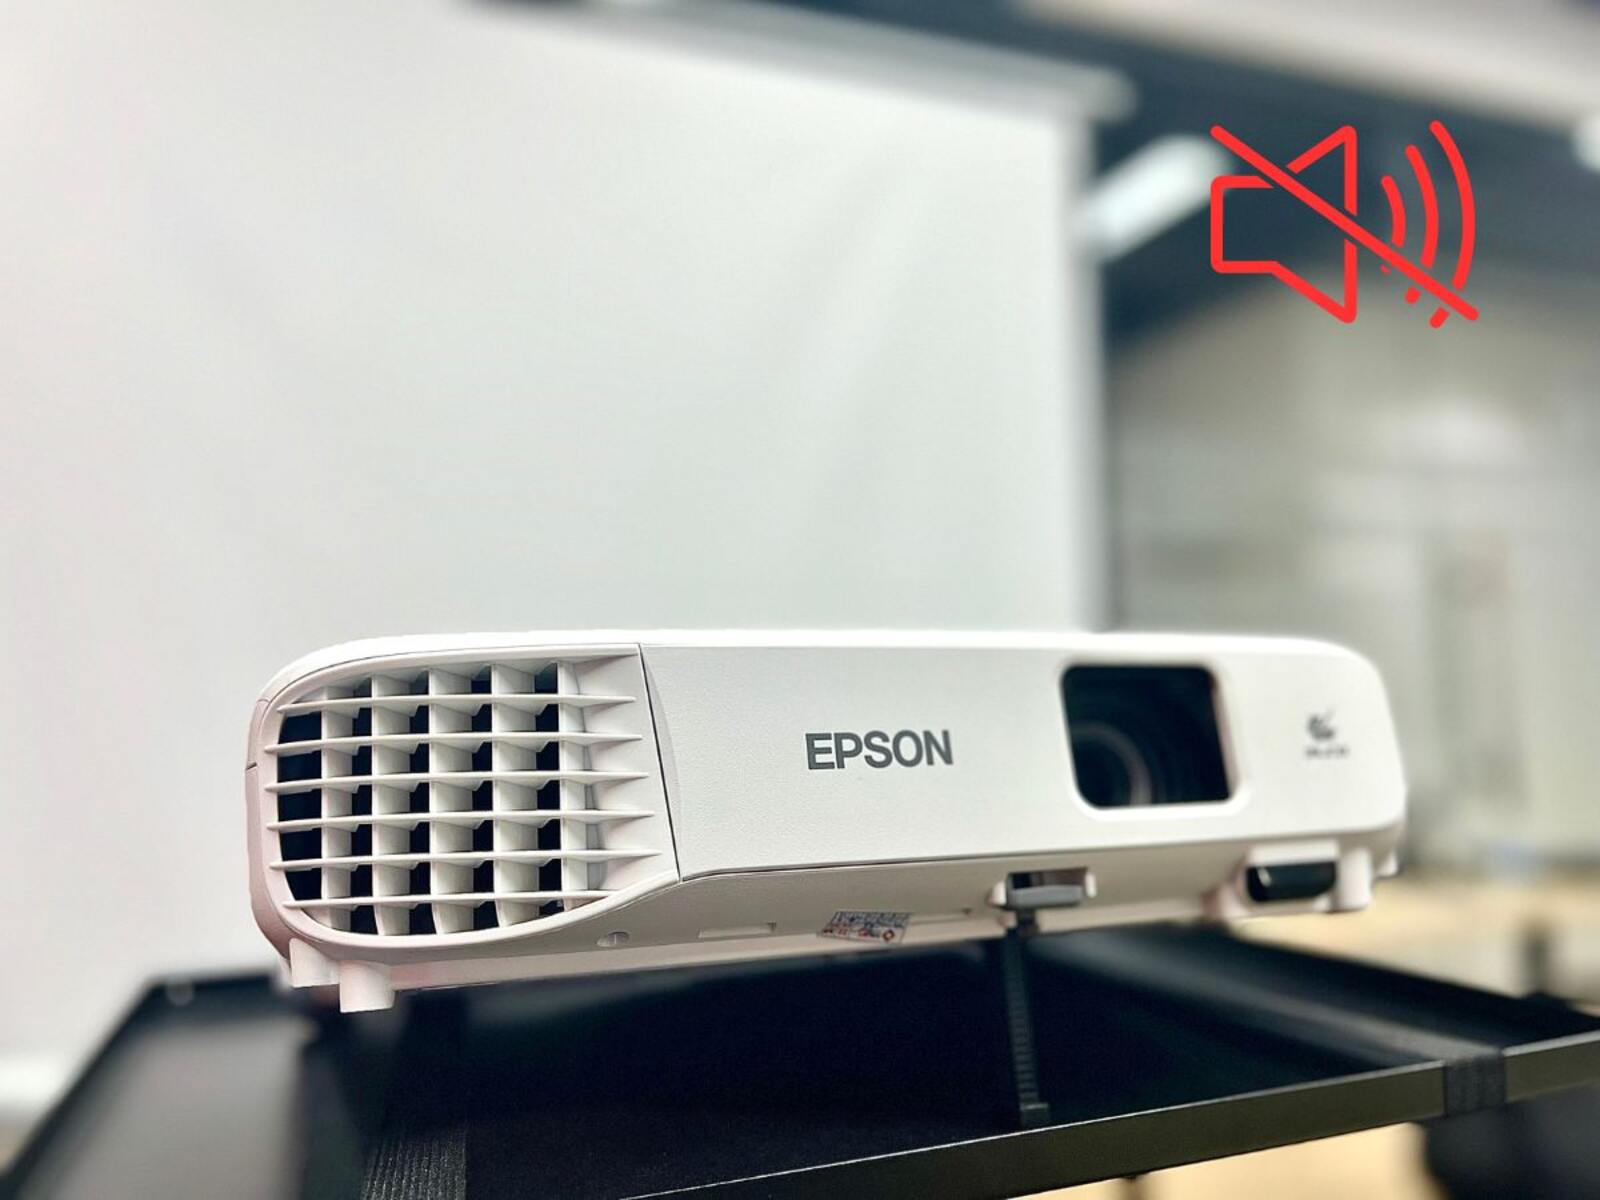
Troubleshooting Common Issues
While setting up and using a projector, you may encounter some common issues. Here are a few troubleshooting tips to help you resolve any problems that may arise:
- No Power: If your projector isn’t turning on, double-check the power connection from the projector to the power outlet. Ensure that the power outlet is functional. Try plugging the projector into a different power outlet or using a different power cable if available.
- No Image: If you have a power source but are not seeing any image, make sure that the input source is correctly selected. Verify that the cables connecting the projector to the video source are securely connected. Additionally, ensure that the video source itself is functioning properly.
- Poor Image Quality: If the projected image appears blurry or distorted, first adjust the focus and zoom settings on the projector to ensure a sharp image. Check that the keystone correction is properly adjusted to eliminate any distortion. You may also need to adjust the display modes and fine-tune the image and color settings to improve the visual quality.
- No Audio: If you’re not getting any sound, ensure that the audio cables are properly connected. Check that the audio input source is correctly selected on the projector. Adjust the volume settings on both the projector and the connected audio device to ensure the audio is not muted and to an appropriate level.
- Overheating: If your projector is overheating and automatically shutting down, make sure that the ventilation is not obstructed. Check that the intake and exhaust vents are clear of dust and debris. Avoid placing the projector in a confined space or near other heat-producing devices.
- Remote Control Issues: If the remote control is not working, ensure that the batteries are properly installed and have sufficient charge. Clean the remote control’s infrared sensor and ensure there are no obstacles between the remote control and the projector that may block the signal.
If you encounter any persistent issues that cannot be resolved through these troubleshooting tips, consult the user manual for your specific projector model or reach out to the manufacturer’s customer support for further assistance.
By addressing common issues and resolving them promptly, you can ensure a smooth and trouble-free experience with your projector.
Conclusion
Congratulations! You have successfully learned how to turn on a projector and navigate through the essential steps to set it up for a seamless projection. By checking the connections, powering on the projector, selecting the input source, adjusting the focus and zoom, setting up the display modes, fine-tuning the image and color settings, and connecting audio devices, you have mastered the key elements of getting your projector up and running.
Remember, while the specific steps may vary depending on the make and model of your projector, the general principles covered in this guide can be applied to most projectors. Always consult your projector’s user manual for any model-specific details or recommendations.
In the event that you encounter technical difficulties or common issues, refer back to the troubleshooting tips outlined in this guide. Remember to reach out to your projector’s manufacturer’s support team if you need further assistance.
Now, armed with this knowledge, you can enjoy the immersive visuals and captivating audio that a projector brings to your home theater, presentations, or other events. With a properly set up projector, get ready to enjoy a larger-than-life experience in the comfort of your own space.