Introduction
Welcome to the world of music streaming, where you can enjoy your favorite songs with just a few clicks. Among the plethora of streaming platforms available today, Spotify stands out as one of the most popular choices. With its vast collection of songs and user-friendly interface, it has become a go-to platform for music enthusiasts all over the globe.
One of the great features offered by Spotify is Crossfade. If you’ve ever found yourself wishing for a seamless transition between songs, Crossfade is here to fulfill your musical desires. Crossfade is a functionality that allows you to blend the end of one song with the beginning of the next, resulting in a smooth and uninterrupted listening experience.
Whether you enjoy listening to playlists or albums, enabling Crossfade can significantly enhance your music playback. By eliminating the abrupt breaks between songs, you can enjoy a continuous stream of your favorite tracks without any interruptions.
In this article, we will guide you through the process of turning on Crossfade on Spotify, both on the desktop and mobile versions of the app. Additionally, we will explore how you can adjust the Crossfade duration to find the perfect balance for your listening preferences.
So, let’s get started and unlock the seamless listening experience that Crossfade has to offer!
What is Crossfade on Spotify?
Before we dive into the steps of enabling Crossfade on Spotify, let’s take a moment to understand what it actually is and how it benefits your music listening experience.
Crossfade is a feature on Spotify that allows you to smoothly transition from one song to the next by fading out the ending of the current song while fading in the beginning of the next song. It acts as a virtual DJ, seamlessly blending the tracks together and creating a continuous flow of music.
This feature not only eliminates the abrupt pauses between songs but also enhances the overall listening experience. It eliminates any jarring interruptions that can sometimes break the rhythm or mood, making your music journey more enjoyable and immersive.
With Crossfade, you have more control over the way your playlist or album flows. It can be particularly useful for DJ sets or parties, where you want to create a continuous and seamless mix of tracks. However, it’s not limited to just DJs – anyone can take advantage of this feature to enhance their daily music listening.
It’s important to note that Crossfade is different from Gapless Playback. While Crossfade fades one song out while fading the next song in, Gapless Playback ensures that there are no gaps or pauses between songs that are meant to flow together, such as tracks within an album or a live recording.
By enabling Crossfade on Spotify, you can take your music listening to the next level and enjoy a seamless journey through your favorite tunes. Now that you understand what Crossfade is and how it works, let’s explore the step-by-step process of turning it on.
How to Turn On Crossfade on Spotify: Step-by-Step Guide
Enabling Crossfade on Spotify is a simple process, whether you’re using the desktop app or the mobile app. Let’s go through the step-by-step instructions to get your Crossfade feature up and running.
Method 1: Using the Desktop App
- Open Spotify on your computer and log in to your account.
- Click on the “Edit” menu (Windows) or the “Spotify” menu (Mac) in the top-left corner of the app.
- Select “Preferences” from the dropdown menu.
- Scroll down to the “Crossfade” section.
- Adjust the Crossfade slider to your desired duration. Move it to the right for a longer crossfade duration, or to the left for a shorter duration.
- Once you’ve selected your preferred duration, the Crossfade feature will be enabled.
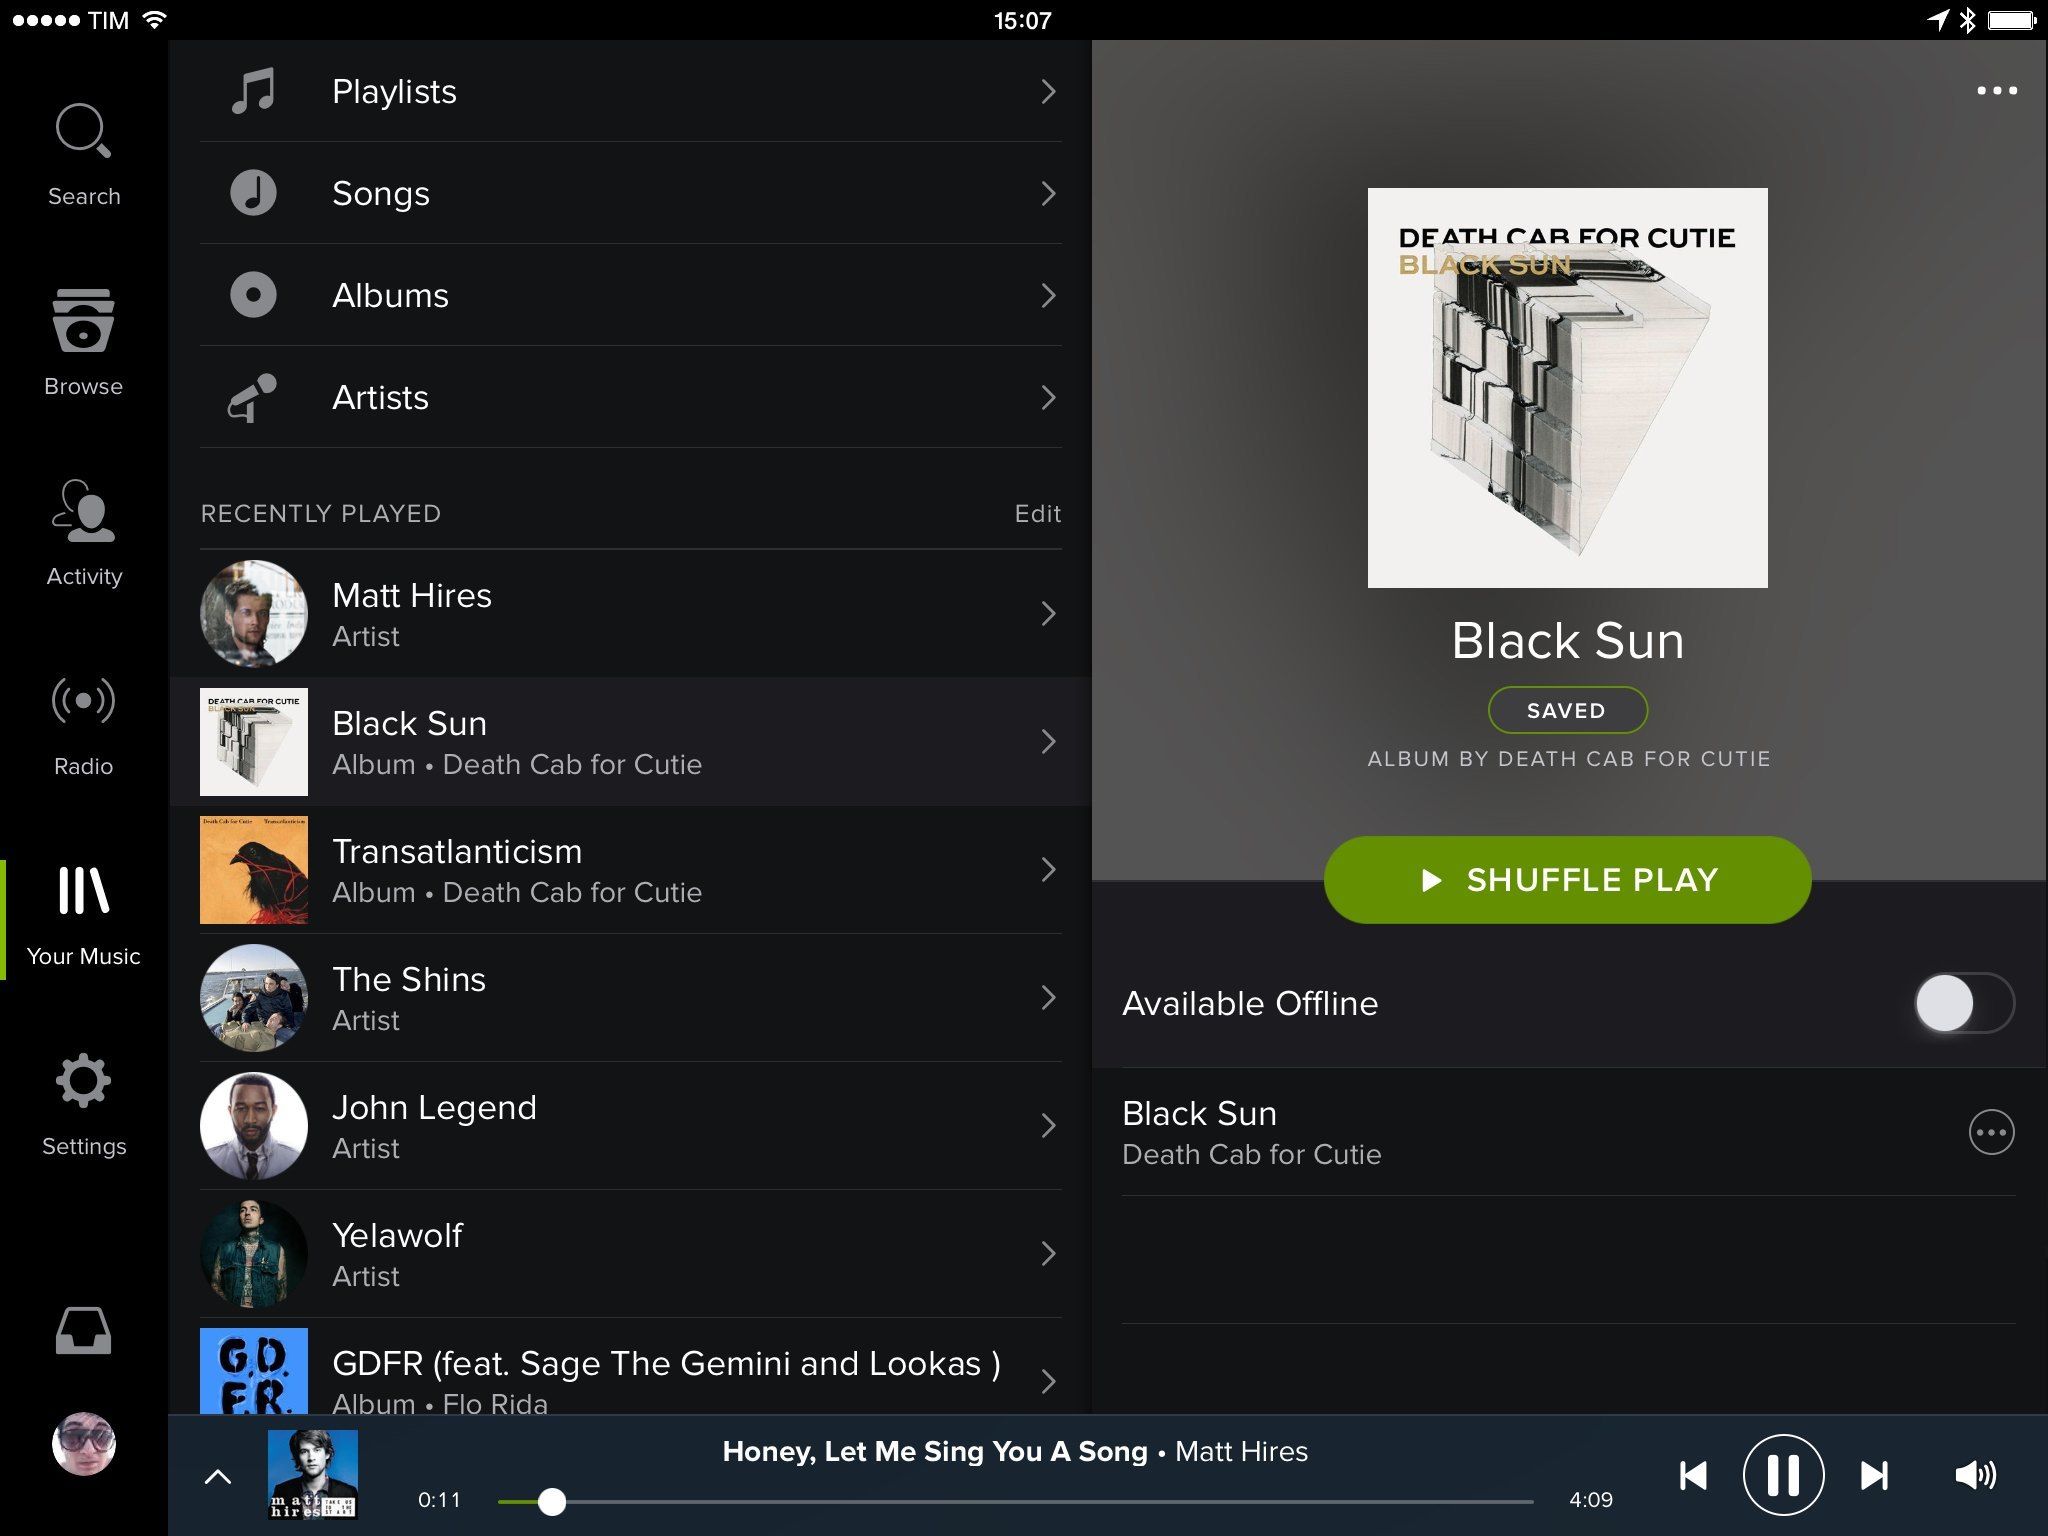
Method 2: Using the Mobile App
- Launch the Spotify app on your mobile device and log in to your account.
- Tap on the “Home” tab at the bottom of the screen.
- Tap on your profile picture in the top-right corner to access settings.
- Scroll down and select “Settings”.
- Scroll down again and tap on “Playback”.
- Under the “Crossfade” section, toggle the switch to turn on Crossfade.
- Slide the Crossfade slider to your preferred duration.
- Once you’ve set the desired duration, Crossfade will be enabled on your Spotify mobile app.
Now that you’ve successfully enabled Crossfade on Spotify, you can enjoy a seamless listening experience as your favorite songs blend together. But what if you want to fine-tune the duration of the Crossfade? Let’s find out how to do that in the next section.
Method 1: Using the Desktop App
Turning on Crossfade on Spotify through the desktop app is a straightforward process. Follow these step-by-step instructions:
- Open the Spotify application on your computer and log in to your account if prompted.
- In the top-left corner of the app, click on the “Edit” menu (Windows) or the “Spotify” menu (Mac).
- A dropdown menu will appear. Choose “Preferences” from the list.
- Scroll down to find the “Crossfade” section.
- Once you locate the Crossfade section, you’ll see a slider that controls the duration of the crossfade between songs.
- Move the Crossfade slider to the right to increase the duration of the crossfade, or to the left to decrease it.
- As you adjust the slider, notice that the numerical value next to it will change, indicating the length of the crossfade in seconds.
- Choose a duration that suits your preferences. A longer crossfade creates a smoother transition between songs.
- Once you’ve selected your preferred duration, the crossfade feature will be enabled.
With Crossfade now turned on, you can enjoy a seamless transition from one song to the next while listening to your favorite playlist or album on Spotify’s desktop app.
It’s important to note that the Crossfade setting on the desktop app applies to all devices connected to your Spotify account. Therefore, if you switch to another device like your mobile phone or another computer, the Crossfade setting will remain the same.
Now that you know how to enable Crossfade using the desktop app let’s explore another method for turning on Crossfade on the Spotify mobile app in the next section.
Method 2: Using the Mobile App
If you prefer to use the Spotify mobile app to enjoy your music on the go, you can easily enable Crossfade with just a few taps. Here’s how:
- Launch the Spotify app on your mobile device and log in to your account if prompted.
- Tap on the “Home” tab located at the bottom of the screen.
- In the top-right corner, tap on your profile picture to access your account settings.
- Scroll down the settings menu to find and select “Settings”.
- Scroll down again until you find the “Playback” section.
- Under the “Playback” section, you’ll see an option called “Crossfade”.
- Toggle the switch to the right to turn on Crossfade.
- Next, you’ll see a slider that controls the duration of the crossfade.
- Move the Crossfade slider to the right to increase the duration or to the left to decrease it.
- As you adjust the slider, the numerical value next to it will change to indicate the length of the crossfade in seconds.
- Select the duration that suits your preferences, with longer durations resulting in smoother transitions.
- Once you’ve set your desired duration, the crossfade feature will be enabled on your Spotify mobile app.
Now that you’ve successfully turned on Crossfade on your Spotify mobile app, you can enjoy a seamless listening experience while on the move.
Remember that adjusting the Crossfade setting on the mobile app only affects the device you’re currently using. If you switch to a different device or access Spotify from another device, you’ll need to repeat the process to enable Crossfade on that specific device.
That’s it! You’re now equipped with the knowledge of how to enable Crossfade on both the desktop and mobile versions of Spotify. But what if you want to adjust the duration of the Crossfade? Keep reading to find out how.
Adjusting the Crossfade Duration
Enabling Crossfade on Spotify is just the beginning. To truly tailor your listening experience, you can adjust the duration of the Crossfade to your personal preference. Here’s how:
Once you have enabled Crossfade (either on the desktop app or mobile app, following the respective methods mentioned earlier), you can fine-tune the Crossfade duration to your liking.
On the desktop app:
- Open the Spotify desktop app and click on the “Edit” (Windows) or “Spotify” (Mac) menu in the top-left corner.
- Select “Preferences” from the dropdown menu.
- Scroll down to the “Crossfade” section.
- Adjust the Crossfade slider to the right for a longer duration or to the left for a shorter duration.
- Pay attention to the numerical value next to the slider as it changes to indicate the length of the Crossfade in seconds.
- Select the duration that best suits your listening preferences, ensuring a smooth transition from one song to the next.
On the mobile app:
- Launch the Spotify mobile app and go to the “Home” tab.
- Tap on your profile picture in the top-right corner to access settings.
- Navigate to “Settings” and scroll down to “Playback”.
- Under the “Crossfade” section, you’ll find the Crossfade duration slider.
- Move the slider to the right for a longer Crossfade duration or to the left for a shorter duration.
- Observe the numerical value next to the slider that indicates the length of the Crossfade in seconds.
- Select the duration that aligns with your musical preferences and desired level of blending between songs.
By adjusting the Crossfade duration, you can customize the transition between songs, finding the perfect balance for your listening pleasure.
Experiment with different Crossfade durations to discover the flow that resonates with your musical taste. Whether you prefer a subtle transition or a more pronounced blending of songs, Spotify allows you to personalize your Crossfade experience.
Now that you know how to enable Crossfade and adjust its duration, let’s explore the benefits of using Crossfade on Spotify.
Benefits of Using Crossfade on Spotify
Enabling Crossfade on Spotify offers several benefits that can enhance your music listening experience. Let’s explore the advantages of using Crossfade:
1. Seamless Transitions
By enabling Crossfade, you’ll experience smooth transitions between songs. Crossfade eliminates the abrupt pauses or silences that can disrupt the flow and mood of your playlist or album. Songs blend seamlessly into one another, creating a continuous and engaging listening experience.
2. DJ-like Mixes
If you enjoy creating playlists or DJ-like mixes, Crossfade is a valuable tool. It allows you to curate a seamless mix of songs, resembling the transitions found in professional DJ sets. You can effortlessly blend your favorite tracks together, impressing your friends or creating a perfect ambiance for your party or workout session.
3. Enhanced Listening Flow
Crossfade helps maintain a consistent musical flow, particularly when listening to genres that commonly overlap, such as electronic, pop, or hip-hop. The smooth transitions between songs create a sense of coherence, ensuring a more immersive listening experience.
4. Elimination of Awkward Pauses
With Crossfade enabled, you no longer have to endure those awkward pauses or sudden cuts between songs. It keeps the energy and momentum going, letting you focus on the music without any interruptions.
5. Tailor to Your Preferences
By adjusting the Crossfade duration, you can personalize your listening experience based on your preferences. Whether you prefer a gentle fade or a more pronounced blend, you have the flexibility to find the perfect balance and level of transition.
6. Ideal for Continuous Playback
Whether you’re using Spotify for background music during work, workouts, or relaxation, Crossfade ensures a continuous playback experience. You can fully immerse yourself in the music without interruptions, maintaining a consistent atmosphere.
With these benefits in mind, it’s clear why Crossfade is a valuable feature on Spotify. So go ahead and turn it on, and enjoy a seamless and uninterrupted music journey.
Conclusion
Spotify’s Crossfade feature offers a seamless and uninterrupted music listening experience, allowing you to enjoy your favorite songs with a smooth transition from one track to the next. Whether you’re using the desktop app or the mobile app, enabling Crossfade is a simple process that can greatly enhance your musical journey.
In this article, we explored two methods for turning on Crossfade: using the desktop app and using the mobile app. We also discussed how to adjust the Crossfade duration to find the perfect blend between songs, catering to your personal preferences.
Benefits of using Crossfade on Spotify include seamless transitions, DJ-like mixes, enhanced listening flow, elimination of awkward pauses, the ability to tailor the duration to your preferences, and its suitability for continuous playback.
So, whether you’re curating playlists, hosting a party, or simply enjoying your favorite tracks, Crossfade on Spotify can elevate your music listening experience to a whole new level.
Now it’s time to go ahead and apply these steps to enable Crossfade on your Spotify app. Enjoy the seamless transitions, embrace the musical flow, and savor the uninterrupted journey through your favorite songs!