Introduction
Do you have a Samsung Smart TV and want to know how to turn on broadcasting? Broadcasting allows you to access a wide range of channels and enjoy your favorite shows and movies. Whether you’re looking to tune in to your local news, catch the latest sports events, or stream your favorite TV series, activating broadcasting on your Samsung Smart TV is a simple process.
In this article, we will guide you through the steps needed to turn on broadcasting on your Samsung Smart TV. We’ll show you how to access the menu, select the broadcasting option, set up your broadcasting preferences, and scan and add channels to your lineup. By following these steps, you’ll have access to an array of entertainment options right from the comfort of your living room.
Before we dive into the process, it’s important to note that the exact steps may vary slightly depending on the model of your Samsung Smart TV and the version of the operating system it runs. However, the general procedure remains the same. So, let’s get started and unlock the world of broadcasting on your Samsung Smart TV!
Step 1: Access the Menu
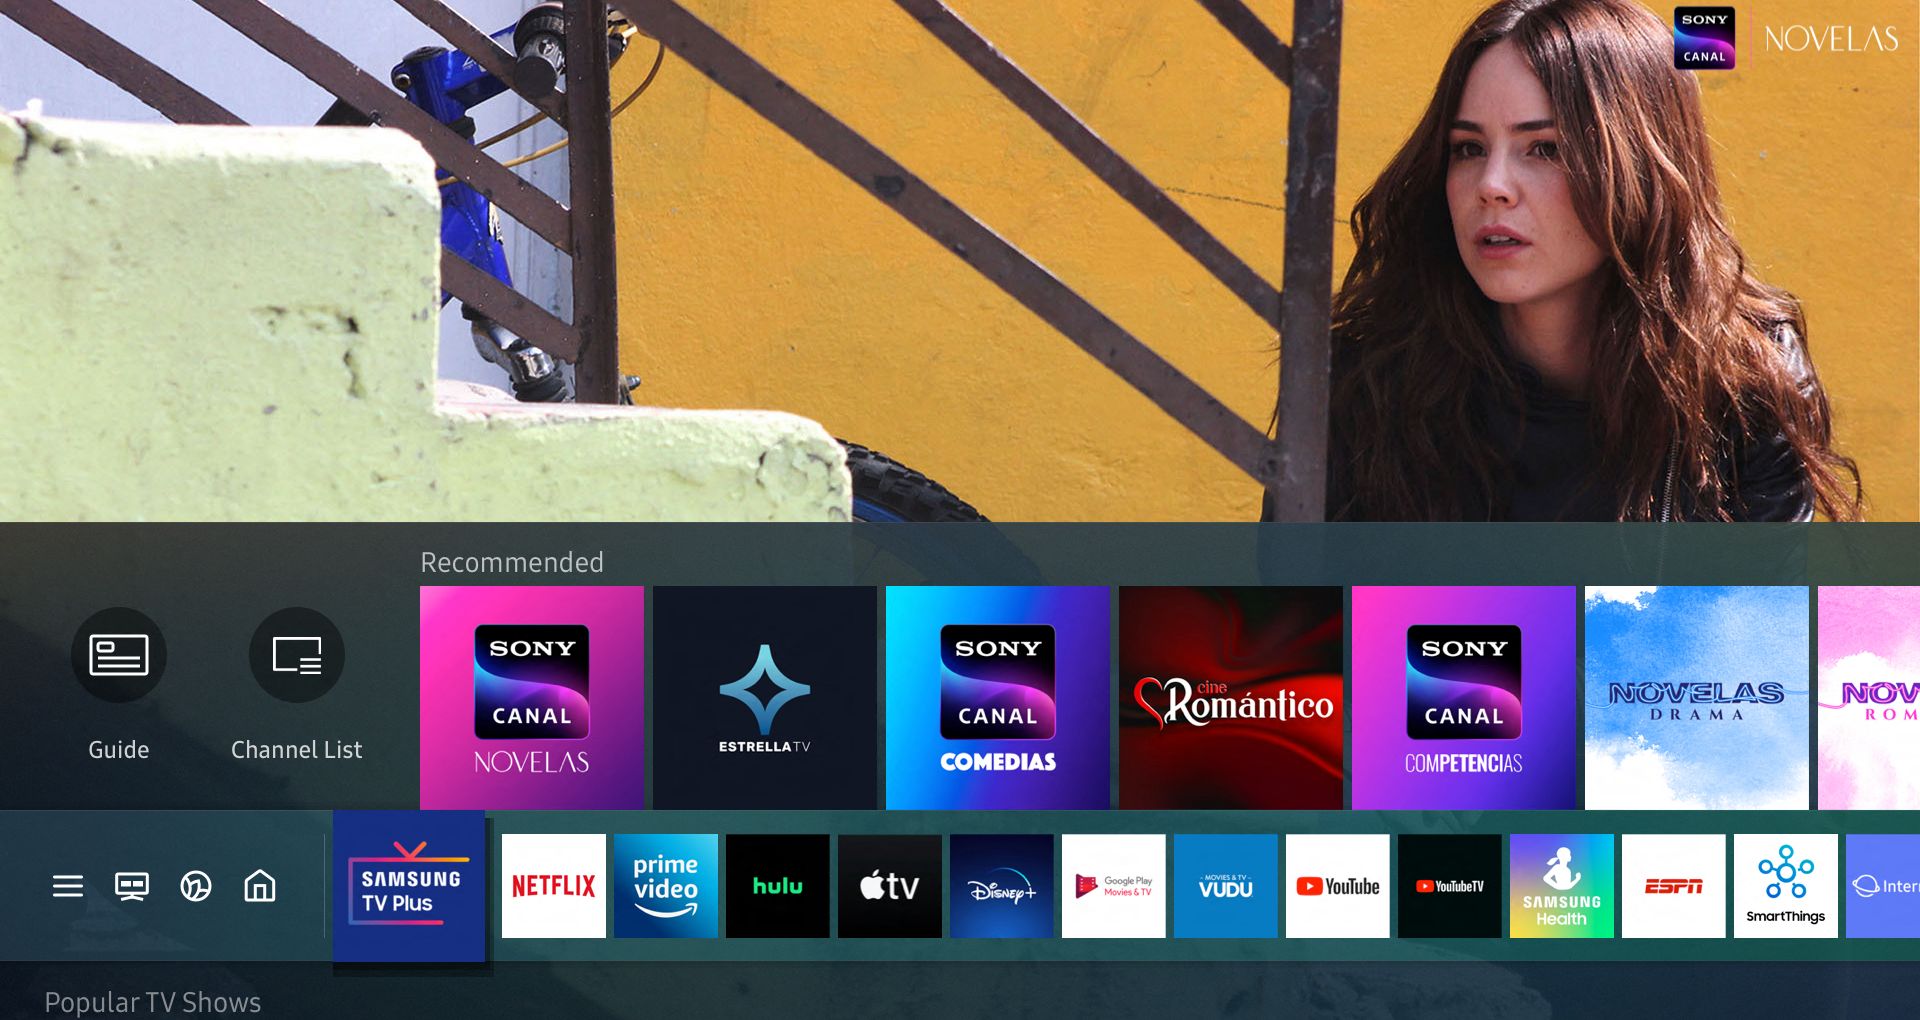
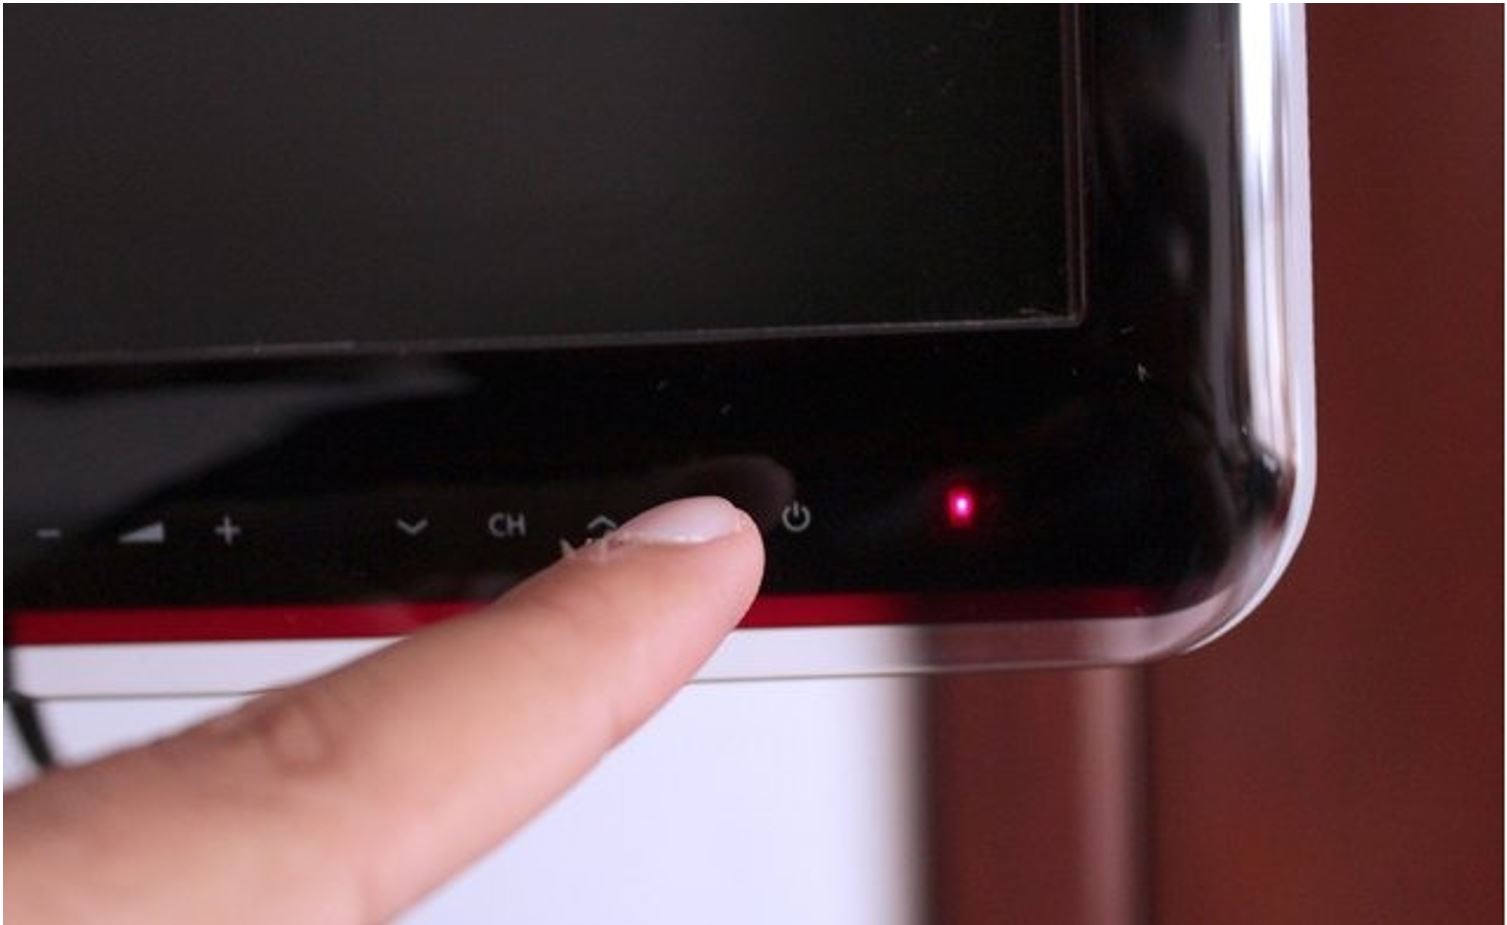
The first step in turning on broadcasting on your Samsung Smart TV is to access the menu. To do this, locate and press the “Menu” button on your TV remote. The menu button is typically represented by an icon consisting of three horizontal lines or a series of dots. Pressing this button will bring up the main menu on your screen.
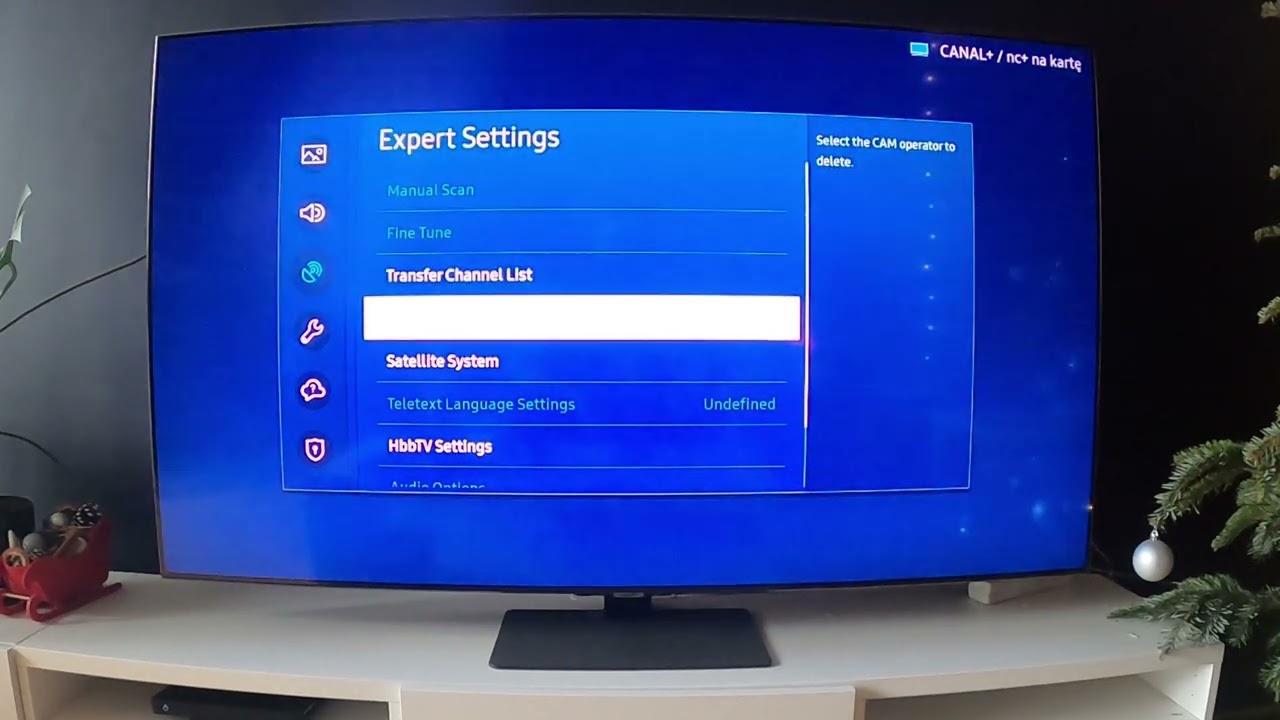
Once the menu is displayed, you may need to navigate through the options to find the broadcasting settings. This can vary depending on the model of your Samsung Smart TV. However, common locations for the broadcasting settings include the “Network” or “Settings” sections of the menu. Use the arrow buttons on your remote to navigate through the menu and highlight the desired section.
Once you have highlighted the appropriate section, press the “Enter” or “OK” button on your remote to enter it. This will allow you to access the specific settings related to broadcasting. If you are unsure of the exact location of the broadcasting settings, refer to your TV’s user manual or the Samsung support website for specific instructions based on your model.
It’s important to note that some Samsung Smart TVs offer a dedicated button on the remote control for accessing the menu. Look for a button with an icon that resembles three horizontal lines or a series of dots. By pressing this button, you can directly access the main menu without having to navigate through the on-screen options.
Step 2: Select Broadcasting
After accessing the menu on your Samsung Smart TV, the next step is to select the broadcasting option. This will allow you to access the settings specifically related to broadcasting and configure them according to your preferences.
Navigate through the menu using the arrow buttons on your remote to find the broadcasting option. In some Samsung Smart TV models, it may be listed as “Broadcast” or “Broadcasting.” Once you have located the broadcasting option, highlight it and press the “Enter” or “OK” button on your remote to select it.
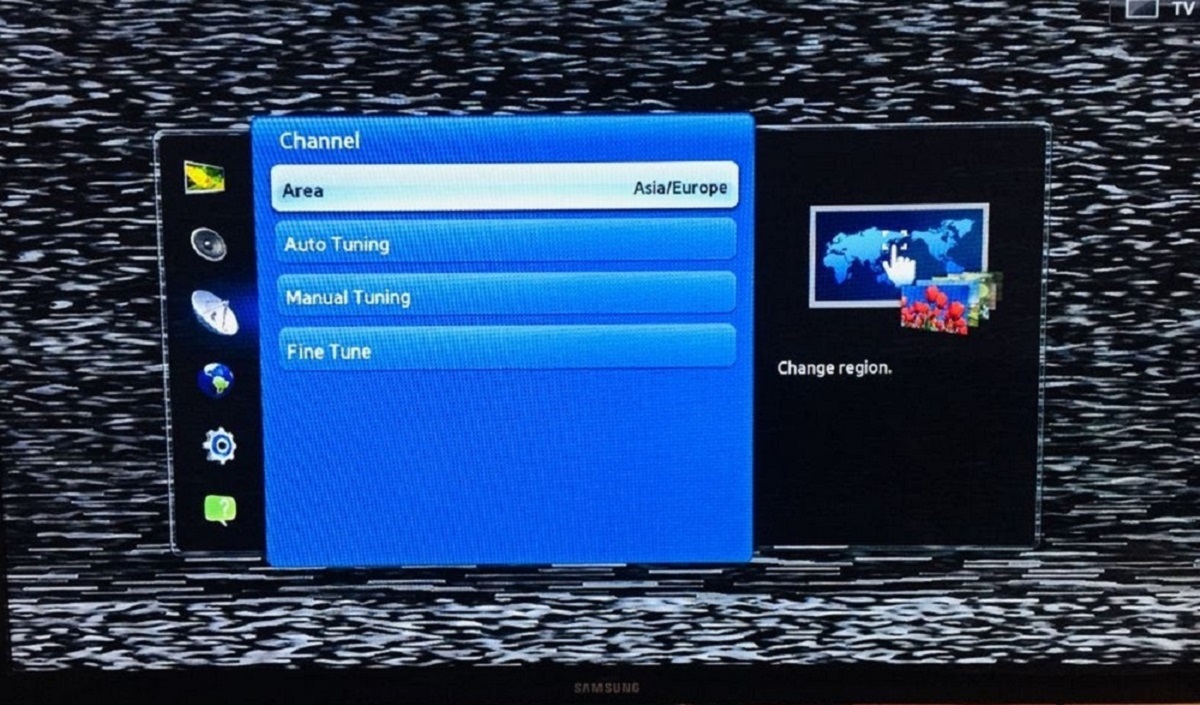
Upon selecting the broadcasting option, you will be presented with various sub-options related to broadcasting settings. These options may include “Auto Tuning,” “Channel List,” or “Channel Setup.” The available sub-options can vary depending on your TV model and the version of the operating system.
Use the arrow buttons on your remote to navigate through the sub-options and highlight the specific setting you wish to configure. Press the “Enter” or “OK” button to select the highlighted sub-option and access its settings.
If you are unsure about the location or naming of the broadcasting option on your Samsung Smart TV, consult the user manual or visit the Samsung support website for model-specific instructions and guidance.
By successfully selecting the broadcasting option, you are now ready to proceed to the next step and turn on broadcasting on your Samsung Smart TV.
Step 3: Turn On Broadcasting
Now that you have accessed the broadcasting settings on your Samsung Smart TV, it’s time to turn on broadcasting. This will allow you to receive and access a variety of channels on your TV.
In the broadcasting settings menu, look for an option labeled “Broadcasting On,” “Broadcasting Mode,” or something similar. This option is responsible for enabling the broadcasting feature on your TV.
Highlight the “Broadcasting On” option using the arrow buttons on your remote and press the “Enter” or “OK” button to activate it. This will initiate the broadcasting function on your Samsung Smart TV.
Once you have turned on broadcasting, you may see a notification or confirmation message indicating that the feature is now active. This means that your TV is ready to receive and display various channels.
Keep in mind that if broadcasting was already enabled on your TV, you may not need to perform this step. However, it’s always a good idea to double-check and ensure that the broadcasting feature is activated.
With broadcasting turned on, you are now one step closer to enjoying a vast range of channels and content on your Samsung Smart TV. Next, we’ll guide you through the process of setting up your broadcasting options to enhance your viewing experience.
Step 4: Set Up Broadcasting Options
After turning on broadcasting on your Samsung Smart TV, it’s time to customize and set up your broadcasting options. This step allows you to adjust settings such as language preferences, picture quality, audio settings, and more.
In the broadcasting settings menu, you will find various options to configure your preferences. Look for options like “Language,” “Picture Quality,” “Audio,” or “Display.” These options may vary depending on your TV model and the available settings.
To adjust these settings, navigate through the menu using the arrow buttons on your remote. Highlight the desired option and press the “Enter” or “OK” button to access its settings. Make the necessary adjustments according to your preferences.
For language settings, you can choose the language in which the broadcasting menus and information will be displayed. Ensure that you select the language that you are most comfortable with for a seamless viewing experience.
The picture quality settings allow you to optimize your viewing experience by adjusting parameters such as brightness, contrast, sharpness, and color saturation. Experiment with these settings to find the optimal picture quality that suits your preferences.
Audio settings enable you to adjust the sound output on your Samsung Smart TV. You can customize parameters like volume levels, sound modes, equalizer settings, and more to enhance your audio experience.
Other options you may encounter include closed captioning, parental controls, and channel labeling. These settings provide additional customization and control over your broadcasting experience.
Remember to save your changes after adjusting each setting. Look for an option like “Save” or “Apply” to ensure that your preferences are set up correctly.
By customizing your broadcasting options, you can tailor your Samsung Smart TV to meet your specific preferences and enhance your overall viewing experience.
Step 5: Scan and Add Channels
Once you have turned on broadcasting and set up your preferences, it’s time to scan and add channels to your Samsung Smart TV. Scanning for channels will allow your TV to detect and store available channels in your area.
In the broadcasting settings menu, look for an option called “Auto Tuning,” “Channel Scan,” or similar. This option initiates the scanning process to search for available channels.
Select the “Auto Tuning” or “Channel Scan” option using the arrow buttons on your remote and press the “Enter” or “OK” button to start the scan.
Your Samsung Smart TV will now begin scouring for channels that are available in your area. This process may take a few minutes to complete. The TV will display a progress bar or some indication of the scan’s status on the screen.
Once the scan is complete, your TV will display a list of discovered channels. The number of channels found will depend on your location and the strength of the broadcast signals in your area.
Review the list of channels and ensure that all the desired channels are included. If any channels are missing or if you want to add additional channels, you can manually add them using the manual tuning option in the broadcasting settings menu.
To manually add channels, select the “Manual Tuning” or “Add Channels” option in the menu. Enter the specific channel frequency or number, and the TV will attempt to tune in to that channel.
Once you have scanned and added all the desired channels, you can navigate through the channels using the arrow buttons on your remote or the dedicated channel up and down buttons.
By scanning and adding channels, you can access a wide range of content and ensure that you never miss your favorite shows or events on your Samsung Smart TV.
Step 6: Finish Setup
After scanning and adding channels to your Samsung Smart TV, it’s time to complete the setup process. This final step will ensure that everything is properly configured and ready for you to enjoy your favorite broadcasts.
In the broadcasting settings menu, look for an option called “Finish Setup” or something similar. This option is usually located at the end of the menu and indicates that all necessary steps of the setup process have been completed.
Highlight the “Finish Setup” option using the arrow buttons on your remote and press the “Enter” or “OK” button to select it.
By choosing the “Finish Setup” option, your Samsung Smart TV will save all the configurations you’ve made, such as channel scanning results and personalized settings.
In some cases, you may be prompted to confirm your choices before finalizing the setup. Follow the on-screen instructions to confirm and save your settings.
After completing the setup process, your Samsung Smart TV is ready for you to enjoy your favorite programs and channels. You can now navigate through the channels using the remote control and explore the countless entertainment options available to you.
If you encounter any issues or need further assistance with your Samsung Smart TV’s broadcasting setup, consult the user manual or contact Samsung customer support for guidance and troubleshooting tips.
Now that you’ve finished the setup process, sit back, relax, and enjoy the wide array of broadcasting content available on your Samsung Smart TV.
Conclusion
Turning on broadcasting on your Samsung Smart TV opens up a world of entertainment possibilities. By following the steps outlined in this guide, you can easily access a variety of channels, customize your preferences, and enjoy a seamless viewing experience.
We started by accessing the menu on the TV, then selecting the broadcasting option to access the specific settings for broadcasting. Turning on broadcasting ensures that you can receive and access various channels on your TV.
We then moved on to setting up broadcasting options, allowing you to customize parameters such as language preferences, picture quality, audio settings, and more. This step helps you personalize your viewing experience to suit your preferences.
Next, we covered scanning and adding channels, a crucial step to discover and store available channels in your area. The scan will automatically search for the available channels, and you have the option to manually add any missing ones.
Finally, we concluded the setup process by finishing the setup. This step ensures that all your configurations and settings are saved, and your Samsung Smart TV is fully prepared for your viewing pleasure.
Remember, the exact steps and menu options may differ slightly depending on your TV model and the operating system it runs on. Consulting your TV’s user manual or reaching out to Samsung’s customer support can provide additional guidance specific to your device.
Now that you have successfully turned on broadcasting on your Samsung Smart TV, you can explore a wide range of channels, catch up on your favorite shows, and immerse yourself in an exciting world of entertainment right from the comfort of your own home.