Introduction
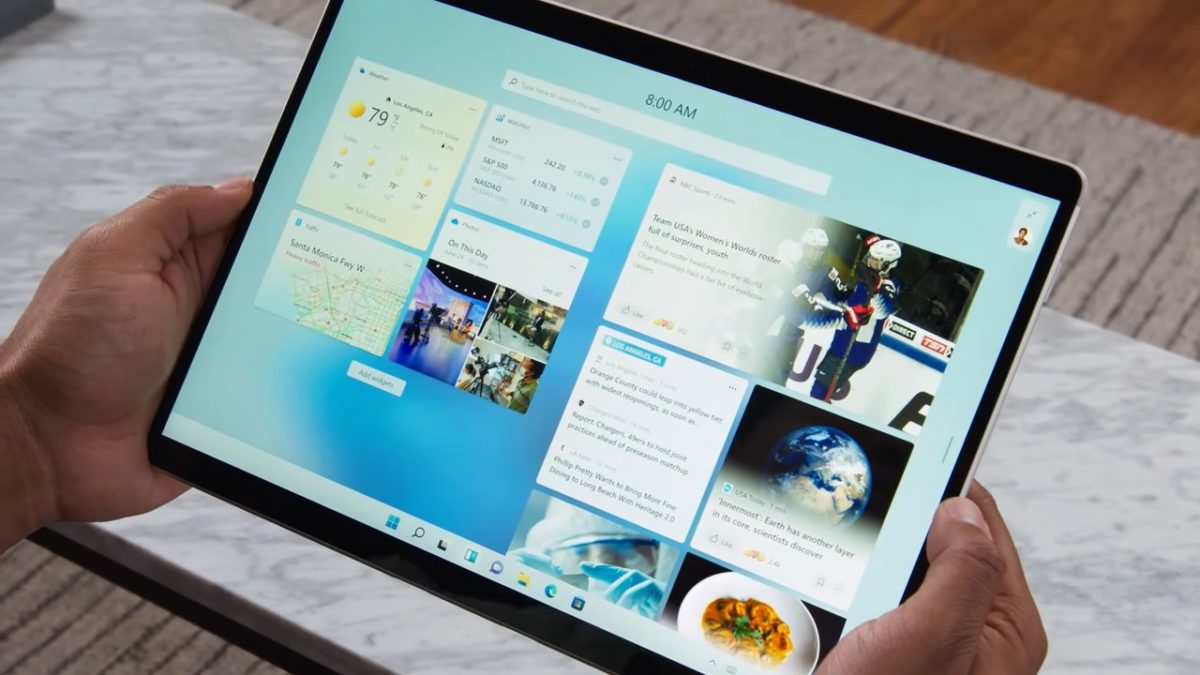
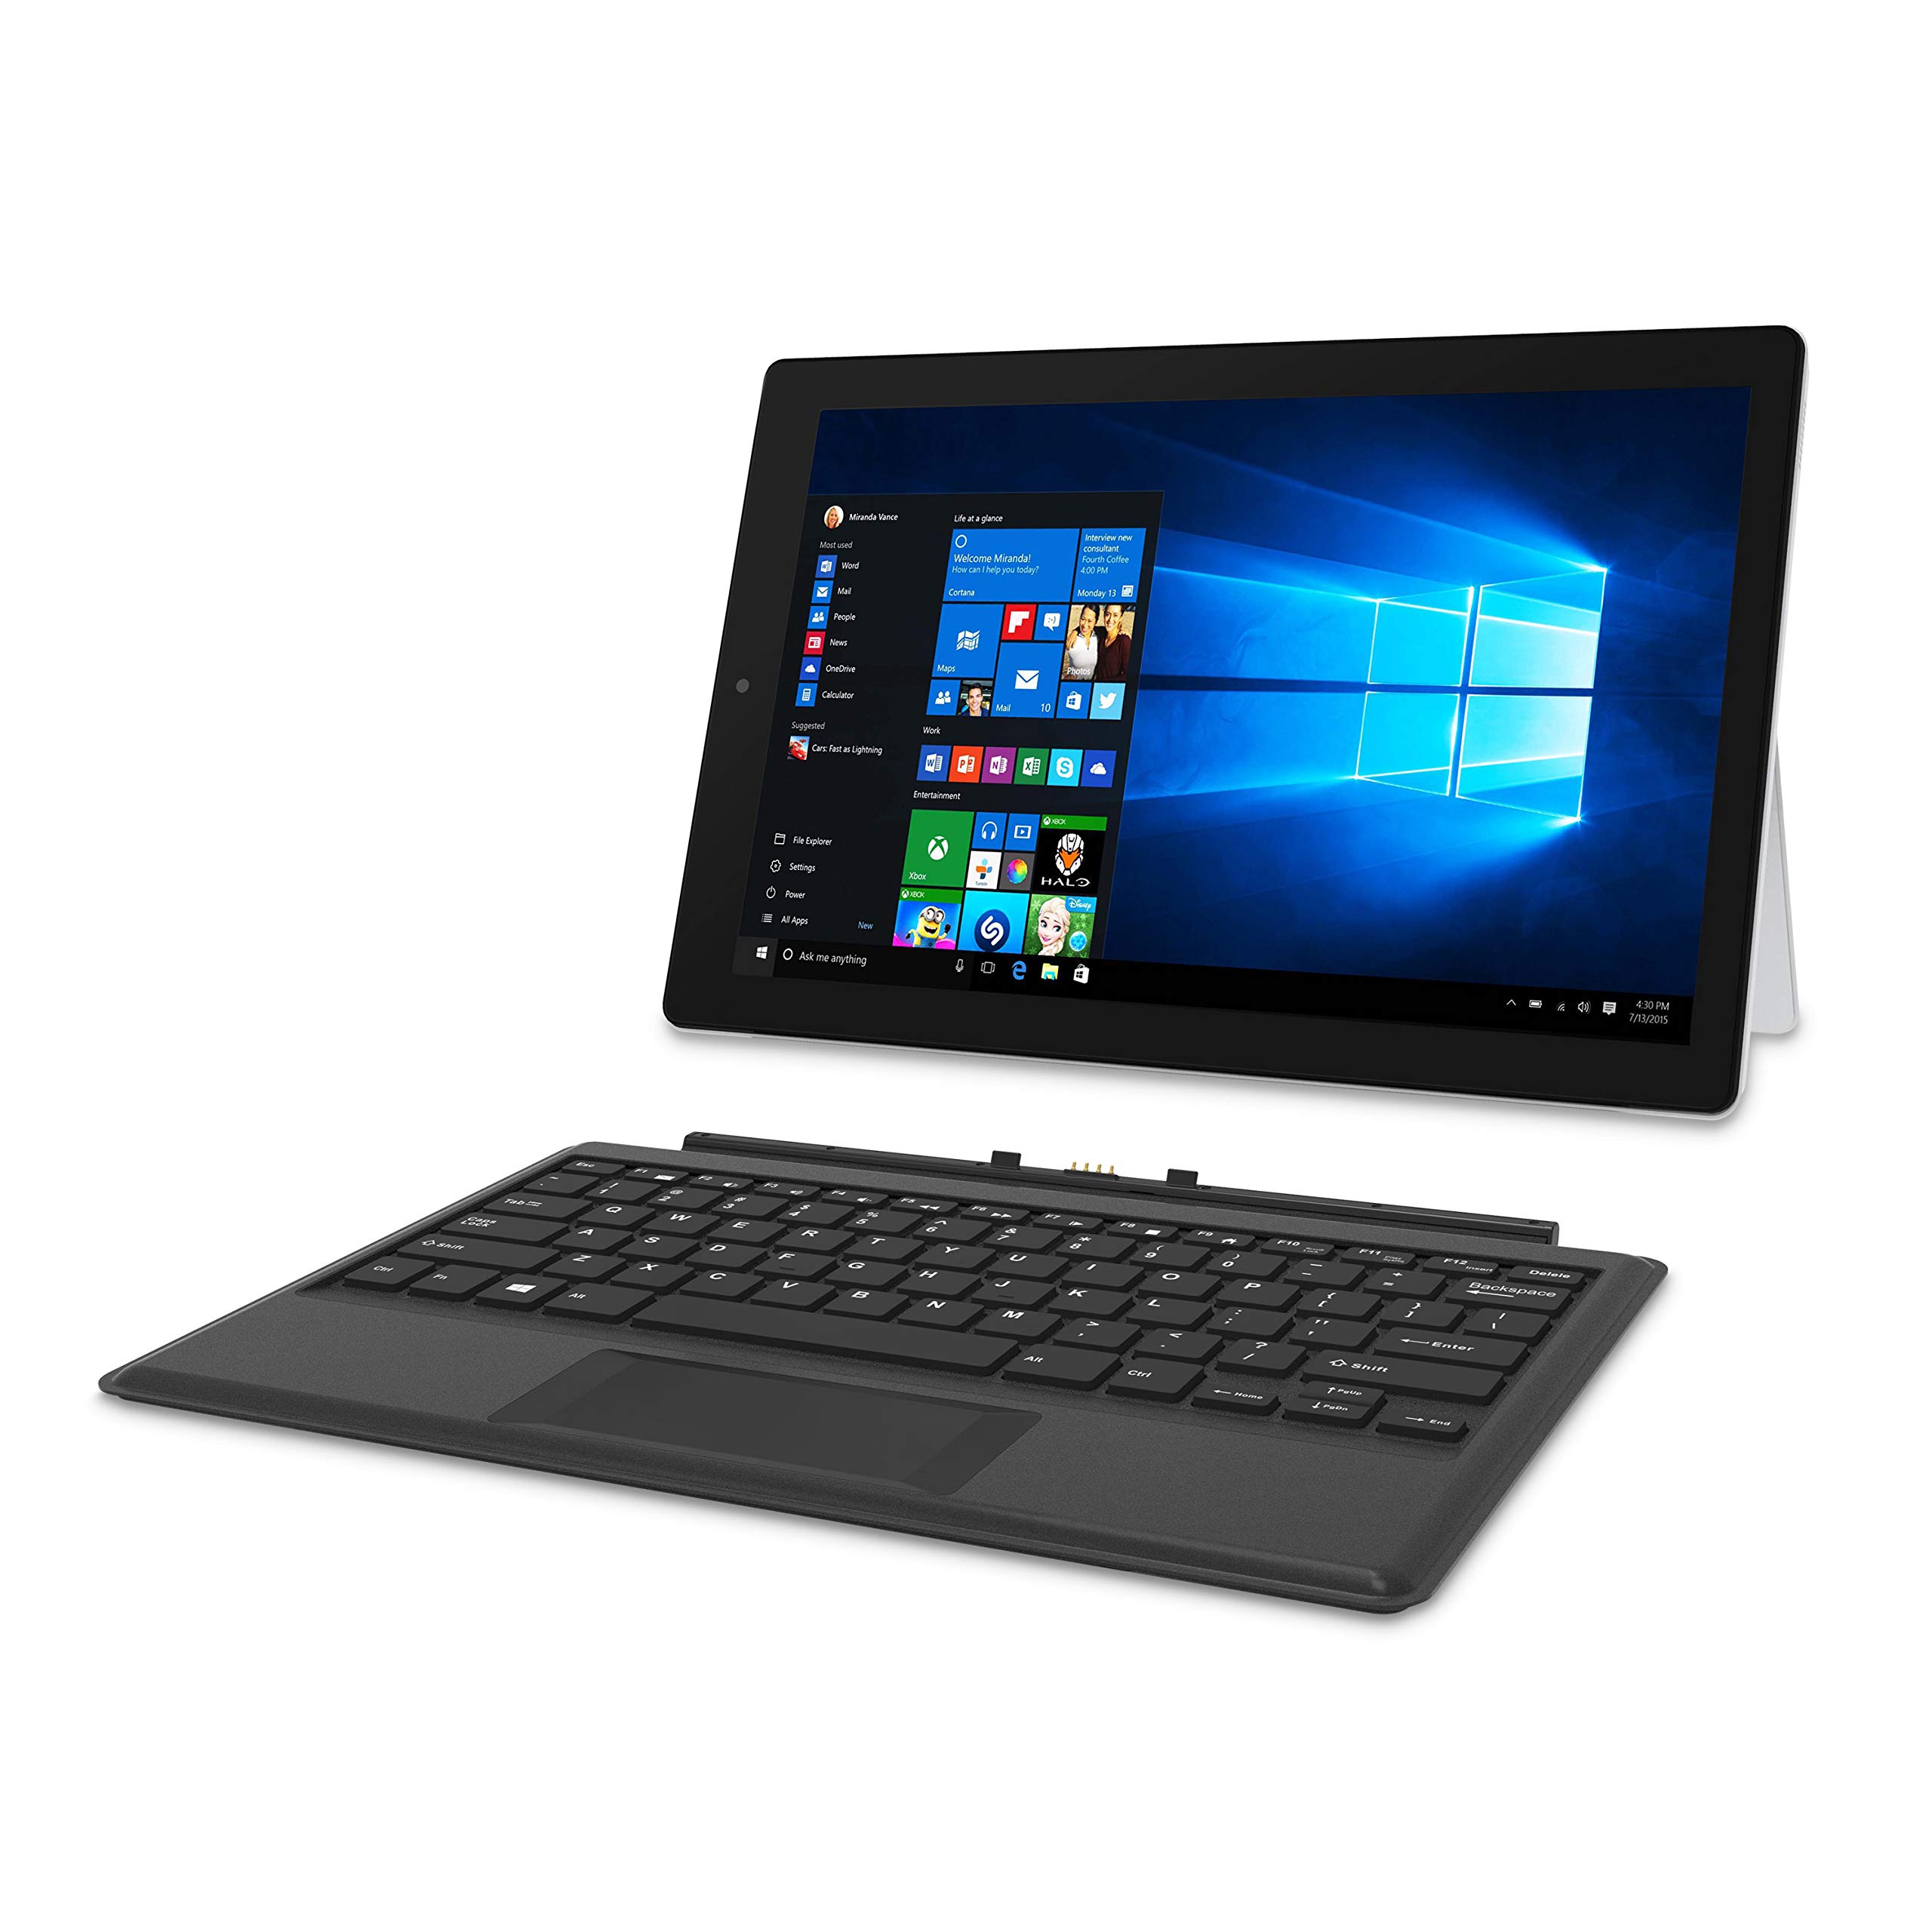
Windows 11 brings a fresh and intuitive user interface that adapts to various device types, including tablets. Tablet Mode is a feature designed specifically for touchscreen devices, providing a touch-centric experience with larger icons and a simplified layout. While Tablet Mode can be beneficial for tablet users, some individuals may prefer the traditional desktop experience on their Windows 11 devices. Fortunately, Windows 11 offers several methods to turn off Tablet Mode and switch back to the desktop mode effortlessly.
Whether you accidentally enabled Tablet Mode or simply want to revert to the familiar desktop environment, this article will guide you through different techniques to disable Tablet Mode on Windows 11. We will explore various options, from accessing the Action Center and Settings app to utilizing additional tools like the Registry Editor and Group Policy Editor. Regardless of your technical expertise, you can find a method that suits your preferences and helps you exit Tablet Mode on Windows 11 effectively.
Disabling Tablet Mode will allow you to regain the traditional desktop experience, complete with its extensive functionality and familiar layout. You will have access to the full range of Windows 11 features, including the taskbar, Start Menu, and resizable windows. Whether you use your Windows 11 device as a traditional laptop or a hybrid tablet, it is essential to be aware of how to switch between Tablet Mode and desktop mode to optimize your user experience.
In the following sections, we will explore multiple methods that will allow you to turn off Tablet Mode on Windows 11 and return to the desktop mode. Remember to follow the instructions carefully and choose the method that suits your needs the best. Let’s dive in and learn how to disable Tablet Mode on Windows 11.
Method 1: Using the Action Center
The Action Center in Windows 11 is a centralized hub for accessing various system settings and notifications. It offers a quick and convenient way to disable Tablet Mode. Here’s how to do it:
- Click on the Notification icon located at the bottom right corner of the taskbar.
- The Action Center panel will slide out from the right side of the screen.
- Look for the Tablet Mode button in the quick settings section. It is represented by an icon resembling a tablet and a laptop.
- Click on the Tablet Mode button to toggle it off. When Tablet Mode is disabled, the button will appear faded or grayed out.
Disabling Tablet Mode using the Action Center is a simple and straightforward method. Once you toggle off Tablet Mode, the system will switch to the desktop mode, providing you with the familiar Windows 11 desktop experience. You can now enjoy the full functionality and flexibility of the desktop mode on your Windows 11 device.
It’s important to note that the appearance and layout of the Action Center can vary depending on your device and system settings. If you don’t see the Tablet Mode button in the quick settings section, you may need to expand the Action Center by clicking on the “>|” icon at the bottom of the panel to reveal additional settings.
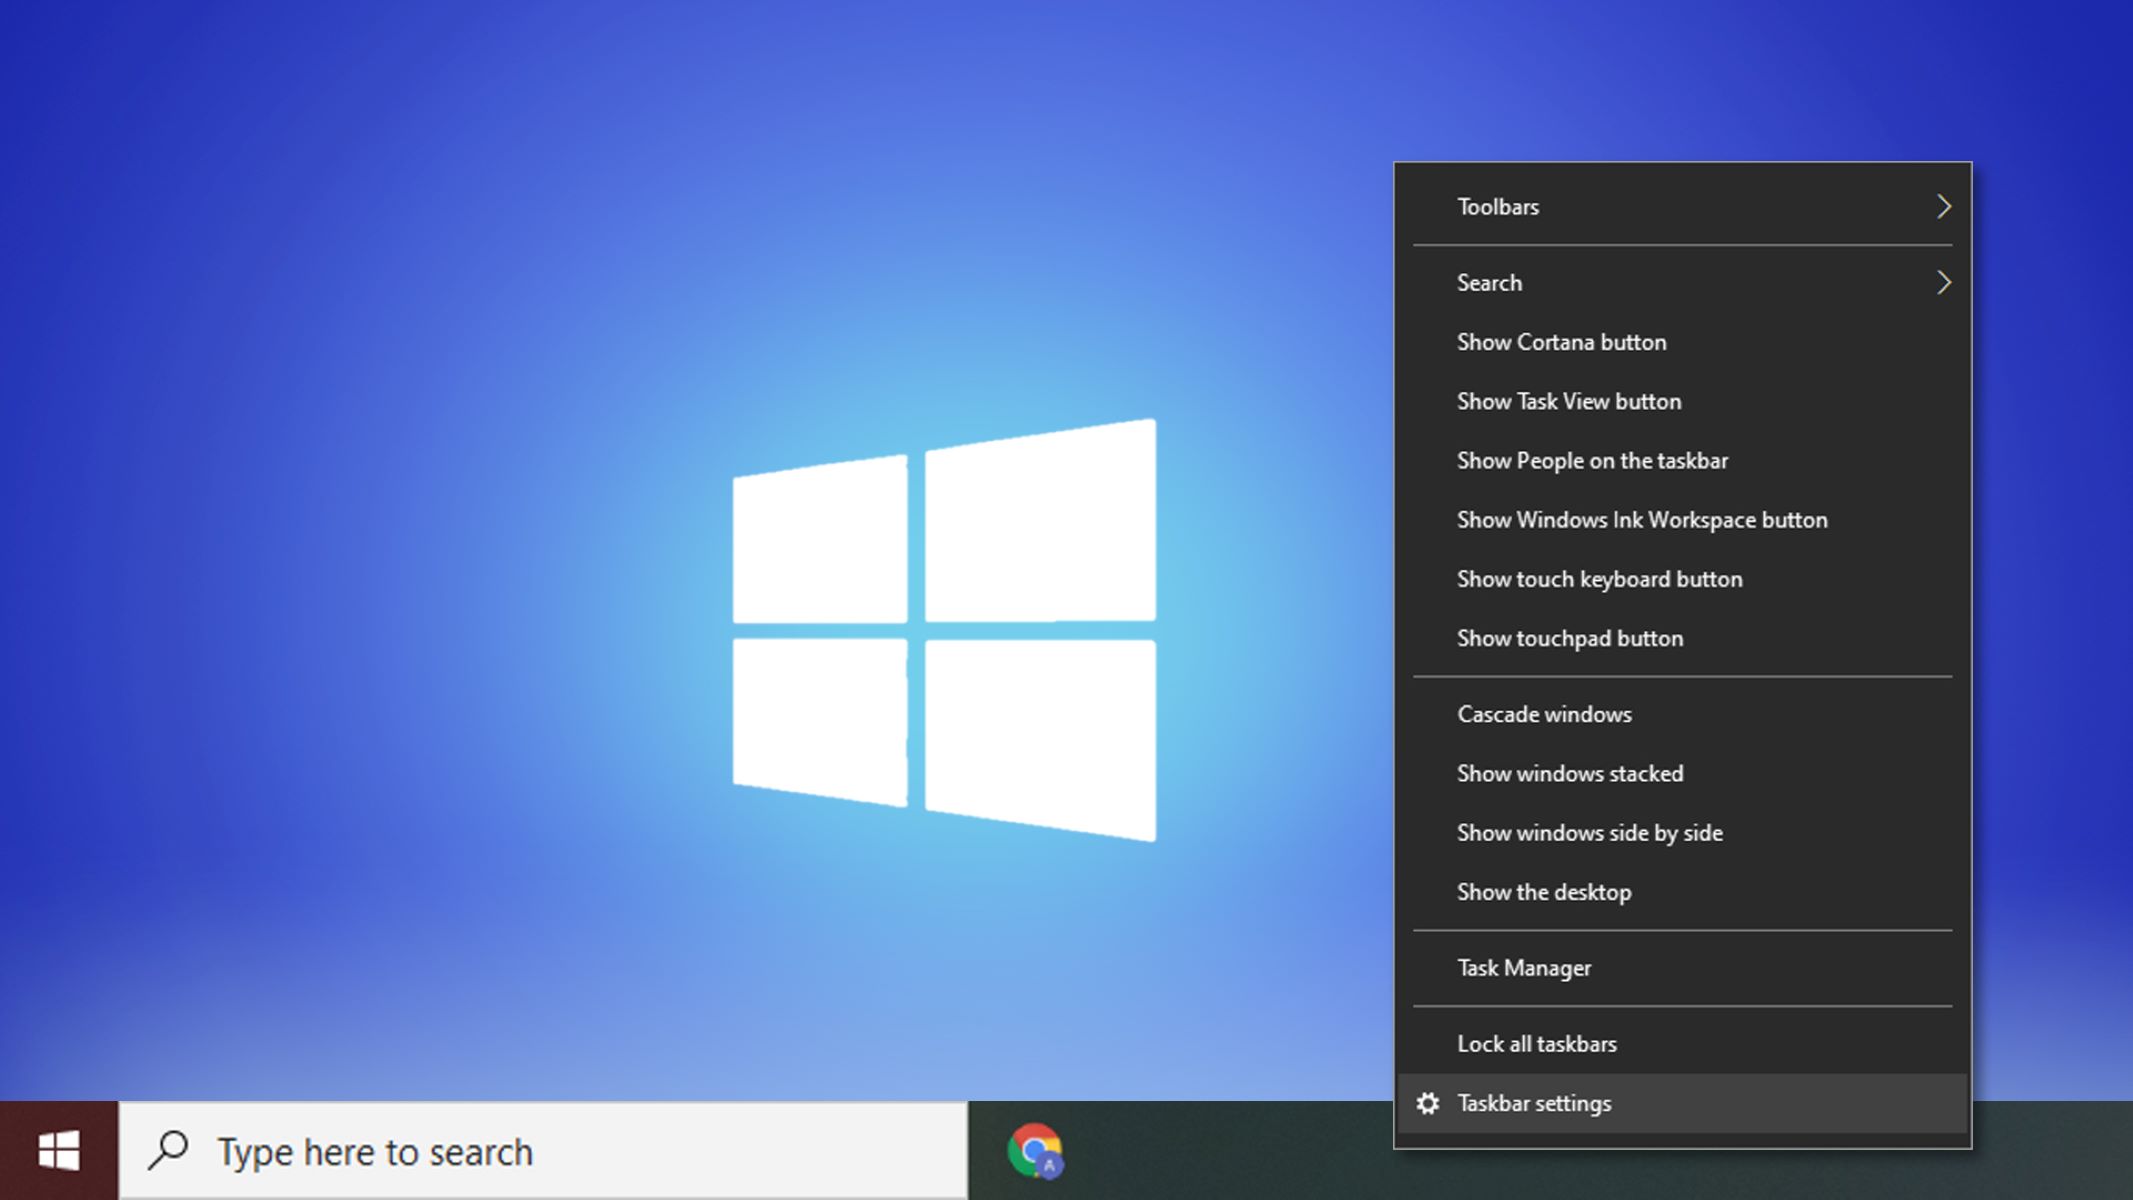
If you regularly switch between Tablet Mode and desktop mode, you can also customize the Action Center to display the Tablet Mode button prominently. To do this, right-click on the taskbar, select “Taskbar settings,” and navigate to the “Notification area” section. From there, click on “Turn system icons on or off,” and toggle on the “Tablet mode” option. This will ensure that the Tablet Mode button is always visible in the quick settings section of the Action Center.
That’s it! You have successfully disabled Tablet Mode using the Action Center in Windows 11. If you prefer using system-wide settings to toggle Tablet Mode on or off, you can explore the next method, which involves using the Settings app.
Method 2: Using the Settings app
If you prefer accessing system settings through a dedicated app, the Settings app in Windows 11 provides a comprehensive range of options, including the ability to disable Tablet Mode. Here’s how you can turn off Tablet Mode using the Settings app:
- Click on the Start button located in the taskbar to open the Start Menu.
- From the Start Menu, click on the Settings icon, which resembles a gear.
- In the Settings app, select the “System” category.
- In the left sidebar, click on “Display.”
- In the right pane, under the “Customize your display” section, locate the “Tablet mode” option.
- Toggle off the switch next to “When I sign in” to disable Tablet Mode.
Once you have disabled Tablet Mode using the Settings app, your Windows 11 device will return to desktop mode. You’ll be able to take advantage of the full desktop experience, including the taskbar, Start Menu, and resizable windows.
Aside from toggling Tablet Mode on or off, the Settings app offers additional customization options for Tablet Mode. For instance, you can choose to automatically switch to Tablet Mode when a convertible device is detected or when you undock your device. You can explore these settings under the “Tablet mode” section in the Display settings of the Settings app.
If you often switch between Tablet Mode and desktop mode, you can also customize the behavior of the action center and taskbar individually in Tablet Mode. In the “Taskbar” settings within the Settings app, you’ll find options to show or hide the taskbar in Tablet Mode, as well as configure how icons behave in the taskbar when in Tablet Mode.
That’s all there is to it! By utilizing the Settings app, you can easily disable Tablet Mode and switch back to the desktop mode on your Windows 11 device. If you prefer using a quick toggle option, the next method will guide you through using the Tablet mode toggle in Control Center.
Method 3: Using the Tablet mode toggle in Control Center
Windows 11 introduces the Control Center, a centralized hub for accessing various system settings and features. The Tablet mode toggle in the Control Center provides a convenient way to switch between Tablet Mode and desktop mode. Here’s how to use it:
- Click on the Action Center icon located in the taskbar, represented by a speech bubble icon.
- In the Action Center panel, click on the Tablet mode toggle. It is represented by an icon resembling a tablet and a laptop.
- When Tablet Mode is enabled, the toggle will appear highlighted, indicating that the device is in Tablet Mode.
- To disable Tablet Mode and switch back to the desktop mode, click on the Tablet mode toggle again.
Utilizing the Tablet mode toggle in the Control Center is a quick and accessible method to switch between Tablet Mode and desktop mode. By simply clicking on the toggle, you can enable or disable Tablet Mode according to your preferences.
In addition to the Tablet mode toggle, the Control Center provides convenient access to other settings and features, such as Wi-Fi, Bluetooth, Airplane mode, and more. It serves as a unified hub for accessing commonly used system controls, making it a valuable tool for managing various aspects of your Windows 11 device.
If you prefer having the Control Center readily available, you can customize the taskbar to display the Control Center icon. To do this, right-click on the taskbar, select “Taskbar settings,” and navigate to the “Notification area” section. From there, click on “Turn system icons on or off,” and toggle on the “Control Center” option. This will ensure that the Control Center icon is always visible in the taskbar, allowing you to quickly access it whenever needed.
That’s it! You have successfully learned how to use the Tablet mode toggle in the Control Center to switch between Tablet Mode and desktop mode on Windows 11. If you prefer a more advanced method, the next section will guide you through using the Registry Editor.
Method 4: Using the Registry Editor
For advanced users who are comfortable making changes to the system registry, the Registry Editor in Windows 11 provides a method to disable Tablet Mode. However, it is important to proceed with caution when working with the registry, as any incorrect modification can potentially cause system issues. Here’s how to disable Tablet Mode using the Registry Editor:
- Open the Run dialog by pressing the Windows key + R on your keyboard.
- Type “regedit” (without quotes) in the Run dialog and press Enter. This will open the Registry Editor.
- In the Registry Editor, navigate to the following path:
HKEY_CURRENT_USER\Software\Microsoft\Windows\CurrentVersion\ImmersiveShell\ - Locate the “TabletMode” DWORD value in the right pane. If it does not exist, you may need to create it. To do so, right-click in the empty space, select New, and then click on DWORD (32-bit) Value.
- Double-click on the “TabletMode” DWORD value and set its value data to “0” to disable Tablet Mode.
- Click OK to save the changes.
Once you have disabled Tablet Mode through the Registry Editor, restart your computer to apply the changes. After the restart, your Windows 11 device will boot directly into the desktop mode, offering the traditional desktop experience and all its associated features.
Remember, working with the Windows registry requires caution, as modifying incorrect values or deleting essential entries can lead to system instability. If you are not familiar with the registry or uncomfortable making changes, it is recommended to use the other methods mentioned in this article or seek assistance from a knowledgeable individual.
That’s how you can disable Tablet Mode using the Registry Editor in Windows 11. Keep in mind that any modifications made in the registry should be approached with care. If you prefer a method that utilizes the Group Policy Editor, the next section will walk you through the steps.
Method 5: Using Group Policy Editor
Windows 11 Pro, Enterprise, and Education editions include the Group Policy Editor, a powerful tool for managing system settings and configurations. If you have one of these editions, you can utilize the Group Policy Editor to disable Tablet Mode. Here’s how:
- Open the Run dialog by pressing the Windows key + R on your keyboard.
- Type “gpedit.msc” (without quotes) in the Run dialog and press Enter. This will open the Group Policy Editor.
- In the Group Policy Editor, navigate to the following path:
User Configuration > Administrative Templates > System > Tablet PC > - Double-click on the “Make Windows more touch-friendly…” policy in the right pane.
- In the policy settings window, select the “Disabled” option.
- Click Apply and then OK to save the changes.
Once you have disabled Tablet Mode using the Group Policy Editor, restart your computer for the changes to take effect. After the restart, your Windows 11 device will boot directly into the desktop mode, allowing you to enjoy the traditional desktop experience with its full range of features and capabilities.
It is worth noting that the Group Policy Editor is only available in Windows 11 Pro, Enterprise, and Education editions. If you are using Windows 11 Home edition, you may not have access to this tool. In that case, you can explore other methods mentioned earlier in this article to disable Tablet Mode.
Exercise caution when making changes in the Group Policy Editor, as modifying incorrect settings can impact system functionality. If you are unsure about any specific policy or its implications, it is recommended to seek guidance from technical support or knowledgeable individuals.
That’s how you can disable Tablet Mode using the Group Policy Editor in Windows 11. By leveraging the advanced settings provided by the Group Policy Editor, you can have greater control over system configurations and tailor your Windows 11 experience to your preferences.
Conclusion
In this article, we have explored various methods to disable Tablet Mode on Windows 11 and switch back to the traditional desktop mode. Whether you prefer using the Action Center, the Settings app, the Control Center, the Registry Editor, or the Group Policy Editor, there is a method suitable for your needs and technical comfort level.
Disabling Tablet Mode allows you to regain the familiar desktop experience on your Windows 11 device, complete with its extensive functionality, customizable taskbar, resizable windows, and full access to the Start Menu. You can seamlessly transition between tablet usage and desktop productivity, ensuring an optimal computing experience for your needs.
It is important to note that the availability and functionality of certain methods may vary depending on your Windows 11 edition and system settings. Always follow the instructions carefully and exercise caution when making changes to system settings, particularly when using tools like the Registry Editor and Group Policy Editor.
By being aware of these methods and knowing how to disable Tablet Mode, you can optimize your Windows 11 experience and tailor it to your preferences. Whether you primarily use your device as a tablet or a traditional laptop, having control over Tablet Mode allows you to make the most of Windows 11’s versatile interface.
We hope this article has provided you with valuable insights on how to turn off Tablet Mode on Windows 11. Remember to choose the method that works best for you and always be mindful of system settings and changes. Enjoy the flexible and user-friendly experience of Windows 11!