Introduction
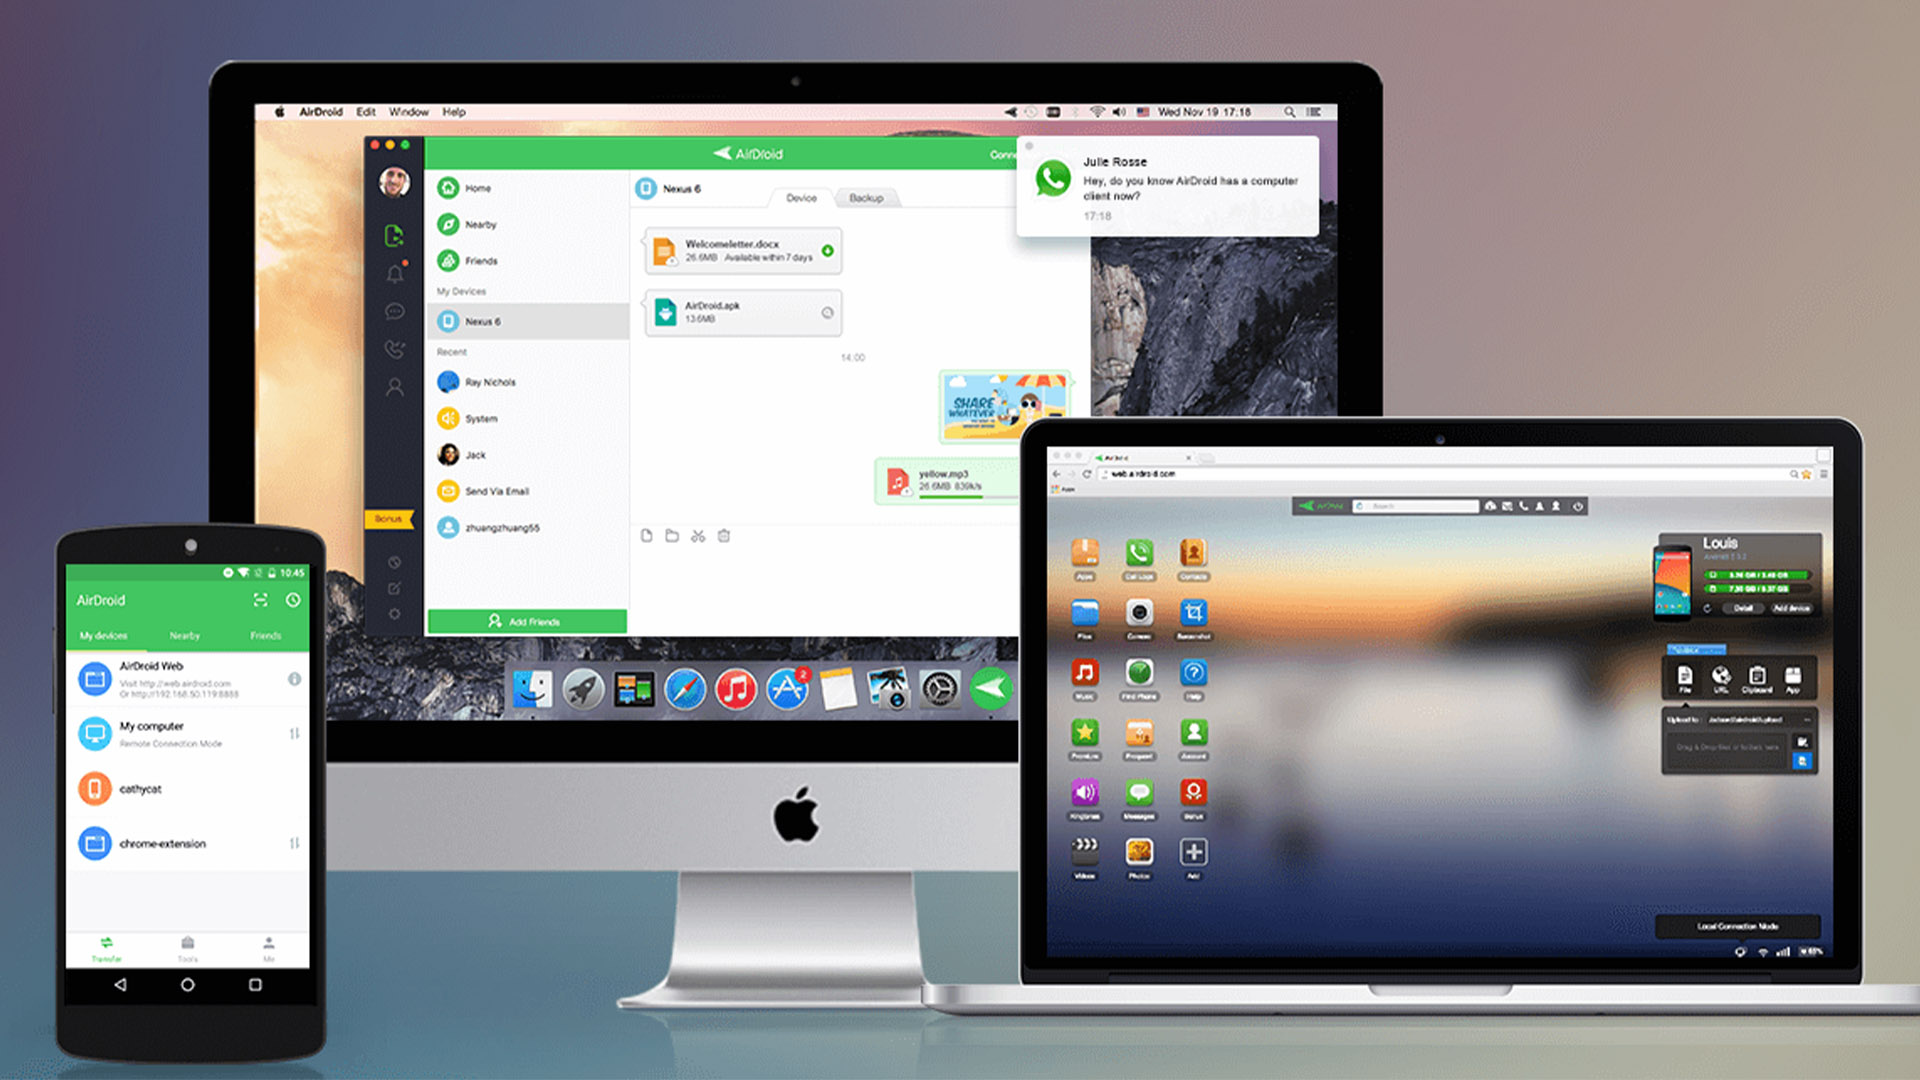
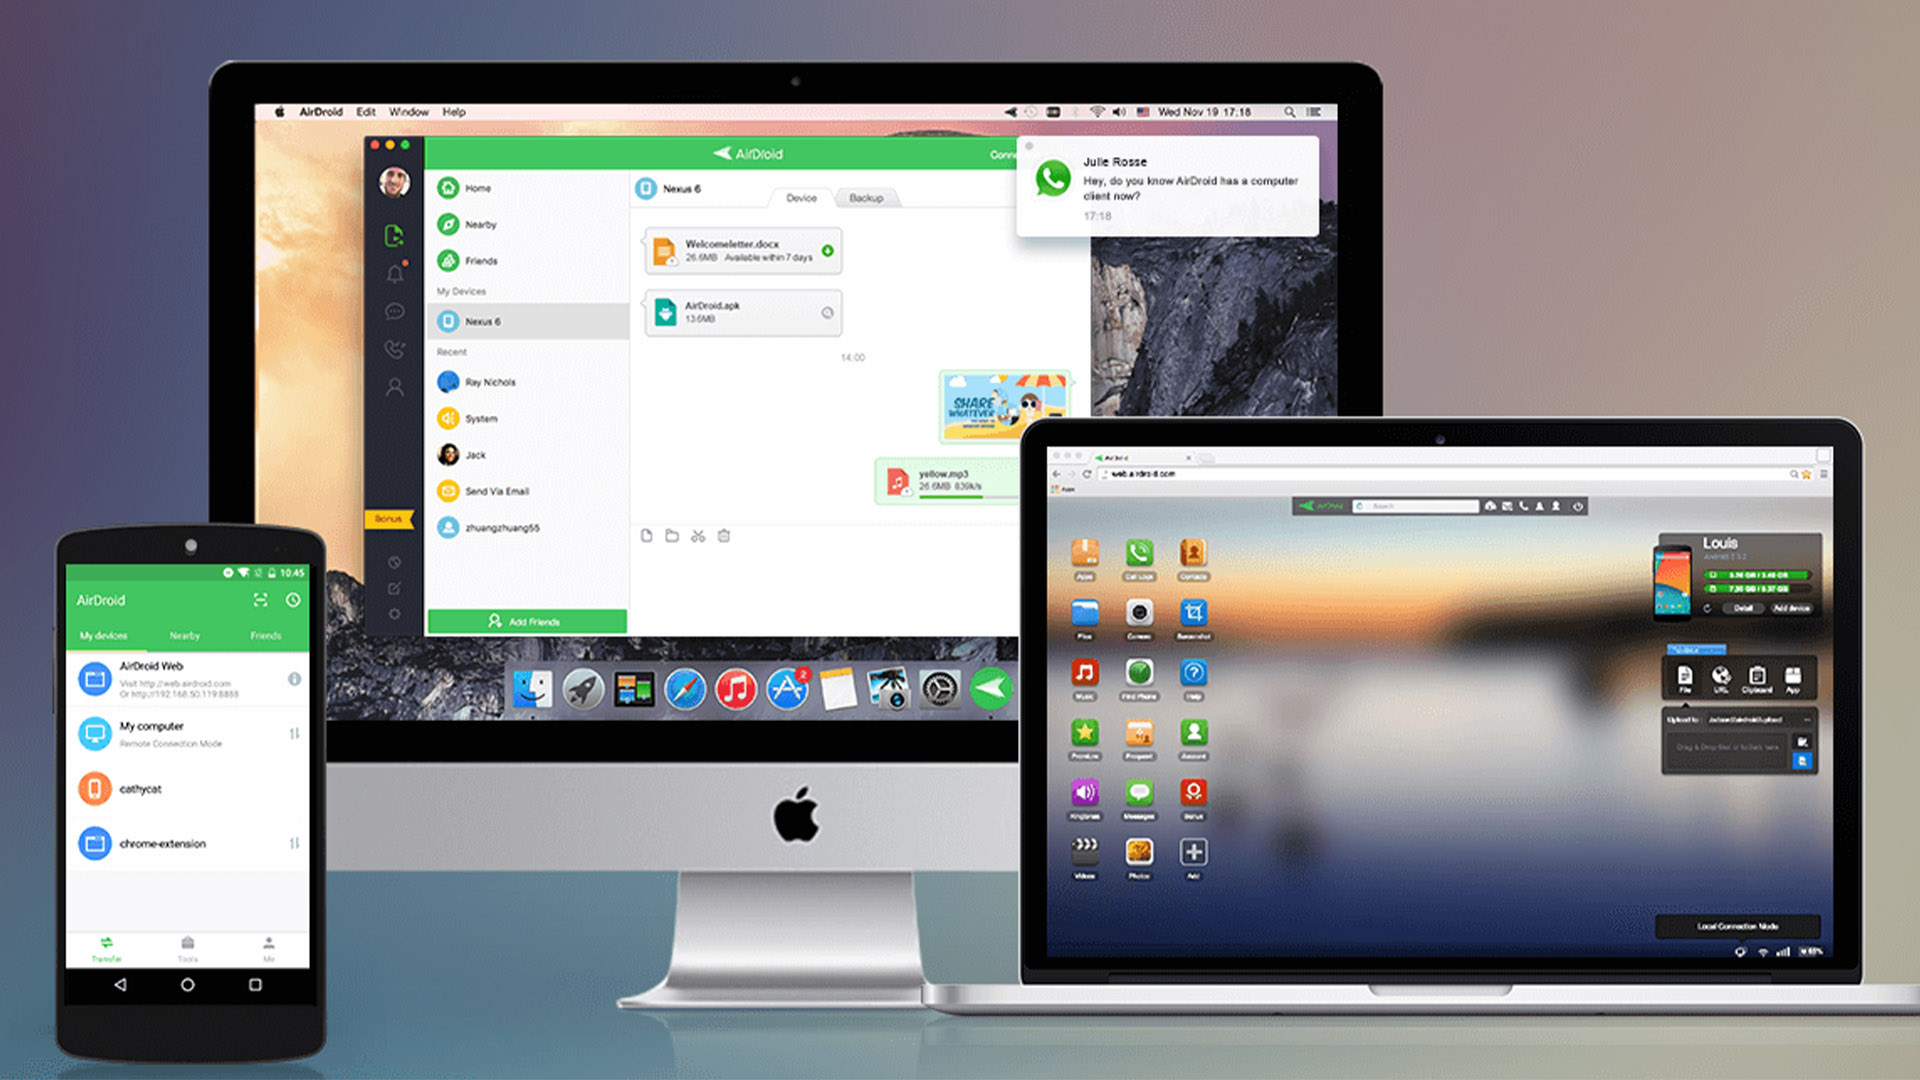
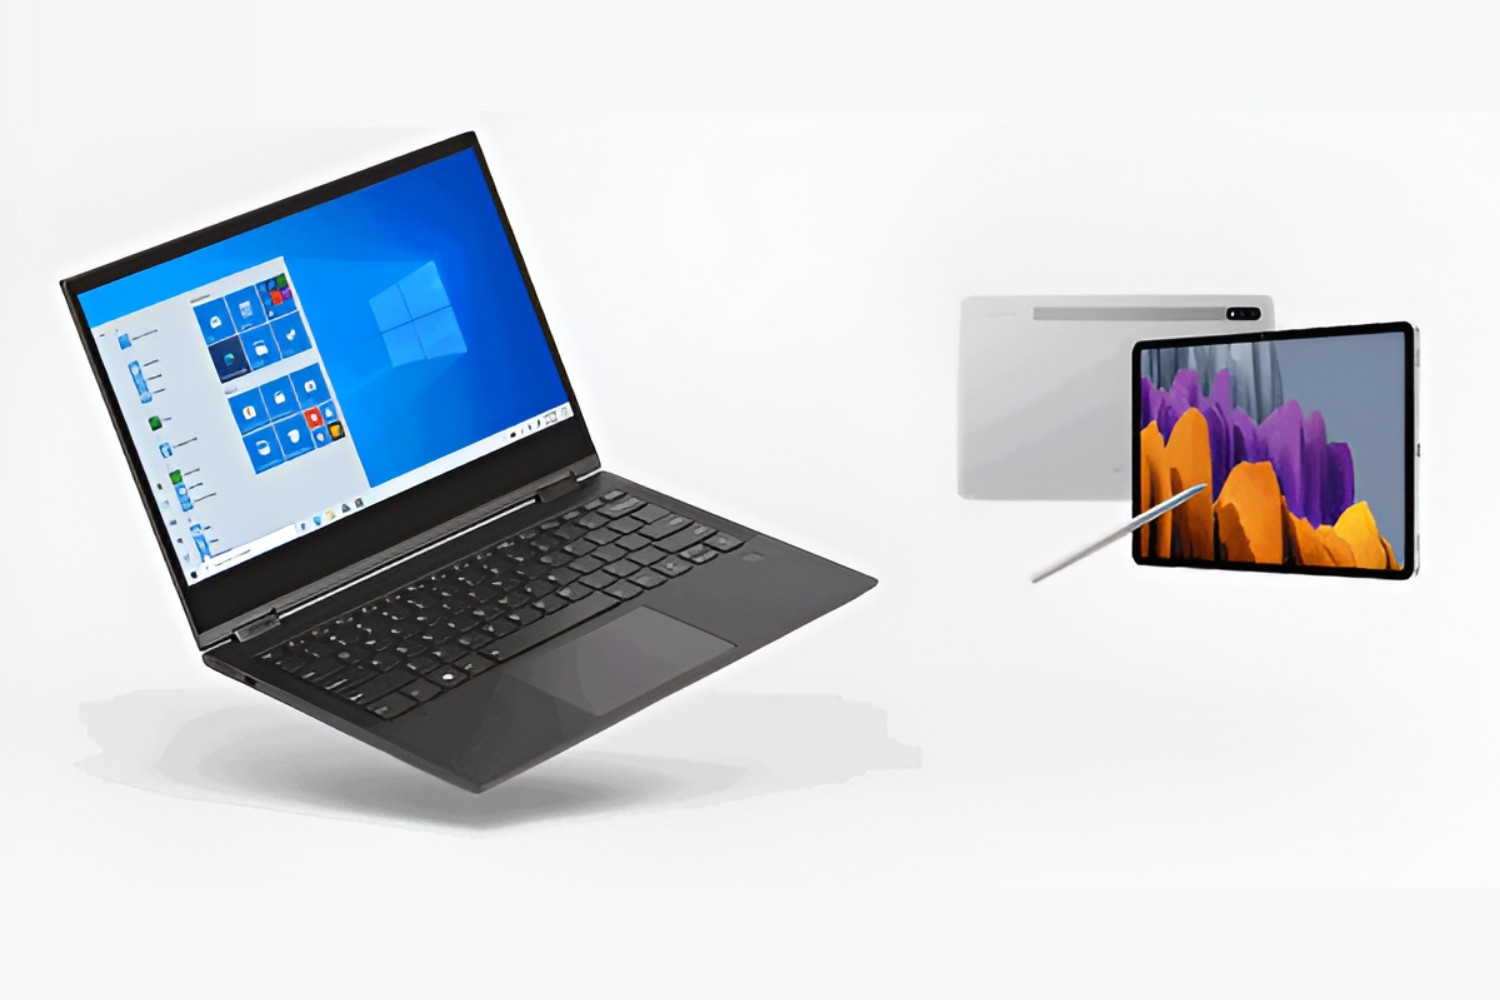
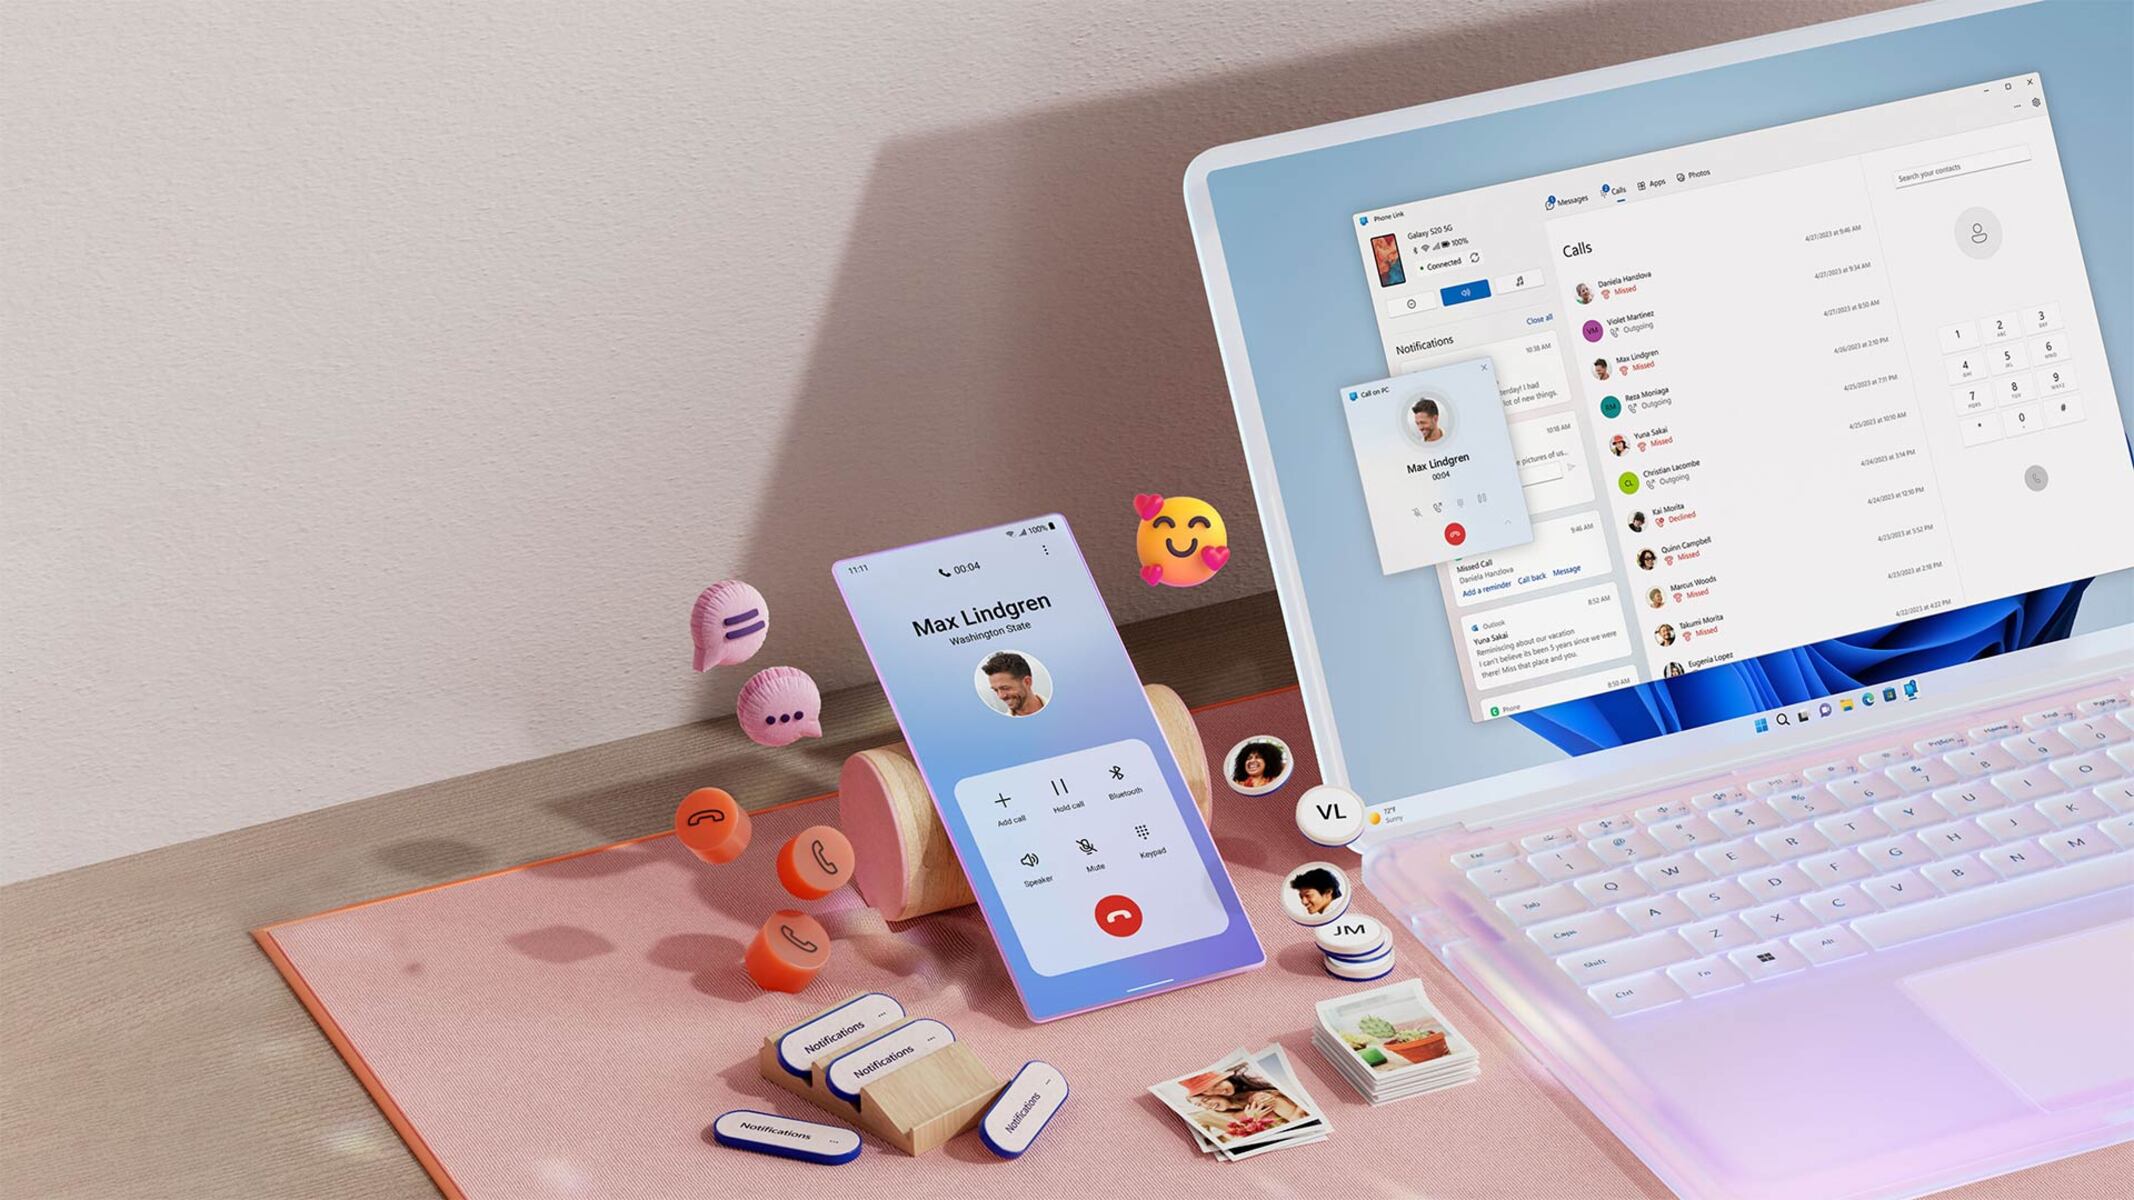
Transferring files from your PC to your tablet can be a convenient way to access your documents, photos, videos, and other files while on the go. Whether you need to transfer work-related files, entertainment media, or personal documents, there are several methods available to transfer files from your PC to your tablet. One of the easiest and most efficient ways is through a Wi-Fi connection.
Wi-Fi file transfer allows you to send files wirelessly between your PC and tablet without the need for cables or additional hardware. With just a few simple steps, you can seamlessly move files from your computer to your tablet and vice versa. This method is especially useful if your tablet doesn’t have a USB port or if you prefer to avoid the hassle of connecting and disconnecting cables.
In this article, we will guide you through the process of transferring files from your PC to your tablet using Wi-Fi. Whether you are using a Windows PC or a Mac, and whether you have an Android tablet or an iPad, you’ll find the instructions and tips you need to successfully transfer files. By following these steps, you’ll be able to enjoy your favorite movies, access important documents, and share files between your PC and tablet with ease.
Step 1: Connect your PC and tablet to the same Wi-Fi network
Before you can begin transferring files from your PC to your tablet, it is essential to ensure that both devices are connected to the same Wi-Fi network. This step is crucial as it allows the devices to communicate with each other over the local network.
To connect your PC to the Wi-Fi network, locate the Wi-Fi icon on your computer’s taskbar or system tray. Click on the icon, and a list of available Wi-Fi networks will appear. Select the Wi-Fi network you want to connect to and enter the password if prompted. Once connected, your PC will have access to the internet via the Wi-Fi network.
Next, you’ll need to connect your tablet to the same Wi-Fi network. On your tablet, navigate to the Settings menu and tap on the Wi-Fi option. A list of available Wi-Fi networks will be displayed. Select the same Wi-Fi network that you connected your PC to. Enter the password if required, and your tablet will establish a connection to the Wi-Fi network.
It’s important to ensure that both your PC and tablet are connected to the same Wi-Fi network for successful file transfer. This allows the devices to communicate with each other seamlessly, ensuring a smooth transfer process. Once both devices are connected to the same network, you can proceed to the next steps to initiate the file transfer process.
Step 2: Enable file sharing on your PC
To transfer files from your PC to your tablet, you’ll need to enable file sharing on your computer. This allows your tablet to access and retrieve files from your PC over the Wi-Fi network. The method for enabling file sharing may vary depending on whether you’re using a Windows PC or a Mac. Let’s walk through the steps for both operating systems.
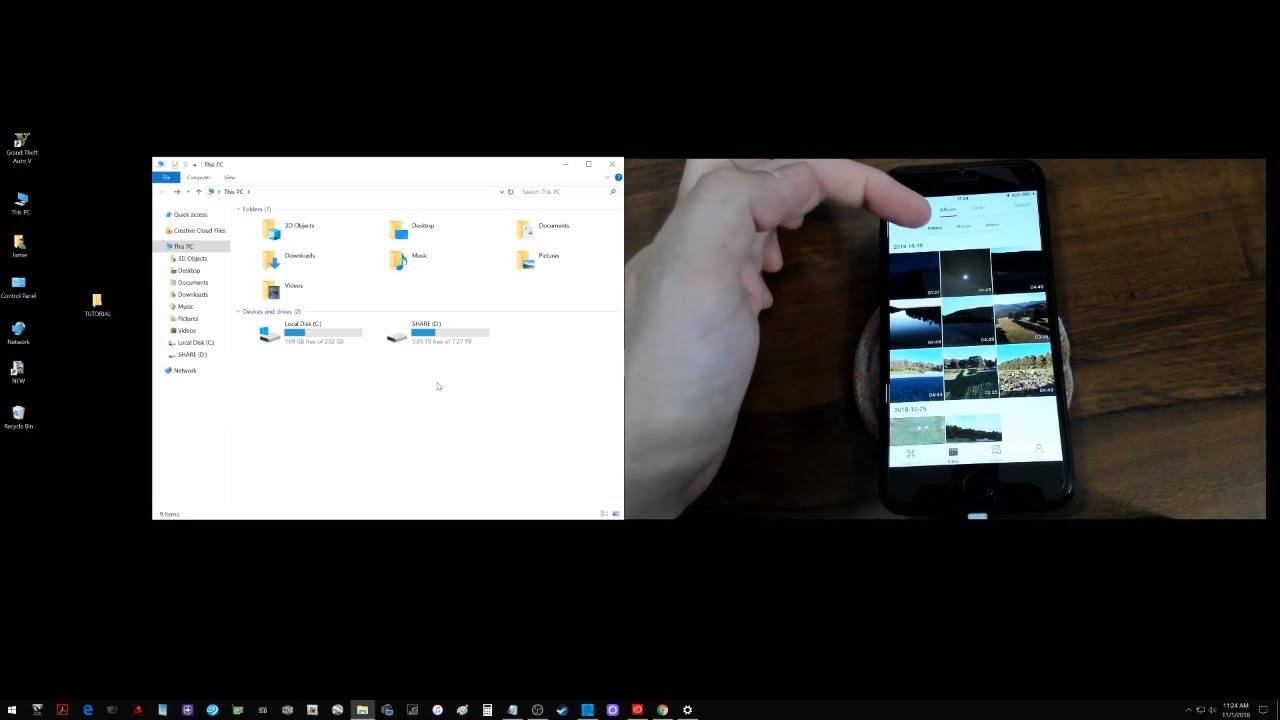
For Windows users, start by opening the File Explorer on your computer. Right-click on the folder or file that you want to share and select “Properties” from the context menu. In the Properties window, navigate to the “Sharing” tab and click on the “Advanced Sharing” button. Check the box that says “Share this folder” and click on the “Permissions” button to set the sharing permissions. Once you’ve configured the sharing settings, click “OK” to save the changes. Your PC is now set up for file sharing.
Mac users can enable file sharing by opening the System Preferences from the Apple menu. Click on the “Sharing” icon, and you’ll see a list of sharing options. Check the box next to “File Sharing” to activate it. You can then choose which folders or files you want to share by clicking on the “+” button and selecting the desired items. Customize the sharing permissions for each item if needed. Once you’ve set up file sharing, click “Options” to adjust additional settings such as access for specific users. Click “Done” to save the changes.
Enabling file sharing on your PC is a crucial step for transferring files to your tablet. By activating file sharing, you grant your tablet access to specific folders or files on your PC, making it possible to retrieve and transfer them wirelessly. With file sharing enabled, you can move on to the next step and install a file transfer app on your tablet.
Step 3: Install a file transfer app on your tablet
To facilitate the file transfer process between your PC and tablet, you’ll need to install a file transfer app on your tablet. There are several options available, depending on the operating system of your tablet. Let’s explore two popular choices: ES File Explorer for Android tablets and FileApp for iPads.
For Android tablet users, ES File Explorer is a highly recommended file transfer app. It offers a user-friendly interface and a wide range of features that make transferring files a breeze. To install ES File Explorer, open the Google Play Store on your tablet and search for “ES File Explorer”. Locate the app in the search results and tap on “Install” to begin the installation. Once the app is installed, you’re ready to move to the next step.
iPad users can opt for FileApp, a versatile file management app that enables easy file transfer. To install FileApp, open the App Store on your iPad and search for “FileApp”. Select the app from the search results and tap on “Get” to initiate the installation. Once the installation is complete, you can proceed to the next step in the file transfer process.
Installing a file transfer app on your tablet is essential to facilitate the seamless transfer of files between your PC and tablet. These apps provide a user-friendly interface and a range of features that make file management and transfer a smooth experience. With the file transfer app installed, you’re now ready to open it on your tablet and establish a connection with your PC.
Step 4: Open the file transfer app on your tablet
Now that you’ve installed a file transfer app on your tablet, it’s time to open the app and prepare it for the file transfer process. Locate the app icon on your tablet’s home screen or app drawer and tap on it to launch the app.
Once the file transfer app is open, you’ll be greeted with a user-friendly interface that allows you to navigate through your tablet’s files and folders. Depending on the app you’ve installed, you may see different sections or tabs, such as “Local” for accessing files on your tablet and “Network” for connecting to remote devices.
Take a moment to familiarize yourself with the layout and features of the file transfer app. You’ll likely find options to browse through files, create new folders, search for specific files, and more. Some apps may even offer additional features like file compression, cloud storage integration, or media playback.
To proceed with the file transfer process, you’ll need to establish a connection between your tablet and your PC. The file transfer app will provide options for connecting to your PC via Wi-Fi or by entering an IP address. Follow the instructions provided by the app to establish the connection method appropriate for your PC.
Opening the file transfer app on your tablet is a crucial step in the file transfer process. It allows you to access and manage the files on your tablet and prepares the app to establish a connection with your PC. With the app open and ready, you’re now one step closer to transferring files from your PC to your tablet.
Step 5: Access your PC from your tablet
Now that you have the file transfer app open on your tablet, it’s time to establish a connection with your PC. This will allow you to access and retrieve files from your PC right from your tablet. Follow the steps below to access your PC from your tablet.
1. In the file transfer app, navigate to the “Network” or “Connect” section, depending on the app you are using.
2. Look for an option to “Add a new device” or “Connect to PC.” Tap on this option to proceed.
3. The app will search for available devices on the network. Select your PC from the list of available devices. It may take a moment for the app to detect your PC.
4. Once the app has connected to your PC, you will see a list of shared folders or files on your PC. You can now browse through your PC’s files and folders right from your tablet.
5. To access a specific file or folder on your PC, simply tap on it. The file transfer app will display its contents or allow you to download it directly to your tablet.
With the connection established between your tablet and your PC, you can now access your PC’s files and folders conveniently from your tablet. This efficient method of accessing your PC remotely eliminates the need to manually transfer files using external storage devices or cloud services.
Step 6: Choose the files you want to transfer
Once you have successfully accessed your PC from your tablet using the file transfer app, you can now choose the files you want to transfer. This step allows you to select specific documents, photos, videos, or any other files that you wish to move from your PC to your tablet. Follow the instructions below to choose the files you want to transfer.
1. In the file transfer app on your tablet, navigate to the folder on your PC that contains the files you want to transfer. You may need to explore different directories or use the search function to find specific files.
2. Once you have located the desired files, tap on them to select them. Most file transfer apps allow you to select multiple files at once by tapping on each file individually or using checkboxes to select multiple files.
3. If you want to transfer an entire folder, look for an option to select the folder itself. This will automatically select all the files contained within the folder.
4. After selecting the files you want to transfer, you may have additional options such as renaming the files, creating a new folder on your tablet to store the transferred files, or specifying the destination folder on your tablet.
5. Double-check your selection to ensure that you have chosen all the necessary files for transfer. If you need to make any changes, you can deselect files and select others as needed.
By following these steps, you can selectively choose the files you want to transfer from your PC to your tablet. This allows you to transfer specific files or folders rather than transferring the entire contents of your PC. Once you have made your selections, you are ready to proceed to the final step of transferring the files to your tablet.
Step 7: Transfer the files to your tablet
Now that you have chosen the files you want to transfer from your PC to your tablet, it’s time to initiate the file transfer process. Follow the steps below to transfer the selected files to your tablet using the file transfer app.
1. In the file transfer app on your tablet, look for a “Transfer” or “Download” button. This button may have an icon that represents file transfer, such as an arrow pointing from a PC to a tablet.
2. Tap on the “Transfer” or “Download” button to initiate the file transfer process. The app will begin transferring the selected files from your PC to your tablet.
3. Depending on the size and number of files, the transfer process may take some time. The progress of the transfer will be displayed on the screen, and you may see a notification or a progress bar indicating the status of the transfer.
4. Once the transfer is complete, you will receive a confirmation message or notification. The transferred files will now be available on your tablet, ready for you to access, view, or use.
5. If you have transferred files to a specific folder on your tablet, navigate to that folder in the file transfer app or your tablet’s file manager to locate the transferred files.
By following these steps, you can successfully transfer the selected files from your PC to your tablet. The file transfer app will handle the process, ensuring that the files are transferred accurately and efficiently. Now you can enjoy having the files readily available on your tablet, whether it’s for work, entertainment, or personal use.
Conclusion
Transferring files from your PC to your tablet via Wi-Fi opens up a world of convenience and accessibility. With just a few simple steps, you can seamlessly move documents, photos, videos, and other files from your computer to your tablet, eliminating the need for cables or external storage devices. This method allows you to access your files on the go, whether you’re traveling, working remotely, or simply relaxing at home.
In this article, we have explored the step-by-step process of transferring files from your PC to your tablet. We discussed the importance of connecting your PC and tablet to the same Wi-Fi network to ensure a successful transfer. Enabling file sharing on your PC and installing a file transfer app on your tablet were essential steps in preparing both devices for seamless file transfer. By accessing your PC from your tablet and choosing the specific files you want to transfer, you have full control over what you bring over to your tablet.
Transferring files from your PC to your tablet offers numerous benefits. It allows you to carry essential documents for work or personal use without the need for physical storage devices. You can easily access important files, such as presentations, spreadsheets, or contracts, right from your tablet. Additionally, transferring media files like photos, videos, and music enhances your entertainment experience, allowing you to enjoy your favorite media on a larger screen.
Remember, the file transfer process may vary depending on the operating systems of your PC and tablet. It is important to choose a reliable file transfer app that is compatible with your devices. Follow the steps outlined in this article, modify them to suit your specific devices and requirements, and enjoy the convenience of transferring files from your PC to your tablet via Wi-Fi.
Whether you’re a professional on the go, a student with assignments to complete, or a casual user seeking entertainment options, transferring files from your PC to your tablet via Wi-Fi is a powerful tool. Embrace the freedom and flexibility of accessing your files whenever and wherever you need them with this simple and efficient file transfer method.


