Introduction
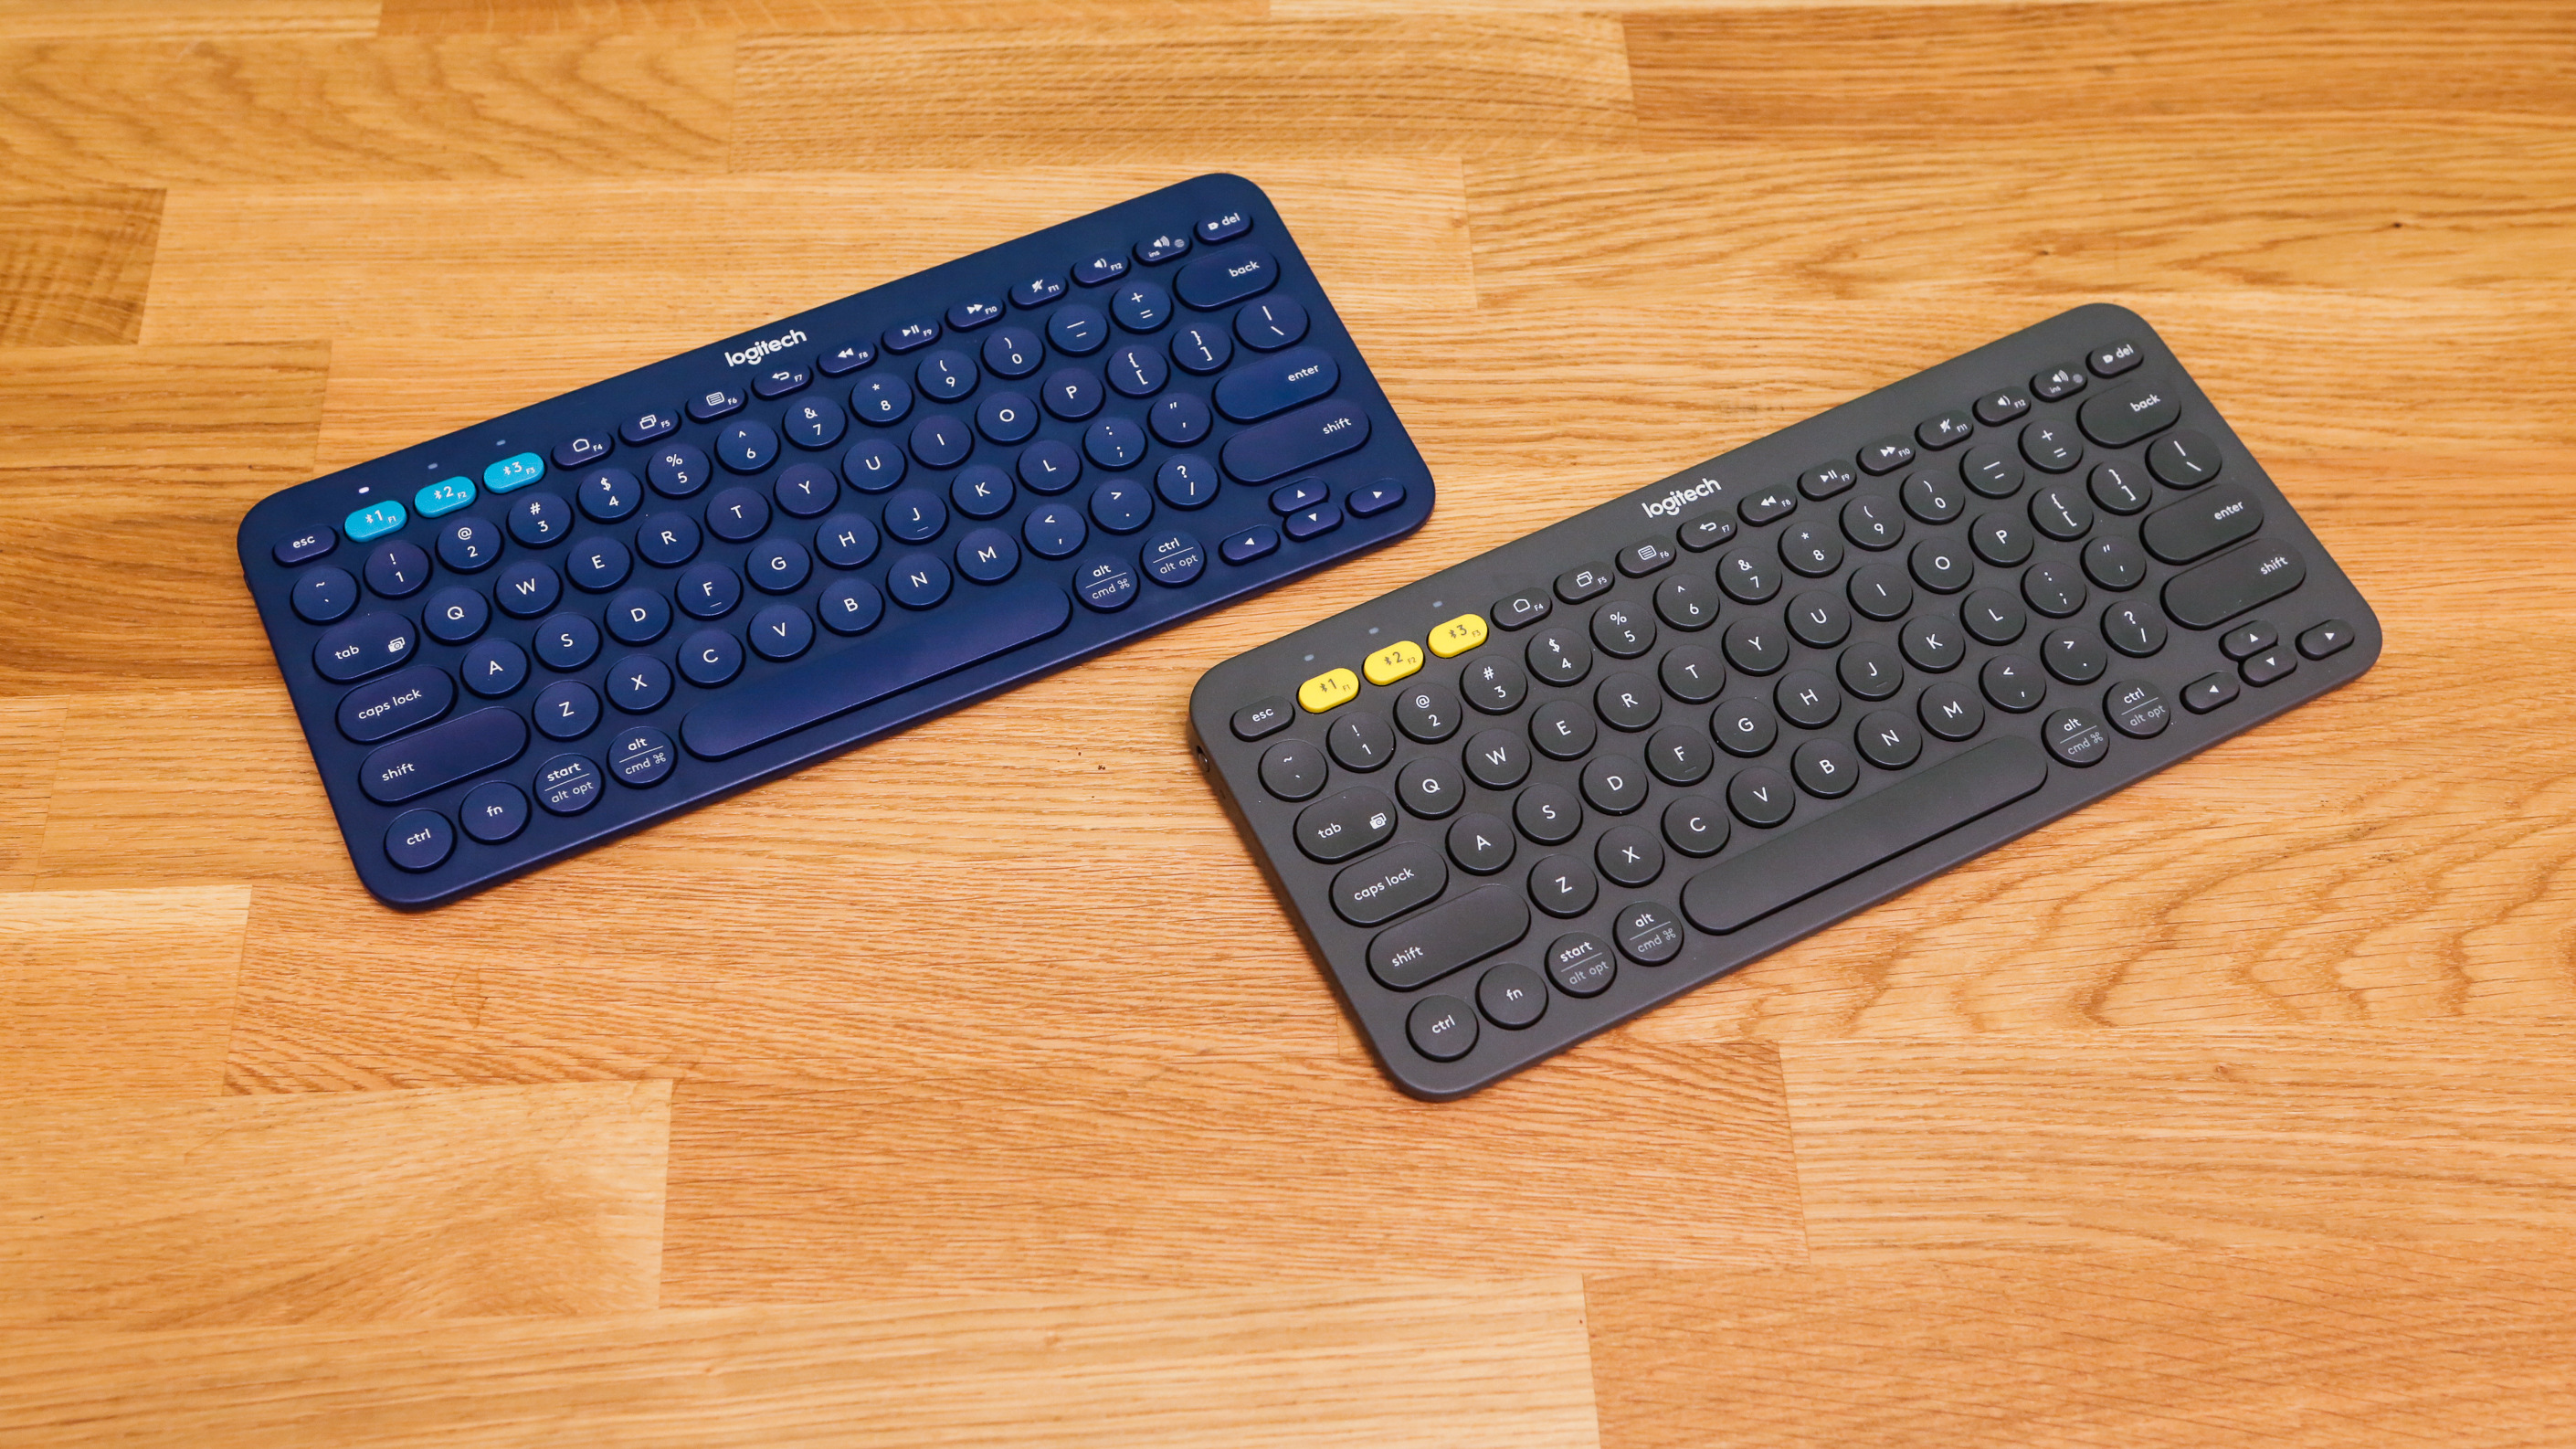
Logitech Keyboard K360 is a popular wireless keyboard known for its compact design, responsive keys, and reliable performance. Whether you are a professional needing to capture and share screenshots for work, or simply want to save a memorable moment on your computer, knowing how to take a screenshot can be incredibly useful. In this article, we will explore two methods for taking screenshots on the Logitech Keyboard K360.
In the first method, we will utilize the traditional “Print Screen” button on the keyboard. This method is straightforward and can be easily used by anyone familiar with basic keyboard functions. The second method involves using the Logitech SetPoint software, which allows you to customize the keyboard’s function keys, including the Print Screen button, to take screenshots with a single key press.
Whether you prefer the simplicity of the traditional method or the customization options of the Logitech SetPoint software, this article will guide you through the step-by-step instructions for both methods. So, let’s dive in and learn how to capture high-quality screenshots with your Logitech Keyboard K360.
Method 1: Using the Print Screen Button
If you prefer a quick and straightforward method to capture screenshots, the Print Screen button on your Logitech Keyboard K360 can be your go-to option. This method allows you to capture the entire screen and save it as an image file. Follow these simple steps:
Step 1: Locate the “Print Screen” Button
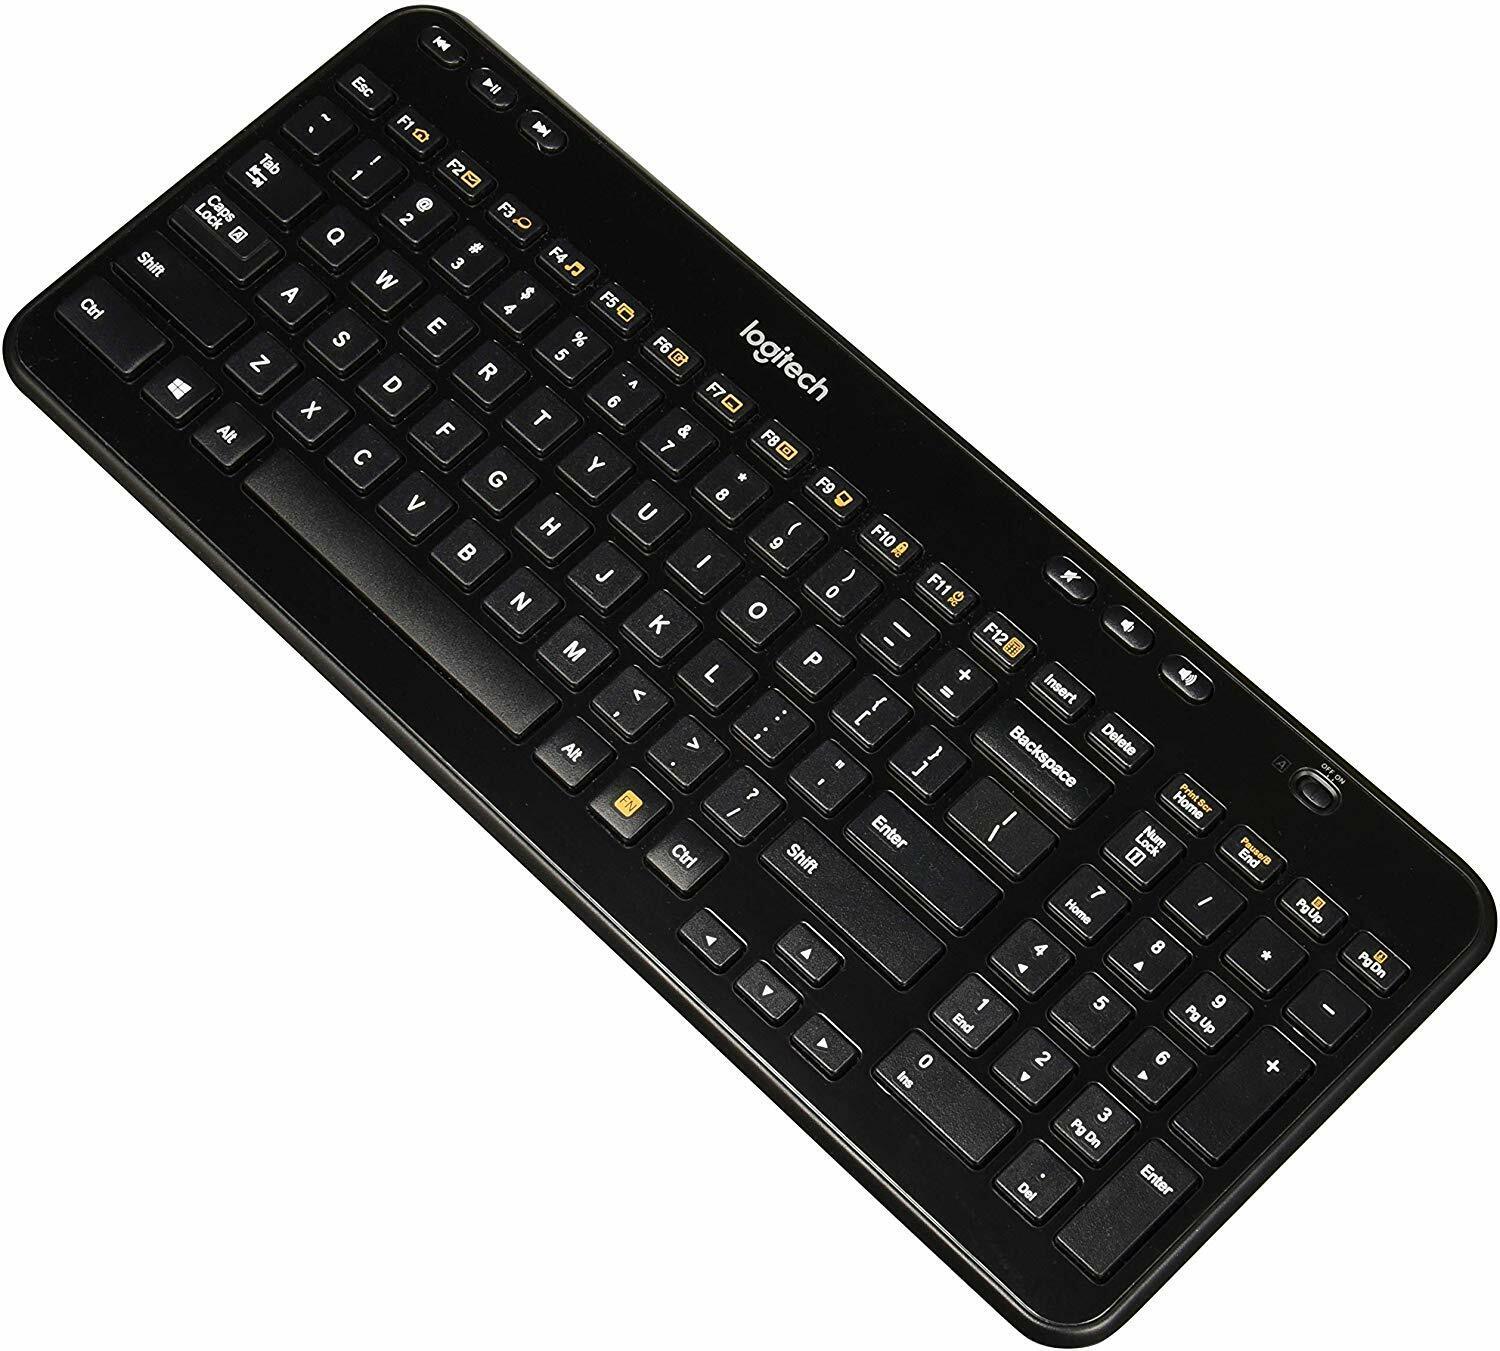
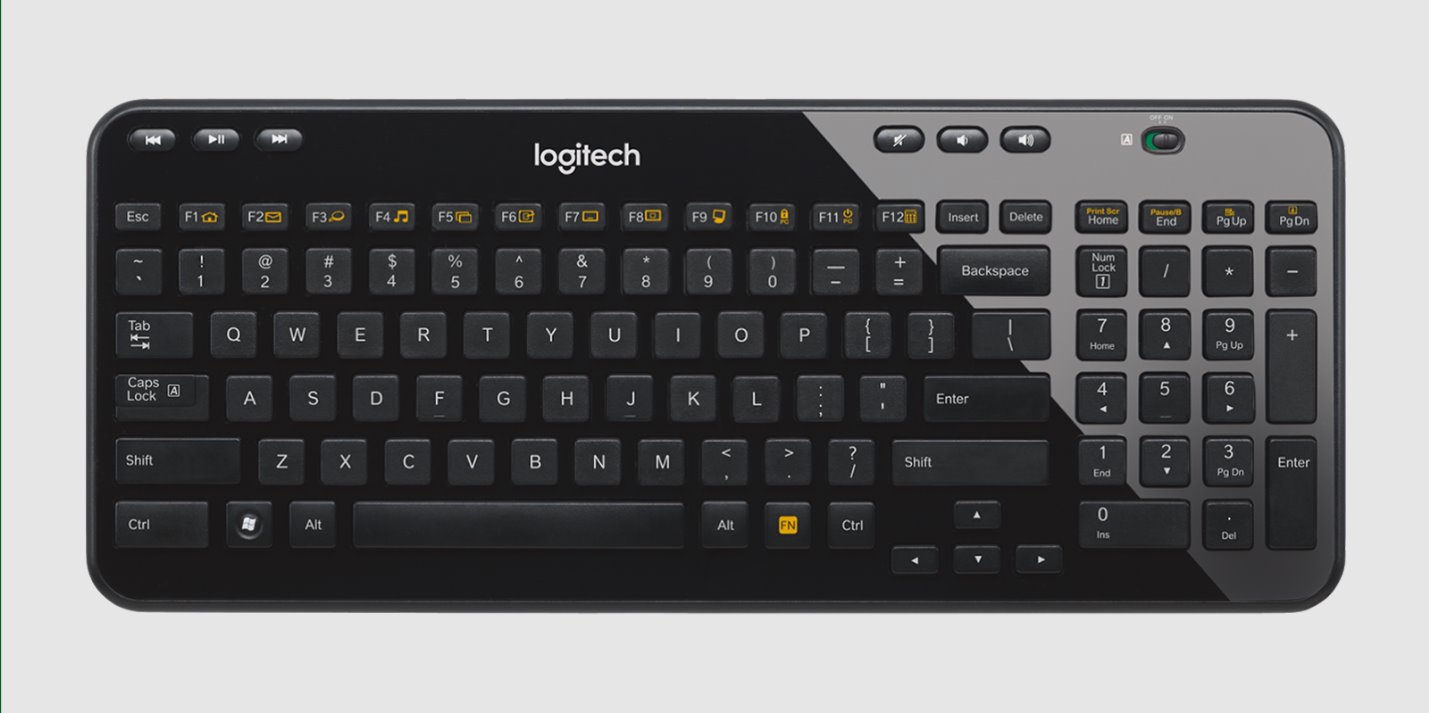
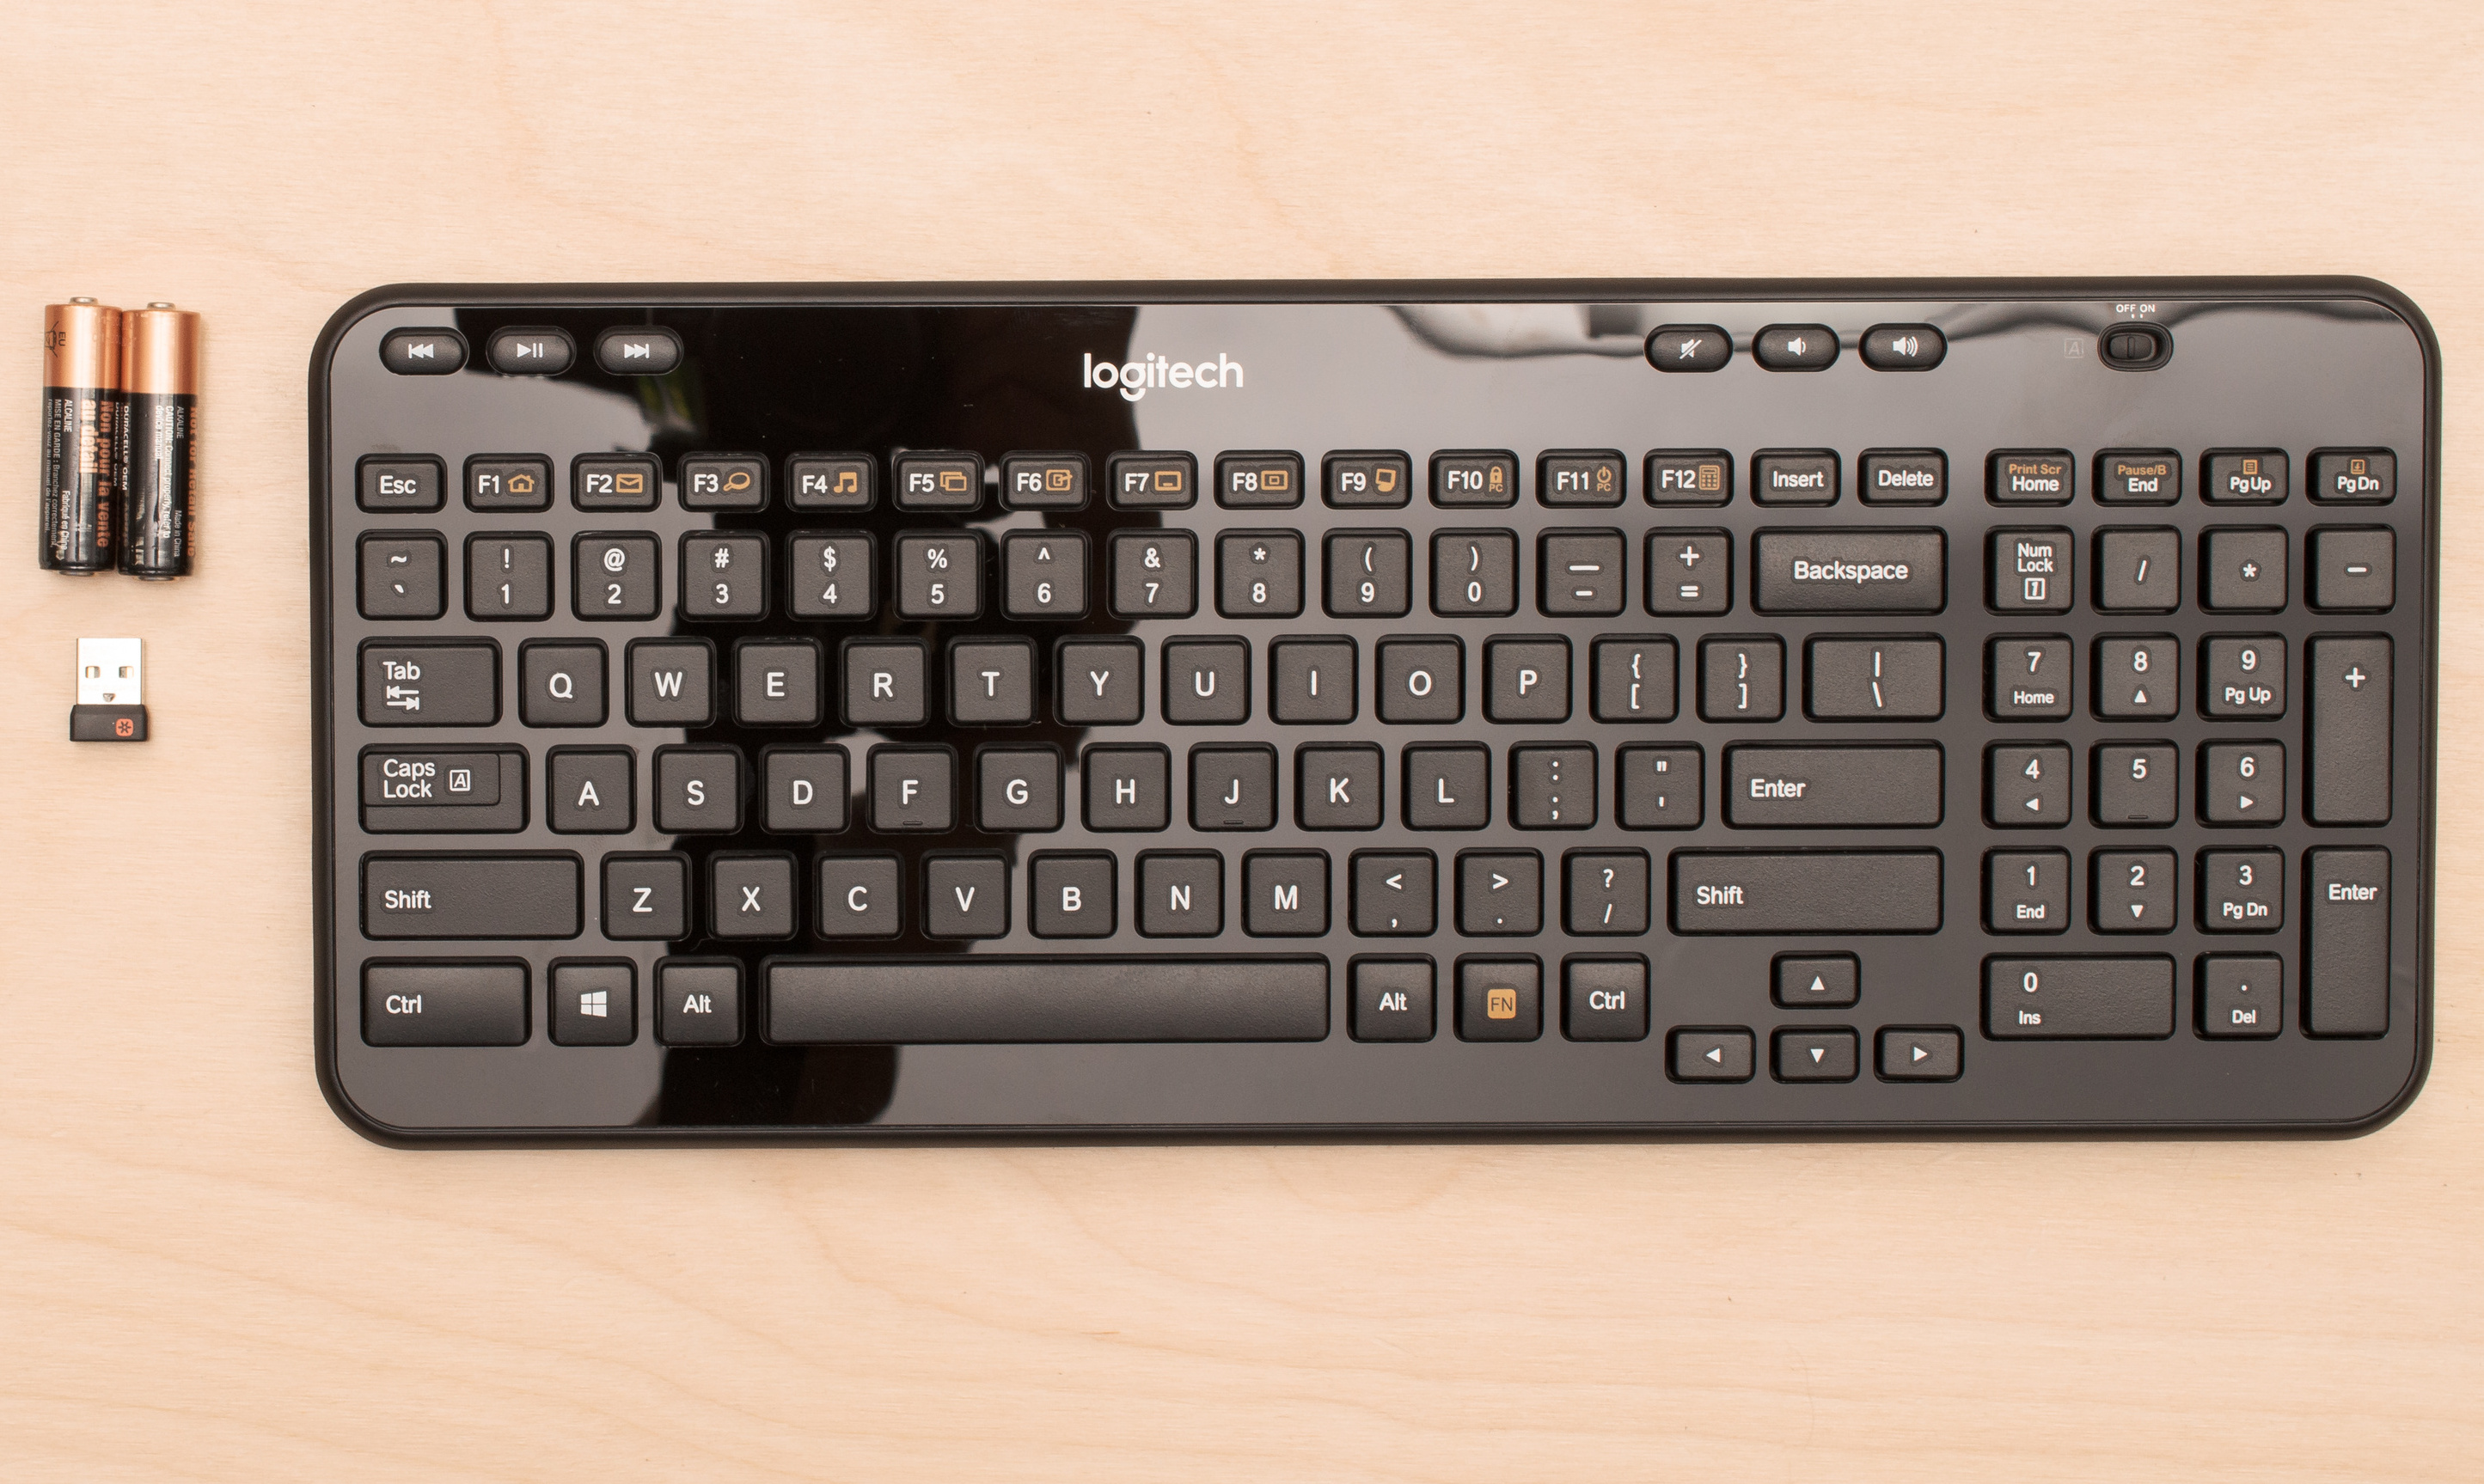
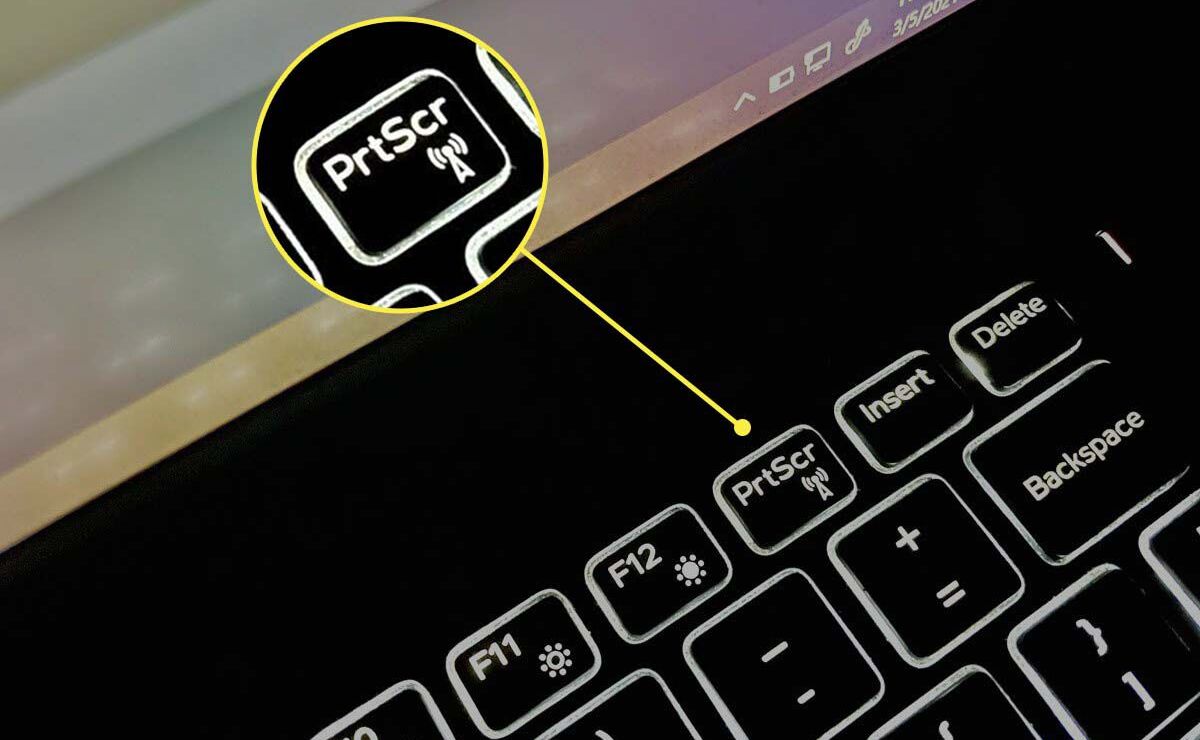
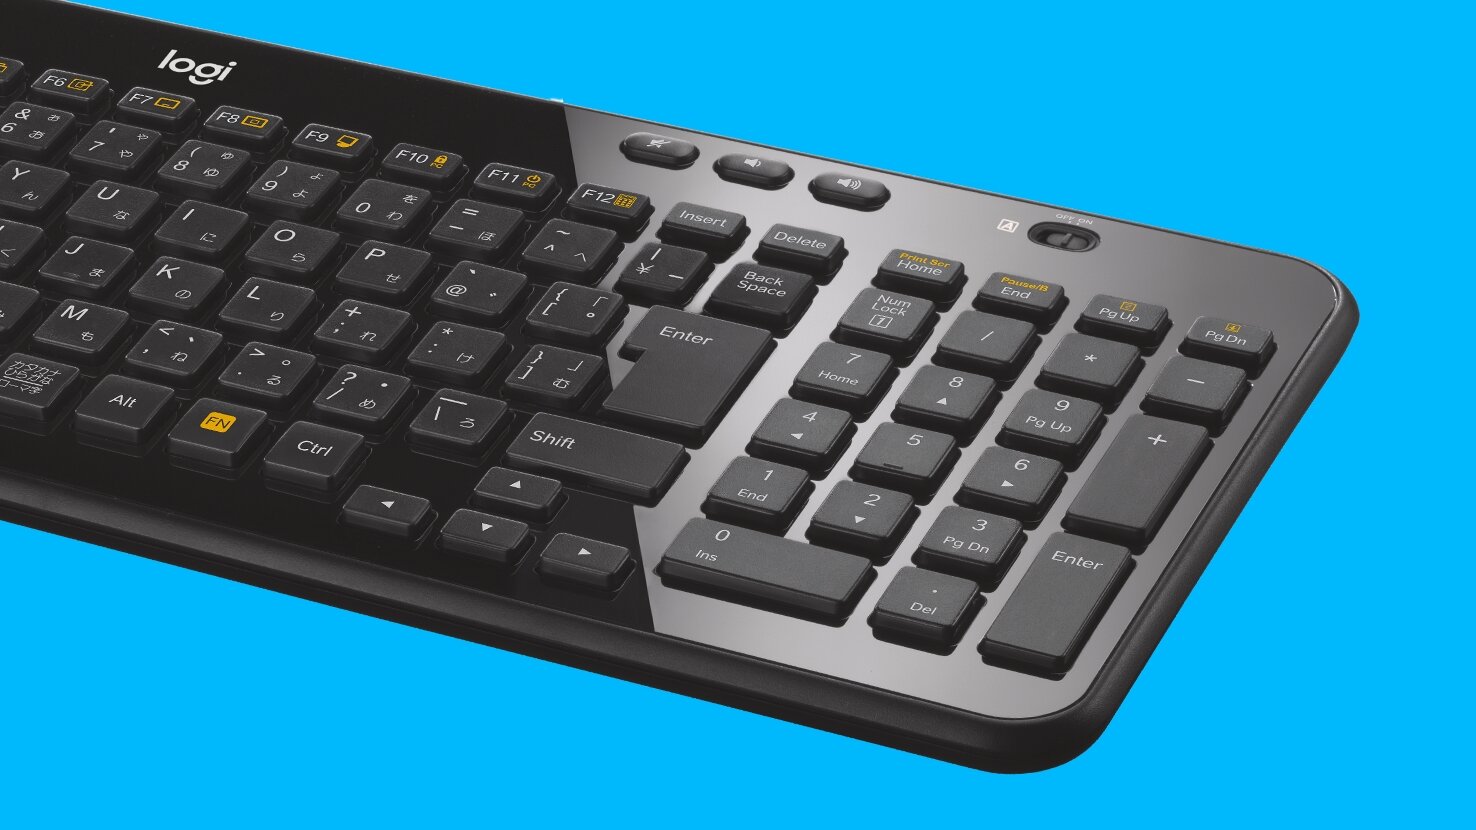
The Print Screen button is usually located in the top-right corner of your keyboard, labeled as “PrtScn” or “Print Scr”. Locate this button and familiarize yourself with its position.
Step 2: Take the Screenshot
To capture a screenshot using the Print Screen button, press the button once. You won’t notice any immediate visual indication that the screenshot has been taken, but rest assured, it has been saved to your clipboard.
Open an image editing software like Microsoft Paint, Adobe Photoshop, or even simple built-in applications like Paint 3D on Windows or Preview on macOS. Create a new file or open an existing one, then paste the screenshot by pressing “Ctrl + V” (or right-click and select “Paste”). The screenshot will be pasted onto the canvas, and you can save it as an image file of your choice.
Alternatively, if you are using an online platform or software that accepts direct image paste, such as an email client or messaging application, you can simply paste the screenshot directly into the text box or conversation window without the need for an image editing software.
This method is efficient for capturing the entire screen, including any open windows or applications. However, if you wish to capture only a specific region of the screen, or a single window, you may want to explore the second method using Logitech SetPoint software.
Step 1: Locate the “Print Screen” Button
Before learning how to take a screenshot using the Print Screen button on your Logitech Keyboard K360, it is essential to locate the button on your keyboard. While the exact placement and labeling of the Print Screen button may differ slightly depending on the keyboard model, it is typically found in the top-right corner.
Look for a key labeled “PrtScn” or “Print Scr”, usually situated near the Scroll Lock and Pause/Break keys. The Print Screen button is usually marked with a camera icon or the abbreviation “Prnt Scrn”. It may be necessary to use the function (Fn) key or an additional modifier key to access the Print Screen function on some keyboards.
If you are unable to locate the Print Screen button on your Logitech Keyboard K360, consult the user manual or refer to Logitech’s official documentation for further assistance. Additionally, you can search online for images or diagrams specific to your keyboard model to identify the exact location of the Print Screen button.
Once you have identified the Print Screen button, take note of its position for future reference. Becoming familiar with the button’s location will allow you to effortlessly capture screenshots whenever needed.
Remember, the Print Screen button can be a valuable tool for quickly capturing images of your screen, whether you want to capture an entire webpage, a document, or a piece of artwork. In the next step, we will explore how to use the Print Screen button to capture screenshots on your Logitech Keyboard K360.
Step 2: Take the Screenshot
Once you have located the Print Screen button on your Logitech Keyboard K360, capturing a screenshot is a breeze. Follow these simple steps to take a screenshot using the Print Screen button:
1. Ensure that the content you wish to capture is visible on your screen. This can be a webpage, document, software interface, or anything else you want to capture.
2. Once you have positioned the content, press the Print Screen button on your Logitech Keyboard K360. You won’t see any visual feedback or indication that the screenshot has been taken, but rest assured, it has been saved to your clipboard.
3. Now, open the image editing software of your choice. It can be a simple application like Microsoft Paint, more advanced software like Adobe Photoshop, or any other software you prefer to use for editing images. Create a new file or open an existing one.
4. To paste the screenshot from the clipboard, use the keyboard shortcut “Ctrl + V” (or right-click and select “Paste”). The screenshot will be pasted onto the canvas of your image editing software.
5. Finally, save the screenshot as an image file by clicking on the “Save” option in the software’s menu. Choose a filename, select the desired file format (such as JPEG or PNG), and specify the location where you want to save the screenshot on your computer.
That’s it! You have successfully taken a screenshot using the Print Screen button on your Logitech Keyboard K360. The saved image file can now be easily shared, attached to emails, or used in any way you see fit.
Remember, the Print Screen button captures the entire screen, including all open windows and applications. If you want to capture only a specific region of the screen or a single window, consider using alternative methods such as the Snipping Tool on Windows or the Grab application on macOS.
Now that you know how to take a screenshot using the Print Screen button, let’s explore an alternative method that provides more customization options and convenience using the Logitech SetPoint software.
Method 2: Using Logitech SetPoint Software
If you prefer a more customizable approach to taking screenshots on your Logitech Keyboard K360, you can utilize the Logitech SetPoint software. This software allows you to assign different functions to the keyboard’s function keys, including the Print Screen button. By configuring the Print Screen button, you can capture screenshots with a single key press. Here’s how you can use Logitech SetPoint software to capture screenshots:
Step 1: Install and Open Logitech SetPoint Software
To begin, make sure you have the Logitech SetPoint software installed on your computer. If you don’t already have it installed, you can download it from the Logitech website. Once installed, open the application to access the configuration settings.
Step 2: Configure the Print Screen Button
Within the Logitech SetPoint software, locate the section where you can customize the keyboard settings. This may be labeled as “Keyboard Settings,” “Key Assignment,” or similar. Look for the option to assign specific functions to the keyboard’s function keys.
Find the Print Screen button in the list of function keys and select it. You should see a drop-down menu or an option to assign a new function. Choose the option for taking a screenshot, which may be labeled as “Screenshot” or “Capture Screen,” depending on the software version.
Step 3: Take the Screenshot
With the Print Screen button now assigned the function of taking a screenshot, you can capture screenshots with ease. Position the content you want to capture on your screen, such as a webpage, image, or document.
When you’re ready to take a screenshot, simply press the Print Screen button on your Logitech Keyboard K360. The SetPoint software will automatically capture the screen and save it as an image file.
By using the Logitech SetPoint software, you have the advantage of customizing the function key to suit your specific needs. If you find the default key assignment for screenshot capture is not to your liking, you can easily reconfigure it to match your preferences.
With the Logitech SetPoint software, you can streamline the process of taking screenshots, allowing you to capture important information or moments with just a single key press. Experiment with the software’s other customization options to further enhance your keyboard experience.
Now that you’ve learned how to use both the Print Screen button and Logitech SetPoint software, you have two reliable methods for capturing screenshots on your Logitech Keyboard K360. Choose the method that best suits your preferences and needs. Happy screenshotting!
Step 1: Install and Open Logitech SetPoint Software
Before you can take advantage of the customization options for the Print Screen button on your Logitech Keyboard K360, you need to have the Logitech SetPoint software installed on your computer. This software provides enhanced functionality and allows you to configure the keyboard’s function keys according to your preferences. Follow these steps to install and open Logitech SetPoint:
1. Visit the official Logitech website and navigate to the Support or Downloads section. Look for the appropriate software related to your Logitech Keyboard K360 model. Ensure that you download the latest version of the SetPoint software for compatibility and optimal performance.
2. Once the software is downloaded, locate the installation file in your computer’s Downloads folder or the location where you saved it. Double-click on the file to initiate the installation process.
3. Follow the on-screen prompts to proceed with the installation. The process may require you to agree to the software’s terms and conditions and select the desired installation options. It is recommended to leave the default settings unless you have specific requirements.
4. Once the installation is complete, you can find the Logitech SetPoint software in your computer’s Start menu or in the Applications folder on macOS. Launch the software by clicking on its icon.
5. Upon opening Logitech SetPoint, you will gain access to its configuration settings, where you can customize various aspects of your Logitech Keyboard K360, including the function keys.
6. Ensure that your Logitech Keyboard K360 is connected and recognized by the SetPoint software. This will allow you to modify the key assignments and take advantage of the screenshot functionality for the Print Screen button.
By installing and opening the Logitech SetPoint software, you are one step closer to customizing your keyboard and optimizing its functionality to suit your needs. The software offers additional features and settings that you can explore to enhance your typing and navigation experience.
Now that you have successfully installed and opened the Logitech SetPoint software, let’s move on to the next step to configure the Print Screen button and take screenshots effortlessly.
Step 2: Configure the Print Screen Button
Now that you have the Logitech SetPoint software installed and open, it’s time to configure the Print Screen button on your Logitech Keyboard K360. This step will allow you to assign the screenshot function to the button and customize its behavior. Follow these simple steps to configure the Print Screen button:
1. Within the Logitech SetPoint software, locate the section or menu where you can customize the keyboard settings. This may be labeled as “Keyboard Settings,” “Key Assignment,” or similar. Click on the appropriate option to access the key customization options.
2. Look for the Print Screen button in the list of function keys displayed within the software. It may be labeled as “PrtScn,” “Print Scr,” or similar. Select the Print Screen button by clicking on it.
3. After selecting the Print Screen button, you should see a drop-down menu or an option to assign a new function to the button. Look for the option related to taking a screenshot or capturing the screen. It may be named “Screenshot” or “Capture Screen,” depending on the specific version of the software.
4. Choose the option for taking a screenshot from the available options. This selection will configure the Print Screen button to capture the current screen as an image file when pressed.
5. Once you have assigned the desired functionality to the Print Screen button, you may have the option to customize additional settings related to capturing the screenshot. This can include options to save the screenshot directly to a specified location, adjusting the image quality, or choosing the file format, such as JPEG or PNG.
6. Save the settings or apply the changes within the Logitech SetPoint software to ensure that the configuration takes effect. This will finalize the customization of the Print Screen button for screenshot capturing on your Logitech Keyboard K360.
By configuring the Print Screen button through the Logitech SetPoint software, you have the flexibility to tailor the button’s behavior to meet your specific needs. Whether you require different screenshot formats, additional saving options, or other preferences, the software allows you to personalize your screenshot capturing process.
Now that you have successfully configured the Print Screen button, you’re ready to use it to capture screenshots with a single key press. In the next step, we will explore how to actually take the screenshot using the Print Screen button and the Logitech SetPoint software.
Step 3: Take the Screenshot
Now that you have configured the Print Screen button with the desired screenshot functionality using the Logitech SetPoint software, it’s time to actually capture the screenshot. Follow these steps to take a screenshot using the Print Screen button on your Logitech Keyboard K360:
1. Position the content you want to capture on your screen. This can be a webpage, a document, an image, or any other content that you wish to save as a screenshot.
2. Once the content is ready, simply press the Print Screen button on your Logitech Keyboard K360. The SetPoint software will spring into action and capture the entire screen, including all open windows and applications.
3. The screenshot will be automatically saved as an image file, following the configurations you set up in the Logitech SetPoint software. The file format and saving location, along with any other specified preferences, will determine how the screenshot is saved.
4. To access the captured screenshot, navigate to the designated saving location on your computer. This could be the default pictures folder or any other folder you specified during the configuration process. Locate the saved image file with a filename that reflects the time or date of the screenshot capture.
5. You can now use the captured screenshot for various purposes. It can be shared with others via email, social media, or messaging apps. You can also edit the screenshot using an image editing software, annotate it, or use it for documentation, presentations, or any other relevant use.
By taking advantage of the Print Screen button, coupled with the configurations made in the Logitech SetPoint software, you have the ability to capture screenshots quickly and efficiently.
Remember that the Print Screen button captures the entire screen, including all visible content. If you want to capture a specific region or a single window, consider exploring additional screenshot shortcuts or software options, such as the Snipping Tool on Windows or the Grab application on macOS.
Congratulations! You have successfully taken a screenshot using the Print Screen button and the Logitech SetPoint software on your Logitech Keyboard K360. Enjoy the ease and convenience of capturing valuable moments or important information with just a single key press.
Conclusion
Learning how to take a screenshot on your Logitech Keyboard K360 can greatly enhance your ability to capture and share important information, moments, or creative work. We explored two methods in this article: using the Print Screen button and utilizing the Logitech SetPoint software for customization.
The Print Screen button, a convenient and universal feature on keyboards, allows you to capture the entire screen with a single press. By simply pressing the Print Screen button and pasting the captured image into an editing software, you can easily save and share your screenshots.
For more customization and convenience, the Logitech SetPoint software offers extensive options. By configuring the Print Screen button through the software, you can assign specific screenshot functionalities and personalize various settings according to your preferences.
Both methods enable you to capture screenshots effortlessly, providing you with a powerful tool for work, communication, and creativity. Choose the method that suits your needs and enjoy the convenience of capturing and saving valuable content with ease.
Remember, practice makes perfect when it comes to taking screenshots. Experiment with both methods and explore additional features offered by your operating system or other software tools to further refine your screenshot-taking process.
Now that you have learned how to take screenshots on your Logitech Keyboard K360, you have the freedom to capture and share important moments, create stunning visuals, and improve your productivity. Embrace the power of screenshots and unlock new possibilities in your digital journey.