Introduction
Google Calendar is a widely used web-based application that allows users to easily organize and manage their schedule, events, and appointments. Whether you’re an individual managing your personal life or a professional coordinating meetings and projects, Google Calendar can be a valuable tool.
With its user-friendly interface and powerful features, Google Calendar provides an efficient way to keep track of important dates, set reminders, and seamlessly share your schedule with others. In this article, we will guide you through the process of setting up a Google Calendar, creating events, and most importantly, sharing your calendar with others.
Sharing your Google Calendar not only enables you to collaborate and coordinate with colleagues, friends, and family members, but also helps you stay organized and up to date with other people’s schedules. By sharing and syncing calendars, you can avoid scheduling conflicts and ensure seamless communication and collaboration.
Whether you’re coordinating a team project, planning a family reunion, or simply trying to keep track of your personal schedule, sharing your Google Calendar can greatly enhance your productivity and efficiency. In the following sections, we will delve into the step-by-step process of setting up a Google Calendar, creating events, and sharing your calendar, while also exploring the different access permissions and options available.
Setting up a Google Calendar
Setting up a Google Calendar is a straightforward process that begins with creating a Google Account. If you already have a Google Account, you can skip this step and proceed to accessing your Google Calendar.
To create a Google Account, visit the Google Account creation page and provide the necessary information, including your name, email address, password, and phone number. Once you’ve completed the account creation process, you will have access to a variety of Google services, including Google Calendar.
To access your Google Calendar, follow these steps:
- Go to the Google Calendar website or open the Google Calendar app on your mobile device.
- Sign in with your Google Account credentials.
- If you’re using the website, you will be directed to the Calendar interface. If you’re using the app, you may need to navigate to the Calendar section.
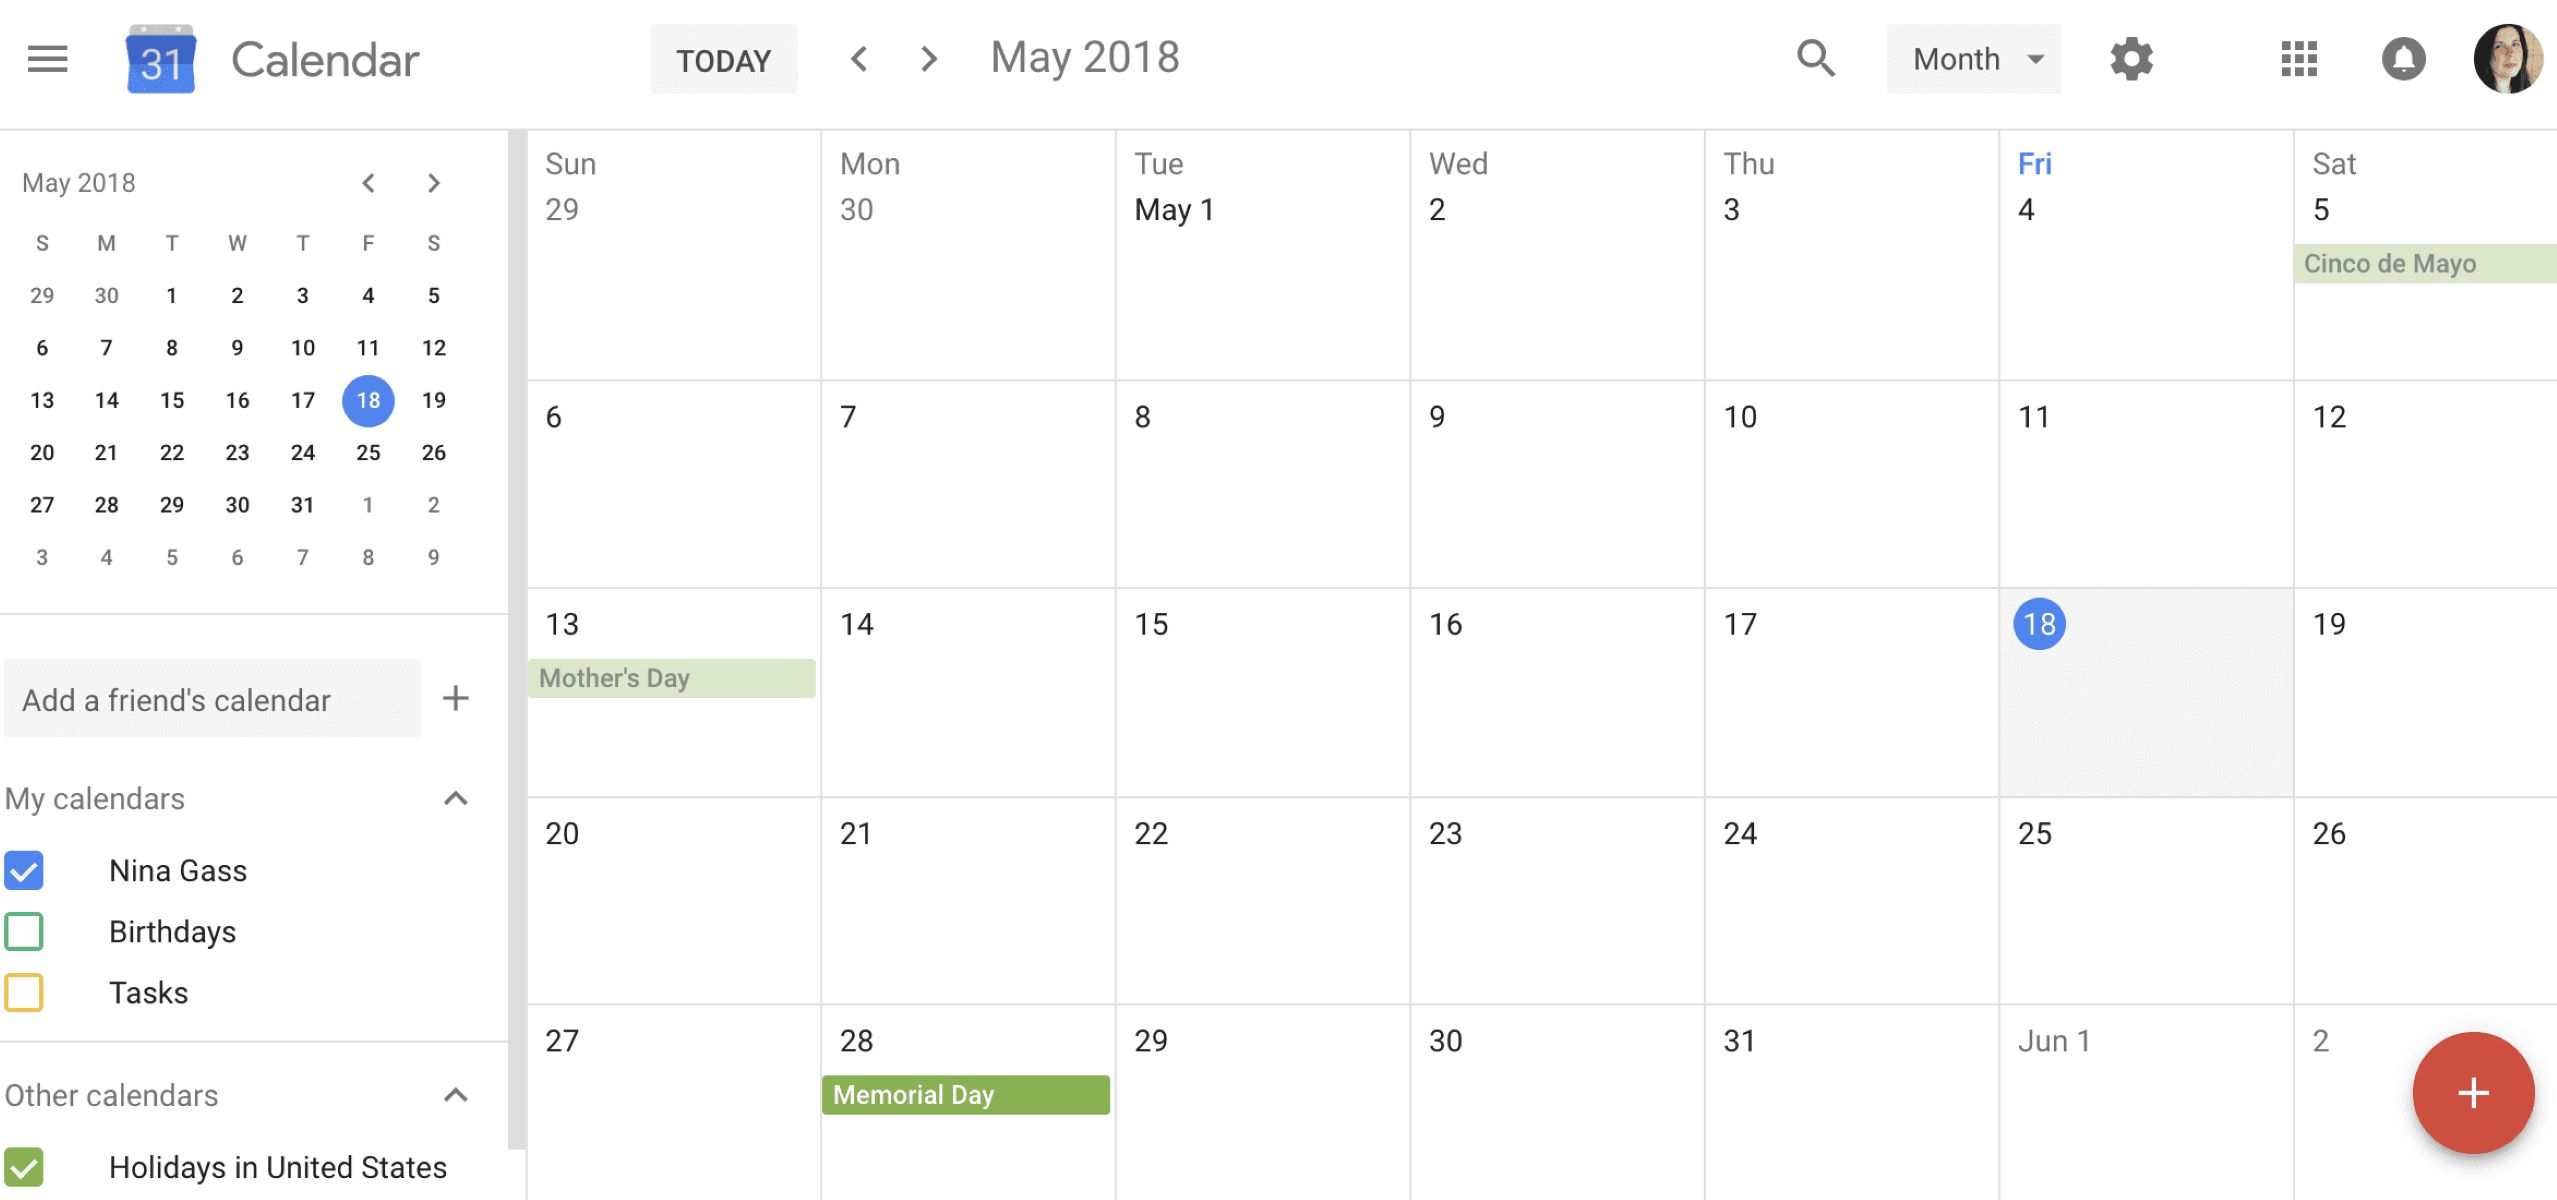
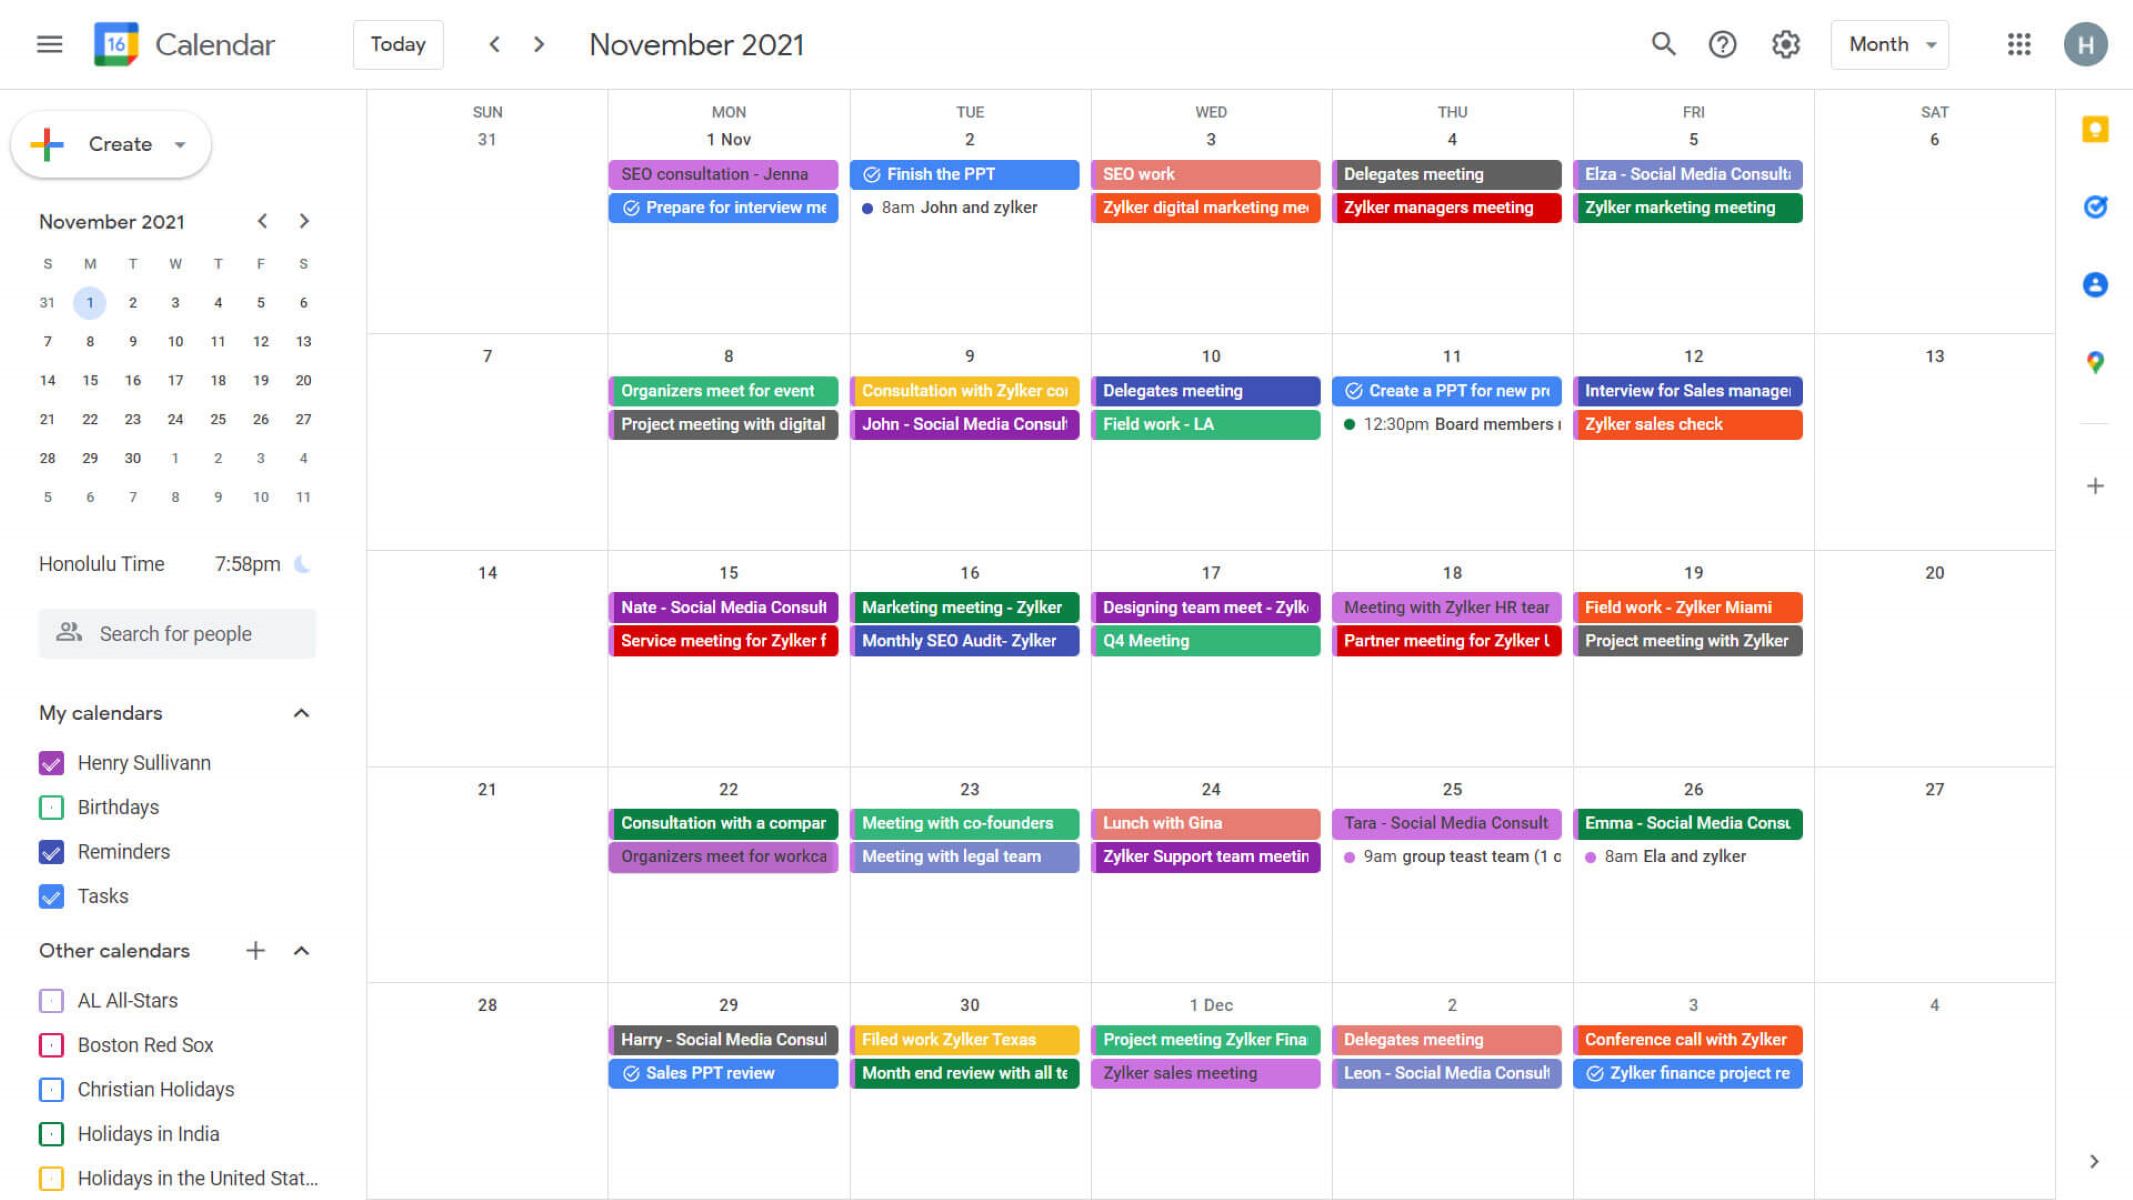
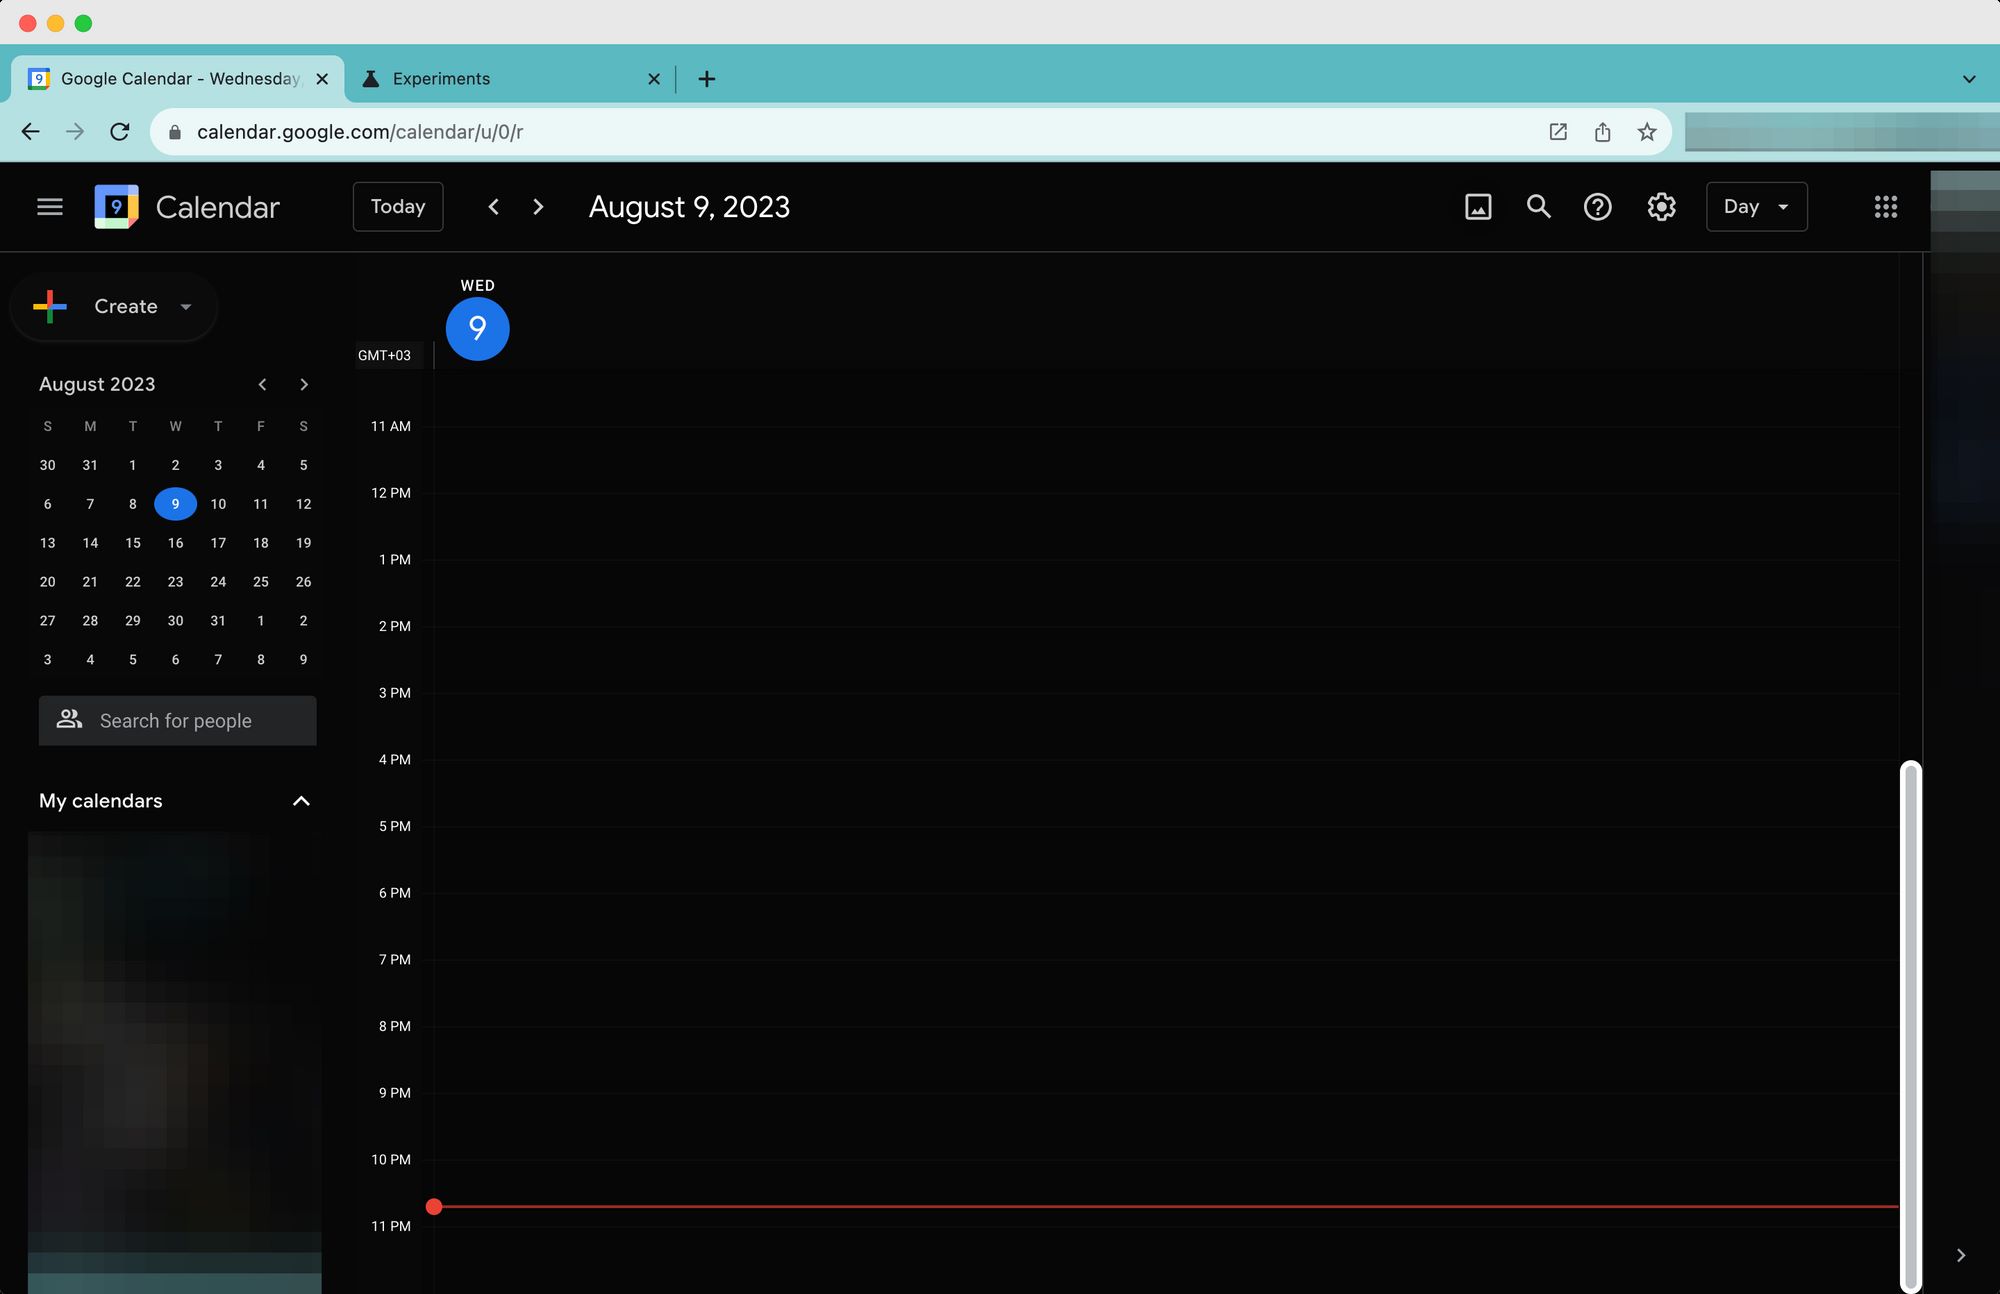
Once you’ve accessed your Google Calendar, you can start customizing it to fit your needs. You can choose the display format, set your time zone, and configure other settings to personalize your calendar. Additionally, you can explore the various features and options available, such as notifications, event reminders, and integration with other Google services.
Creating a Google Calendar is especially useful if you have multiple calendars for different purposes. For example, you can create separate calendars for work-related events, personal appointments, and even shared family calendars.
By organizing your events and activities into different calendars, you can easily manage and switch between them, ensuring that you stay focused and updated on the right tasks at the right time.
Creating events in Google Calendar
Once you have set up your Google Calendar, you can start creating events to populate your schedule. Creating events in Google Calendar is a simple and intuitive process that allows you to add important details and customize reminders.
Here’s how you can create an event in Google Calendar:
- Open your Google Calendar and select the date and time for your event by clicking on the desired time slot or by clicking the “+” button to create an event.
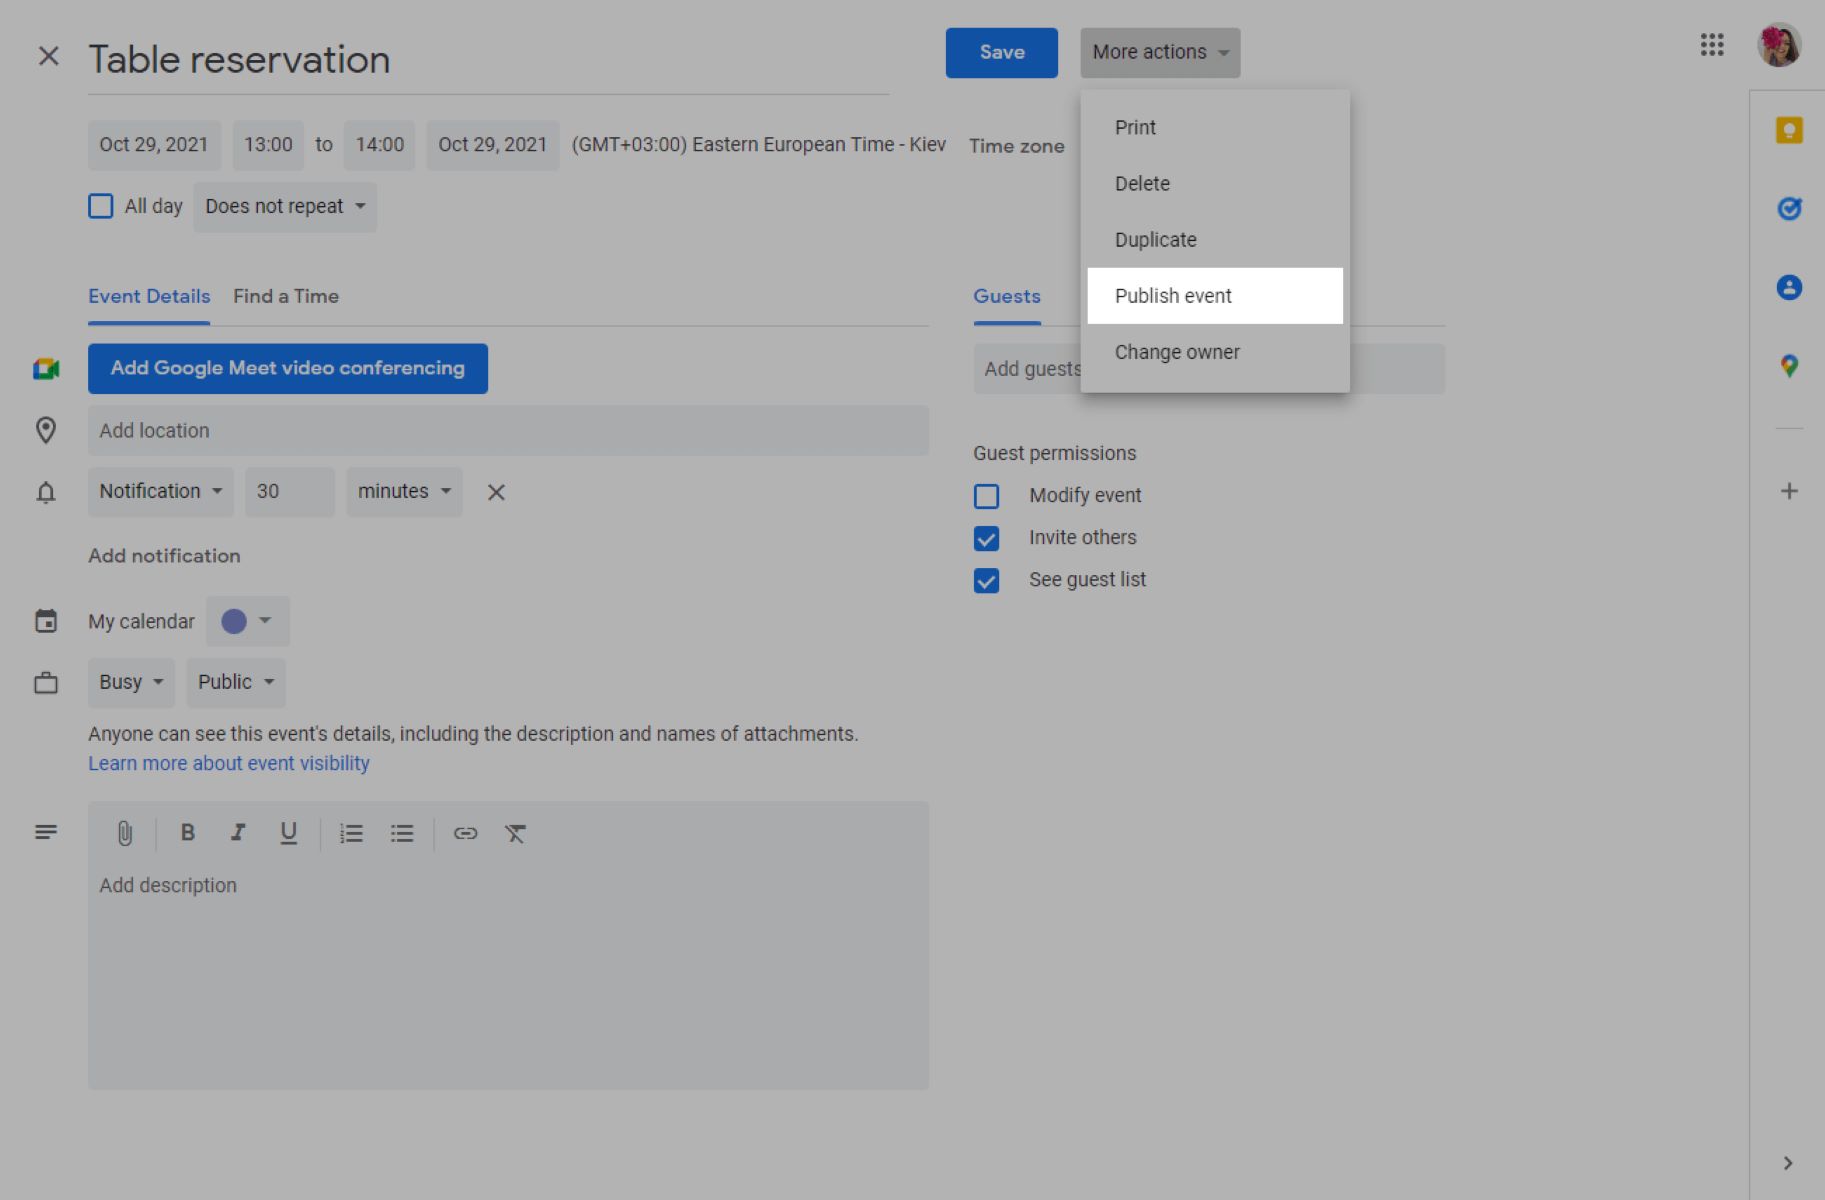
- In the event creation popup, enter a title for your event. This could be a meeting name, appointment title, or any descriptive text that indicates the purpose of the event.
- Specify the start and end time for the event. You can also set the event to be an all-day event by selecting the appropriate option.
- Add a location if necessary. This could be a physical address, a conference room, or any other relevant location information.
- Set a reminder to receive notifications prior to the event. This can be configured to your preference, whether it’s a few minutes, hours, or days before the event.
- Optionally, add additional details to the event description. This could include agenda items, participants, or any other information that will be helpful for attendees.
- Lastly, click the “Save” button to create the event and add it to your calendar.
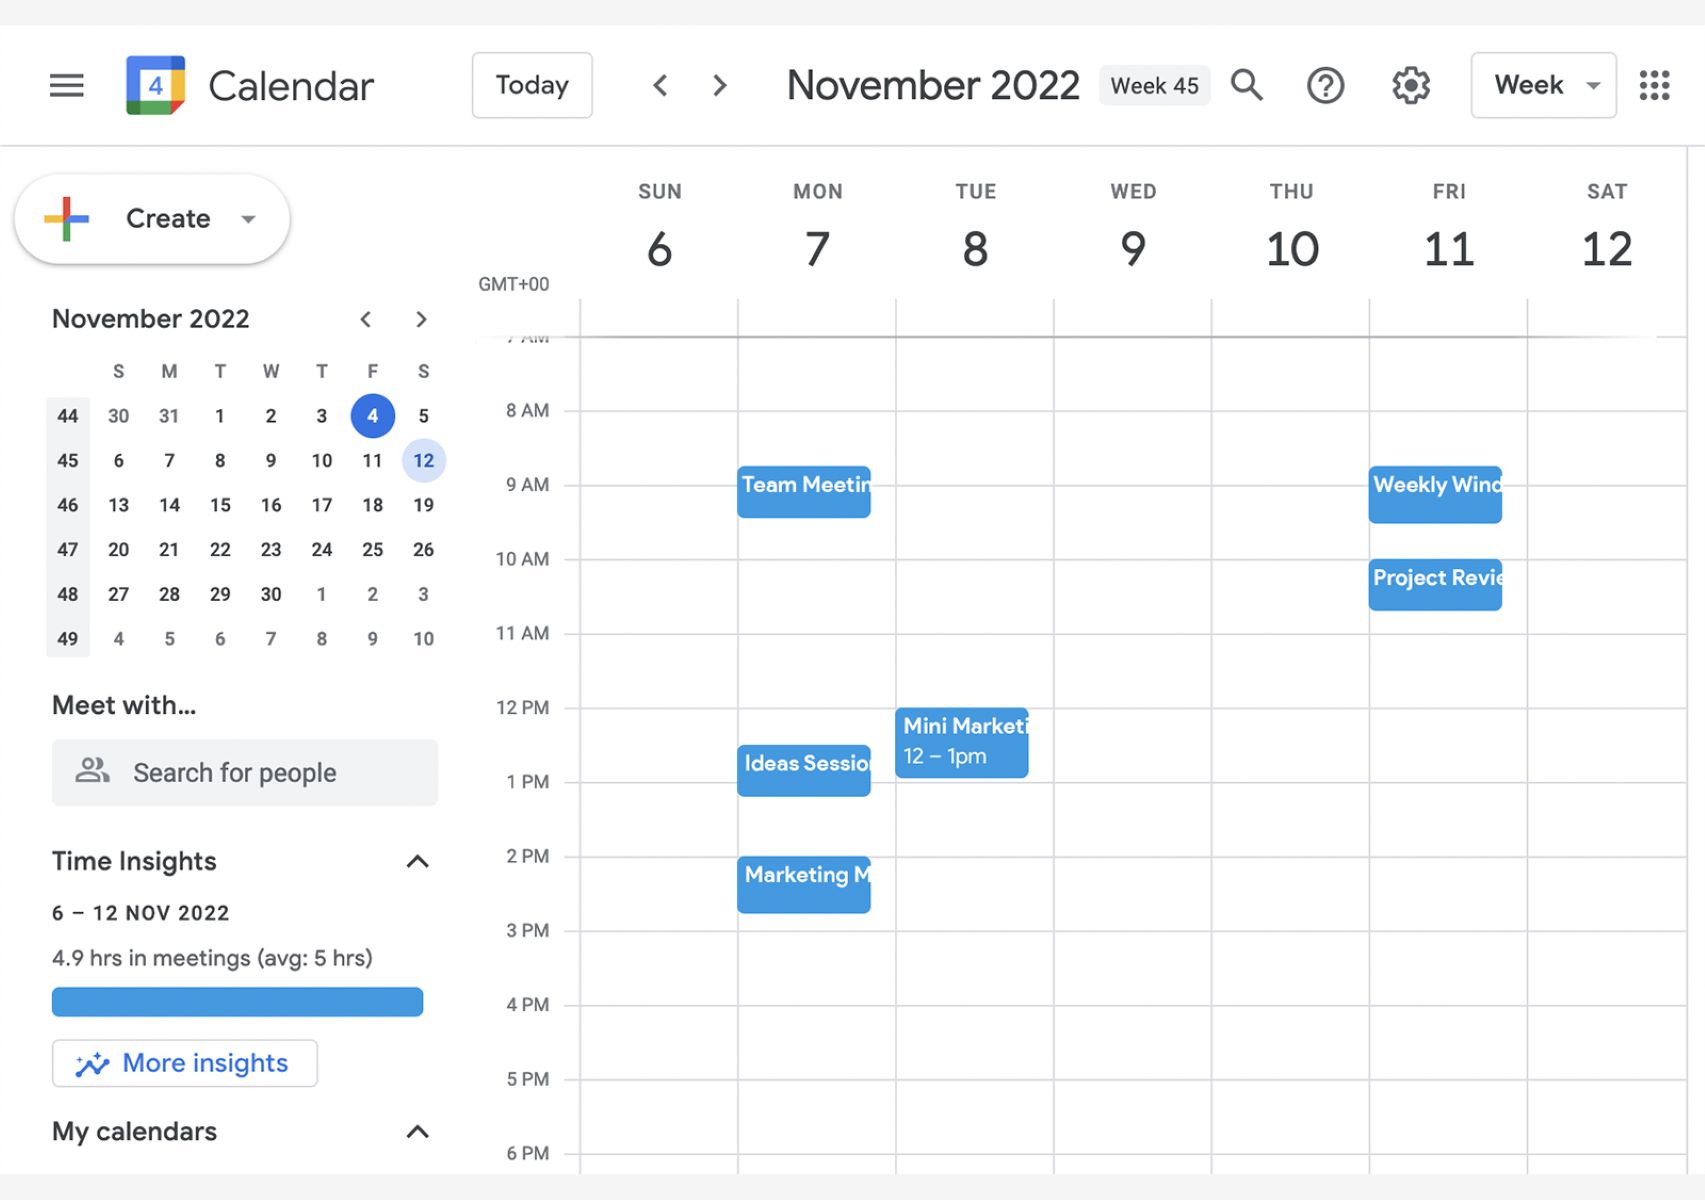
Once you’ve created an event, it will appear on the specified date and time in your Google Calendar. You can easily navigate to different dates and view your upcoming events at a glance. Additionally, you can edit or delete events as needed to keep your calendar up to date.
Google Calendar also provides the option to invite others to your events. By adding participants to your events, you can keep everyone involved informed and ensure that they receive the necessary details and updates. Participants will receive email notifications and have the event added to their own calendars.
With the ability to create and manage events in Google Calendar, you can effectively plan and organize your schedule, never missing an important appointment or meeting again.
Sharing your Google Calendar
Sharing your Google Calendar allows you to collaborate and coordinate with others, ensuring effective communication and synchronization of schedules. Google Calendar offers several options for sharing your calendar with specific individuals or groups, as well as adjusting access permissions to control what others can view and modify.
To share your Google Calendar, follow these steps:
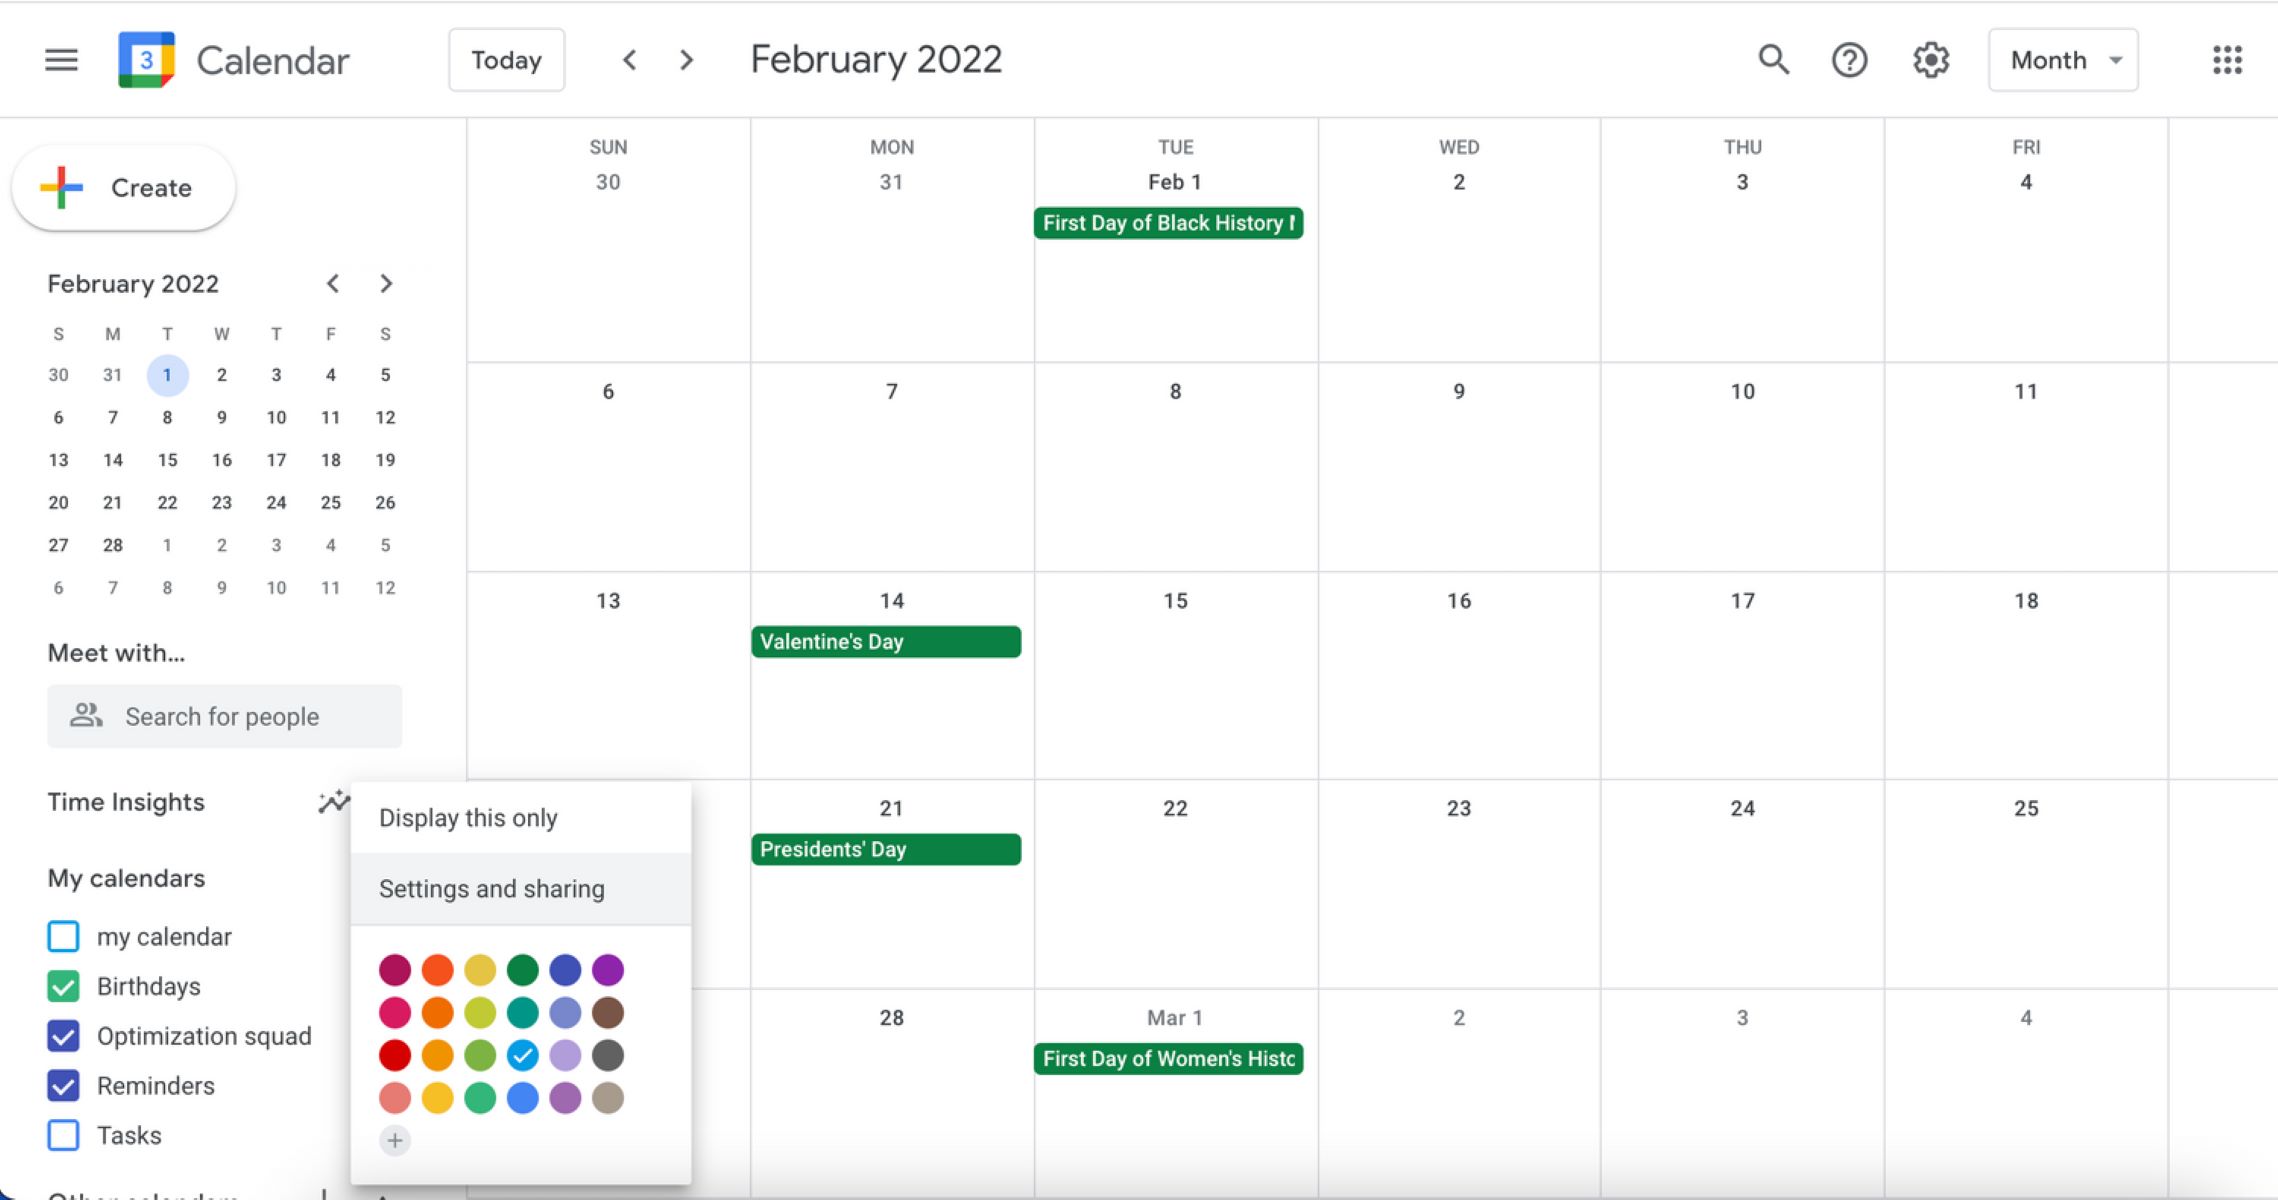
- Open your Google Calendar and locate the calendar you wish to share in the left sidebar.
- Hover over the calendar name and click on the three-dot menu icon that appears.
- Select the “Settings and sharing” option from the dropdown menu.
- In the “Settings for my calendars” section, scroll down to the “Share with specific people” or “Share with specific groups” section, depending on your sharing preference.
- Enter the email addresses or group names of the individuals or groups you want to share the calendar with.
- Choose the desired access permissions for the calendar. You can allow individuals to view only, make changes to events, or grant them full control.
- Click on the “Send” button to notify the recipients and grant them access to your calendar.
Once you have shared your calendar, the recipients will receive an email invitation to access and view your calendar. They can choose to accept the invitation, and the shared calendar will be added to their own Google Calendar, allowing them to see your events and stay updated.
Sharing your Google Calendar is particularly useful for various scenarios, such as coordinating schedules with colleagues, sharing important events with family members, or collaborating on projects with team members. It promotes transparency, eliminates scheduling conflicts, and ensures everyone is on the same page.
Furthermore, Google Calendar also allows you to adjust access permissions for shared calendars. You can modify permissions at any time, granting or revoking access as needed. It gives you flexibility and control over who can view or make changes to your calendar.
By sharing your Google Calendar, you enhance productivity, streamline communication, and foster efficient collaboration with others.
Sharing calendar with specific individuals
Sharing your Google Calendar with specific individuals allows you to selectively grant access to those who need to view or edit your calendar. This feature is particularly useful for sharing personal events with family members, coordinating schedules with colleagues, or collaborating on projects with team members.
To share your Google Calendar with specific individuals, follow these steps:
- Open your Google Calendar and locate the calendar you want to share in the left sidebar.
- Hover over the calendar name and click on the three-dot menu icon that appears.
- Select the “Settings and sharing” option from the dropdown menu.
- In the “Settings for my calendars” section, scroll down to the “Share with specific people” section.
- Enter the email addresses of the individuals you want to share the calendar with. You can add multiple email addresses separated by commas.
- Choose the desired access permissions for each individual. You can grant them the ability to view, make changes to events, or give them full control over the calendar.
- Click on the “Send” button to send the invitation to the selected individuals and grant them access to your calendar.
Once you’ve shared your calendar with specific individuals, they will receive an email invitation to access and view your calendar. The shared calendar will automatically appear in their own Google Calendar, allowing them to see your events and stay updated.
It’s important to note that individuals with whom you’ve shared your calendar can also choose to share their own calendars with you. This mutual sharing allows for seamless coordination and improved visibility of each other’s schedules.
Additionally, you can modify the access permissions for specific individuals at any time. If you want to revoke someone’s access or change their permission level, simply revisit the “Settings and sharing” menu and adjust the settings accordingly.
By sharing your Google Calendar with specific individuals, you enable efficient collaboration, facilitate scheduling, and promote better communication among team members, family, or anyone else with whom you share your calendar.
Sharing calendar with groups
Sharing your Google Calendar with groups allows you to efficiently share your schedule with multiple individuals who are part of a specific group. This feature is particularly beneficial in professional settings, where you can easily coordinate schedules with project teams, departments, or other defined groups.
To share your Google Calendar with groups, follow these steps:
- Open your Google Calendar and locate the calendar you wish to share in the left sidebar.
- Hover over the calendar name and click on the three-dot menu icon that appears.
- Select the “Settings and sharing” option from the dropdown menu.
- In the “Settings” section, scroll down to the “Share with specific groups” section.
- Enter the name of the group you want to share the calendar with. The group should already be set up in your Google Contacts or Google Workspace directory.
- Choose the desired access permissions for the group. You can allow them to view, make changes, or grant them full control over the calendar.
- Click on the “Save” button to share the calendar with the selected group.
Once you’ve shared your calendar with a group, all members of that group will receive an email invitation to access and view your calendar. They will also have the shared calendar automatically added to their own Google Calendar.
Sharing your Google Calendar with groups is highly convenient, especially when there are frequent changes or updates in your schedule that need to be communicated to a specific group of people. It eliminates the need to individually invite or update multiple individuals, saving time and ensuring everyone stays informed.
It’s important to note that administrators of Google Workspace accounts can create and manage groups in Google Contacts or the Admin console. This allows for easy management of access permissions to shared calendars for different departments, teams, or organizational units.
Remember, you can always review and modify the access permissions for groups at any time. If you want to change the permissions or remove a group from your shared calendar, visit the “Settings and sharing” menu and make the necessary adjustments.
By sharing your Google Calendar with groups, you streamline collaboration, foster effective communication, and ensure that everyone in the group is up to date with the events and schedules that matter most.
Adjusting access permissions
Google Calendar provides flexibility when it comes to adjusting access permissions for shared calendars. Depending on your needs, you can grant different levels of access to individuals or groups, allowing them to view, make changes, or have full control over the calendar. Adjusting access permissions ensures that you have control over who can see or modify your calendar events.
To adjust access permissions for your Google Calendar, follow these steps:
- Open your Google Calendar and locate the calendar you want to adjust access permissions for in the left sidebar.
- Hover over the calendar name and click on the three-dot menu icon that appears.
- Select the “Settings and sharing” option from the dropdown menu.
- In the “Settings for my calendars” section, scroll down to the “Share with specific people” or “Share with specific groups” section, depending on your sharing setup.
- Find the name or email address of the individual or group whose access permissions you want to modify.
- Click on the down arrow next to their name to reveal the available access options.
- Choose the desired access permission level for that individual or group: “See only free/busy,” “See all event details,” “Make changes to events,” or “Make changes and manage sharing.”
- Once you’ve made the changes, Google Calendar will automatically apply the updated access permissions.
It’s important to consider the level of access you grant to individuals or groups. For instance, if you want to share your calendar with colleagues for collaboration purposes, you might give them “Make changes to events” access. On the other hand, if you’re sharing a calendar with family members for personal events, you might prefer to grant them “See all event details” access.
By adjusting access permissions, you have control over how much others can interact with your calendar. It allows you to maintain privacy for sensitive information while promoting collaboration and efficient coordination.
Remember that you can modify access permissions for different individuals or groups at any time. If you want to revoke access or change permission levels, simply revisit the “Settings and sharing” menu and adjust the settings accordingly.
By fine-tuning access permissions, you can ensure that your shared Google Calendar is secure, while also facilitating effective collaboration and communication among the individuals or groups with whom you’re sharing the calendar.
Accepting shared calendars
When someone shares a Google Calendar with you, accepting the shared calendar allows you to conveniently view and stay updated on the events and schedules of others. By accepting shared calendars, you can streamline coordination, improve communication, and ensure that you’re always on top of important events.
When someone shares a calendar with you, you will receive an email invitation notifying you of the shared calendar. To accept the shared calendar, follow these steps:
- Open the email invitation you received for the shared calendar.
- Click on the “Accept” or “Add to calendar” button within the email. This will open Google Calendar.
- Review the details of the shared calendar and confirm that you want to add it to your own Google Calendar.
- Click on the “Add calendar” or “Yes, add this calendar” button to accept and add the shared calendar to your account.
Once you’ve accepted the shared calendar, it will automatically appear in your Google Calendar. You can view the events, appointments, and schedules that have been shared with you, alongside your own calendar events.
Accepting shared calendars is especially useful in professional settings, where you need to stay informed about team schedules, project deadlines, or department events. It ensures that everyone is on the same page, avoids scheduling conflicts, and facilitates efficient collaboration.
Additionally, you may also have the option to customize the visibility or color settings for the shared calendar. Depending on the permissions granted by the calendar owner, you can choose to show or hide the events of the shared calendar, adjust the color of the events for better organization, or customize other display settings.
If at any point you no longer want to view the shared calendar, you can remove it from your Google Calendar. Simply navigate to the “Settings and sharing” options and locate the shared calendar in your calendar list. From there, you can choose to hide or remove the shared calendar as desired.
By accepting shared calendars, you ensure effective collaboration, improved coordination, and better visibility and communication with the individuals or groups with whom you’re sharing the calendar.
Removing shared calendars
At times, you may need to remove a shared calendar from your Google Calendar if you no longer want to view or stay updated on the events and schedules of others. By removing a shared calendar, you can declutter your calendar view and focus on your own events and appointments.
To remove a shared calendar from your Google Calendar, follow these steps:
- Open your Google Calendar and locate the shared calendar you want to remove in the left sidebar.
- Hover over the calendar name and click on the three-dot menu icon that appears.
- Select the “Settings and sharing” option from the dropdown menu.
- In the “Settings for my calendars” section, scroll down to the “Shared with me” section.
- Find the shared calendar you want to remove from your calendar list.
- Click on the “Unsubscribe” or “Remove” button next to the shared calendar’s name.
- Confirm your choice to remove the shared calendar when prompted.
By removing the shared calendar, it will be no longer visible in your Google Calendar view. You will no longer see the events and schedules associated with that shared calendar.
Removing shared calendars can help keep your Google Calendar organized and decluttered, especially if you no longer need to view the events or stay updated on the shared schedule. It allows you to focus on your own appointments and tasks without any distractions.
It’s important to note that removing a shared calendar from your Google Calendar does not affect the original calendar of the owner or remove your access to it. It simply removes the visibility of the shared calendar from your personal calendar view.
If you ever decide to re-add a shared calendar that you previously removed, you can do so by following the steps to accept a shared calendar. Upon accepting the shared calendar again, it will reappear in your Google Calendar with the associated events and schedules.
By having the ability to remove shared calendars from your Google Calendar, you can maintain a focused and personalized view of your own events, ensuring optimal productivity and efficiency in managing your schedule.
Conclusion
Google Calendar is a powerful tool that simplifies scheduling, organization, and collaboration. Whether you’re an individual managing personal events or part of a team coordinating projects, Google Calendar offers a seamless platform to streamline your schedule and keep everyone on the same page.
In this article, we have explored various aspects of Google Calendar, from setting it up and creating events to sharing your calendar with specific individuals or groups. By utilizing the sharing features, you can foster effective collaboration, improve communication, and avoid scheduling conflicts.
Sharing your Google Calendar allows you to coordinate with colleagues, keep family members updated on important events, or collaborate with project teams. Whether it’s sharing with specific individuals or groups, you have control over access permissions, ensuring everyone only sees what is necessary.
Accepting shared calendars enables you to stay informed about events and schedules that others have shared with you. It promotes seamless coordination, better communication, and eliminates the risk of missing important engagements.
On the other hand, if you no longer need to view a shared calendar, removing it from your Google Calendar helps maintain a clutter-free view, allowing you to focus on your own appointments and tasks without distractions.
With Google Calendar, you have the ability to efficiently organize and manage your schedule while collaborating with others. It’s a versatile tool that adapts to personal and professional needs, enhancing productivity, and ensuring efficient coordination and communication.
So go ahead, explore the features of Google Calendar, leverage the sharing capabilities, and make the most of this valuable tool to streamline your schedule and achieve your goals.


