Introduction
Setting up a Verizon Wifi Extender can greatly enhance the wireless coverage in your home or office, ensuring a strong and reliable internet connection in every corner. Whether you experience dead zones or inconsistent signal strength, the Verizon Wifi Extender is a smart solution to extend the reach of your wifi network.
In this guide, we will walk you through the step-by-step process of setting up your Verizon Wifi Extender. From unboxing to configuration, we will provide detailed instructions to make the setup a breeze. By the end of this guide, you will have a fully functional Verizon Wifi Extender, seamlessly amplifying your wifi signal and eliminating those pesky dead zones.
Before we begin, it’s important to note that the setup process may vary slightly depending on the specific model of your Verizon Wifi Extender. However, the general steps and concepts discussed in this guide will apply to most Verizon Wifi Extender models.
So, grab your Verizon Wifi Extender, follow along, and get ready to enjoy a robust and dependable wifi connection throughout your home or office.
Step 1: Unboxing the Verizon Wifi Extender
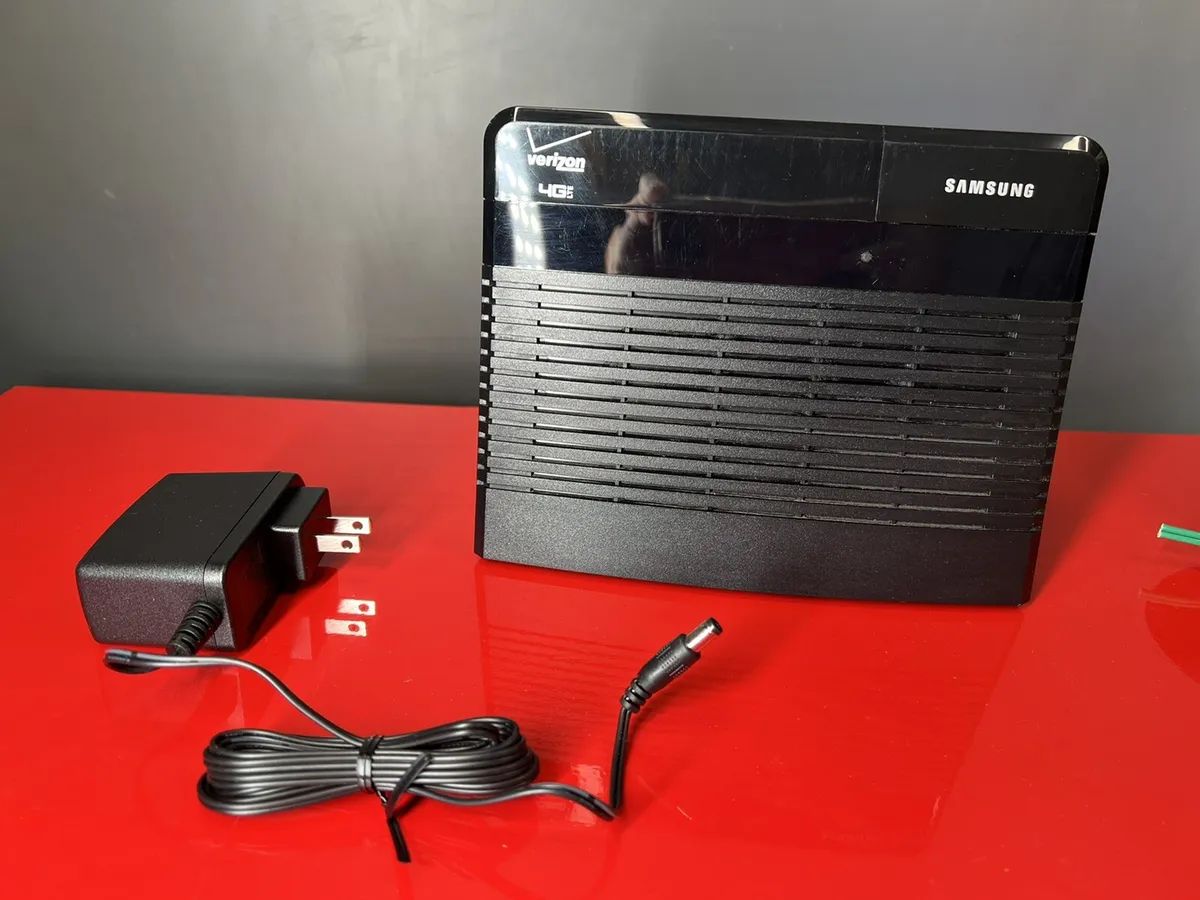
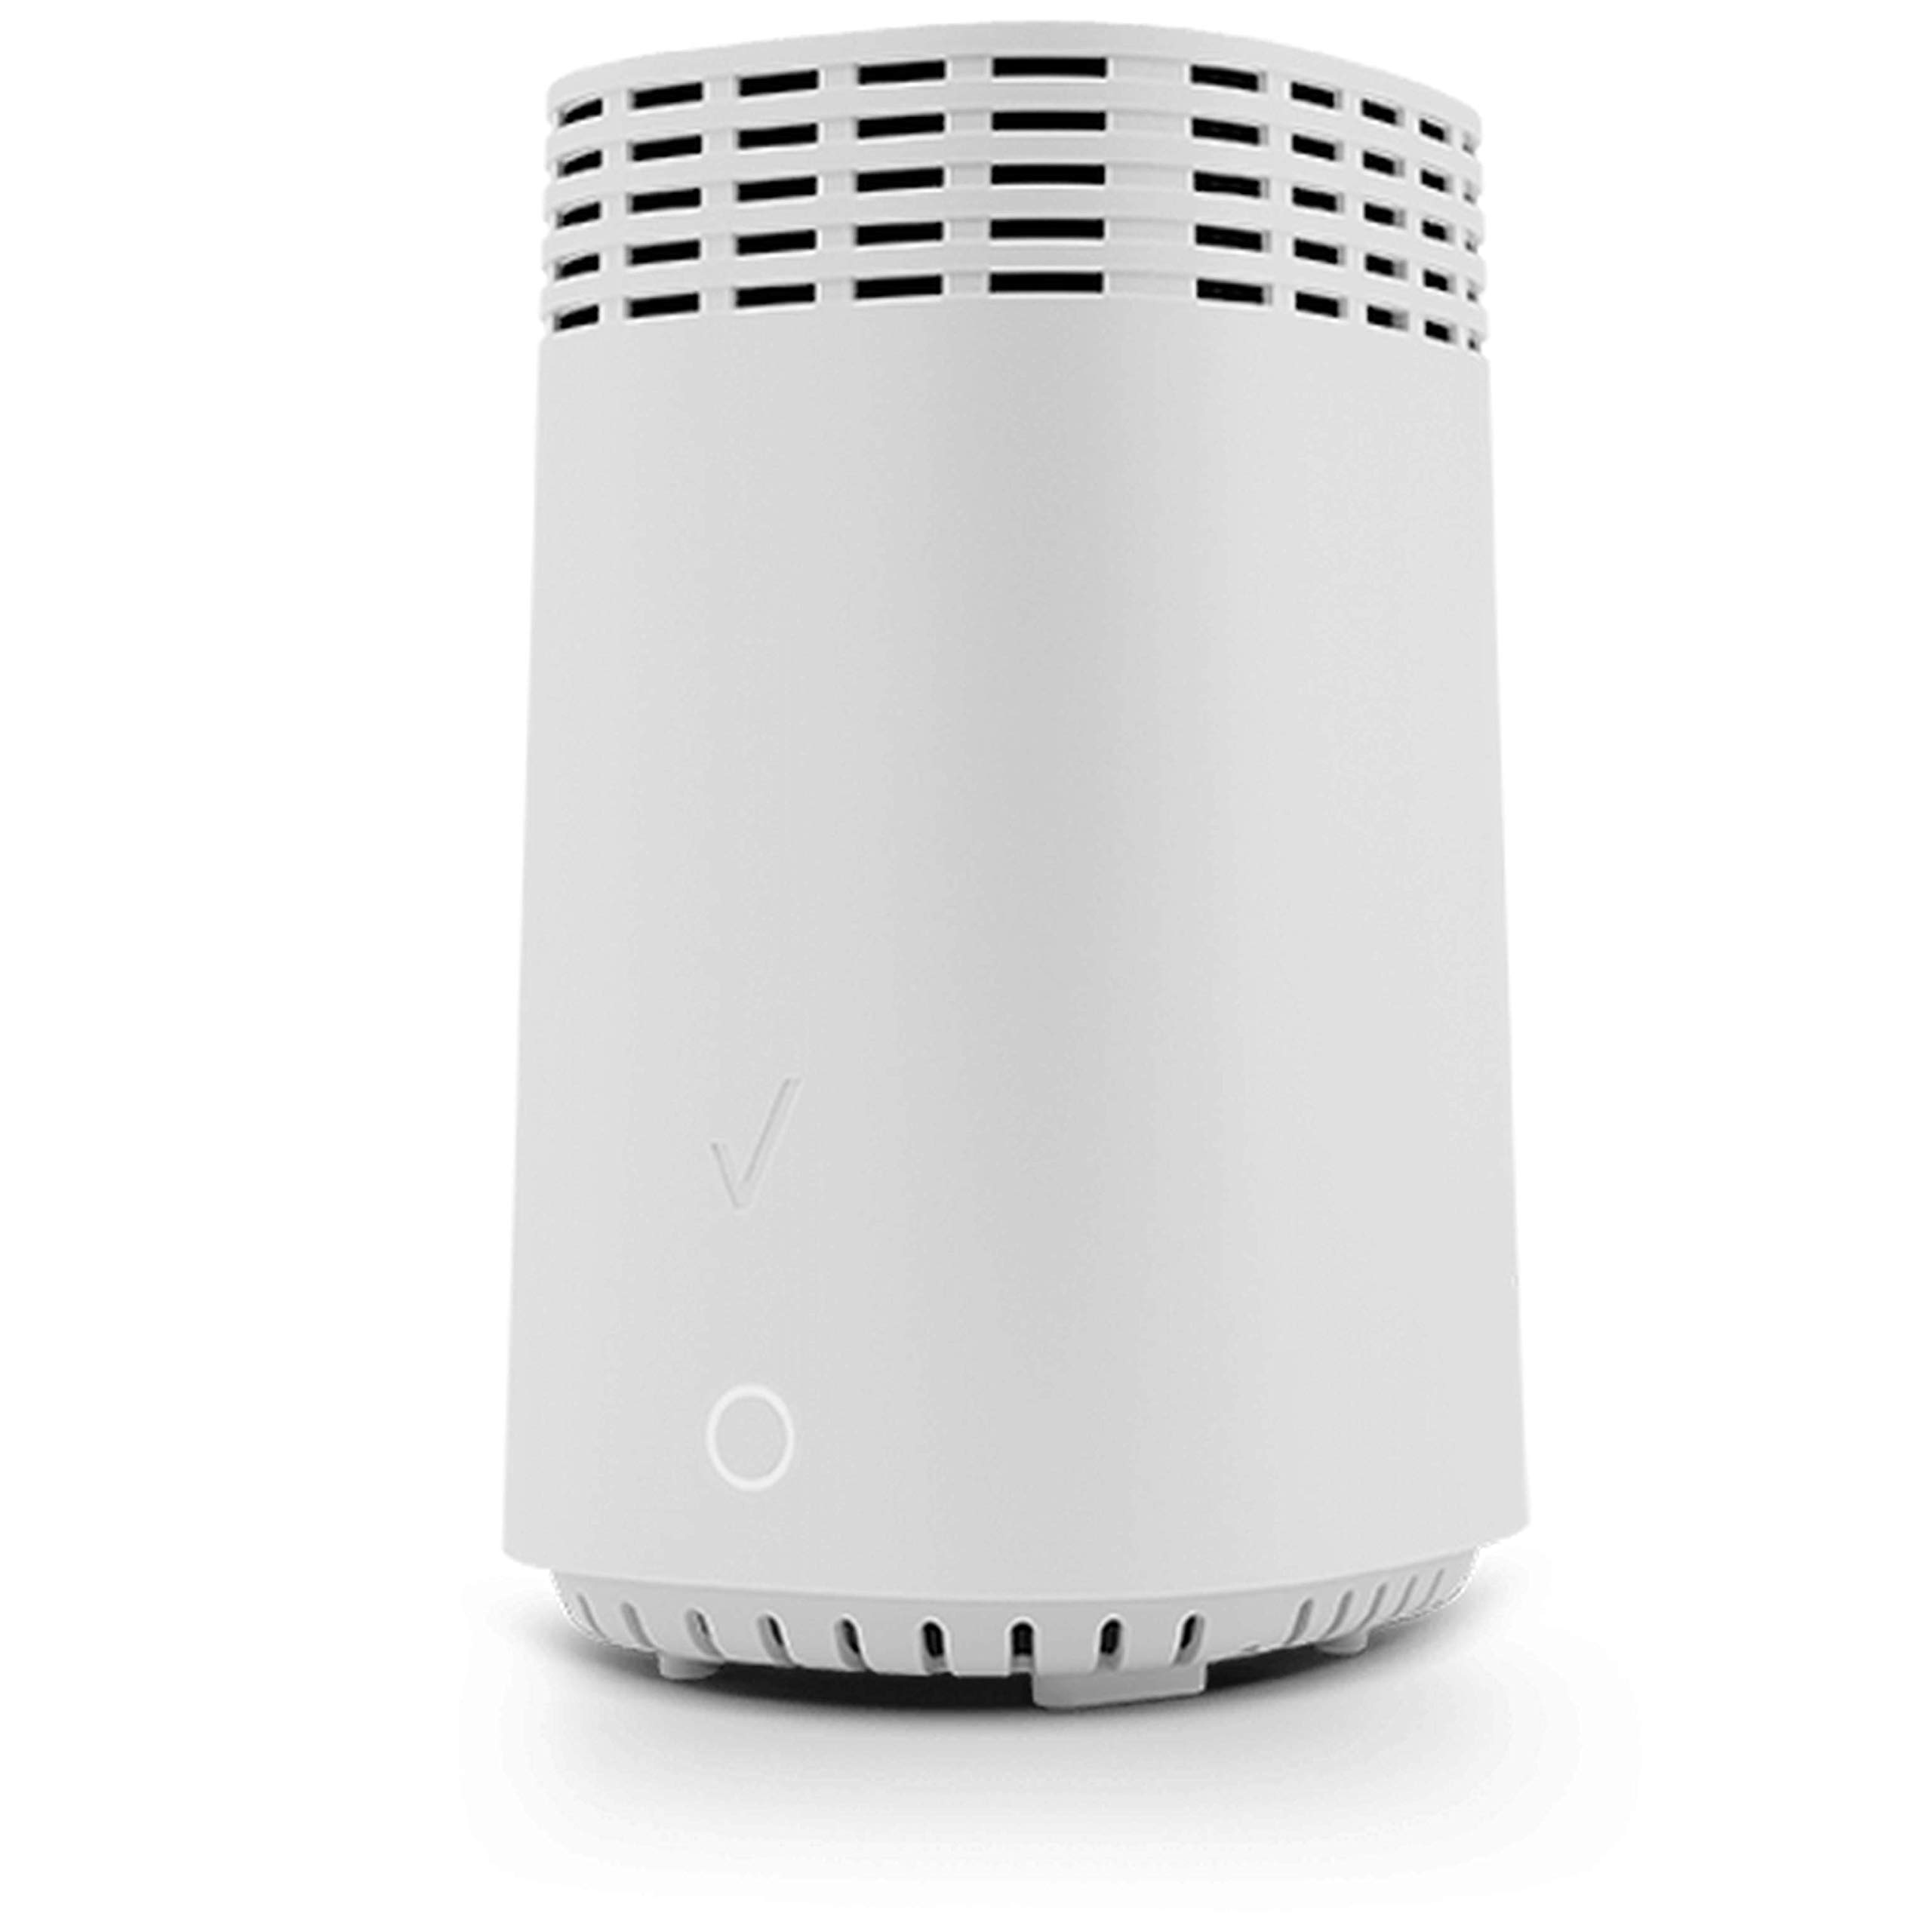
The first step in setting up your Verizon Wifi Extender is to unbox the device. Start by locating the package containing your Wifi Extender. Carefully remove the packaging and ensure that all the necessary components are included. Typically, the package will contain the Wifi Extender unit, a power adapter, an Ethernet cable, and any additional accessories or documentation.
Once you have confirmed that all the components are present, it’s time to move on to the next step. Find a suitable location for your Verizon Wifi Extender, ideally near your existing router or in an area where your wifi signal is weak. Keep in mind that placing the Wifi Extender too far from your router may result in a weak connection. Consider factors like walls, obstructions, and the layout of your space while choosing the location.
After finding the perfect spot for your Wifi Extender, connect it to a power source using the provided power adapter. Make sure to use a wall outlet that is easily accessible and not obstructed by furniture or other objects. Once connected, you should see lights or indicators on the Wifi Extender unit, confirming that it is receiving power.
Now that you have successfully unboxed and connected your Verizon Wifi Extender to power, you’re ready to move on to the next step of the setup process: connecting it to your router. This will enable the Wifi Extender to amplify and extend your existing wifi network, providing a stronger signal throughout your home or office.
Step 2: Connecting the Verizon Wifi Extender to Power
After unboxing the Verizon Wifi Extender, the next step is to connect it to power. This step is essential to ensure that the Wifi Extender functions properly and provides the extended wifi coverage you desire.
To connect the Verizon Wifi Extender to power, locate the power adapter that came in the package. Plug one end of the power adapter into the designated port on the Wifi Extender unit. Next, plug the other end of the power adapter into a nearby electrical outlet. Ensure that the outlet is readily accessible and not obstructed by any objects.
Once the Verizon Wifi Extender is properly connected to power, it will start receiving electricity and activate its internal components. You should observe indicator lights on the device, indicating that it is powered on and ready for configuration.
During this step, it’s important to remember not to use any extension cords or surge protectors with the Wifi Extender. Connecting the device directly to the power source ensures optimal performance and minimizes any potential interference.
Now that you have successfully connected the Verizon Wifi Extender to power, you can proceed to the next step: connecting the Wifi Extender to your existing router. This step will establish a connection between the two devices, allowing the Wifi Extender to amplify your wifi signal and provide broader coverage throughout your space.
Step 3: Connecting the Verizon Wifi Extender to Your Router
Now that your Verizon Wifi Extender is powered on, it’s time to connect it to your existing router. This step is crucial for the Wifi Extender to extend your wifi network and provide a stronger and more reliable signal throughout your home or office.
To begin, locate the Ethernet cable that came in the package with your Verizon Wifi Extender. One end of the cable should be connected to the Ethernet port on the Wifi Extender unit, while the other end should be attached to an available Ethernet port on your router. Ensure that the connection is secure and that the cable is not damaged or loose.
Once the Ethernet cable is connected, the Verizon Wifi Extender will establish a wired connection with your router. This connection allows the Wifi Extender to communicate with your router and extend the wifi network seamlessly. The indicator lights on the Wifi Extender should confirm a successful connection.
It’s important to note that some newer Verizon Wifi Extender models support wireless setup. If your device supports wireless setup, you may have the option to connect it to your router wirelessly. In this case, you will need to follow the specific instructions provided by Verizon for wireless setup.
After connecting the Wifi Extender to your router, give it a few moments to synchronize and establish a stable connection. During this process, the Wifi Extender will sync its settings with your router and prepare to extend the wifi signal.
Now that your Verizon Wifi Extender is successfully connected to your router, you are ready to proceed to the next step: configuring the Wifi Extender to match your network settings. This step ensures that the Wifi Extender functions properly and seamlessly integrates with your existing wifi network, providing enhanced coverage and a stronger wifi signal.
Step 4: Configuring the Verizon Wifi Extender
After connecting the Verizon Wifi Extender to your router, the next step is to configure the Wifi Extender to match your network settings. Configuring the Wifi Extender ensures that it functions properly and seamlessly integrates with your existing wifi network, providing enhanced coverage and a stronger wifi signal throughout your space.
To begin the configuration process, open a web browser on a device that is connected to your wifi network. In the address bar, type in the default IP address of the Verizon Wifi Extender, which is typically “192.168.1.1”. Press Enter to access the Wifi Extender’s configuration page.
On the configuration page, you may be prompted to enter login credentials. If you have not changed the default settings, you can usually find the default login information in the user manual or on the back of the Wifi Extender. Enter the username and password to proceed.
Once logged in, you will be presented with the configuration interface of the Verizon Wifi Extender. Here, you can adjust various settings such as network name (SSID), password, security settings, and more. Take the time to review the available options and ensure they align with your preferences and existing network settings.
To optimize the performance of the Wifi Extender, it’s recommended to select the same network name (SSID) and security settings as your primary router. This allows devices to seamlessly switch between the router and the Wifi Extender without any interruptions or the need to manually connect to different networks. Make sure to set a strong password to secure your wifi network.
After making the necessary changes, save the configuration settings. This will apply the changes and update the Wifi Extender with your customized network settings. The Wifi Extender will then restart to finalize the configuration process.
Once the Wifi Extender has restarted, give it a few moments to establish a connection with your router and synchronize the settings. The indicator lights on the Wifi Extender will indicate a successful configuration and connection.
Congratulations! You have now successfully configured your Verizon Wifi Extender to match your network settings. You can now enjoy extended wifi coverage and a more robust wifi signal throughout your home or office. If you encounter any issues, refer to the troubleshooting tips in the next step to resolve common setup problems.
Step 5: Placing the Verizon Wifi Extender in an Optimal Location
Now that your Verizon Wifi Extender is configured, it’s time to find the perfect spot to place it for optimal performance. The placement of the Wifi Extender plays a crucial role in extending your wifi coverage and ensuring a strong and stable connection throughout your space.
To determine the optimal location for the Wifi Extender, consider the areas in your home or office where the wifi signal is weak or non-existent. These are the areas where you will benefit the most from the Wifi Extender’s extended coverage. Keep in mind that the Wifi Extender should be placed within range of your existing router to establish a strong connection.
Ensure that you place the Wifi Extender in a central location, away from any obstructions or physical barriers. Thick walls, large furniture, and other objects can weaken the signal, so it’s best to position the Wifi Extender in an open area.
Experiment with different locations to find the best combination of signal strength and coverage. You may need to move the Wifi Extender closer to or farther away from the router to achieve the desired coverage throughout your space. Consider using tools like wifi signal strength apps or meters to determine the optimal placement.
In some cases, you may have multiple Wifi Extenders to further extend the coverage. If this is the case, strategically place the additional extenders to ensure overlapping coverage and a seamless transition between the extenders.
Once you have found the optimal location for the Wifi Extender, ensure that it is securely and stably positioned. Avoid placing the Wifi Extender on the floor or in a cluttered area where it can be easily knocked off or obstructed. Ideally, mount the Wifi Extender to a wall or place it on a stable surface.
Now that you have placed the Verizon Wifi Extender in an optimal location, it will amplify and extend your wifi signal, providing enhanced coverage throughout your home or office. If you experience any issues or need further assistance, refer to the troubleshooting tips in the next step to resolve common setup problems.
Step 6: Troubleshooting Tips for Verizon Wifi Extender Setup
While setting up your Verizon Wifi Extender, you may encounter certain challenges or issues. Don’t worry – this step will provide you with some troubleshooting tips to help you overcome common setup problems and ensure a smooth and successful installation.
1. Check the power connection: Ensure that the Wifi Extender is properly connected to power. Double-check the power adapter and make sure it is securely plugged into an electrical outlet.
2. Verify the ethernet connection: If you are using a wired setup, confirm that the Ethernet cable is securely connected between the Wifi Extender and your router. Check for any loose connections or damaged cables.
3. Reset the Wifi Extender: If you are encountering issues, try resetting the Wifi Extender to its default settings. Locate the reset button on the back of the device and press and hold it for a few seconds. This will reset the Wifi Extender and allow you to start the configuration process from scratch.
4. Check your network settings: Ensure that your network settings, such as SSID and security settings, match those of your primary router. Incompatible or incorrect settings can cause connectivity issues between the devices.
5. Confirm firmware updates: Check for any available firmware updates for your Verizon Wifi Extender. Updated firmware can provide bug fixes and improvements for the device’s performance. Visit the Verizon support website or consult the user manual for instructions on checking and updating firmware.
6. Ensure adequate signal strength: Evaluate the signal strength between your Wifi Extender and your router. If the signal is weak, try repositioning the Wifi Extender or adjusting its placement to maximize the signal strength.
7. Restart your devices: Sometimes, simply restarting your devices – including the Wifi Extender, router, and connected devices – can resolve connectivity issues. Turn off the devices, wait a few moments, and then power them back on sequentially, starting with the router.
If the issues persist or you encounter any other problems during the setup process, it’s always a good idea to consult the Verizon support website or contact their customer support for further assistance. They will be able to provide specific solutions or guide you through troubleshooting steps tailored to your specific Wifi Extender model.
By following these troubleshooting tips, you can overcome common setup problems and ensure a successful installation of your Verizon Wifi Extender. In no time, you’ll be enjoying an extended and improved wifi coverage throughout your home or office.
Conclusion
Setting up a Verizon Wifi Extender can greatly enhance the wifi coverage in your home or office, ensuring a strong and reliable connection in every corner. By following the step-by-step process outlined in this guide, you can easily unbox, connect, configure, and optimize your Wifi Extender to extend the reach of your network.
We began by unboxing the Verizon Wifi Extender and connecting it to power. Then, we walked through the process of connecting the Wifi Extender to your existing router and configuring it to match your network settings. Additionally, we discussed the importance of placing the Wifi Extender in an optimal location to achieve the best coverage and signal strength.
Finally, we provided troubleshooting tips to help you overcome common setup problems that you may encounter along the way. From checking power and ethernet connections to restarting devices and confirming firmware updates, these tips will assist you in resolving any issues that may arise during the setup process.
Remember, while the specific steps and process may vary slightly depending on your Verizon Wifi Extender model, the general concepts covered in this guide will still apply. Be sure to refer to the user manual or the Verizon support website for specific instructions and guidance tailored to your device.
With your Verizon Wifi Extender set up and optimized, you can now enjoy an extended wifi coverage that eliminates dead zones and provides a strong signal in every corner of your space. Whether you’re working, streaming, or gaming, you can rely on a seamless and reliable wifi connection throughout your home or office.
We hope this guide has been helpful in assisting you with the setup process for your Verizon Wifi Extender. If you have any further questions or need additional support, don’t hesitate to reach out to Verizon’s customer support for further assistance.
Thank you for choosing Verizon, and enjoy your enhanced wifi coverage with your new Wifi Extender!