Introduction
A projector is a valuable device that can transform any ordinary space into a captivating multimedia experience. Whether you want to enjoy a movie night at home, deliver a compelling presentation at work, or immerse yourself in the world of gaming, a projector can provide a larger-than-life display that enhances the visual impact. However, setting up a projector may seem like a daunting task for those who are unfamiliar with the process. But fear not! In this article, we will guide you through the step-by-step process of setting up your projector like a pro.
Setting up a projector involves a few key steps, from choosing the right location to fine-tuning the settings. By following these steps, you can ensure optimal performance and an enjoyable viewing experience. Along the way, we will provide helpful tips and tricks to make the setup process seamless and hassle-free.
Before we dive into the details, it’s important to note that projectors come in various types and models, so the process may slightly vary. However, the fundamental steps remain the same. So, let’s get started on your journey to creating an immersive viewing experience!
Step 1: Choose the right location
The first crucial step in setting up your projector is selecting the optimal location for its placement. Choosing the right location will ensure that you achieve the best possible image quality and visibility. Here are a few things to consider when selecting the ideal spot:
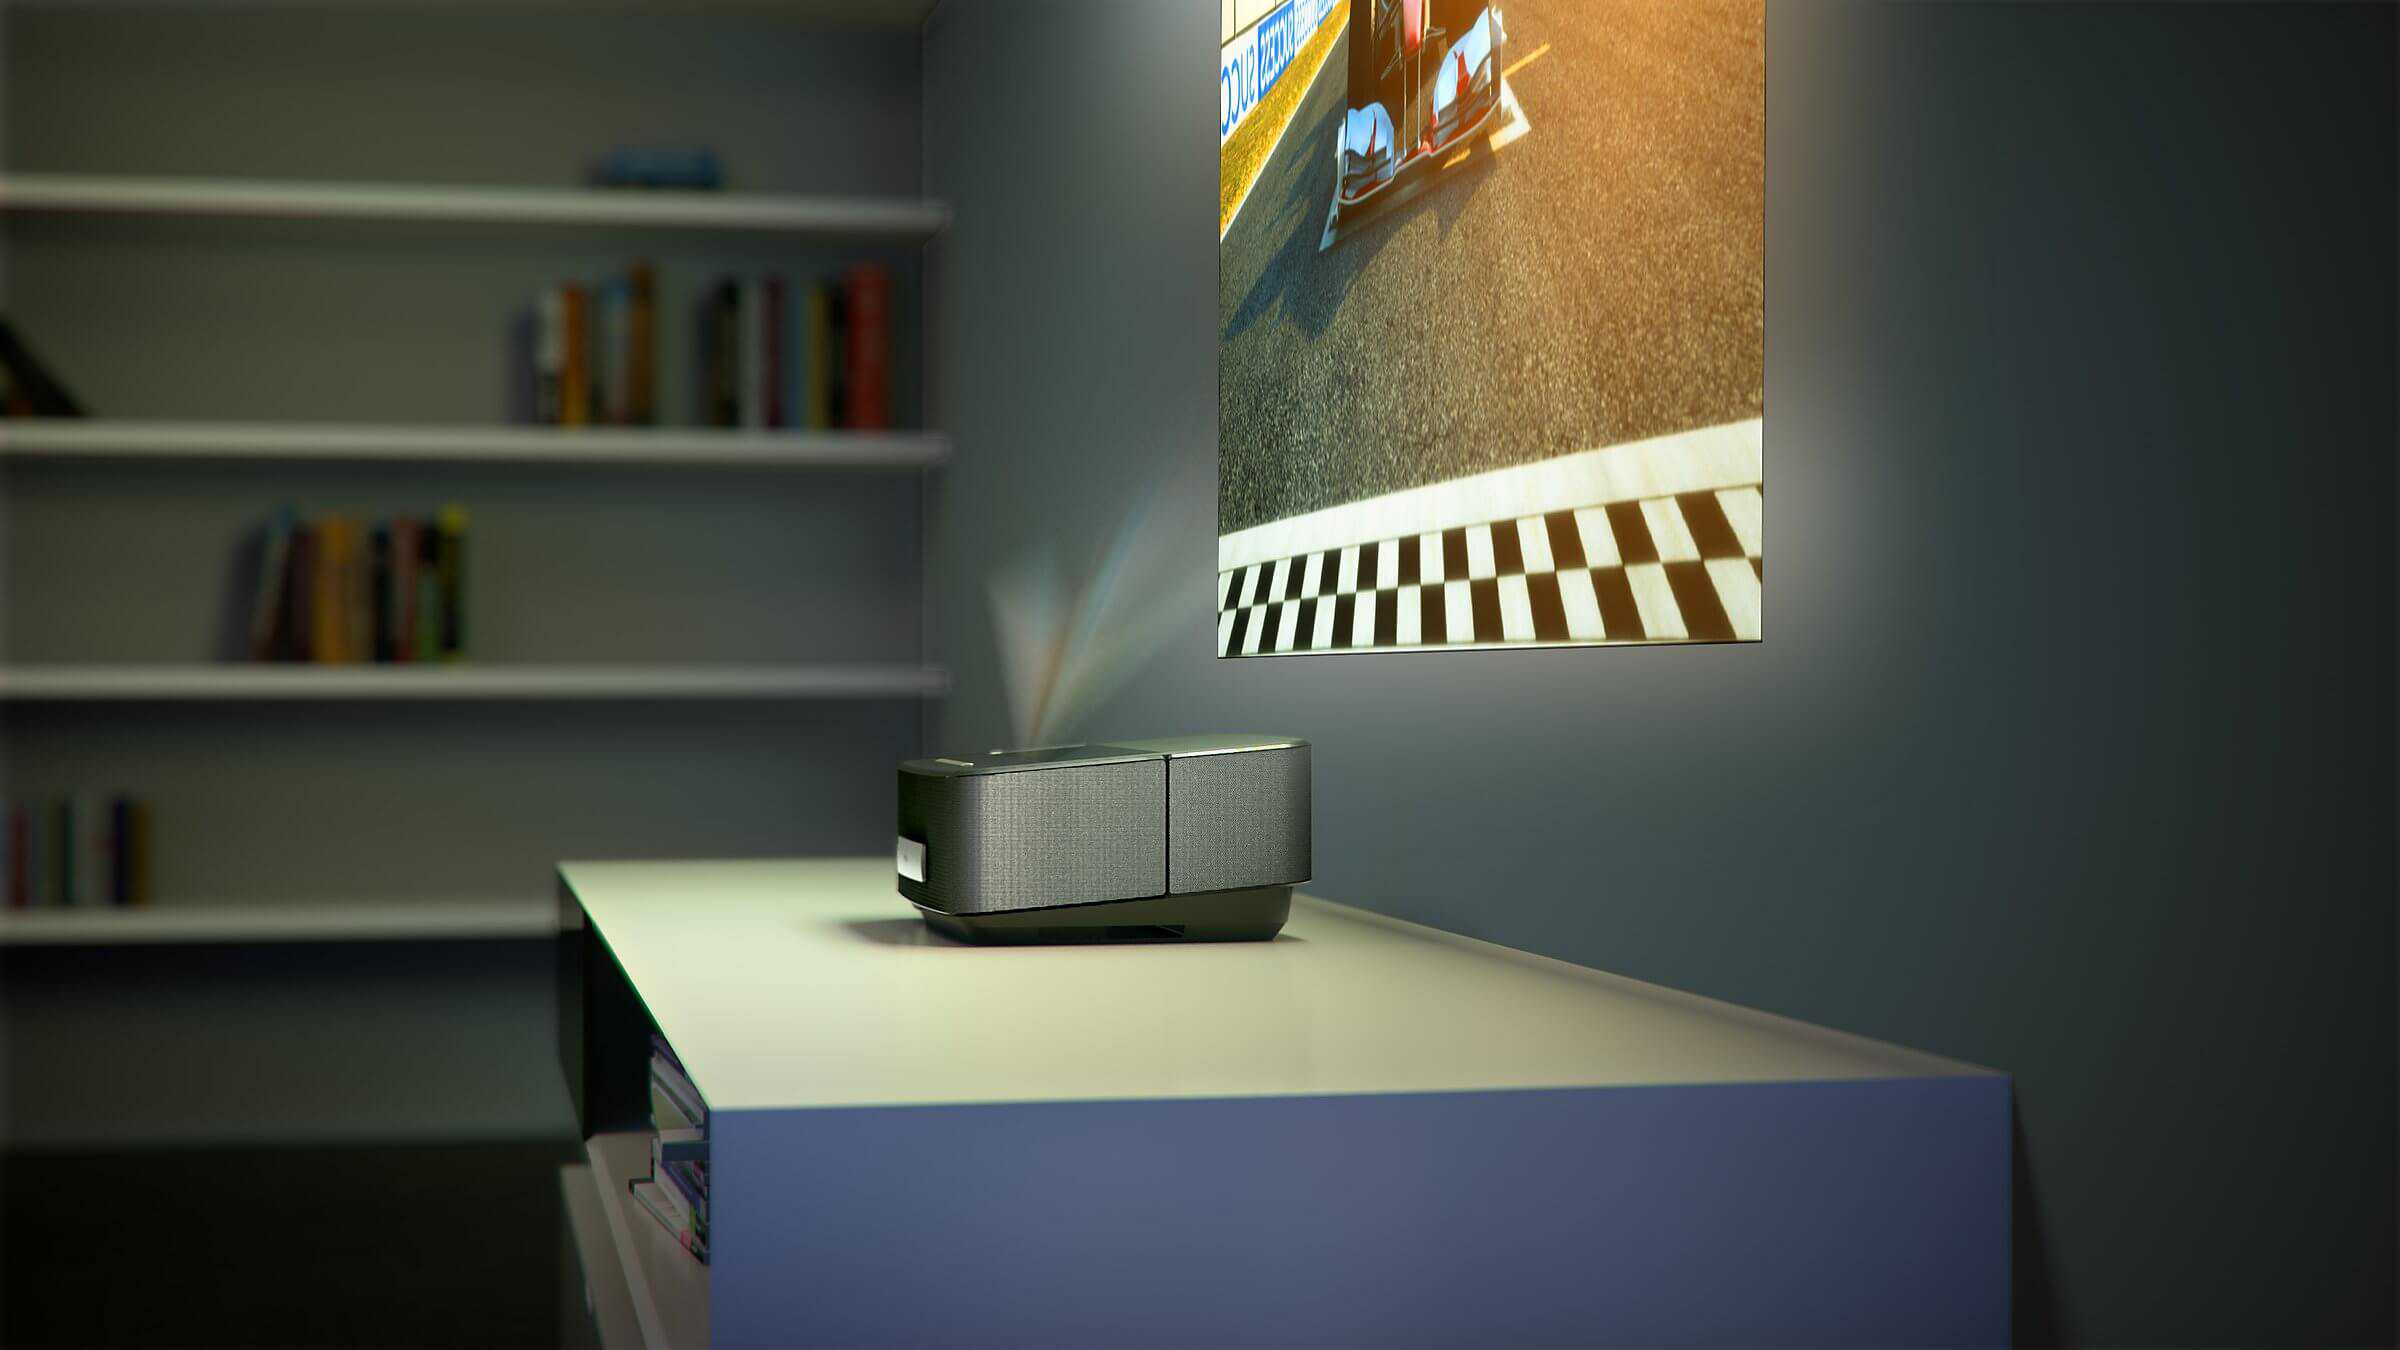
- Distance from the screen: Determine the distance between the projector and the screen or wall where you want to project the image. This will depend on the throw ratio of your projector, which is the distance the projector needs to be from the screen to achieve a certain size image. Refer to your projector’s manual or specifications for the recommended throw distance.
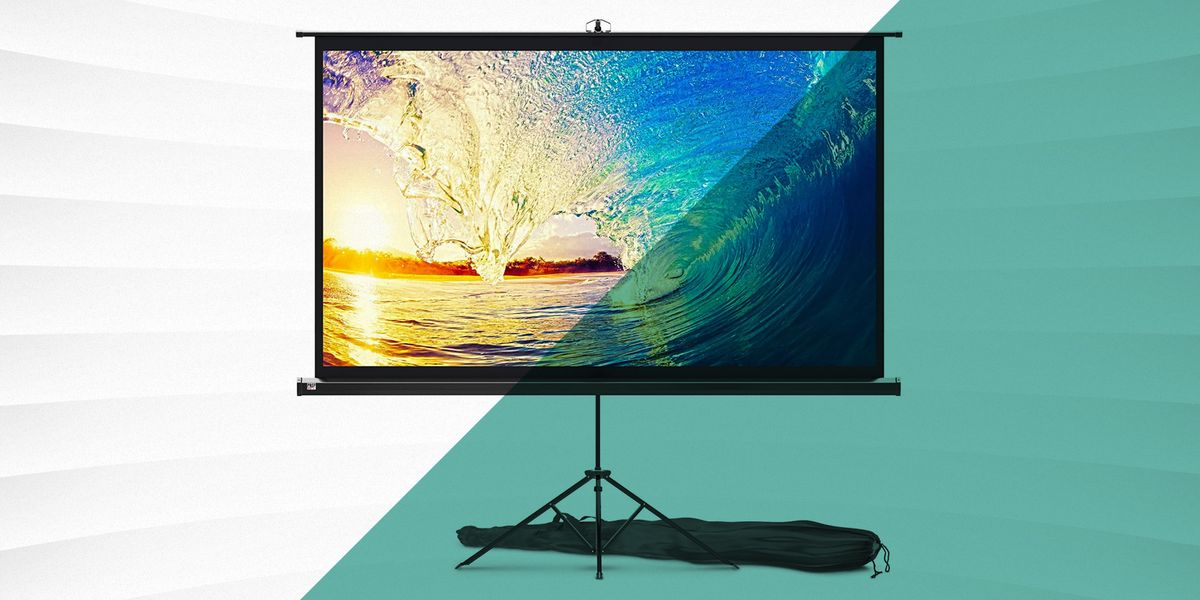
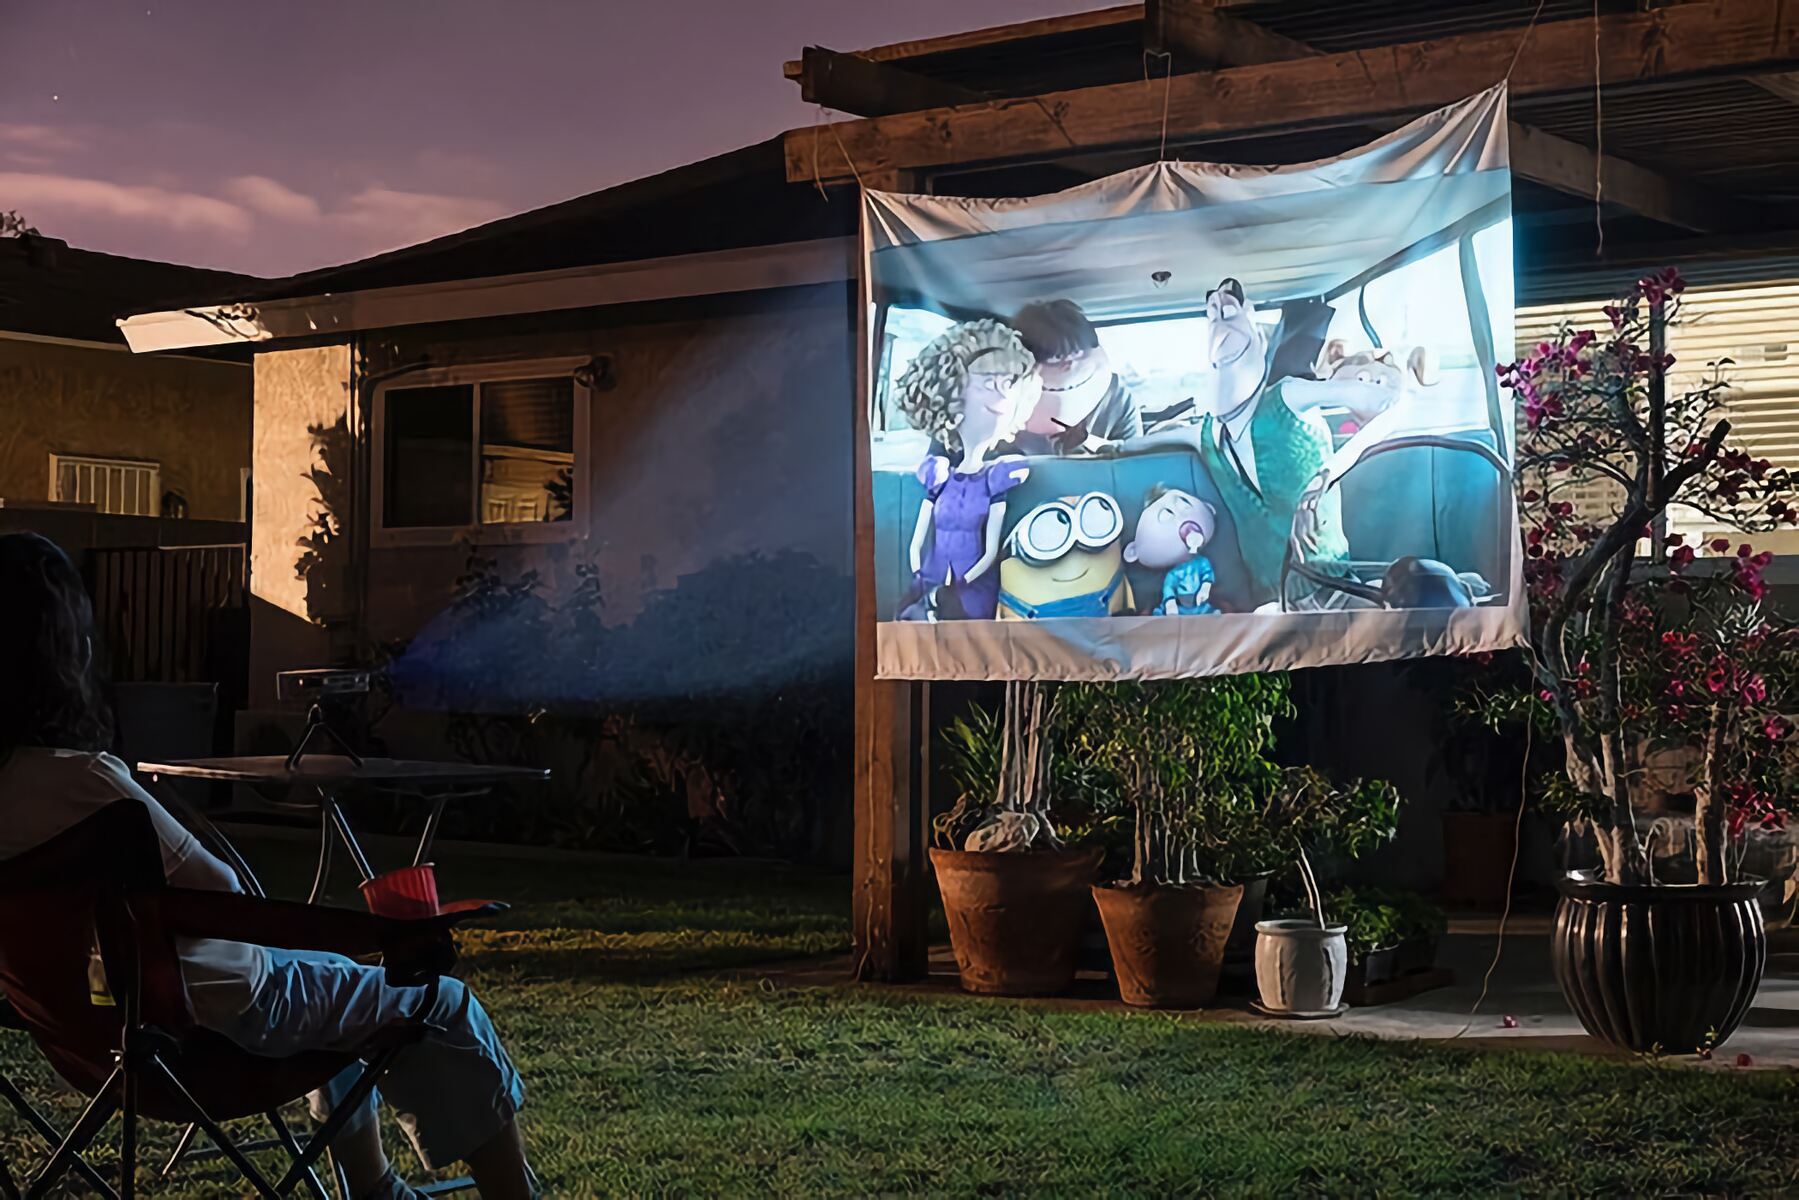
- Screen size and ambient light: Consider the size of the screen you want to project onto. The larger the screen, the brighter the projector will need to be to create a clear image. Additionally, take note of the ambient light in the room and try to minimize any direct light sources that may wash out the projected image.
- Room layout and seating arrangement: Take into account the layout of the room and the seating arrangement. Ensure that the projected image will be visible to everyone in the room without any obstructions such as furniture or columns.
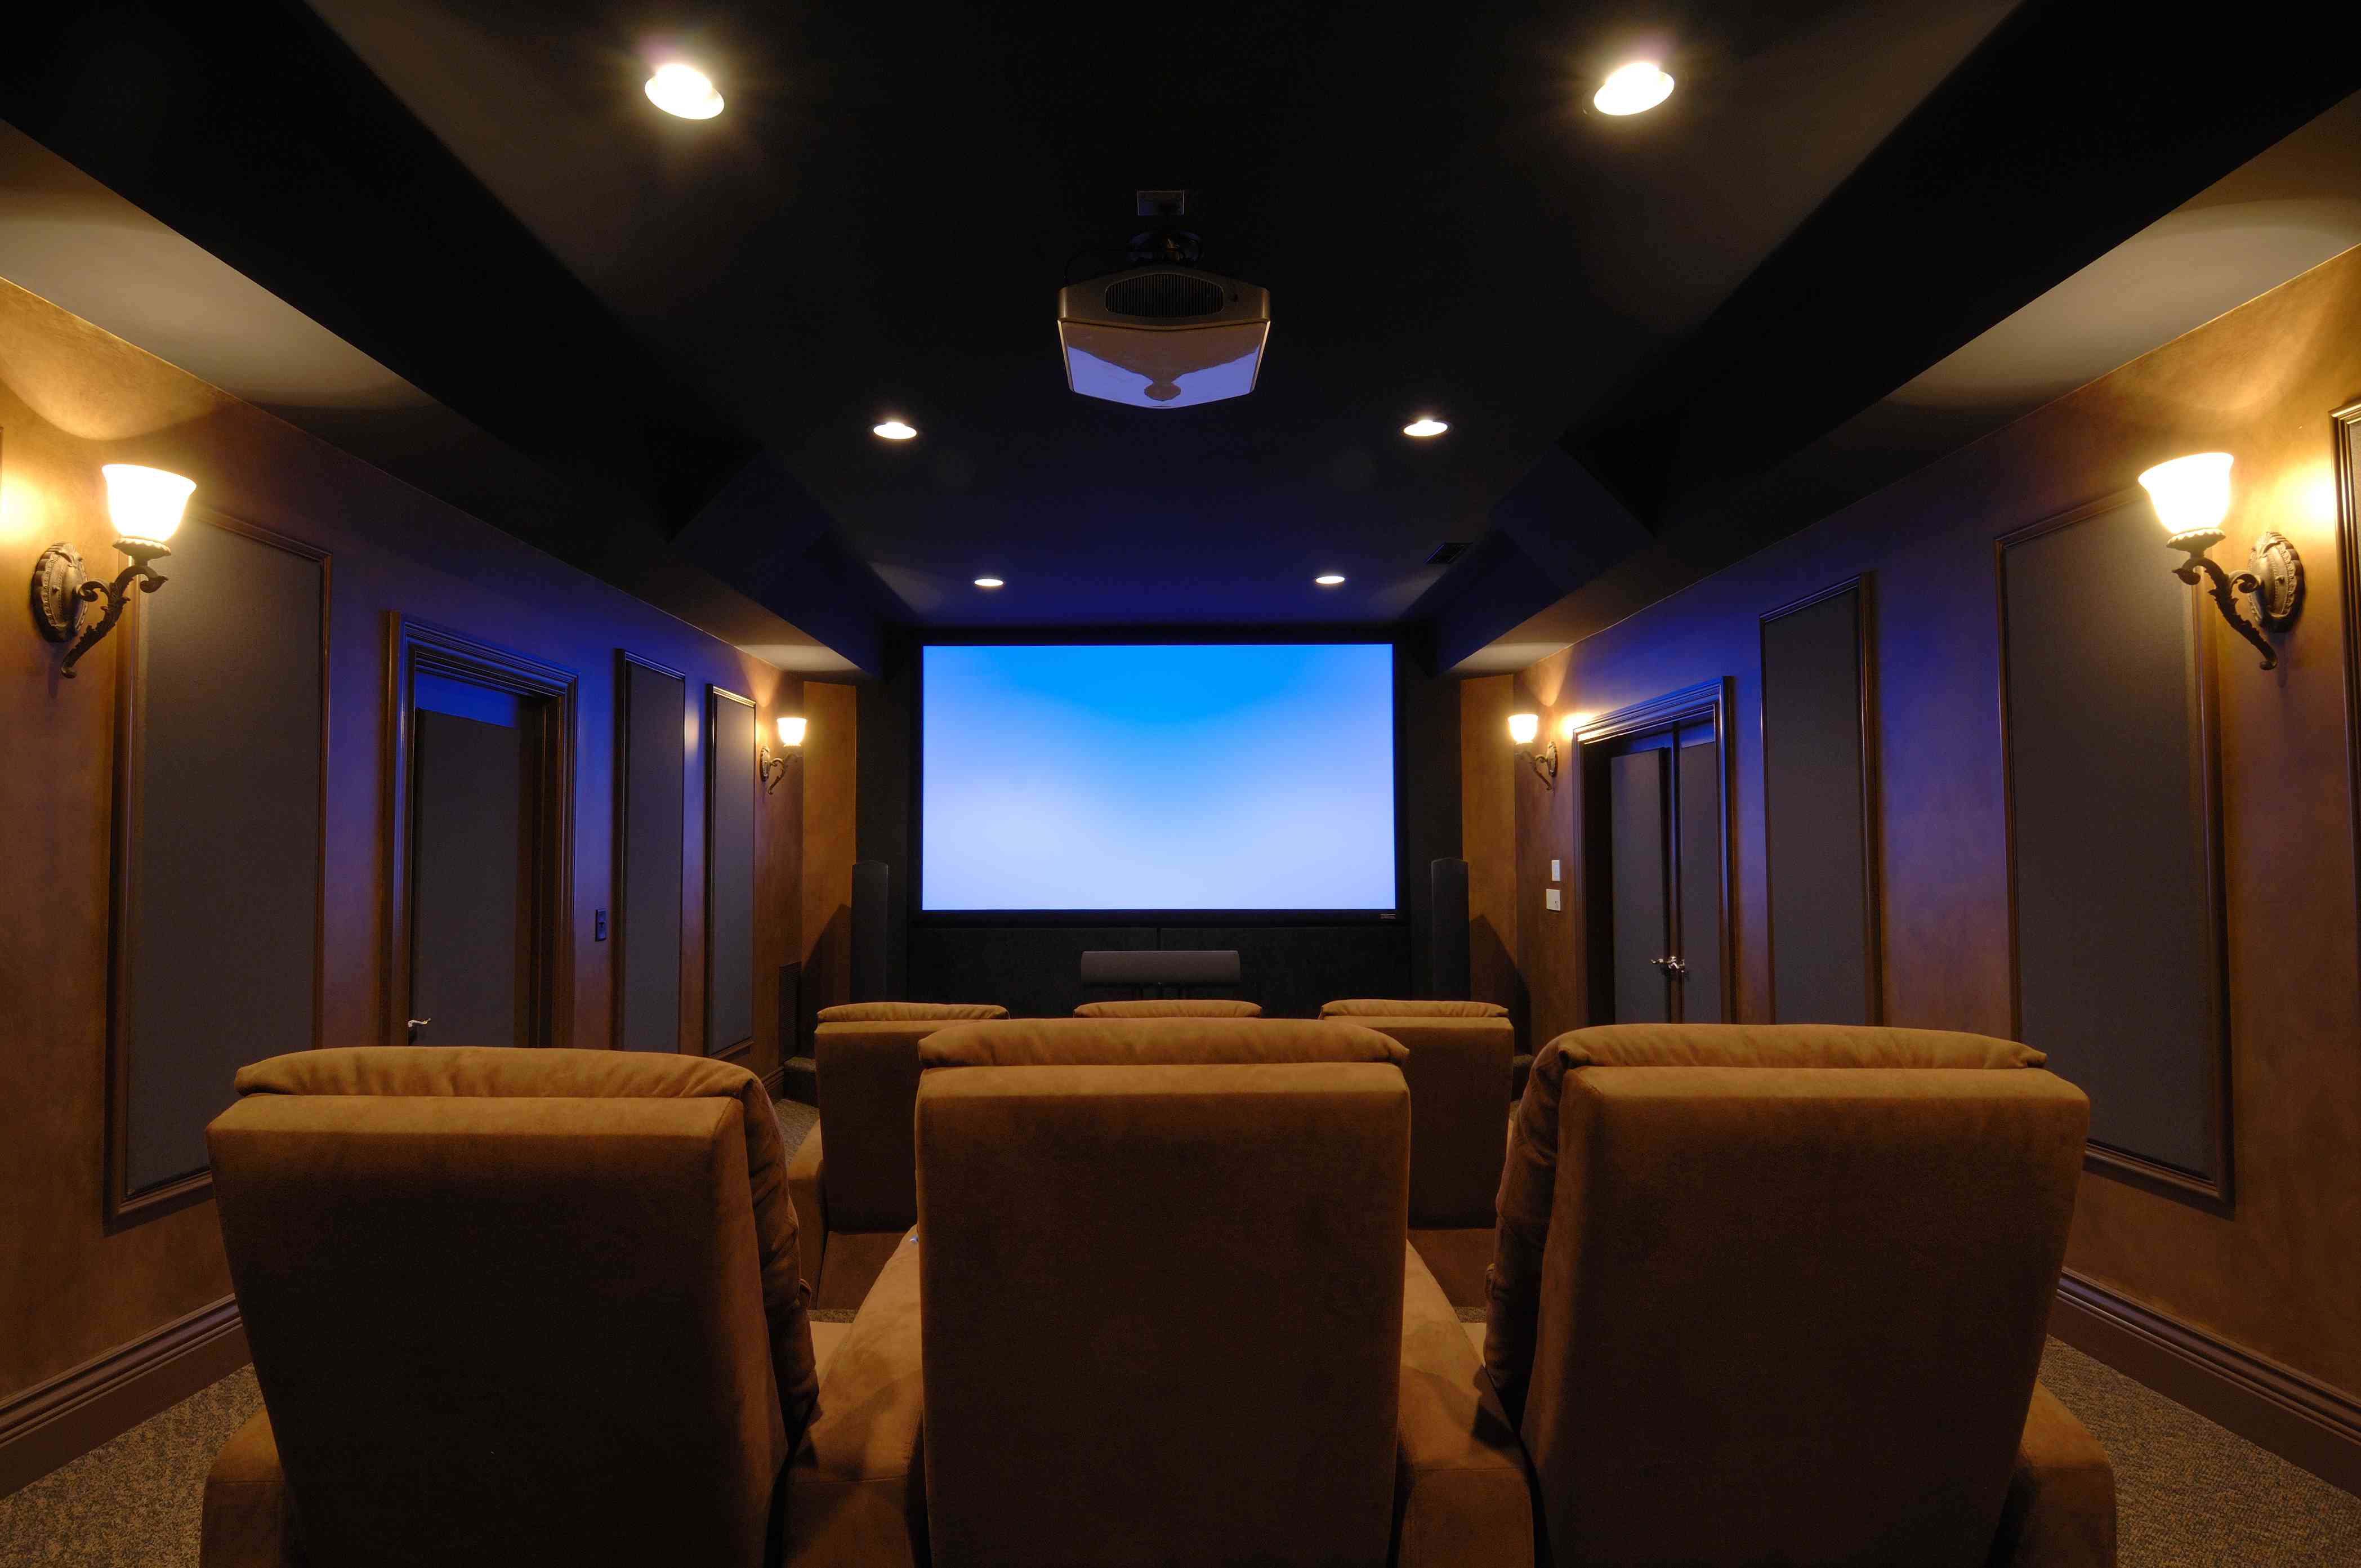
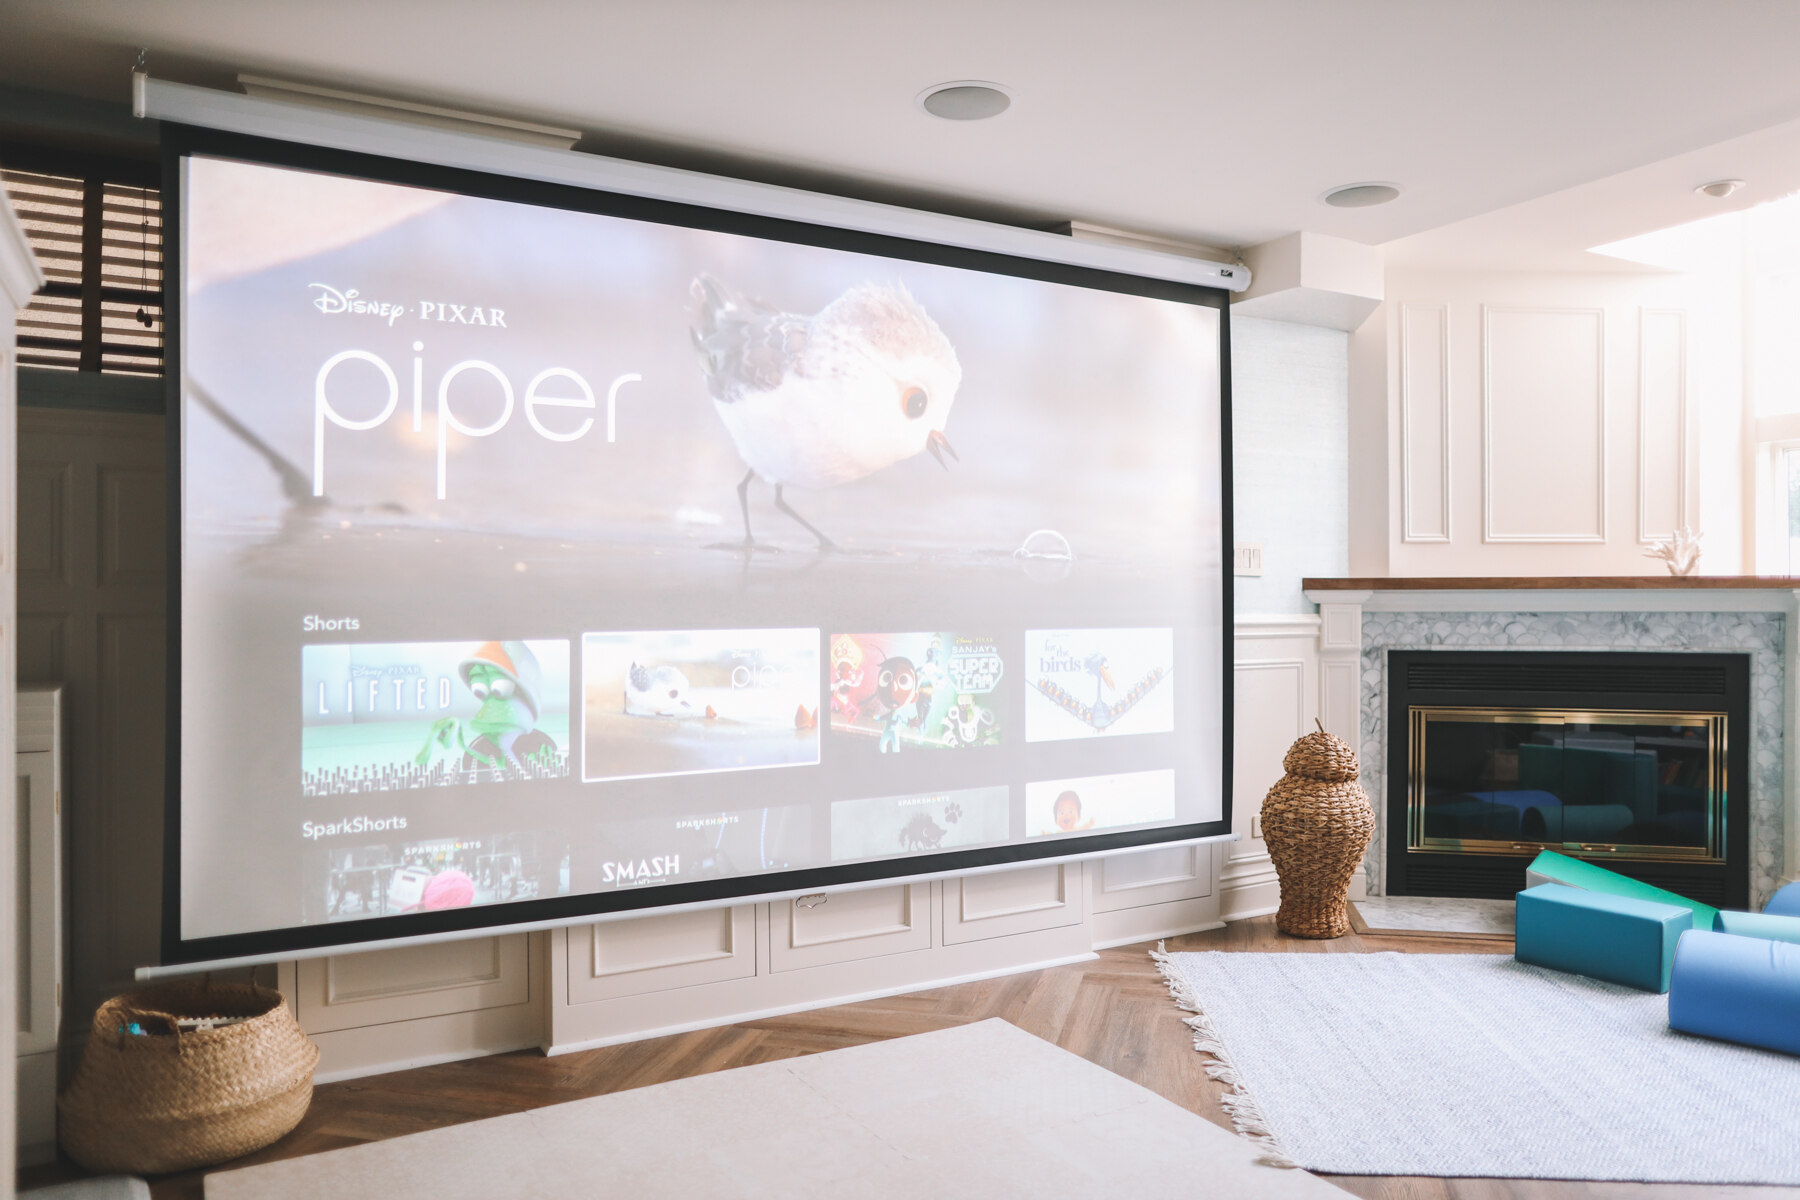
- Ceiling or tabletop placement: Decide whether you want to mount the projector on the ceiling or place it on a table. Ceiling mounting can help optimize space and prevent any obstructions, while tabletop placement offers more flexibility in positioning.
- Accessibility to power outlets and audio connections: Consider the availability of power outlets and audio connections near the chosen location. This will ensure that you can easily connect and power the projector without the need for long and visible cables.
By carefully considering these factors, you can choose the right location for your projector that maximizes image quality, visibility, and overall convenience. Once you have determined the ideal placement, you are ready to move on to the next step: setting up the projector itself.
Step 2: Set up the projector
Now that you have chosen the perfect location, it’s time to set up your projector. Follow these steps to ensure a smooth and hassle-free setup:
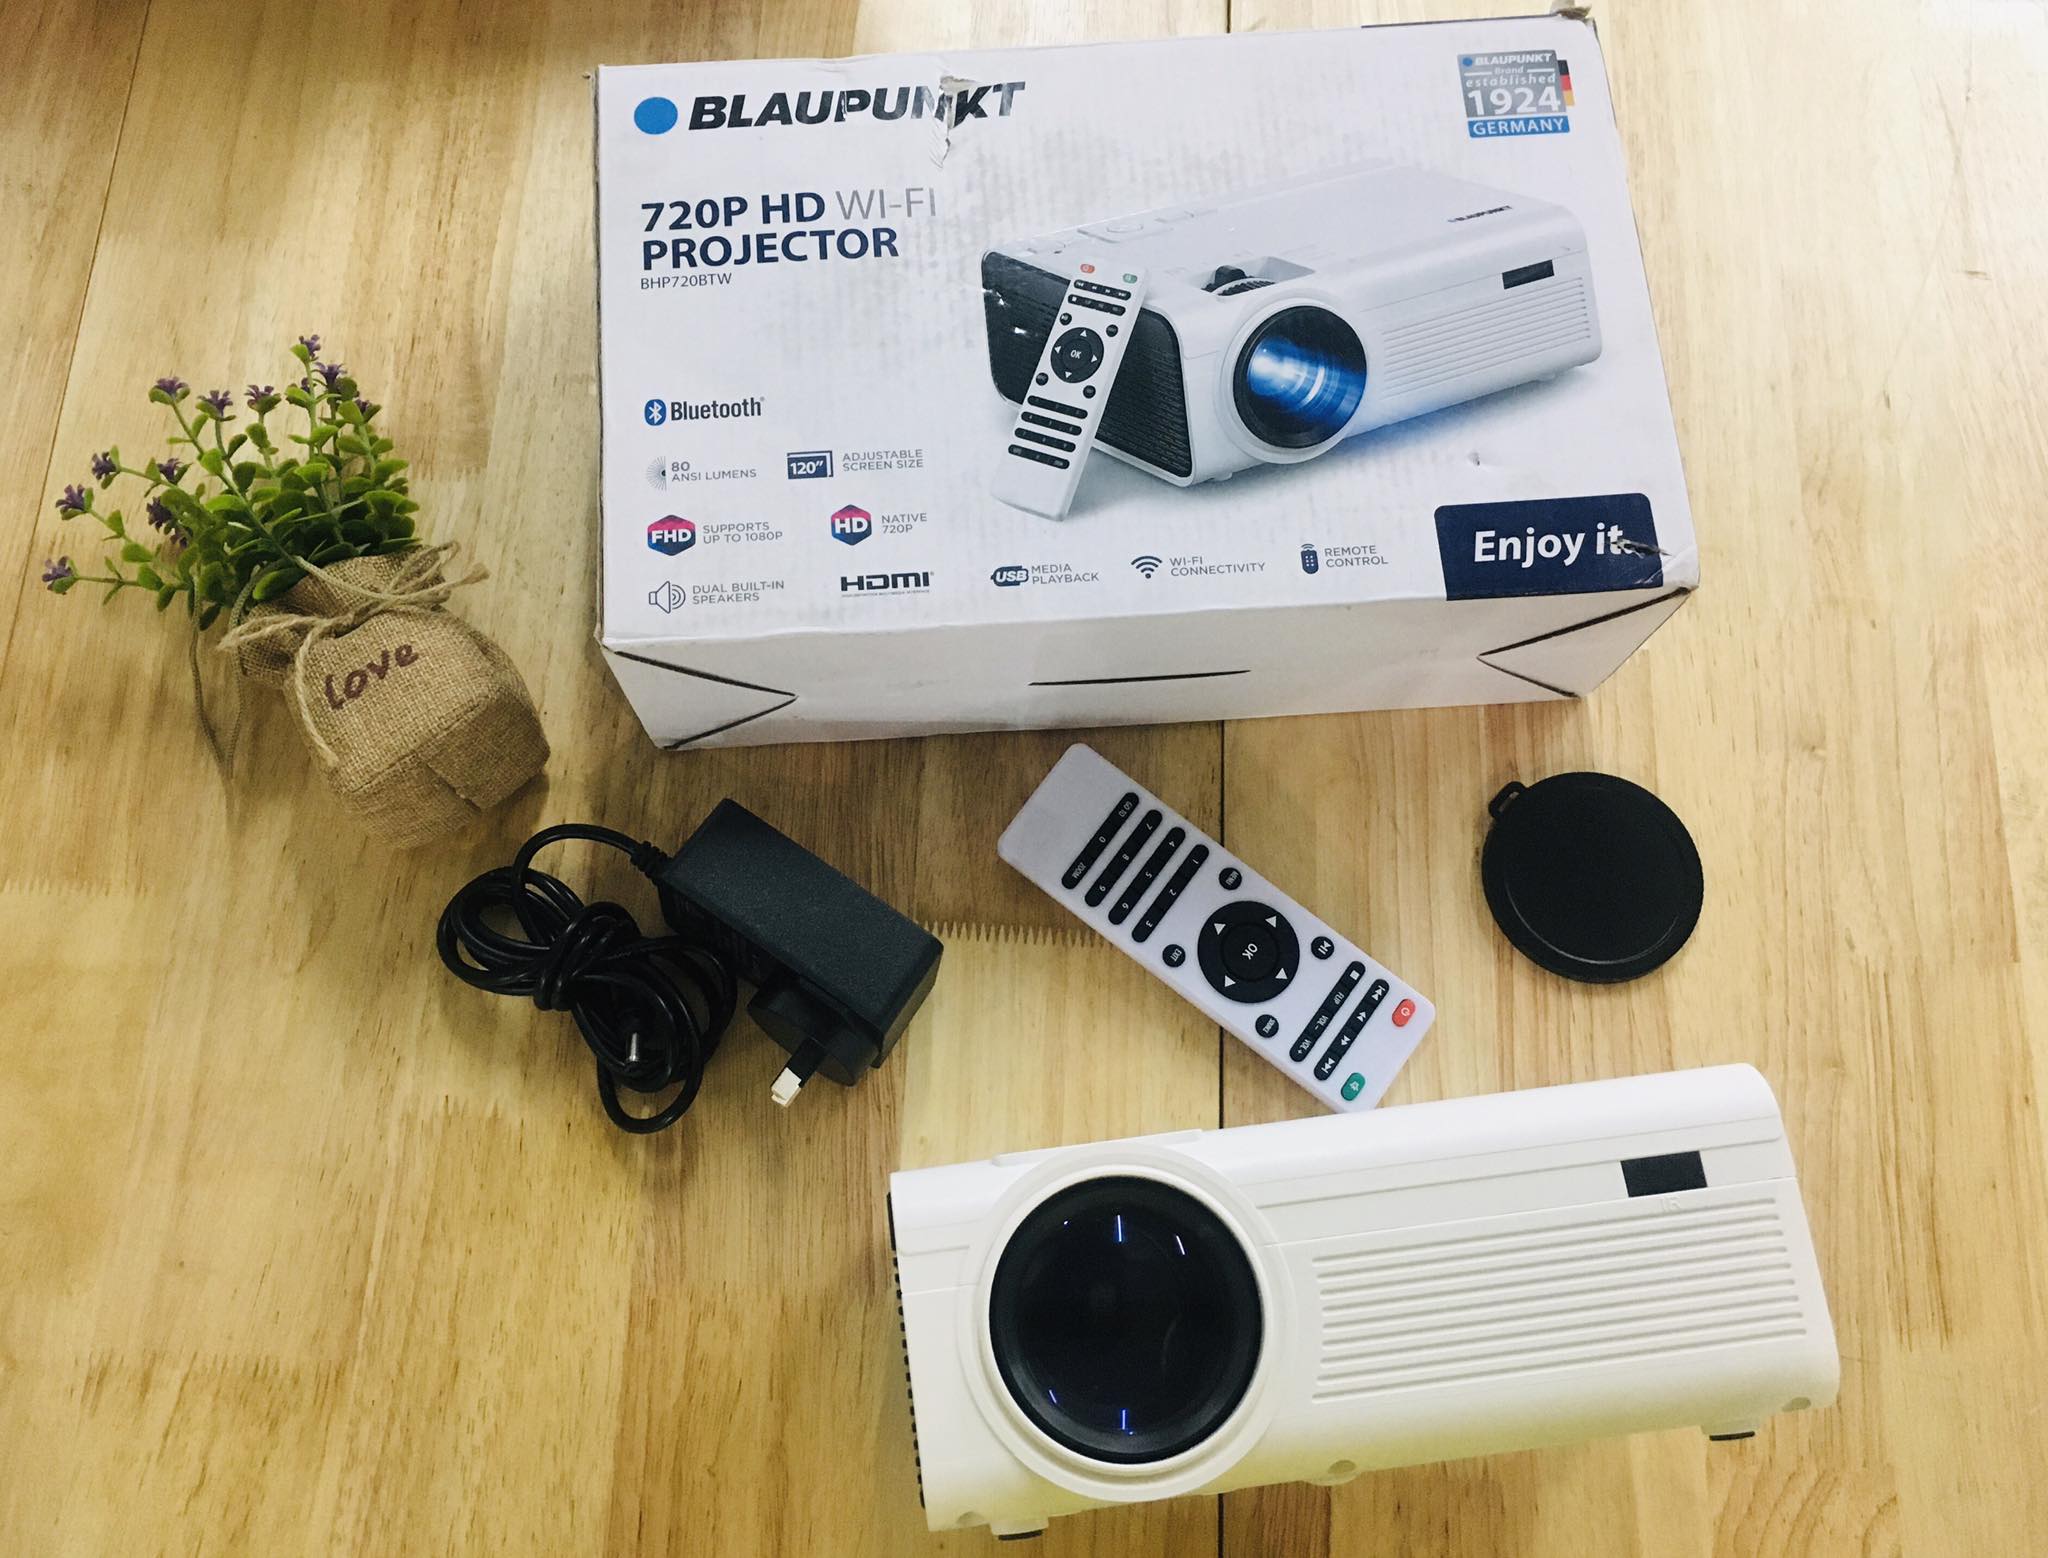
- Unpack and assemble: Begin by unpacking the projector and its accessories. Carefully remove all protective coverings and assemble any necessary components, such as the mount or tripod. Refer to the user manual for specific assembly instructions.
- Position the projector: Place the projector in the chosen location. If you are using a ceiling mount, follow the provided instructions to securely attach the projector to the mount. If you are using a tabletop setup, make sure the projector is stable and positioned correctly.
- Adjust the lens: Use the lens adjustment features, such as zoom, focus, and lens shift, to achieve a clear and properly proportioned image. Refer to the user manual for guidance on how to make these adjustments for your specific projector model.
- Connect the power: Plug the power cord into the projector and a nearby power outlet. Make sure the power source is stable and secure.
- Power on the projector: Press the power button on the projector or the remote control to turn it on. Wait for the projector to initialize and warm up, which may take a few moments.
- Adjust the keystone: Most projectors have a keystone correction feature that allows you to correct any distortion caused by the angle at which the projector is positioned. Use the keystone adjustment controls to align the image properly if necessary.
- Test the image: Project a test image or a blank screen onto your projection surface. Make any necessary adjustments to the position, focus, and keystone correction to achieve the desired image quality.
Once you have set up the projector and adjusted the image, you are one step closer to enjoying your multimedia experience. The next step involves fine-tuning the image and making the necessary connections for your video sources.
Step 3: Adjust the image
Now that you have set up the projector, it’s time to fine-tune the image to ensure optimal clarity and visual quality. Follow these steps to adjust the image to your preference:
- Screen alignment: Use the horizontal and vertical lens shift, as well as the zoom and focus controls, to align the projected image with your screen or projection surface. This will ensure that the image fits perfectly within the designated area.
- Brightness and contrast: Adjust the brightness and contrast settings on your projector to suit the ambient lighting conditions in the room. Brightness controls the overall luminance of the image, while contrast determines the difference between the darkest and brightest parts of the image.
- Color calibration: Fine-tune the color settings to achieve accurate and vibrant colors. Many projectors offer predefined color modes, such as cinema or vivid, which can be selected based on your preferences. Alternatively, you can manually adjust the color temperature, saturation, and tint settings.
- Aspect ratio: Choose the appropriate aspect ratio for your content. Most projectors offer multiple aspect ratio options, such as 4:3 for standard-definition content or 16:9 for widescreen content. Ensure that the aspect ratio is correctly set to avoid any distortion or black bars on the projected image.
- Image size: Adjust the size of the projected image by moving the projector closer or farther away from the screen. Use the zoom control to increase or decrease the size of the image as needed.
- Test and tweak: Project various types of content, such as images, videos, and text, to ensure that the image quality is optimal. Make any necessary adjustments to the settings mentioned above to achieve the desired image quality.
By adjusting the image settings according to your preferences, you can enhance the visual experience and make the content appear crisp and vibrant. Once you are satisfied with the image adjustments, it’s time to move on to the next step: connecting your video sources.
Step 4: Connect your sources
Now that you have adjusted the image to your liking, it’s time to connect your video sources to the projector. Follow these steps to ensure that your sources are properly connected:
- HDMI or VGA: Determine the type of video output available on your video source, whether it’s a laptop, DVD player, gaming console, or streaming device. Most modern devices use HDMI, while some older ones may still use VGA. Use the appropriate cable to connect the video output of your source to the corresponding input on the projector.
- Audio connection: If you want to have sound accompanying your video content, connect the audio output of your video source to the audio input on the projector or an external audio system. This can typically be done using a separate audio cable or by utilizing the HDMI cable, which carries both video and audio signals.
- Multiple sources: If you have multiple video sources, such as a Blu-ray player and a gaming console, consider using an HDMI switch or an AV receiver with multiple HDMI inputs. This will allow you to easily switch between different sources without having to constantly swap cables.
- Wireless connectivity: Some projectors offer wireless connectivity options, allowing you to connect your video sources without the need for cables. Check if your projector supports features like Wi-Fi or Bluetooth, and follow the manufacturer’s instructions to connect your wireless devices.
- Power on your sources: Once the connections are made, power on your video sources and select the appropriate input on the projector to display the content from the connected device.
Ensure that all connections are secure and properly inserted. If you encounter any issues with the video or audio signal, double-check the connections and make sure the correct input is selected on the projector. Once your sources are connected and powered on, you are ready to move on to the next step: connecting audio devices (if desired).
Step 5: Connect audio devices
Audio is an essential part of the overall multimedia experience. To ensure you have clear and immersive sound, follow these steps to connect audio devices to your projector:
- External speakers: If you want to enhance the audio quality, consider connecting external speakers to your projector. Check if your projector has audio output ports, such as a 3.5mm headphone jack or RCA ports. Connect the audio output from the projector to the input on your external speakers using the appropriate cable.
- Wireless speakers: Some projectors support wireless audio connectivity via Bluetooth or Wi-Fi. If your projector offers this feature, follow the manufacturer’s instructions to connect your wireless speakers. This eliminates the need for physical cables and provides more flexibility in speaker placement.
- Audio settings: Access the audio settings on your projector to adjust the volume, audio balance, and other sound-related options. Some projectors may offer equalizer settings to customize the audio output according to your preferences.
- Test the audio: Play different types of audio content to test the sound quality and ensure that the audio is properly synchronized with the video. Make any necessary adjustments to the volume or audio settings to achieve the desired sound experience.
Remember to check the audio settings on your video sources as well. Adjust the audio output settings on your connected devices, such as laptops or gaming consoles, to ensure that the audio signals are correctly routed to the projector or external speakers.
By connecting audio devices, you can elevate your viewing experience and enjoy immersive sound alongside the projected images. Once you have connected and tested the audio, it’s time to fine-tune the settings and make any necessary adjustments to achieve the best possible visual and auditory experience.
Step 6: Fine-tune the settings
Now that you have set up your projector, adjusted the image, and connected your video and audio sources, it’s time to fine-tune the settings for the optimal viewing experience. Here are some key considerations for fine-tuning the projector settings:
- Image presets: Many projectors offer pre-defined image presets, such as cinema, sports, or game mode. These presets are designed to optimize the image quality based on the content type. Experiment with different presets to find the one that best suits your preferences and the type of content you are viewing.
- Color temperature: Adjust the color temperature settings to enhance the color accuracy and overall tone of the image. Options may include warm, cool, or neutral presets. You can also manually adjust the red, green, and blue color levels if needed.
- Noise reduction: Some projectors feature noise reduction settings to minimize visual artifacts and graininess in the image. Experiment with these settings to find the optimum balance between reducing noise and maintaining image sharpness.
- Gamma correction: Gamma correction controls the brightness and contrast curve of the projected image. Adjusting the gamma settings can greatly impact the visibility of details in different lighting conditions. Experiment with gamma correction to achieve the desired level of contrast and detail in the image.
- Aspect ratio control: If you are viewing content with different aspect ratios, ensure that the projector is set to the appropriate aspect ratio to avoid stretching or distortion. Most projectors have options for automatic aspect ratio detection, but you can manually select the aspect ratio if needed.
- Image enhancement features: Some projectors offer additional image enhancement features like sharpness, edge enhancement, and color enhancement. Experiment with these features to enhance the overall image quality to your liking.
Take your time to fine-tune each setting based on your personal preferences and the viewing environment. Remember, every projector model is different, so refer to the user manual or the manufacturer’s instructions for specific guidance on adjusting these settings.
Once you have fine-tuned the settings to your satisfaction, it’s time to move on to the final step: testing the projector to ensure everything is working as intended.
Step 7: Test the projector
After setting up and fine-tuning your projector, it’s crucial to test its functionality and performance. Here are some essential steps to test the projector:
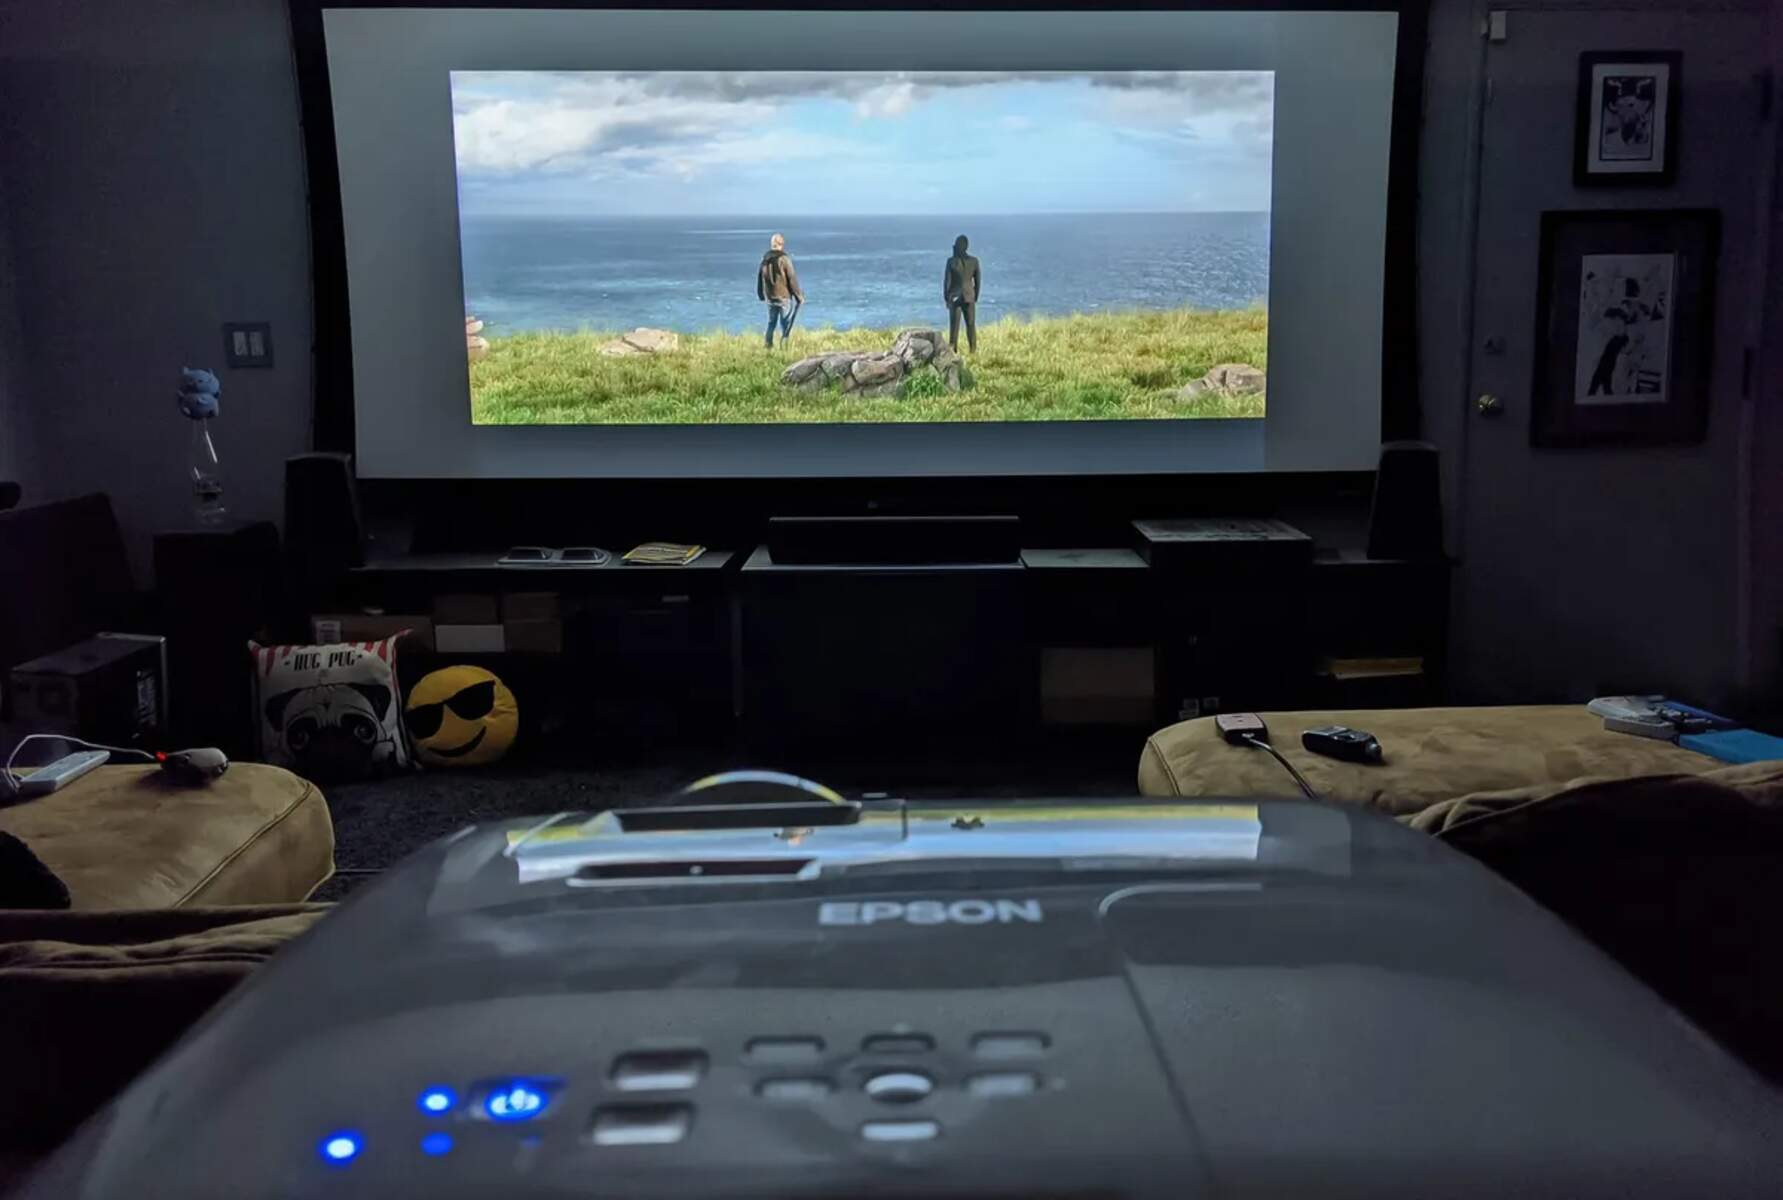
- Display various content: Play a variety of content through your connected sources, such as movies, videos, presentations, or games. This will allow you to assess the projector’s ability to reproduce colors accurately, handle motion smoothly, and provide a clear and vibrant image.
- Check for alignment and focus: Ensure that the projected image is properly aligned and focused on the screen or projection surface. Make any necessary adjustments to the lens shift, zoom, and focus settings to achieve a sharp and well-centered image.
- Test different lighting conditions: Evaluate the projector’s performance in different lighting conditions. Observe how well the projected image retains its clarity and visibility in both dark and well-lit environments. Adjust the brightness and contrast settings if needed.
- Assess audio quality: Listen to the audio output from the projector or connected speakers. Check for any distortions, delays, or issues with volume levels. Make adjustments to the audio settings if necessary.
- Remote control functionality: Test the remote control to ensure that it functions properly and can conveniently operate the projector from a distance. Check if all the buttons respond correctly and that you have full control over the projector’s settings.
- Connectivity options: If your projector has additional connectivity options, such as USB ports or memory card slots, test their functionality. Check if you can successfully play multimedia files directly from these sources.
By systematically testing the projector, you can identify any issues or areas for improvement. Address any concerns by referring to the user manual or contacting customer support if necessary. This step ensures that everything is functioning correctly before you fully enjoy your projector for movies, presentations, gaming, or any other activities.
Congratulations! You have successfully set up and tested your projector. Now you can immerse yourself in incredible visuals and audio, whether you’re enjoying a movie night with friends, delivering a captivating presentation, or gaming like never before. Remember to keep the user manual handy for future reference and to periodically clean and maintain your projector to ensure optimal performance.
Conclusion
Setting up a projector may initially seem like a daunting task, but with the right guidance, it can be a straightforward process that leads to an immersive multimedia experience. By following the step-by-step instructions outlined in this guide, you can confidently set up your projector and enjoy stunning visuals and audio in no time.
Remember to choose the right location for your projector, considering factors such as screen size, ambient light, and room layout. Properly setting up the projector itself is essential, from assembling it to adjusting the lens, connecting the power, and powering it on. Adjusting the image and fine-tuning the settings will help you achieve an optimal viewing experience, with correctly aligned images, vibrant colors, and the right aspect ratio.
It’s crucial to properly connect your video and audio sources, using appropriate cables and ensuring the audio is synchronized with the video. Connecting audio devices, such as external or wireless speakers, will enhance the overall experience and immerse you in the sound alongside the projected images. Fine-tuning the settings, such as image presets, color temperature, and gamma correction, allows you to personalize the viewing experience according to your preferences.
After setting up and adjusting all the necessary settings, it’s essential to test the projector thoroughly. Testing various content, checking alignment and focus, assessing audio quality, and ensuring remote control functionality and connectivity options will help identify any issues and allow you to address them before fully enjoying your projector.
With the projector set up and tested, you can now indulge in incredible visuals, whether it’s for entertainment, presentations, or gaming. Enjoy the immersive experience and make the most of your projector, taking advantage of its capabilities to create memorable moments with friends, family, or colleagues.
By following these steps and making adjustments where needed, you can ensure that your projector performs optimally and provides a visually stunning and enjoyable experience every time you use it. Now, go ahead and begin your journey into the world of larger-than-life projection!