Introduction
Setting up Chromecast on your TV is a simple and convenient way to stream your favorite movies, TV shows, and other media content from your smartphone, tablet, or computer directly to your television screen. Whether you’re a tech enthusiast or a casual user, Chromecast offers seamless connectivity and a user-friendly experience.
In this guide, we will walk you through the step-by-step process of setting up your Chromecast on your TV. From unboxing the device to connecting it to your Wi-Fi network, we’ve got you covered. So let’s dive in and get started!
Before we begin, it’s important to note that Chromecast is compatible with most modern TVs that have an HDMI port. Additionally, you will need a compatible device, such as a smartphone or computer, to control and stream content to your Chromecast. Now that we’ve covered the basics, let’s move on to the actual setup process!
Step 1: Unboxing the Chromecast
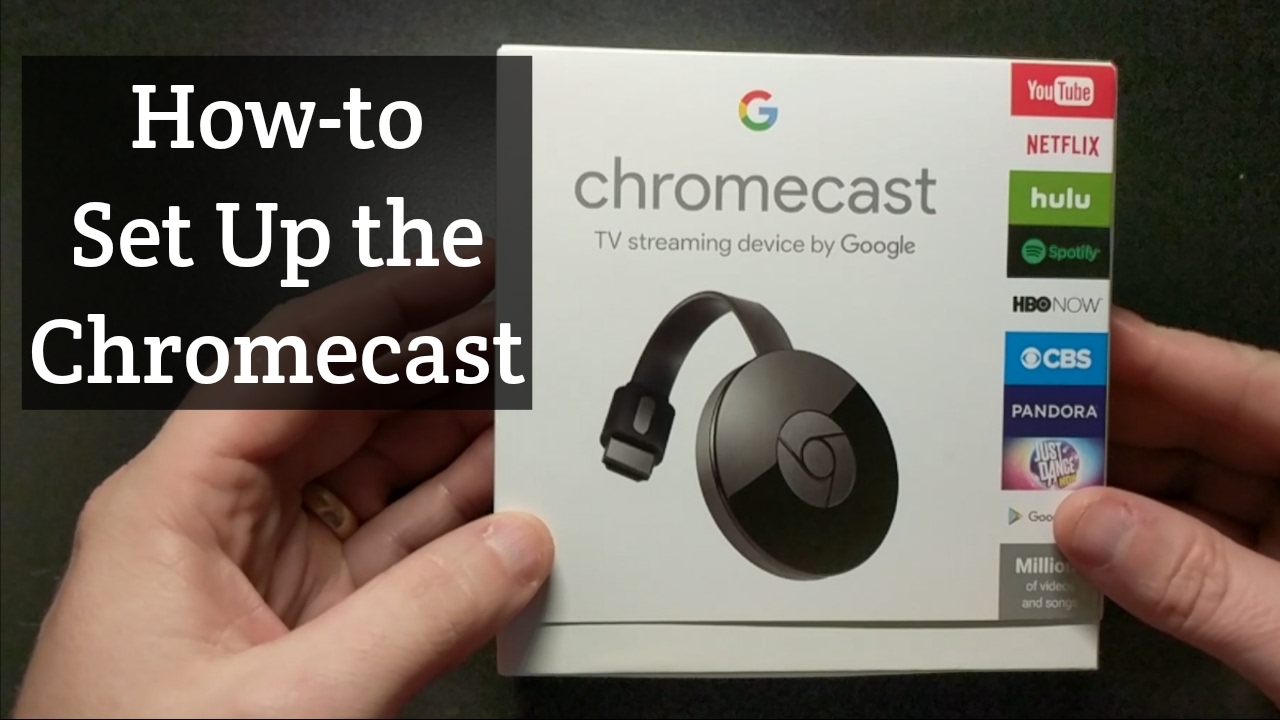
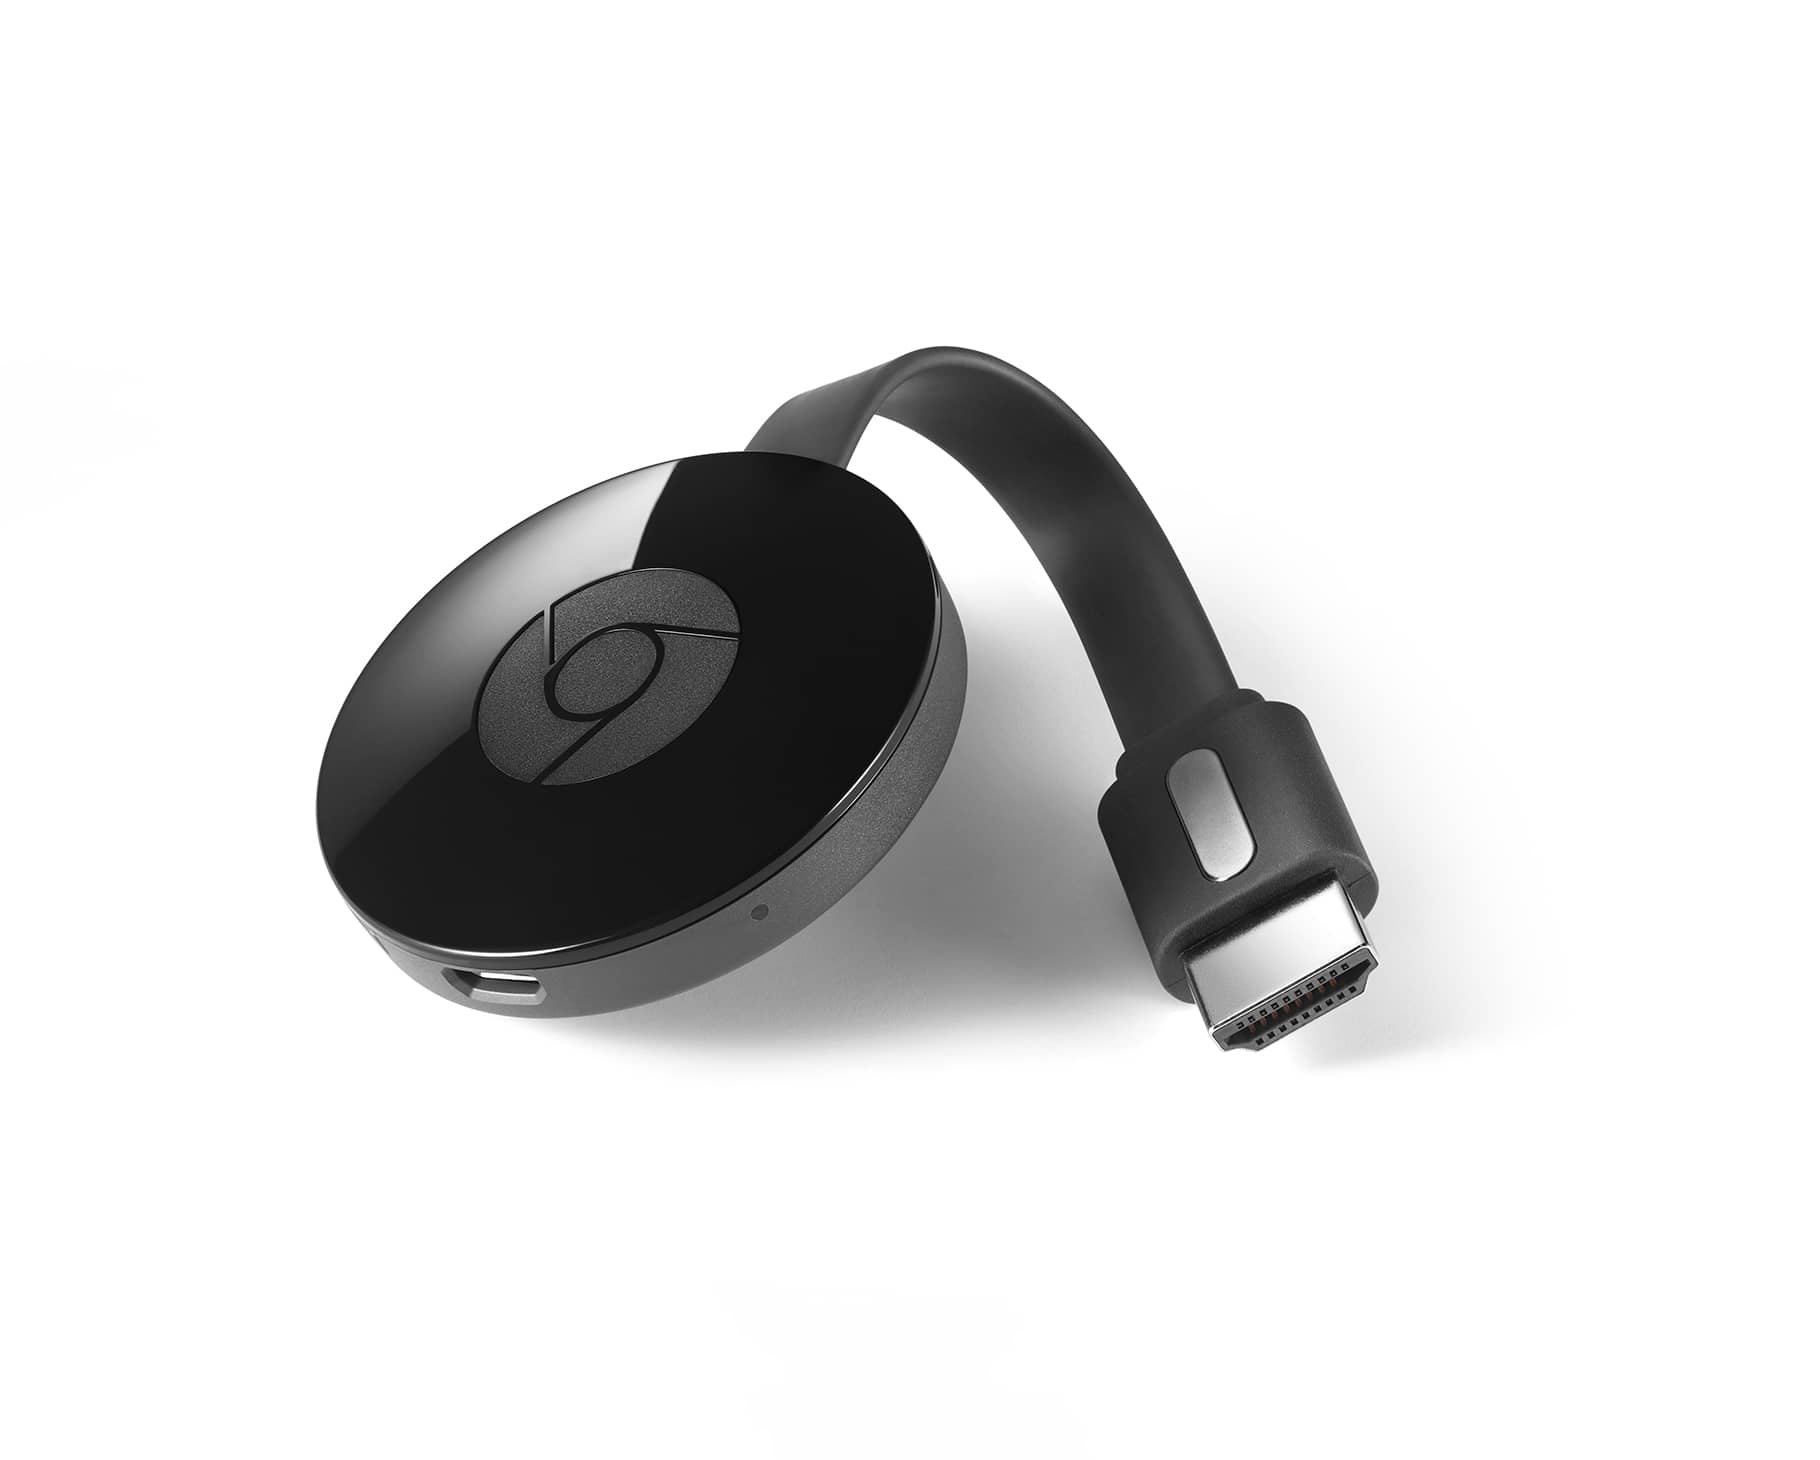
The first step in setting up your Chromecast is unboxing the device. Start by locating the Chromecast package, which typically consists of the Chromecast dongle, a power adapter, and a USB cable.
Remove the packaging carefully, ensuring not to damage any of the components. Take a moment to familiarize yourself with the Chromecast dongle, which is a small device that will be plugged into your TV’s HDMI port.
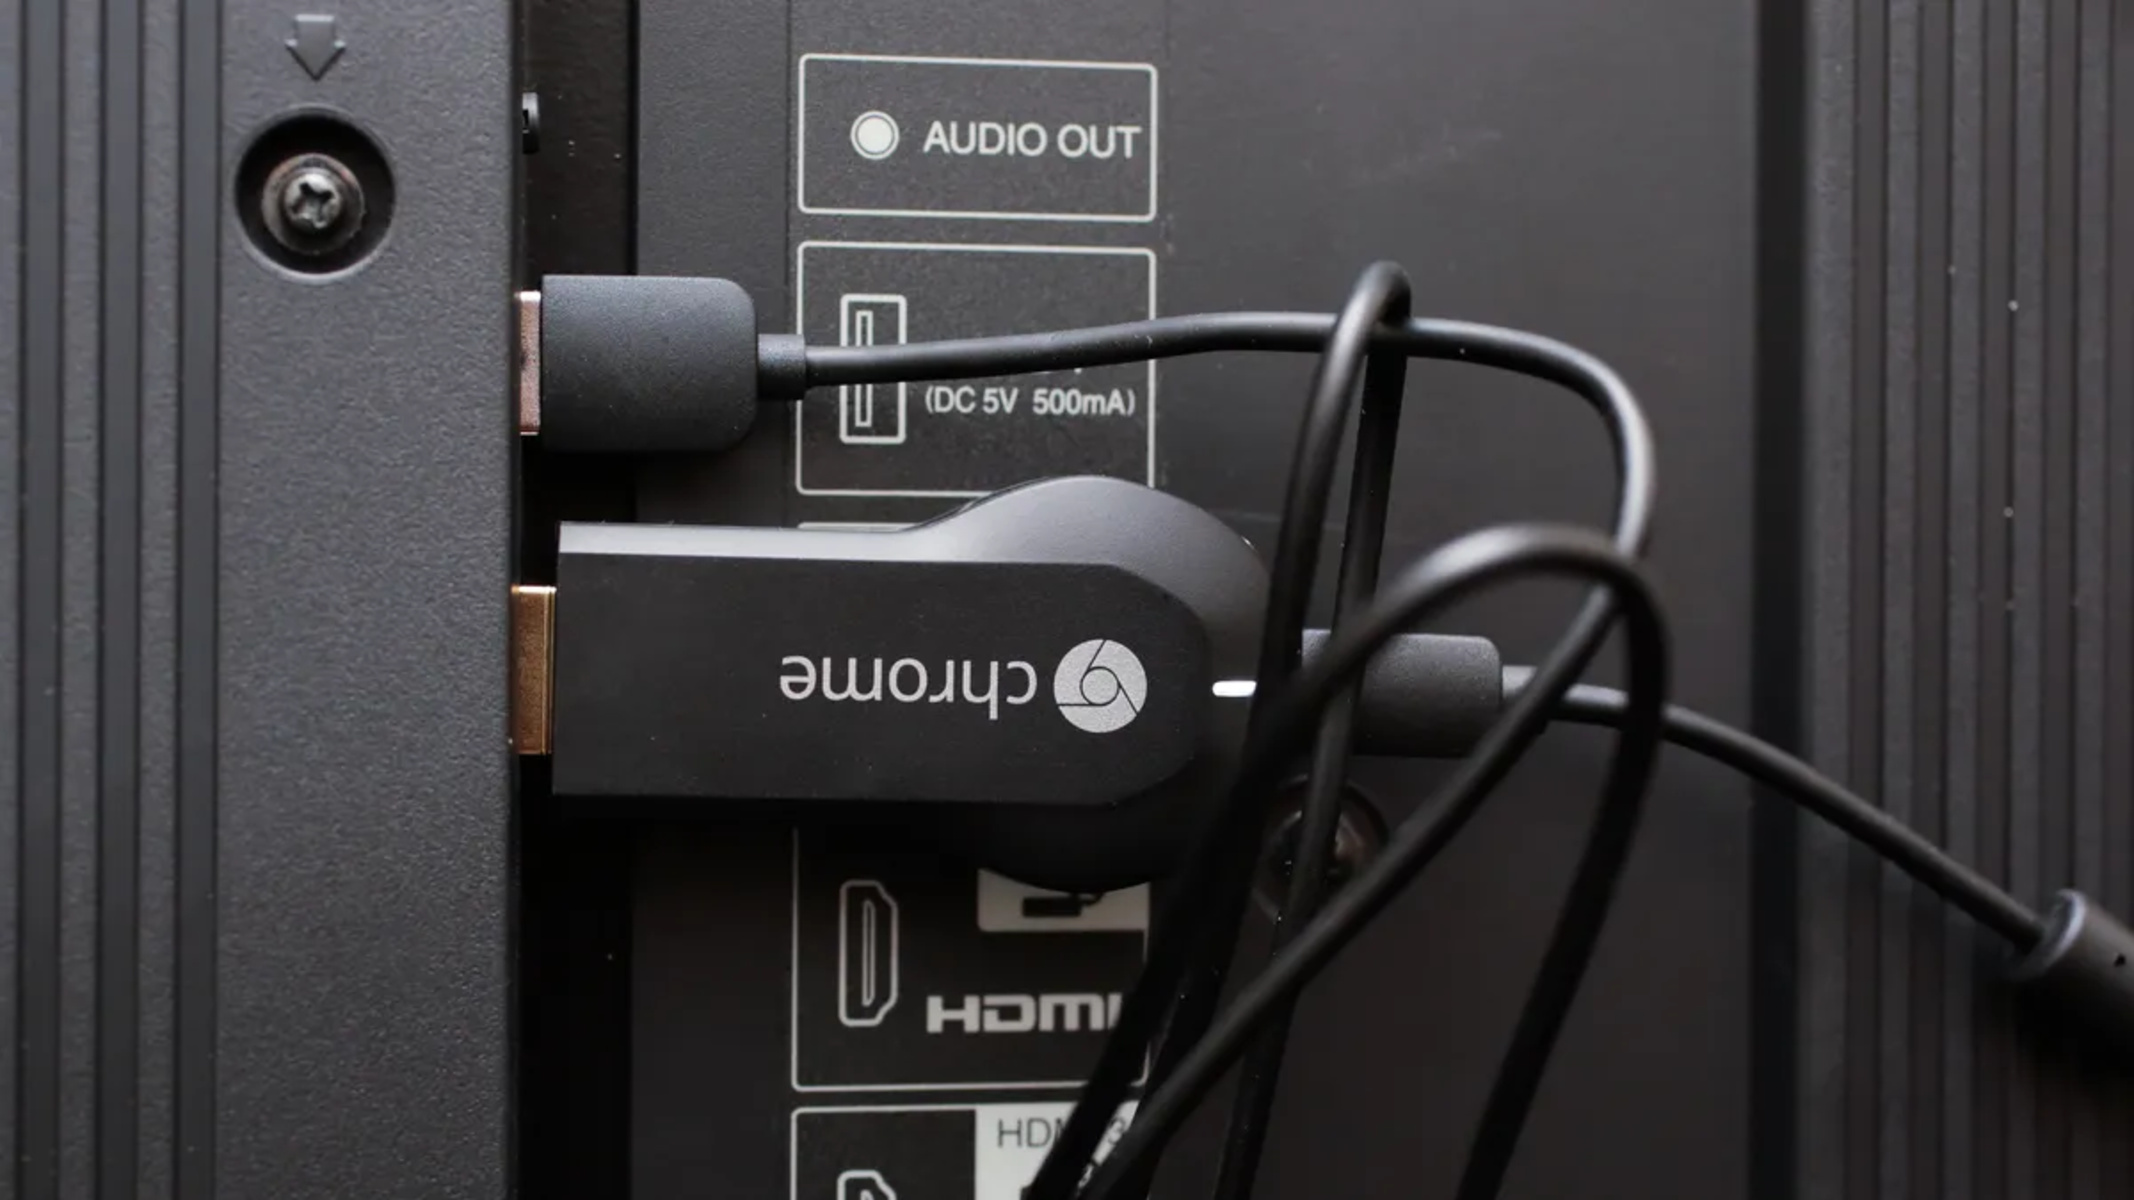
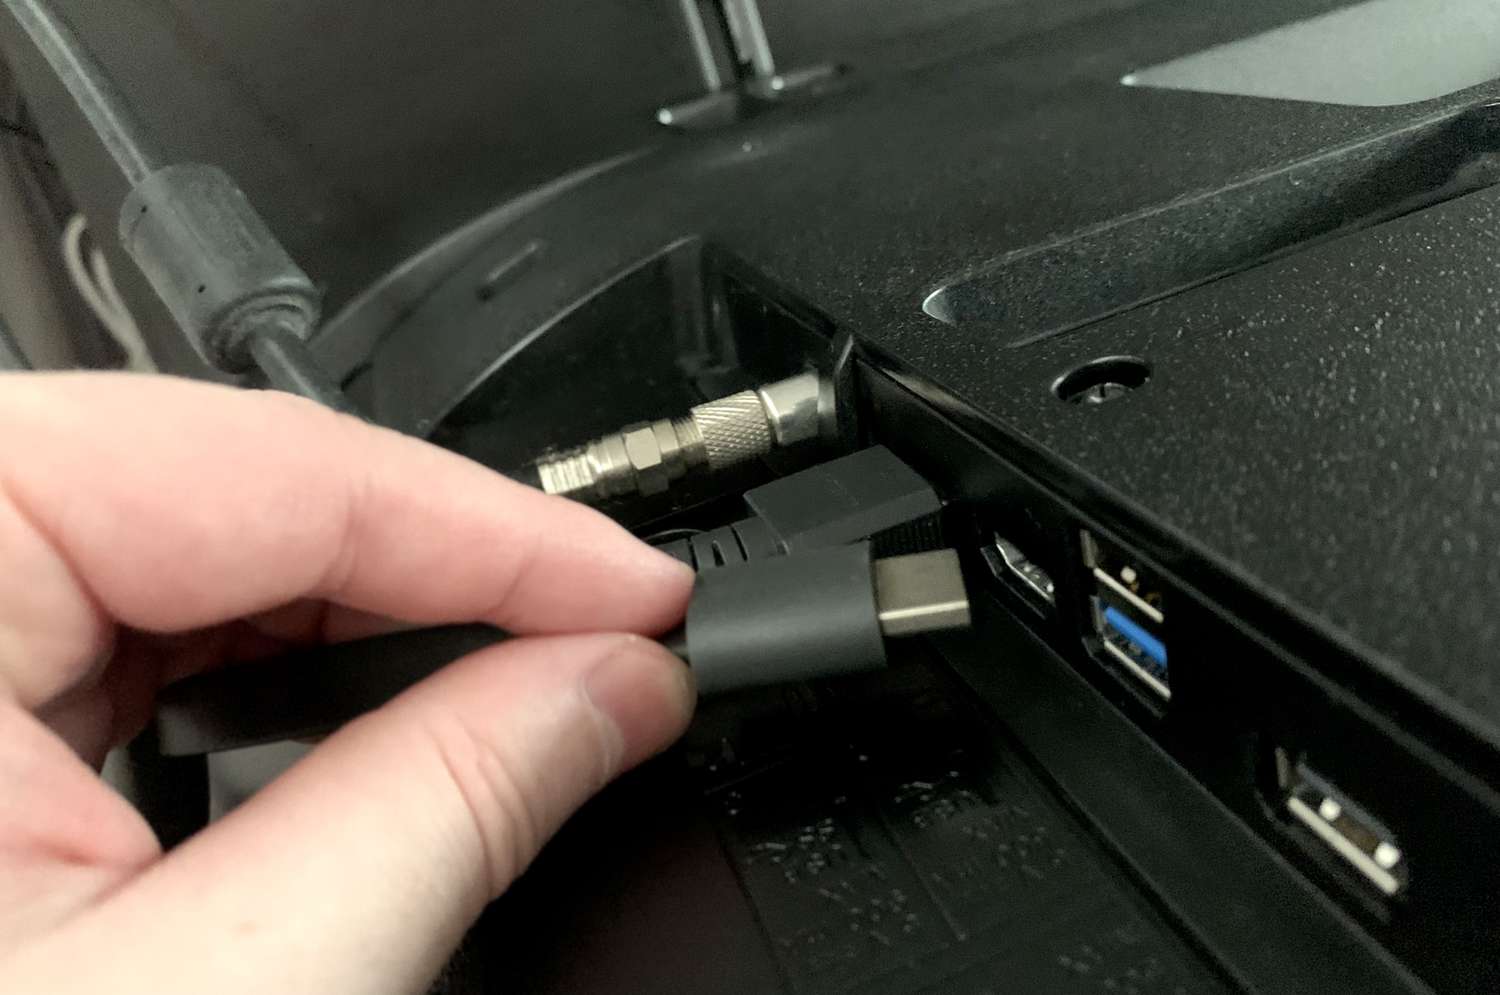
Once you’ve unboxed the Chromecast, locate an available HDMI port on your TV. It’s recommended to use the HDMI port labeled as “HDMI Input” or “HDMI 1,” as these are commonly used for connecting external devices.
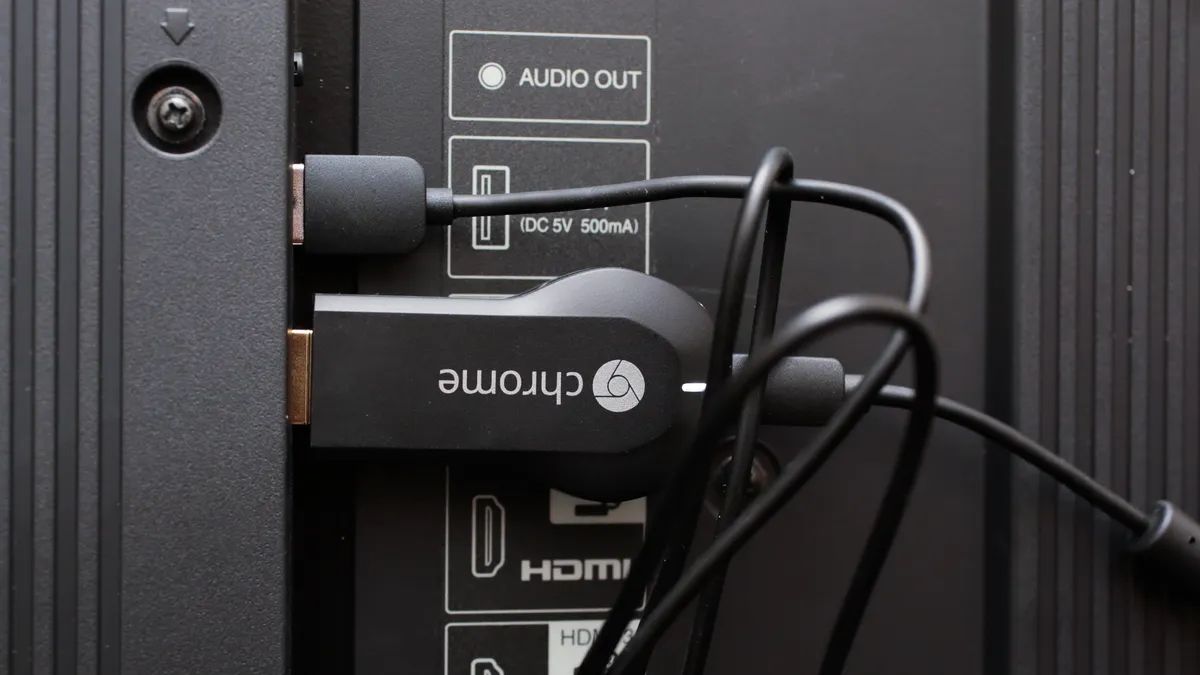
After identifying the HDMI port, connect one end of the HDMI cable to the Chromecast dongle and the other end to the HDMI port on your TV. Ensure that the connection is secure.
Next, you’ll need to provide power to the Chromecast. Connect the USB cable’s smaller end to the Chromecast dongle and the larger end to the power adapter. Plug the power adapter into a power outlet, and the Chromecast is now ready to be set up.
It’s important to note that some newer TV models come with a built-in USB port that can power the Chromecast without requiring an external power adapter. If your TV has a USB port and you prefer using it, you can connect the USB cable directly to the TV’s USB port.
With the Chromecast unboxed and properly connected to your TV, we can move on to the next step: setting up the Chromecast using the Google Home app.
Step 2: Connecting the Chromecast to your TV
Now that you have unboxed the Chromecast and made the necessary physical connections, it’s time to connect the device to your TV. Follow these simple steps:
- Ensure that your TV is turned on and set to the appropriate HDMI input that you connected the Chromecast to.
- Using your TV remote, navigate to the HDMI input channel where the Chromecast is connected. You should see the Chromecast screen appear on your TV.
- At this point, you may notice a message on your TV screen indicating that the Chromecast does not have an internet connection. Don’t worry, we will cover that in the next steps.
- If you don’t see the Chromecast screen on your TV, double-check the HDMI connection and make sure it is securely plugged in. You may also need to switch to a different HDMI input on your TV.
- Once you have successfully connected the Chromecast to your TV, it’s time to move on to the next step and set up the Chromecast using the Google Home app on your smartphone or tablet.
Now that you have connected the Chromecast to your TV, you are one step closer to enjoying your favorite content on the big screen. The next step is crucial and involves setting up the Chromecast using the Google Home app, so let’s get started!
Step 3: Setting up the Chromecast using the Google Home app
With the Chromecast physically connected to your TV, it’s time to set it up using the Google Home app on your smartphone or tablet. Follow these steps:
- Ensure that your smartphone or tablet is connected to the same Wi-Fi network that you want to connect your Chromecast to. This is important for the setup process.
- Download and install the Google Home app from the App Store (iOS) or Google Play Store (Android) if you haven’t already done so. This app is essential for setting up and managing your Chromecast.
- Open the Google Home app and sign in with your Google account. If you don’t have a Google account, you’ll need to create one.
- Once signed in, tap the “+” (plus) icon at the top left corner of the screen to add a device.
- Select “Set up device” and choose “Set up new devices” from the options presented.
- The Google Home app will now search for devices on your Wi-Fi network. When it detects your Chromecast, tap on it to proceed with the setup.
- Next, the app will display a code on your TV screen. Check if the code shown on your TV matches the one displayed in the Google Home app.
- If the codes match, tap “Yes” to continue. If not, ensure that you are connected to the correct Wi-Fi network and try again.
- Now, choose a name for your Chromecast. This name will be used to identify your device when casting content.
- Finally, connect your Chromecast to your Google account, which will allow you to personalize your experience and access additional features.
Once the setup process is complete, you will receive a confirmation message, indicating that your Chromecast is successfully connected to your Wi-Fi network. You can now move on to the next step of connecting the Chromecast to Wi-Fi.
Step 4: Connecting the Chromecast to Wi-Fi
After setting up the Chromecast using the Google Home app, the next step is to connect the device to your Wi-Fi network. Follow these instructions:
- Open the Google Home app on your smartphone or tablet, which you used to set up your Chromecast.
- Find your Chromecast device listed on the home screen of the app, and tap on it to access the device settings.
- In the device settings, tap on the gear icon or “Settings” to access the Chromecast settings.
- In the settings menu, tap on “Wi-Fi” to start the process of connecting to your Wi-Fi network.
- The Google Home app will search for available Wi-Fi networks. Select the network you want to connect your Chromecast to.
- Enter the password for your Wi-Fi network, if prompted, and tap “Connect.”
- The app will then attempt to connect your Chromecast to the selected Wi-Fi network. This process may take a few moments.
- Once the connection is established, you will receive a confirmation message indicating that your Chromecast is successfully connected to Wi-Fi.
- At this point, you can also choose to enable Guest Mode, which allows guests in your home to cast content to your Chromecast without needing to connect to your Wi-Fi network.
With your Chromecast successfully connected to your Wi-Fi network, you’re almost ready to start casting content to your TV. Before we move on to the next step, let’s take a moment to explore and customize some additional Chromecast settings.
Step 5: Customizing Chromecast settings
Now that your Chromecast is connected to your Wi-Fi network, you have the option to customize its settings to suit your preferences. Follow these steps to customize your Chromecast settings:
- Open the Google Home app on your smartphone or tablet.
- Find your Chromecast device listed on the home screen of the app and tap on it to access the device settings.
- In the device settings, you will find various options to customize your Chromecast. Let’s explore some of the key settings:
- Backdrop: The Backdrop feature allows you to choose what appears on your TV screen when your Chromecast is idle. You can select from a range of beautiful images, your own photos, news headlines, and more.
- Guest Mode: If you enabled Guest Mode during the Wi-Fi setup, you can manage the Guest Mode settings here. You can turn it on or off and customize the duration for which guests can cast content to your Chromecast.
- Privacy: In the Privacy settings, you can manage your Chromecast’s privacy options. You can control whether statistics and crash reports are sent to Google and choose whether to enable the Guest Mode PIN feature for additional security.
- Take some time to explore and adjust these and other settings according to your preferences.
- Once you’ve customized your Chromecast settings, you’re ready to start casting content to your TV!
By customizing your Chromecast settings, you can personalize your streaming experience and make the device work exactly the way you want it to. Now that your Chromecast is fully set up and configured, let’s move on to the final step: casting content to your TV using Chromecast.
Step 6: Casting content to your TV using Chromecast
With your Chromecast set up and customized, it’s time to start enjoying your favorite content on the big screen. Follow these steps to cast content using Chromecast:
- Make sure your TV and Chromecast are turned on and set to the appropriate HDMI input where your Chromecast is connected.
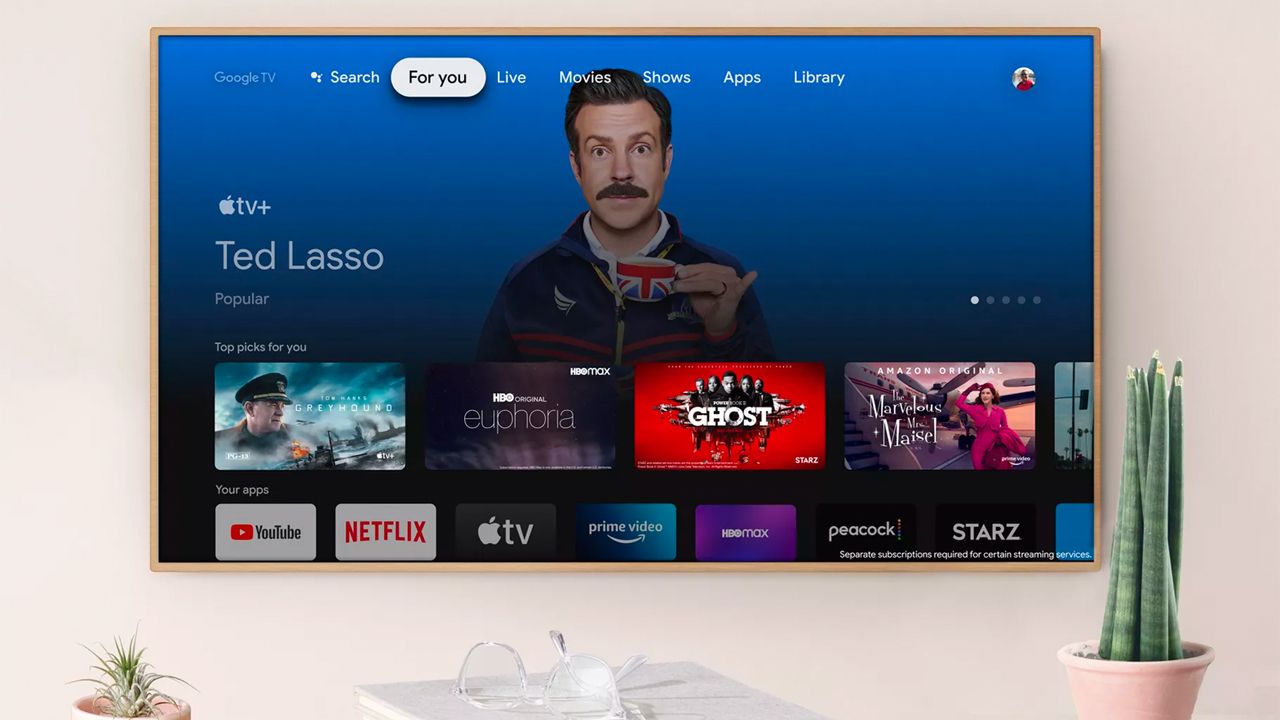
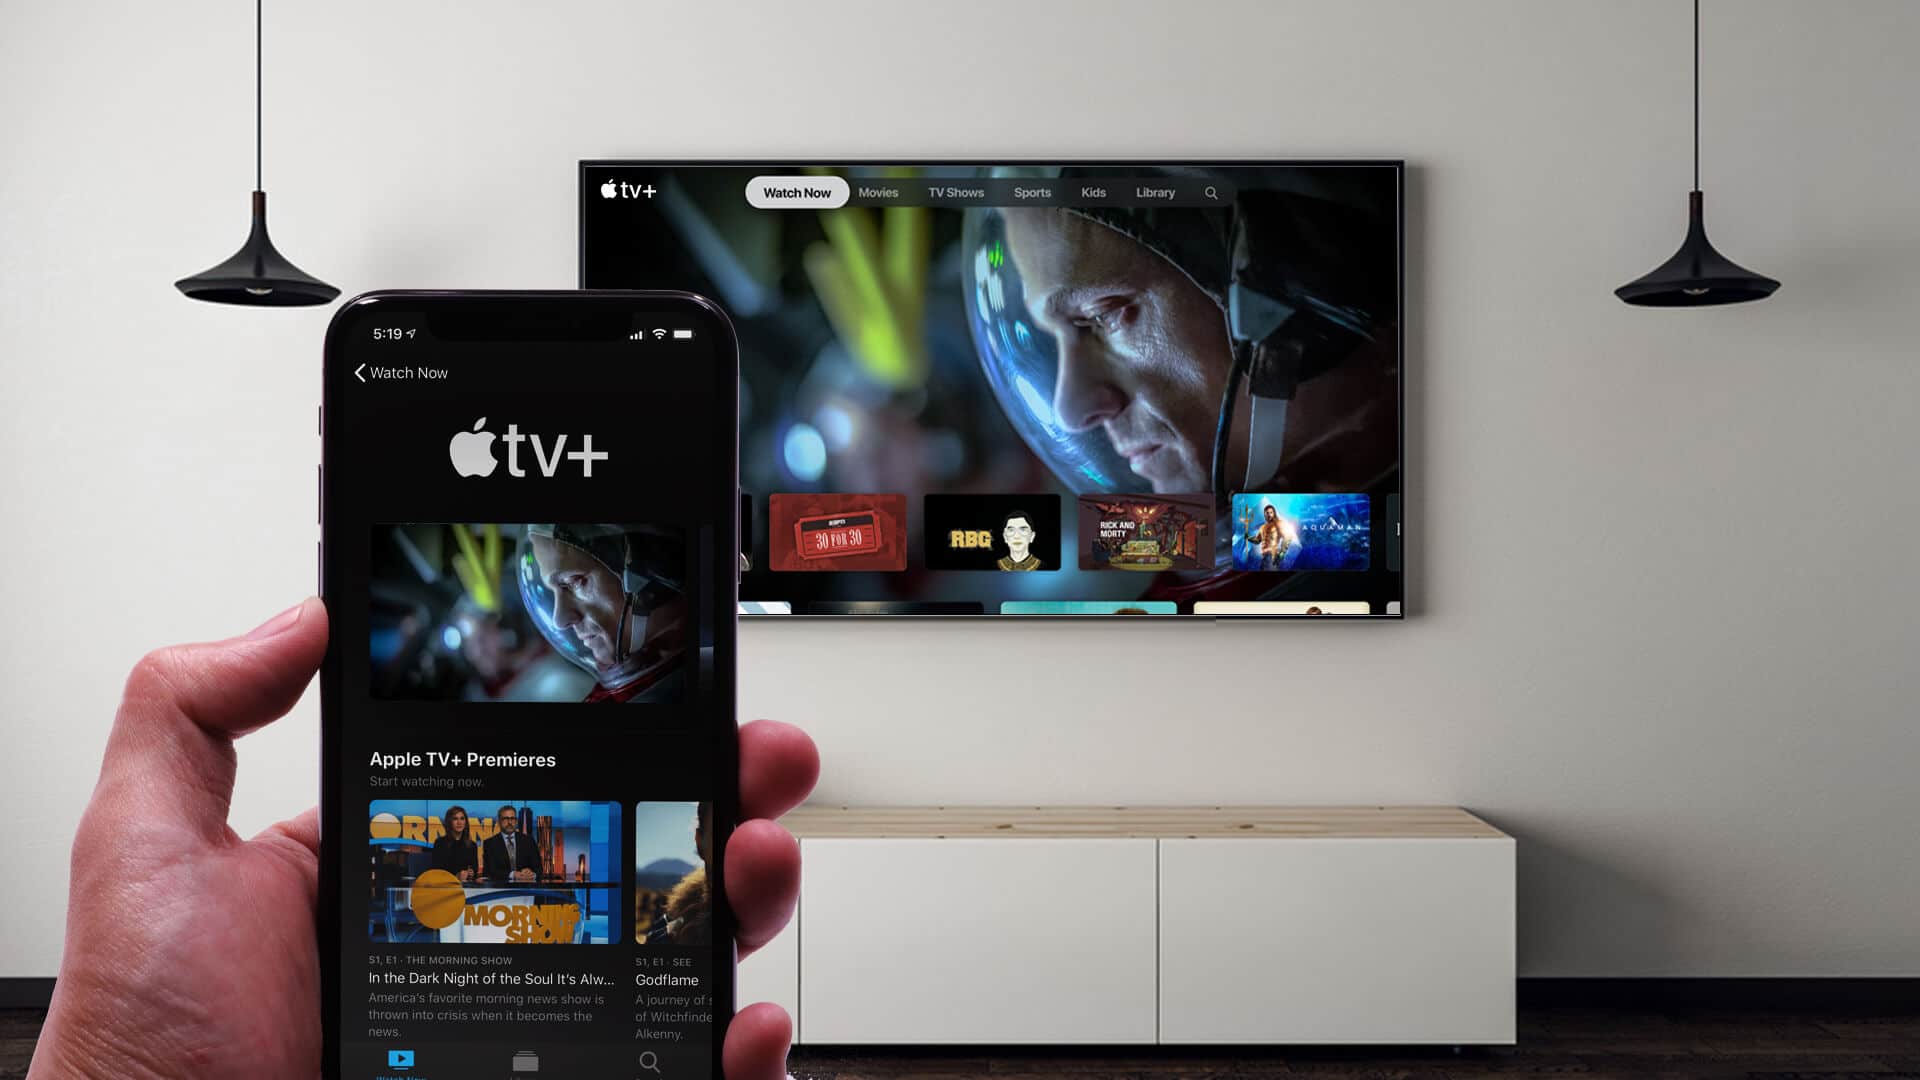
- Open a compatible app on your smartphone, tablet, or computer. Some popular apps that support Chromecast include YouTube, Netflix, Spotify, and Google Play Movies & TV.
- Look for the Cast icon (usually resembling a rectangular box with curved lines in the corner) within the app. The location of the Cast icon may vary depending on the app.
- Tap the Cast icon, and a list of available devices will appear. Select your Chromecast from the list.
- The app will now start casting the content to your TV through the Chromecast. You can control playback, volume, and other options directly from the app on your device.
- Enjoy your content on the big screen! You can cast videos, music, games, or even mirror your device screen to your TV using Chromecast.
Casting content to your TV using Chromecast is a seamless and convenient process. You can easily switch between different apps and devices to cast your preferred content.
Keep in mind that while casting, you can still use your device for other tasks, such as browsing the web or checking emails, without interrupting the content playing on your TV.
Now that you’re familiar with the setup and casting process, you’re ready to enjoy a whole new level of entertainment on your TV with Chromecast!
Troubleshooting common setup issues
While setting up Chromecast is usually a smooth process, you may encounter some common issues along the way. Here are some troubleshooting tips to help you resolve these problems:
- No Chromecast screen on TV: If you don’t see the Chromecast screen on your TV, double-check the HDMI connection. Ensure that the Chromecast is securely plugged into the HDMI port and that your TV is set to the corresponding HDMI input.
- Chromecast not connecting to Wi-Fi: If your Chromecast is having trouble connecting to your Wi-Fi network, ensure that you’re using the correct Wi-Fi credentials. Double-check the password and try reconnecting. Additionally, make sure that you’re within range of your Wi-Fi router.
- Unresponsive Chromecast: If your Chromecast becomes unresponsive or doesn’t respond to commands, try restarting the device. You can do this by unplugging the power adapter, waiting for a few seconds, and then plugging it back in.
- Chromecast not recognized by Google Home app: If the Google Home app fails to recognize your Chromecast during the setup process, check that your smartphone or tablet and Chromecast are connected to the same Wi-Fi network. Also, ensure that you have the latest version of the Google Home app installed.
- Audio or video issues: If you’re experiencing audio or video problems while casting content, ensure that your TV and Chromecast are both on the latest firmware. You can check for firmware updates in the Google Home app’s device settings. Additionally, verify that your internet connection is stable.
If you encounter any other issues during the setup process or while using Chromecast, referring to the official Chromecast support website or reaching out to their customer support can provide additional guidance and solutions specific to your situation.
By troubleshooting common setup issues, you can overcome any hurdles that may arise during the setup process and ensure a smooth and enjoyable Chromecast experience.
Conclusion
Setting up Chromecast on your TV is a straightforward process that allows you to stream and enjoy a wide range of content directly on your television screen. By following the step-by-step instructions outlined in this guide, you can easily unbox the device, connect it to your TV, and customize the settings according to your preferences.
Through the Google Home app, you can seamlessly connect the Chromecast to your Wi-Fi network, ensuring a stable and reliable connection for streaming. The app also allows you to personalize your Chromecast experience by customizing settings such as Backdrop images and Guest Mode.
Once your Chromecast is set up and connected, you can cast content from compatible apps on your smartphone, tablet, or computer to your TV, providing a bigger and more immersive viewing experience. Whether it’s watching movies, streaming videos, listening to music, or playing games, the possibilities are endless.
Should you encounter any common setup issues during the process, troubleshooting tips can help you overcome them and get your Chromecast up and running smoothly.
With Chromecast, you can transform your regular TV into a smart entertainment hub, bringing countless hours of enjoyment and convenience to your fingertips. So, unbox your Chromecast, follow the steps in this guide, and get ready to explore a new world of streaming possibilities.