Introduction
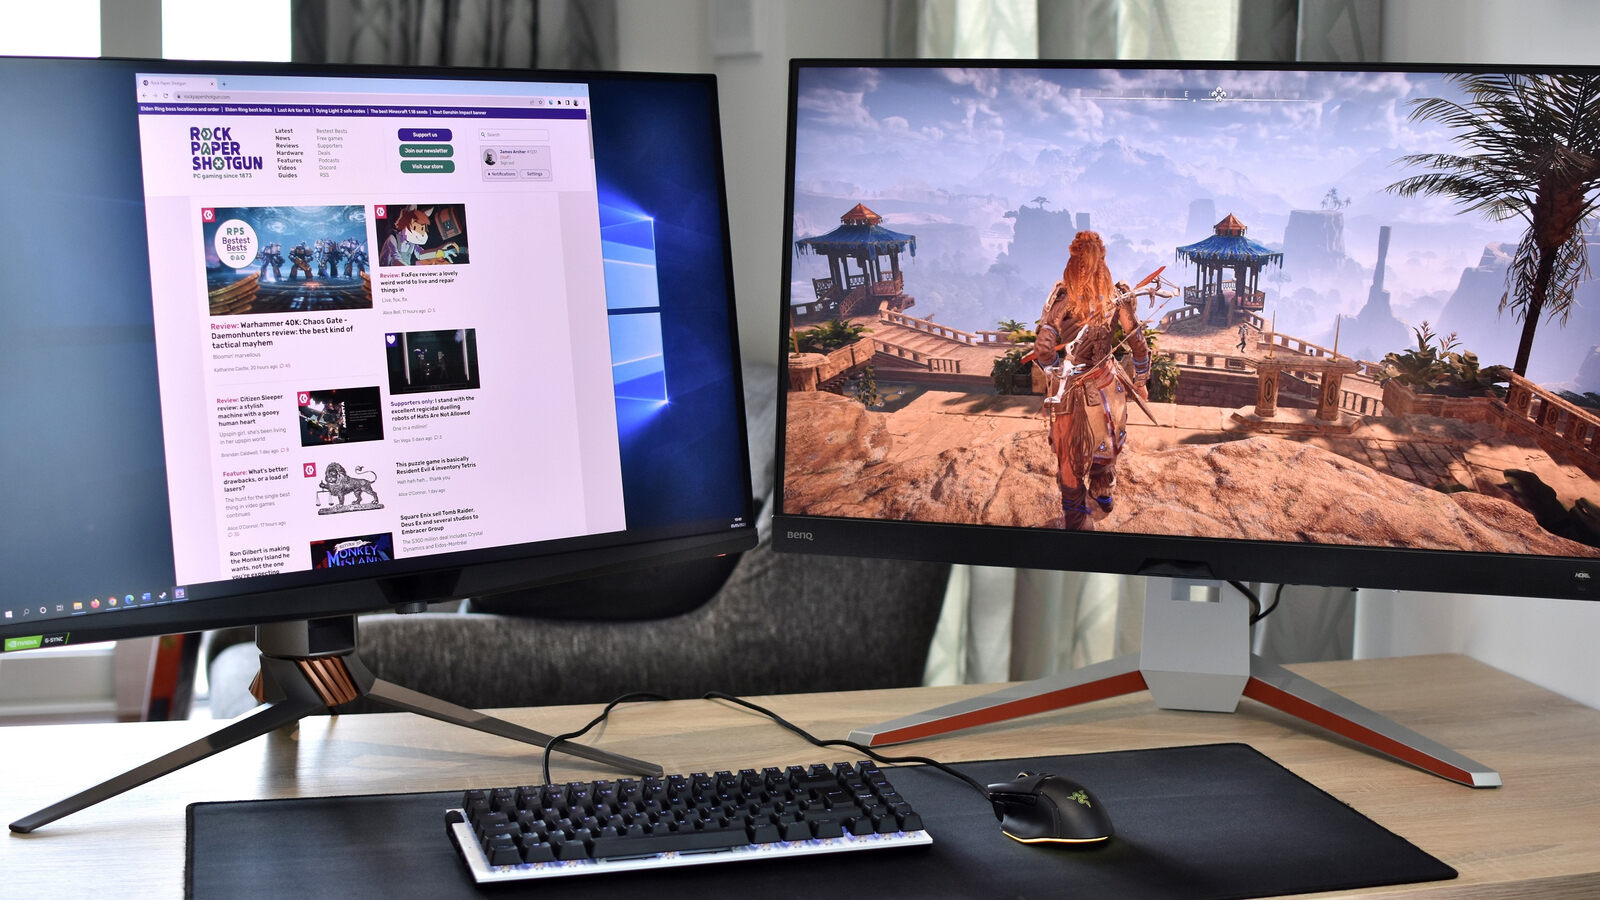
Welcome to the world of gaming, where every detail matters. As an avid gamer, you understand the importance of having the right equipment to create the most immersive and visually stunning gaming experience. One crucial component that can take your gaming to the next level is a 4K gaming monitor.
A 4K gaming monitor offers four times the resolution of a standard 1080p monitor, delivering incredibly crisp and detailed visuals. Whether you’re exploring vast open world landscapes, engaging in intense combat, or enjoying the breathtaking scenery of a virtual world, a 4K gaming monitor ensures that every pixel is displayed with utmost clarity.
In this comprehensive guide, we will walk you through the process of setting up and optimizing your 4K gaming monitor for an unparalleled gaming experience. We will provide you with tips and insights to help you choose the right monitor, adjust display settings, connect your gaming console or PC, and maximize audio settings for an immersive audio experience.
So, if you’re ready to take your gaming to the next level and experience your favorite games in stunning detail, let’s dive in and explore the world of 4K gaming monitors.
Understanding 4K Gaming Monitors
Before we dive into the technical aspects of setting up and optimizing your 4K gaming monitor, let’s first understand what exactly a 4K gaming monitor is and why it’s a game-changer in the world of gaming.
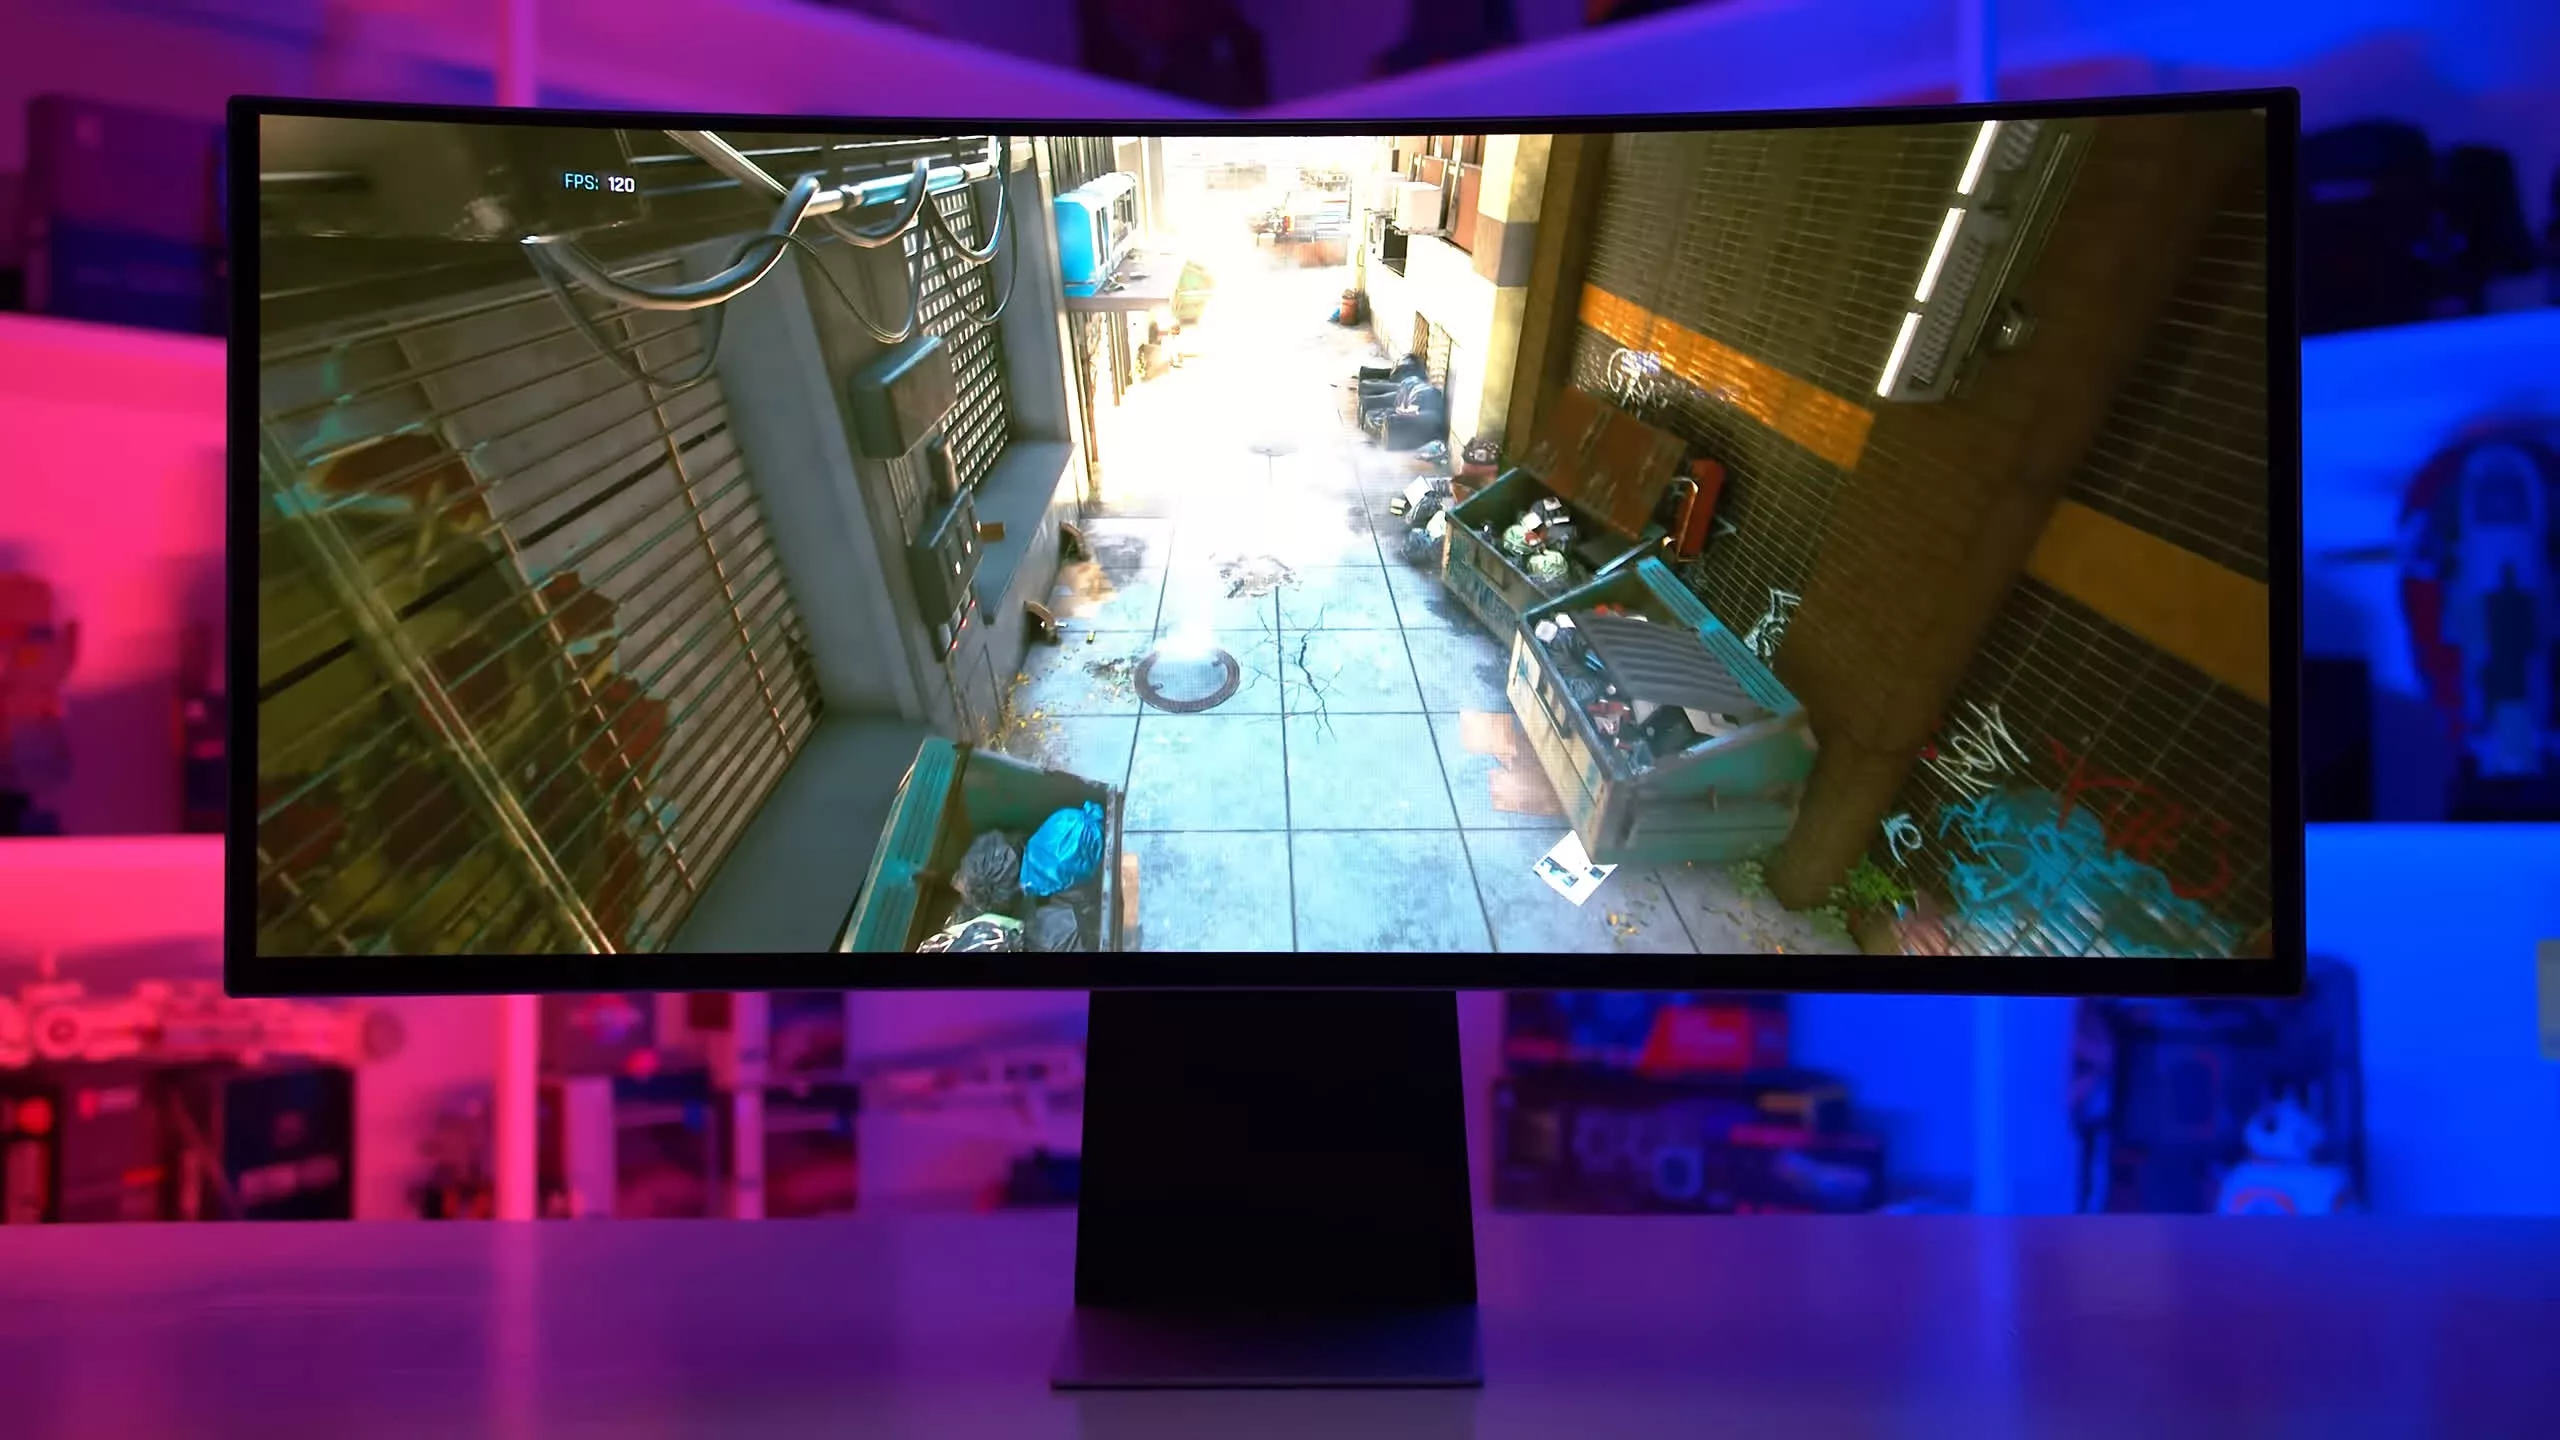
Simply put, a 4K gaming monitor refers to a display screen that boasts a resolution of 3840×2160 pixels, offering four times the pixels of a standard 1080p monitor. This higher resolution allows for incredibly sharp and detailed visuals, providing a more immersive and lifelike gaming experience.
The benefits of a 4K gaming monitor go beyond just visual clarity. With more pixels densely packed into the screen, the level of detail and realism in games is enhanced. You’ll notice finer textures, more defined edges, and smoother curves, making the in-game environments look breathtakingly realistic.
In addition to the improved visuals, 4K gaming monitors also support a wider color gamut and higher contrast ratios, resulting in vibrant, true-to-life colors. This means that games will appear more vivid and dynamic, bringing your virtual adventures to life like never before.
While 4K gaming monitors offer unparalleled visual quality, it’s important to note that they require a powerful gaming system to make the most of their capabilities. You’ll need a graphics card capable of outputting 4K resolution and a processor that can handle the demanding requirements of modern games.
As you dive deeper into the world of 4K gaming monitors, you’ll come across terms like HDR (High Dynamic Range) and refresh rates. HDR technology enhances the contrast and color accuracy of the monitor, resulting in even more stunning visuals. Refresh rate refers to how many times per second the monitor refreshes the image. Higher refresh rates, such as 144Hz or 240Hz, provide smoother gameplay, reducing motion blur and enhancing responsiveness.
Now that you have a better understanding of what a 4K gaming monitor is and the advantages it brings, let’s move on to choosing the right monitor for your gaming setup.
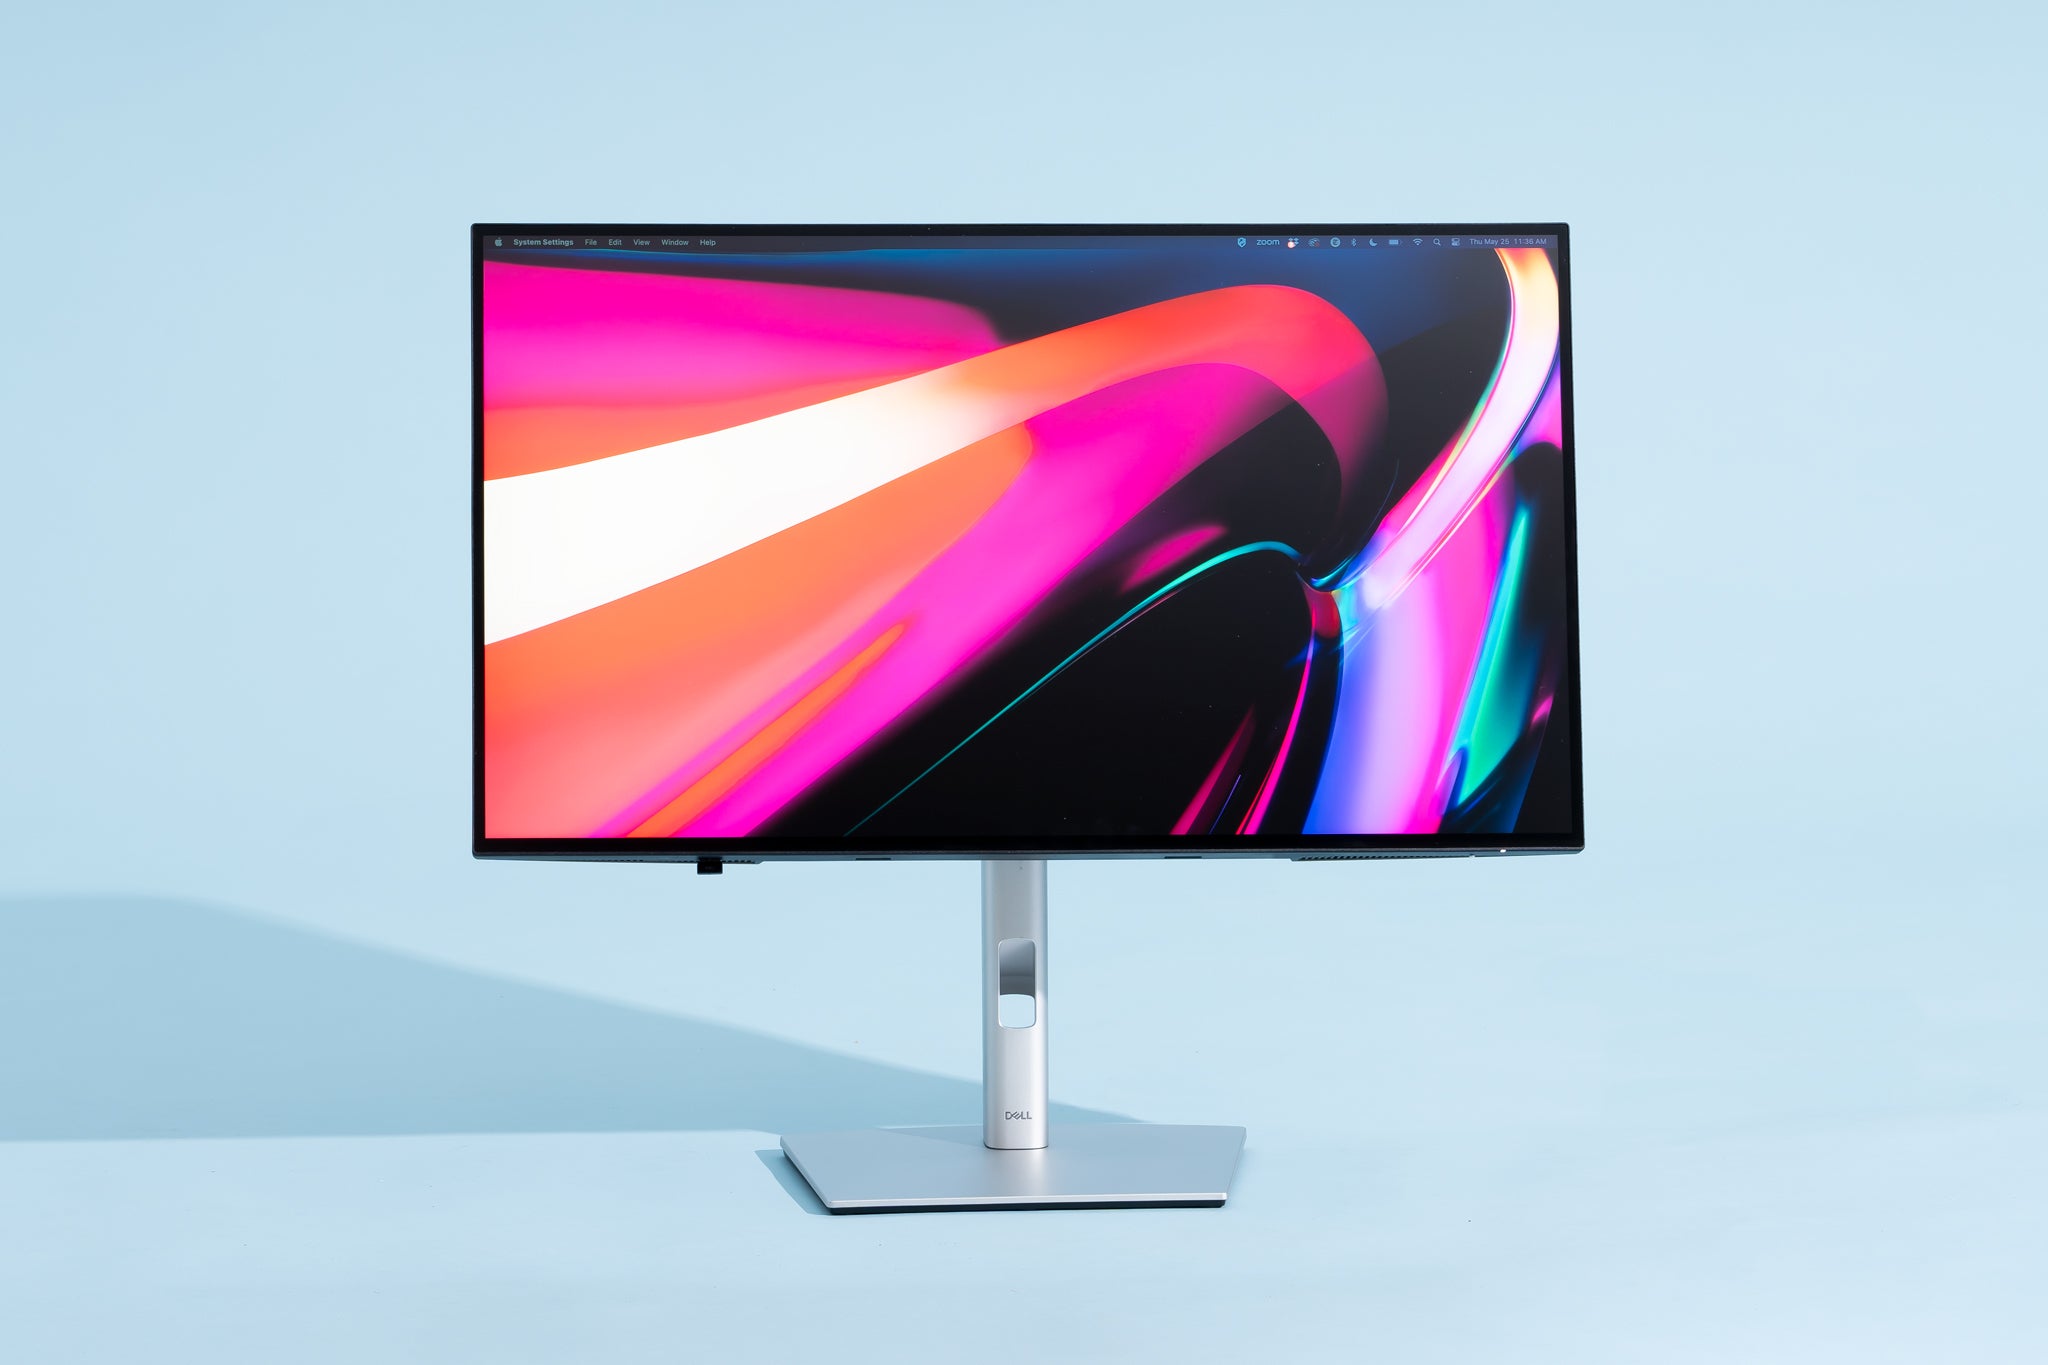
Choosing the Right 4K Gaming Monitor
When it comes to choosing the right 4K gaming monitor, there are several factors to consider to ensure that you get the most out of your gaming experience. Here are some key aspects to keep in mind:
1. Display Size: Consider the size of the monitor that best suits your gaming setup and personal preferences. Larger monitors, such as 27 inches or above, offer a more immersive experience, while smaller monitors are more suitable for compact gaming stations.
2. Resolution: While all 4K gaming monitors offer the same resolution, it’s worth noting that some monitors may have a higher pixel density than others. A higher pixel density means sharper images and finer details, but it also requires more powerful hardware to drive those pixels.
3. Refresh Rate: The refresh rate determines how smoothly the monitor displays motion. For fast-paced games, a higher refresh rate, such as 144Hz or 240Hz, is recommended to minimize motion blur and provide a more responsive gaming experience.
4. Response Time: The response time refers to how quickly the monitor can change from one color to another. A lower response time, ideally 1ms or 2ms, ensures that fast-moving objects in games appear crisp and without ghosting or blurring.
5. Panel Type: There are three main types of panels: TN, VA, and IPS. TN panels offer fast response times and high refresh rates but have narrower viewing angles and less accurate color reproduction. VA panels offer better contrast and viewing angles but may have slower response times. IPS panels provide excellent color accuracy and wider viewing angles but may have slightly slower response times compared to TN panels.
6. Connectivity Options: Ensure that the 4K gaming monitor you choose has the necessary ports to connect to your gaming console or PC. Look for HDMI 2.0 or DisplayPort 1.4 for optimal 4K gaming performance.
7. Additional Features: Consider any additional features that may enhance your gaming experience, such as HDR support, G-Sync or FreeSync compatibility for smoother gameplay, and customizable display settings.
By considering these factors and finding the right balance between your budget and desired features, you can select a 4K gaming monitor that meets your specific gaming needs. So let’s move on to the next section, where we’ll guide you through the process of setting up your 4K gaming monitor.
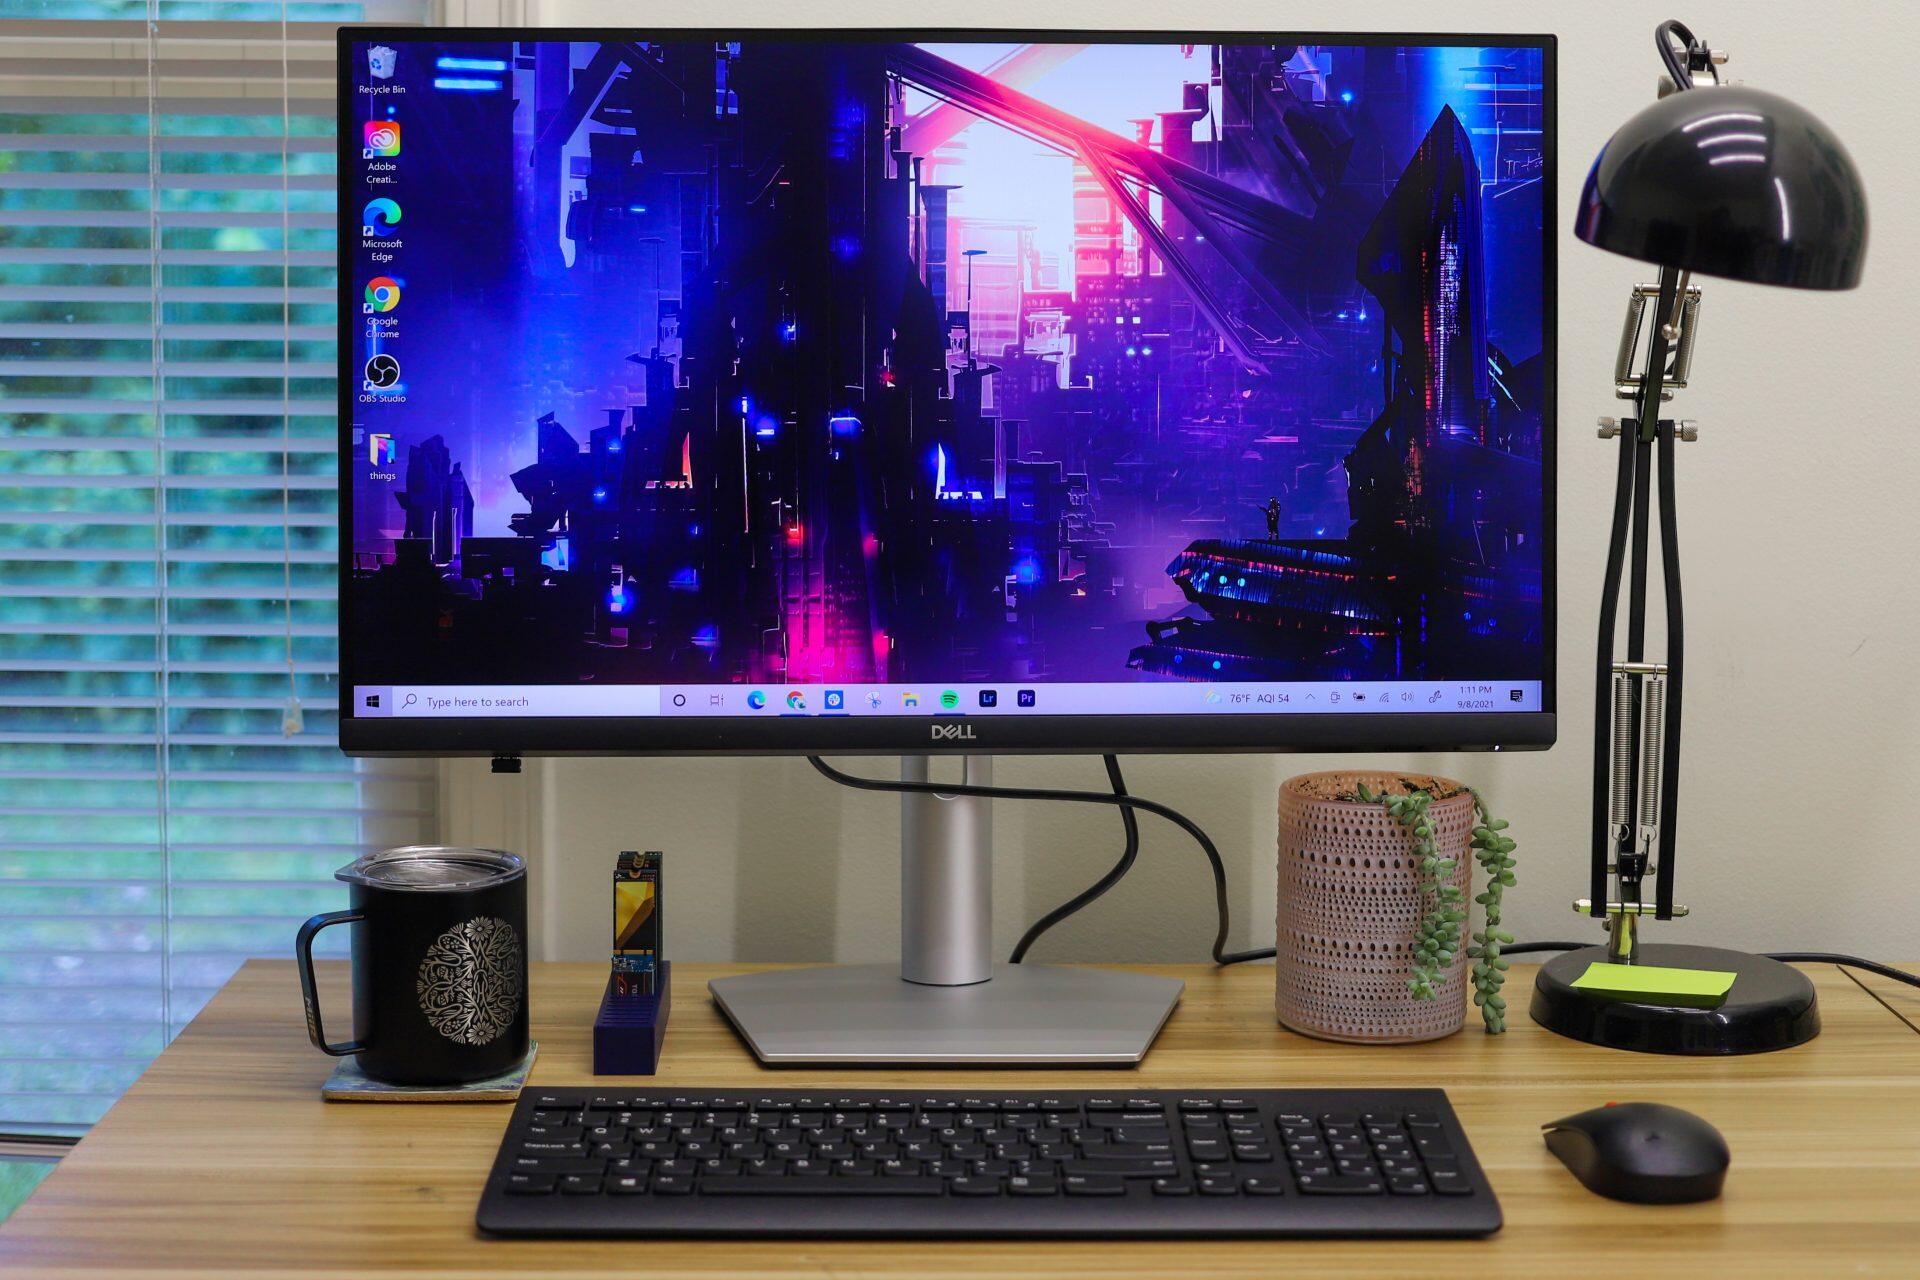
Setting Up your 4K Gaming Monitor
Once you’ve chosen the perfect 4K gaming monitor, it’s time to set it up to ensure optimal performance. Follow these steps to get your monitor up and running:
1. Unbox and Assemble: Carefully unpack your 4K gaming monitor and assemble the stand according to the manufacturer’s instructions. Make sure to handle the monitor with care to avoid any damage.
2. Placement: Find a suitable location for your monitor. Consider factors like lighting, viewing angles, and distance from your gaming setup. Position the monitor at eye level for the best viewing experience.
3. Connect Power: Plug the power cable into your monitor and then into a power outlet. Ensure that the power source is stable and grounded.
4. Connect Video Cable: Depending on your setup, choose the appropriate video cable and connect it to the monitor and your gaming console or PC. HDMI and DisplayPort are the most common options for 4K gaming monitors.
5. Power On: Press the power button on the monitor to turn it on. You should see the screen light up, indicating that it’s receiving power.
6. Monitor Settings: Access the on-screen display (OSD) menu of the monitor using the buttons or controls located on the monitor. Adjust basic settings such as brightness, contrast, and color temperature to your preference.
7. Resolution Setup: Depending on your operating system and graphics card, you may need to adjust the resolution settings to match the native resolution of your 4K gaming monitor. This ensures that you’re maximizing the visual quality of your games.
8. Scaling: If the text or icons appear too small on your 4K gaming monitor, you can adjust the scaling settings in your operating system to increase the size for better readability.
9. Refresh Rate Configuration: If your monitor supports a high refresh rate, make sure to enable it in your graphics card settings or monitor OSD menu. This will ensure that you’re experiencing smoother gameplay.
10. Calibration: For the best color accuracy, you may want to calibrate your monitor using color calibration tools or software. This will help ensure that colors are displayed as intended by the game developers.
By following these steps, you will be able to set up your 4K gaming monitor correctly and optimize it for an immersive gaming experience. In the next section, we’ll explore how to adjust display settings for the best visual performance.
Adjusting Display Settings for Optimal Gaming Experience
Now that your 4K gaming monitor is set up, it’s time to fine-tune the display settings to ensure the best visual performance during your gaming sessions. Here are some essential adjustments you should consider:
1. Brightness and Contrast: Adjust the brightness and contrast settings to find the right balance that allows for clear and vibrant visuals without sacrificing details in darker areas or washing out brighter scenes. Aim for a brightness level that is comfortable for your eyes in your gaming environment.
2. Color Calibration: If your monitor doesn’t come pre-calibrated, you can use calibration tools or software to achieve accurate colors. This step is especially important for gamers who require precise color representation, such as in competitive eSports titles.
3. Gamma Settings: Gamma settings determine the brightness levels of different shades of gray. Adjusting the gamma can help enhance the overall image quality and make details more visible, especially in darker areas.
4. Sharpness: Find the right level of sharpness that enhances the clarity of images without introducing artifacts or making the edges too harsh. Avoid setting sharpness too high, as it can lead to unnatural-looking visuals.
5. Color Temperature: Experiment with color temperature settings to achieve the desired warmth or coolness in the image. Warmer temperatures produce a reddish tint, while cooler temperatures lean towards a bluish hue. Select the option that suits your preferences and the game you’re playing.
6. Black Levels: Adjusting black levels helps differentiate between different shades of black and dark areas, allowing for better visibility in games with low-light settings. Find the right balance to ensure details aren’t lost in darker scenes.
7. Game Mode: Many gaming monitors offer various pre-configured modes optimized for different game genres. Game mode settings can adjust brightness, contrast, color saturation, and other parameters to enhance the gaming experience based on the type of game you’re playing.
8. Overdrive: In some monitors, enabling overdrive can reduce ghosting or motion blur, providing sharper visuals during fast-paced gameplay. Experiment with different overdrive settings to find the optimal balance between reduced motion blur and potential artifacts.
Remember, display settings are subjective, and what works for one person may not work for another. Take the time to experiment and find the combination that best suits your preferences and enhances your gaming experience. Adjustments may also vary from game to game, so don’t hesitate to fine-tune settings for each specific title you play.
In the next section, we’ll explore how to connect your gaming console or PC to your 4K gaming monitor for seamless gameplay.
Connecting Your Gaming Console or PC to the 4K Monitor
Now that your 4K gaming monitor is set up and the display settings are optimized, it’s time to connect your gaming console or PC to the monitor. Follow these steps to ensure a seamless and high-quality gaming experience:
1. Identify the Video Output: Determine the video output options available on your gaming console or PC. The most common options are HDMI and DisplayPort.
2. Choose the Right Cable: Select a high-quality HDMI or DisplayPort cable that supports 4K resolution and required refresh rates. HDMI 2.0 or DisplayPort 1.4 cables are recommended for optimal performance.
3. Connect the Cable: Plug one end of the cable into the HDMI or DisplayPort output on your gaming console or PC, and the other end into the corresponding input on your 4K gaming monitor.
4. Power On: Turn on both your gaming console or PC and the 4K gaming monitor. Make sure the monitor is set to the correct input source, which is usually labeled on the monitor or accessible through the OSD menu.
5. Configure Display Settings: Depending on your console or PC, you might need to configure the display settings to ensure the output is set to the native resolution of your 4K gaming monitor. This will provide the best visual quality and ensure that games display in 4K resolution.
6. Enable HDR (if supported): If your gaming console or PC and 4K gaming monitor support HDR, make sure to enable it in the settings. HDR enhances the overall image quality by providing a wider range of colors and increased contrast.
7. G-Sync or FreeSync (if compatible): If your monitor supports G-Sync (NVIDIA) or FreeSync (AMD), enable these technologies in your graphics card settings or monitor OSD menu. They provide smoother gameplay by synchronizing the monitor’s refresh rate with the GPU’s output.
8. Audio Connection: Depending on your setup preferences, connect the audio output from your gaming console or PC to external speakers, headphones, or the monitor’s built-in speakers. Ensure that the audio settings are configured correctly to achieve the desired sound experience.
By following these steps, you’ll be able to establish a stable and high-quality connection between your gaming console or PC and your 4K gaming monitor. With everything properly connected, you can now delve into your favorite games and experience stunning visuals in remarkable detail.
In the next section, we’ll explore how to calibrate colors and adjust display options to further enhance your visual experience.
Calibrating Colors and Display Options
To truly make the most out of your 4K gaming monitor, it’s important to calibrate the colors and adjust various display options. Fine-tuning these settings will ensure accurate color reproduction and optimal visual performance. Follow these steps to calibrate your monitor:
1. Use Calibration Tools: Utilize software or hardware color calibration tools to guide you through the process. These tools can help you adjust color temperature, brightness, contrast, and gamma to achieve accurate and balanced colors.
2. Adjust Brightness: Start by adjusting the brightness level. Find a balance where the screen is not too dim or too bright. Aim for a level that allows you to see details in darker areas without overwhelming brighter scenes.
3. Set Contrast: Adjust the contrast to ensure that there is a clear distinction between lighter and darker shades. Strive for a contrast level that allows for good visibility while maintaining detail in bright and dark areas.
4. Color Accuracy: Use a calibration tool or monitor OSD menu to adjust color accuracy. Ensure that the colors displayed on the monitor match real-world colors as closely as possible. Fine-tuning color settings may involve adjusting hue, saturation, and individual color channels (red, green, and blue).
5. Gamma Correction: Gamma correction adjusts the brightness levels of different shades of gray. Fine-tune the gamma settings to achieve a balance that preserves details in darker areas while preventing overexposure in brighter regions.
6. Color Temperature: Adjust the color temperature to your preference. Warmer temperatures add a reddish tint, while cooler temperatures have a bluish hue. Choose a temperature that suits the content you’ll be viewing and provides a comfortable visual experience.
7. Color Gamut: Some monitors offer the ability to adjust the color gamut, which determines the range of colors the monitor can display. Experiment with different gamut settings to find the one that matches your preferences or the requirements of the content you’re viewing.
8. Color Profiles: If your monitor supports color profiles, consider using pre-defined profiles or creating custom profiles. Color profiles provide a standardized set of color settings that can be shared across different devices or used for specific purposes like gaming, photo editing, or watching movies.
Remember to periodically re-calibrate your monitor, as over time, display settings may drift or degrade. By regularly calibrating and adjusting the colors and display options of your 4K gaming monitor, you’ll ensure that the visuals are accurate, vibrant, and faithful to the game developers’ intentions.
In the next section, we’ll explore optimizing the refresh rate and response time to enhance the fluidity and responsiveness of your gaming experience.
Optimizing Refresh Rate and Response Time
To achieve smooth and responsive gameplay on your 4K gaming monitor, it’s important to optimize the refresh rate and response time. These two factors greatly impact the fluidity and clarity of the visuals. Here’s how you can optimize them:
1. Understanding Refresh Rate: The refresh rate refers to how many times per second the monitor updates the image. Higher refresh rates, such as 144Hz or 240Hz, result in smoother motion and reduced motion blur. Check the capabilities of your monitor and make sure it supports your desired refresh rate.
2. Selecting the Right Refresh Rate: In your graphics card settings or monitor OSD menu, choose the highest supported refresh rate that your gaming system can consistently achieve. Higher refresh rates provide a more fluid and responsive gaming experience, especially in fast-paced games.
3. Enabling Adaptive Sync: If your monitor supports adaptive sync technologies like G-Sync (NVIDIA) or FreeSync (AMD), enable them in your graphics card settings or monitor OSD menu. Adaptive sync eliminates screen tearing and reduces stuttering for smoother gameplay.
4. Reducing Response Time: Response time is the speed at which pixels transition from one color to another. Lower response times result in reduced ghosting and motion blur. Look for a gaming monitor with a response time of 1ms or 2ms for optimal performance.
5. Overclocking (if supported): Some gaming monitors offer the option to overclock the refresh rate beyond the default maximum. If your monitor supports overclocking, you can experiment with higher refresh rates to achieve even smoother gameplay. Keep in mind that overclocking may increase the risk of artifacts or reduced panel longevity, so proceed with caution.
6. Testing and Adjusting: When adjusting the refresh rate and response time, it’s crucial to test their effects in actual gameplay. Monitor for any noticeable improvements or issues like motion blur, input lag, or artifacts. Fine-tune the settings until you find the optimal balance between smooth motion and accurate visuals.
7. Consider Other Factors: Keep in mind that achieving high refresh rates and low response times requires a powerful gaming system. Ensure that your graphics card and CPU can handle the demands of the games you play at your desired settings.
By optimizing the refresh rate and response time of your 4K gaming monitor, you’ll enjoy smoother, more fluid gameplay with reduced motion blur. These enhancements contribute to an immersive gaming experience and provide a competitive edge in fast-paced games.
In the next section, we’ll explore how to adjust audio settings to complement your visual experience and create an immersive gaming atmosphere.
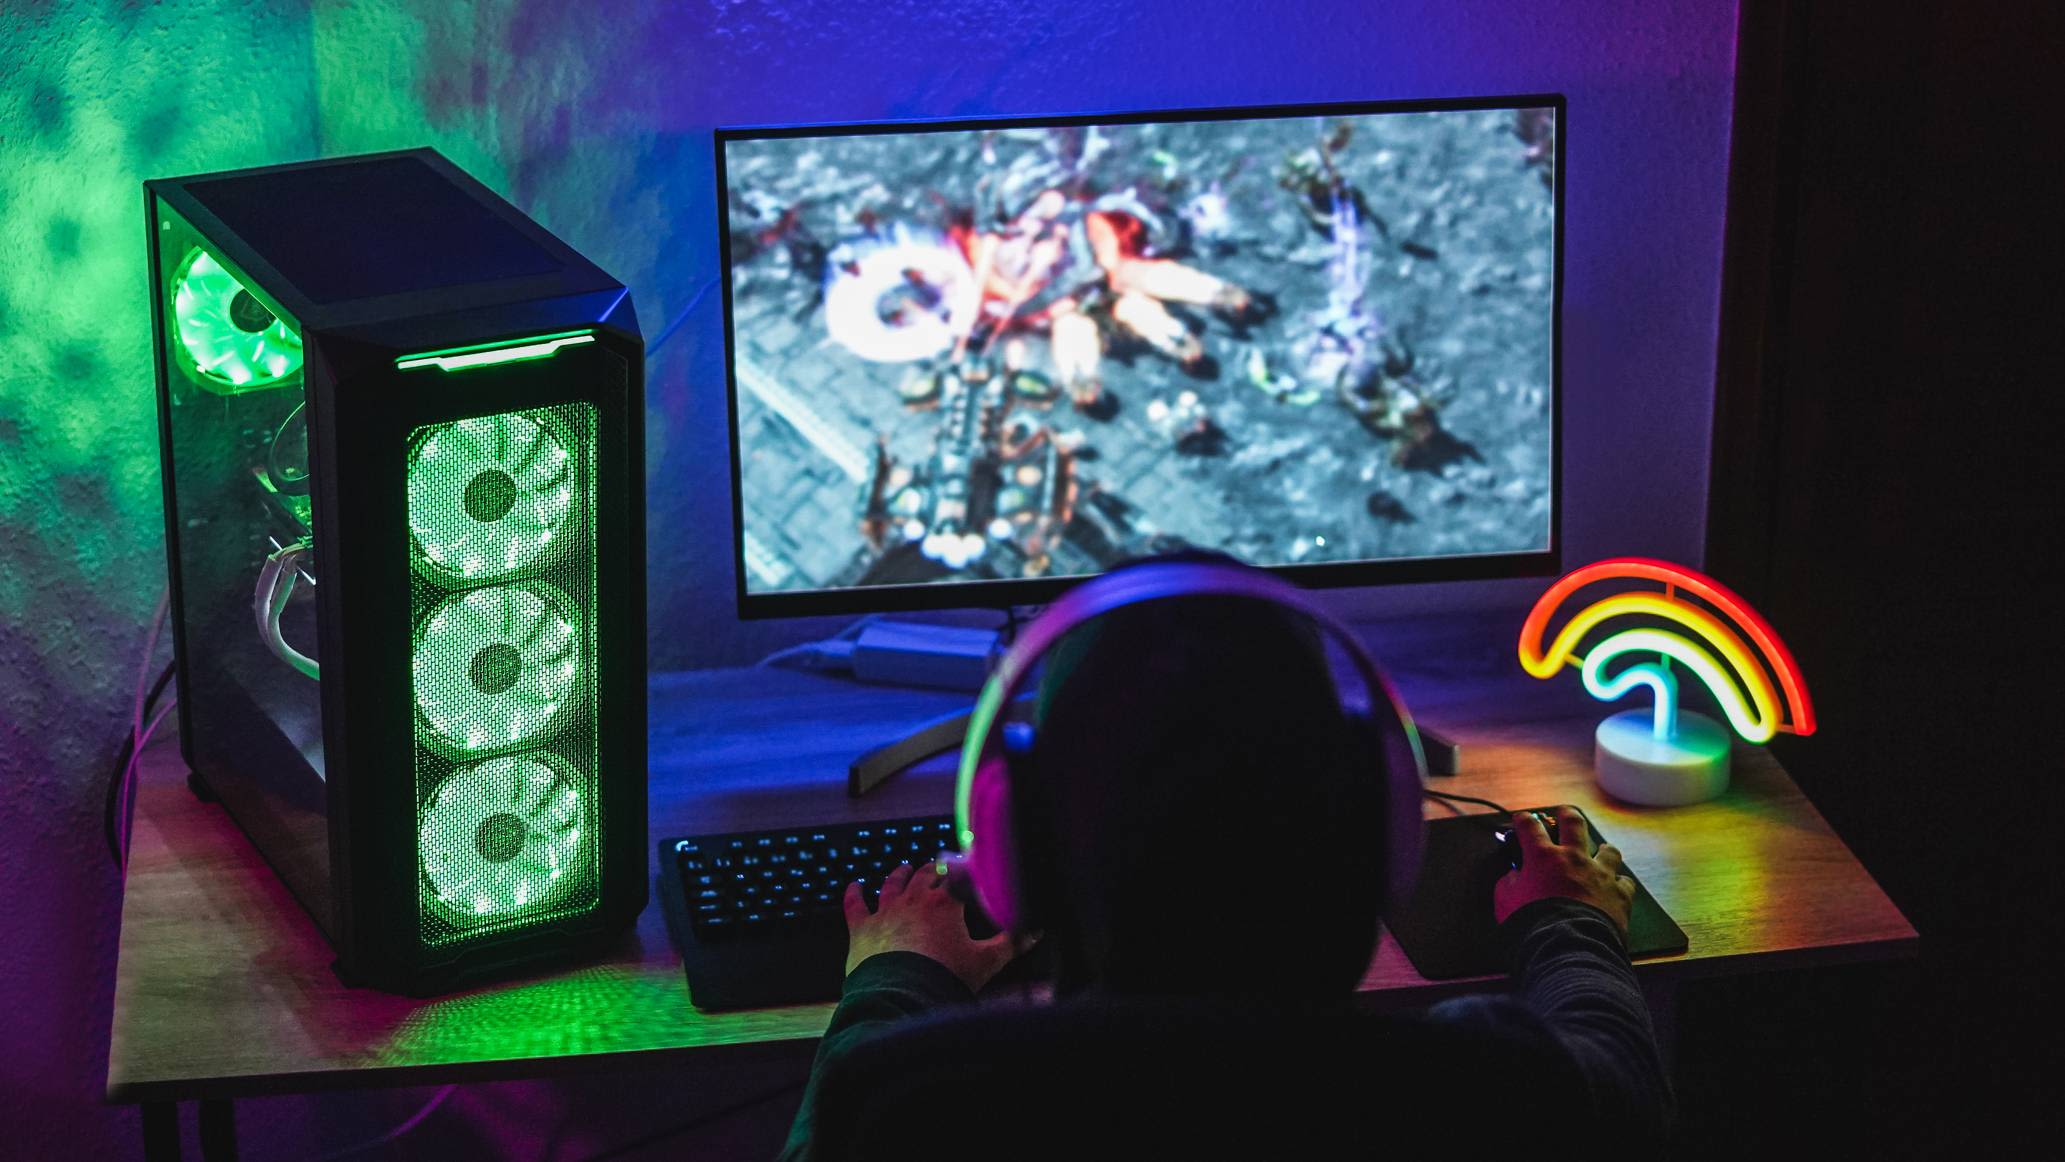
Adjusting Audio Settings for an Immersive Gaming Experience
While visuals play a significant role in gaming, audio is equally essential for creating an immersive and captivating experience. To enhance your gaming immersion, it’s important to adjust the audio settings on your gaming setup. Here’s how you can optimize your audio settings:
1. Selecting the Right Audio Output: Choose the appropriate audio output device that suits your preferences and setup. This could be headphones, external speakers, or the built-in speakers of your monitor or gaming console.
2. Positioning and Placement: Properly position your speakers or headphones to ensure optimal audio delivery. Positioning speakers at ear level and creating a balanced soundstage can enhance the directional audio experience in games.
3. Equalizer Settings: Utilize the equalizer settings on your audio device or software to adjust the sound frequencies to your liking. Boosting certain frequencies, such as the bass or treble, can add depth and clarity to the audio experience.
4. Surround Sound: If your setup supports it, enable surround sound technologies like Dolby Atmos or DTS:X. These technologies create a more immersive audio environment by simulating spatial sound effects, allowing you to hear sounds from different directions.
5. Game-specific Audio Settings: Some games offer individual audio settings that allow you to fine-tune the balance between dialogue, music, and sound effects. Adjust these settings according to your preferences and the type of game you’re playing.
6. Communication Settings: If you play multiplayer games that require communication with teammates, adjust the settings for voice chat to ensure clear communication without drowning out the game sounds.
7. Volume and Dynamic Range: Adjust the volume level to a comfortable listening level that doesn’t strain your ears but still provides the desired impact. Consider adjusting the dynamic range settings to balance the volume levels between quiet and loud moments in games.
8. Audio Software or Enhancers: Explore audio software or sound enhancers that can further enhance your audio experience. These tools may offer features like virtual surround sound, audio equalization presets, or noise suppression to provide a richer and more immersive gaming audio experience.
Remember to periodically check and update audio drivers and firmware to ensure optimal audio performance. Additionally, avoid setting the volume too high to protect your hearing and ensure a comfortable gaming experience.
By adjusting the audio settings on your gaming setup, you can complement the stunning visuals of your 4K gaming monitor with immersive and high-quality sound. The combination of captivating visuals and enhanced audio will transport you into the virtual worlds of your favorite games.
In the next section, we’ll provide troubleshooting tips for common issues you may encounter with your 4K gaming monitor.
Troubleshooting Tips for Common Issues
Despite proper setup and optimization, you may encounter a few common issues with your 4K gaming monitor. Here are some troubleshooting tips to help you resolve these issues:
1. No Display: If you’re not getting any display on your 4K gaming monitor, check the connections to ensure they are securely plugged in. Make sure the monitor is powered on and that the input source is set correctly. Try switching cables or using a different video output port to rule out any potential cable or port issues.
2. Blurry or Pixelated Image: If the image appears blurry or pixelated, check the resolution settings on both your gaming console or PC and your monitor. Ensure that the resolution is set to the native 4K resolution of your monitor. If the issue persists, check the sharpness settings on your monitor’s OSD menu and adjust it accordingly.
3. Screen Tearing: Screen tearing occurs when the monitor’s refresh rate is out of sync with the graphics card’s output. If your monitor supports adaptive sync technologies like G-Sync or FreeSync, enable them in your graphics card settings or monitor OSD menu. These technologies help eliminate screen tearing by matching the refresh rate with the GPU’s output.
4. Input Lag: Input lag is the delay between your actions and the corresponding visual response on the screen. To reduce input lag, enable the “Game Mode” setting on your monitor. Additionally, ensure that your gaming console or PC is set to the optimal display settings for gaming, such as disabling any unnecessary post-processing effects.
5. Color Inaccuracy: If you notice color inaccuracies, first ensure that your monitor is properly calibrated. Use calibration tools or software to adjust color settings. If the color issues persist, verify that your graphics card drivers are up to date, as outdated drivers can sometimes cause color problems. Try connecting your monitor to a different device to determine if the issue is with the monitor or the graphics card.
6. Screen Flickering: Screen flickering can have several causes, such as incompatible refresh rates, faulty cables, or a monitor issue. Start by ensuring that your refresh rate settings are correctly configured and compatible with your monitor. If that doesn’t resolve the issue, try using a different cable or connecting to a different port on your device.
7. Overheating: If your monitor feels unusually hot to the touch or you notice visual artifacts or screen flickering when it gets hot, ensure that the monitor’s ventilation is not obstructed. Keep the monitor in a well-ventilated area and avoid placing it near heat sources. If the issue persists, contact the manufacturer for further assistance.
Remember, if you’re unable to resolve the issue using these troubleshooting tips, refer to your monitor’s user manual or contact the manufacturer’s customer support for additional guidance and assistance tailored to your specific monitor model.
With these troubleshooting tips, you’ll be well-equipped to address common issues that can arise with your 4K gaming monitor, ensuring a smooth and uninterrupted gaming experience.
In the next section, we’ll wrap up this guide and summarize the key points discussed throughout.
Conclusion
Congratulations! You’ve reached the end of this comprehensive guide on setting up and optimizing your 4K gaming monitor. By following the steps outlined in this guide, you’re well on your way to enjoying an immersive and visually stunning gaming experience.
We started by understanding what exactly a 4K gaming monitor is and the benefits it brings to the table in terms of detail, realism, and vibrant colors. We then explored the process of choosing the right monitor based on factors like display size, resolution, refresh rate, response time, and panel type.
Once your monitor was selected, we walked you through the setup process, including proper assembly, placement, and connection to your gaming console or PC. We discussed the importance of adjusting display settings such as brightness, contrast, color calibration, sharpness, and color temperature to achieve the best visual performance.
Furthermore, we explored optimizing refresh rate, response time, and enabling technologies like adaptive sync to ensure smooth and responsive gameplay. We also provided guidance on adjusting audio settings for an immersive gaming experience, including selecting the right audio output, configuring equalizer settings, and utilizing surround sound technologies.
In the troubleshooting section, we offered tips to resolve common issues that you may encounter with your 4K gaming monitor, including display problems, image quality issues, audio glitches, and more. We encouraged you to consult your monitor’s user manual or contact customer support for further assistance if needed.
By implementing the tips and techniques shared in this guide, you can make the most of your 4K gaming monitor and elevate your gaming experience to new heights. Remember to periodically revisit your display and audio settings to ensure they remain optimized for your preferences and the games you play.
Now, armed with the knowledge and understanding gained from this guide, it’s time to power up your gaming setup, dive into your favorite games, and immerse yourself in the stunning visuals and captivating audio that your 4K gaming monitor has to offer. Good luck and enjoy your gaming adventures!