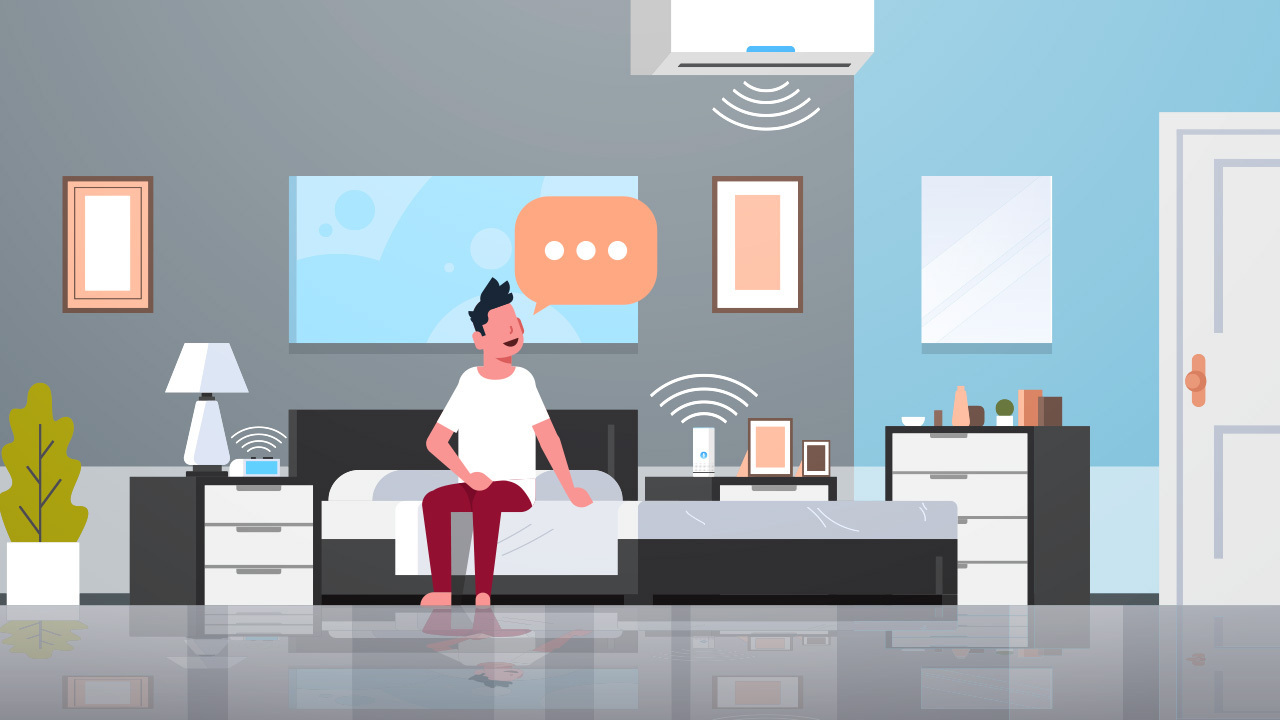
Introduction
Welcome to our guide on how to set up upstairs and downstairs thermostats! If you have a multi-level home or multiple heating zones, having separate thermostats for each floor or zone can greatly improve comfort and energy efficiency. With the right tools and knowledge, you can easily install and program individual thermostats to precisely control the temperature in different areas of your home. In this article, we will walk you through the steps to select, install, and program upstairs and downstairs thermostats.
Controlling the temperature on different floors or zones is particularly important if you have a larger home or if certain areas tend to get hotter or cooler than others. With separate thermostats, you can ensure that each area has its own temperature settings, optimizing comfort and reducing energy waste.
Before getting started, it’s important to evaluate and understand your current heating system. This will help you determine the best thermostat options and ensure compatibility. Additionally, having a basic understanding of wiring and programming is beneficial, although we will provide clear instructions along the way.
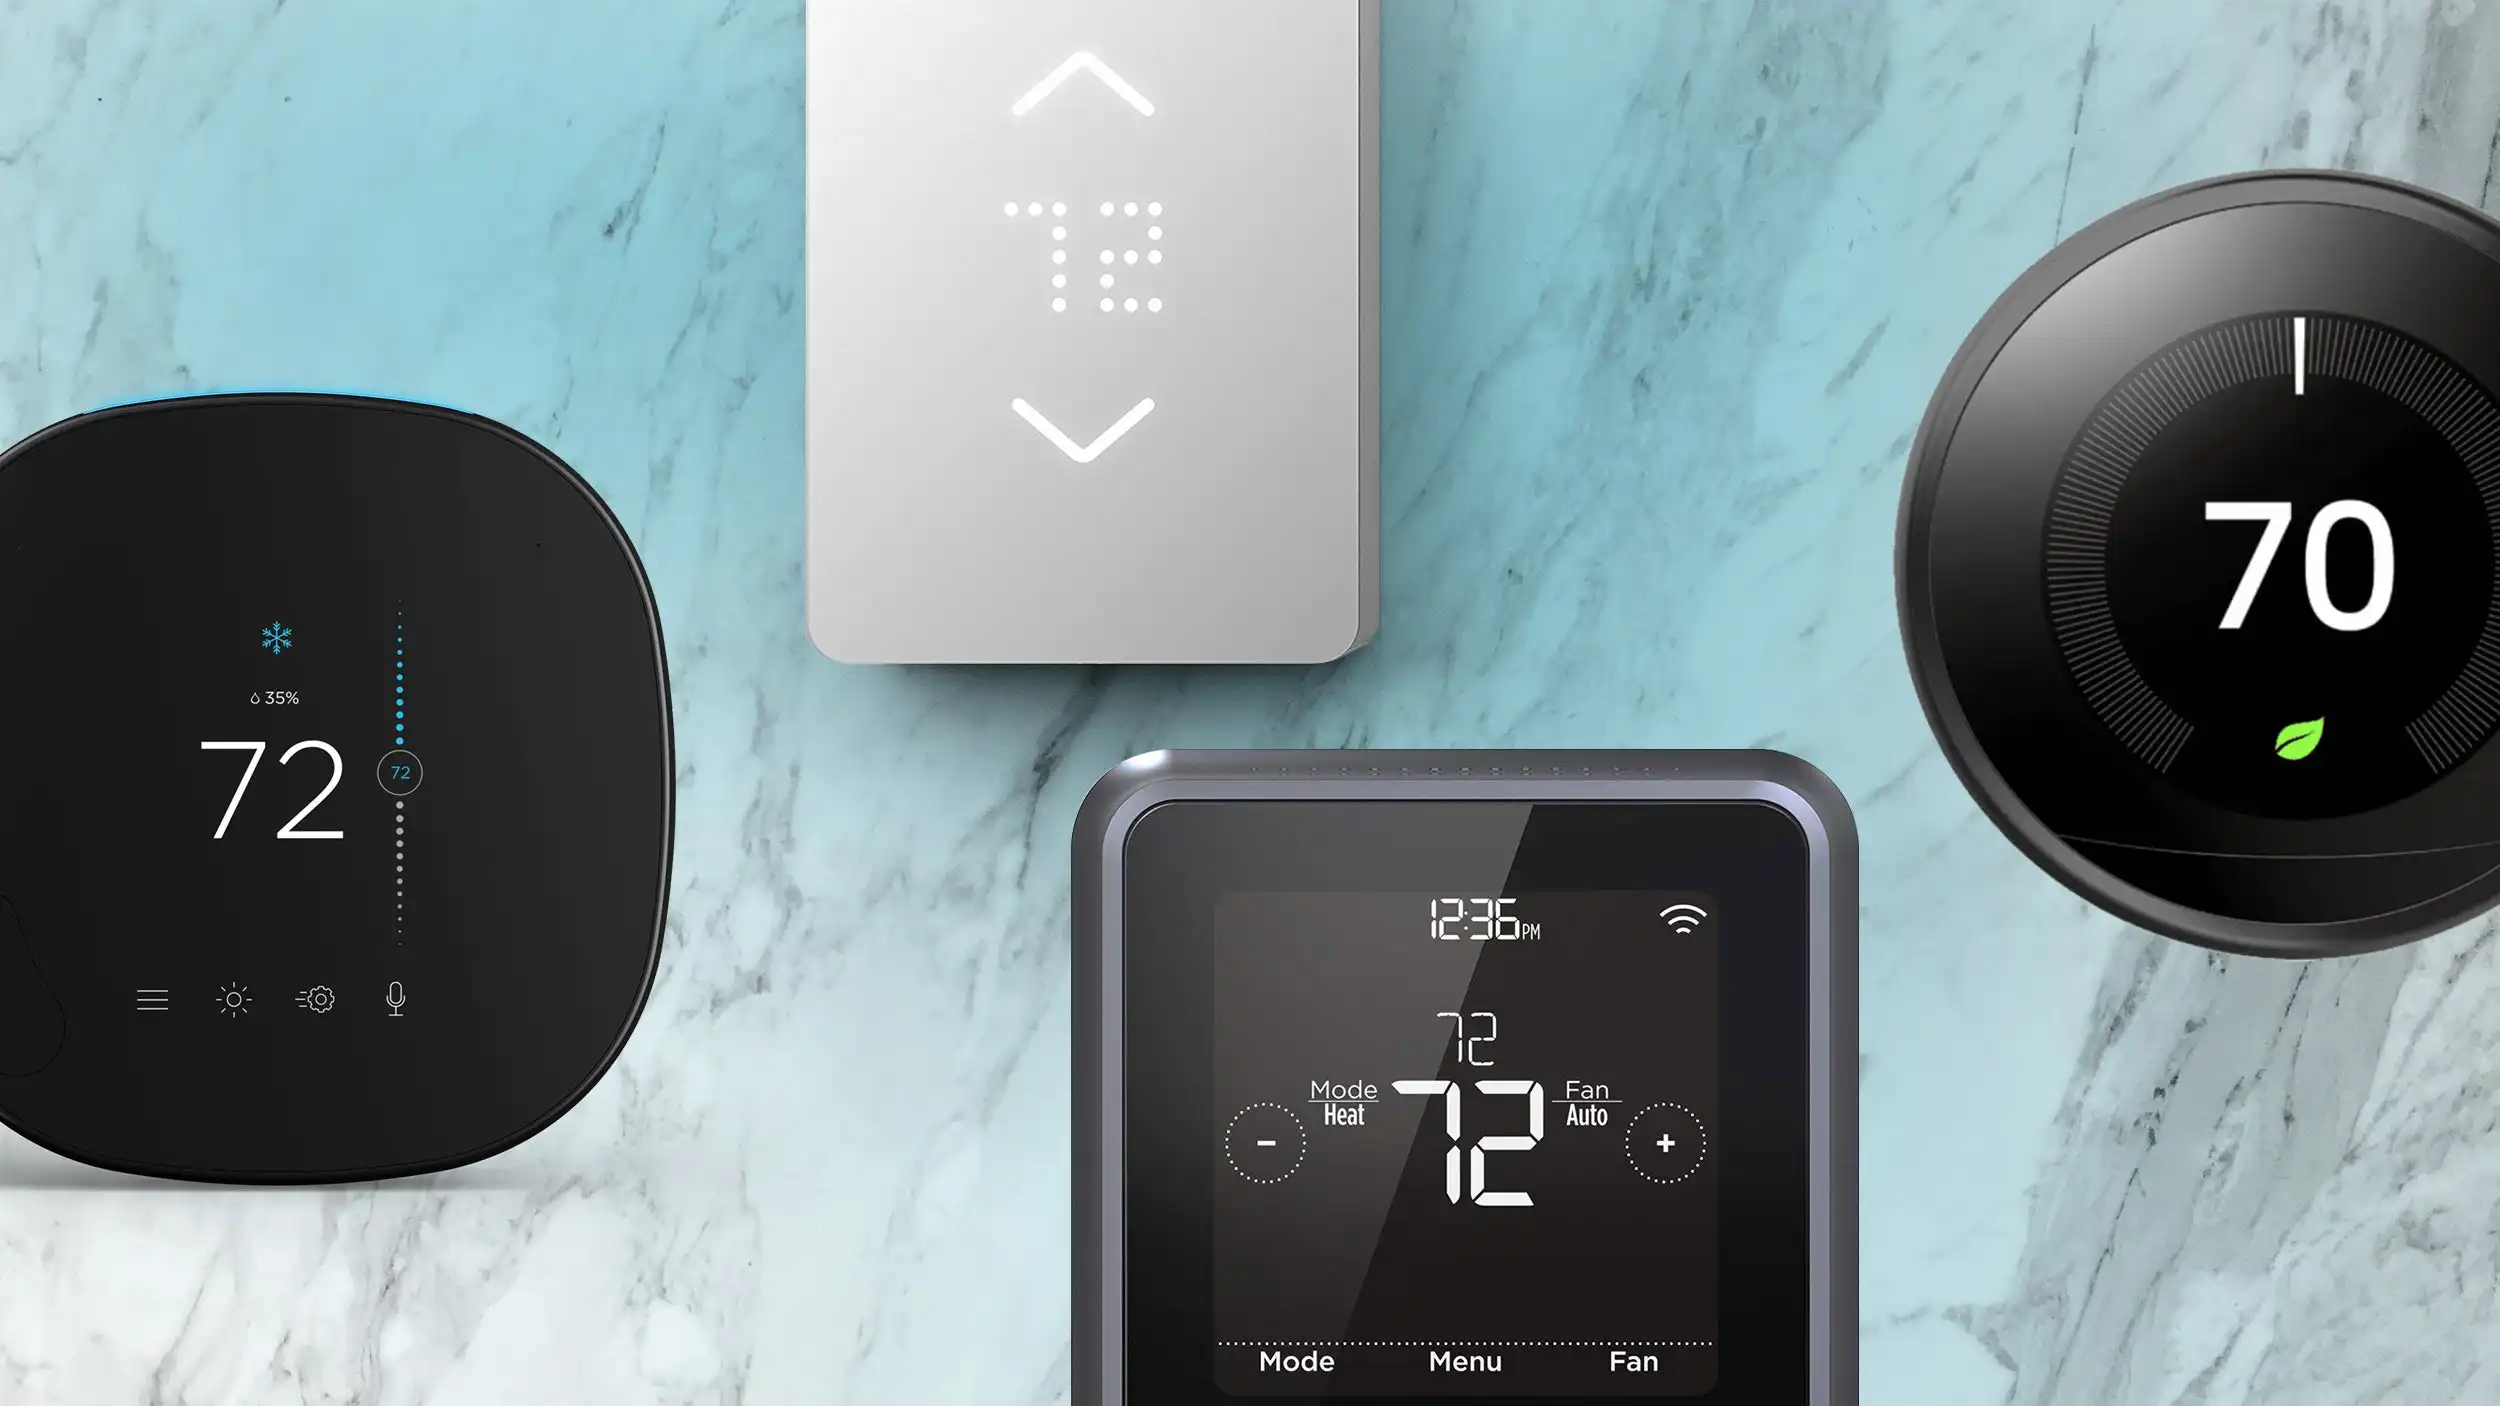
When it comes to choosing the right thermostats, there are several factors to consider. The type of heating system you have, such as a forced air system or radiant heating, will dictate the compatibility of thermostats. You’ll also need to decide between programmable and smart thermostats, depending on your desired level of control and automation.
Now that you have a brief overview, let’s dive into the details. We’ll guide you through the selection, installation, and programming process for upstairs and downstairs thermostats to maximize comfort and energy efficiency in your home. So, let’s get started!
Choosing the Right Thermostats
When it comes to selecting thermostats for your upstairs and downstairs areas, there are a few important considerations to keep in mind. The type of heating system you have and your desired level of control will play a significant role in determining the best thermostats for your home.
Firstly, you’ll need to determine the compatibility of thermostats with your current heating system. Most common heating systems, such as forced air or radiant heating, are compatible with a wide range of thermostats. However, it’s always a good idea to double-check the specifications and consult with a professional if you’re unsure.
Next, you’ll want to decide whether you prefer programmable thermostats or smart thermostats. Programmable thermostats allow you to set different temperature schedules for various times of the day or week. This can be particularly useful for optimizing comfort and energy efficiency. Smart thermostats, on the other hand, take things a step further by offering additional features like remote control via smartphone apps and compatibility with voice assistants.
Consider your lifestyle and preferences when making this choice. If you have a consistent daily routine, programmable thermostats may be sufficient. However, if you desire more flexibility and convenience, smart thermostats can provide added benefits.
Budget is another factor to keep in mind. Programmable thermostats are typically more affordable compared to smart thermostats, which come with advanced features and connectivity options. Assess your budget and determine the features that matter most to you before making a decision.
Lastly, it’s always a good idea to read reviews and gather feedback from other homeowners who have installed similar thermostats. Learning about their experiences can help you make an informed decision and choose the thermostats that best suit your needs.
By considering these factors, you’ll be able to narrow down your options and select the right thermostats for your upstairs and downstairs areas. In the next sections, we’ll guide you through the installation and programming process to ensure that you can enjoy optimal comfort and energy efficiency in your home.
Tools and Materials Needed
Before you begin installing upstairs and downstairs thermostats, it’s essential to gather all the necessary tools and materials. Having everything on hand will make the installation process smoother and more efficient. Here’s a list of what you’ll need:
- Screwdrivers: Depending on the thermostat model, you may need a flathead or Phillips screwdriver for removing and installing thermostat covers.
- Wire cutters/strippers: These tools are used to cut and strip the wires, ensuring proper connections.
- Electrical tape: This is used to secure and insulate the exposed ends of the wires.
- Drill and drill bits: In case you need to install mounting screws or make holes for wiring.
- Level: To ensure that your thermostats are properly aligned and mounted straight.
- Voltage tester: This tool helps confirm that the power is off before working on the thermostats.
- Thermostats: Depending on your preferences and compatibility with your heating system, purchase the appropriate thermostats for upstairs and downstairs areas.
- Wall anchors and screws: These are necessary if the mounting surface requires additional support.
- Pen and paper: To note down any wiring connections or programming settings for reference.
It’s crucial to gather all these tools and materials beforehand to avoid unnecessary delays or interruptions during the installation process. Having a well-prepared workspace will make the installation smoother and more enjoyable.
You may also want to refer to the instruction manuals provided with your thermostats for any specific tools or materials recommended by the manufacturer. Following the manufacturer’s guidelines will ensure a successful installation and prevent any potential issues down the line.
Now that you have all the necessary tools and materials ready, it’s time to evaluate your current heating system and determine the zones for installing the upstairs and downstairs thermostats. We’ll cover this in the next section.
Evaluating the Current Heating System
Before you begin the installation process, it’s essential to assess and understand your home’s current heating system. This evaluation will help you determine the feasibility of installing separate thermostats for upstairs and downstairs areas.
Start by identifying the type of heating system you have. Common types include forced air systems, radiant heating, or a combination of both. Understanding the specific system in your home will guide you in selecting compatible thermostats.
Next, locate the existing thermostat and take note of its wiring arrangement. This will help you understand the wiring configuration and make the installation process smoother. Take a photo or sketch the wiring connections if needed, ensuring you can refer back to it later.
After identifying the heating system and wiring arrangement, determine if you have the necessary heating zones for separate thermostats. A heating zone refers to a specific area or floor that can be controlled independently. For instance, you may want the upstairs and downstairs areas to have separate temperature settings.
If your heating system already has separate heating zones, you’re on the right track. In this case, installing separate thermostats for each zone will be relatively straightforward. However, if your heating system doesn’t have predefined zones, you might need to consult a professional to assess the feasibility of creating separate zones.
There are several methods to create heating zones, such as installing zone valves or dampers controlled by the thermostats. These methods require additional components and adjustments to the existing heating system, so it’s important to understand the complexity and cost involved before proceeding.
Once you have evaluated your current heating system and determined the feasibility of creating separate zones, you can move on to the installation process. In the following sections, we will guide you through the steps to install the upstairs and downstairs thermostats, ensuring proper wiring, and programming for optimal comfort and energy efficiency.
Determining the Heating Zones
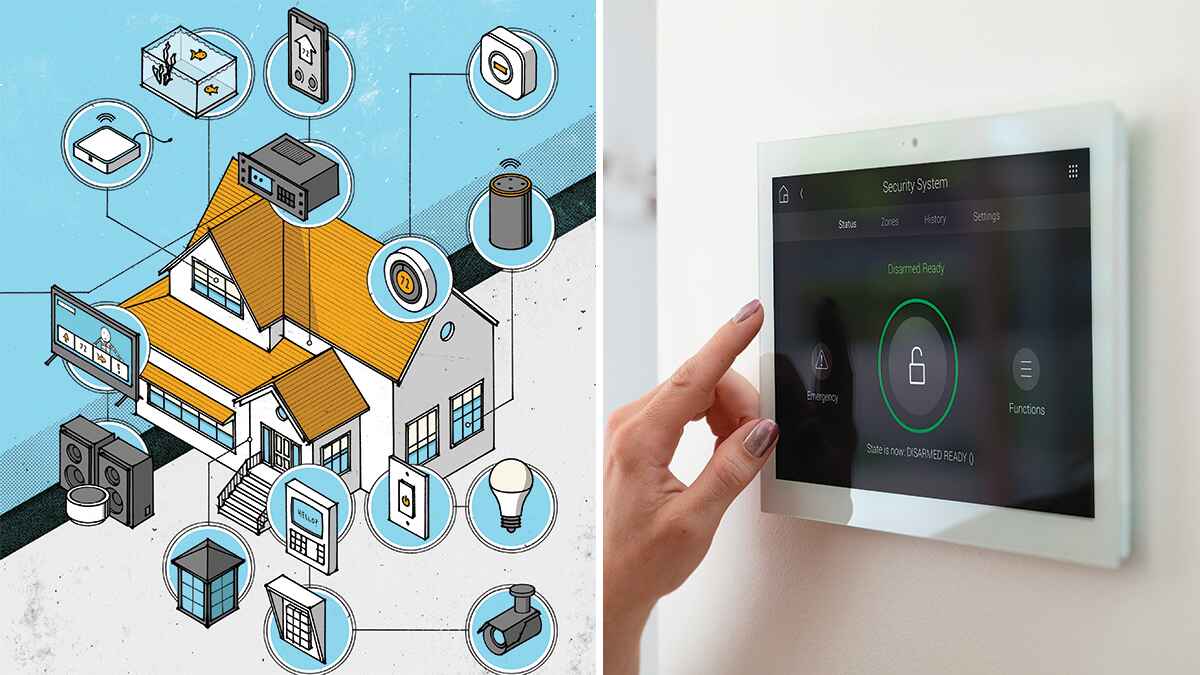
When setting up upstairs and downstairs thermostats, it’s crucial to determine the heating zones within your home. Heating zones refer to specific areas or floors that can be controlled independently, allowing you to customize the temperature settings for each zone.
To determine the heating zones, consider the layout and usage of your home. Typically, each level of a multi-level home would constitute a separate heating zone. In this case, you would install a thermostat for the upstairs area and another one for the downstairs area.
However, there may be variations depending on several factors such as room sizes, insulation, and heating requirements. For larger homes, you might have more than two heating zones, with multiple thermostats controlling different sections of the house.
One way to assess the heating zones is to walk through your home and take note of areas that have distinct temperature variances. For example, if certain rooms tend to be colder or warmer than others, they could potentially be separate heating zones.
Additionally, consider the usage patterns of different areas. If certain parts of your home are unoccupied or used less frequently, it might be beneficial to group them together as one heating zone to optimize energy usage.
Another factor to consider is the HVAC system’s capabilities. Some heating systems are capable of zoning without additional hardware, while others may require additional components like zone valves or dampers to create separate zones.
If you’re unsure about the heating zones or how to create them, it’s recommended to consult with a professional HVAC technician. They can assess your home’s layout, heating system, and specific requirements to provide expert guidance on determining the ideal zones and ensure a successful setup.
Once you have determined the heating zones within your home, you can proceed with installing the upstairs and downstairs thermostats. The next sections will guide you through the installation process, including proper wiring and programming for each thermostat to control their respective heating zones effectively.
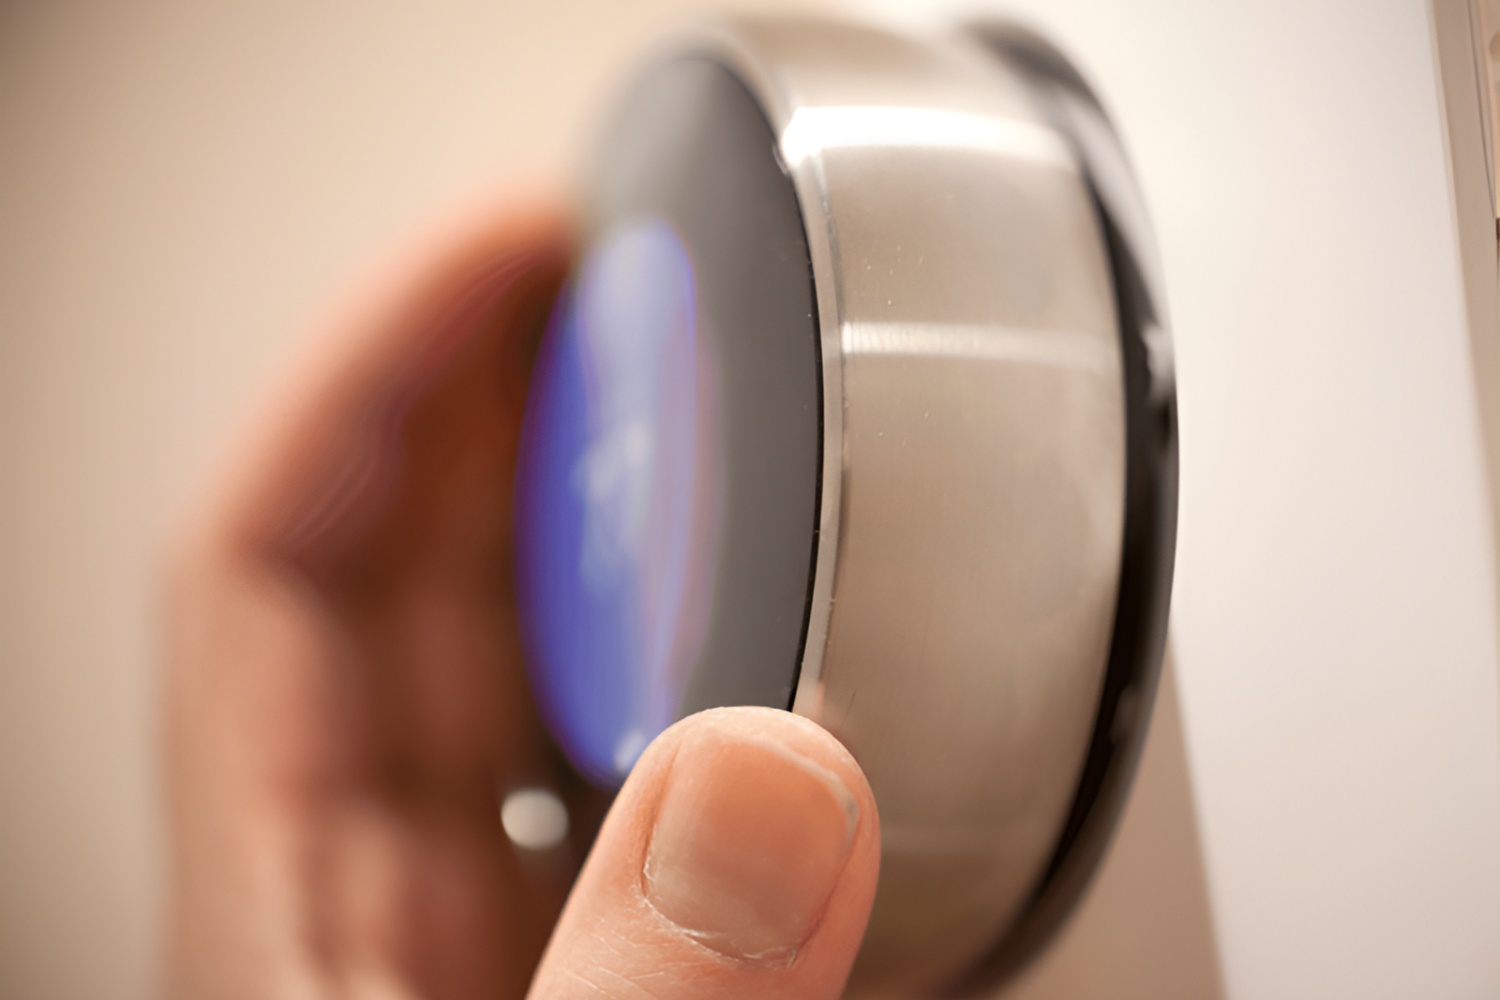
Installing the Upstairs Thermostat
Installing the upstairs thermostat is a straightforward process that will allow you to control the temperature in the corresponding heating zone. Follow these step-by-step instructions to ensure a successful installation:
- Choose the location: Select a central location on the upstairs floor that is easily accessible and represents the average temperature of that area. Avoid installing the thermostat near drafty areas, direct sunlight, or sources of heat.
- Turn off the power: Before proceeding with any electrical work, ensure that the power to the heating system is turned off at the circuit breaker. This will prevent any accidents or damage.
- Remove the old thermostat: If there is an existing thermostat, carefully remove the cover and disconnect the wires. Take note of the wiring connections or take a photo for reference.
- Mount the new thermostat: Follow the manufacturer’s instructions to mount the new thermostat base onto the wall. Use a level to ensure that it is straight.
- Connect the wires: Refer to the wiring diagram provided by the thermostat manufacturer and reconnect the wires according to the corresponding terminals on the thermostat base. Use wire nuts or terminals to secure the connections.
- Attach the thermostat faceplate: Carefully snap the thermostat faceplate onto the base, ensuring a secure fit.
- Restore power: Turn the power back on at the circuit breaker to supply electricity to the heating system.
- Test the thermostat: Set the desired temperature on the upstairs thermostat and wait for the heating system to activate. Ensure that the system responds accordingly and adjusts the temperature as desired.
Remember, it’s essential to follow the manufacturer’s instructions specific to your thermostat model. If you encounter any difficulties or uncertainties during the installation process, consult the instruction manual or seek assistance from a professional.
Once the upstairs thermostat is successfully installed, you can proceed to the next section, which covers the wiring and programming steps for optimal functionality and control.
Wiring the Upstairs Thermostat
Properly wiring the upstairs thermostat is essential to ensure it functions correctly and communicates effectively with your heating system. Follow these steps to wire the thermostat:
- Refer to the thermostat’s wiring diagram: Every thermostat model will have a specific wiring diagram provided by the manufacturer. This diagram illustrates the terminal connections for each wire.
- Begin by identifying the wires: Turn off the power to the heating system and carefully remove the cover of the existing thermostat. Identify and note the wires connected to each terminal.
- Disconnect the wires: Using a screwdriver, loosen the screws or connectors connecting the wires to the terminals. Gently pull the wires out of the terminals and keep them separated.
- Prepare the new thermostat: Follow the manufacturer’s instructions to prepare the new thermostat for wiring. This might involve removing a protective cover or ensuring the terminal screws are ready for connection.
- Match the wires to the terminals: Refer to the wiring diagram and connect each wire to the corresponding terminal on the new thermostat base. Tighten the screws or secure the connections using the provided connectors.
- Double-check the connections: Once all the wires are connected, double-check that each wire is securely fastened to the appropriate terminal. Ensure there are no loose connections or exposed wires.
- Attach the thermostat faceplate: Carefully align the faceplate with the base and snap it into place. Make sure the thermostat is level and securely attached to the wall.
- Restore power: Turn the power back on at the circuit breaker to supply electricity to the heating system and the thermostat.
It’s important to note that the wiring process may vary depending on the specific thermostat model and the configuration of your heating system. Always refer to the manufacturer’s instructions and consult a professional if you are unsure about any wiring connections or procedures.
Once the upstairs thermostat is wired correctly, you can move on to the next step: programming the thermostat. This will allow you to set temperature schedules and customize the settings to suit your comfort and energy efficiency preferences.
Programming the Upstairs Thermostat
Programming the upstairs thermostat is crucial for optimizing comfort and energy efficiency in your home. By setting temperature schedules, you can ensure that heating is provided when needed and adjust temperatures for different times of the day or week. Here’s how to program your upstairs thermostat:
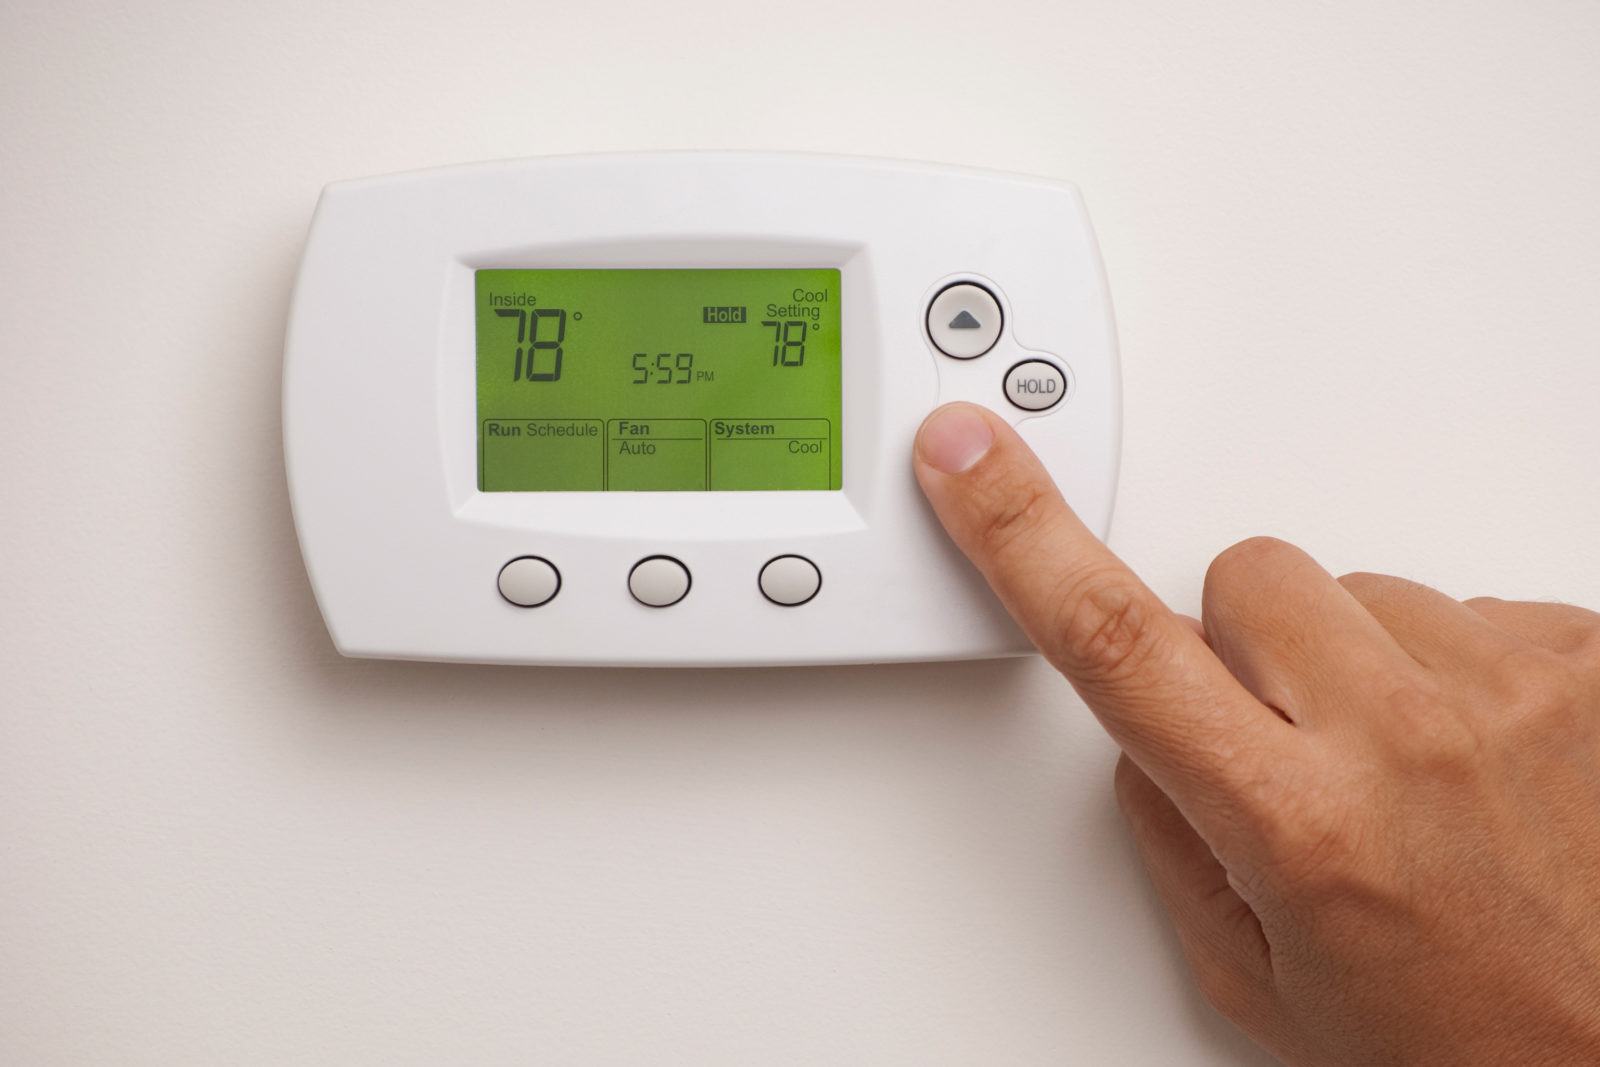
- Refer to the thermostat’s user manual: Each thermostat model will have specific instructions on how to program it. Familiarize yourself with the control buttons, display interface, and menu options.
- Set the clock: Ensure that the thermostat’s clock is set to the correct time. This will assist in scheduling temperature changes throughout the day.
- Choose a heating program: Determine your preferred temperature settings for different times of the day or week. For example, you may want a warmer temperature in the morning and evening and a slightly cooler temperature during the day or when you’re away.
- Set the temperature schedule: Using the thermostat’s programming menu, input the desired temperature settings for each time period. Some thermostats allow you to set different schedules for weekdays and weekends.
- Consider energy-saving features: Many thermostats have energy-saving options such as “eco mode” or “smart scheduling.” Take advantage of these features to reduce energy consumption while maintaining comfort.
- Review and adjust: After programming the thermostat, review the temperature schedule and make any necessary adjustments. Test the settings to ensure that the thermostat responds as intended.
- Monitor and modify as needed: Pay attention to the temperature and adjust the schedule if it doesn’t meet your comfort preferences. It may take some trial and error to find the optimal settings for your home.
Remember to refer to your thermostat’s user manual for any specific instructions or features unique to your model. If you encounter any difficulties or need further guidance, don’t hesitate to reach out to the manufacturer’s customer support or consult an HVAC professional.
By programming the upstairs thermostat, you can ensure that your home’s heating system operates efficiently, saving energy and providing comfort in the upstairs area. Now that you have programmed the upstairs thermostat, let’s move on to installing and programming the downstairs thermostat to control the heating in that zone as well.
Installing the Downstairs Thermostat
Installing the downstairs thermostat is similar to the process for the upstairs thermostat and will allow you to control the temperature in the corresponding heating zone. Follow these steps to install the downstairs thermostat:
- Select the location: Choose a central location on the downstairs floor that represents the average temperature of that area. Avoid mounting the thermostat near drafty areas, direct sunlight, or sources of heat.
- Turn off the power: Before starting any electrical work, turn off the power to the heating system at the circuit breaker. This is essential for safety purposes.
- Remove the previous thermostat: If there is an existing thermostat, carefully remove the cover and disconnect the wires. Make note of the wiring connections or take a photo for reference.
- Mount the new thermostat: Follow the manufacturer’s instructions to mount the new thermostat base onto the wall. Use a level to ensure it is installed straight.
- Wire the thermostat: Refer to the wiring diagram provided with the thermostat and connect the wires to the appropriate terminals on the base. Use wire nuts or connectors to secure the connections.
- Attach the thermostat faceplate: Once the wiring is complete, carefully snap the thermostat faceplate onto the base, ensuring it is securely attached.
- Restore power: Turn the power back on at the circuit breaker to supply electricity to the heating system and the thermostat.
- Test the thermostat: Set the desired temperature on the downstairs thermostat and observe if the heating system responds accordingly. Check that the temperature adjusts as desired.
As always, refer to the manufacturer’s instructions specific to your thermostat model to ensure a proper installation. If you encounter any difficulties or uncertainties, consult the instruction manual or seek assistance from a professional.
With the downstairs thermostat successfully installed, you now have independent control over the temperature in both the upstairs and downstairs areas. The next step is to wire and program the downstairs thermostat, allowing you to optimize comfort and energy efficiency throughout your home.
Wiring the Downstairs Thermostat
Properly wiring the downstairs thermostat is vital to ensure it functions correctly and communicates effectively with your heating system. Here are the steps to wire the thermostat:
- Refer to the thermostat’s wiring diagram: Each thermostat model has a specific wiring diagram provided by the manufacturer. This diagram illustrates the terminal connections for each wire.
- Identify the wires: Turn off the power to the heating system and carefully remove the cover of the existing thermostat. Identify and note the wires connected to each terminal.
- Disconnect the wires: Use a screwdriver to loosen the screws or connectors connecting the wires to the terminals. Gently pull out the wires from the terminals and keep them separated.
- Prepare the new thermostat: Follow the manufacturer’s instructions to prepare the new thermostat for wiring. This may involve removing a protective cover or ensuring the terminal screws are ready for connection.
- Connect the wires: Referencing the wiring diagram, connect each wire to the corresponding terminal on the new thermostat base. Secure the connections by tightening the screws or using the provided connectors.
- Double-check the connections: Once all the wires are connected, ensure that each wire is securely fastened to the appropriate terminal. Check for any loose connections or exposed wires.
- Attach the faceplate: Align the thermostat faceplate with the base and securely snap it into place. Make sure the thermostat is level and properly attached to the wall.
- Restore power: Turn the power back on at the circuit breaker to supply electricity to the heating system and the thermostat.
Remember to refer to the manufacturer’s instructions specific to your thermostat model and consult a professional if you are unsure about any wiring connections or procedures.
Once the downstairs thermostat is correctly wired, you can proceed to the next step: programming the thermostat. This will allow you to set temperature schedules and customize the settings to maintain optimal comfort and energy efficiency in the downstairs area.
Programming the Downstairs Thermostat
Programming the downstairs thermostat is essential for achieving optimal comfort and energy efficiency in the corresponding heating zone. By setting temperature schedules, you can ensure that heating is provided when needed and adjust temperatures for different times of the day or week. Follow these steps to program your downstairs thermostat:
- Refer to the thermostat’s user manual: Review the user manual provided by the thermostat manufacturer to familiarize yourself with the control buttons, display interface, and menu options.
- Set the clock: Ensure that the thermostat’s clock is accurately set to the correct time. This enables scheduling temperature changes throughout the day.
- Select a heating program: Determine your preferred temperature settings for different periods of the day or week in the downstairs area. For example, you may want a warmer temperature in the morning and evening, and a slightly lower temperature during the day or when the area is unoccupied.
- Configure the temperature schedule: Using the thermostat’s programming menu, input the desired temperature settings for each time period. Some thermostats allow for separate schedules on weekdays and weekends.
- Explore energy-saving features: Many thermostats offer energy-saving options such as “eco mode” or “smart scheduling.” Take advantage of these features to reduce energy consumption while maintaining comfort.
- Review and adjust settings: After programming the thermostat, review the temperature schedule and make any necessary adjustments. Test the settings to ensure that the thermostat responds as intended.
- Monitor and make modifications as needed: Pay attention to the temperature in the downstairs zone and modify the schedule if it doesn’t meet your comfort preferences. It may take some trial and error to find the optimal settings for your home.
Always refer to your thermostat’s user manual for any specific instructions or unique features related to your model. If you encounter challenges or require further guidance, don’t hesitate to reach out to the manufacturer’s customer support or consult with an HVAC professional.
By programming the downstairs thermostat, you can enjoy comfort and energy efficiency in the zone it controls. With both the upstairs and downstairs thermostats programmed and set up, your home’s heating system will provide customized temperature control throughout, enhancing the overall comfort of your living space.
Testing the Thermostats
After installing and programming the upstairs and downstairs thermostats, it is crucial to test them to ensure they are functioning properly. Testing will allow you to verify that the thermostats are accurately controlling the temperature in their respective heating zones. Follow these steps to test the thermostats:
- Set desired temperature: Select a target temperature on each thermostat that you want the heating system to achieve in their respective zones.
- Wait for heating system response: Give the heating system some time to activate and adjust the temperature in each zone. This may take a few minutes.
- Check temperature readings: Use a reliable thermometer to measure and compare the temperature in the areas controlled by each thermostat. Ensure that the readings align with the target temperatures set on the thermostats.
- Observe heating system operation: Watch and listen to the heating system as it runs. Confirm that it starts and stops appropriately in response to the thermostat’s temperature settings.
- Monitor temperature stability: Let the heating system run for a while and observe if the temperatures in the different zones remain stable. Check if the thermostats maintain the desired temperature and prevent any significant fluctuations.
- Adjust settings if needed: If you find any inconsistencies or temperature variations, revisit the thermostats’ programming settings. Make any necessary adjustments to ensure the desired temperatures are reached and maintained in each zone.
- Repeat the test if necessary: If you made adjustments to the settings, repeat the testing process to confirm that the thermostats are now functioning correctly as intended.
Regularly monitoring and testing the thermostats will help you identify any potential issues or malfunctions early on. If you notice any significant problems or persistent temperature discrepancies, it may be necessary to consult with an HVAC technician for further investigation and assistance.
By testing the thermostats, you will have peace of mind knowing that your heating system is accurately controlled, providing comfort and energy efficiency in each heating zone of your home.
Troubleshooting Common Issues
While installing and setting up upstairs and downstairs thermostats can greatly improve the control and comfort of your home’s heating system, sometimes issues may arise. Here are some common problems you may encounter and troubleshooting steps to resolve them:
- Thermostat not turning on: If the thermostat is not powering on or displaying any information, check if it is securely mounted and the wiring connections are properly tightened. Ensure that there is power supply to the thermostat and that the circuit breaker is not tripped.
- Inaccurate temperature readings: If you notice that the thermostat is displaying inaccurate temperature readings, use an independent thermometer to cross-check. If there is a significant difference, recalibrate the thermostat or consider replacing it if the issue persists.
- Heating system not responding: If the heating system does not turn on or does not respond to the thermostat’s temperature settings, check the wiring connections. Make sure the wires are securely connected and there are no loose or damaged wires.
- Uneven heating: If you’re experiencing inconsistent heating between the upstairs and downstairs areas, check the thermostat programming settings. Ensure that the desired temperature differentials are set correctly for each zone.
- Short cycling: Short cycling refers to the heating system frequently turning on and off within a short period. This can be caused by faulty wiring or incorrect thermostat settings. Verify that the wiring connections are secure and review the thermostat’s settings for any issues.
- Wi-Fi or connectivity problems: If you have a smart thermostat and are experiencing connectivity issues, ensure that the Wi-Fi network is stable and within range. Restart the thermostat or router if needed, and update the thermostat’s firmware if updates are available.
- Unresponsive controls: If the thermostat controls become unresponsive, try resetting the thermostat by removing it from the base and disconnecting the power. After a few moments, reconnect the power and reattach the thermostat to the base. If the problem persists, consider replacing the thermostat.
If you encounter any persistent issues or are unsure about troubleshooting steps, it is recommended to consult the thermostat’s user manual or seek assistance from the manufacturer’s customer support. Additionally, if the problem lies with the heating system itself, it may be necessary to contact an HVAC technician for professional troubleshooting and repairs.
By addressing and resolving common thermostat issues, you can ensure the efficient and reliable operation of your home’s heating system, maintaining optimal comfort in both the upstairs and downstairs areas.
Conclusion
Congratulations on successfully learning how to set up upstairs and downstairs thermostats! By installing separate thermostats for different heating zones, you can achieve personalized temperature control and enhance comfort and energy efficiency in your home.
In this guide, we discussed the importance of selecting the right thermostats based on your heating system and preferences. We explored the tools and materials needed for the installation process and walked through evaluating your current heating system to determine the heating zones. We provided step-by-step instructions for installing and wiring both the upstairs and downstairs thermostats, and we emphasized the importance of programming them to maximize their functionality.
We also covered testing the thermostats to ensure they are functioning as intended and troubleshooting common issues that may arise during the setup process. By following these steps and addressing any problems early on, you can enjoy efficient and reliable heating control throughout your home.
Remember, if you encounter any challenges or uncertainties during installation or programming, it’s always advisable to refer to the manufacturer’s instructions or consult with a professional HVAC technician. They can provide guidance and assistance tailored to your specific situation.
With the successful installation and programming of your upstairs and downstairs thermostats, you can now enjoy the benefits of precise temperature control in each heating zone. Whether it’s ensuring cozy warmth in the living areas or energy-saving settings when they are unoccupied, these thermostats will help you create a comfortable and efficient home environment.
Thank you for reading our guide, and we hope it has been informative and helpful to you. Embrace the convenience and control that separate thermostats offer and enjoy the comfort and energy efficiency they bring to your home!