Introduction
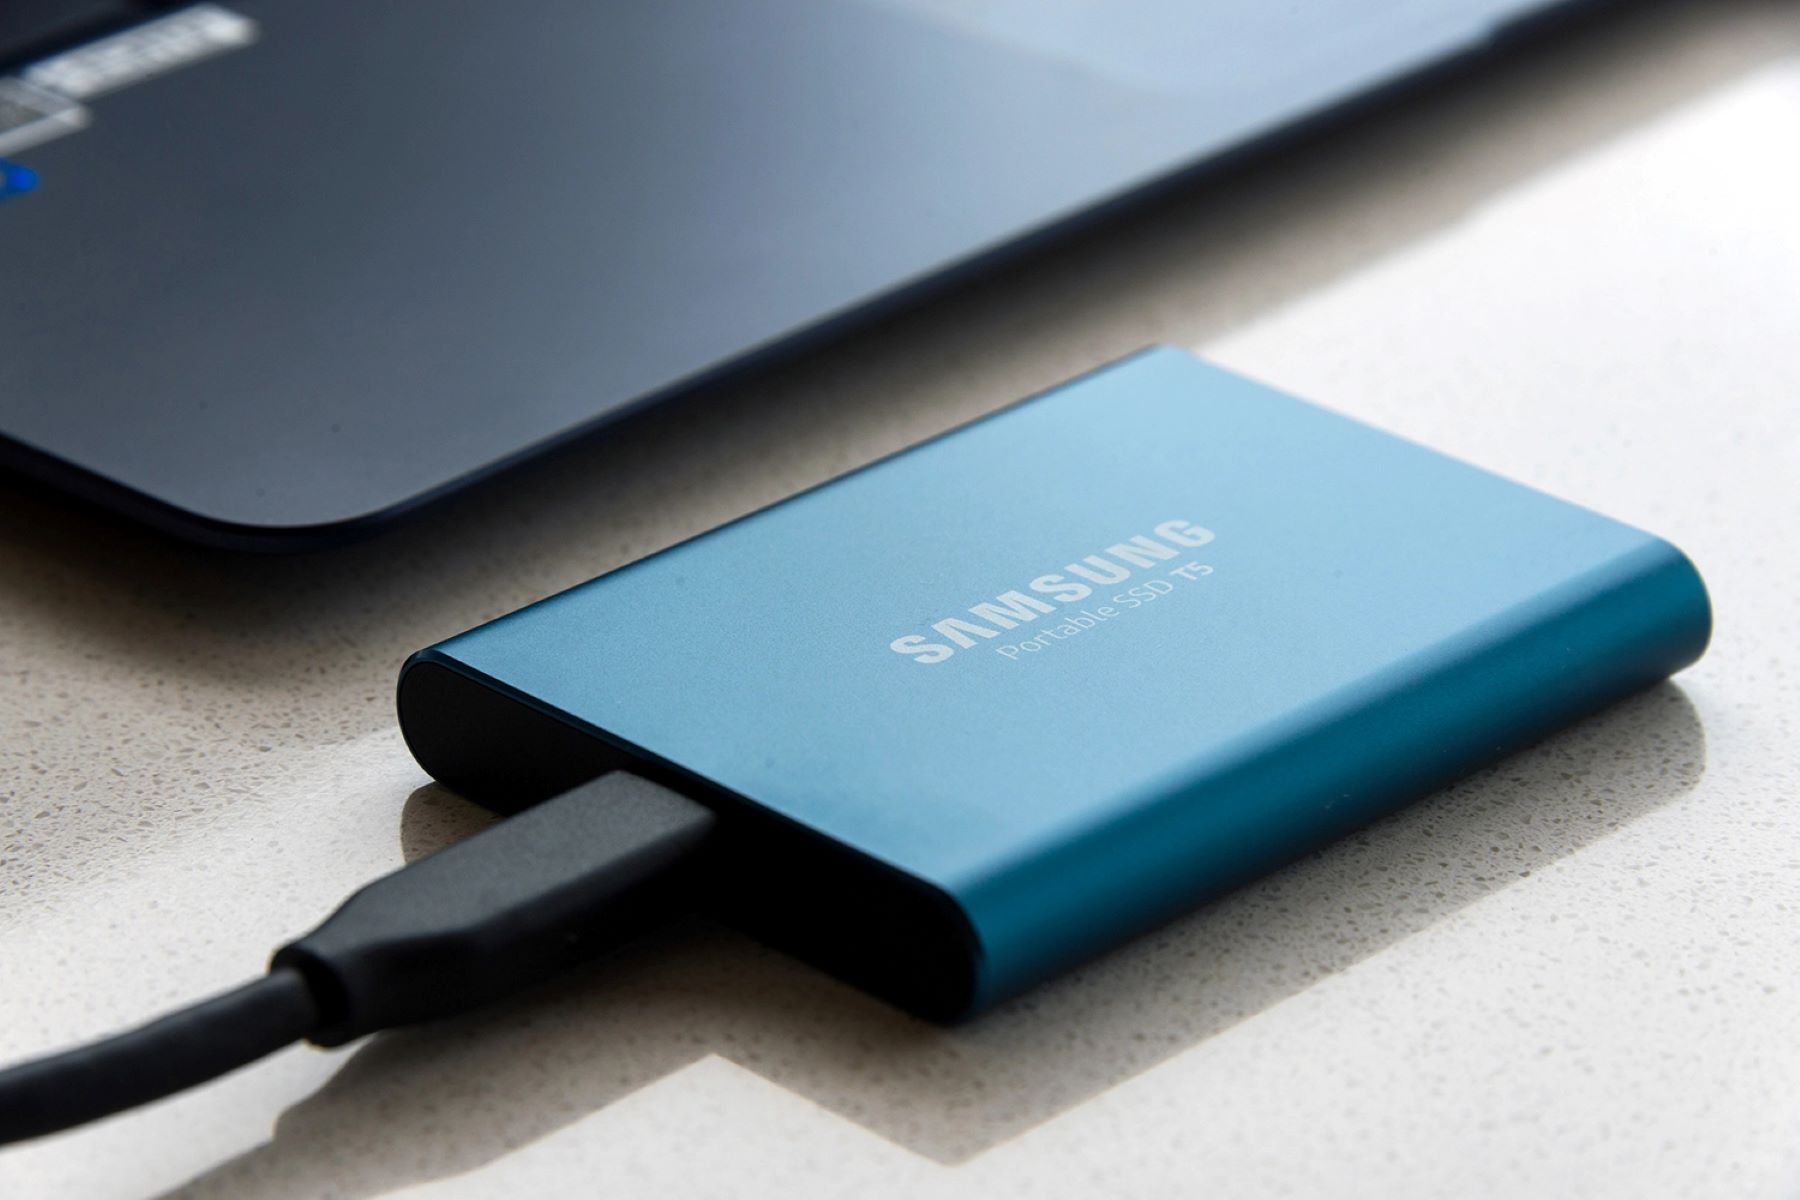
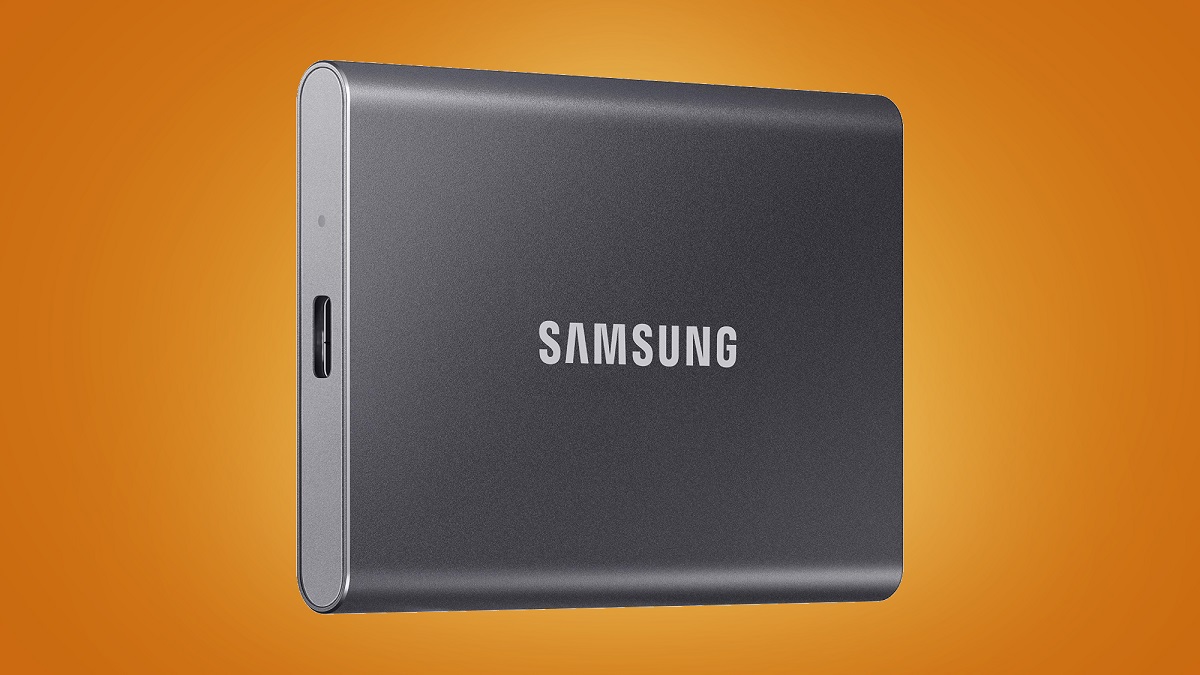
Welcome to the world of high-speed storage with the Samsung Portable SSD T7! This sleek and compact device is designed to provide you with blazing-fast data transfer speeds and reliable performance. Whether you’re a professional on the go or a casual user looking for a reliable storage solution, the Samsung Portable SSD T7 has got you covered.
In this guide, we’ll walk you through the process of setting up your Samsung Portable SSD T7, from unboxing the package to transferring files and everything in between. Whether you’re a tech-savvy individual or a beginner, we’ll make sure you have all the information you need to get started.
Before we dive in, it’s essential to note that the Samsung Portable SSD T7 is compatible with both Windows and Mac operating systems, making it a versatile choice for users of different platforms. Now, without further ado, let’s get started on setting up your Samsung Portable SSD T7!
Checking the Package Contents
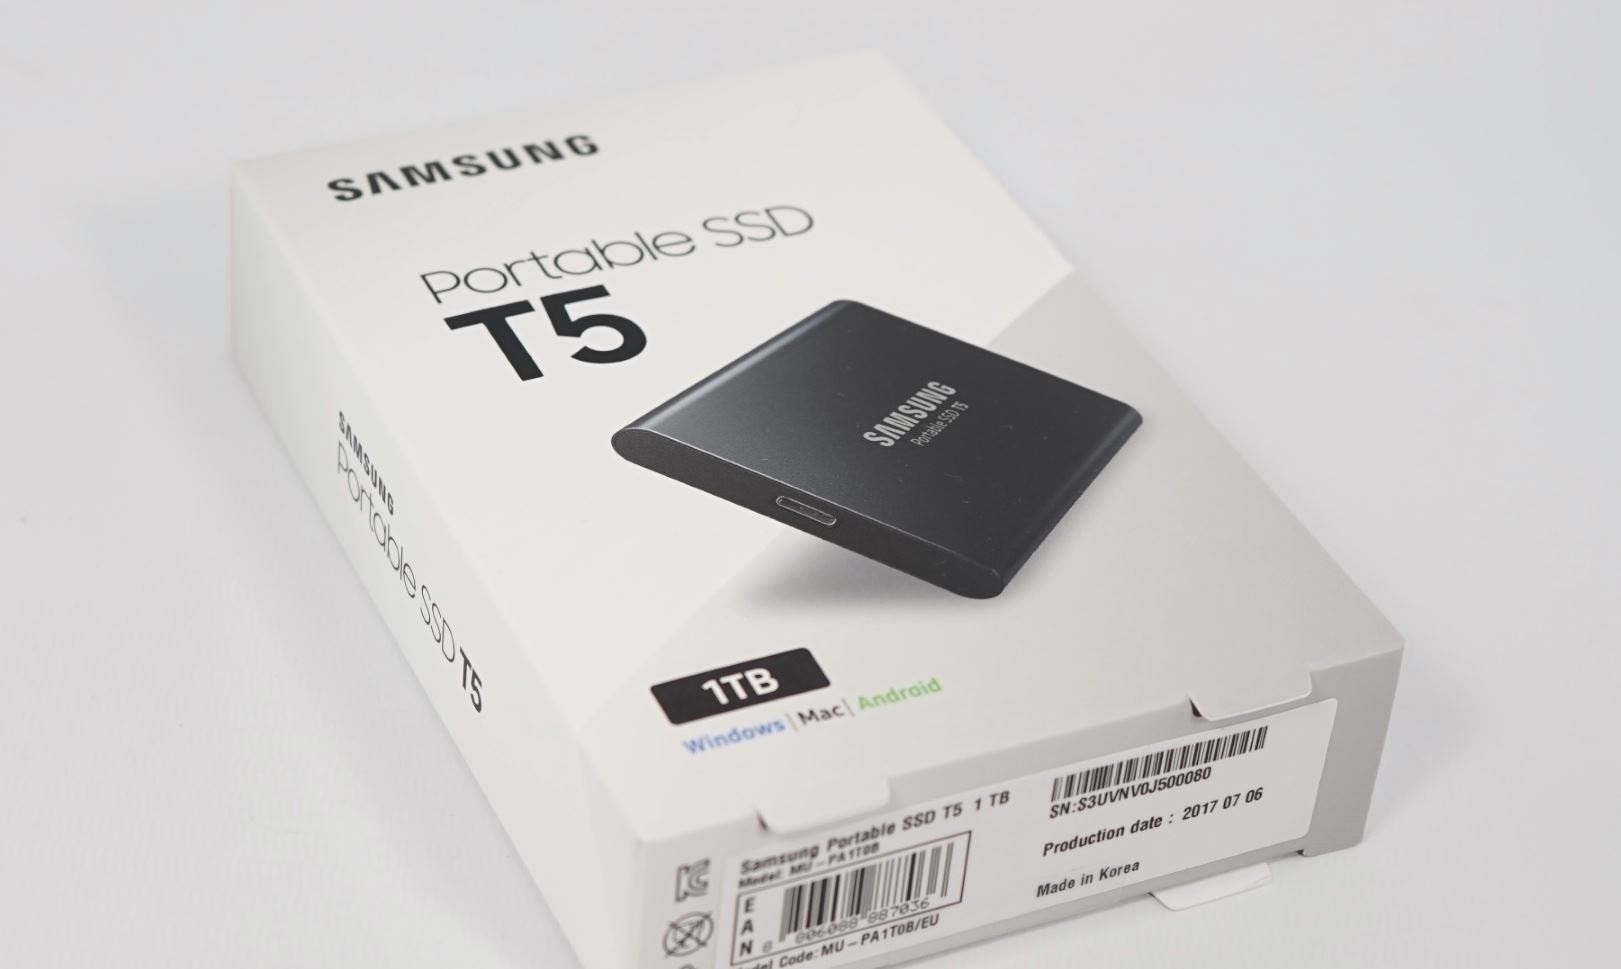
Before you begin setting up your Samsung Portable SSD T7, it’s crucial to ensure that you have all the necessary items included in the package. Here’s a checklist of what you should find:
- Samsung Portable SSD T7: The star of the show, this small and lightweight device is the heart of your storage solution.
- USB Type-C to Type-C Cable: This cable will be used to connect the Samsung Portable SSD T7 to your computer. It features USB Type-C connectors on both ends.
- USB Type-C to Type-A Cable: In case your computer doesn’t have a USB Type-C port, this cable can be used to connect the Samsung Portable SSD T7 to a USB Type-A port.
- Quick Start Guide: A handy booklet that provides step-by-step instructions on setting up and using your Samsung Portable SSD T7.
- Warranty Card: This card contains important details about the warranty coverage for your Samsung Portable SSD T7.
Once you have confirmed that all the items are present, you’re ready to move on to the next step: connecting the Samsung Portable SSD T7 to your computer. But before we do that, make sure to keep the package contents in a safe place for future reference.
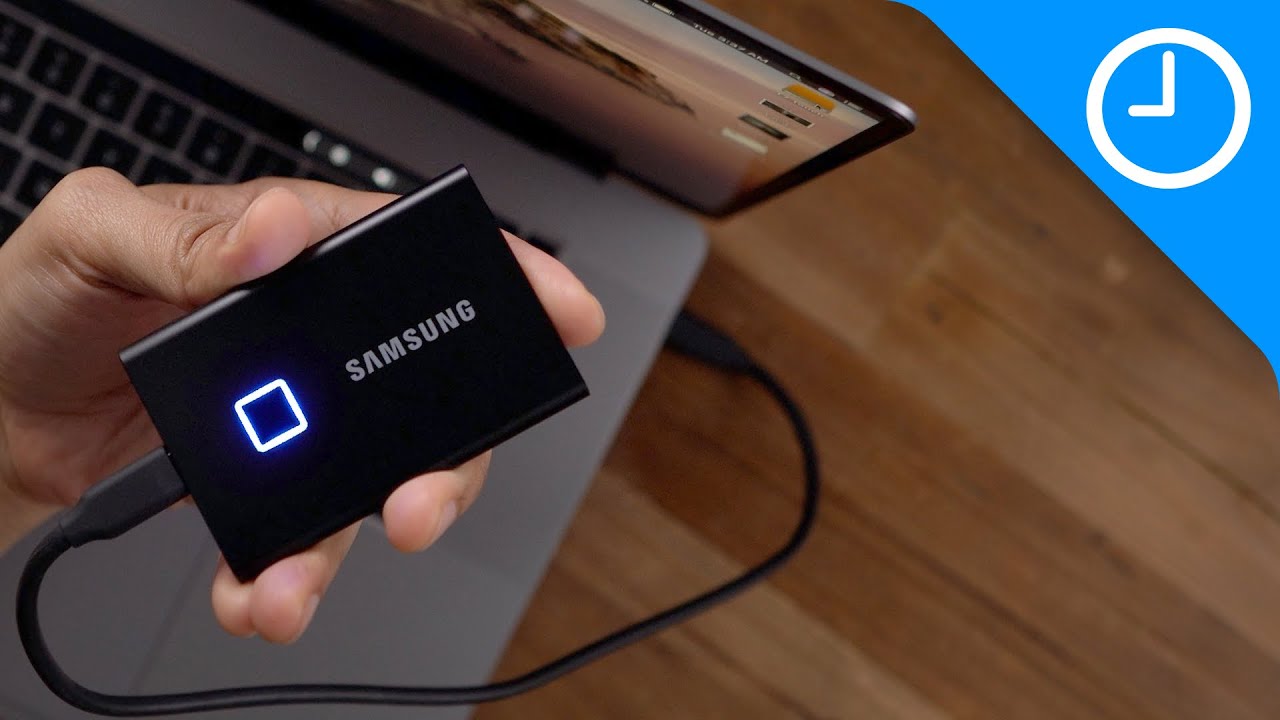
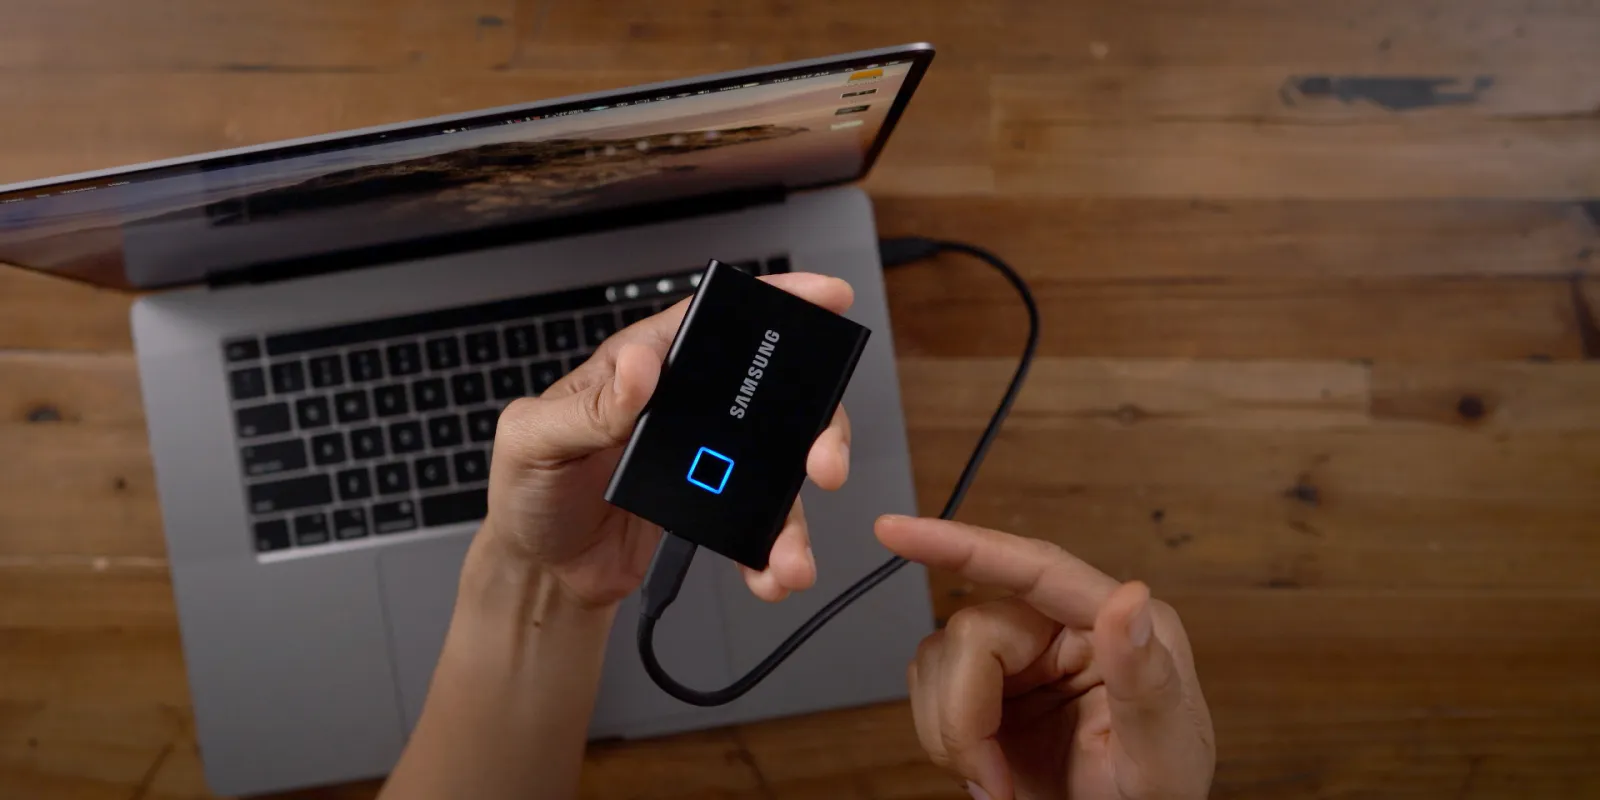
Connecting the Samsung Portable SSD T7 to your Computer
Now that you have double-checked the package contents, it’s time to connect your Samsung Portable SSD T7 to your computer. Follow these simple steps:
- Locate the USB Type-C port on your Samsung Portable SSD T7.
- Take the USB Type-C to Type-C cable and insert one end into the USB Type-C port on the Samsung Portable SSD T7.
- Connect the other end of the cable to an available USB Type-C port on your computer.
- If your computer doesn’t have a USB Type-C port, use the USB Type-C to Type-A cable instead. Insert the USB Type-C end into the Samsung Portable SSD T7 and the USB Type-A end into an available USB Type-A port on your computer.
- Once connected, your computer should recognize the Samsung Portable SSD T7 as a new storage device.
Depending on your computer’s operating system, you may need to install the necessary drivers or software to ensure proper functionality. Don’t worry; we’ll cover that in the next section. Once you have successfully connected the Samsung Portable SSD T7 to your computer, you’re one step closer to enjoying fast and reliable storage.
Remember to handle the Samsung Portable SSD T7 with care and avoid disconnecting it while transferring data to prevent any potential data loss or damage to the device. Now that you’re connected, let’s move on to installing the Samsung Portable SSD software.
Installing the Samsung Portable SSD Software
To maximize the performance and features of your Samsung Portable SSD T7, it’s recommended to install the Samsung Portable SSD software. This software provides additional functionalities such as firmware updates, password protection, and performance optimization. Here’s a step-by-step guide to installing the Samsung Portable SSD software:
- Open your web browser and go to the official Samsung website.
- Navigate to the support section and search for the software downloads specific to the Samsung Portable SSD T7.
- Download the Samsung Portable SSD software compatible with your operating system.
- Once the download is complete, locate the installation file and double-click on it to begin the installation process.
- Follow the on-screen instructions to complete the installation. You may need to agree to the terms and conditions, select the installation location, and customize the installation options.
- After the installation is finished, restart your computer to ensure all changes take effect.
Upon restarting your computer, you should see the Samsung Portable SSD software icon in your system tray or taskbar. From there, you can access the software and explore its various features. One of the essential features you can utilize is password protection, which we’ll discuss in the next section.
Remember to periodically check for software updates to ensure you have the latest version, which may include bug fixes, security enhancements, and new features. Now that you have the Samsung Portable SSD software installed, you can further customize and optimize your storage experience.
Setting up Password Protection for your Samsung Portable SSD T7
One of the key features of the Samsung Portable SSD T7 is the ability to enable password protection, adding an extra layer of security to your data. By setting up a password, you can ensure that only authorized individuals can access the contents of your SSD. Here’s how you can set up password protection for your Samsung Portable SSD T7:
- Open the Samsung Portable SSD software on your computer.
- Click on the Security tab or a similar option that pertains to password protection.
- Choose the option to enable password protection.
- Enter a strong and secure password that meets the specified criteria. You may need to include a combination of uppercase and lowercase letters, numbers, and special characters.
- Confirm the password by entering it again.
- Click on the Save or Apply button to finalize the changes.
Once you have set up password protection for your Samsung Portable SSD T7, you will be prompted to enter the password whenever you connect the SSD to your computer. Make sure to choose a password that is easy for you to remember but difficult for others to guess.
It’s crucial to keep your password in a secure location and avoid sharing it with anyone you do not trust. In case you forget your password, there may be options available to recover or reset it, depending on the specific software and firmware version of your Samsung Portable SSD T7. Refer to the user manual or the Samsung website for further instructions.
By enabling password protection, you can confidently store sensitive files and personal data on your Samsung Portable SSD T7, knowing that they are shielded from unauthorized access. Now that you have secured your SSD, let’s move on to transferring files onto it.
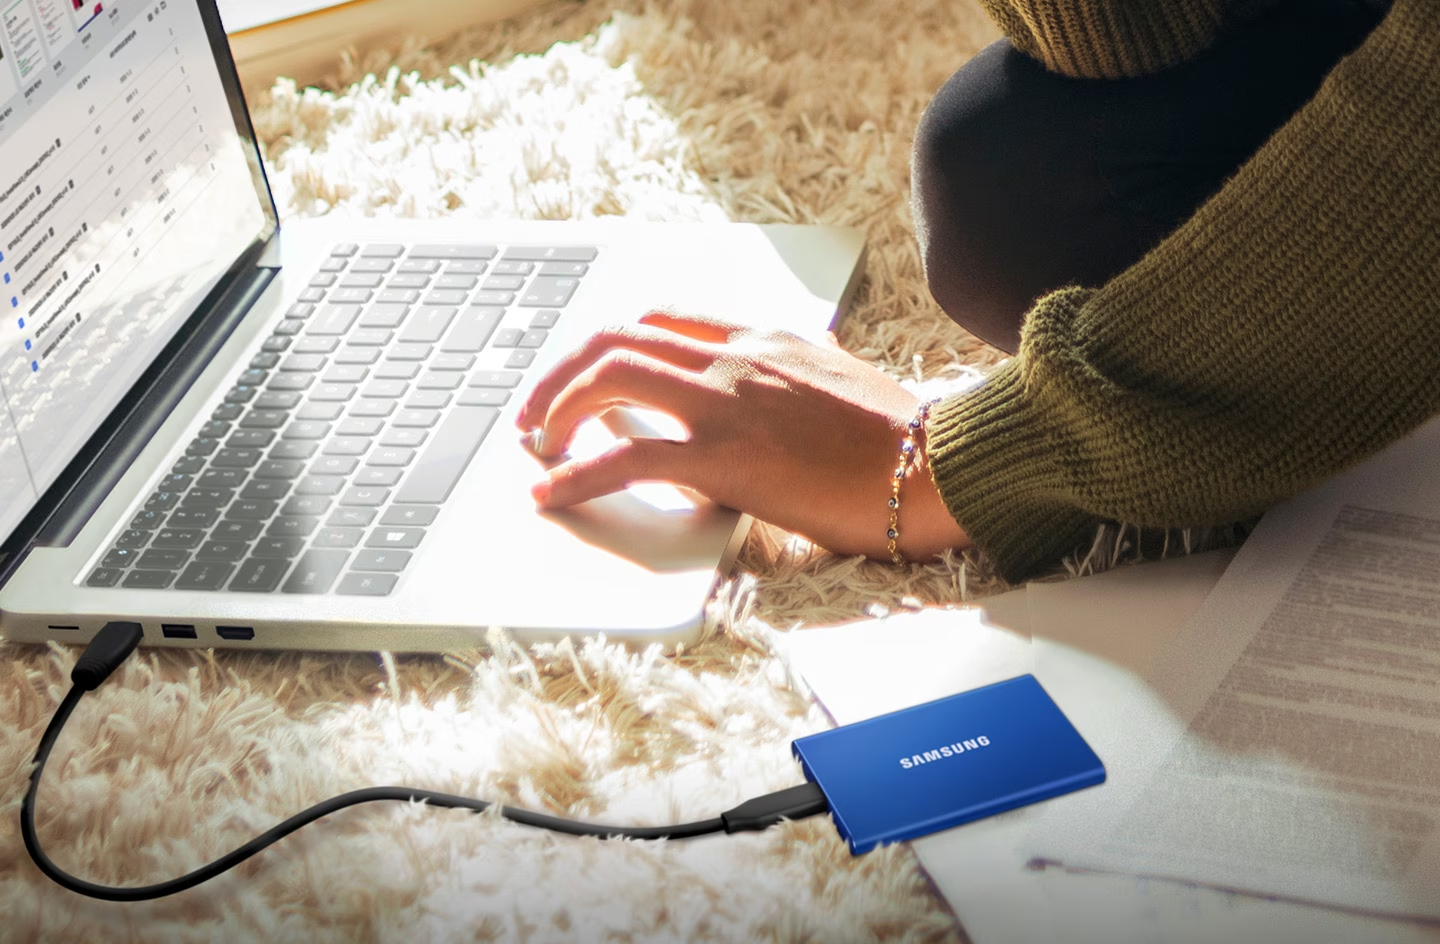
Transferring Files to the Samsung Portable SSD T7
Now that you have set up your Samsung Portable SSD T7 and enabled password protection, it’s time to start transferring your files onto the SSD. Follow these steps to ensure a smooth and efficient file transfer process:
- Connect your Samsung Portable SSD T7 to your computer using the USB Type-C cable provided.
- Once connected, wait for your computer to recognize the SSD and assign a drive letter to it.
- Open the File Explorer (Windows) or Finder (Mac) on your computer.
- Navigate to the files or folders that you want to transfer to the Samsung Portable SSD T7.
- Depending on your preference, you can either copy and paste the files directly onto the SSD or drag and drop them into the SSD folder.
- Monitor the file transfer progress and ensure that it has completed successfully before disconnecting the SSD.
- If you have a large number of files or folders to transfer, it may be more efficient to use a file manager or dedicated syncing software to automate the process.
It’s important to note that the transfer speed will depend on various factors, including the size and number of files, the speed of your computer’s USB ports, and the overall performance of the Samsung Portable SSD T7 itself. However, with its USB 3.2 Gen 2 interface, you can expect high-speed data transfer rates, allowing you to move sizable files quickly and efficiently.
After transferring your files to the Samsung Portable SSD T7, always make sure to safely eject the SSD from your computer to prevent any potential data loss or corruption. We’ll go over the proper ejection process in the next section.
Congratulations! You have successfully transferred your files to the Samsung Portable SSD T7. Your important documents, media files, and other data are now securely stored and easily accessible whenever you need them. Let’s talk about the correct way to eject the SSD in the next section.
Ejecting the Samsung Portable SSD T7 Safely
When you’re done using your Samsung Portable SSD T7 and want to disconnect it from your computer, it’s crucial to follow the proper ejection process to ensure the safety of your data and the longevity of the device. Here are the steps to safely eject your Samsung Portable SSD T7:
- If you’re using a Windows computer, locate the system tray located on the bottom right corner of the taskbar. If you’re using a Mac, look for the SSD icon on the desktop.
- Click on the “Safely Remove Hardware and Eject Media” icon or right-click on the SSD icon on your desktop.
- Select the Samsung Portable SSD T7 from the list of removable devices.
- Wait for a prompt or notification confirming that it is safe to disconnect the SSD.
- Once you receive the confirmation, gently remove the USB Type-C cable from both the Samsung Portable SSD T7 and your computer.
It’s important not to disconnect the SSD while data is being transferred or when it’s in use. Abruptly removing the SSD without properly ejecting it can result in data loss or even damage to the device. Taking a few extra seconds to safely eject the Samsung Portable SSD T7 can save you from potential headaches and ensure the integrity of your files.
After ejecting the SSD, make sure to store it in a safe and secure location, protected from physical damage or exposure to extreme temperatures or humidity. This will help preserve the longevity of the device and protect your valuable data.
Now that you know how to safely eject the Samsung Portable SSD T7, you can confidently disconnect it from your computer without worrying about data loss or device malfunction. In the next section, we’ll address some common troubleshooting issues you may encounter and provide solutions to fix them.
Troubleshooting Common Issues
While the Samsung Portable SSD T7 is a reliable storage device, you may encounter some common issues that could affect its performance or connectivity. Here are a few troubleshooting tips to help you resolve these issues:
1. SSD Not Recognized: If your computer doesn’t recognize the Samsung Portable SSD T7, try the following:
- Ensure that you have properly connected the SSD to your computer using the correct cable.
- Try connecting the SSD to a different USB port on your computer.
- Check if the SSD is visible in the disk management tool (Windows) or disk utility (Mac). If it appears, assign a drive letter or mount the SSD.
- If the issue persists, update the SSD firmware to the latest version available on the Samsung website.
2. Slow Transfer Speeds: If you’re experiencing slower than expected transfer speeds, consider the following:
- Ensure that you’re connecting the SSD to a USB 3.2 Gen 2 port on your computer, as this will provide the fastest data transfer speeds.
- Check if there are any background processes or applications on your computer that might be using excessive resources and affecting the transfer speed.
- Scan the SSD for any potential malware or viruses that might be slowing down the transfer process.
- If the issue persists, try connecting the SSD to a different computer to rule out any potential issues with your current system.
3. Password Issues: If you’re having trouble with the password protection feature, follow these steps:
- Always double-check that you’re entering the correct password, taking into account any uppercase or lowercase characters, numbers, or special characters.
- If you’ve forgotten your password, refer to the user manual or the Samsung website for instructions on password recovery or resetting. Keep in mind that the process may vary depending on the software and firmware version.
- Contact Samsung support if you’re unable to resolve the password-related issue on your own.
If you’re still experiencing technical difficulties or encountering other issues with your Samsung Portable SSD T7, it’s advisable to reach out to Samsung’s customer support for further assistance and guidance. They will be able to provide you with specific troubleshooting steps or suggest further actions to resolve your problem.
By following these troubleshooting tips, you can often overcome common issues and continue enjoying the fast and reliable performance of your Samsung Portable SSD T7. Now that you’re equipped with troubleshooting knowledge, you can confidently navigate any challenges that may arise. In the next section, we’ll wrap up our guide.
Conclusion
Congratulations! You have successfully set up your Samsung Portable SSD T7 and learned how to maximize its performance and functionality. From checking the package contents to transferring files and troubleshooting common issues, you are now well-equipped to make the most out of this powerful storage solution.
The Samsung Portable SSD T7 offers high-speed data transfer, compact design, and optional password protection, making it an excellent choice for professionals, students, and anyone looking for reliable and portable storage. Its compatibility with both Windows and Mac operating systems ensures that users from various platforms can enjoy its benefits.
Remember to handle your Samsung Portable SSD T7 with care, securely eject it from your computer, and store it in a safe place when not in use. Regularly updating the firmware and software ensures that you have the latest features and security enhancements.
If you encounter any difficulties or have further questions, don’t hesitate to refer to the user manual or reach out to Samsung’s customer support for assistance. They are there to help you make the most of your Samsung Portable SSD T7.
We hope this guide has been helpful in getting you started with your Samsung Portable SSD T7 and optimizing its performance. Enjoy the fast and reliable storage experience that this device provides and make your data easily accessible whenever you need it. Happy storing!