Introduction
Welcome to the world of exceptional sound quality and immersive audio experience with your new Logitech speakers! Whether you’re a music enthusiast or a movie buff, having high-quality speakers can truly enhance your audio enjoyment. In this article, we will guide you through the process of setting up your Logitech speakers, from unboxing to testing, so you can start enjoying crystal-clear sound right away.
Logitech is known for its commitment to delivering top-notch audio equipment, and their speakers are no exception. With sleek designs, powerful sound output, and easy installation, Logitech speakers have gained a strong reputation among users worldwide. Setting up your Logitech speakers may seem intimidating at first, but with the right guidance, it’s a straightforward process that anyone can do.
Before we dive into the setup process, it’s important to note that Logitech speakers come in various models and configurations. Therefore, the steps outlined in this guide may vary slightly depending on the specific model you have. However, the general principles and concepts remain the same, so regardless of which Logitech speaker model you own, you’ll find valuable instructions here.
In the following steps, we’ll cover everything from unboxing your speakers to configuring the audio settings on your computer. By the end of this guide, you’ll have your Logitech speakers up and running, providing you with high-quality sound that will elevate your audio experience.
So, without further ado, let’s get started with unboxing your Logitech speakers and embark on this exciting journey towards optimizing your audio setup.
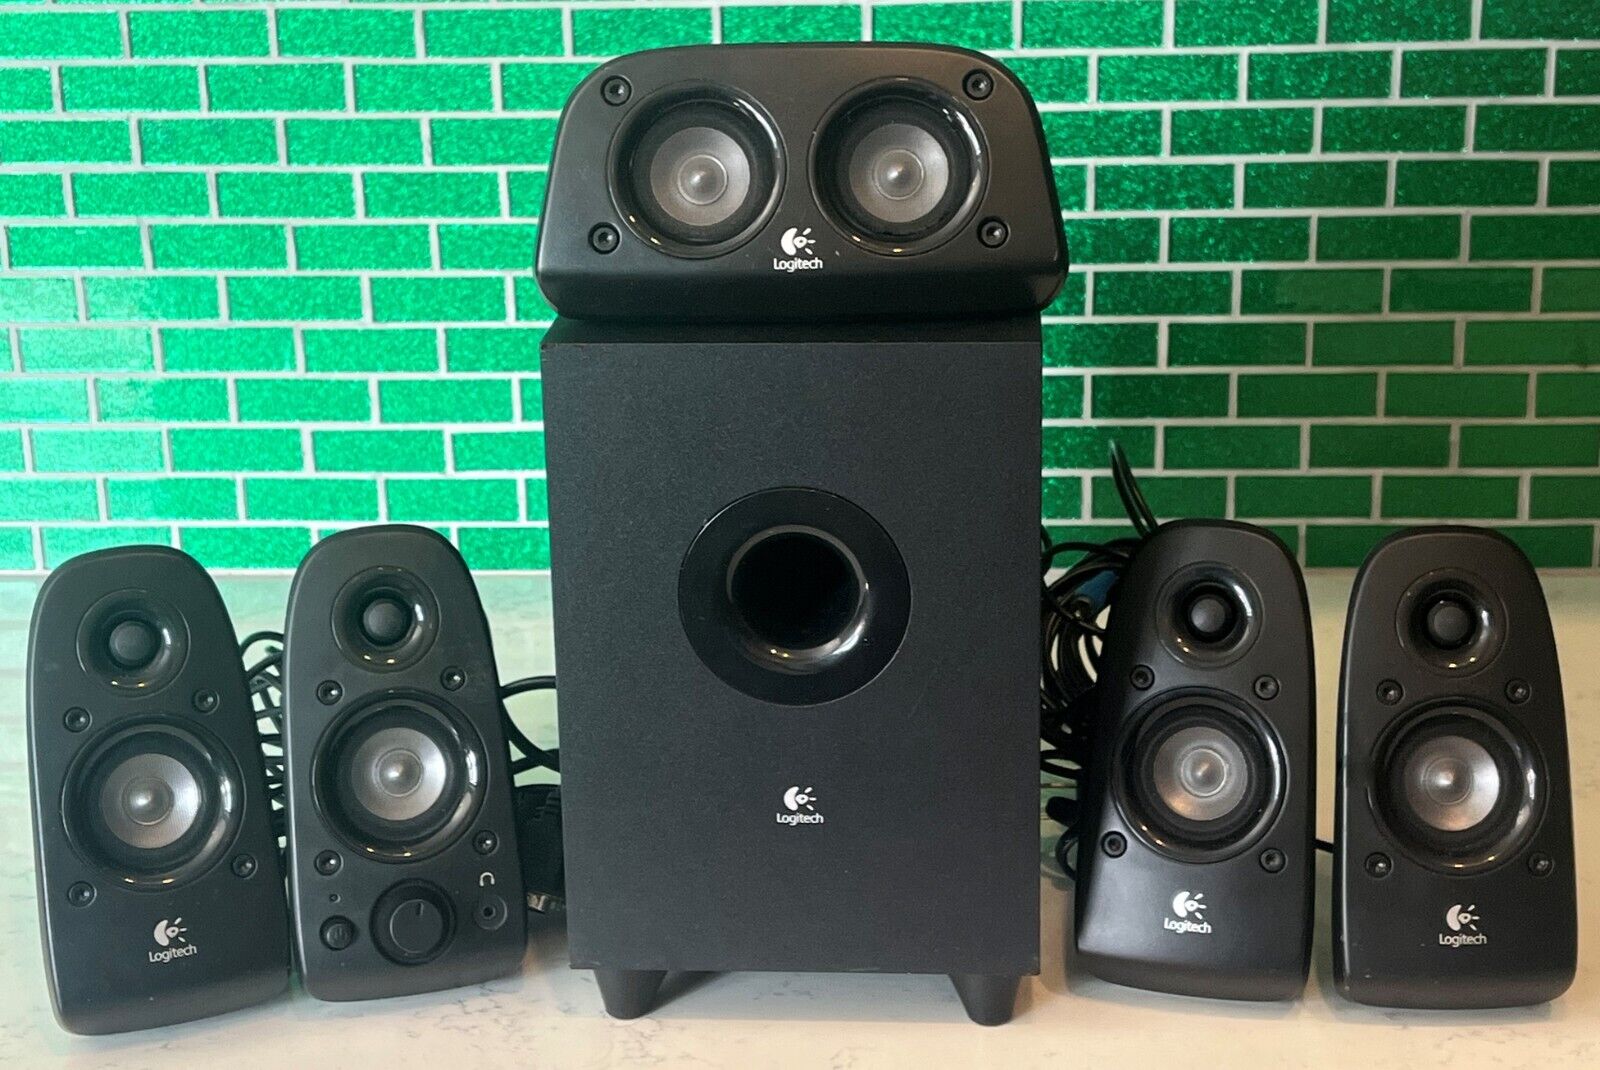
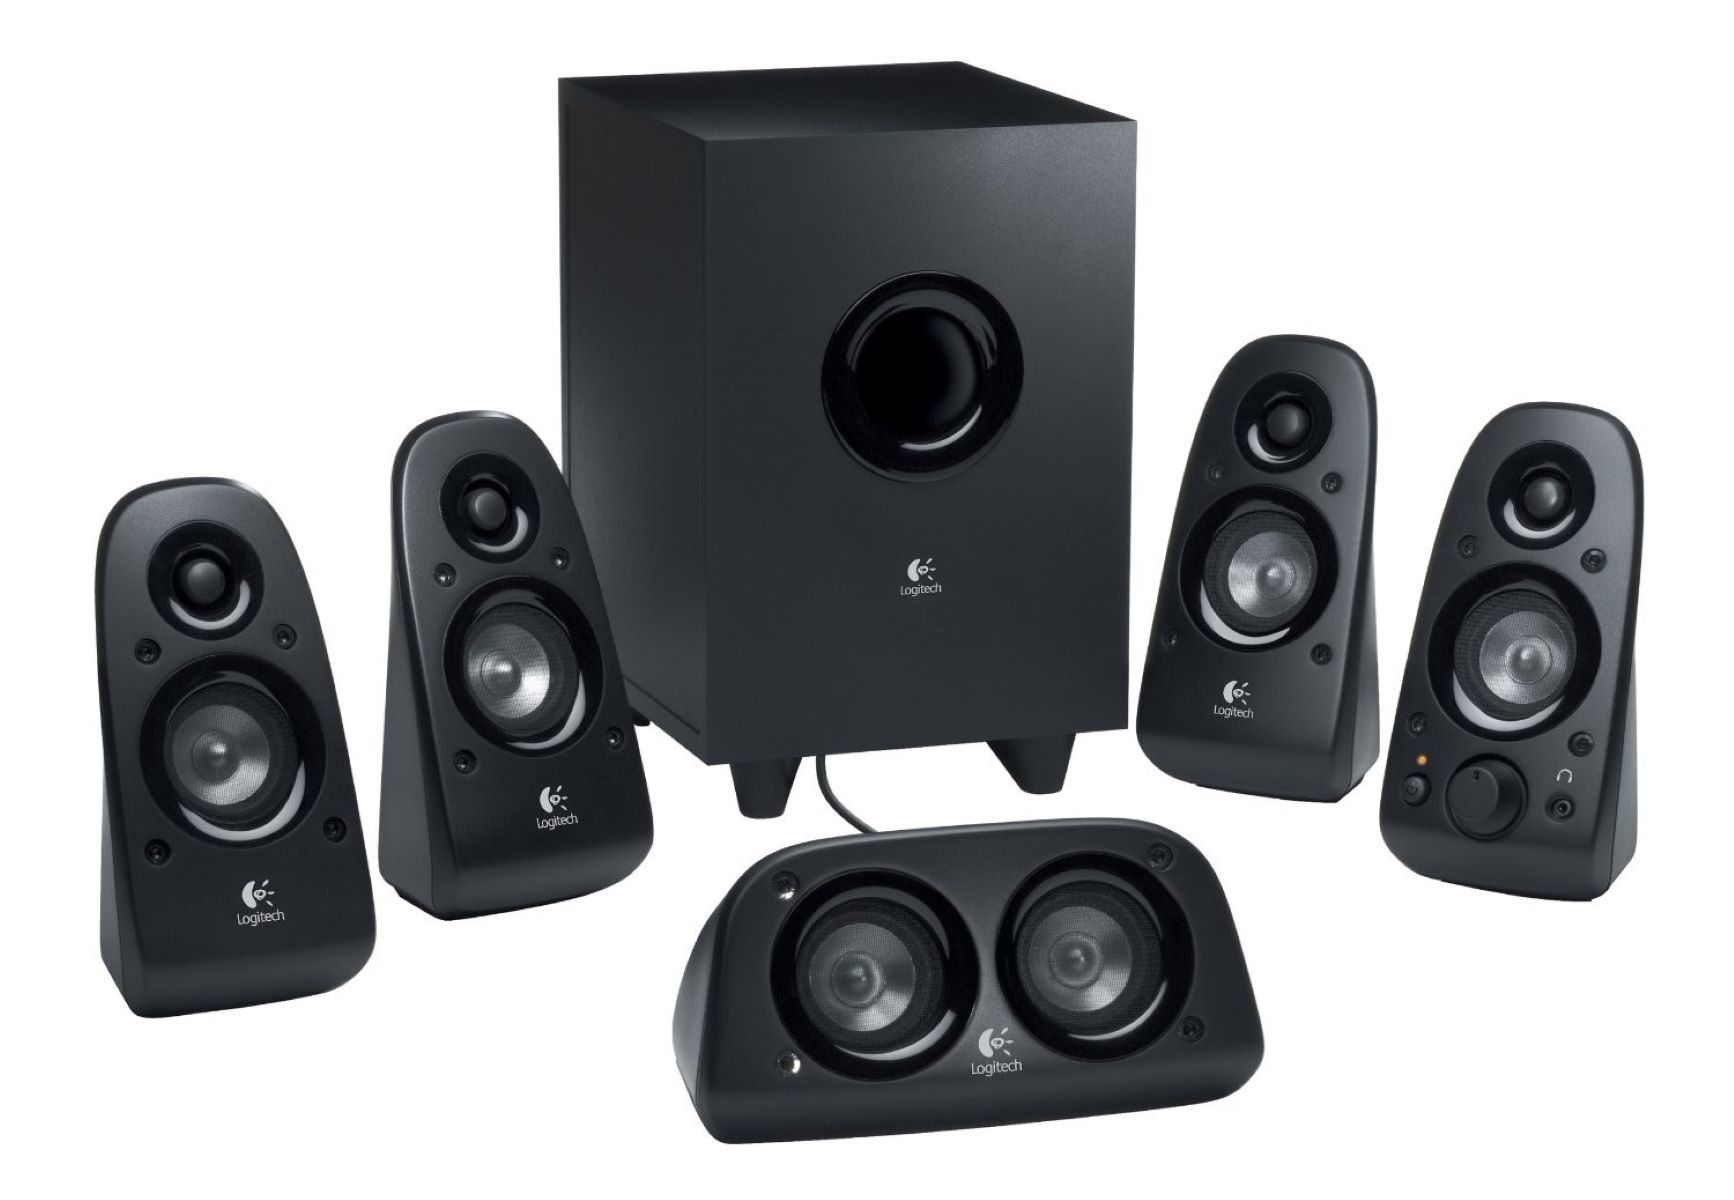
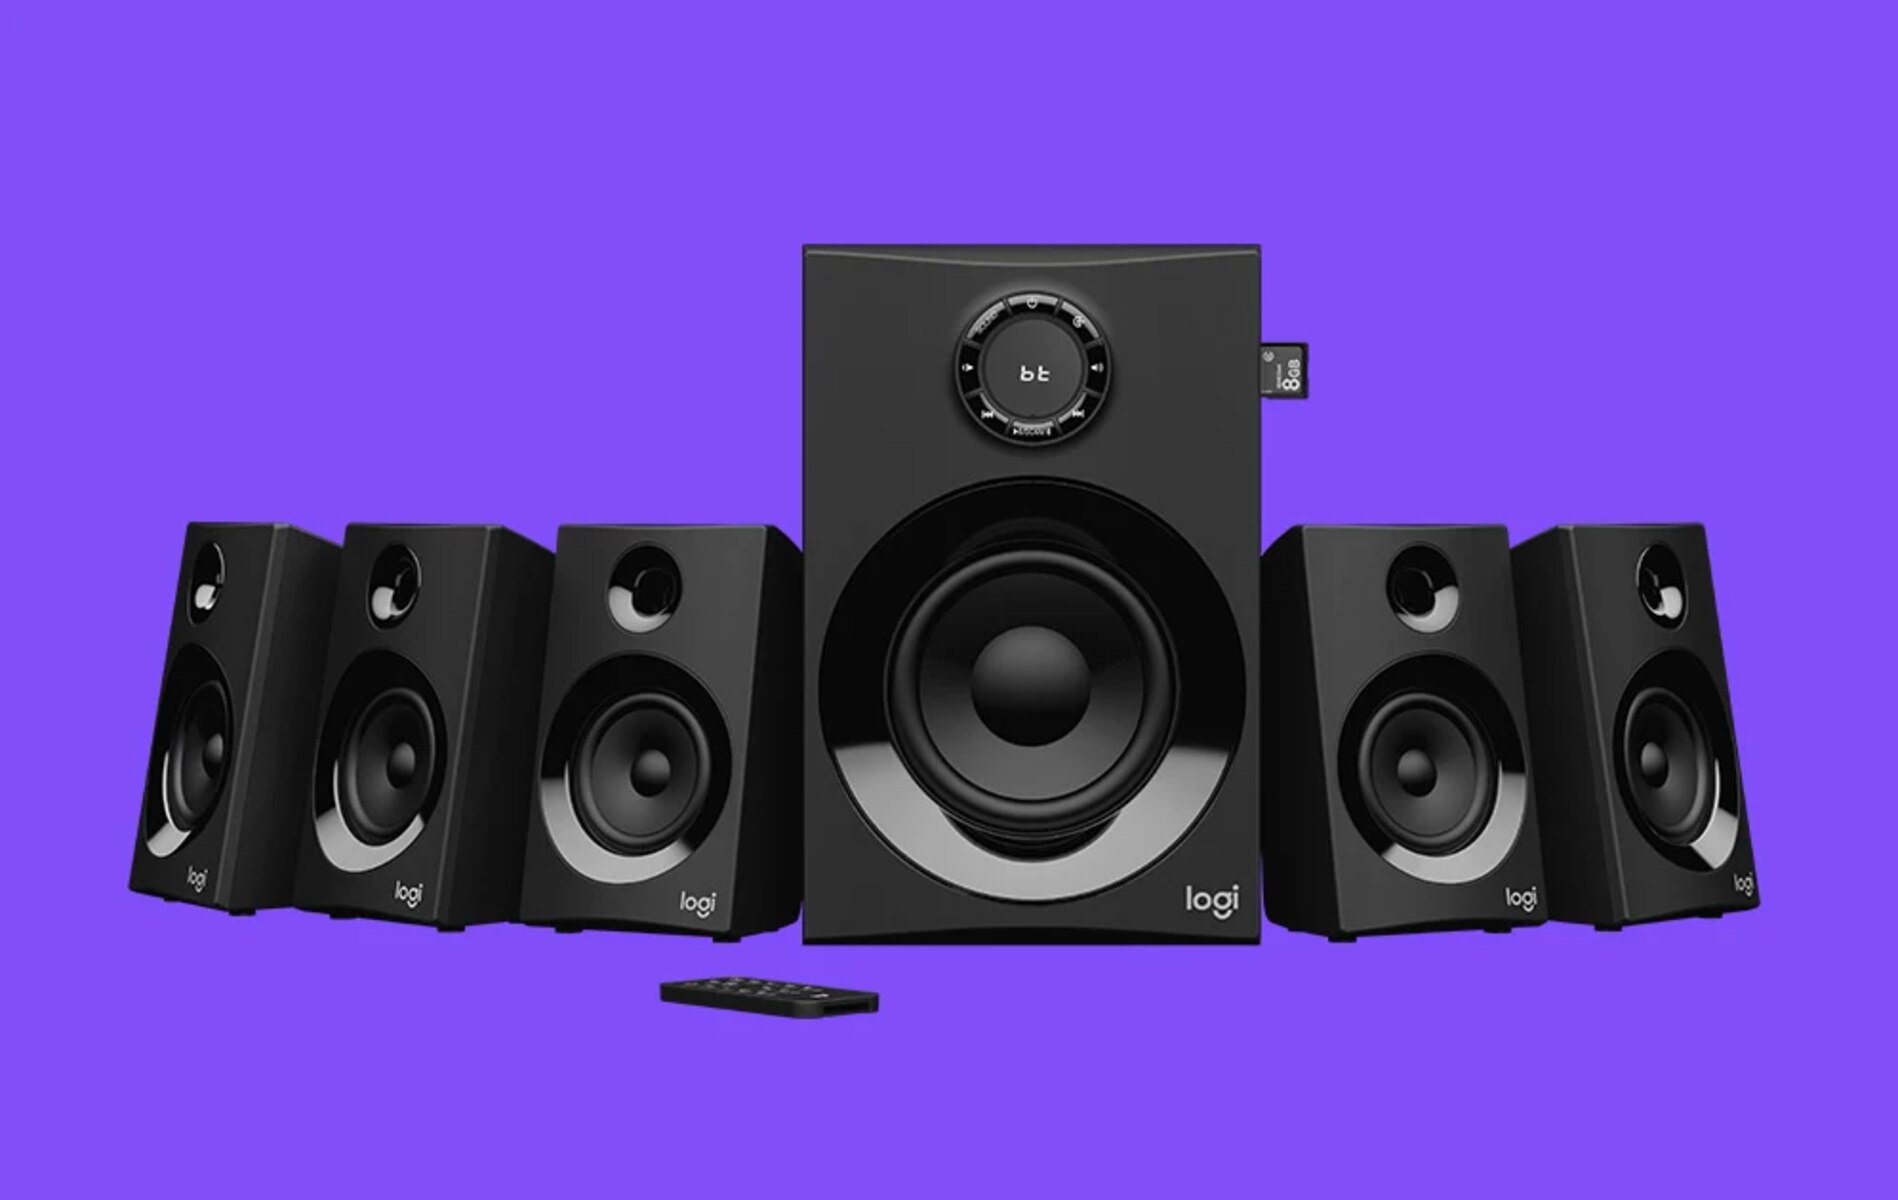
Step 1: Unboxing the speakers
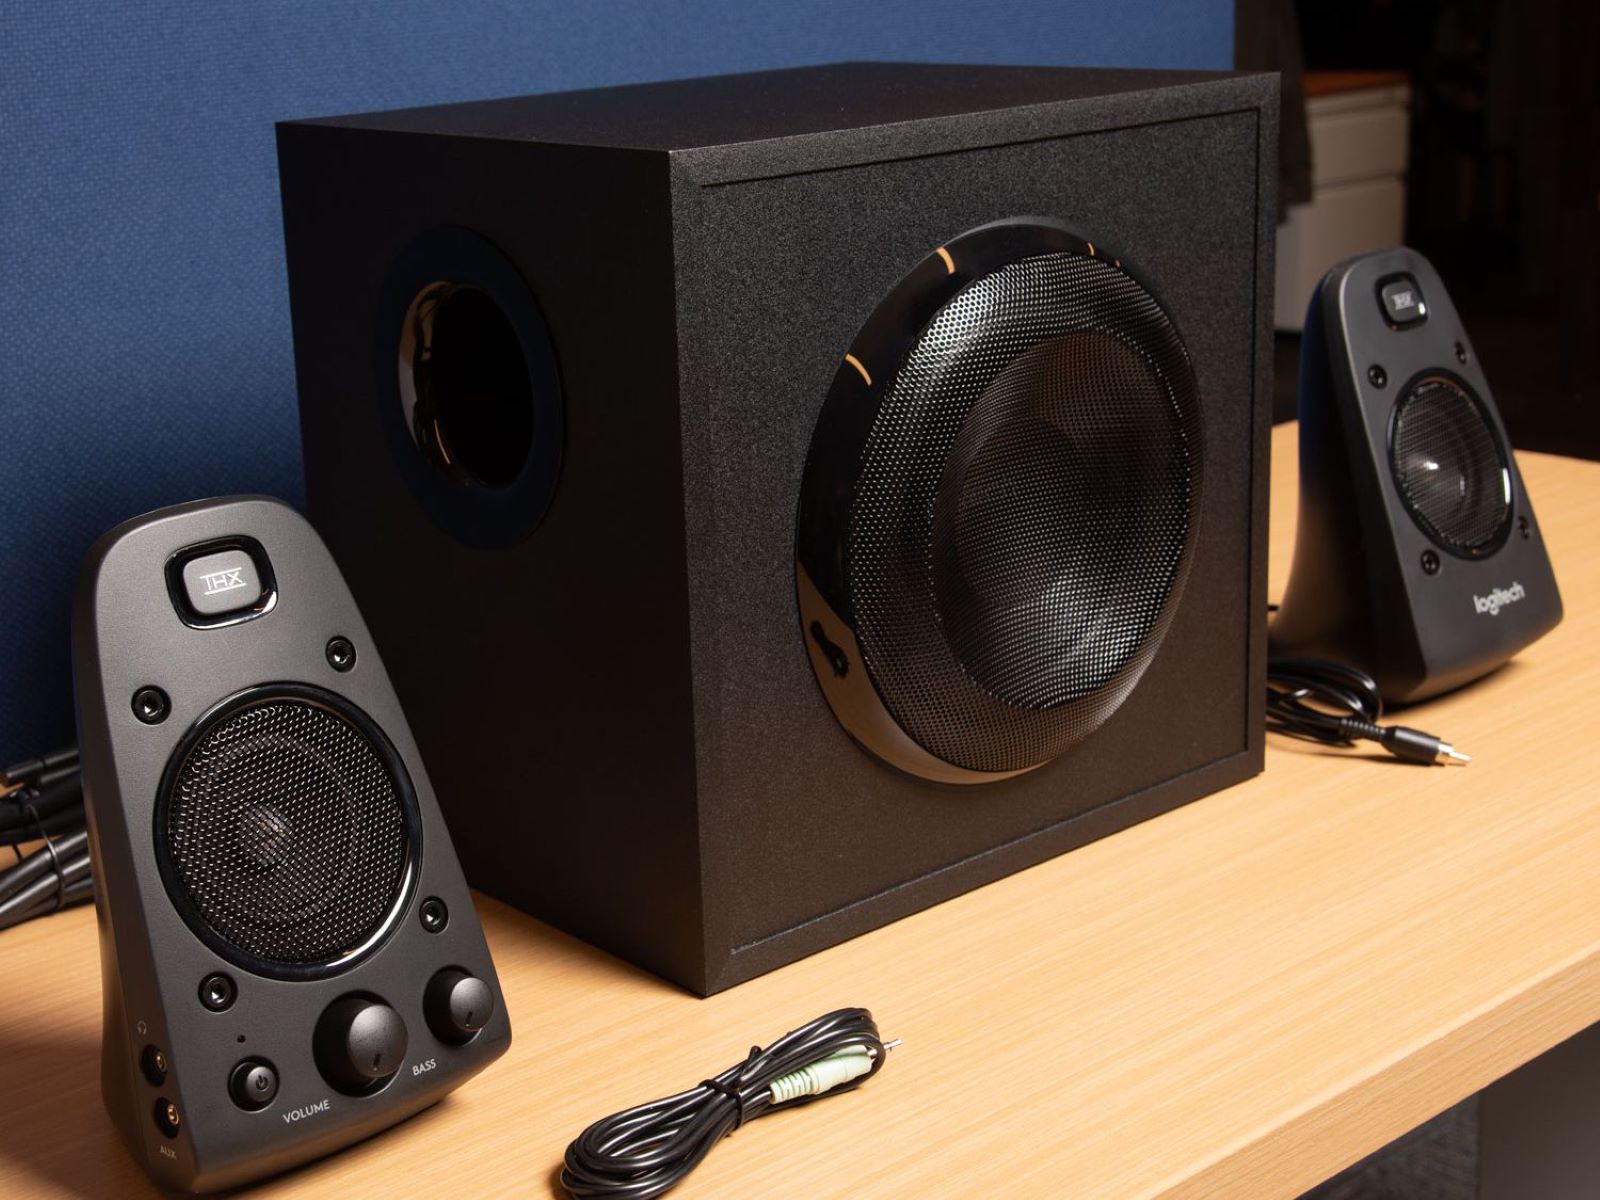
The first step in setting up your Logitech speakers is to unbox them. When you open the package, you’ll find the speakers themselves, along with any accompanying cables, user manuals, and power adapters.
Before proceeding, take a moment to inspect the contents and make sure everything is included and in good condition. It’s always a good idea to refer to the user manual for any specific instructions or precautions provided by the manufacturer.
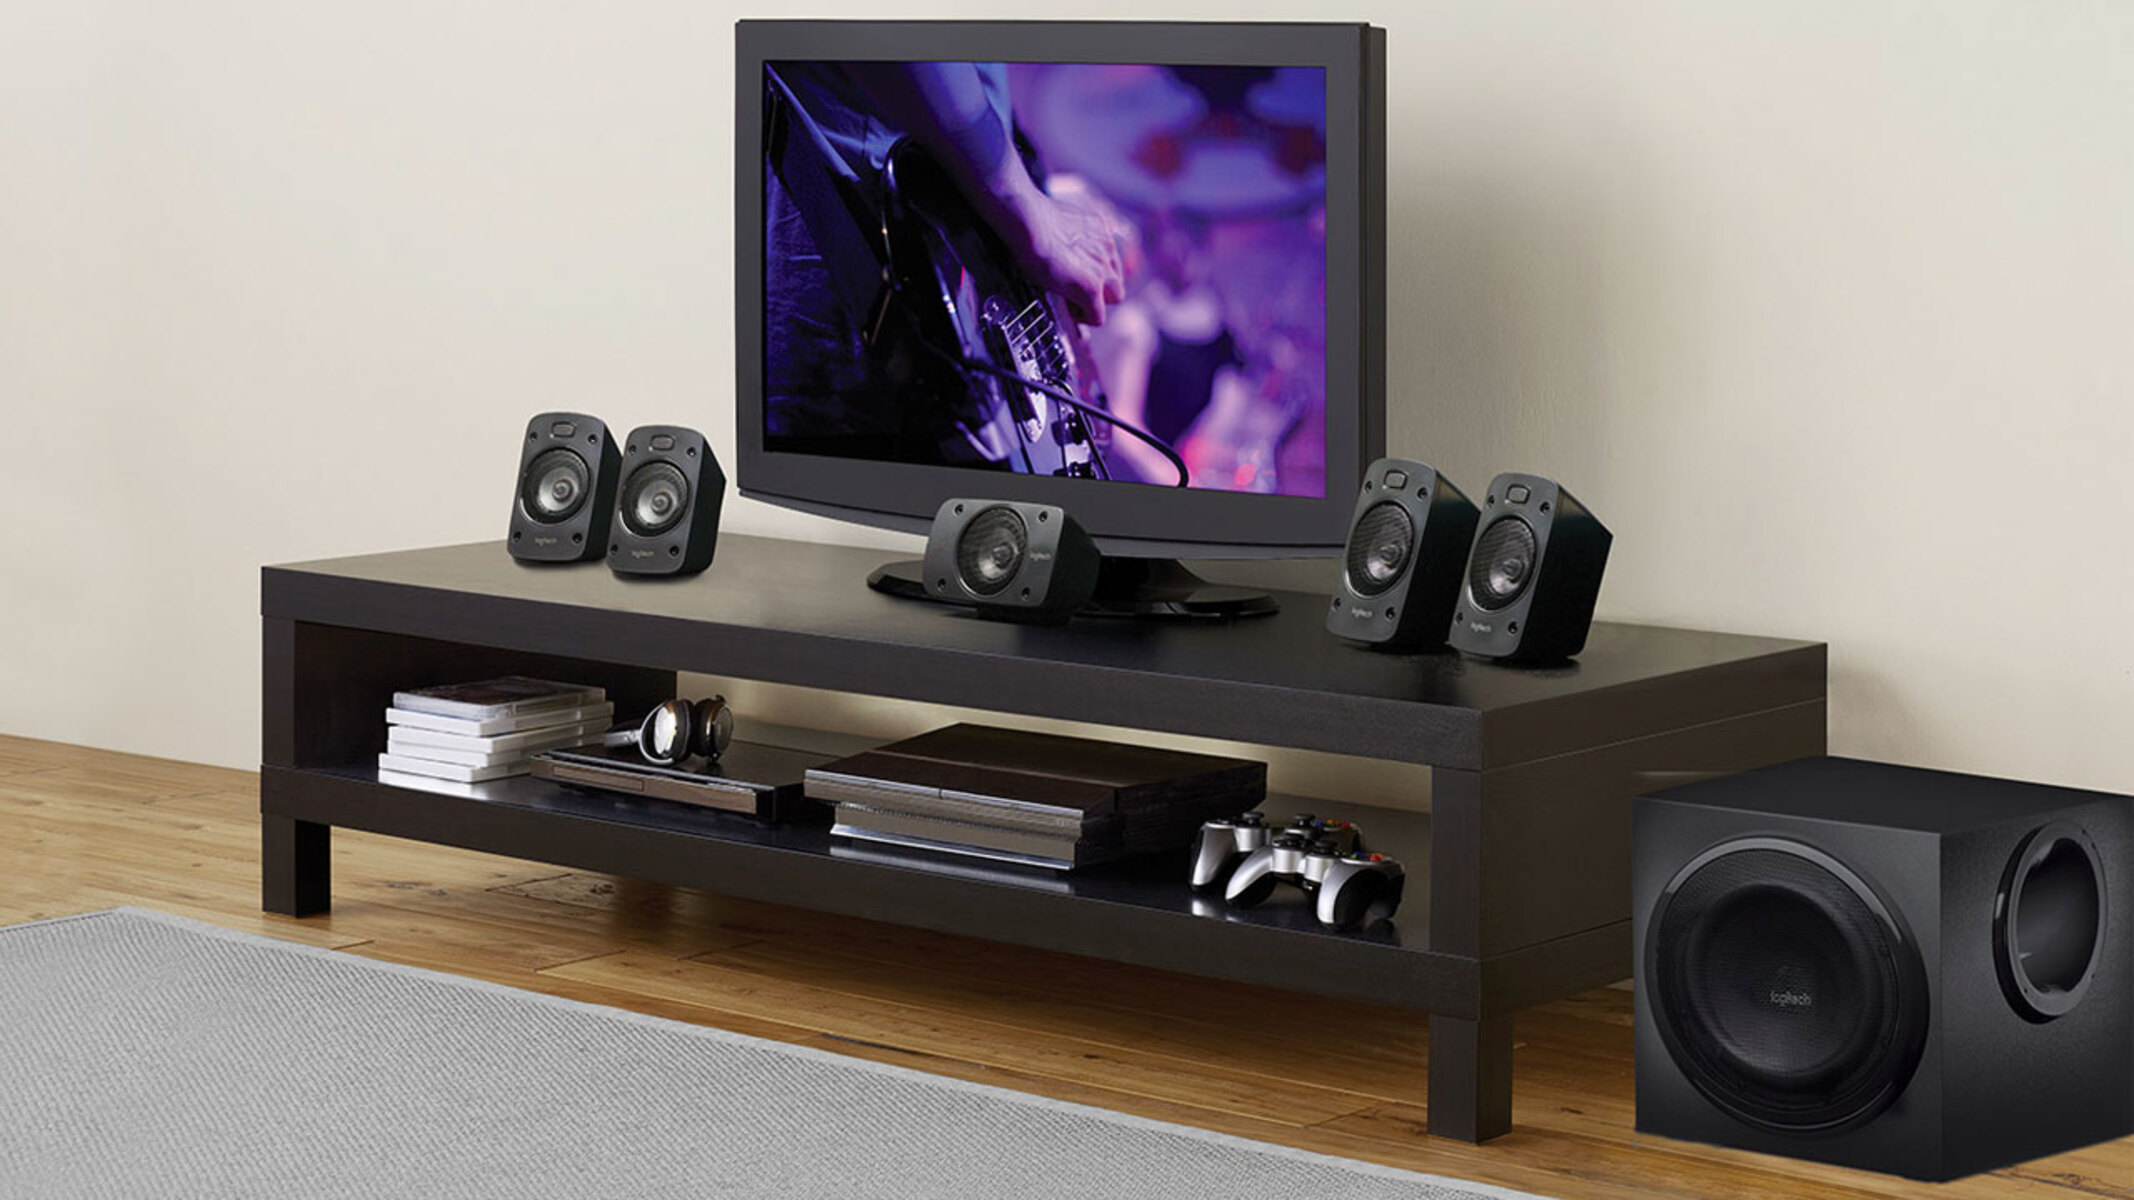
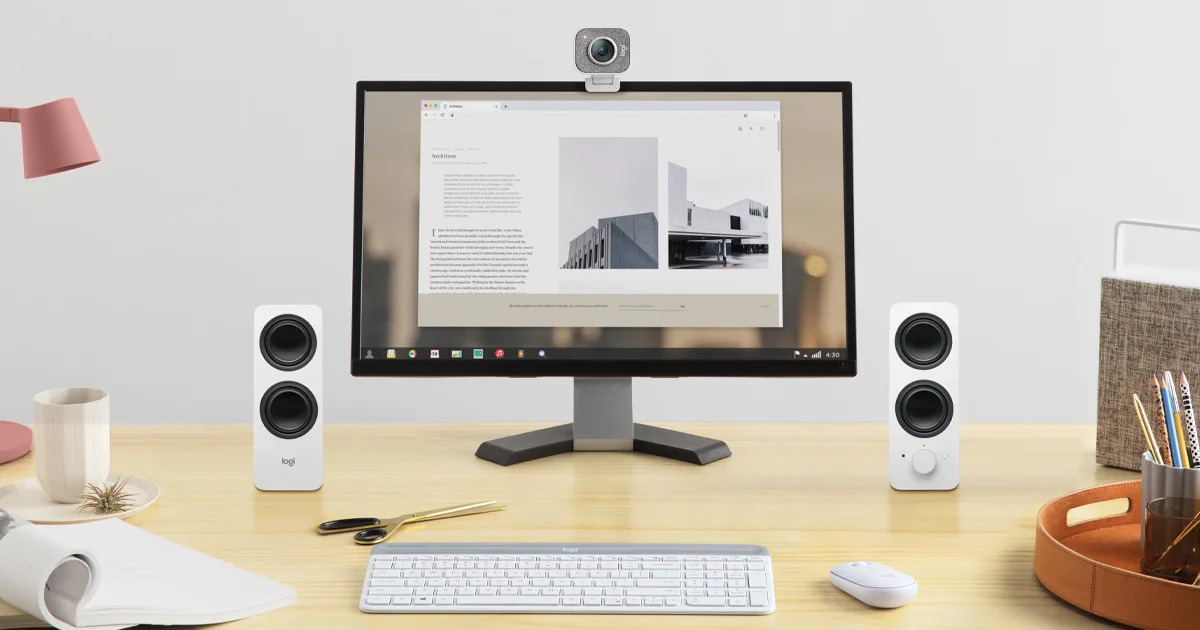
Once you’ve done that, find a suitable location for your speakers. Consider factors such as the size of the speakers, the layout of your room, and the proximity to your computer. Ideally, you want to place the speakers in a position where the audio can project clearly and fill the room.
Now, it’s time to connect the speakers to your computer. Locate the audio input/output ports on your computer. These are usually color-coded for ease of identification. The most common colors are green for the speakers and pink for the microphone. Keep in mind that the ports may vary depending on your computer model, so consult your user manual if you’re unsure.
Next, connect one end of the audio cable provided with your Logitech speakers to the audio output port on your computer. The other end should be connected to the corresponding input port on the speakers. Ensure that the connections are secure and snug to avoid any audio interference.
If your Logitech speakers require a power source, connect the power adapter to the speakers and then plug it into a power outlet. Some speakers may have a built-in battery, in which case you won’t need to connect them to a power source.
Once the connections are made, turn on the speakers using the power button, if available. You may also need to adjust the volume control on the speakers to an appropriate level.
With the speakers successfully unboxed and connected to your computer, you’re one step closer to enjoying an immersive audio experience. In the next step, we’ll guide you through installing the Logitech software to optimize your speaker settings and audio performance.
Step 2: Connecting the speakers to the computer
With your Logitech speakers unboxed, it’s time to connect them to your computer. Depending on the model of your speakers and your computer’s available connectivity options, there are different ways to establish the connection.
If your Logitech speakers have a USB connection option, simply locate an available USB port on your computer and plug in the USB cable provided with the speakers. The operating system should automatically recognize the speakers and install the necessary drivers. Once the drivers are installed, your Logitech speakers should be ready to use.
Another common method is connecting the speakers using a 3.5mm audio jack. Find the audio output port on your computer, typically indicated by a headphone or speaker icon. Connect one end of the 3.5mm audio cable to this port and the other end to the corresponding input on your Logitech speakers. This establishes the audio connection between your computer and speakers.
In some cases, Logitech speakers offer wireless connectivity options such as Bluetooth or Wi-Fi. To connect wirelessly, ensure that both your computer and speakers are equipped with the necessary wireless capabilities. Follow the instructions provided in the user manual to pair your devices and establish a wireless connection. This method eliminates the need for physical cables and provides flexibility in speaker placement.
Once you’ve connected the speakers to your computer using the preferred method, adjust the audio settings on your computer. Depending on your operating system, you can access the sound settings by right-clicking on the speaker icon in the system tray or navigating through the control panel/settings menu.
Select the Logitech speakers as the default audio device. This ensures that all audio output from your computer is directed to the Logitech speakers. You may also adjust the volume levels and other audio settings according to your preference.
With the speakers successfully connected to your computer, you’re ready to immerse yourself in the rich audio experience that Logitech speakers offer. In the next step, we’ll explore how to install the Logitech software to access additional features and customization options.
Step 3: Installing the Logitech software
To optimize the performance of your Logitech speakers and unlock additional features, it’s recommended to install the Logitech software. This software allows you to customize audio settings, access advanced controls, and make the most out of your Logitech speakers.
Start by visiting the Logitech website and navigating to the support or downloads section. Look for the software specifically designed for your Logitech speaker model. Ensure that you download the correct software version compatible with your operating system.
Once the software is downloaded, locate the installation file and double-click on it to begin the installation process. Follow the on-screen prompts to complete the installation. It’s generally a straightforward process that involves accepting the terms and conditions, choosing the installation location, and selecting any additional settings or features you may want.
During the installation, the software will automatically detect your Logitech speakers and configure them for optimal performance. It may also prompt you to connect your speakers or make sure they’re turned on. Simply follow the instructions provided by the software to proceed.
Once the installation is complete, launch the Logitech software. You’ll be greeted with a user-friendly interface that allows you to access various options and settings. Explore the software to discover the available features, which may include equalizer controls, surround sound enhancements, and custom audio profiles.
Take some time to familiarize yourself with the software and experiment with different settings to find the audio configuration that suits your preferences. You can adjust bass, treble, balance, and other audio parameters to achieve the desired sound quality.
It’s worth noting that the Logitech software also provides firmware update notifications. It’s advisable to keep your speakers up to date with the latest firmware releases as they often introduce improvements and bug fixes.
By installing the Logitech software, you’ll be able to unlock the full potential of your Logitech speakers and tailor the audio output to your liking. In the next step, we’ll guide you through configuring the audio settings on your computer for optimal performance.
Step 4: Configuring the audio settings
Now that you have installed the Logitech software and ensured that your speakers are connected to your computer, it’s time to configure the audio settings for optimal performance. By adjusting the audio settings, you can fine-tune the output to suit your preferences and make the most out of your Logitech speakers.
Start by accessing the audio settings on your computer. Depending on your operating system, you can usually find the sound settings by right-clicking on the speaker icon in the system tray or through the control panel/settings menu.
In the sound settings, ensure that the Logitech speakers are selected as the default audio output device. This ensures that all audio from your computer is directed to the Logitech speakers. If your Logitech speakers have multiple audio channels or surround sound capabilities, make sure to configure the audio settings accordingly to utilize the full potential of your speakers.
Next, explore the audio enhancements and equalizer options available in the audio settings. These options allow you to adjust the audio output to your preference. For example, you can increase the bass for a more booming sound or enhance the treble for crisp high tones.
Additionally, if your Logitech speakers support surround sound or virtual surround options, enable those features in the audio settings to create a more immersive audio experience. Surround sound technologies simulate the effect of multiple audio channels, making the sound feel more spacious and realistic.
Experiment with different audio settings and test them out with various types of media, such as music, movies, or games. Fine-tune the settings until you find the audio configuration that provides the best audio quality and enhances your overall listening experience.
Remember to save the audio settings once you’ve made the desired changes. This ensures that the settings stay in place even after restarting your computer or disconnecting the Logitech speakers.
By configuring the audio settings on your computer, you’ll be able to optimize the audio output of your Logitech speakers and create a personalized listening experience. In the final step, we’ll guide you through testing your speakers to ensure everything is working properly.
Step 5: Testing the speakers
After successfully setting up and configuring your Logitech speakers, it’s essential to test them to ensure everything is working as expected. Testing the speakers allows you to confirm that the audio output is clear, balanced, and provides an immersive experience.
Start by playing various audio sources, such as music, videos, or games, to gauge the performance of the speakers. Listen for any distortion, crackling, or uneven audio balance. Adjust the volume to different levels to ensure that the speakers can handle both low and high volume levels without any issues.
Pay attention to the stereo imaging and surround sound effects, if applicable. If your Logitech speakers support surround sound, test it with movies or games that have immersive audio tracks to experience the full effect.
Try out different genres of music to see how well the speakers handle different frequencies and audio nuances. Pay attention to the bass response, mid-range clarity, and treble accuracy to ensure a well-rounded audio performance.
If you’re using the Logitech speakers for gaming, test them with your favorite games to evaluate the spatial audio and how well the speakers reproduce in-game sound effects. This will enhance your gaming experience, providing you with a competitive edge and immersing you in the game world.
During the testing phase, it’s worth experimenting with the audio settings in the Logitech software and on your computer to further fine-tune the sound output. Adjust the equalizer settings, surround sound options, and any other audio enhancements to achieve the desired audio profile.
If you notice any issues or inconsistencies during the testing process, refer to the user manual or the Logitech support website for troubleshooting steps. In some cases, updating the firmware or drivers for your speakers can resolve any potential problems.
Remember to periodically check for firmware and software updates for your Logitech speakers to ensure that you have access to any improvements or fixes that Logitech releases.
By thoroughly testing your Logitech speakers, you can confirm that they are functioning properly and delivering the high-quality audio experience they are known for. Enjoy your newfound audio immersion with your Logitech speakers.
Conclusion
Congratulations! You have successfully set up your Logitech speakers and optimized them for an immersive audio experience. By following the step-by-step guide, you’ve unboxed the speakers, connected them to your computer, installed the Logitech software, configured the audio settings, and tested the speakers to ensure their functionality.
Logitech speakers are renowned for their exceptional sound quality, sleek designs, and user-friendly setup. With their powerful audio output and customizable settings, you can enjoy music, movies, games, and more with enhanced clarity and depth.
Throughout the setup process, it’s important to refer to the specific instructions provided in the user manual that accompanies your Logitech speaker model. This ensures that you have the most accurate and up-to-date information for your particular setup.
Remember to periodically check for updates for both the Logitech software and the firmware of your speakers. This ensures that you have access to the latest features, improvements, and bug fixes, keeping your audio experience at its best.
Now that you have your Logitech speakers up and running, feel free to explore the wide range of media and audio content available. Delve into your favorite music genres, immerse yourself in captivating movies, and dive into the thrilling worlds of gaming, all with the exceptional sound quality delivered by your Logitech speakers.
Don’t hesitate to personalize your audio experience by adjusting the audio settings according to your preferences. Experiment with different equalizer presets, surround sound options, and volume levels to find the perfect balance for your listening pleasure.
Thank you for choosing Logitech speakers to elevate your audio experience. We hope this guide has been helpful in setting up your speakers and maximizing their potential. Enjoy the immersive sound and get ready to be amazed by the audio quality that Logitech speakers bring to your everyday life.