Introduction
Welcome to this step-by-step guide on how to set up Grammarly – the leading online grammar and writing assistant tool. Whether you’re a professional writer, a student, or even just someone looking to improve their writing skills, Grammarly can be a game-changer. By providing real-time grammar, spelling, punctuation, and style suggestions, Grammarly ensures that your writing is error-free and polished.
Grammarly offers a user-friendly interface, compatibility with various platforms and devices, and an extensive range of features. From correcting basic typos to offering advanced grammar suggestions, Grammarly helps you enhance the overall clarity, coherence, and effectiveness of your writing.
This article will walk you through the process of setting up Grammarly, from creating an account to customizing the settings according to your preferences. With these easy-to-follow steps, you’ll be able to harness the full potential of Grammarly and elevate your writing to a whole new level.
So let’s dive in and get started on your Grammarly journey!
Step 1: Creating an account
The first step to setting up Grammarly is to create an account. Follow these simple steps to get started:
- Visit the Grammarly website – Go to www.grammarly.com in your web browser.
- Sign up – Click on the “Sign Up” button at the top right corner of the webpage.
- Choose your account type – Grammarly offers both a free and premium version. Select the option that suits your needs and click on “Sign Up for Free” or “Get Grammarly Premium” accordingly.
- Create your account – Enter your email address, create a password, and click on “Sign Up” to proceed.
- Verify your email – Check your email inbox for a verification email from Grammarly. Click on the verification link provided to confirm your account.
Once you have completed these steps, you now have a Grammarly account and are ready to move on to the next step in the setup process.
Creating an account ensures that your writing progress and settings are saved across different devices and platforms. It also allows you to access Grammarly’s additional features and benefits.
Now that you have successfully created your Grammarly account, it’s time to move on to the next step – downloading the Grammarly app!
Step 2: Downloading the app
After creating your Grammarly account, the next step is to download the Grammarly app. Here’s how you can do it:
- Go to the Grammarly website – Open your web browser and navigate to www.grammarly.com.
- Log in to your account – Click on the “Log in” button at the top right corner of the webpage. Enter your email address and password, then click “Log in” to access your Grammarly account.
- Download the app – Once you are logged in, you will see a prompt to download the Grammarly app. Click on the “Download” button and follow the on-screen instructions to download the app to your device.
Grammarly offers apps for various platforms, including Windows, Mac, iOS, and Android. Make sure to select the appropriate version for your device.
Downloading the Grammarly app ensures that you have quick and easy access to the tool, even when you’re not using a web browser. It also allows you to take advantage of Grammarly’s features across different applications.
Once the app is downloaded and installed on your device, you’re ready to move on to the next step – installing Grammarly on your browser.
Step 3: Installing Grammarly on your browser
Installing Grammarly on your browser is essential to make the most of this powerful writing tool while you’re using online platforms. Follow these steps to install Grammarly on your preferred browser:
- Open your browser – Launch the web browser you typically use.
- Go to the Grammarly website – Type www.grammarly.com in the address bar and hit Enter.
- Log in to your account – Click on the “Log in” button at the top right corner of the webpage. Enter your email address and password, then click “Log in” to access your Grammarly account.
- Add Grammarly extension – Once you are logged in, you will see a prompt to install the Grammarly extension for your browser. Click on the “Add to [browser name]” button to initiate the installation process.
- Follow the browser-specific instructions – Depending on the browser you use, you may be directed to a different page or have the installation begin automatically. Follow the on-screen instructions provided by the browser to complete the installation.
Grammarly is compatible with popular browsers like Google Chrome, Firefox, Safari, and Microsoft Edge. Ensure that you have the latest version of your preferred browser installed before proceeding with the installation.
Once the installation is complete, you will notice the Grammarly icon in your browser’s toolbar. This indicates that Grammarly is successfully installed and ready to assist you with your writing.
Now that the Grammarly extension is installed on your browser, let’s move on to the next step – activating Grammarly.
Step 4: Activating Grammarly
Now that Grammarly is installed on your browser, it’s time to activate it and start reaping the benefits of this incredible tool. Follow these simple steps to activate Grammarly:
- Open a writing platform – Launch your preferred writing platform or open a text editor where you want to use Grammarly.
- Log in to your Grammarly account – If you’re not already logged in, click on the Grammarly icon in your browser’s toolbar and enter your email address and password to log in to your Grammarly account.
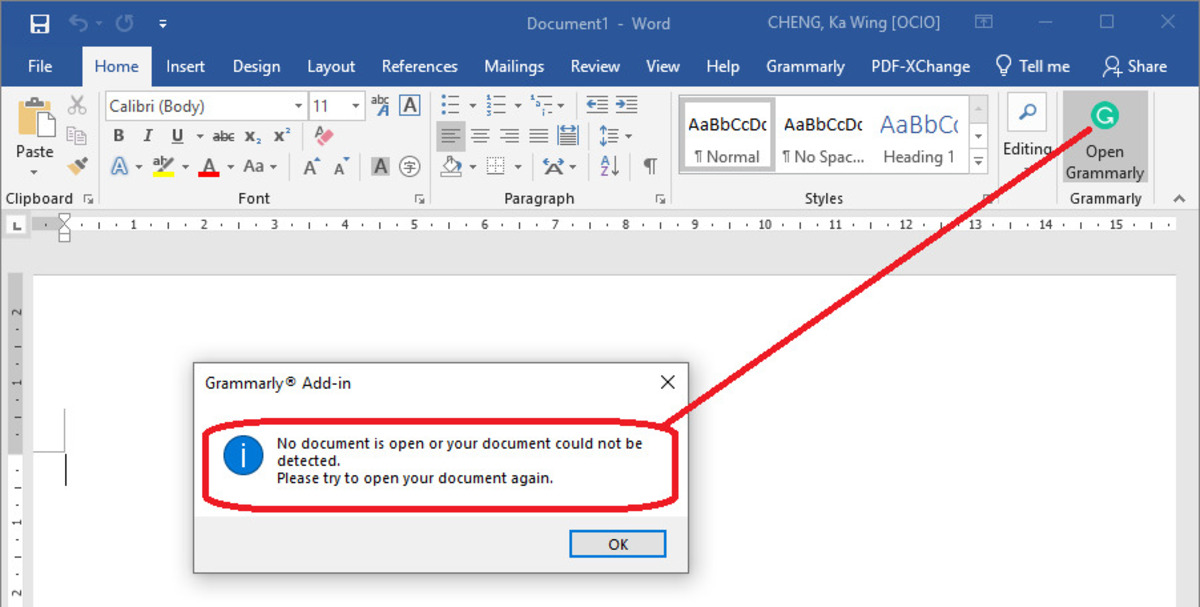
- Enable Grammarly – Once you’re logged in, you should see Grammarly’s floating sidebar appear on the right side of your screen. If it doesn’t appear automatically, click on the Grammarly icon in your browser’s toolbar to open it.
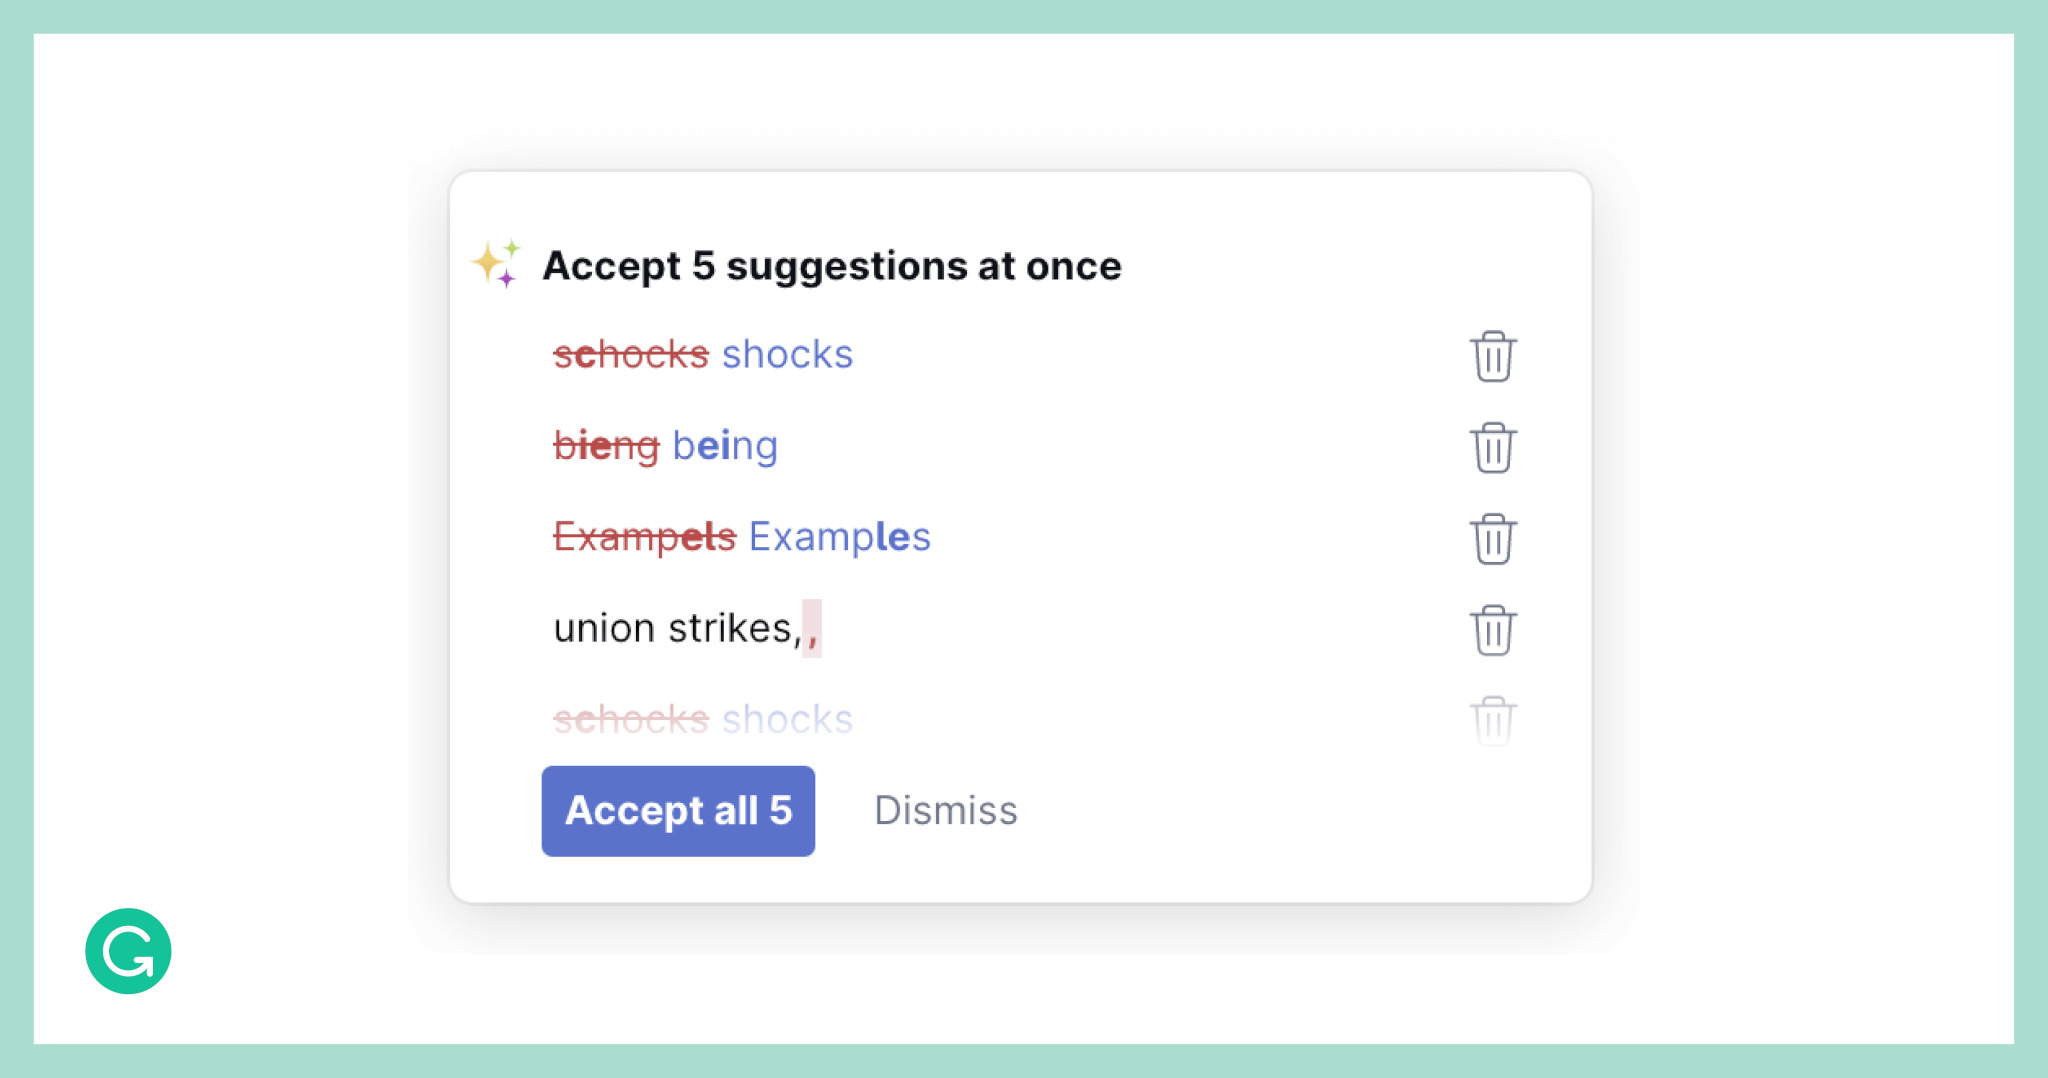
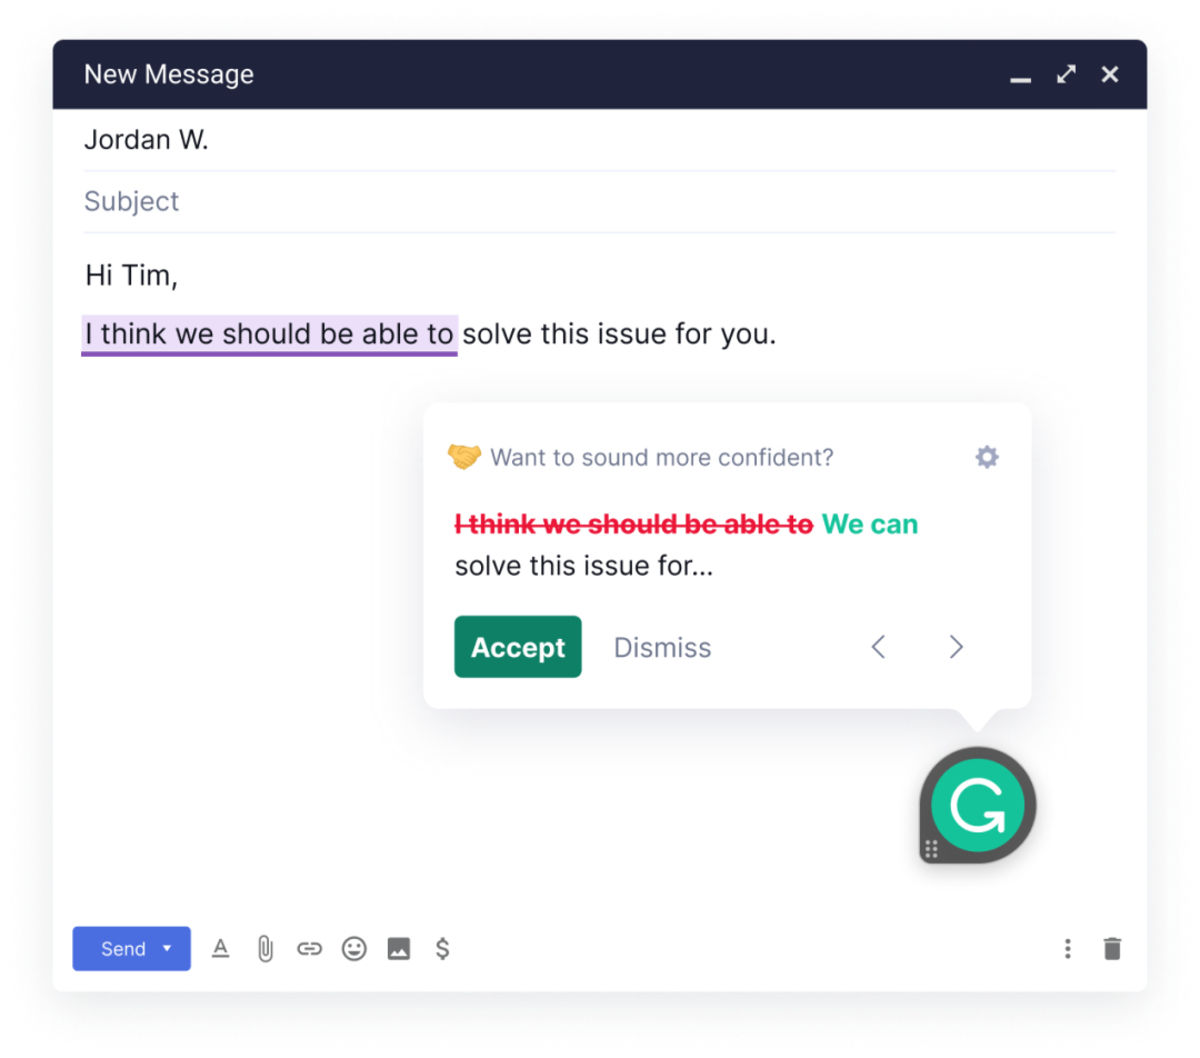
- Start writing – With Grammarly activated, you can now start typing your text. You’ll notice that Grammarly automatically analyzes your writing for spelling, grammar, punctuation, and style errors in real-time.
Grammarly’s intuitive interface and advanced algorithms ensure that your writing is constantly checked and improved as you type. Suggestions and corrections will be displayed in the Grammarly sidebar, allowing you to make necessary edits and enhancements with a single click.
Remember to save your work as you go along to avoid losing any progress. Grammarly works seamlessly across various writing platforms, including emails, social media platforms, and content management systems.
Now that you have activated Grammarly, let’s move on to the next step – customizing Grammarly settings according to your preferences.
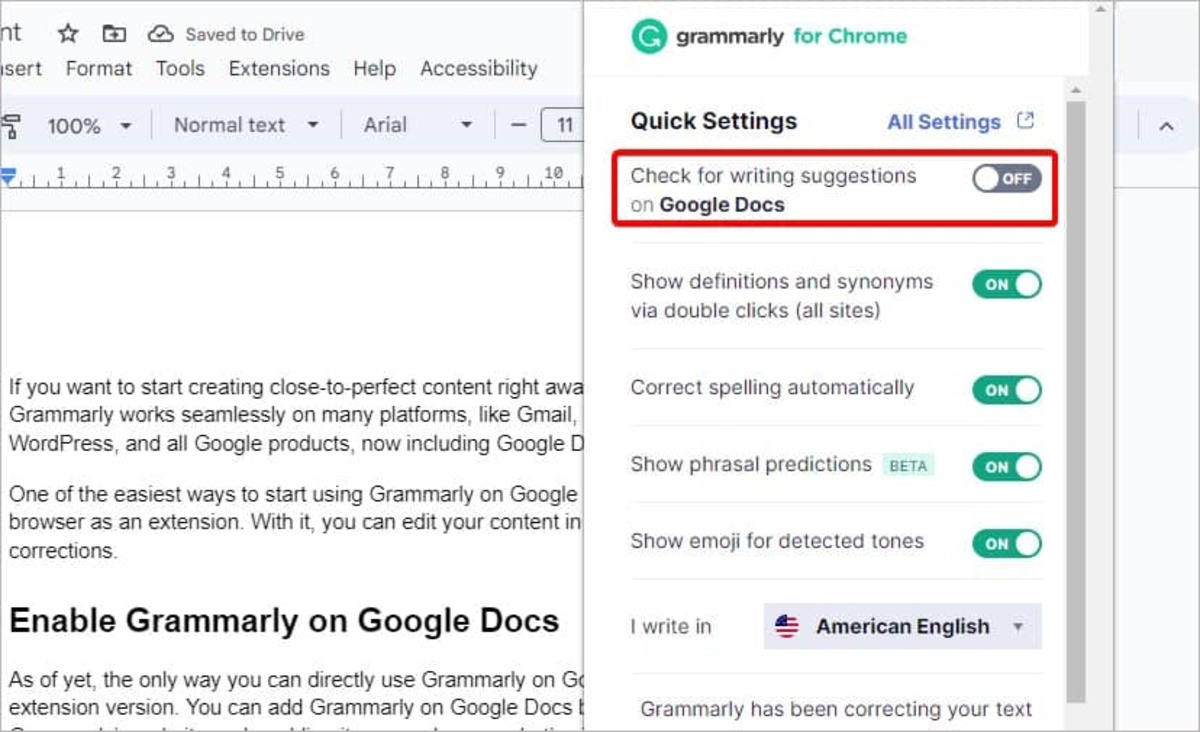
Step 5: Customizing Grammarly settings
Grammarly offers customizable settings that allow you to tailor the tool to your specific writing needs and preferences. Follow these steps to customize Grammarly settings:
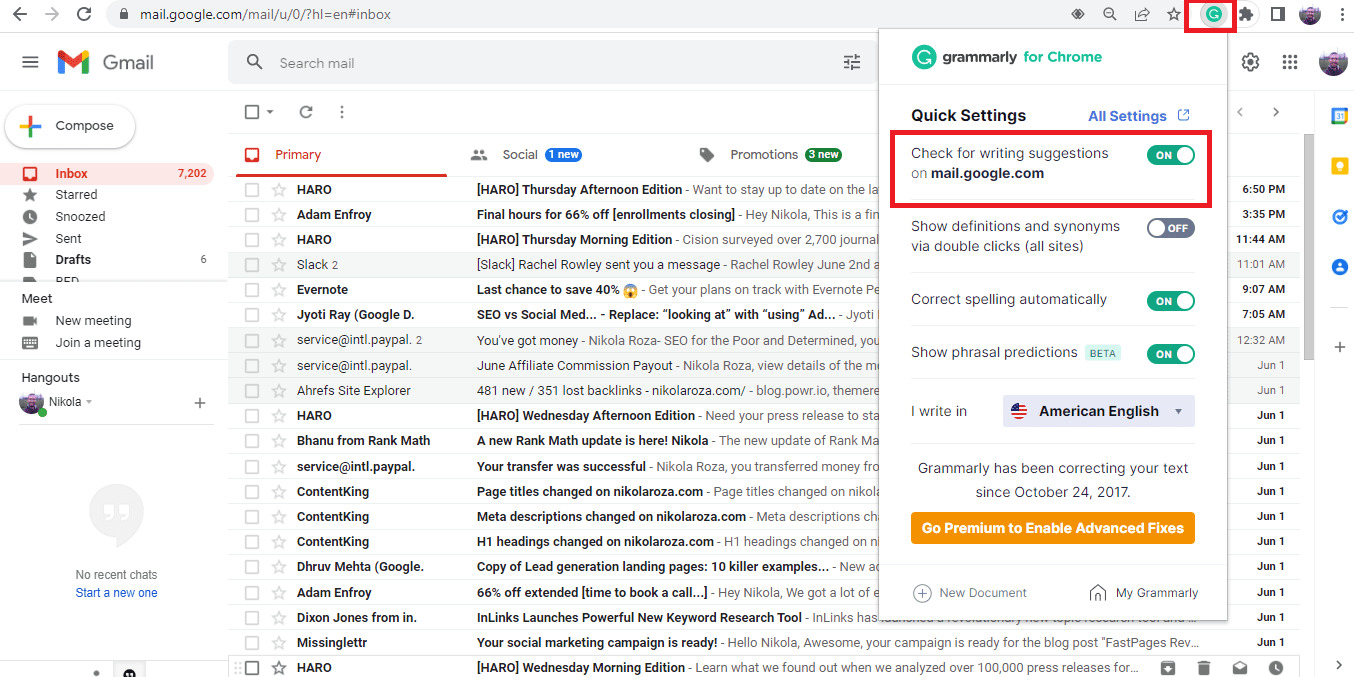
- Access Grammarly options – Click on the Grammarly icon in your browser’s toolbar to open the Grammarly sidebar.
- Click on the gear icon – At the bottom left corner of the Grammarly sidebar, click on the gear icon to open the settings menu.
- Explore the settings – In the settings menu, you’ll find various options to customize Grammarly according to your preferences. You can adjust settings related to spelling, grammar, punctuation, style, tone, and more.
- Make your selections – Review each setting and make the desired changes by toggling the switch on or off or selecting options from the menu.
- Save your changes – Once you have customized your Grammarly settings, click on the “Save” button to apply the changes.
Customizing Grammarly settings ensures that the tool aligns with your writing style and preferences. You can choose to receive more or fewer suggestions, set preferences for specific types of writing, and even adjust the tone of the suggestions according to your audience or purpose.
Take some time to explore and experiment with the different settings to find the configuration that works best for you. Remember, you can always revisit the settings menu to make any necessary adjustments in the future.
Now that you have personalized your Grammarly settings, it’s time to put this incredible tool to use in your writing. Let’s move on to the final step – using Grammarly in your writing.
Step 6: Using Grammarly in your writing
With Grammarly set up and customized to your liking, you can now fully utilize this powerful tool to improve your writing. Here are some tips for effectively incorporating Grammarly into your writing process:
- Start writing – Open your preferred writing platform or text editor and begin composing your content. As you write, Grammarly will automatically analyze your text and provide real-time suggestions for improvement.
- Review suggestions – Pay attention to the suggestions and corrections highlighted by Grammarly. These may include grammar errors, spelling mistakes, punctuation issues, clarity improvements, and more.
- Consider context – Take into account the context of your writing and consider the suggestions provided by Grammarly. While Grammarly offers helpful guidance, it’s important to evaluate the suggestions in the context of your specific writing style and purpose.
- Edit and revise – Make necessary edits and revisions based on Grammarly’s suggestions. Click on the suggestion to apply the correction or rewrite your sentence to enhance clarity and coherence.
- Learn from the feedback – Keep an eye out for patterns in Grammarly’s feedback. Take note of the types of errors or areas where you tend to make mistakes. This feedback can help you become more aware of common writing pitfalls and improve your skills over time.
- Take breaks – Remember to take breaks while writing and editing. This will allow you to review your content with fresh eyes and make more accurate judgments on Grammarly’s suggestions.
Using Grammarly as a writing companion not only helps you produce error-free content but also enhances your overall writing skills. Over time, you’ll become more confident in your writing abilities and develop a better understanding of grammar and style.
Now that you know how to use Grammarly effectively, it’s time to put this knowledge into practice and watch your writing flourish.
Conclusion
Congratulations! You have successfully learned how to set up Grammarly and optimize its usage to improve your writing. By following the steps outlined in this guide, you have gained the tools and knowledge needed to harness the power of this popular grammar and writing assistant.
We covered the essential steps, such as creating a Grammarly account, downloading the app, installing Grammarly on your browser, activating the tool, customizing settings, and effectively using Grammarly in your writing process.
With Grammarly’s real-time grammar and style suggestions, you can eliminate common writing errors, enhance the clarity and coherence of your content, and improve your overall writing skills. Grammarly serves as a reliable writing companion, providing valuable feedback and guidance to help you become a more proficient writer.
Remember, while Grammarly can be a valuable tool, it’s important to exercise discretion and judgment in accepting or rejecting its suggestions. Always consider the context and purpose of your writing, and use Grammarly’s feedback as a guide to refine and elevate your work.
Now that you are equipped with the knowledge to set up and use Grammarly effectively, it’s time to put it into practice. Start incorporating Grammarly into your writing routine and witness the positive impact it can have on your writing quality and productivity.
So, go ahead and embrace Grammarly as your writing companion, and let your words shine with precision and eloquence!