Introduction
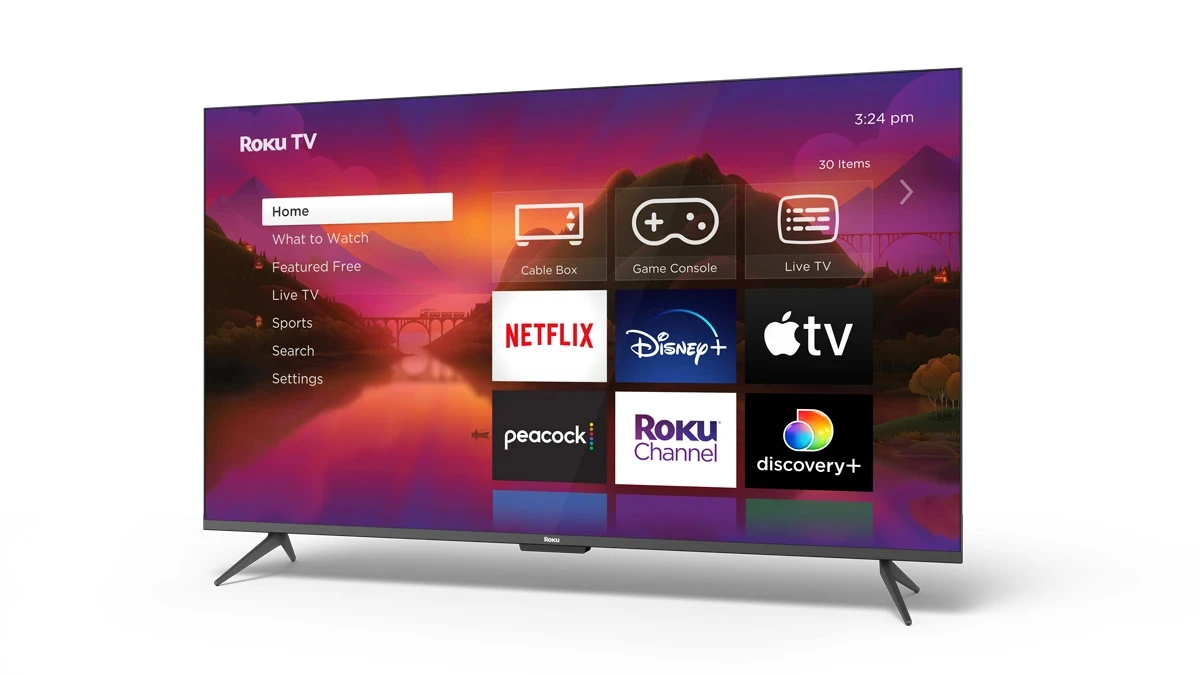
Welcome to the world of Roku Smart TVs! With their user-friendly interface, vast streaming options, and excellent picture quality, Roku Smart TVs have become a popular choice for home entertainment. Whether you’ve just purchased a brand-new Roku Smart TV or are considering getting one, this guide will walk you through the setup process, ensuring that you can start enjoying your favorite TV shows, movies, and apps in no time.
Setting up a Roku Smart TV may seem intimidating at first, but fear not! The step-by-step instructions provided in this article will simplify the process and provide you with all the information you need to get started. From unboxing the TV to customizing settings, we’ve got you covered.
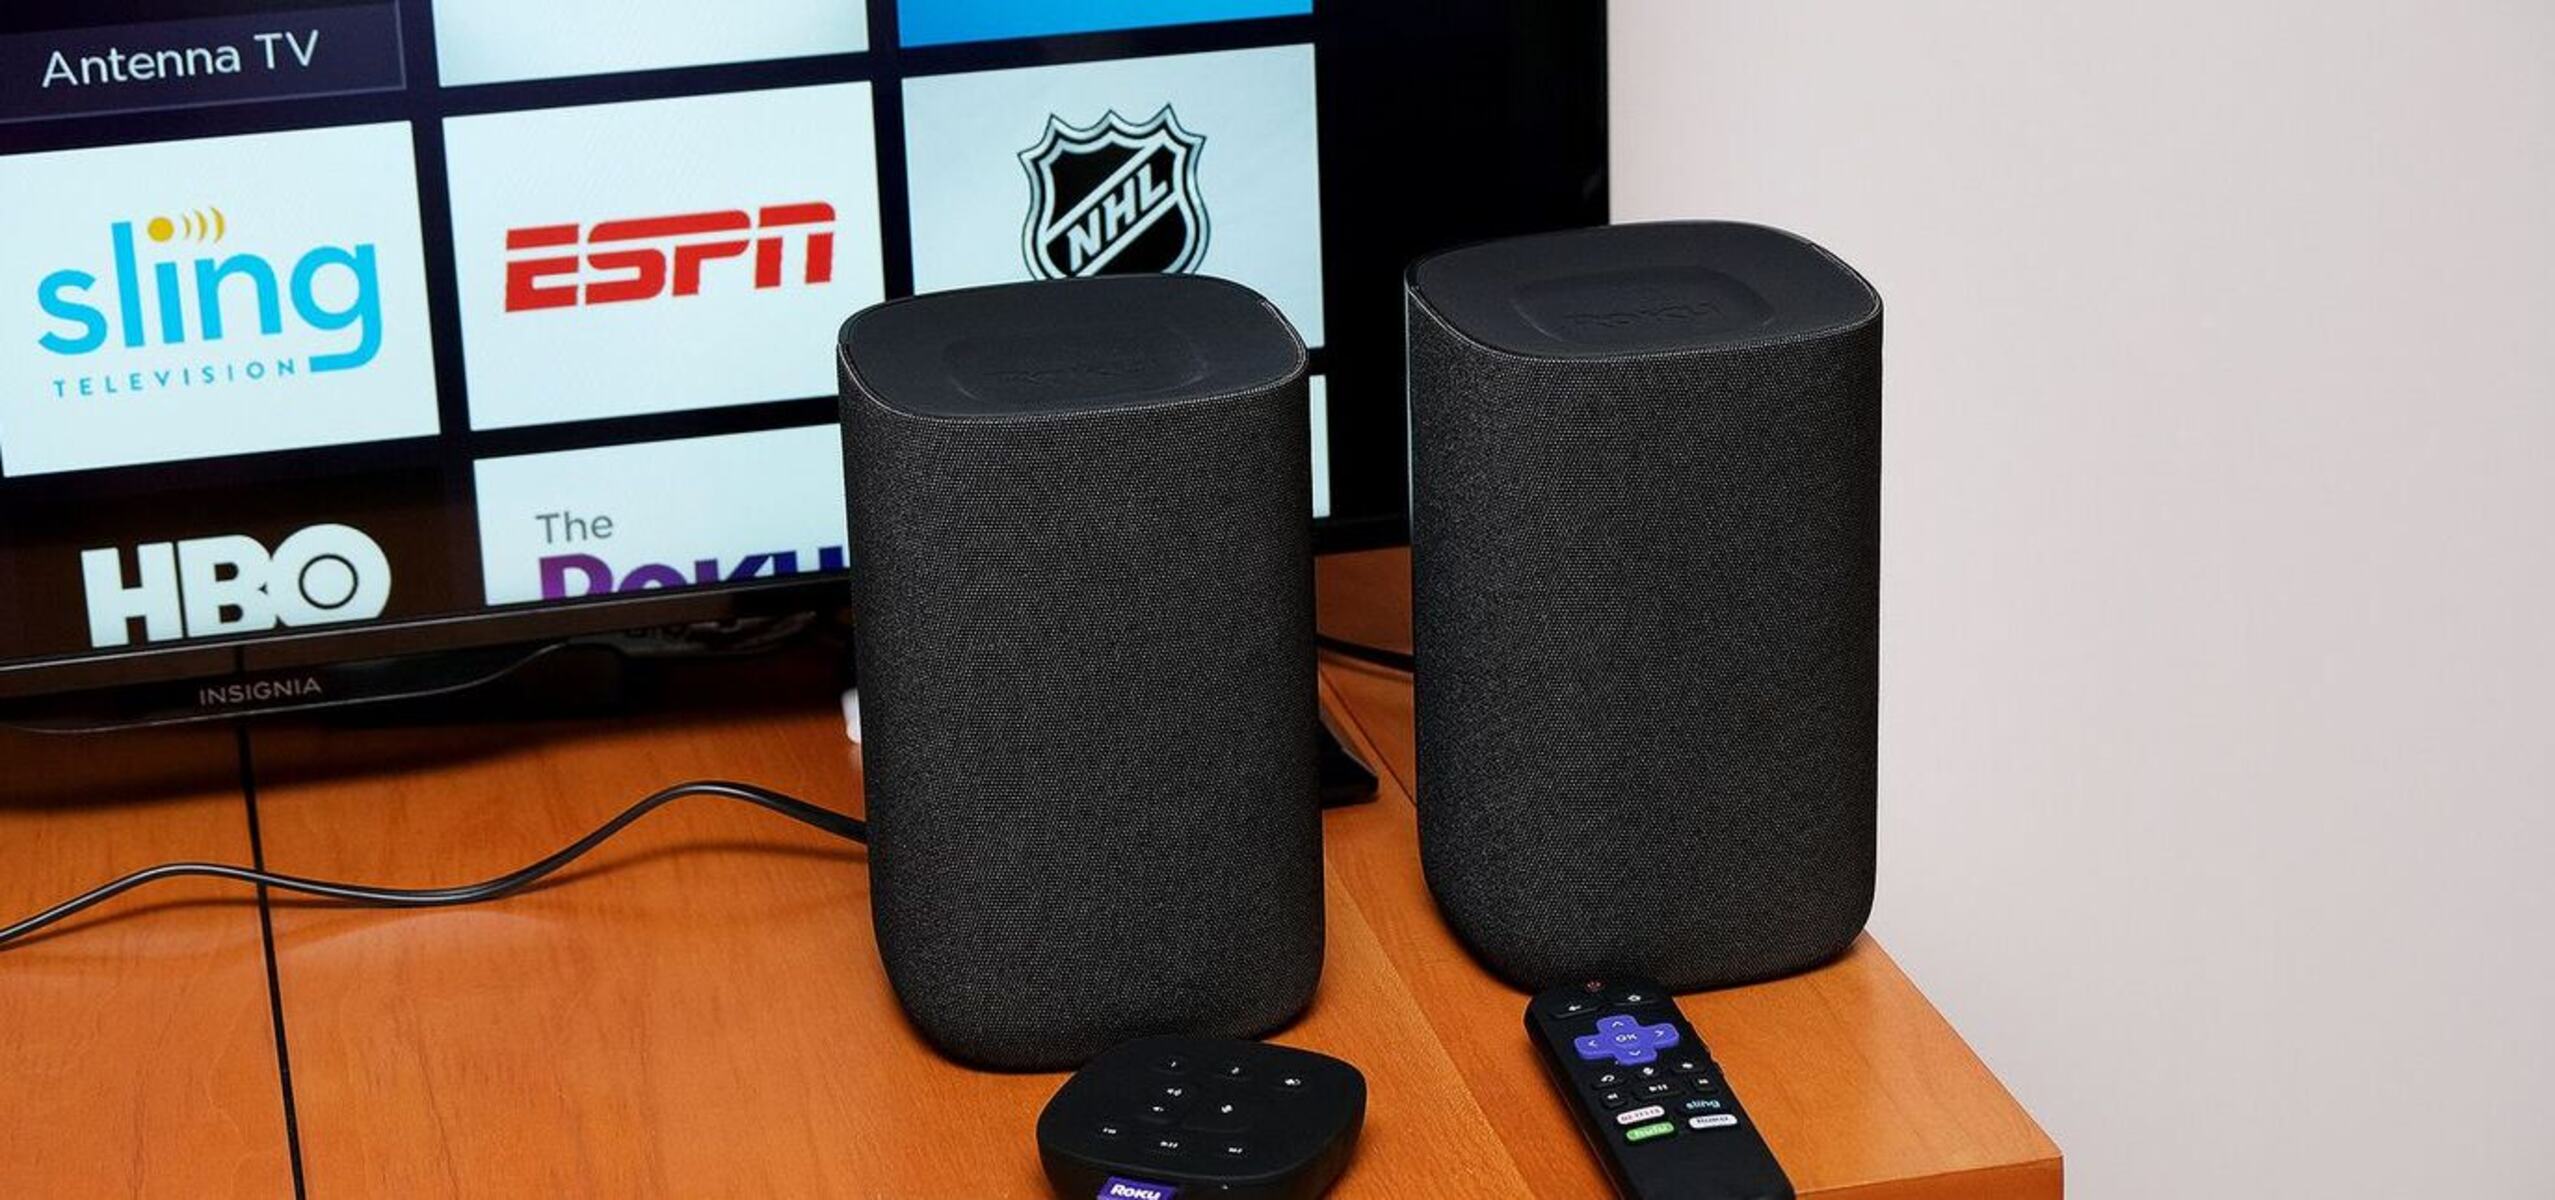
Roku Smart TVs offer a wide range of features, including access to popular streaming services like Netflix, Hulu, and Amazon Prime Video. Additionally, these TVs come with a user-friendly interface and a remote control that allows you to navigate through an extensive library of entertainment options with ease.
So, if you’re ready to take your home entertainment to the next level, let’s get started on setting up your Roku Smart TV. By the end of this guide, you’ll be able to enjoy your favorite shows and movies with just a few clicks of a button.
Step 1: Unboxing and Connecting
The first step in setting up your Roku Smart TV is unboxing and connecting the TV to power and other devices. Follow these simple steps to get started:
- Start by finding a clear and spacious area where you can safely unbox your TV. Carefully remove the TV from its packaging, ensuring that you don’t damage any cables or components.
- Place the TV on a sturdy surface, such as a TV stand or wall mount. Make sure the area is well-ventilated and not too close to other electronic devices to prevent overheating.
- Locate the power cord and plug it into the back of the TV. Then, connect the other end of the cord to a power outlet. Ensure that the power outlet is easily accessible and can handle the TV’s power requirements.
- Next, you’ll need to connect the TV to your cable or satellite provider if you plan on watching live TV. To do this, use an HDMI cable to connect the cable or satellite box to the HDMI input on the back of the TV.
- If you have other devices you want to connect to your TV, such as a Blu-ray player or gaming console, use additional HDMI cables to connect them to the available HDMI ports on the TV.
- Once all the necessary connections are made, carefully turn on the TV using the power button on the remote or the button located on the TV itself.
- Follow the on-screen instructions to set your preferred language, time zone, and other initial settings.
By following these steps, you have successfully unboxed and connected your Roku Smart TV. Now, it’s time to move on to the next step and set up the TV itself.
Step 2: Setting Up the TV
Now that you have connected your Roku Smart TV, it’s time to set it up and personalize it to your preferences. Follow these steps to get your TV up and running:
- After turning on the TV, you will be prompted to select your preferred language and time zone. Use the remote control to navigate through the options and make your selections.
- Next, you will be asked to choose whether you want to set up the TV as a home or store display. Select “Home” if you are setting up the TV for personal use.
- Now it’s time to connect your TV to the internet. If you have a wired network connection available, use an Ethernet cable to connect the TV directly to your router. Alternatively, you can also choose to connect to Wi-Fi later in the setup process.
- The TV will now search for available software updates. If there are any updates available, it is recommended to download and install them to ensure that you have the latest features and bug fixes.
- Once the software updates are completed, the TV will restart. Allow the TV a few moments to restart and then continue with the setup process.
- Now, you will be prompted to activate your TV. Follow the on-screen instructions to activate your TV by visiting the provided website and entering the activation code displayed on your TV screen.
- After successfully activating your TV, you will have the option to sign in with your Roku account or create a new account. If you already have a Roku account, sign in to access all your Roku apps and settings. If not, follow the instructions to create a new account.
By completing these steps, you have successfully set up your Roku Smart TV. In the next step, we will guide you through connecting your TV to Wi-Fi for seamless streaming of your favorite shows and movies.
Step 3: Connecting to Wi-Fi
Connecting your Roku Smart TV to Wi-Fi is essential to enjoy the vast array of streaming options available. Follow these steps to connect your TV to Wi-Fi:
- Using the Roku remote, navigate to the “Settings” menu on your TV by pressing the Home button and selecting the gear icon.
- In the Settings menu, select “Network” and then choose “Wireless (Wi-Fi)” as your network connection type.
- A list of available Wi-Fi networks will appear on the screen. Select your preferred Wi-Fi network from the list.
- If your Wi-Fi network is password-protected, you will be prompted to enter the password using the on-screen keyboard. Carefully enter the password and select “Connect” to establish the connection.
- Once connected, your TV will perform a network connection test to ensure a stable and reliable Wi-Fi connection.
- If the network connection test is successful, you will see a confirmation message on the screen. Press “OK” to continue.
- Now your TV is connected to Wi-Fi, and you can enjoy all the streaming options available.
Make sure that your Wi-Fi signal is strong and stable for uninterrupted streaming. If you are experiencing any connectivity issues, try moving closer to the Wi-Fi router or consider using a Wi-Fi extender to boost the signal in that area of your home.
Now that your Roku Smart TV is connected to Wi-Fi, you can move on to the next step, which involves updating the software to ensure optimal performance.
Step 4: Updating Software
Updating the software on your Roku Smart TV is important to ensure that you have access to the latest features, improvements, and bug fixes. Follow these steps to update the software on your TV:
- Using the Roku remote, navigate to the “Settings” menu on your TV by pressing the Home button and selecting the gear icon.
- In the Settings menu, select “System” and then choose “System update” to check for available updates.
- Your TV will now connect to the internet and search for any available software updates.
- If there are updates available, you will be prompted to download and install them. Select “Yes” to proceed.
- Wait patiently as your TV downloads and installs the software updates. This process may take several minutes, depending on your internet connection speed.
- Once the software updates are successfully installed, your TV will restart to apply the changes.
- After the restart, your Roku Smart TV will be running on the latest software version, ensuring optimal performance and functionality.
It is recommended to keep your TV’s software up to date to enjoy a seamless streaming experience. Regular software updates help ensure compatibility with new streaming apps, improve system stability, and address any security vulnerabilities.
Now that your TV’s software is updated, you are ready to move on to the next step, which involves setting up a Roku account to access a wide range of streaming channels and apps.
Step 5: Setting up Roku Account
To fully unlock the potential of your Roku Smart TV and access a wide range of streaming channels and apps, you’ll need to set up a Roku account. Follow these steps to create and set up your Roku account:
- On your TV screen, you will see a prompt to sign in or create a new Roku account. Select “Create account” to begin the account setup process.
- You will be presented with two options: “Create a Roku account” or “Sign in.” Since you are creating a new account, select the “Create a Roku account” option.
- Follow the on-screen instructions to provide your personal information, including your first and last name, email address, and a secure password for your Roku account.
- After providing your personal information, you will be asked to add a payment method. This is required to make purchases or subscribe to various streaming services through the Roku platform. You can choose to add a credit card or PayPal account.
- Once you’ve entered your payment information, review the terms and conditions, and privacy policy. If you agree, check the box to indicate your acceptance.
- Finally, select “Continue” to complete the setup process. You will receive a verification email at the provided email address. Follow the instructions in the email to verify your Roku account.
- Back on your TV screen, after successfully setting up your Roku account and verifying it, your Roku Smart TV will automatically sync with your account.
Congratulations! You have successfully set up your Roku account, which will allow you to access a wide range of streaming channels and apps. You can now enjoy personalized recommendations and easily add your favorite channels to your Roku Smart TV.
In the next step, we will guide you through adding channels and apps to your Roku Smart TV for a customized streaming experience.
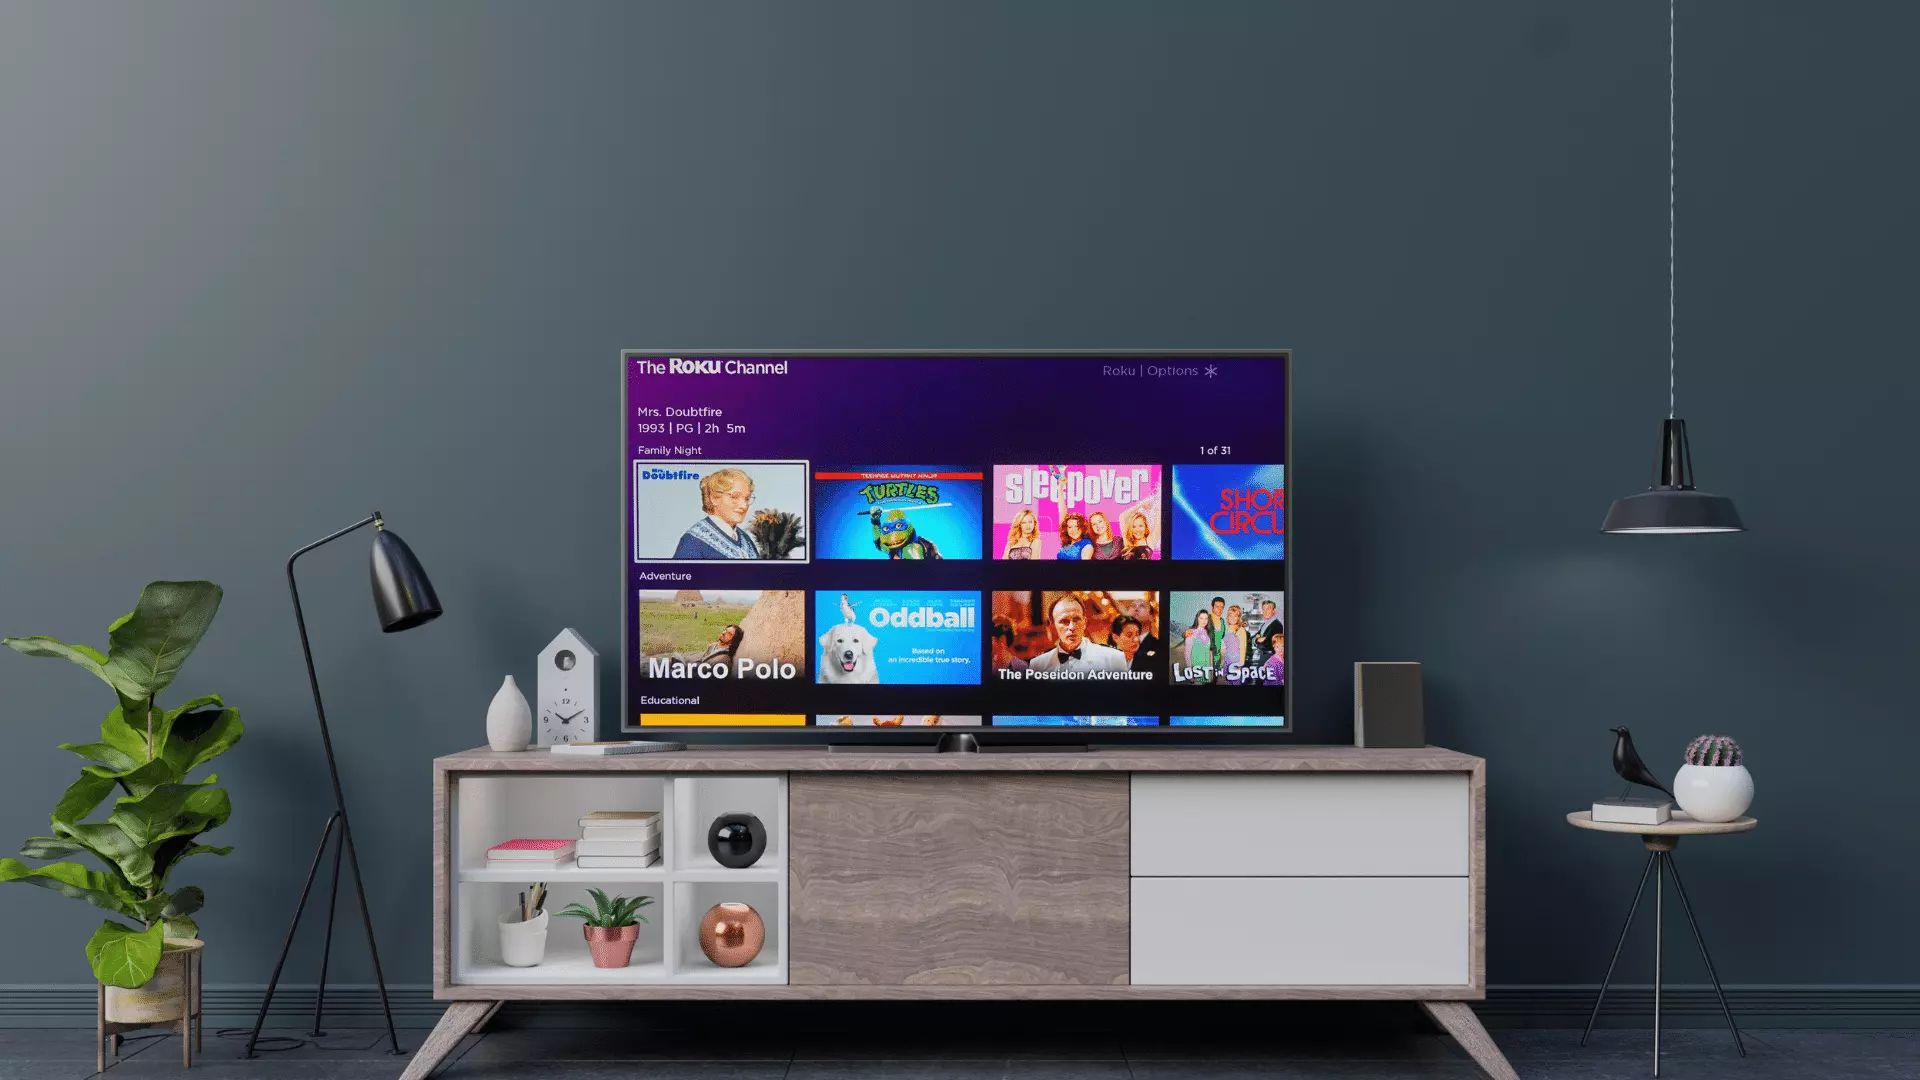
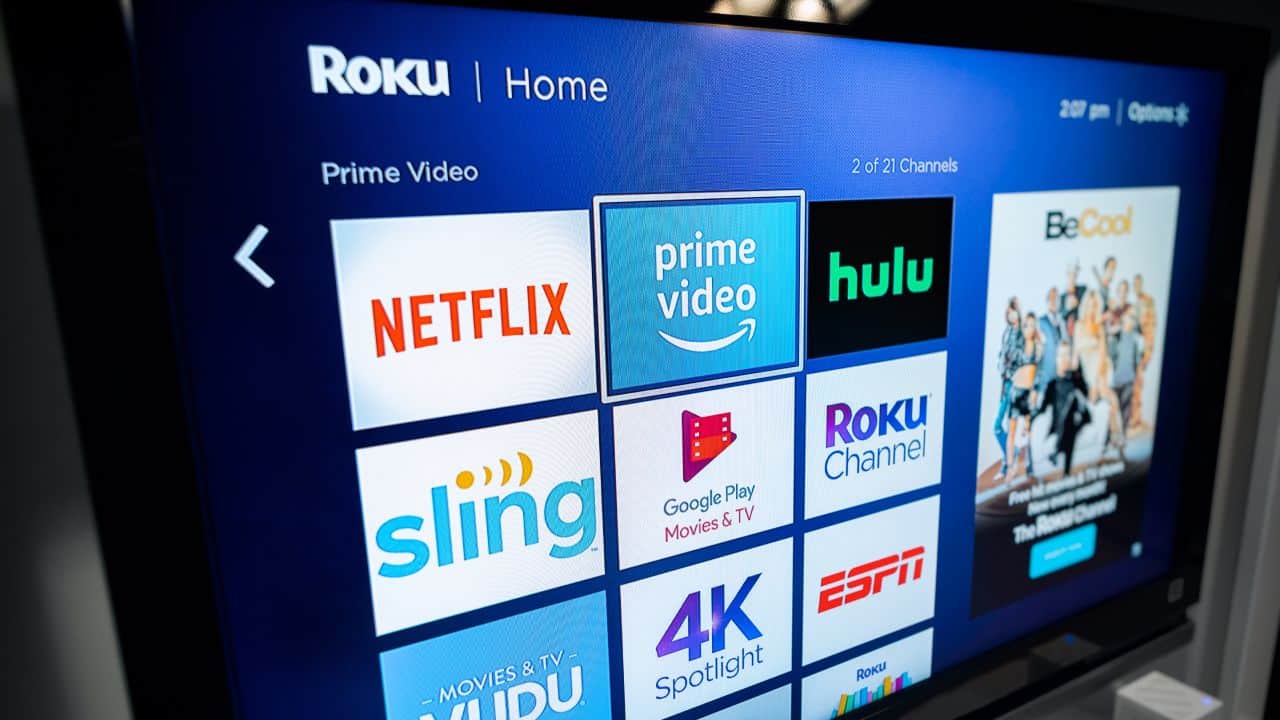
Step 6: Adding Channels and Apps
One of the great advantages of owning a Roku Smart TV is the ability to access a wide range of streaming channels and apps. Follow these steps to add channels and apps to your Roku Smart TV:
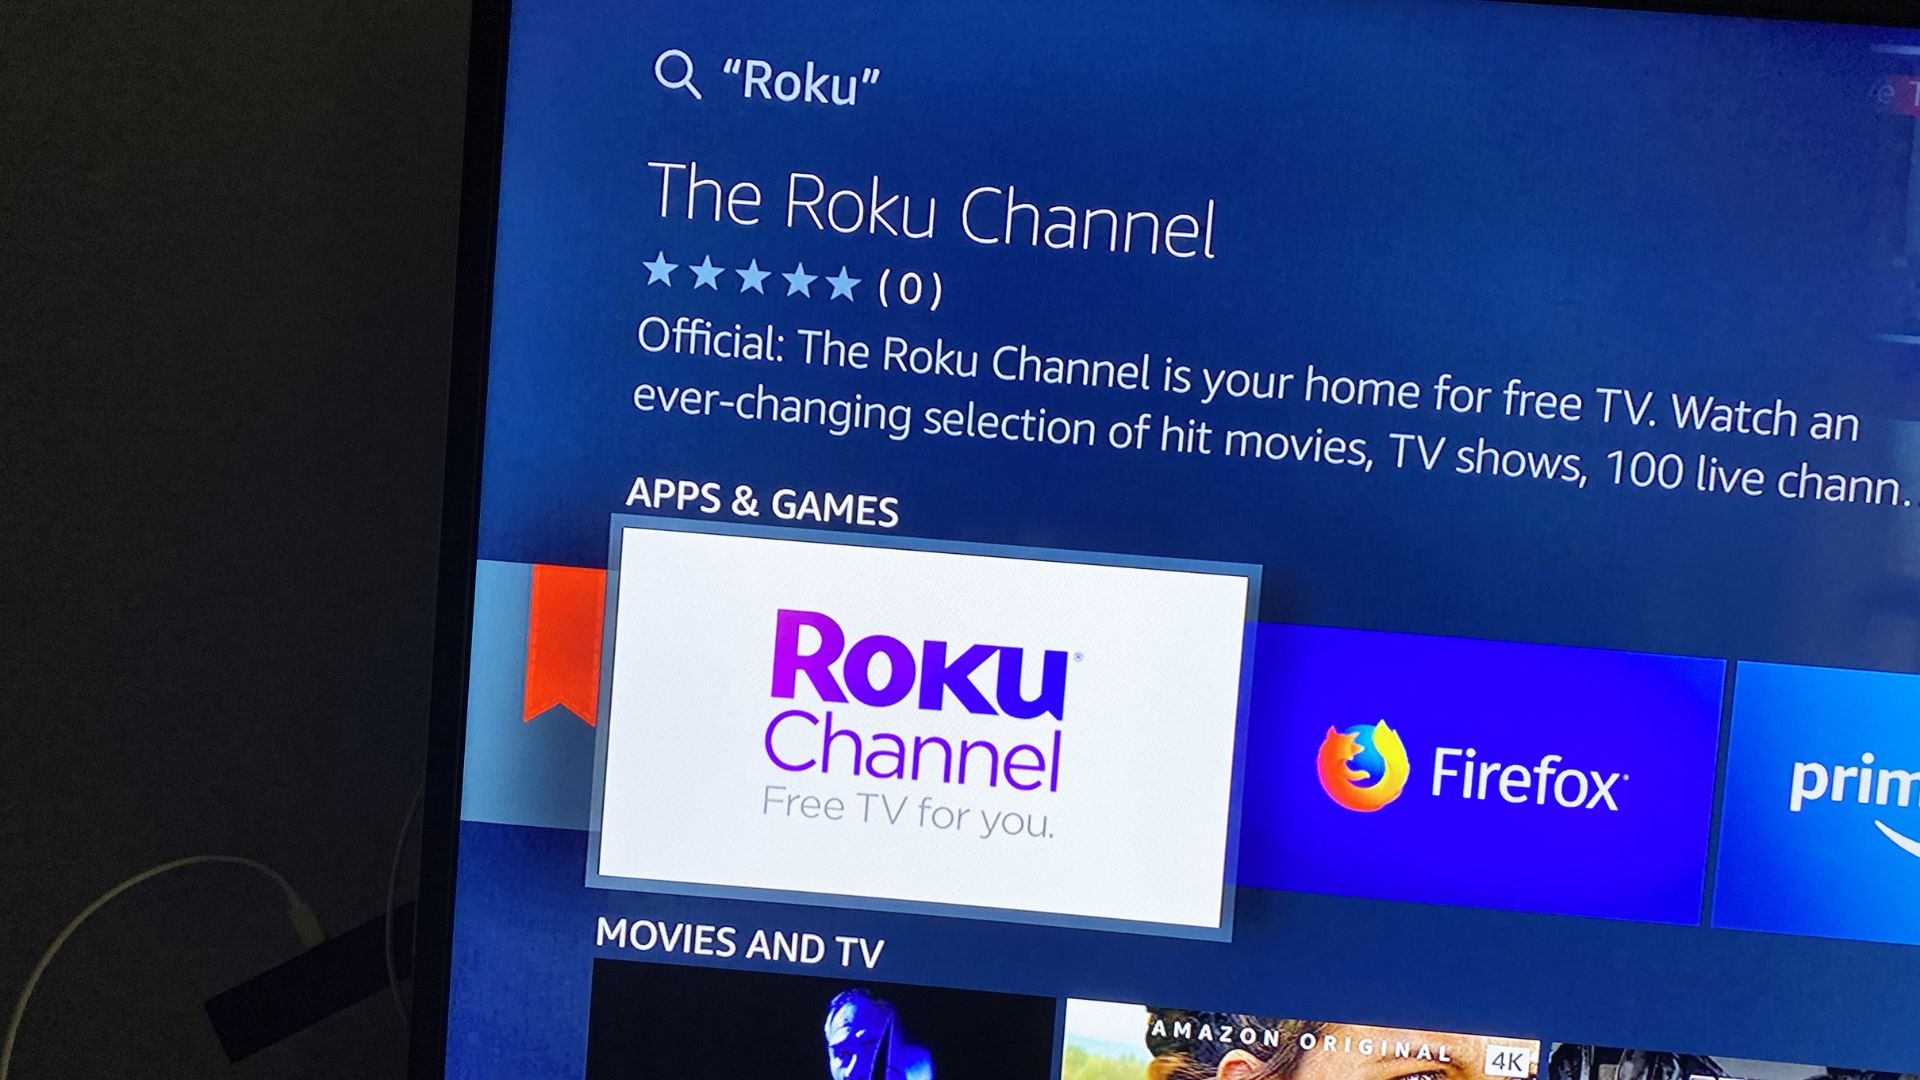
- On your Roku home screen, navigate to the Roku Channel Store by scrolling to the left or right and selecting “Streaming Channels.”
- In the Channel Store, you will find a variety of categories to explore. Browse through the categories or use the search function to find specific channels or apps.
- Select a channel or app that you want to add to your Roku Smart TV by highlighting it and pressing the OK button on your remote.
- On the channel or app’s detail page, you will find information about the channel, including a description, rating, and available features. To add the channel, select the “Add Channel” or “Install” button.
- The channel or app will begin downloading and installing on your Roku Smart TV. The amount of time this takes will vary depending on the size of the channel and your internet connection speed.
- Once the installation is complete, you will see a confirmation message on the screen, and the channel or app will appear on your home screen.
- Repeat these steps to add more channels and apps to your Roku Smart TV. There are thousands of options available, including popular streaming services like Netflix, Hulu, and Amazon Prime Video.
- To remove a channel or app from your Roku Smart TV, navigate to the channel on your home screen, press the asterisk (*) button on your remote, and select “Remove channel.” Confirm your selection to uninstall the channel or app.
By adding channels and apps to your Roku Smart TV, you can personalize your entertainment experience and access a wide variety of content. Explore the Channel Store regularly to discover new and exciting options to enhance your streaming enjoyment.
Now that you’ve added channels and apps to your Roku Smart TV, it’s time to move on to the next step and customize your TV’s settings to suit your preferences.
Step 7: Customizing Settings
Customizing the settings on your Roku Smart TV allows you to tailor your viewing experience to your preferences. Follow these steps to personalize and fine-tune the settings on your TV:
- Access the settings menu on your Roku Smart TV by pressing the Home button on your remote and selecting the gear icon.
- In the Settings menu, you will find various options to customize your TV. Let’s explore a few key settings:
- Display: Adjust the display settings, such as brightness, contrast, and screen saver, to optimize the visual experience.
- Audio: Customize the audio settings, including volume modes, audio leveling, and audio mode preferences.
- Network: Manage your network settings, including Wi-Fi connection, network status, and connection test.
- Theme: Choose a theme that suits your style and enhances the look and feel of your Roku Smart TV’s interface.
- Accessibility: Enable accessibility features like closed captions, audio guide, and voice guidance to enhance accessibility for individuals with hearing or visual impairments.
- Screen mirroring: Set up screen mirroring to share the screen of your smartphone, tablet, or computer on your Roku Smart TV.
- Explore other settings and options available in the settings menu to further personalize your viewing experience.
- Make changes to the settings according to your preferences by selecting the respective options and following the on-screen instructions.
By customizing the settings on your Roku Smart TV, you can create a personalized and optimized viewing experience tailored to your needs. Take the time to explore the settings menu and make adjustments as desired.
Now that you’ve customized the settings, you’re all set to enjoy your Roku Smart TV. However, if you encounter any issues or need assistance, the next step will provide you with troubleshooting tips to help you resolve common problems.
Step 8: Troubleshooting Tips
While Roku Smart TVs are designed to provide a seamless streaming experience, you may encounter occasional issues that need troubleshooting. Follow these tips to address common problems and get your Roku Smart TV back on track:
- If you’re experiencing connectivity issues, check your Wi-Fi signal strength. Move closer to the router or consider using a Wi-Fi extender to improve the signal in your viewing area.
- Restart your Roku Smart TV by going to the settings menu and selecting “System” and then “Power” before choosing the “Restart” option. This can help resolve minor software glitches.
- If a specific channel or app isn’t working properly, try removing and reinstalling it. Navigate to the channel on your home screen, press the asterisk (*) button on your remote, and select “Remove channel.” Once removed, re-add the channel from the Roku Channel Store.
- Check for software updates regularly in the settings menu. Keeping your Roku Smart TV’s software up to date can resolve compatibility issues and improve performance.
- If the audio or video quality is compromised, ensure that all cables are securely connected and undamaged. Consider replacing HDMI or audio cables if necessary.
- If you’re having issues with the remote control, ensure that the batteries are correctly inserted and have enough power. Try removing and reinserting the batteries or replacing them if needed.
- In case of severe issues or persistent problems, perform a factory reset. Keep in mind that this will erase all settings and data on the TV, so it should be used as a last resort. Access the reset option in the settings menu.
- If none of the above steps resolve your issue, Roku offers comprehensive support resources on their website. Visit the Roku support page for troubleshooting guides, FAQs, and community forums.
By following these troubleshooting tips, you can resolve common issues that may arise while using your Roku Smart TV. Remember, if the problem persists or seems more complex, contacting Roku support is always a good option.
With the troubleshooting tips covered, we have reached the end of our guide. You should now be able to enjoy your Roku Smart TV to the fullest!
Conclusion
Congratulations! You have successfully set up your Roku Smart TV and are now ready to enjoy a world of entertainment at your fingertips. By following the step-by-step guide in this article, you have unboxed and connected your TV, set it up, connected it to Wi-Fi, updated the software, created a Roku account, added channels and apps, customized the settings, and learned some troubleshooting tips for resolving common issues.
Roku Smart TVs offer a user-friendly interface, a wide variety of streaming options, and the ability to personalize your viewing experience. With access to popular streaming services, a vast library of channels and apps, and the ability to customize settings according to your preferences, you’ll have endless entertainment options to explore.
Remember to regularly check for software updates to ensure that your Roku Smart TV is running on the latest version and to take advantage of any new features and enhancements. Additionally, regularly adding new channels and apps can expand your entertainment choices and keep your streaming experience fresh.
If you ever encounter any issues, refer back to the troubleshooting tips provided in this guide or seek assistance from Roku support. They have an extensive support system in place to help you with any technical difficulties you may encounter.
Now it’s time to grab your remote, sit back, and enjoy the incredible entertainment experience that your Roku Smart TV has to offer. Happy streaming!