Introduction
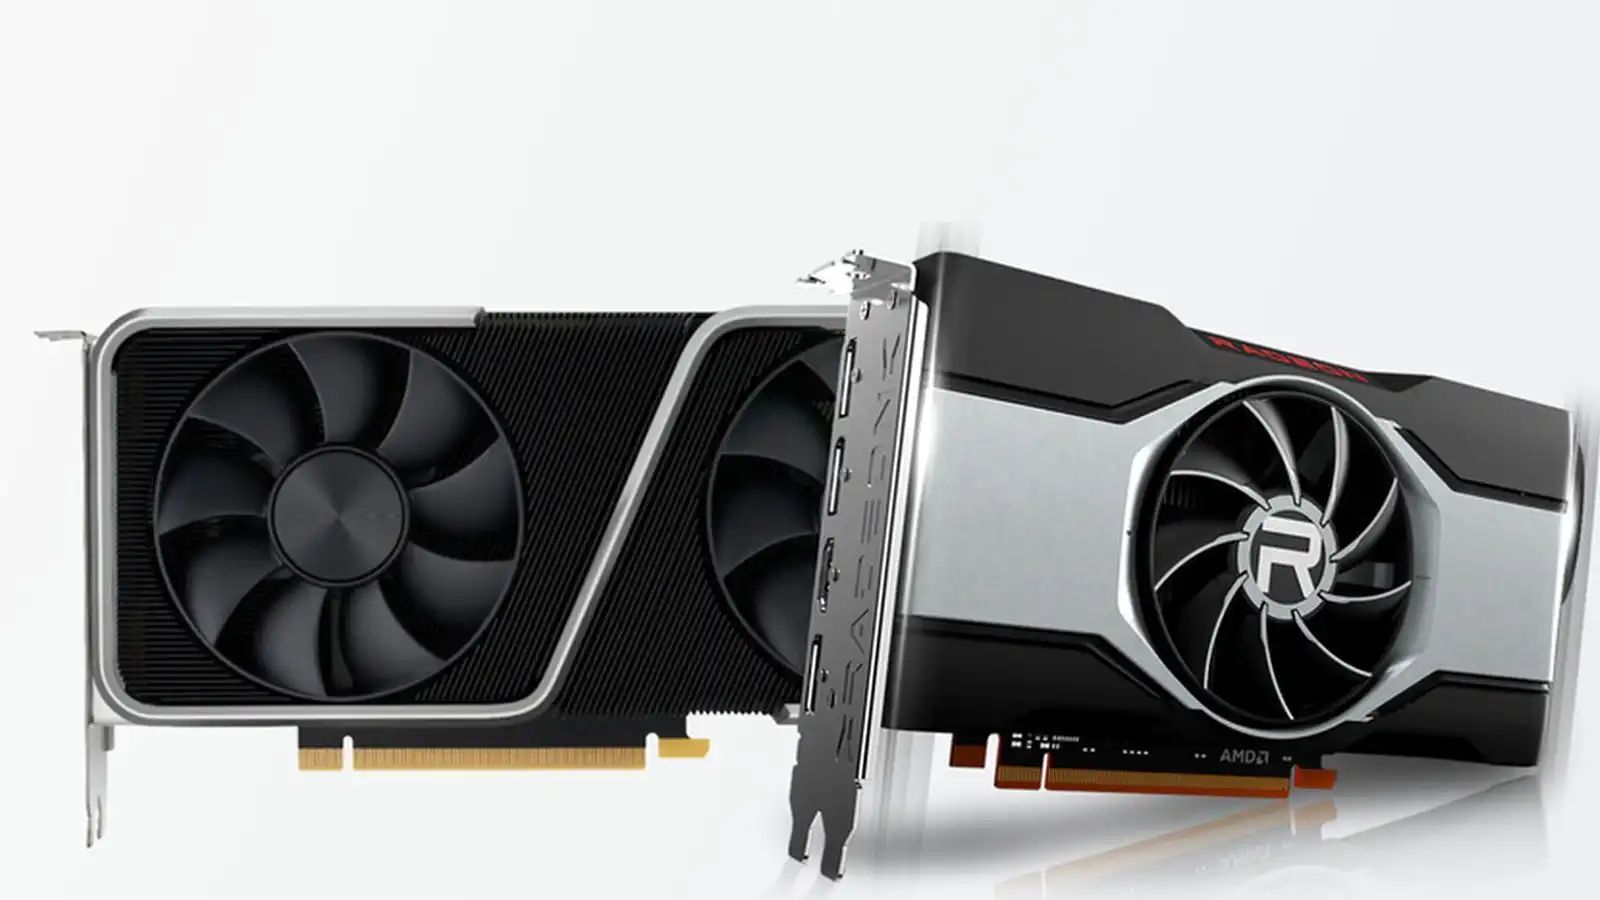
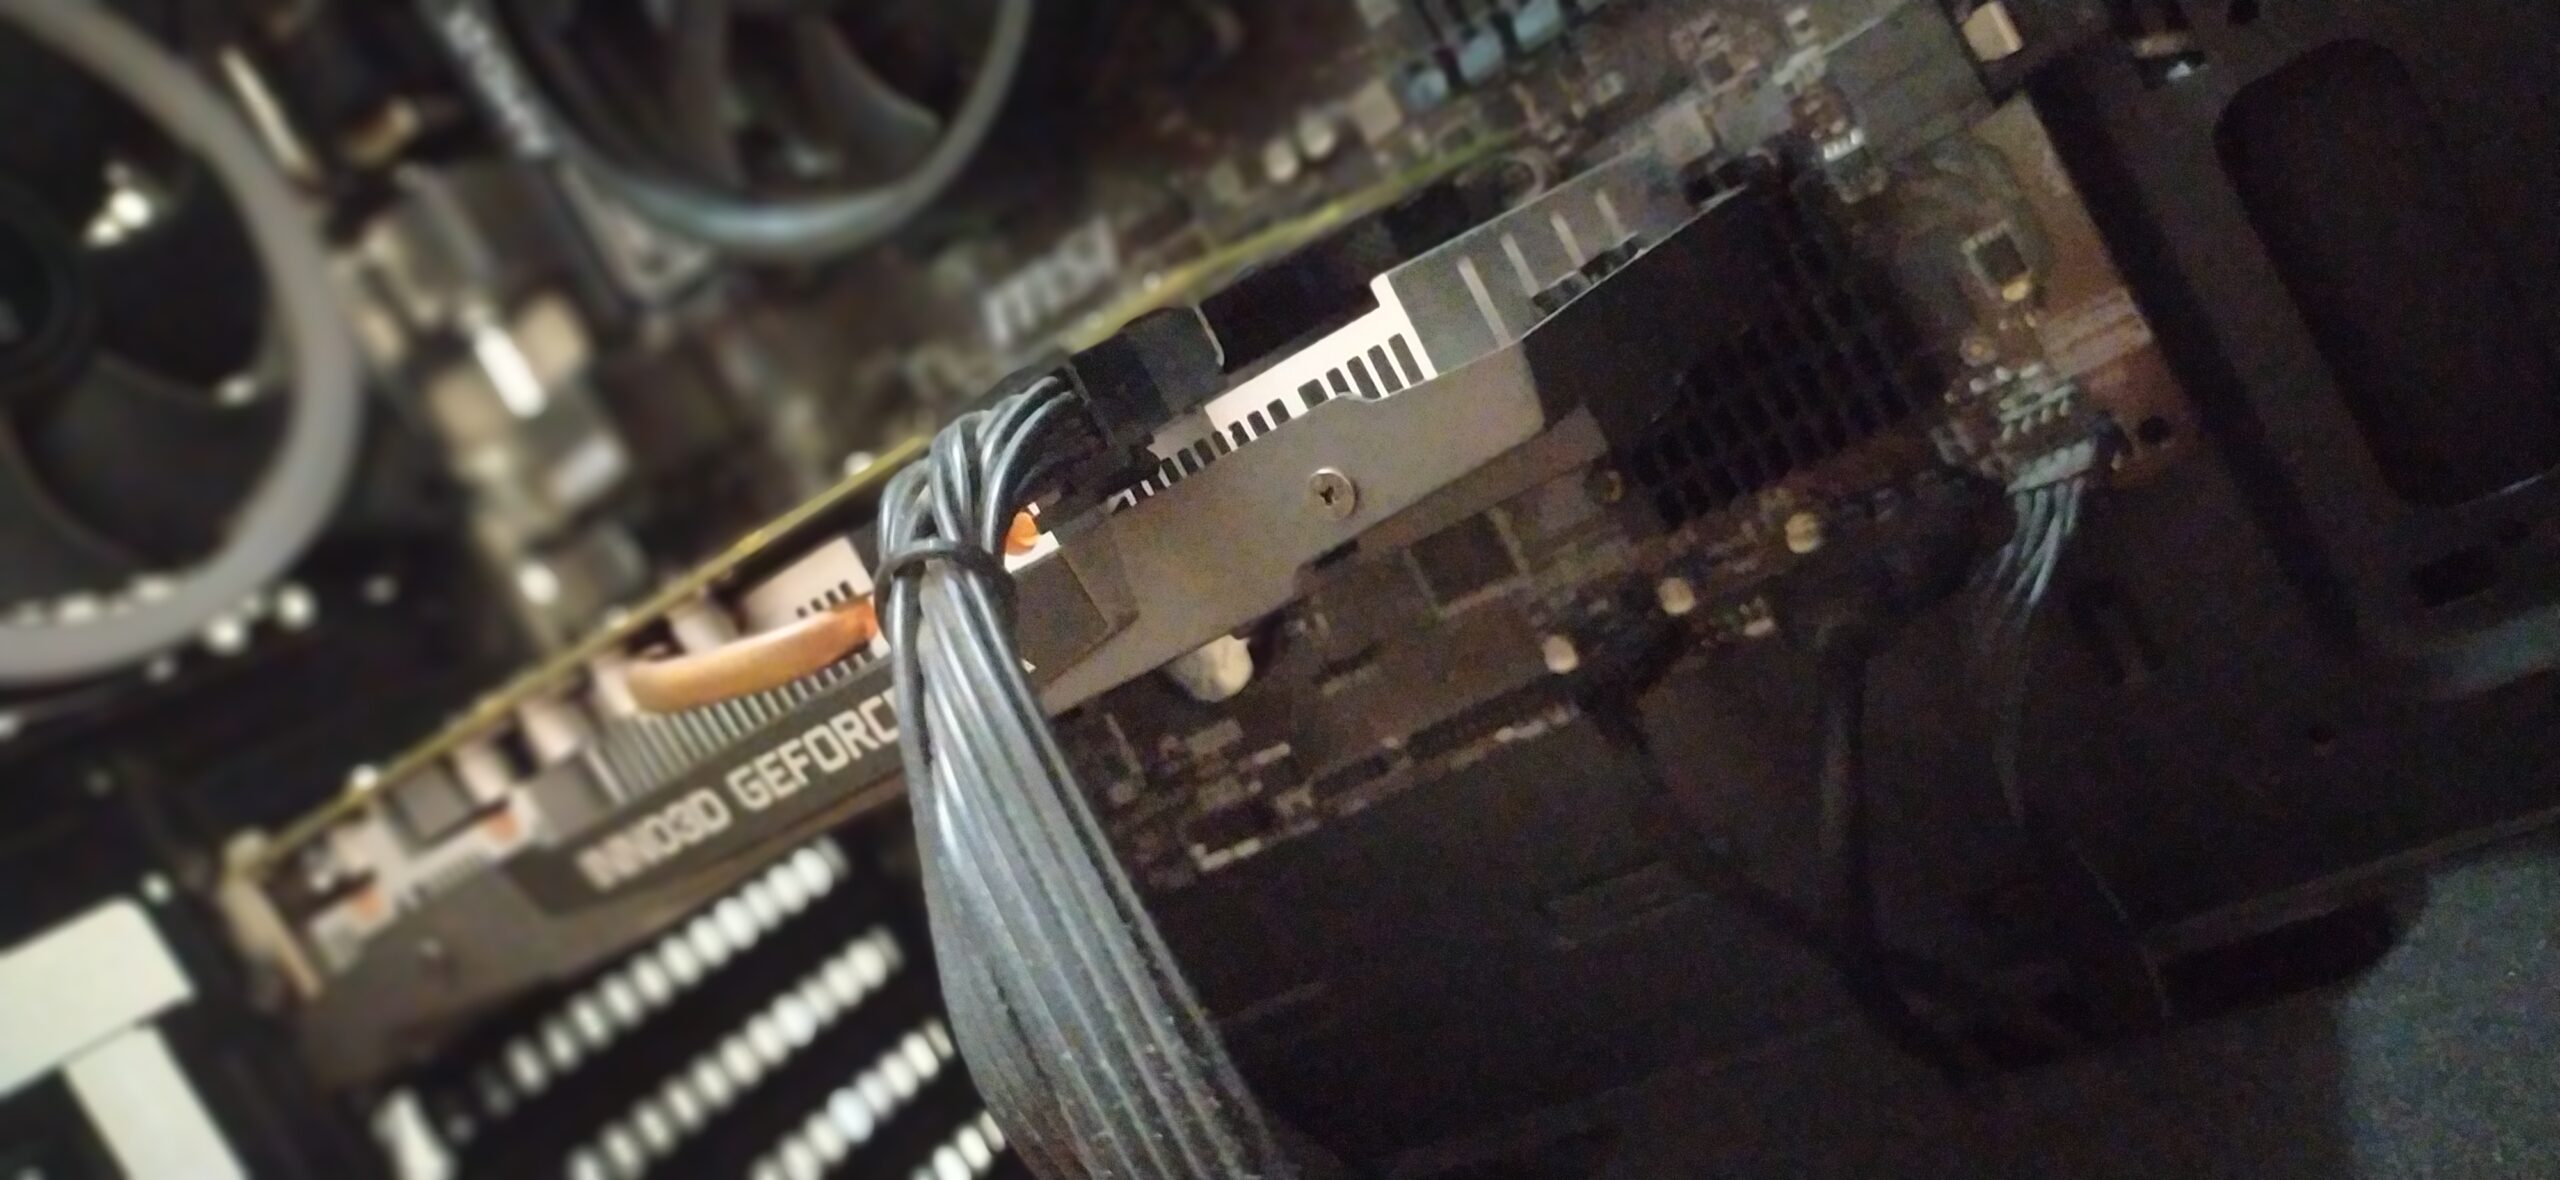
Welcome to this comprehensive guide on how to set the primary GPU for your computer. Many modern systems come equipped with multiple graphics processing units (GPUs), which can either be integrated into the CPU or installed separately on the motherboard. The primary GPU is the one that is responsible for handling the majority of the graphical processing tasks on your computer.
Setting the primary GPU can be beneficial in several ways. It allows you to take better advantage of the performance capabilities of a specific GPU, especially if you have a high-end graphics card dedicated to gaming or graphic-intensive applications. By designating the primary GPU, you can ensure that your system prioritizes the desired GPU for rendering graphics and running GPU-accelerated tasks.
In this guide, we will walk you through the process of checking your current primary GPU and, if needed, changing it to a different GPU. We will cover the steps for Windows, macOS, and Linux operating systems to provide a comprehensive solution for all users.
Before we dive into the details, it’s important to note that the process of setting the primary GPU may vary depending on your system configuration and the GPU drivers installed. It’s always a good idea to make sure you have the latest drivers from the GPU manufacturer’s official website before proceeding with any changes.
Now, let’s get started and explore how you can set the primary GPU on your computer.
Understanding the Primary GPU
Before we delve into how to set the primary GPU, let’s first understand what it is and how it functions within your computer system. The primary GPU, also known as the default GPU or display adapter, is responsible for rendering images, videos, and other graphics-intensive tasks on your computer’s display.
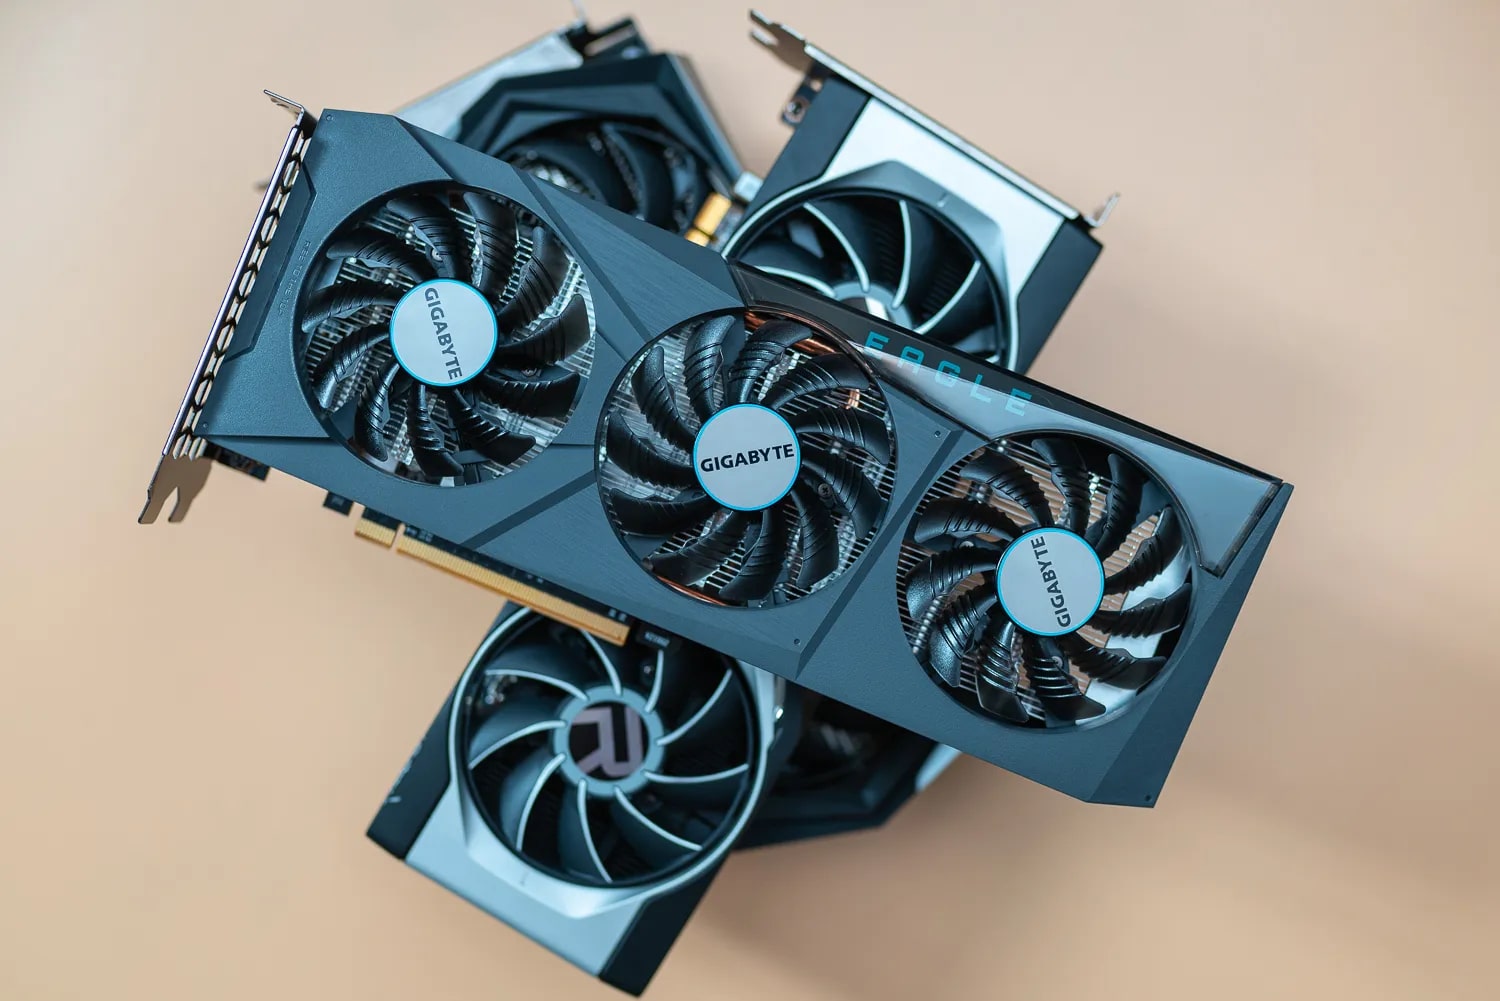
Modern computers often come equipped with multiple GPUs, with each GPU serving a specific purpose. This includes integrated GPUs integrated within the CPU, dedicated GPUs installed separately on the motherboard, or a combination of both. The primary GPU is the one that takes precedence over others and is used by default by the operating system.
When you run applications or games that require graphical processing power, the primary GPU is responsible for handling the workload. It receives instructions from the software and processes them to produce the visuals that you see on your monitor. By designating a specific GPU as the primary, you can ensure that the system utilizes the desired GPU for these tasks.
Setting the primary GPU can have several advantages. For gamers and graphic designers, it allows for better performance by directing the workload to a high-end GPU specifically designed for intense graphical tasks. It can also help in resolving compatibility issues with certain applications that may require a specific GPU to function optimally.
It’s important to note that while setting the primary GPU can optimize performance for specific tasks, other GPUs in your system are still operational. These secondary GPUs can be utilized for other general computing tasks and can provide additional display outputs if supported by the hardware.
Now that we have a clear understanding of what the primary GPU is and how it functions, let’s move on to the next section to learn how to check the current primary GPU on your system.
Checking the Current Primary GPU
Before you can make any changes to the primary GPU on your computer, it’s essential to identify which GPU is currently set as the primary. The process of checking the current primary GPU may vary depending on the operating system you’re using. Below, we will outline the steps for Windows, macOS, and Linux.
Windows:
To check the current primary GPU on Windows, you can follow these steps:
- Right-click on the desktop and select “Display Settings.”
- Scroll down and click on the “Graphics settings” link.
- Under the “Display” section, you will see the currently assigned primary GPU.
macOS:
To check the current primary GPU on macOS, you can follow these steps:
- Click on the Apple menu in the top-left corner and select “About This Mac.”
- In the “Overview” tab, click on “System Report.”
- In the left sidebar, under the “Hardware” section, click on “Graphics/Displays.”
- On the right-hand side, you will see the currently assigned primary GPU indicated by “PCIe Lane Width: x16” or similar.
Linux:
To check the current primary GPU on Linux, you can use the terminal and follow these steps:
- Open a terminal window.
- Type the command “lspci -nnk | grep -i vga -A3 | grep ‘in use'” (without quotes) and press Enter.
- You will see the currently assigned primary GPU listed after “in use.”
By following the steps outlined above, you can easily determine which GPU is currently set as the primary on your system. Once you have this information, you can proceed to the next sections to learn how to change the primary GPU on your respective operating system.
Changing the Primary GPU on Windows
If you’re using a Windows operating system and want to change the primary GPU, follow the steps below:
- Right-click on the desktop and select “Display Settings.”
- Scroll down and click on the “Graphics settings” link.
- Under the “Graphics performance preference” section, click on the “Browse” button.
- Navigate to the location of the application or game for which you want to change the GPU.
- Select the executable file (usually ending with “.exe”) and click on “Options.”
- In the “Options” screen, choose “High performance” to assign the high-performance GPU as the primary. Alternatively, select “Power saving” to use the integrated GPU as the primary.
- Click on “Save” to apply the changes.
By following these steps, you can change the primary GPU for specific applications or games on Windows. However, it’s important to note that not all applications or games may be listed in the Graphics settings section. In such cases, the system will automatically use the default primary GPU.
If you want to change the primary GPU system-wide, you can do so through the graphics driver settings. The steps to access these settings may vary depending on the GPU manufacturer. As an example, for NVIDIA graphics cards, you can follow these general steps:
- Right-click on the desktop and select “NVIDIA Control Panel.”
- In the left-hand pane, click on “Manage 3D settings.”
- Under the “Global Settings” tab, locate the “Preferred graphics processor” option.
- Select the desired GPU from the drop-down menu (e.g., “High-performance NVIDIA processor” or “Integrated graphics”) to set it as the primary.
- Click on “Apply” to save the changes.
It’s important to note that the steps for changing the primary GPU on Windows may vary slightly depending on the version of Windows and the graphics drivers installed on your system. Make sure to consult the documentation or support resources provided by your GPU manufacturer for detailed instructions specific to your setup.
Now that you know how to change the primary GPU on Windows, let’s move on to the next section to learn how to change it on macOS.
Changing the Primary GPU on macOS
If you’re using a macOS system and want to change the primary GPU, you can follow the steps below:
- Click on the Apple menu in the top-left corner and select “System Preferences.”
- Choose “Energy Saver.”
- Click on the “Graphics” tab.
- You will see a drop-down menu labeled “Automatic graphics switching.”
- If the checkbox next to “Automatic graphics switching” is selected, it means that the system is using the integrated GPU as the primary and automatically switching to the dedicated GPU when needed.
- To set the dedicated GPU as the primary, uncheck the “Automatic graphics switching” box.
- After unchecking the box, you will need to restart your computer for the changes to take effect.
By following these steps, you can change the primary GPU on macOS to either the dedicated GPU or the integrated GPU. Keep in mind that this setting will affect the entire system and not just specific applications or games.
It’s important to note that the availability of these options and the way macOS handles GPU switching may vary depending on the specific model of Mac you’re using. Some older Mac models may not have the option to switch between GPUs, while newer models may have more advanced settings and support for external GPUs.
If you’re using external GPUs or need finer control over GPU usage, there are third-party applications available that allow you to manually switch between GPUs on macOS. These applications provide additional flexibility and customization options for managing the primary GPU on your system.
Now that you know how to change the primary GPU on macOS, let’s move on to the next section to learn how to change it on Linux.
Changing the Primary GPU on Linux
If you’re using a Linux operating system and want to change the primary GPU, you can follow the steps below:
- Open a terminal window.
- Type the command “
xrandr --listproviders” (without quotes) and press Enter. - You will see a list of available GPUs and their corresponding ID numbers.
- If you have multiple GPUs installed, you can set the primary GPU by specifying its ID number.
- Type the command “
xrandr --setprovideroffloadsource” (without quotes) and press Enter. - Replace “
” with the ID number of the GPU you want to set as the primary and “ ” with the ID number of the GPU you want to set as the secondary. - To verify the changes, type the command “
xrandr --listproviders” (without quotes) again and press Enter to see the updated GPU configuration.
By following these steps, you can change the primary GPU on Linux using the xrandr utility. This method allows for manual control over GPU assignments and is compatible with various Linux distributions.
It’s important to note that the specific steps and commands may vary depending on your Linux distribution and GPU drivers installed. Additionally, some desktop environments may provide GUI-based tools or settings to manage GPUs, so you can explore those options as well.
If you’re using a Linux distribution that utilizes dynamic GPU switching, such as Optimus technology on laptops with both integrated and dedicated GPUs, you may need to refer to documentation or specific tools provided by your GPU manufacturer to change the primary GPU or control GPU switching behavior.
Now that you know how to change the primary GPU on Linux, let’s proceed to the next section where we will discuss troubleshooting common issues related to the primary GPU.
Troubleshooting Primary GPU Issues
Setting the primary GPU on your computer can sometimes come with its own set of challenges. Here are some common issues that you may encounter and their potential troubleshooting solutions:
1. Incorrect GPU being utilized:
If you’ve set a specific GPU as the primary but notice that your system is still utilizing a different GPU, there are a few steps you can take:
- Double-check your GPU settings and ensure that you’ve correctly designated the desired GPU as the primary.
- Update your GPU drivers to the latest version provided by the manufacturer. Outdated drivers can sometimes cause conflicts or limitations in GPU usage.
- Check the compatibility of your applications or games with specific GPUs. Some applications may have built-in preferences that override primary GPU settings.
2. Performance issues:
If you experience performance issues after changing the primary GPU, try these troubleshooting steps:
- Check the system requirements of your applications or games and ensure that they are compatible with the designated primary GPU.
- Monitor the temperature and power consumption of the GPU during intensive tasks. Overheating or insufficient power supply can cause performance degradation.
- Adjust the power settings in your GPU control panel to ensure optimal performance for your specific needs.
3. Display issues:
If you encounter display issues after changing the primary GPU, consider the following solutions:
- Ensure that all display cables are properly connected and in working condition.
- Check for any software conflicts or compatibility issues between your GPU drivers and display drivers.
- Try adjusting display settings such as resolution, refresh rate, and multiple display configurations to troubleshoot any abnormalities.
If you continue to experience issues with your primary GPU despite troubleshooting, it’s recommended to seek assistance from customer support or technical forums specific to your GPU manufacturer, as they can provide more in-depth guidance and solutions tailored to your hardware and software configuration.
With the troubleshooting tips mentioned above, you’ll be better equipped to diagnose and resolve common problems related to the primary GPU on your computer.
Conclusion
Understanding how to set the primary GPU on your computer is crucial for optimizing performance and ensuring that your system utilizes the desired graphics card or integrated GPU effectively. By designating the primary GPU, you can prioritize the processing power of a specific GPU for tasks like gaming, graphic design, or other GPU-accelerated applications.
In this guide, we covered the process of checking the current primary GPU and provided step-by-step instructions for changing the primary GPU on Windows, macOS, and Linux operating systems. We also discussed troubleshooting common issues that may arise when working with the primary GPU.
It’s important to note that the steps and options for changing the primary GPU may vary depending on your specific hardware configuration, operating system version, and GPU drivers. Always refer to the documentation and support resources provided by your GPU manufacturer for detailed instructions tailored to your setup.
Remember to regularly update your GPU drivers to ensure the latest performance enhancements, bug fixes, and compatibility improvements. Additionally, be mindful of the power and thermal requirements of your GPU to maintain optimal performance and prevent overheating issues.
By understanding and effectively managing your primary GPU, you can maximize the capabilities of your hardware, enhance your gaming experiences, and ensure smooth performance in graphics-intensive applications. As technology continues to advance, staying knowledgeable about GPU management can significantly improve your computing experience.


