Introduction
Welcome to our guide on how to set your monitor to 144Hz! If you’re a gaming enthusiast or a graphic designer, having a high refresh rate on your monitor can significantly improve your experience. The 144Hz refresh rate offers smoother and more fluid motion, reducing motion blur and providing a more immersive visual experience.
In the past, 60Hz was the standard refresh rate for most monitors. However, gamers and professionals demand more responsive and smoother displays, leading to the rise in popularity of higher refresh rates like 144Hz. Whether you’re playing fast-paced games, watching high-definition videos, or working on graphic-intensive tasks, a higher refresh rate can make a noticeable difference in the overall visual quality and responsiveness of your monitor.
In this guide, we will walk you through the process of setting your monitor to 144Hz. We will cover how to check if your computer and monitor support 144Hz, adjusting display settings on different operating systems like Windows, macOS, and Linux, updating graphics card drivers, and troubleshooting common issues that may arise during the process.
By the end of this guide, you’ll have the knowledge and tools necessary to make the most out of your monitor’s 144Hz refresh rate. So, let’s dive in and unleash the full potential of your display!
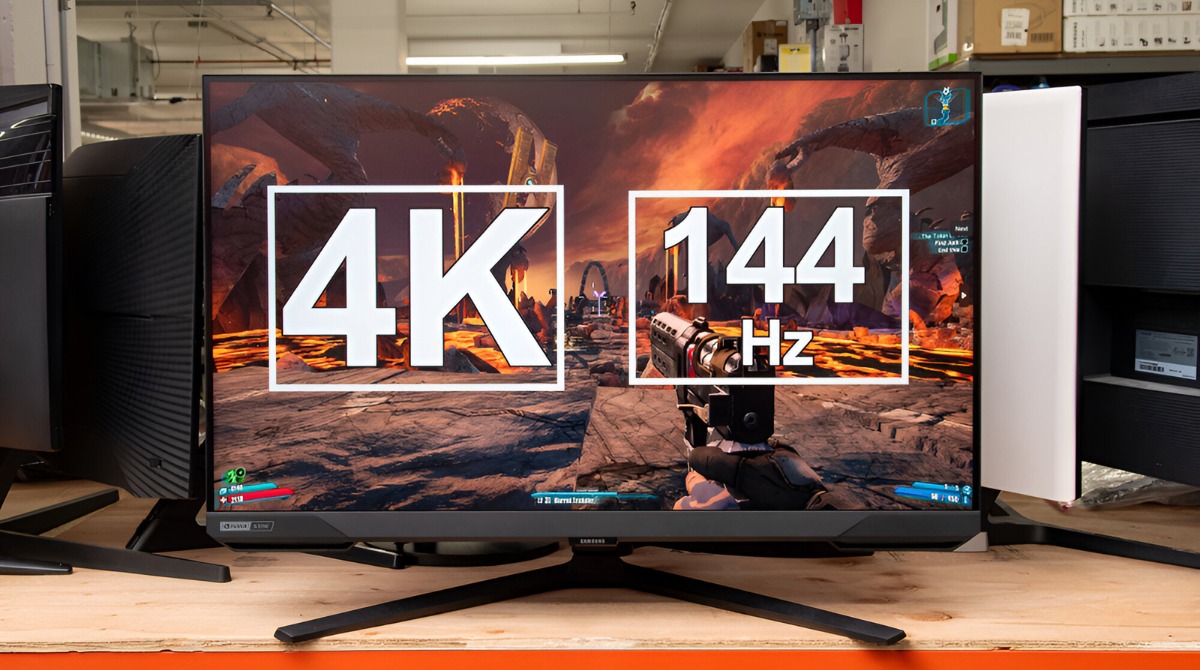
What is 144Hz and why does it matter?
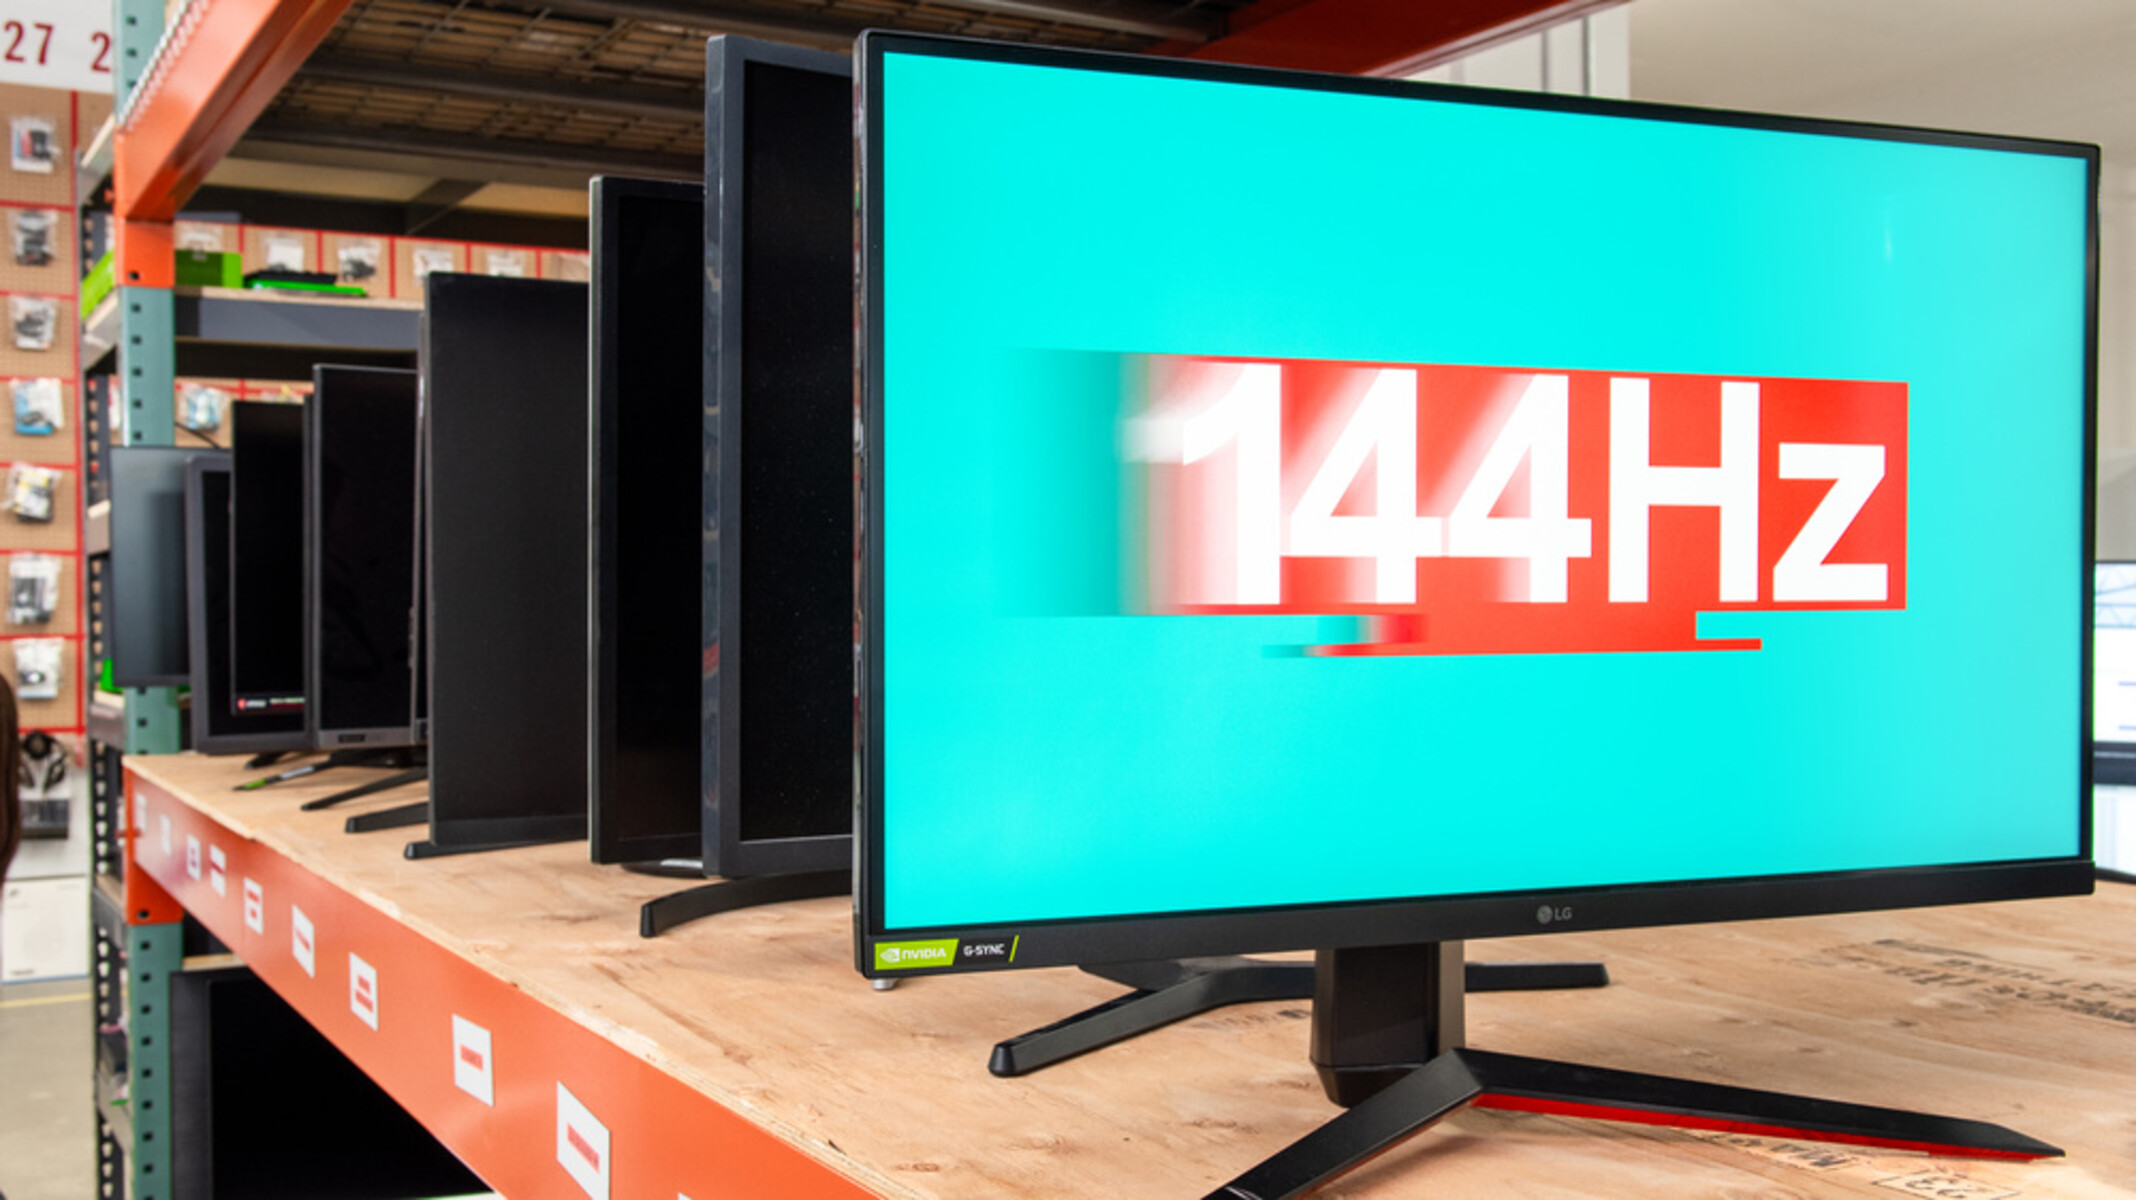
Before we delve into the process of setting your monitor to 144Hz, it’s essential to understand what this term actually means and why it’s relevant for your display. The refresh rate of a monitor refers to the number of times it updates the image on the screen per second. A 144Hz refresh rate means that your monitor refreshes the screen 144 times every second.
So, why does this high refresh rate matter? Well, the higher the refresh rate, the smoother the visuals on your screen will appear. A 144Hz monitor can provide an exceptionally smooth and fluid visual experience, especially when compared to the standard 60Hz refresh rate. It reduces motion blur, enhances responsiveness, and makes fast-paced action in games or videos appear more realistic and lifelike.
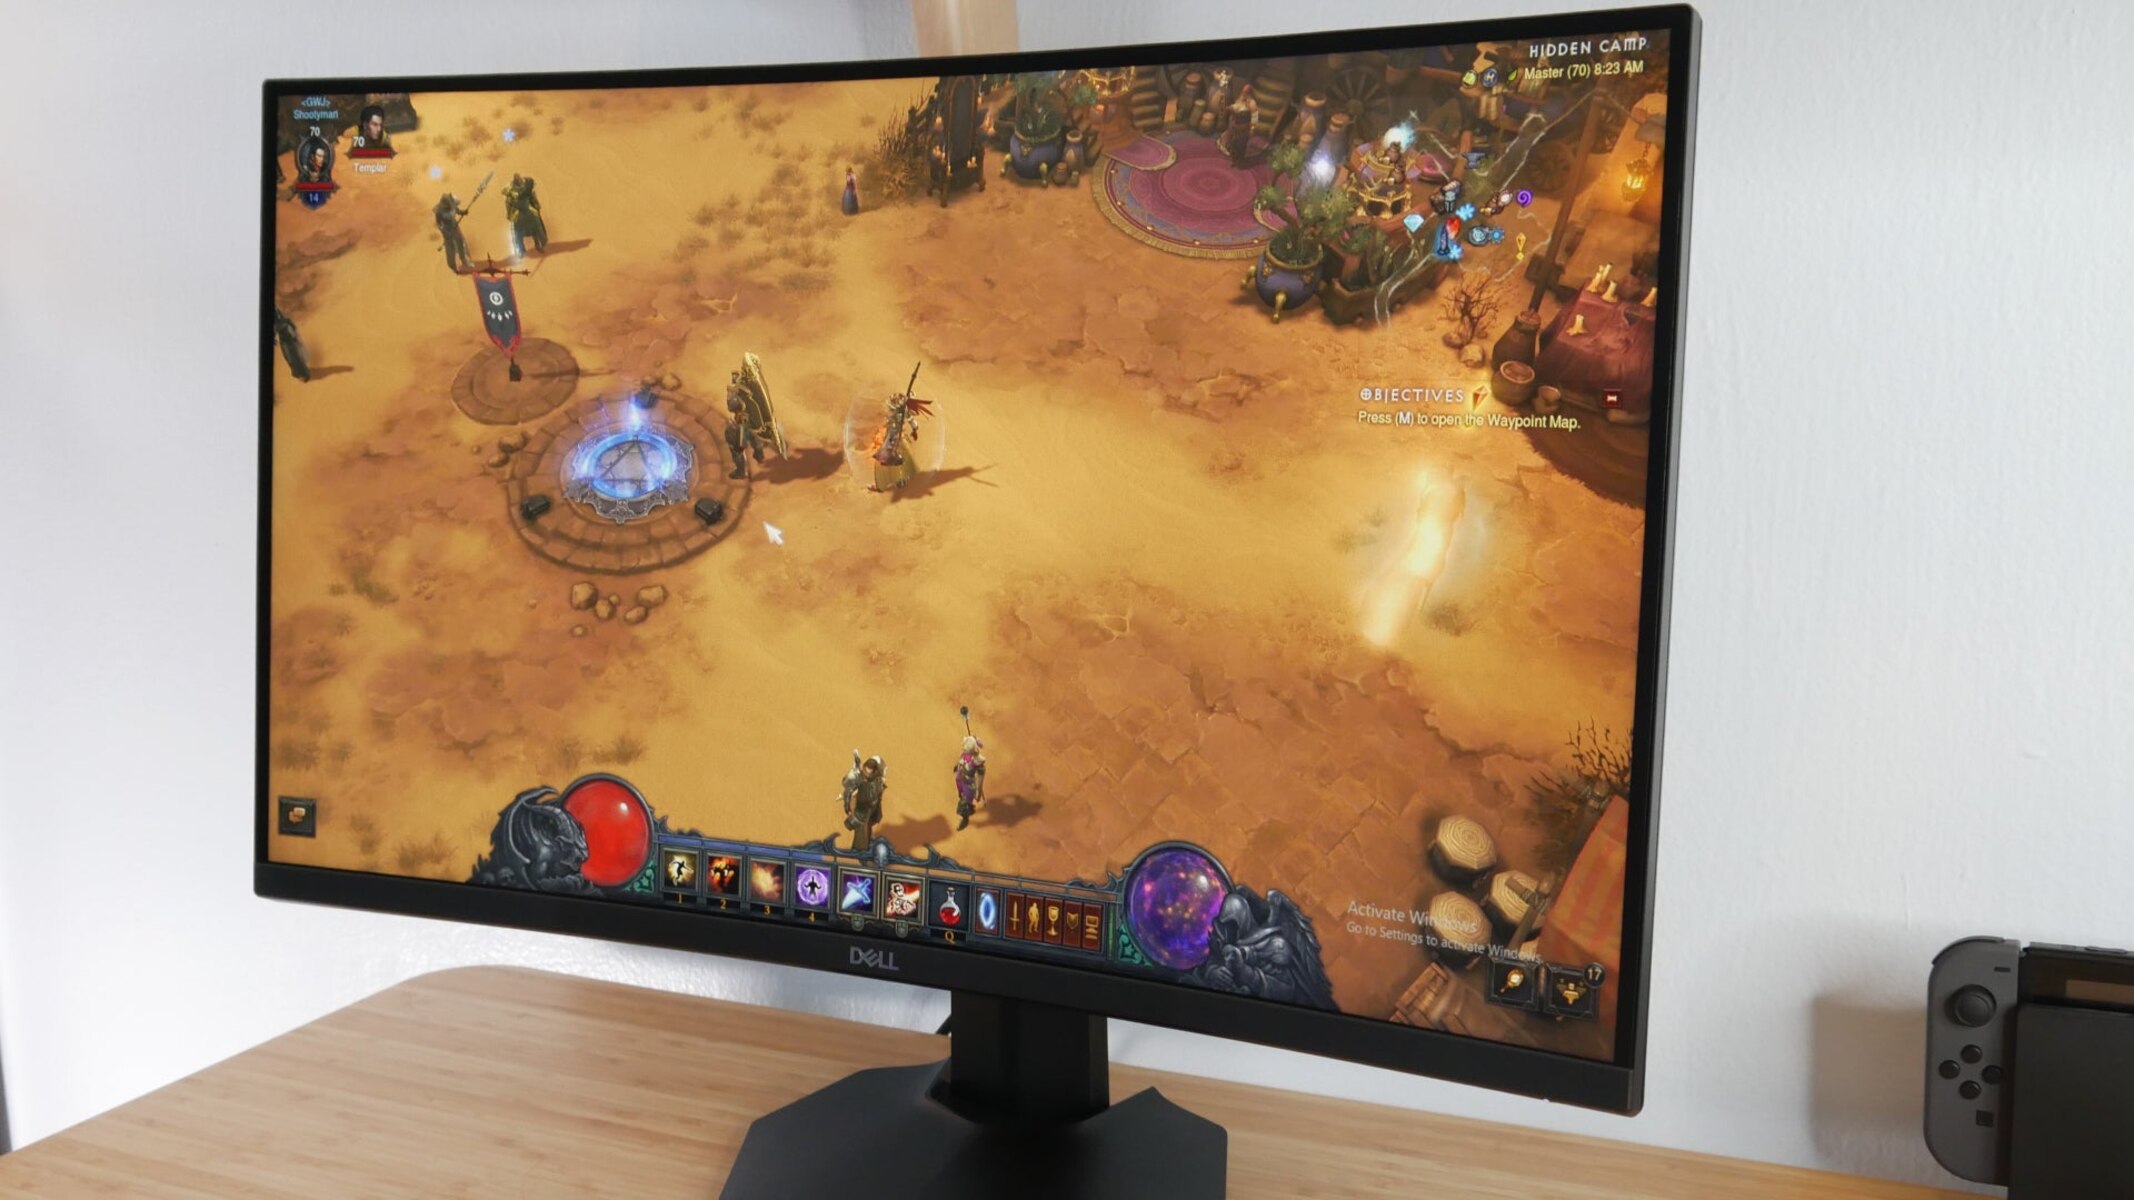
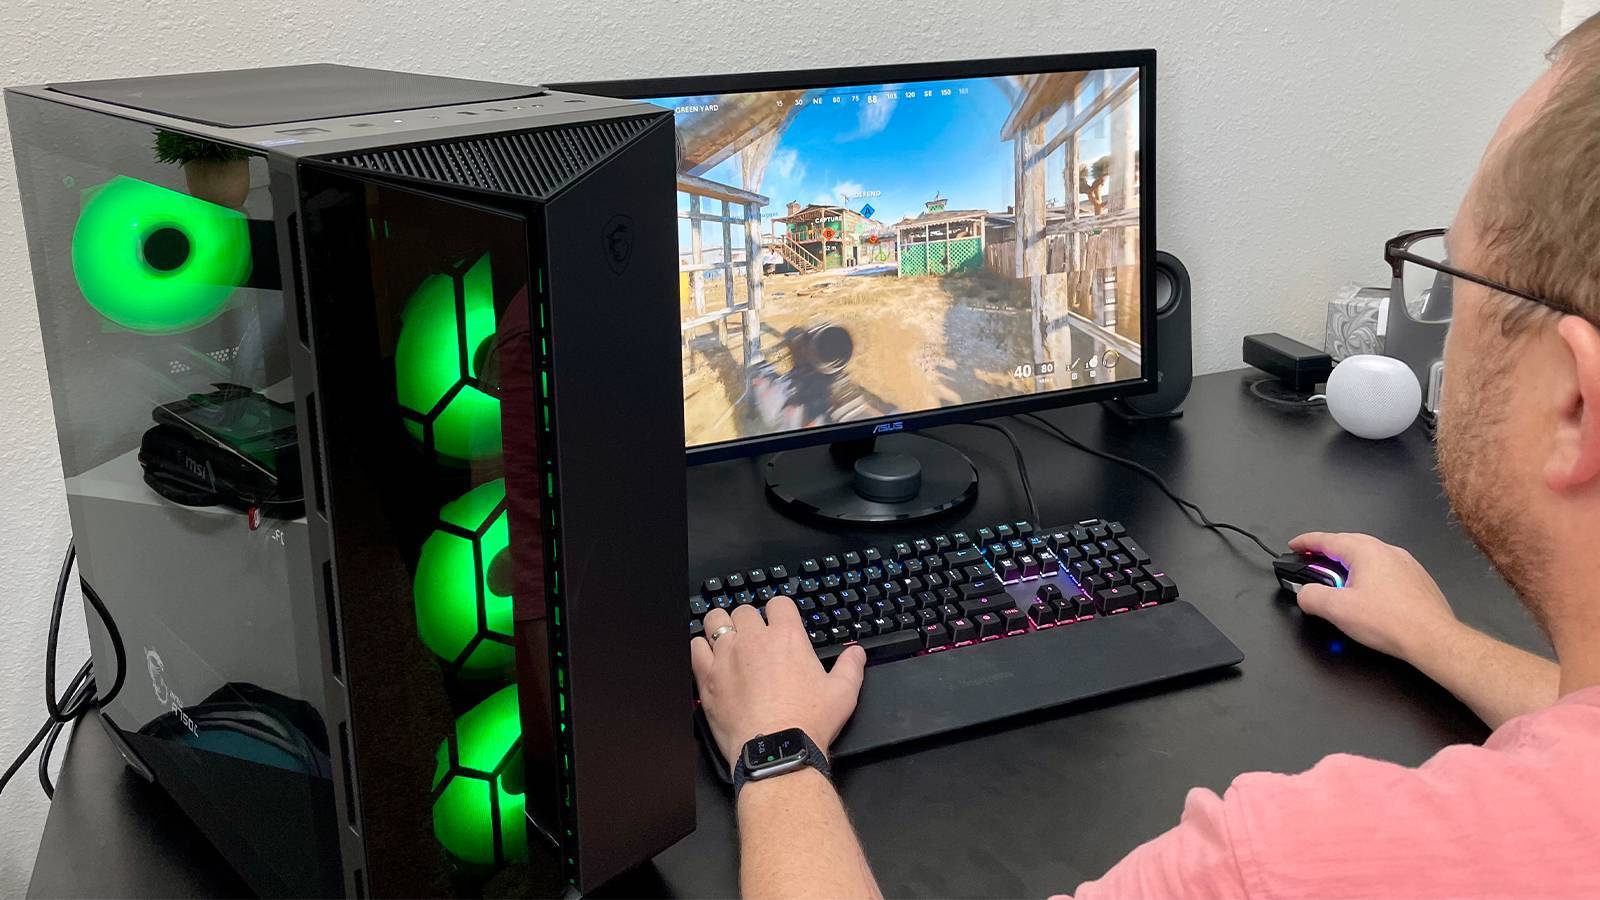
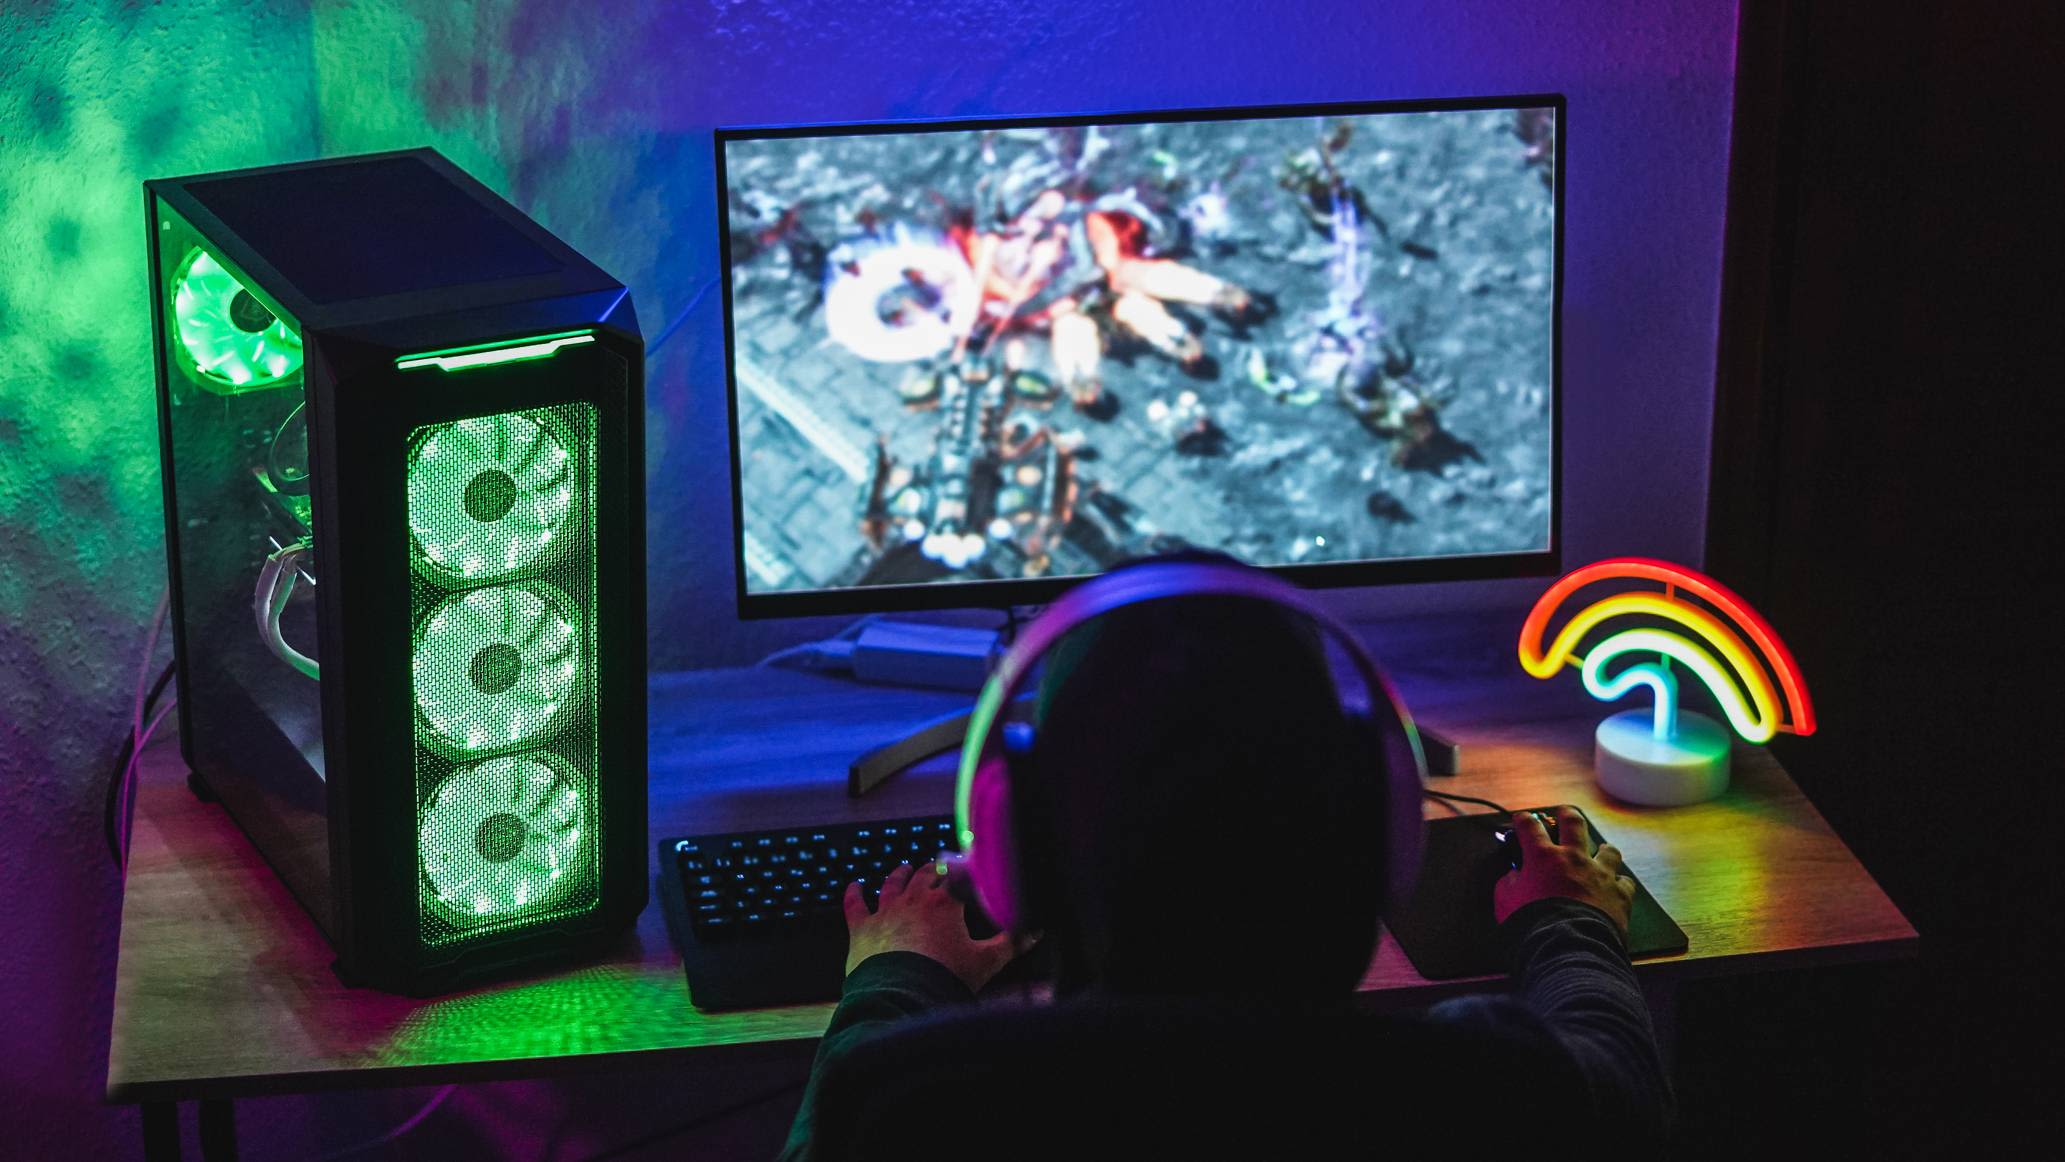
For gamers, a higher refresh rate is a game-changer. It allows you to react faster to in-game movements, making it easier to target enemies and execute precise actions. The increased smoothness and responsiveness also improve the overall gameplay experience, providing a competitive edge in multiplayer games.
Moreover, a 144Hz refresh rate is also beneficial for graphic designers, video editors, and other creative professionals. It allows for a more accurate representation of colors, smoother transitions between frames, and finer details in complex visual compositions. This makes it easier to spot imperfections and make precise adjustments, resulting in better-looking designs and videos.
While a 144Hz refresh rate might not be necessary for everyday tasks like browsing the web or working with documents, it can still enhance the overall visual quality and reduce eye strain during prolonged computer use.
In summary, a 144Hz refresh rate offers significant improvements in visual smoothness, responsiveness, and accuracy. Whether you’re a gamer or a professional who values high-quality visuals, setting your monitor to 144Hz can provide a more immersive and enjoyable experience.
Checking if your computer and monitor support 144Hz
Before you can set your monitor to 144Hz, it’s important to ensure that both your computer and monitor support this higher refresh rate. Here’s how you can check:
1. Check your monitor specifications: Consult the user manual or visit the manufacturer’s website to verify if your monitor supports a 144Hz refresh rate. Look for the “Specifications” or “Display” section, where you should find the refresh rate information.
2. Check your graphics card capabilities: A higher refresh rate requires a capable graphics card to handle the increased workload. Check the specifications of your graphics card to confirm if it supports a 144Hz refresh rate. You can usually find this information on the manufacturer’s website or through the graphics card control panel software.
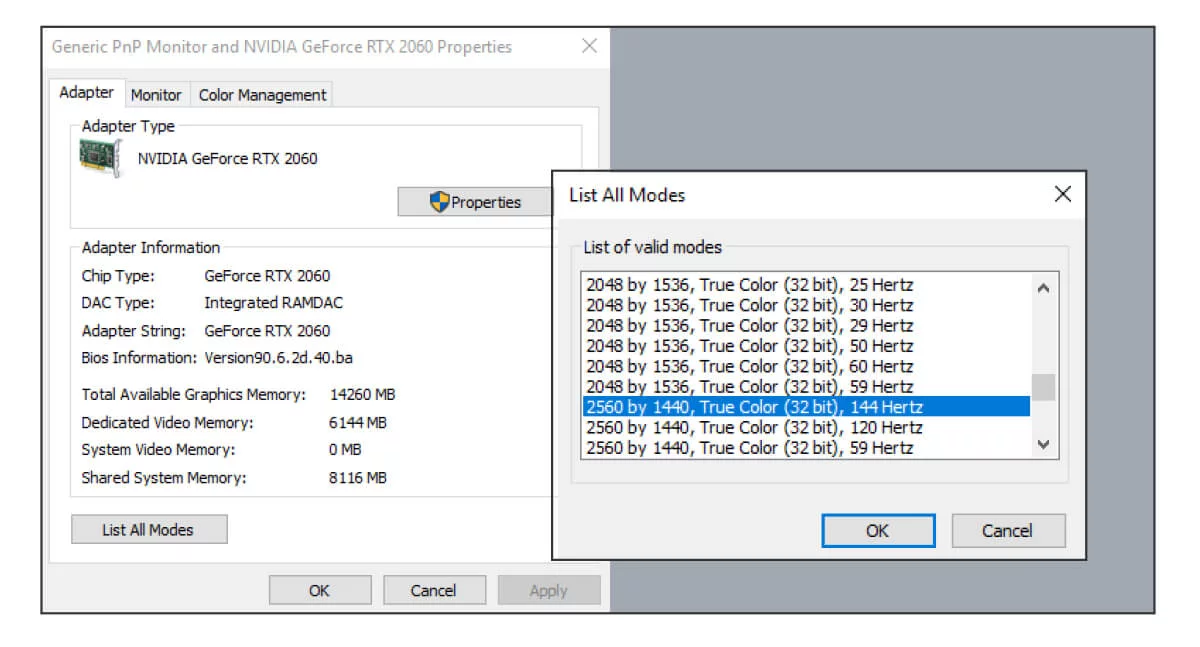
3. Use Windows Display Settings: On Windows, you can easily check the available refresh rates for your monitor through the Display Settings. Right-click on the desktop and select “Display settings.” Scroll down and click on “Advanced display settings,” then choose your monitor and click on “Display adapter properties.” In the window that appears, navigate to the “Monitor” tab, and you should see a drop-down menu labeled “Screen refresh rate” that displays the available options.
4. Use macOS Display Preferences: On a macOS system, click on the Apple menu and select “System Preferences.” Choose “Displays,” then click on the “Display” tab. Hold down the Option key and click on the “Scaled” button, and you will see a list of available refresh rate options for your monitor.
5. Use Linux Display Settings: The process may vary slightly depending on your Linux distribution, but generally, you can access the display settings through the system settings or the control panel. Look for the refresh rate options under the display or monitor settings.
If your monitor supports a 144Hz refresh rate and your graphics card is capable, you’re ready to proceed with adjusting the display settings to set your monitor to 144Hz. However, if your monitor or graphics card doesn’t support 144Hz, you may need to consider upgrading one or both to take advantage of this higher refresh rate.
Adjusting display settings on Windows
If your computer and monitor support a 144Hz refresh rate, you can follow these steps to adjust the display settings on Windows:
1. Right-click on the desktop and select “Display settings” from the context menu. This will open the Windows Display Settings.
2. Scroll down and click on “Advanced display settings.”
3. In the new window, select your monitor from the drop-down menu if you have multiple displays connected.
4. Click on “Display adapter properties.”
5. In the Properties window, navigate to the “Monitor” tab.
6. Under “Screen refresh rate,” you should see the available refresh rate options. Select 144Hz from the drop-down menu.
7. Click “Apply” and then “OK” to save the changes.
Your monitor should now be set to a 144Hz refresh rate. If you don’t see the desired refresh rate in the drop-down menu, it’s possible that your graphics card or monitor driver needs to be updated.
To update your graphics card driver:
1. Right-click on the Windows Start button and select “Device Manager.”
2. Expand the “Display adapters” category.
3. Right-click on your graphics card and select “Update driver.”
4. Choose the option to search automatically for updated driver software. Windows will search online and install the latest driver if available.
5. Once the driver is updated, repeat the steps to adjust the display settings and set your monitor to 144Hz.
Keep in mind that some older graphics cards may have limitations on achieving a 144Hz refresh rate or require additional settings adjustments. Refer to your graphics card documentation or manufacturer’s website for specific instructions.
Now that you’ve successfully adjusted the display settings on Windows, you can enjoy the smoothness and enhanced visual experience offered by your 144Hz monitor!
Adjusting display settings on macOS
If you’re using a macOS system and your monitor supports a 144Hz refresh rate, you can follow the steps below to adjust the display settings:
1. Click on the Apple menu in the top-left corner of your screen and select “System Preferences.”
2. In the System Preferences window, click on “Displays.”
3. Click on the “Display” tab.
4. While holding down the Option key, click on the “Scaled” button.
5. This will display a list of available resolution options for your monitor. Look for the refresh rate options in the list.
6. Select 144Hz from the available refresh rate options.
7. Close the System Preferences window.
Once you have adjusted the refresh rate to 144Hz, your monitor will be set to the desired setting. You can now enjoy the smoother and more responsive visuals that come with a higher refresh rate.
If you don’t see the 144Hz refresh rate option in the list, it’s possible that your graphics card or monitor driver needs to be updated. Check the manufacturer’s website for the latest driver updates and install them accordingly.
It’s worth noting that some older macOS versions or certain graphics cards may not support a 144Hz refresh rate. In such cases, you may need to consider upgrading your graphics card or consult the documentation provided by the manufacturer for any specific instructions.
With the display settings successfully adjusted on your macOS system, you can now experience the improved smoothness and responsiveness provided by the 144Hz refresh rate.
Adjusting display settings on Linux
If you’re using a Linux distribution and your monitor supports a 144Hz refresh rate, you can adjust the display settings by following these steps:
1. Depending on your Linux distribution, access the system settings or control panel. Look for the display settings option, which may be under the “Display,” “Monitor,” or “Screen” sections.
2. Once you’re in the display settings, locate the refresh rate options for your monitor. The location may vary depending on your Linux distribution and desktop environment.
3. Select the option for 144Hz from the available refresh rate options.
4. Save the changes and exit the display settings.
If you don’t see the 144Hz refresh rate option in the settings, it’s possible that your graphics driver needs to be updated. You can check the manufacturer’s website or the Linux distribution’s official repositories for the latest graphics driver updates.
In some cases, specific Linux distributions or graphics cards may have limitations when it comes to enabling a 144Hz refresh rate. If this is the case, you may need to consult the documentation provided by the manufacturer or seek assistance from Linux community forums or support channels.
It’s important to note that the process for adjusting display settings may vary depending on the Linux distribution and desktop environment you’re using. If the steps mentioned above don’t apply to your specific setup, refer to the official documentation or community resources for your Linux distribution for more detailed instructions.
Once you have successfully adjusted the display settings on your Linux system, your monitor will be set to a refreshing 144Hz. Now you can enjoy the smooth and responsive visual experience that the higher refresh rate offers.
Updating graphics card drivers
Updating your graphics card drivers is an important step in ensuring compatibility and optimal performance, especially when setting your monitor to a 144Hz refresh rate. Here’s how you can update your graphics card drivers:
1. Identify your graphics card model: Before proceeding with the driver update, you need to know the model of your graphics card. You can usually find this information by accessing the device manager or through the graphics card control panel software.
2. Visit the manufacturer’s website: Once you have identified your graphics card model, visit the manufacturer’s website. Look for the “Support” or “Drivers” section, where you should find the latest driver downloads for your specific model.
3. Download the latest driver: Find the appropriate driver for your operating system and download the latest version. Make sure to download the correct version for your graphics card model and operating system (Windows, macOS, or Linux).
4. Install the driver: After downloading the driver, run the installer and follow the on-screen instructions to install it. Make sure to select any additional options or settings that are relevant to your setup.
5. Restart your computer: After the installation is complete, it is recommended to restart your computer to ensure that the changes take effect.
6. Verify driver installation: Once your computer has restarted, you can verify that the new graphics card driver is installed correctly. Go to the device manager or access the graphics card control panel software to confirm the driver version.
It’s important to note that driver update processes may vary slightly depending on your operating system and graphics card manufacturer. Different operating systems may have different methods for driver installation and update. Always consult the documentation provided by the manufacturer for specific instructions.
Regularly updating your graphics card drivers can improve not only the performance and compatibility of your graphics card but also ensure that you have access to the latest features and optimizations available. By keeping your drivers up to date, you can maximize the performance of your graphics card and get the most out of your 144Hz monitor.
Troubleshooting common issues
While setting your monitor to a 144Hz refresh rate is generally straightforward, there can be some common issues that you may encounter along the way. Here are a few troubleshooting tips to help you address these issues:
1. Unsupported refresh rate: If you don’t see a 144Hz refresh rate option in your display settings, it’s possible that your graphics card or monitor doesn’t support it. Verify that your monitor’s specifications and your graphics card are capable of handling a 144Hz refresh rate. If not, you may need to consider upgrading one or both components.
2. Outdated graphics card drivers: Ensure that you have the latest graphics card drivers installed on your computer. An outdated driver can prevent you from accessing the 144Hz refresh rate option. Visit the manufacturer’s website and download the latest drivers for your specific graphics card model and operating system.
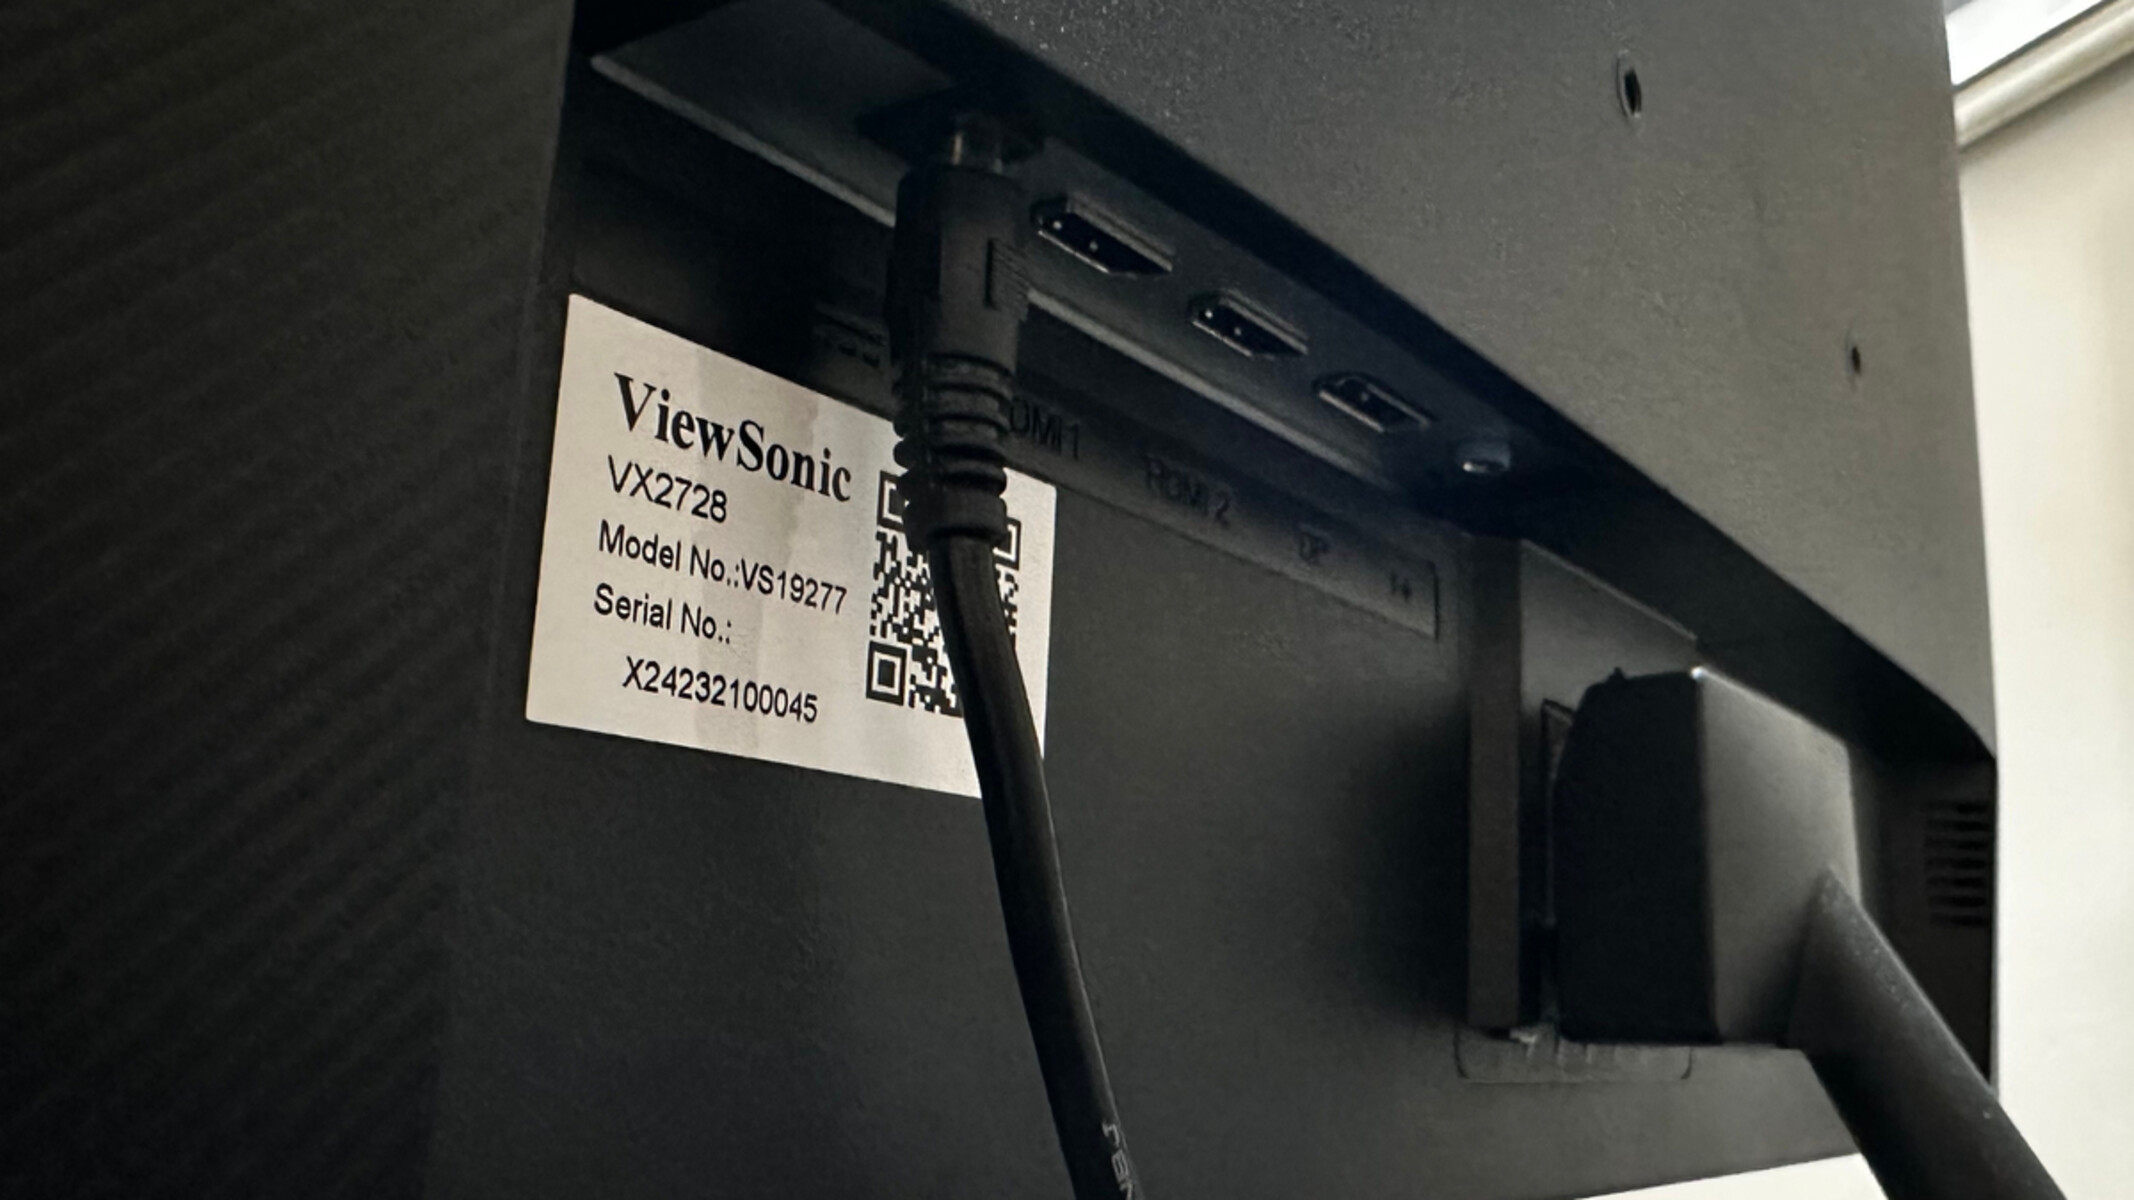
3. Display cable limitations: Not all display cables support a 144Hz refresh rate. Make sure that you are using a high-quality cable, such as DisplayPort 1.2 or HDMI 2.0, which are known to support higher refresh rates. Using an older cable or one with inadequate bandwidth may limit your options for refresh rate configurations.
4. Incorrect cable connection: Double-check that your monitor is connected to your graphics card using the appropriate cable and port. Ensure that the cable is firmly plugged into both the monitor and the graphics card, as a loose connection can cause display issues.
5. Power settings: Some systems have power-saving settings that can limit the available refresh rate options. Check your power settings and ensure that they allow for maximum performance. Adjust the power plans accordingly to ensure that your system is not limiting the refresh rate option.
6. Hardware limitations: Older hardware configurations may have limitations when it comes to supporting a 144Hz refresh rate. If you have an older graphics card or a less powerful system, it may struggle to consistently deliver 144 frames per second. Adjusting in-game settings or upgrading your hardware may be necessary to achieve a smooth 144Hz experience.
If you continue to experience issues even after troubleshooting, it’s recommended to consult the manufacturer’s documentation for your specific monitor and graphics card, or seek assistance from their support channels. Additionally, online communities and forums can offer valuable insights and solutions from users who have encountered similar issues.
By addressing these common issues, you can overcome any roadblocks and fully enjoy the benefits of a 144Hz refresh rate on your monitor.
Conclusion
Setting your monitor to a 144Hz refresh rate can greatly enhance your visual experience, whether you’re a gamer, graphic designer, or simply a computer enthusiast. The smoother and more responsive visuals provided by a higher refresh rate can make a noticeable difference in gaming, video playback, and graphic-intensive tasks.
In this guide, we covered the importance of a 144Hz refresh rate and how it improves the overall visual quality and responsiveness of your monitor. We discussed how to check if your computer and monitor support a 144Hz refresh rate, as well as the steps to adjust your display settings on different operating systems including Windows, macOS, and Linux.
We also highlighted the significance of updating your graphics card drivers to ensure compatibility and optimal performance. Keeping your drivers up to date allows you to take full advantage of the 144Hz refresh rate and access the latest features and optimizations available.
Lastly, we provided troubleshooting tips for common issues you may encounter during the process of setting your monitor to 144Hz. By following these tips and seeking additional support when needed, you can overcome any obstacles and fully enjoy the benefits of a higher refresh rate display.
Now that you have the knowledge and tools to set your monitor to a 144Hz refresh rate, it’s time to make the necessary adjustments and experience the smooth and immersive visual experience it offers. Whether you’re diving into intense gaming sessions or working on graphic-intensive tasks, the enhanced responsiveness and fluid motion will truly elevate your computing experience.
So, go ahead and unlock the full potential of your monitor by setting it to 144Hz, and immerse yourself in a world of visually stunning content and smooth gameplay!