Introduction
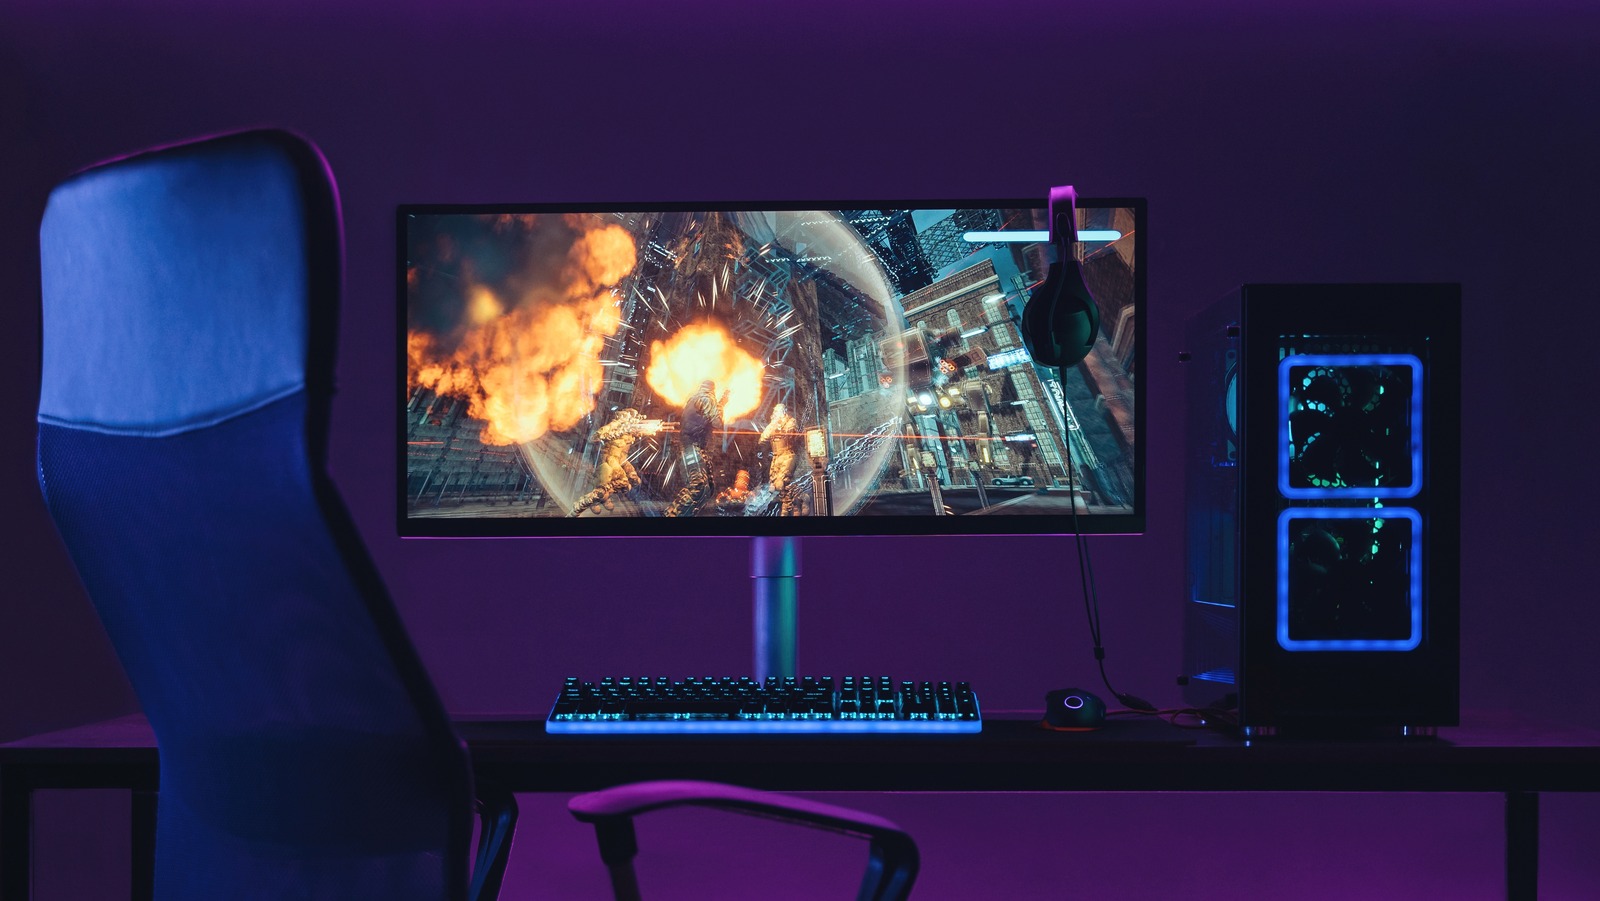
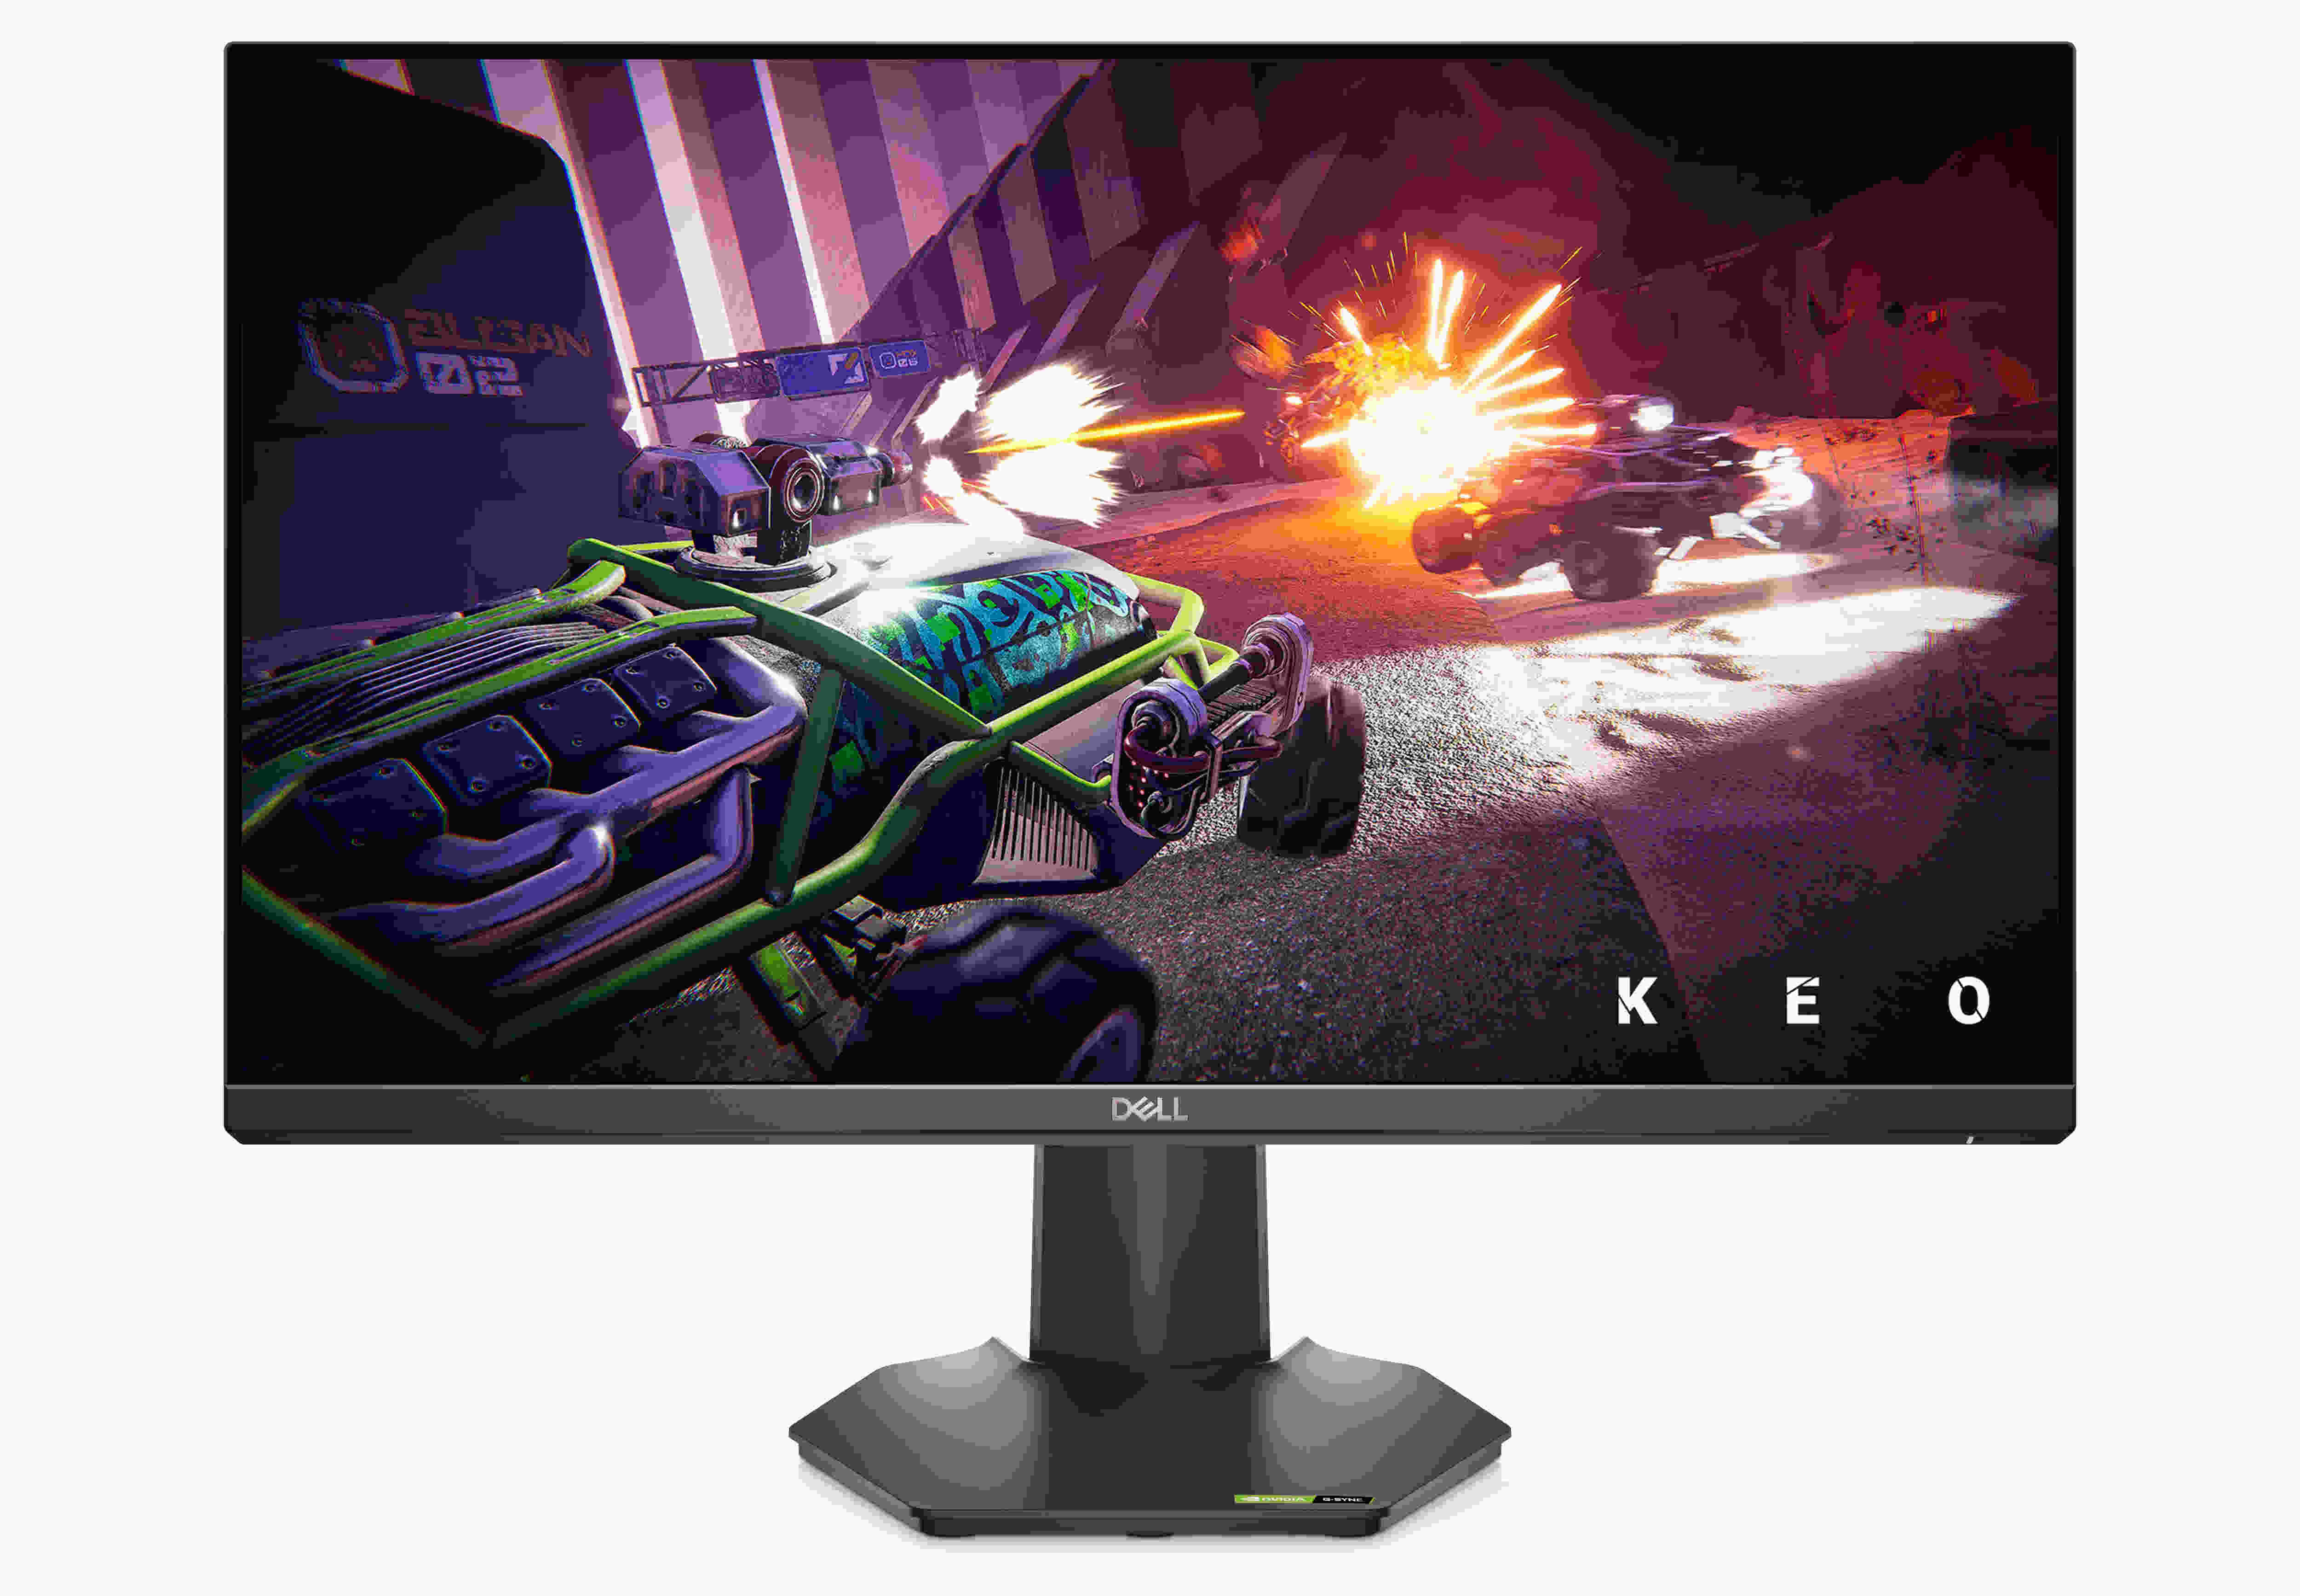
Welcome to this guide on how to enable 144Hz on a Dell gaming monitor. If you’re a gaming enthusiast, you probably know that a high refresh rate can greatly enhance your gaming experience by providing smoother and more fluid visuals. Dell monitors are renowned for their quality and performance, and many models offer a 144Hz refresh rate, which is ideal for gaming.
However, achieving the maximum refresh rate on your Dell gaming monitor requires a few steps to ensure that both your monitor and graphics card are properly configured. In this guide, we will walk you through the necessary steps to enable 144Hz on your Dell gaming monitor, so you can enjoy the best possible gaming experience.
We will cover everything from checking your monitor specifications and graphics card capabilities to adjusting display settings in Windows, NVIDIA Control Panel, and AMD Radeon Settings. Additionally, we will provide troubleshooting tips for common issues that you may encounter along the way.
Whether you’re a competitive gamer or just someone who appreciates a smooth gaming experience, enabling 144Hz on your Dell gaming monitor will undoubtedly make a significant difference. So, without further ado, let’s dive into the steps and get your monitor set up for optimal gaming performance.
Step 1: Check your monitor specifications
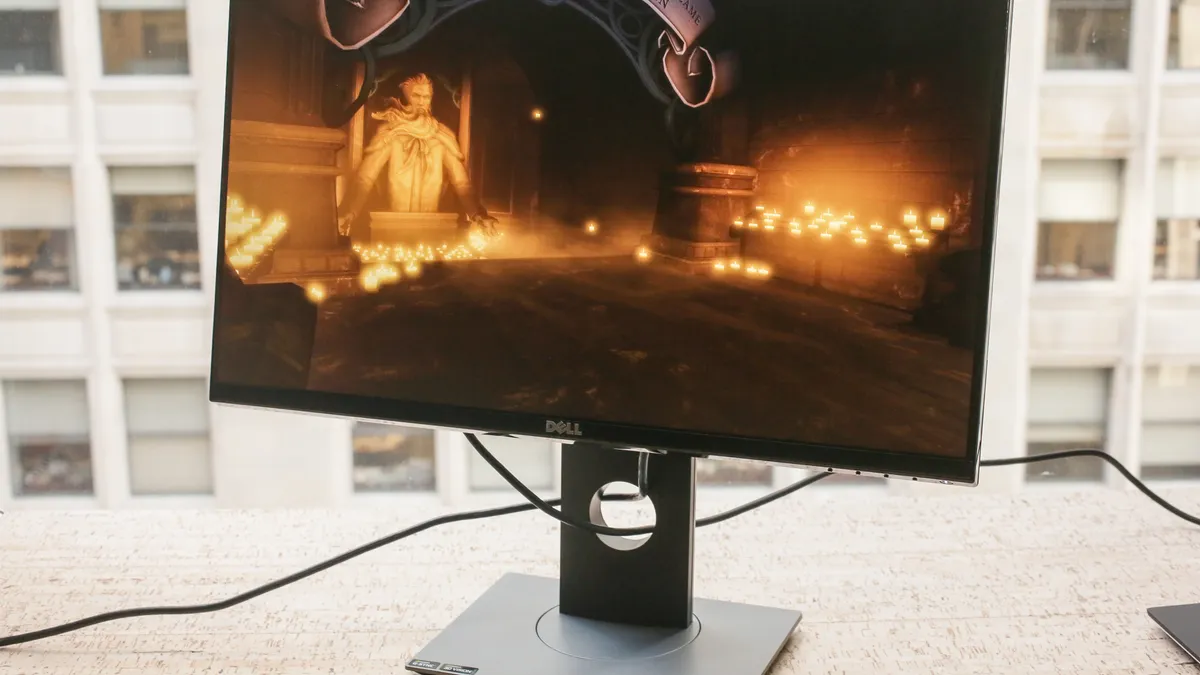
Before you embark on the journey of enabling 144Hz on your Dell gaming monitor, it’s essential to ensure that your monitor supports this refresh rate. Not all Dell monitors have a 144Hz option, so it’s crucial to verify the specifications beforehand.
Start by locating your monitor’s model number. You can usually find this information on the back of the monitor or in the monitor’s settings menu. Once you have the model number, head over to Dell’s official website or refer to the monitor’s documentation to find the detailed specifications.
Look for the refresh rate specification in the monitor’s specifications list. If your Dell monitor supports 144Hz, it should be mentioned there. Keep in mind that not all models offer this high refresh rate, especially if you have an older or budget-friendly monitor. If your monitor doesn’t support 144Hz, you may still be able to enable a lower refresh rate such as 120Hz or 60Hz, depending on your monitor’s capabilities.
If you’re still unsure about your monitor’s refresh rate compatibility, you can also try searching for your monitor’s model number online to find user reviews, forums, or Dell’s support community where other users might have shared their experiences and confirmed the refresh rate options.
Once you have confirmed that your Dell gaming monitor supports 144Hz, you can proceed to the next steps to ensure that your PC’s graphics card and display settings are properly configured to take advantage of this high refresh rate.
Step 2: Check your graphics card capabilities
In addition to checking your monitor specifications, it’s equally important to ensure that your graphics card can support a 144Hz refresh rate. While most modern graphics cards can handle this refresh rate, it’s always a good idea to double-check to avoid any potential compatibility issues.
To determine if your graphics card is 144Hz capable, there are a few methods you can use:
- Check the graphics card documentation: Refer to the official documentation or user manual of your graphics card. It should mention the supported refresh rates.
- Visit the manufacturer’s website: Go to the manufacturer’s website, such as NVIDIA or AMD, and search for your graphics card model. Look for the specifications section to find information on supported refresh rates.
- Use system diagnostic tools: Most modern operating systems have built-in diagnostic tools that can provide information about your graphics card. On Windows, you can open the Device Manager and expand the “Display adapters” category to see the name of your graphics card. Then, you can search online for the specifications of that specific model.
If your graphics card supports 144Hz, you’re all set to proceed with enabling the higher refresh rate on your Dell gaming monitor. However, if your graphics card doesn’t support 144Hz, don’t worry! You can still take advantage of lower refresh rates such as 120Hz or 60Hz depending on your graphics card’s capabilities.
Now that you’ve verified both your monitor and graphics card compatibility, let’s move on to the next step: connecting your monitor to your PC using the right cable.
Step 3: Connect your monitor using the right cable
Now that you’ve confirmed that both your Dell gaming monitor and graphics card support a 144Hz refresh rate, it’s time to ensure that you’re using the correct cable to connect your monitor to your PC. Using the right cable is crucial to achieve the desired refresh rate and avoid any potential limitations.
Different types of cables have different maximum bandwidths, which can affect the refresh rate that your monitor can support. For achieving 144Hz on your Dell gaming monitor, the ideal cable choices are:
- DisplayPort: DisplayPort cables are widely recommended for high refresh rates, including 144Hz. Look for a DisplayPort cable that matches the version supported by your monitor and graphics card. The newer versions, such as DisplayPort 1.2 or 1.4, are capable of handling higher refresh rates and higher resolutions.
- Dual-Link DVI: If your monitor or graphics card doesn’t have a DisplayPort option, you can use a Dual-Link DVI cable. However, it’s important to note that not all Dual-Link DVI cables are capable of supporting 144Hz. Ensure that the cable is labeled as Dual-Link and specifically mentions support for 144Hz.
- HDMI: While HDMI cables are commonly used for connecting monitors, not all HDMI cables can support 144Hz. To enable 144Hz, you’ll need an HDMI cable that supports HDMI 1.3 or higher. Keep in mind that older versions of HDMI, such as HDMI 1.0 or 1.2, may have limitations when it comes to higher refresh rates.
Before connecting your monitor, make sure to power off your PC. Then, choose the appropriate cable based on the available options on both your monitor and graphics card. Connect one end of the cable to your Dell gaming monitor and the other end to your PC. Ensure that the cable is securely plugged in and tightened to avoid any loose connections.
Once the cable is connected, power on your PC and monitor. With the correct cable in place, you’re now ready to move on to the next steps of adjusting display settings in Windows, NVIDIA Control Panel, or AMD Radeon Settings to enable the 144Hz refresh rate.
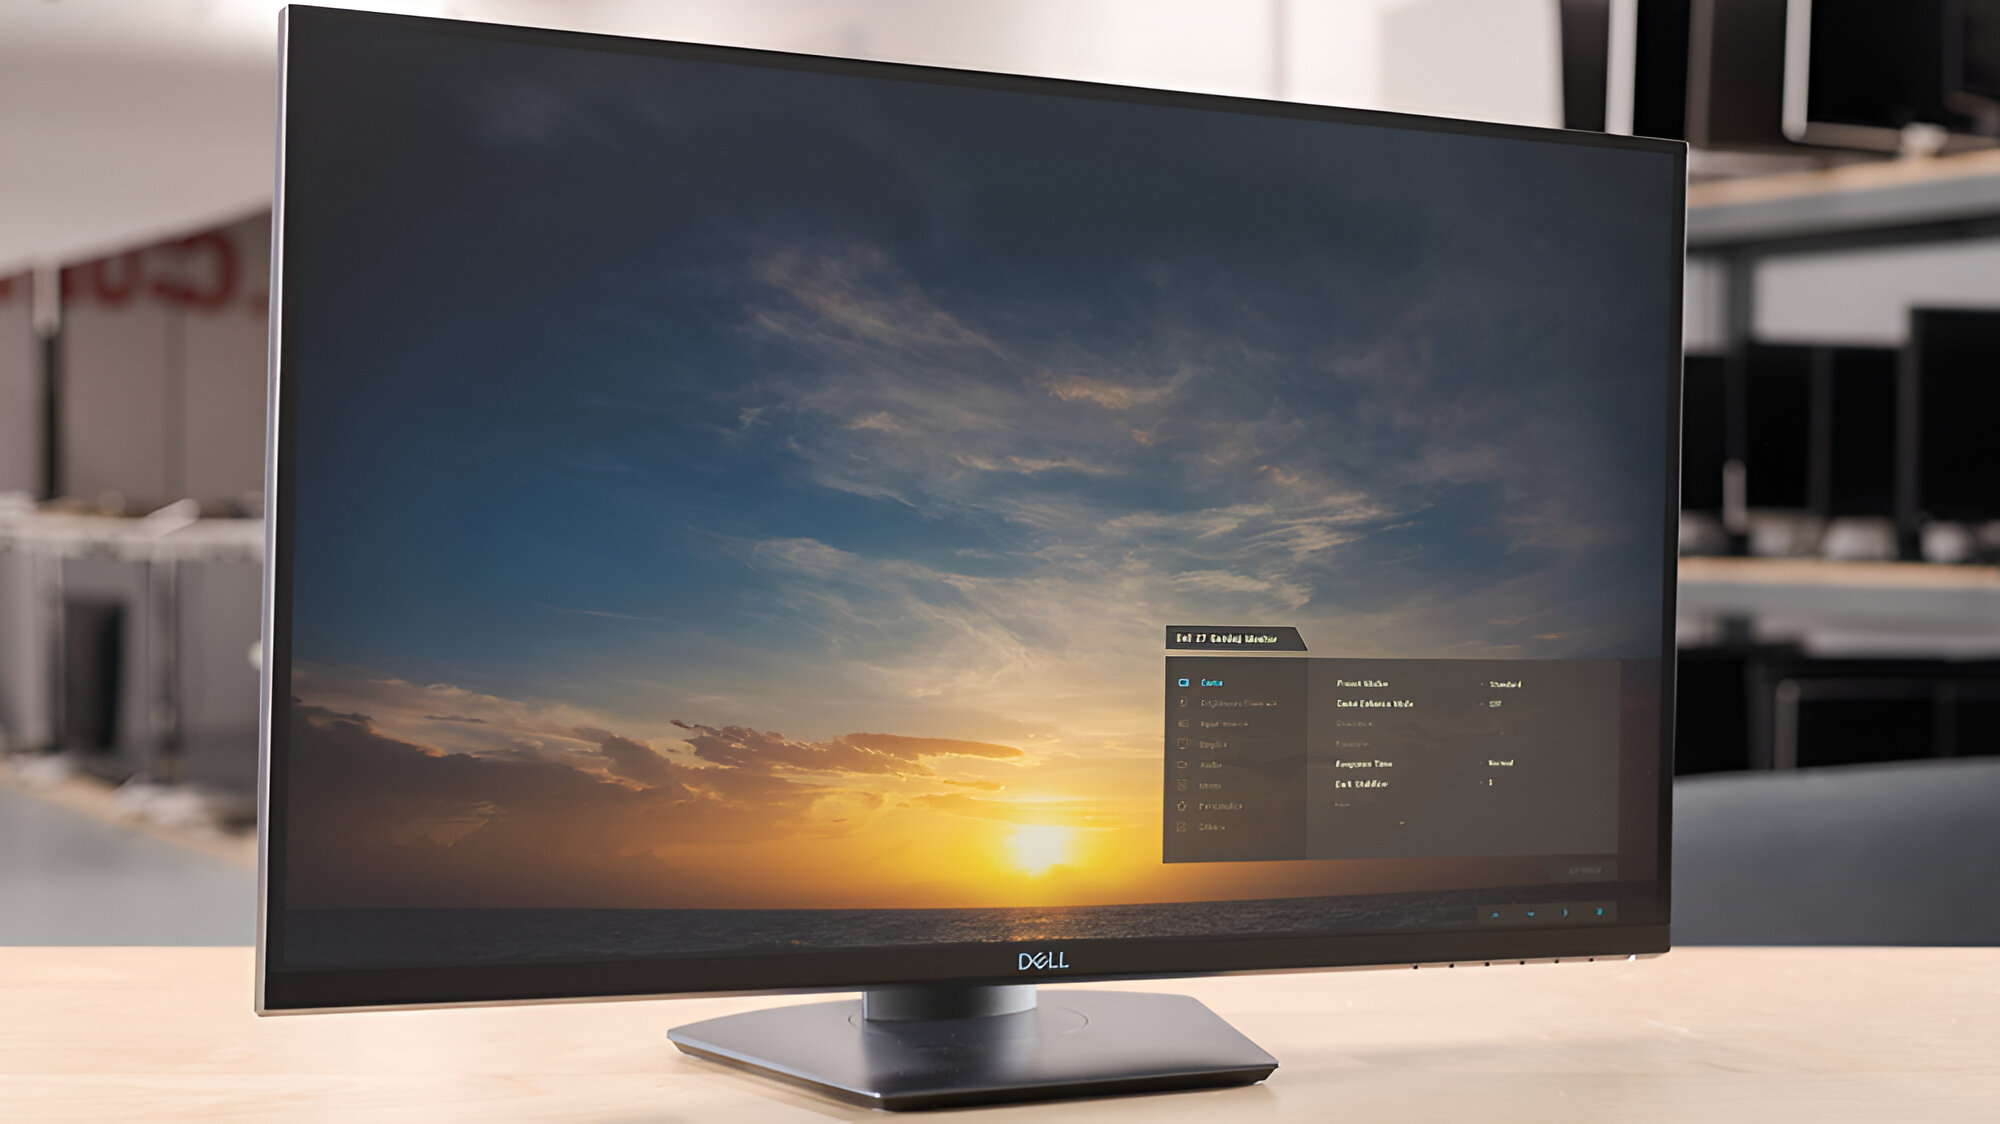
Step 4: Adjust display settings in Windows
After connecting your Dell gaming monitor to your PC using the appropriate cable, it’s time to adjust the display settings in Windows to enable the 144Hz refresh rate.
Here’s how you can do it:
- Right-click on the desktop and select “Display settings” from the context menu.
- In the Display settings window, scroll down to the “Advanced display settings” section and click on “Display adapter properties.”
- In the properties window, switch to the “Monitor” tab.
- Under the “Monitor settings” section, you should see a “Screen refresh rate” dropdown menu. Click on it and select “144Hz” from the available options.
- Click “OK” to apply the changes.
After applying the changes, Windows will attempt to set your monitor to the selected refresh rate. If your monitor and graphics card support 144Hz, you should now be enjoying a smoother and more responsive gaming experience.
It’s worth noting that if you don’t see the 144Hz option in the screen refresh rate dropdown menu, it could indicate that your graphics card or cable doesn’t support this refresh rate. In such cases, you may need to double-check your graphics card capabilities or consider using a different cable.
Once you’ve successfully adjusted the display settings in Windows, you can proceed to the next steps where we will explore how to adjust display settings in the NVIDIA Control Panel (for NVIDIA graphics card users) or AMD Radeon Settings (for AMD graphics card users), depending on your system setup.
Step 5: Adjust display settings in NVIDIA Control Panel
If you have an NVIDIA graphics card in your PC, you can further fine-tune the display settings using the NVIDIA Control Panel to ensure that your Dell gaming monitor runs at the optimal 144Hz refresh rate.
Here’s how you can adjust the display settings in the NVIDIA Control Panel:
- Right-click on the desktop and select “NVIDIA Control Panel” from the context menu.
- In the NVIDIA Control Panel window, navigate to the “Display” category on the left-hand side menu.
- Under the “Change resolution” section, click on “Configure…” next to the list of available displays.
- In the list of displays, select your Dell gaming monitor.
- In the “Refresh rate” dropdown menu, choose “144Hz” if available. If not, select the highest available option.
- Click “Apply” to save the changes.
By adjusting the display settings in the NVIDIA Control Panel, you can ensure that your monitor is running at the desired refresh rate and take full advantage of the capabilities of your Dell gaming monitor and NVIDIA graphics card.
Remember to verify the changes by checking the monitor’s display settings or using a tool to show the current refresh rate. If you encounter any issues with the display or the refresh rate, double-check the cable connection, monitor specifications, and graphics card capabilities to ensure everything is properly set up.
Now, let’s move on to the next step where we will explore how to adjust display settings in AMD Radeon Settings, specifically for users with AMD graphics cards.
Step 6: Adjust display settings in AMD Radeon Settings
If you have an AMD graphics card in your PC, you can fine-tune the display settings using the AMD Radeon Settings to ensure that your Dell gaming monitor operates at the optimal 144Hz refresh rate.
Follow these steps to adjust the display settings in AMD Radeon Settings:
- Right-click on the desktop and select “AMD Radeon Settings” from the context menu.
- In the AMD Radeon Settings window, click on the “Display” tab located at the bottom of the window.
- Under the “Display” tab, select your Dell gaming monitor from the list of connected displays.
- In the desired display’s settings, look for the “Refresh Rate” option and select “144Hz” from the available options. If 144Hz is not available, choose the highest available refresh rate.
- Click “Apply” to save the changes.
Once you have adjusted the display settings in AMD Radeon Settings, your Dell gaming monitor should now be operating at the desired refresh rate. It’s a good idea to verify the changes by checking the monitor’s display settings or using a tool to show the current refresh rate.
Remember to ensure that your cable connection is secure and that both your Dell gaming monitor and AMD graphics card support the selected refresh rate. If you encounter any issues or the refresh rate doesn’t apply as expected, double-check the cable, monitor specifications, and graphics card capabilities to ensure everything is set up correctly.
With the display settings adjusted in AMD Radeon Settings, you are now ready to enjoy the smooth and responsive gaming experience that 144Hz provides.
Now that you have successfully adjusted the display settings in either the NVIDIA Control Panel or AMD Radeon Settings, let’s move on to the final step where we will cover some troubleshooting tips for common issues that you may encounter while enabling 144Hz on your Dell gaming monitor.
Step 7: Troubleshooting common issues
While enabling 144Hz on your Dell gaming monitor is usually a smooth process, you may encounter some common issues along the way. Here are some troubleshooting tips to help you resolve them:
1. No 144Hz option: If you cannot find the 144Hz option in the display settings of Windows, NVIDIA Control Panel, or AMD Radeon Settings, make sure your monitor and graphics card support this refresh rate. Double-check the specifications and compatibility of your hardware.
2. Cable limitations: Certain cables have bandwidth limitations that may prevent them from supporting a 144Hz refresh rate. Ensure that you are using the correct cable, such as DisplayPort for optimal performance. Replace the cable if necessary.
3. Cable connection: Check that the cable is properly connected to both the Dell gaming monitor and your PC. A loose or faulty connection can result in display issues or limit the refresh rate. Securely plug in the cable and ensure it is tightly fastened.
4. Update drivers: Ensure that your graphics card drivers are up to date. Visit the manufacturer’s website, such as NVIDIA or AMD, and download the latest drivers for your specific graphics card model. Outdated drivers can cause compatibility issues or limit refresh rate options.
5. Monitor firmware: Check if there are any firmware updates available for your Dell gaming monitor. Manufacturers often release firmware updates to address bugs, improve performance, and add new features. Visit Dell’s support website or contact their customer support for assistance with firmware updates.
6. Disable V-Sync: Sometimes, having V-Sync enabled can limit the maximum refresh rate. Disable vertical sync (V-Sync) in your game settings or graphics card control panel to allow for higher refresh rates.
7. Hardware limitations: If your hardware does not support a 144Hz refresh rate, consider using a lower refresh rate, such as 120Hz or 60Hz, which may still provide a smoother gaming experience compared to standard 60Hz monitors.
If you have tried these troubleshooting tips and are still experiencing issues with enabling 144Hz on your Dell gaming monitor, it may be helpful to reach out to Dell’s customer support or consult with a technical expert for further assistance.
With proper troubleshooting, you can overcome common issues and enjoy the full potential of your Dell gaming monitor with a smooth and immersive 144Hz gaming experience.
Conclusion
Congratulations! You have successfully learned how to enable 144Hz on your Dell gaming monitor. By following the steps outlined in this guide, you can now enjoy a smoother and more immersive gaming experience with high refresh rates.
We started by checking the specifications of your Dell gaming monitor to ensure it supports a 144Hz refresh rate. Then, we verified the capabilities of your graphics card to ensure it can handle this higher refresh rate. Next, we connected your monitor using the appropriate cable to ensure optimal performance.
We then adjusted the display settings in both Windows and either the NVIDIA Control Panel or AMD Radeon Settings, depending on your system configuration. These adjustments allowed us to set your monitor to the desired 144Hz refresh rate, taking full advantage of its capabilities.
Additionally, we provided troubleshooting tips for common issues that you may encounter during this process. From ensuring the correct cable connections to checking for driver updates and firmware updates, these troubleshooting tips can help you overcome any difficulties you may face along the way.
Remember to always double-check your hardware specifications, cable compatibility, and driver updates to ensure smooth and uninterrupted usage of the 144Hz refresh rate.
Now that your Dell gaming monitor is running at the optimal 144Hz refresh rate, it’s time to dive into your favorite games and enjoy a heightened gaming experience like never before. With smoother visuals and improved responsiveness, you’ll feel more immersed in the game and gain a competitive edge.
Thank you for following this guide, and we hope you have found it helpful. If you have any further questions or need additional assistance, don’t hesitate to reach out to Dell’s customer support or consult with a technical expert. Happy gaming!