Introduction
Welcome to our guide on how to send a Word document to an email. Whether you need to share a work report, a project proposal, or simply a personal document, being able to send a Word document via email is a fundamental skill in today’s digital age. Luckily, it’s a straightforward process that anyone can learn.
In this article, we will take you through the step-by-step instructions to effectively send a Word document to an email. You will learn how to create a new Word document, save it in the appropriate format, compose a new email, attach the Word document to the email, and finally, send it to your desired recipient. By following these steps, you’ll be able to seamlessly share your important documents with colleagues, clients, or friends.
Before we get started, it’s important to note that the instructions provided in this guide are specifically tailored for users who have Microsoft Word installed on their devices. If you are using a different word processing software, the steps may vary slightly, but the general principles should still apply.
So, whether you’re a beginner or simply in need of a refresher, let’s delve into the world of sending Word documents via email.
Step 1: Creating a new Word document
The first step in sending a Word document via email is to create a new document. To do this, open Microsoft Word on your device. You can do this by clicking on the Word icon in your applications folder or by searching for “Microsoft Word” in the search bar.
Once Word is open, you will be greeted with a blank document. Here, you can start typing your content or paste text that you have previously prepared. Word offers a wide range of features and formatting options to help you create professional-looking documents.
If you already have an existing Word document that you want to send, you can open it by going to the “File” tab in the top left corner and selecting “Open.” Navigate to the location of the document on your device and select it to open.
During the process of creating your document, it’s important to keep in mind the purpose and audience of your email. Consider what information you need to include in the Word document to effectively convey your message. Organize your content in a clear and cohesive manner, using headings, subheadings, bullet points, and numbered lists to enhance readability and structure.
Furthermore, take advantage of the formatting options available in Word to make your document visually appealing and easy to read. You can apply different font styles, sizes, and colors, as well as adjust the alignment and spacing of your text.
Once you have finished creating and formatting your Word document, it’s time to move on to the next step: saving the document in the appropriate format to ensure compatibility when sending it through email.
Step 2: Saving the Word document
After creating your Word document, the next step is to save it in a compatible format that can be easily attached to an email. To save your document, click on the “File” tab in the top left corner of the Word window, and then select “Save As.”
A dialog box will appear, allowing you to choose the file name and location where you want to save the document. Enter a descriptive name for your document that reflects its content, making it easier for you to find in the future. Select a folder or directory on your computer where you can easily locate and access the document.
Next, you’ll need to choose the format in which you want to save your Word document. For compatibility when sending via email, it’s best to select the “Word Document” or “.docx” format. This is the default format for Microsoft Word and is widely supported by email clients.
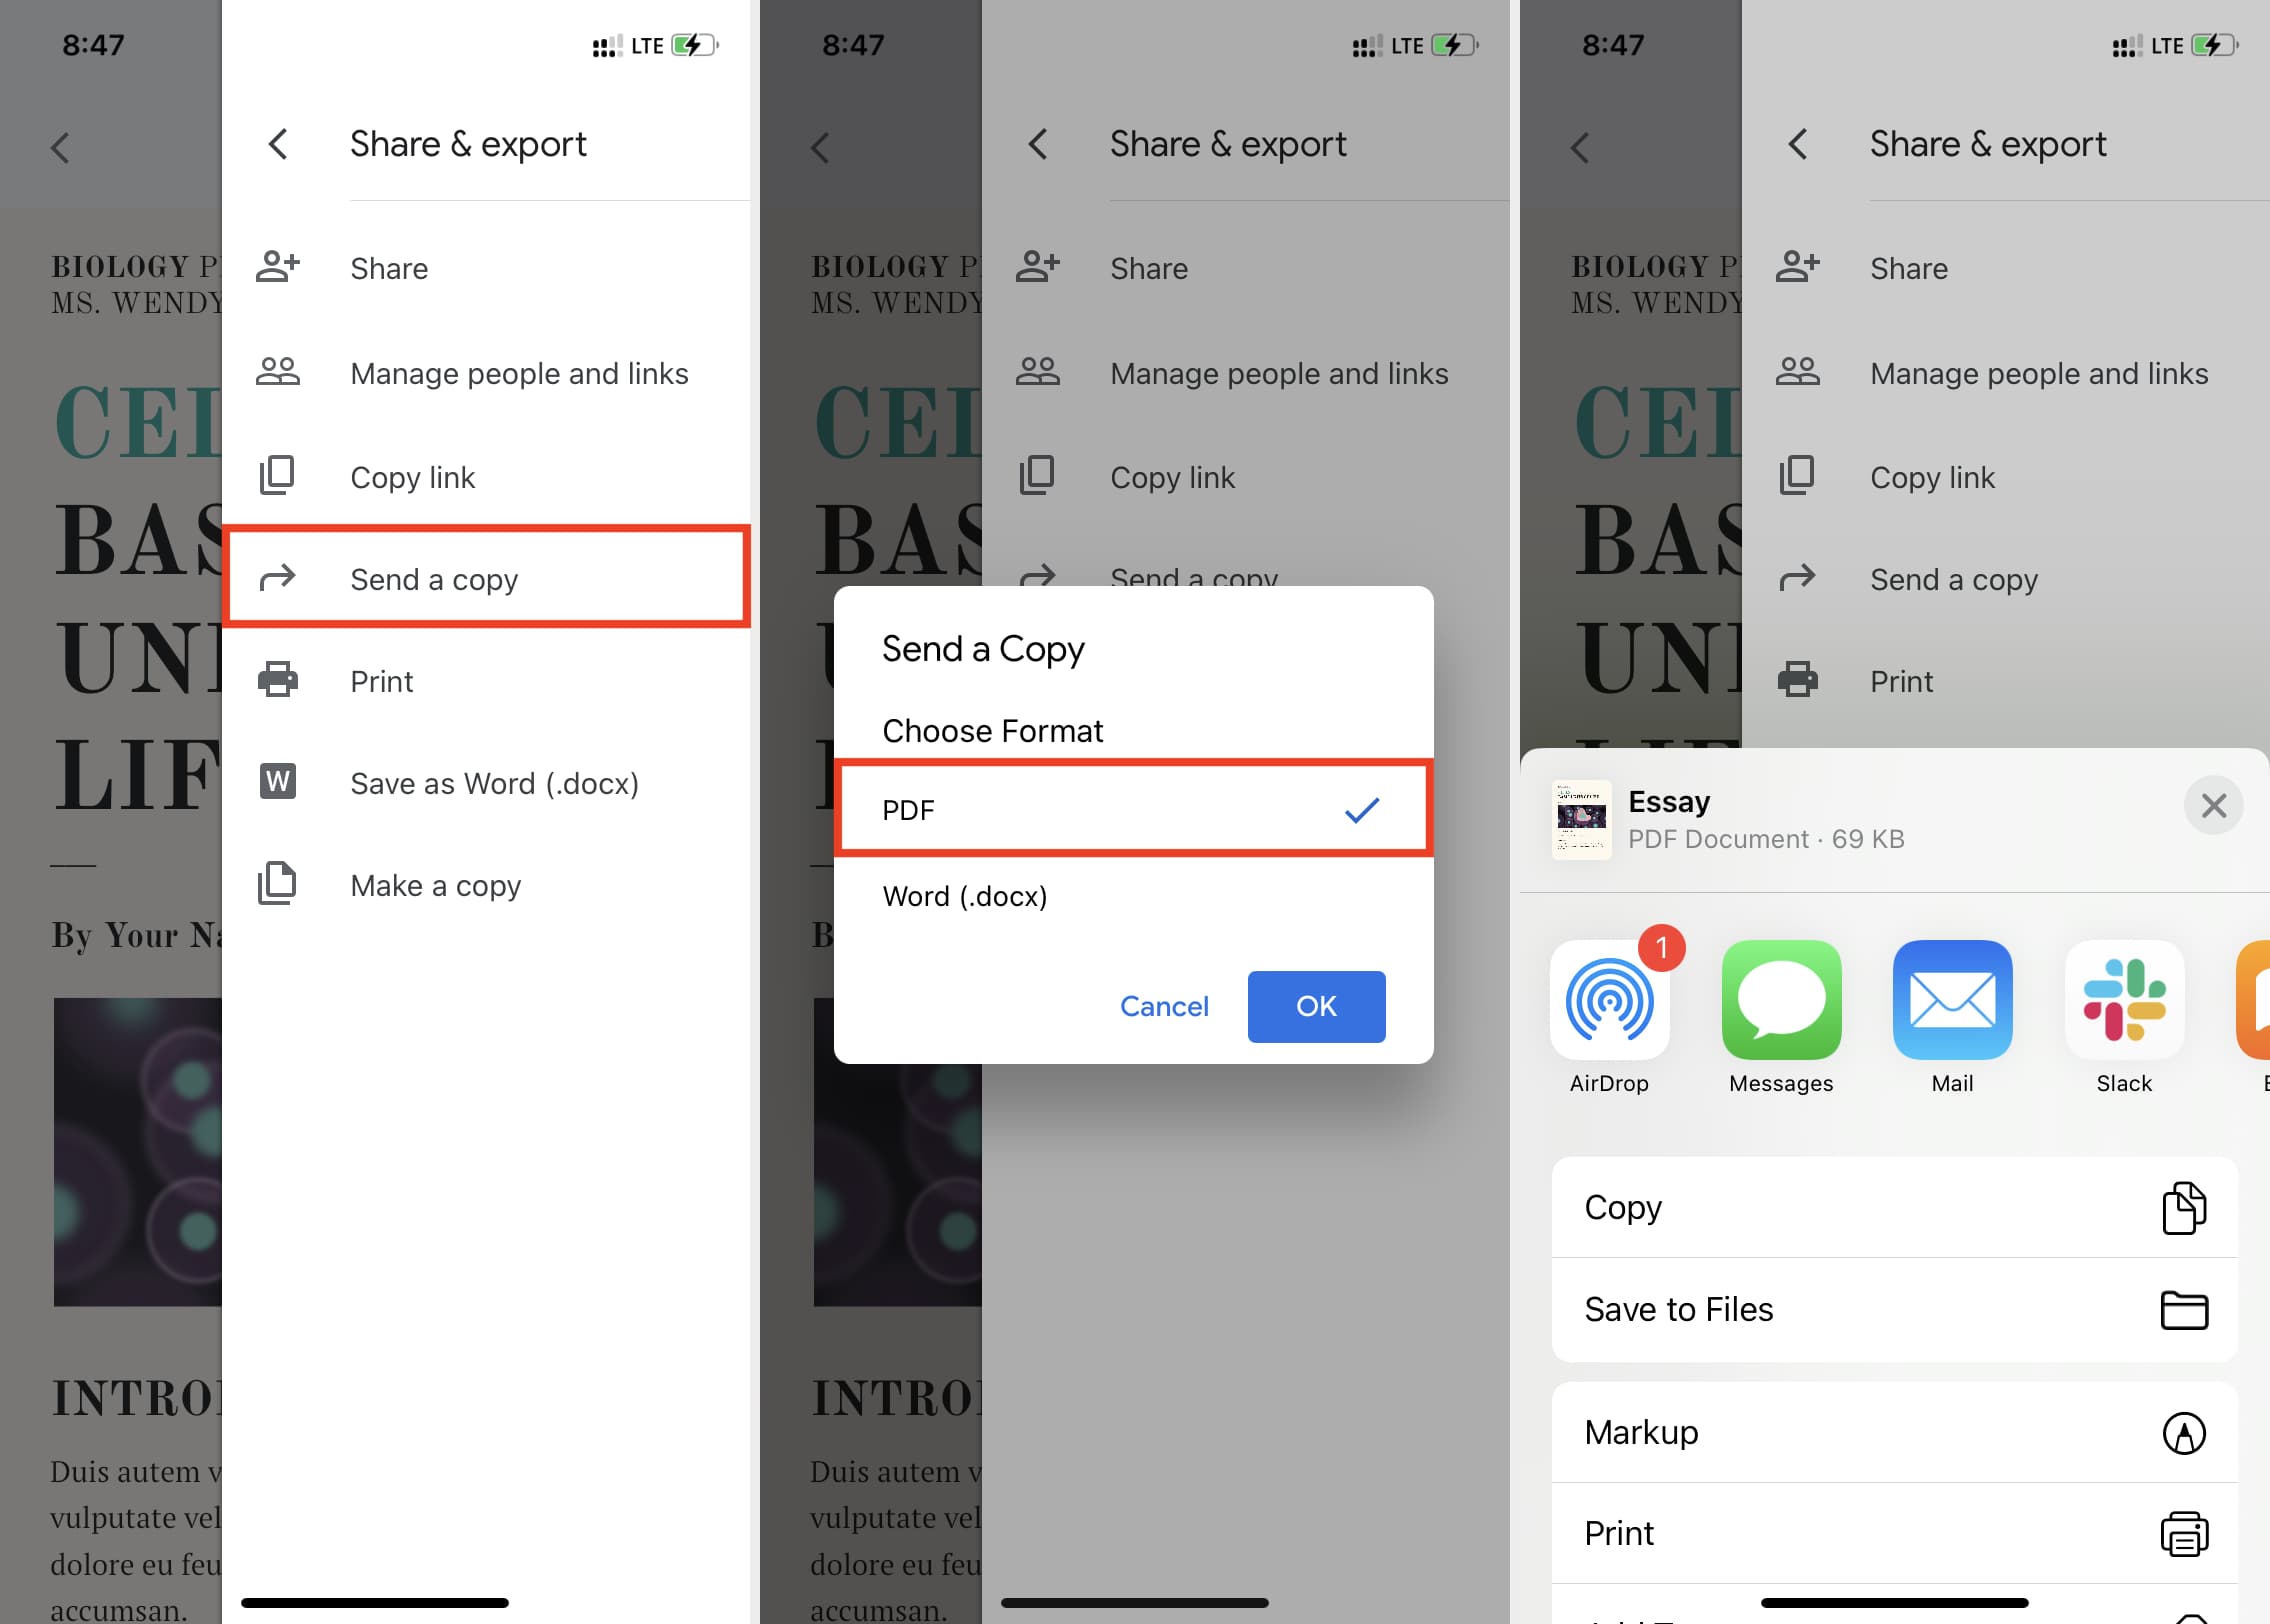
It’s worth noting that if you are sending the document to someone who may not have Microsoft Word installed on their device, you can consider saving the document in a different format. For example, you could choose to save it as a PDF file, which can be easily viewed and opened on various devices without requiring specific word processing software.
Once you have chosen the desired format and selected the file location, click on the “Save” button to save your Word document. Your document is now ready to be attached to the email.
Remember to periodically save your document as you work on it to avoid any potential data loss in case of unexpected computer issues or power outages. The “Save” or “Save As” options can also be accessed by pressing the keyboard shortcut Ctrl + S (Windows) or Command + S (Mac).
Now that your Word document is saved, let’s move on to the next step: composing a new email.
Step 3: Composing a new email
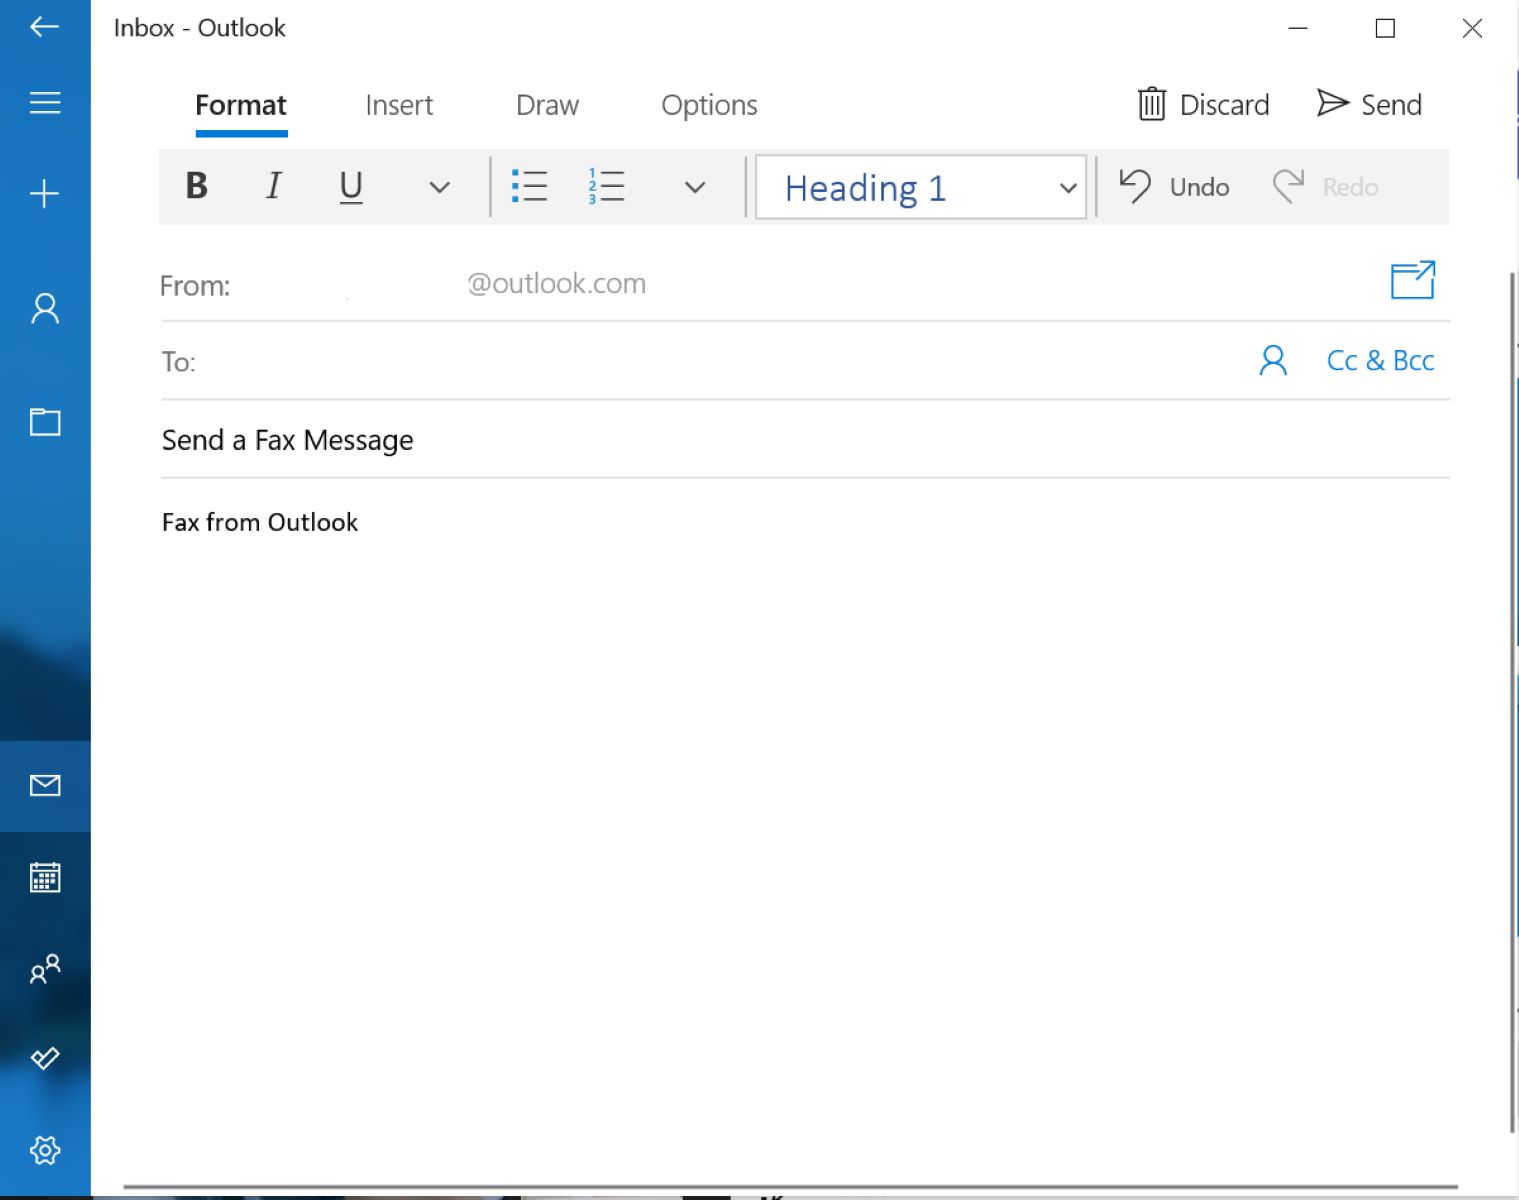
Once you have saved your Word document, it’s time to compose a new email in your preferred email client. Whether you use web-based email services like Gmail or Outlook, or a desktop email application, the general process of composing an email remains similar.
Open your email client or webmail service and click on the “Compose” or “New Email” button to create a new email. A blank email template will appear, ready for you to fill in the necessary details.
Begin by entering the recipient’s email address, typically in the “To” field. You can also add multiple recipients by separating their email addresses with commas or by using the “CC” (Carbon Copy) or “BCC” (Blind Carbon Copy) fields if necessary. Keep in mind that “CC” will show all recipients the email was sent to, while “BCC” will hide the recipient’s email addresses from one another.
Next, enter a descriptive subject in the “Subject” field. It’s important to provide a clear and concise subject that gives the recipient an idea of what the email contains. For example, you can use “Attached: [Document Name]” to indicate that a Word document is included with the email.
In the body of the email, you can write a brief message to introduce the document or provide any additional context. Keep it concise, but make sure to include all necessary information. You can use a friendly tone and personalize the email if appropriate.
Once you have entered the recipient’s email address, subject, and message, you are almost ready to attach the Word document to the email. But before that, it’s a good practice to proofread your email to ensure it is error-free and conveys your message effectively.
Some email clients offer additional features such as spell check, rich text formatting, and the ability to include images or hyperlinks. Take advantage of these features to enhance your email if needed.
Now that you have composed your email, it’s time to move on to the next step: attaching the Word document to the email.
Step 4: Attaching the Word document to the email
Attaching the Word document to the email is a straightforward process that involves a few simple steps. Follow these instructions to successfully attach your Word document:
- In your email composition window, look for an icon or button that says “Attach” or “Attach File.” It is usually represented by a paperclip symbol. Click on it to initiate the attachment process.
- A file browser or dialog box will appear, allowing you to navigate to the location where you saved your Word document. Browse through your folders, select the document you want to attach, and click “Open.”
- The selected Word document will now be attached to your email. Depending on your email client, you might see the name of the document or a small thumbnail indicating that the attachment is successful. Some email clients also display the file size of the attachment.
- If you need to attach multiple Word documents or additional files, you can repeat the process by clicking on the “Attach” button again and selecting the additional files.
- Before sending the email, take a moment to double-check that all the necessary attachments are included. You can review the list of attached files to ensure everything is in order.
It’s important to note that some email clients may have different layouts or slightly different options for attaching files. However, the general process remains the same. Look for a similar button or icon that allows you to attach files, and follow the on-screen instructions to attach your Word document.
Additionally, keep in mind that there might be file size limitations for attachments depending on your email client or the recipient’s email service. If your Word document is too large to attach, consider compressing it or using a file-sharing service to send the document.
Now that you have successfully attached your Word document to the email, it’s time to move on to the final step: sending the email with the attached document.
Step 5: Sending the email
After attaching the Word document to your email, you are now ready to send it to the intended recipient. Follow these steps to ensure a successful email transmission:
- Double-check the recipient’s email address to ensure accuracy. Make sure there are no typos or missing characters in the email address field.
- Review the subject line and email body one final time to ensure clarity and correctness. Verify that your message conveys the necessary information and any instructions or additional details.
- Consider whether you want to save a draft of your email before sending. Some email clients offer the option to save drafts, allowing you to revisit and edit the email later if needed.
- When you are ready, find the “Send” button in your email client or composition window. This button is usually located near the top or bottom of the email interface. Click on it to send the email.
- After clicking “Send,” your email client will attempt to connect to the email server and deliver the message. Depending on your internet connection and server speed, this process may take a few seconds or longer.
- Once the email is sent successfully, you may receive a notification confirming the delivery. Some email clients display a brief pop-up message or a sent email confirmation in your sent items folder.
It’s important to note that once the email is sent, it becomes part of the digital communication and cannot be retracted or edited. Therefore, ensure that you have reviewed all the information thoroughly before sending, as any mistakes or omissions will be seen by the recipient.
If you have attached sensitive or confidential information, consider using additional security measures such as password-protecting the Word document or encrypting the email. This will help protect the privacy and security of the content.
Congratulations! You have successfully sent an email with an attached Word document. The recipient will now be able to access and open the document on their device.
Now that you have completed the process of sending the email, you can proceed to share other documents or continue with your email communication as needed.
Conclusion
Sending a Word document to an email is a practical and efficient way to share important information, whether for work or personal purposes. By following the step-by-step instructions in this guide, you have learned how to create a new Word document, save it in a compatible format, compose a new email, attach the document, and send it to your desired recipient. These skills are essential in today’s digital world, enabling you to communicate effectively and share your documents seamlessly.
Remember to keep in mind the purpose and audience of your email when creating the Word document and composing the email. Pay attention to formatting, clarity, and conciseness to ensure your message is conveyed effectively. Proofread your email before sending to avoid any errors or discrepancies.
If the Word document you are sending is large, consider compressing the file or using a file-sharing service to ensure successful delivery. Additionally, if the document contains sensitive information, take necessary precautions by password-protecting it or encrypting the email.
By mastering the process of sending Word documents via email, you can communicate and collaborate with colleagues, clients, and friends efficiently. It allows you to share ideas, proposals, reports, or any other important information in a professional and organized manner.
So, now that you are equipped with the knowledge and skills to send Word documents via email, confidently create, save, and share your documents, empowering you to be productive and efficient in your personal and professional endeavors.