Introduction
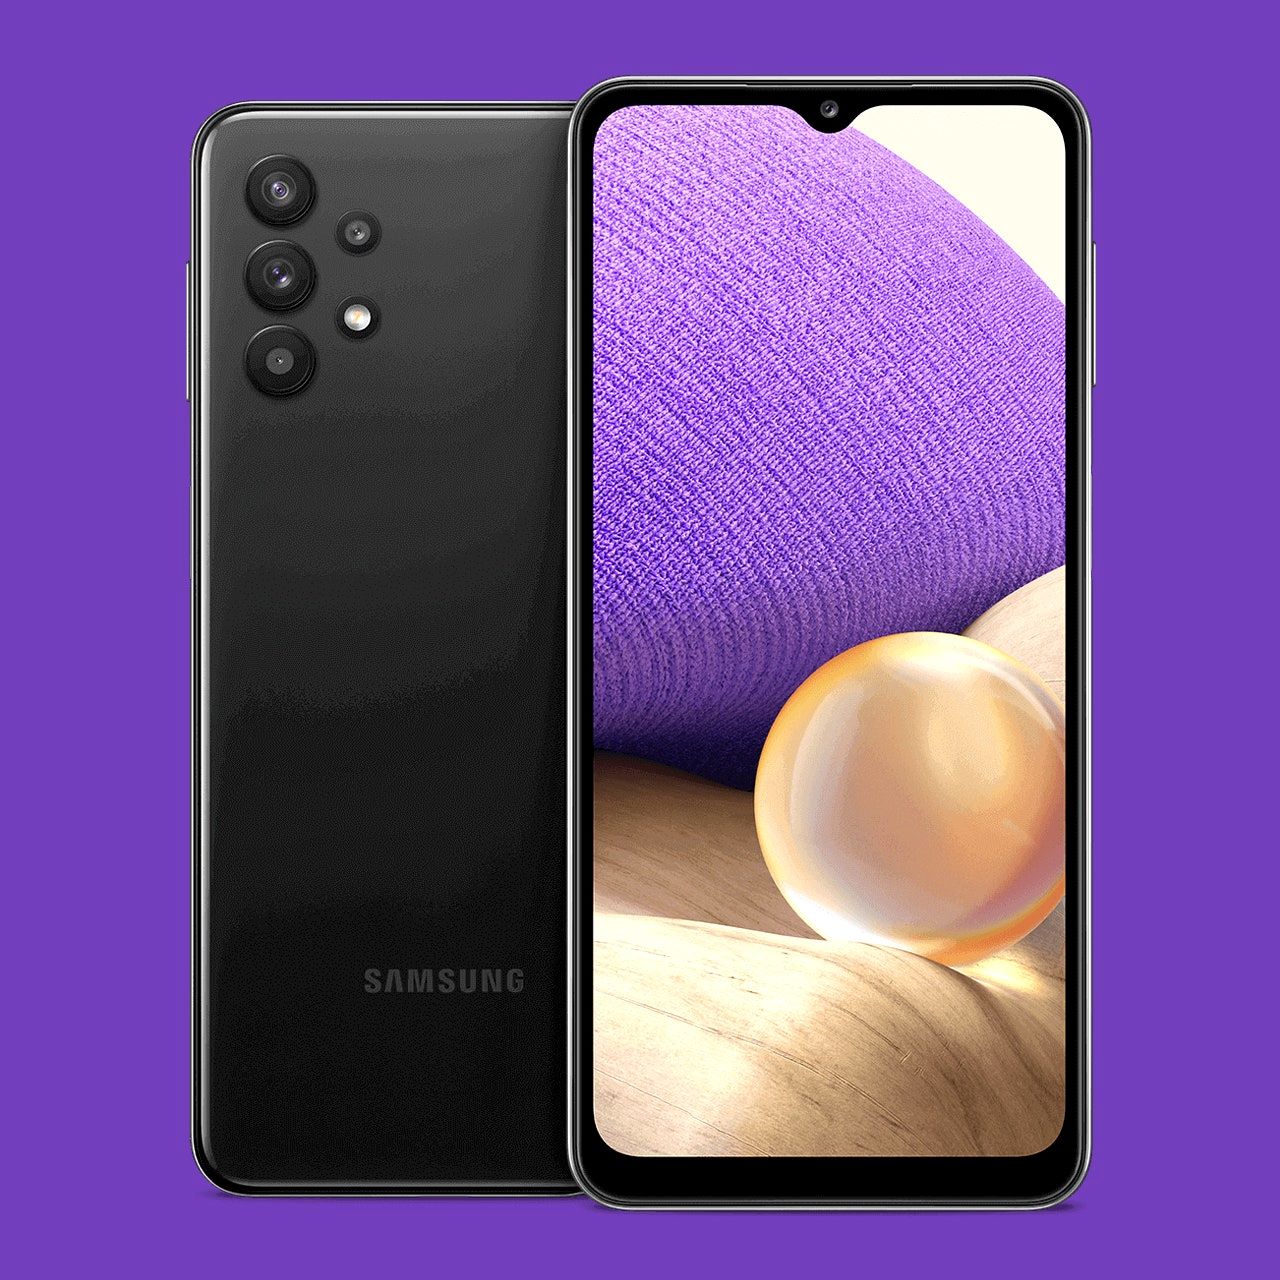
The Samsung Galaxy A32 is a popular smartphone model that offers a variety of features and functionalities. One of the most commonly used features on any smartphone is taking screenshots. Screenshots are useful for capturing important information, sharing funny memes, or saving memorable moments from a video. If you own a Samsung Galaxy A32 and are wondering how to take screenshots on your device, you’re in the right place.
In this article, we will explore three different methods to take screenshots on a Samsung Galaxy A32. Whether you prefer using physical buttons, gestures, or the Assistant Menu, we have you covered. We will guide you through the step-by-step process for each method, ensuring that you can effortlessly capture and access your screenshots.
From taking snapshots of a hilarious conversation to capturing important details from a website, screenshots have become an integral part of our smartphone usage. With the Samsung Galaxy A32, you have multiple options to take screenshots, allowing you to choose the method that best suits your needs and preferences.
So, if you’re ready to become a screenshot pro on your Samsung Galaxy A32, let’s dive into the various methods and learn how to capture your screen in just a few simple steps.
Method 1: Using the Physical Buttons
If you prefer the traditional method of using physical buttons to take screenshots, you’ll be happy to know that the Samsung Galaxy A32 offers this option. This method is straightforward and requires only a combination of buttons to capture your screen.
Step 1: Locate the buttons
The physical buttons necessary for taking a screenshot are located on the sides of your Samsung Galaxy A32. The Power button is typically located on the right-hand side, while the Volume Down button is positioned on the opposite side. Familiarize yourself with the location of these buttons before proceeding to the next step.
Step 2: Press the buttons together
To take a screenshot, simultaneously press the Power button and the Volume Down button and hold them for a brief moment. You will see a quick animation or hear a shutter sound, indicating that the screenshot has been successfully captured.
Step 3: Access the screenshot from the notification panel
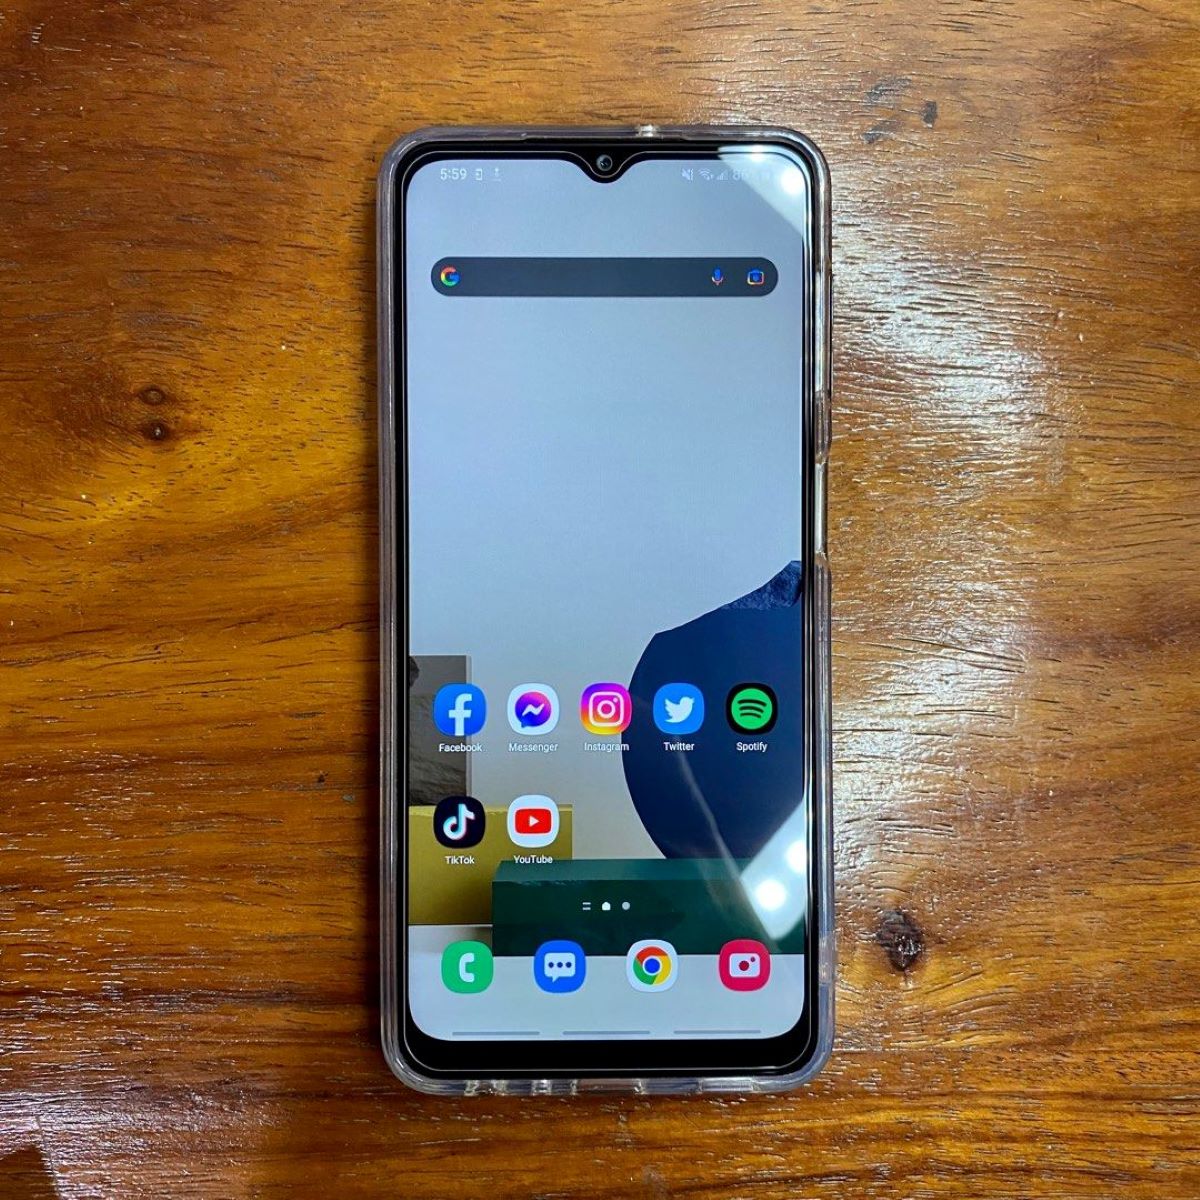
After taking the screenshot, you can access it directly from the notification panel. Swipe down from the top of your screen to open the notification panel, and you should see a thumbnail of the screenshot. Tap on the screenshot thumbnail to view the full-sized image or to perform additional actions, such as editing or sharing.
Using the physical buttons to take a screenshot on your Samsung Galaxy A32 offers a quick and convenient way to capture your screen. Whether you want to share a funny conversation or capture important information, this method is reliable and easily accessible.
Step 1: Locate the buttons
Before you can start taking screenshots using the physical buttons on your Samsung Galaxy A32, you need to familiarize yourself with the location of these buttons. The two buttons involved in the process are the Power button and the Volume Down button.
On the Samsung Galaxy A32, the Power button is typically located on the right-hand side of the device. It is usually positioned halfway down the side of the phone, making it easily accessible with your thumb or fingers. The Power button is used for various functions, such as turning the device on or off and putting it to sleep.
The Volume Down button, on the other hand, is located on the opposite side of the Power button. It is also positioned around the middle part of the device, allowing for easy reach with your thumb or fingers. The Volume Down button is mainly used for lowering the volume of your device, but it serves a different purpose when taking screenshots.
By knowing the exact placement of these buttons on your Samsung Galaxy A32, you can quickly and accurately locate them when it’s time to take a screenshot. It’s a good idea to practice finding these buttons a few times to ensure that you can effortlessly press them together when needed.
Remember to be careful not to press the wrong buttons or accidentally press additional buttons while locating the Power and Volume Down buttons. Consistently locating the correct buttons will help you take screenshots smoothly and avoid accidentally triggering other functions on your device.
Once you are familiar with the location of the Power and Volume Down buttons, you are ready to move on to the next step of using them to capture screenshots on your Samsung Galaxy A32.
Step 2: Press the buttons together
After you have located the Power button and Volume Down button on your Samsung Galaxy A32, you can now proceed to the next step of taking a screenshot: pressing these two buttons simultaneously.
To capture a screenshot, firmly press and hold the Power button and Volume Down button together for a brief moment. It’s crucial to press both buttons at the same time and hold them until you hear a shutter sound or see a quick animation on your screen. This indicates that the screenshot has been successfully taken.
It’s important to note that timing is key in this step. By pressing and holding the Power button and Volume Down button simultaneously, you activate the screenshot function on your device. If you release the buttons too early, the screenshot may not be captured, and you will need to repeat the process.
When pressing the buttons, ensure that you apply enough pressure to register the input. However, be careful not to press them too forcefully, as this could potentially damage the buttons or the device. A gentle, firm press should be sufficient to activate the screenshot function.
By pressing the Power button and Volume Down button together, you can quickly and easily capture screenshots on your Samsung Galaxy A32. Whether you want to save a funny meme or capture important information from a website, this step allows you to freeze a moment on your screen with just a simple button combination.
With Step 2 accomplished, you can now move on to the final step of accessing the screenshot you have taken on your Samsung Galaxy A32.
Step 3: Access the screenshot from the notification panel
Once you have successfully taken a screenshot on your Samsung Galaxy A32 by pressing the Power button and Volume Down button together, the next step is to access the captured screenshot from the notification panel.
To access the screenshot, start by swiping down from the top of your screen to open the notification panel. This gesture will reveal a range of notifications and quick settings options.
In the notification panel, you should see a thumbnail or a preview of the screenshot you just captured. It might appear as a small image or a collapsed notification depending on your device’s settings. You can usually find the screenshot notification among other recent notifications, but keep in mind it may gradually move down as new notifications come in.
To view the full-sized screenshot image, tap on the thumbnail in the notification panel. This action will open the screenshot in the default image viewer application on your Samsung Galaxy A32. From there, you can zoom in to see the details, crop or edit the screenshot, or share it with others through various apps or platforms.
If you miss the notification panel or accidentally dismiss the screenshot notification, don’t worry! You can still access the screenshot through the Gallery app on your Samsung Galaxy A32. Simply open the Gallery app, and you should find a dedicated “Screenshots” album, where all the screenshots taken using the physical buttons are saved.
In the Screenshots album, you can browse through your captured screenshots and perform various actions on them, such as deleting, editing, or sharing. The Gallery app provides an organized and convenient way to manage and access your screenshots on your Samsung Galaxy A32.
By accessing the screenshot from the notification panel or the Gallery app, you can easily view, edit, and share your captured screenshots on your Samsung Galaxy A32. This step completes the process of taking a screenshot using the physical buttons and accessing the resulting image.
Method 2: Using Palm Swipe Gesture
If you prefer a hands-free approach to taking screenshots on your Samsung Galaxy A32, you can use the Palm Swipe Gesture feature. This method allows you to capture screenshots by simply swiping your palm across the screen, providing a convenient and touch-free experience.
Step 1: Enable Palm Swipe Gesture
To begin, you need to make sure that the Palm Swipe Gesture feature is enabled on your Samsung Galaxy A32. Open the Settings app on your device and navigate to the “Advanced features” or “Motions and gestures” section. Look for an option related to Palm Swipe or Palm motion and toggle it on.
Step 2: Activate the gesture
Once the Palm Swipe Gesture feature is enabled, you can activate it by positioning your hand correctly. Ensure that the edge of your hand, from your little finger to your wrist, is touching the screen of your Samsung Galaxy A32.
To initiate the screenshot, swipe your entire hand across the screen horizontally, either from right to left or left to right. Make sure to perform a swift and smooth gesture to trigger the screenshot capture.
Step 3: Find the screenshot in the gallery
After performing the Palm Swipe Gesture, your Samsung Galaxy A32 will capture a screenshot of the current screen. The device may provide a visual feedback, such as briefly flashing the screen or making a sound, to indicate that the screenshot has been successfully taken.
To access the captured screenshot, you can follow the same steps as in Method 1: Access the screenshot from the notification panel or open the Gallery app and locate the “Screenshots” album.
The Palm Swipe Gesture feature on the Samsung Galaxy A32 offers a convenient and hands-free way to capture screenshots. If you ever find yourself in a situation where using physical buttons is not ideal or accessible, this method provides an alternative solution for capturing your screen effortlessly.
Step 1: Enable Palm Swipe Gesture
Before you can start using the Palm Swipe Gesture to take screenshots on your Samsung Galaxy A32, you need to ensure that the feature is enabled on your device. By enabling the Palm Swipe Gesture, you activate the ability to capture screenshots by swiping your hand across the screen.
To enable the Palm Swipe Gesture on your Samsung Galaxy A32, follow these steps:
- Open the Settings app on your device. You can typically find the Settings app in the app drawer or by swiping down from the top of the screen and tapping the gear-shaped icon.
- Scroll down and tap on the “Advanced features” or “Motions and gestures” option. The exact name may vary depending on your device’s software version.
- In the list of advanced features or gestures, look for an option related to “Palm Swipe” or “Palm motion.”
- Tap on the toggle switch next to the Palm Swipe Gesture option to enable it. The switch should turn blue or green, indicating that the feature is active.
Once you have successfully enabled the Palm Swipe Gesture, you are now ready to use this method to capture screenshots on your Samsung Galaxy A32.
It is worth noting that if the Palm Swipe Gesture option is not available in your device’s settings or if it is grayed out, it means that your device does not support this feature. In such cases, you can consider using one of the other methods mentioned in this article to take screenshots on your Samsung Galaxy A32.
By enabling the Palm Swipe Gesture, you unlock a convenient and hands-free way to capture screenshots on your Samsung Galaxy A32. Now that you have completed Step 1, let’s move on to activating the gesture and capturing your screen in Step 2.
Step 2: Activate the gesture
Now that you have enabled the Palm Swipe Gesture feature on your Samsung Galaxy A32, it’s time to activate the gesture and utilize it to capture screenshots. The Palm Swipe Gesture allows you to take screenshots by swiping your hand across the screen without the need for physical buttons.
To activate the gesture and capture a screenshot using the Palm Swipe Gesture, follow these steps:
- Hold your Samsung Galaxy A32 firmly in one hand.
- Position your hand so that the edge, from your little finger to your wrist, is touching the screen of your device.
- Ensure that your hand is flat and that your fingers are slightly spread apart on the screen.
- With your hand in the correct position, perform a horizontal swipe motion from right to left or from left to right across the screen.
- Make sure to swipe smoothly and swiftly in one continuous motion to trigger the screenshot capture.
When you perform the Palm Swipe Gesture correctly, your Samsung Galaxy A32 will recognize the gesture and capture a screenshot of the current screen. You may see a brief visual feedback, such as the screen flashing or hear a sound, indicating that the screenshot has been successfully taken.
It’s important to note that the Palm Swipe Gesture requires precision and accuracy. Make sure to position your hand correctly and perform a swift, horizontal swipe motion to ensure a successful screenshot capture. It may take a few attempts to master the gesture, but with practice, you will quickly become proficient.
Now that you have activated the Palm Swipe Gesture on your Samsung Galaxy A32, you are ready to capture screenshots effortlessly without using any physical buttons. The next step, Step 3, will guide you on how to access the screenshots you have captured using this method.
Step 3: Find the screenshot in the gallery
After successfully capturing a screenshot using the Palm Swipe Gesture on your Samsung Galaxy A32, the next step is to locate and access the captured screenshot. Once you have taken the screenshot, it is saved on your device and can be easily accessed through the Gallery app.
To find the screenshot in the gallery, follow these steps:
- Open the app drawer on your Samsung Galaxy A32, and locate the Gallery app. It is typically represented by a square icon with different colored flower petals.
- Tap on the Gallery app icon to launch it.
- Once the Gallery app is open, look for a dedicated album or folder named “Screenshots.”
- Tap on the “Screenshots” album to access the screenshots you have captured using the Palm Swipe Gesture.
- Scroll through the album to find the specific screenshot you are looking for.
Inside the “Screenshots” album, you will find all the screenshots you have taken using the Palm Swipe Gesture, arranged in chronological order. You can browse through the screenshots, view them in full size, and perform various actions on them, such as sharing, editing, or deleting.
In addition to accessing the screenshots through the Gallery app, you can also check the notification panel immediately after taking a screenshot. The screenshot thumbnail may appear in the notifications, allowing you to quickly tap on it and view the full-sized screenshot without opening the Gallery app.
By following these steps, you can easily find and access the screenshots you have captured using the Palm Swipe Gesture on your Samsung Galaxy A32. Whether you want to save important information, capture funny moments, or share interesting content, the Gallery app provides a convenient way to manage and view your screenshots.
Now that you know how to find the screenshots in the Gallery app, you have successfully completed all the necessary steps to use the Palm Swipe Gesture method on your Samsung Galaxy A32. Practice using this gesture to capture screenshots effortlessly and make the most out of your device’s features.
Method 3: Using the Assistant Menu
If you prefer an alternative method to take screenshots on your Samsung Galaxy A32, you can utilize the Assistant Menu feature. This method provides a floating menu that gives you quick access to various functions, including taking screenshots.
Step 1: Enable Assistant Menu
Before you can use the Assistant Menu to capture screenshots, you need to ensure that this feature is enabled on your Samsung Galaxy A32. To do this, follow these steps:
- Open the Settings app on your device.
- Navigate to the “Accessibility” section.
- Look for the “Interaction and dexterity” or “Interaction” option.
- Scroll down and tap on “Assistant Menu” to access the settings.
- Toggle the switch to enable the Assistant Menu. The switch should turn blue or green to indicate that the feature is active.
Step 2: Access the menu and take a screenshot
Once you have enabled the Assistant Menu, follow these steps to take a screenshot:
- Tap on the small circular icon that appears on your screen. This icon represents the Assistant Menu and provides quick access to various functions.
- In the menu that appears, tap on the “Screen capture” or “Take screenshot” option.
- Your Samsung Galaxy A32 will capture a screenshot of the current screen.
Step 3: Access the screenshot through Gallery
After capturing the screenshot using the Assistant Menu, you can access it through the Gallery app. Open the Gallery app on your device and look for the “Screenshots” album. Tap on the album to find the screenshot you just captured and view it in full size. From there, you can edit, share, or perform other actions on the screenshot as desired.
The Assistant Menu feature provides a convenient and accessible way to take screenshots on your Samsung Galaxy A32. With just a few taps, you can capture important information or memorable moments on your device.
Now that you are familiar with the steps involved in using the Assistant Menu for taking screenshots, you can easily capture and access your screenshots on your Samsung Galaxy A32. The next time you need to capture a screenshot, give this method a try and enjoy the convenience it offers.
Step 1: Enable Assistant Menu
Before you can use the Assistant Menu feature to take screenshots on your Samsung Galaxy A32, you need to make sure that it is enabled on your device. The Assistant Menu creates a floating menu on your screen, providing quick access to various functions, including capturing screenshots.
To enable the Assistant Menu on your Samsung Galaxy A32, follow these steps:
- Open the Settings app on your device. You can find the Settings app in the app drawer or by swiping down from the top of the screen and tapping the gear-shaped icon.
- Scroll down and tap on the “Accessibility” option. This option may be located under the “General management” or “System” section.
- In the Accessibility settings, look for the “Interaction and dexterity” or “Interaction” category.
- Tap on “Assistant Menu” to access the Assistant Menu settings.
- Toggle the switch to enable the Assistant Menu. Once enabled, the switch will turn blue or green, indicating that the feature is active.
Enabling the Assistant Menu allows you to easily access the floating menu that contains various shortcuts, including the screenshot capture function.
It’s worth noting that depending on your device’s software version or interface, the location and naming of the Assistant Menu settings may vary. However, the concept of enabling and accessing the feature remains the same.
After enabling the Assistant Menu, you will be able to use it to take screenshots and access other functions conveniently on your Samsung Galaxy A32. Now that you have completed Step 1, you can proceed to Step 2 to learn how to take a screenshot using the Assistant Menu.
Step 2: Access the menu and take a screenshot
With the Assistant Menu enabled on your Samsung Galaxy A32, you can now access the floating menu and use it to take screenshots conveniently. The Assistant Menu provides quick and easy access to various functions, including capturing screenshots.
To access the menu and take a screenshot using the Assistant Menu, follow these steps:
- Look for the small circular icon that appears on your screen. This icon represents the Assistant Menu and provides access to its features.
- Tap on the circular icon to open the Assistant Menu. A floating menu will appear, displaying several options.
- In the Assistant Menu, look for the “Screen capture” or “Take screenshot” option and tap on it.
- Your Samsung Galaxy A32 will capture a screenshot of the current screen.
By following these steps, you can easily use the Assistant Menu to capture screenshots on your Samsung Galaxy A32. The floating menu allows for quick access to the screenshot capture function, eliminating the need for pressing physical buttons or using gestures.
Note that the Assistant Menu provides additional features and shortcuts beyond just capturing screenshots. You can explore the floating menu to access other functions such as screen magnification, one-handed mode, and more.
Now that you have successfully accessed the Assistant Menu and captured a screenshot, you can proceed to Step 3 to learn how to access the screenshot you have taken through the Gallery app.
Step 3: Access the screenshot through Gallery
After taking a screenshot using the Assistant Menu on your Samsung Galaxy A32, you can easily access the captured screenshot using the Gallery app. The Gallery app organizes your media files, including screenshots, and provides a convenient way to view and manage them.
To access the screenshot through the Gallery app, follow these steps:
- Open the app drawer on your Samsung Galaxy A32 and locate the Gallery app. It is typically represented by a square icon with different colored flower petals.
- Tap on the Gallery app icon to launch it.
- Once the Gallery app is open, browse through the available albums and look for the “Screenshots” album.
- Tap on the “Screenshots” album to open it and view the screenshots you have captured.
- Scroll through the album to find the specific screenshot you are looking for.
Inside the “Screenshots” album, you will find all the screenshots you have taken using the Assistant Menu method. The screenshots are typically organized in chronological order, with the most recent ones appearing at the top.
Once you have located the desired screenshot, you can tap on it to view it in full size. From there, you can zoom in to see the details, crop or edit the screenshot, share it with others, or perform various other actions depending on the features available in your Gallery app.
If you prefer not to access the screenshot through the Gallery app, you can also find it in the “Photos” or “Screenshots” folder in your device’s internal storage or SD card storage. You can access these folders using a file manager app or by connecting your Samsung Galaxy A32 to a computer.
By following these steps, you can easily access and manage the screenshots you have taken using the Assistant Menu on your Samsung Galaxy A32. Now you can enjoy the convenience of capturing and accessing your screenshots with just a few taps.
Conclusion
Taking screenshots on your Samsung Galaxy A32 is an essential function that allows you to capture and save important information, funny moments, or beautiful images. In this article, we explored three different methods to capture screenshots on your device: using the physical buttons, utilizing the Palm Swipe Gesture, and harnessing the power of the Assistant Menu.
The physical buttons method offers a straightforward and familiar approach. By locating and pressing the Power button and Volume Down button simultaneously, you can quickly capture a screenshot. Accessing the screenshot from the notification panel or the Gallery app allows you to view, edit, and share your captured image.
The Palm Swipe Gesture method provides a hands-free alternative, allowing you to capture screenshots by swiping your hand across the screen. Enabling the Palm Swipe Gesture, activating the gesture through a horizontal swipe motion, and accessing the screenshot through the Gallery app ensures a seamless and convenient experience.
The Assistant Menu method offers an accessible and versatile solution for capturing screenshots. Enabling the Assistant Menu, accessing the menu, and selecting the Screen Capture option allows you to capture screenshots without using physical buttons or gestures. The Gallery app serves as a central hub for managing and viewing your screenshots.
Now that you are equipped with the knowledge of these three methods, you can choose the one that best suits your preferences and needs. Whether you prefer the traditional physical buttons, the hands-free Palm Swipe Gesture, or the versatile Assistant Menu, capturing screenshots on your Samsung Galaxy A32 has never been easier.
So go ahead and capture those important moments, funny conversations, or interesting findings with screenshots on your Samsung Galaxy A32. Explore the different methods, experiment with the features, and make the most out of your device’s capabilities.
Remember, screenshots are not only useful for personal enjoyment, but they can also be valuable in work, education, and communication. Use the power of screenshots to enhance your productivity, creativity, and sharing capabilities on your Samsung Galaxy A32.