Introduction
Screen recording on Android has become increasingly popular, as more and more people are using their Android devices for various tasks such as creating tutorials, recording gameplay, capturing video calls, and sharing mobile experiences with others. Whether you are a content creator, a gamer, or simply someone who wants to document their interactions on their Android device, knowing how to screen record can be incredibly useful.
In this article, we will explore various methods to screen record on an Android device. We will discuss both the built-in screen recorder available on Android devices and third-party apps that offer additional features and flexibility. We will also explore using Google Play Games for recording gameplay specifically. By the end of this article, you will have a clear understanding of the different options available to you and be able to choose the method that best suits your needs.
Screen recording allows you to capture whatever is happening on your Android device’s screen, including video, audio, and even touch interactions. It is an excellent tool for creating instructional videos, demonstrating app features or bug reports, and preserving important moments from your mobile experience. Whether you want to share your high score in a game, create a step-by-step tutorial, or record a video call, screen recording on Android offers a convenient and versatile solution.
So, why is screen recording on Android so popular? Firstly, it allows you to easily share your experiences with others. Instead of relying on static screenshots or written explanations, you can provide a more engaging and immersive experience by showing exactly what is happening on your screen. This is particularly valuable for tutorials, app demonstrations, and troubleshooting guides. Additionally, screen recording can serve as a handy documentation tool for personal use, allowing you to revisit and review past activities on your device.
In addition to creating instructional content, screen recording can also be a valuable tool for gamers. Many Android games offer exciting gameplay experiences that users want to share with others. By recording your gameplay, you can showcase your skills, entertain your audience, or even create content for YouTube or other social media platforms. Whether you are an aspiring gaming influencer or simply enjoy sharing your gaming moments with friends, screen recording is a must-have feature.
Now that we understand the importance and versatility of screen recording on Android, let’s dive into the different methods available for capturing your Android device’s screen.
Why Screen Record on Android?
Screen recording on Android offers a multitude of benefits and reasons why you might want to utilize this feature on your device. Let’s explore some of the key reasons why screen recording has become so popular among Android users.
1. Create Tutorials and Instructional Videos: Screen recording is an excellent tool for creating tutorials and instructional videos. Whether you are teaching someone how to use a specific app, demonstrating a feature, or providing step-by-step instructions, capturing your screen actions can make the learning process much more effective and engaging. You can easily record your interactions and provide visual cues, making it easier for viewers to understand and follow along.
2. Record Gameplay: Gamers rejoice! Screen recording on Android allows you to capture your gameplay and share it with others. Whether you want to showcase your skills, create gaming content for YouTube or Twitch, or simply capture memorable gaming moments, screen recording provides a convenient way to preserve and share your gaming experiences. You can bring your audience into the action and immerse them in your gameplay adventures.
3. Bug Reporting and Troubleshooting: Screen recording is a valuable asset when it comes to bug reporting and troubleshooting. If you encounter a bug or issue with an app, you can use screen recording to capture the problem in action and provide a clear visual representation to the developers or support team. This makes it easier for them to understand the issue and come up with a solution. It can also be helpful for documenting the steps leading up to the bug, providing crucial information for a quick resolution.
4. Share Mobile Experiences: Sometimes, words and static images are not enough to express your mobile experiences. By screen recording, you can capture and share live moments such as video calls with friends and family, exciting app interactions, or interesting discoveries on your device. Whether it’s sharing a funny conversation, demonstrating a cool app feature, or simply capturing a beautiful moment, screen recording allows you to share the full experience with others.
5. Personal Documentation: Screen recording is not limited to sharing with others; it can also serve as a personal documentation tool. By recording your screen activities, you can create a visual record of your interactions on your device, making it easier to revisit and recall past experiences. This can be particularly helpful when you need to remember a specific process, retrace your steps, or reference a previous action. It provides a convenient way to document and preserve important moments on your Android device.
Screen recording on Android offers a wide range of opportunities for content creators, gamers, and everyday users alike. Whether you are looking to teach, entertain, troubleshoot, or simply share your experiences, screen recording provides a versatile solution that can bring your mobile activities to life. Now that we understand why screen recording is beneficial, let’s explore the different methods to screen record on Android.
Different Ways to Screen Record on Android
There are multiple methods available for screen recording on Android, each with its own advantages and limitations. Let’s explore three common ways to screen record on your Android device:
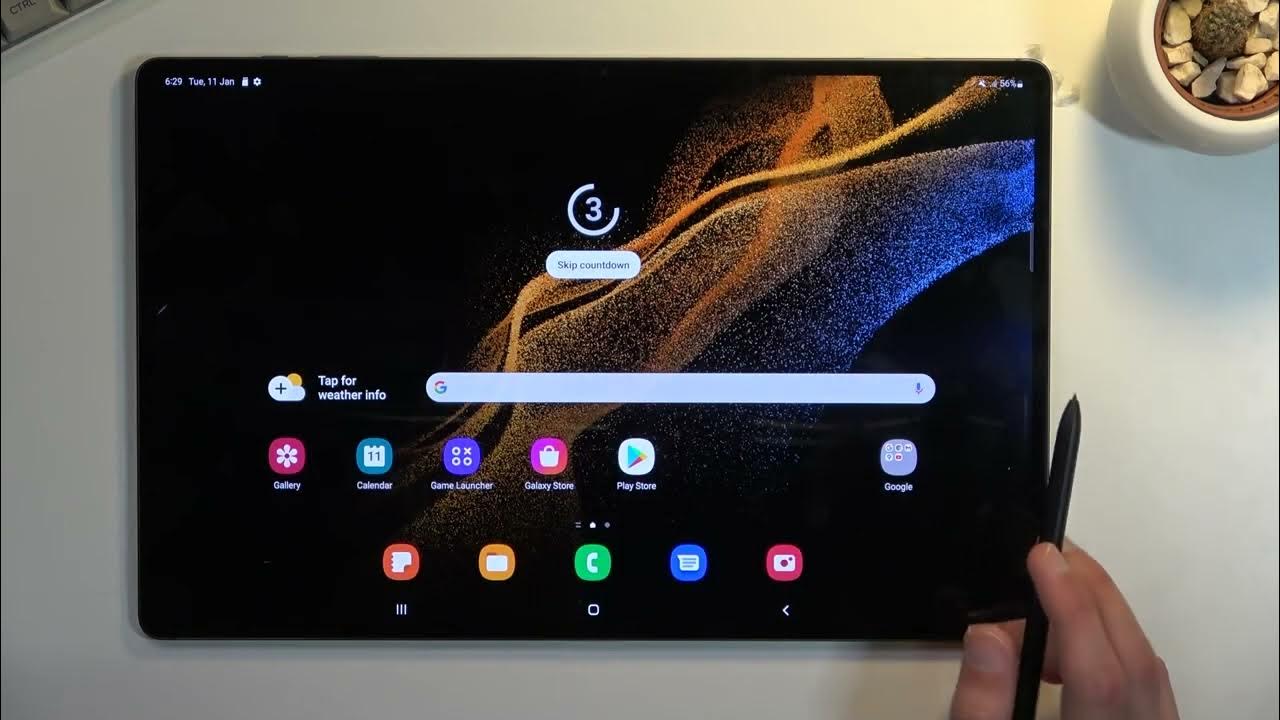
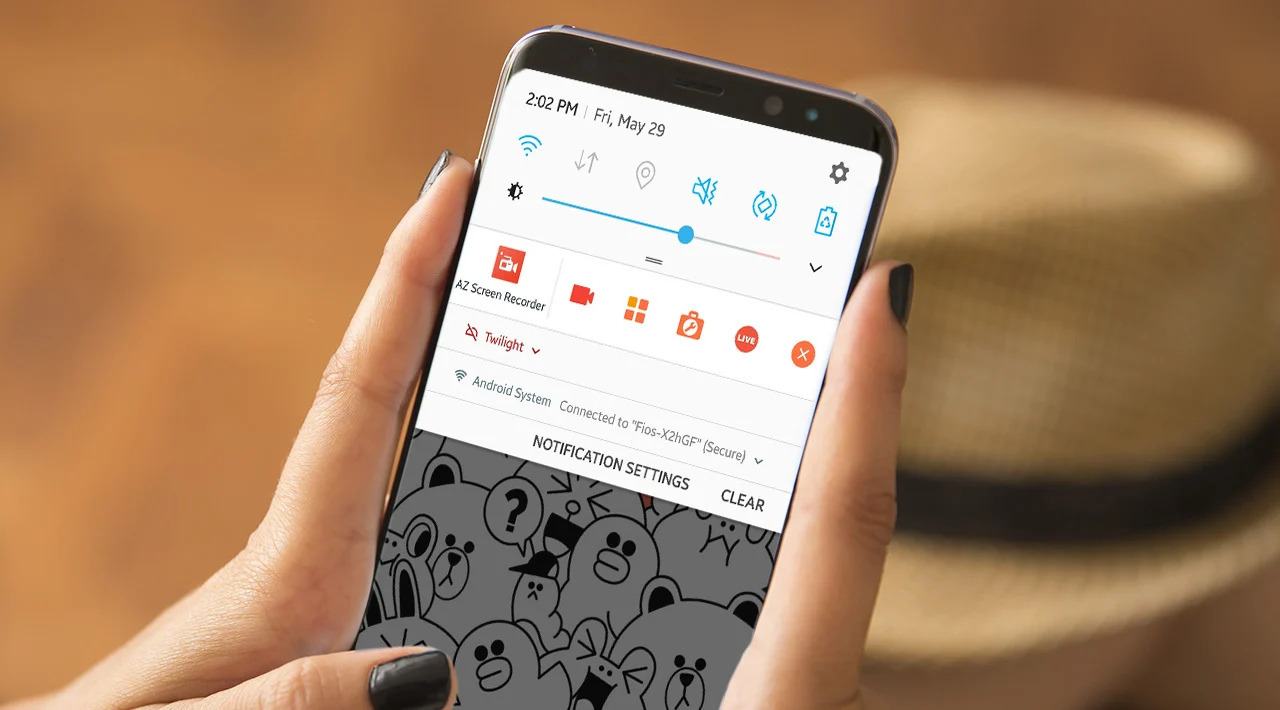
Method 1: Using the built-in screen recorder on Android: Many Android devices come with a built-in screen recording feature, eliminating the need for third-party apps. To access the screen recorder, simply swipe down from the top of your screen to open the notification panel and look for the screen recording icon. Tap on it to start recording your screen. This method is convenient and reliable, offering basic screen recording functionality without the need to install additional apps. However, the available features may vary depending on your device’s manufacturer and Android version.
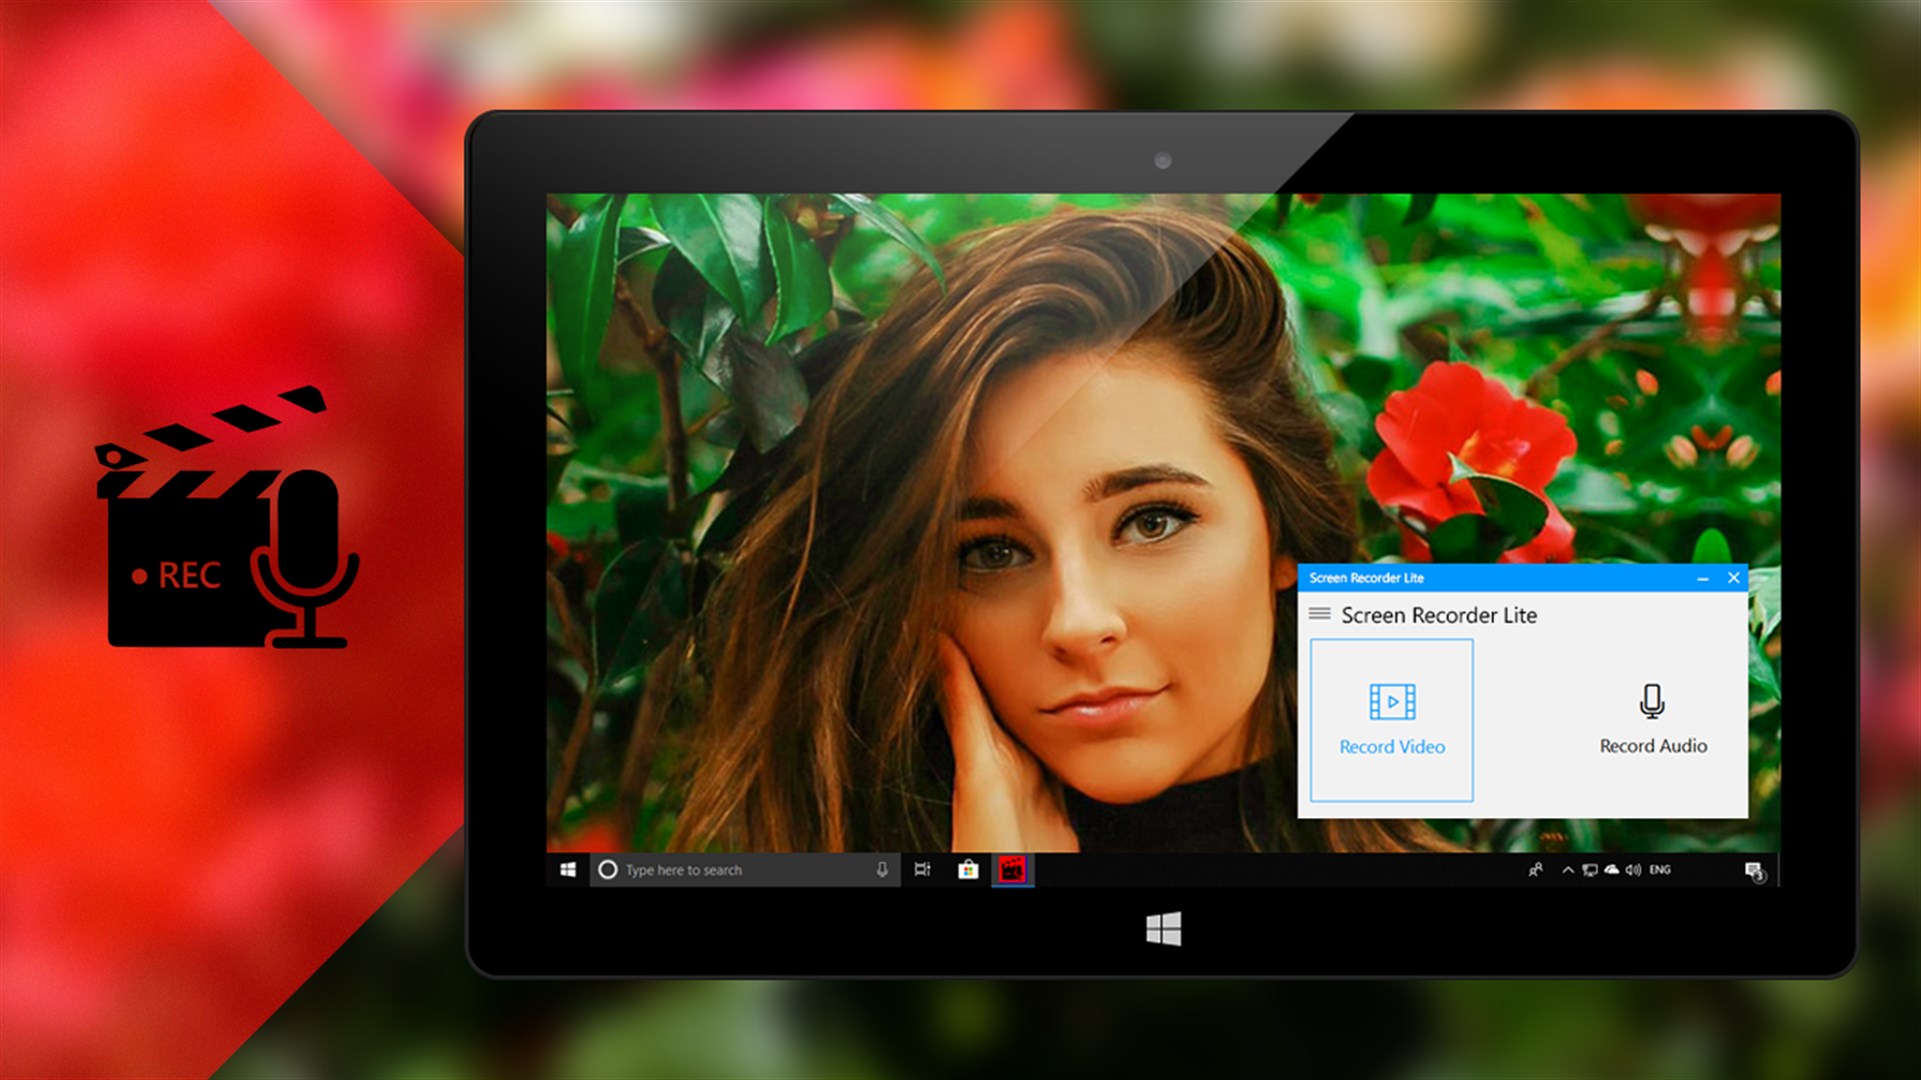
Method 2: Using third-party screen recording apps: If your device doesn’t have a built-in screen recording feature or you want more advanced options, you can opt for third-party screen recording apps. There are numerous apps available on the Google Play Store that offer additional features like customization options, video editing capabilities, and the ability to record internal audio. Some popular options include AZ Screen Recorder, Mobizen Screen Recorder, and DU Recorder. These apps usually provide more flexibility and advanced features, allowing you to tailor your screen recording experience to your specific needs.
Method 3: Using Google Play Games for gameplay recording: Google Play Games is a popular platform for Android gamers, and it also offers a built-in feature for screen recording gameplay. To use this method, you will need to have the Google Play Games app installed on your device and be signed in with your Google account. Simply open the app, navigate to the game you want to record, and select the screen recording option. This method is specifically designed for gameplay recording and provides features like recording in-game audio and sharing directly to YouTube. If you are primarily interested in recording your gaming sessions, this method offers a seamless and dedicated solution.
It’s important to note that the availability and features of screen recording may vary depending on your device’s manufacturer, Android version, or the specific app you choose to use. It’s recommended to explore the options available on your device and consider your specific requirements before deciding on the method that best suits your needs.
Now that we have explored different ways to screen record on Android, let’s move on to the next section where we will discuss the pros and cons of each method and help you choose the best option for your screen recording needs.
Method 1: Using the Built-in Screen Recorder on Android
If you have an Android device, chances are it comes with a built-in screen recording feature. This convenient option allows you to record your screen without the need to install any third-party apps. The process may vary slightly depending on your device’s manufacturer and the version of Android you are using, but the general steps are outlined below:
Step 1: Swipe down from the top of your screen to open the notification panel. Look for the screen recording icon, which is typically represented by a circle or a square with a dot inside, and tap on it to access the screen recording controls.
Step 2: Once you’ve opened the screen recording controls, you may have the option to customize certain settings. These settings can include choosing the audio source (such as microphone or device audio) and adjusting the video quality and resolution.
Step 3: When you are ready to start recording, tap the record button. You may need to grant any necessary permissions, such as allowing the screen recorder to access your device’s microphone or storage.
Step 4: Perform the actions you want to capture in your screen recording. This may involve navigating through apps, demonstrating features, or any other interactions you wish to showcase. While recording, a small indicator, such as a red dot or a floating toolbar, usually appears on the screen to let you know that the recording is in progress.
Step 5: When you have finished recording, simply tap the stop button in the screen recording controls. The recorded video will be saved to your device’s gallery or a designated folder. You can then access and share it as desired.
Using the built-in screen recorder on Android is a straightforward and reliable method for capturing your screen activities. It offers the advantage of convenience, as you can quickly access the screen recording feature without having to download or install additional apps. Additionally, the built-in screen recorder usually provides stable performance and integrates seamlessly with your device’s native functionalities.
However, it’s important to note that the features and options available may vary depending on your device’s manufacturer and the version of Android you are using. While most built-in screen recorders allow you to capture video and audio, the level of customization and additional settings may be limited. For example, some devices may not offer the option to record internal audio or adjust video quality and resolution. It’s recommended to explore the specific features of your device’s built-in screen recorder to determine if it fulfills your screen recording needs.
Now that we have covered the first method of screen recording on Android, let’s move on to the next section where we will discuss using third-party screen recording apps as an alternative option.
Method 2: Using Third-Party Screen Recording Apps
If your Android device doesn’t come with a built-in screen recording feature or you’re looking for more advanced options and customization, using third-party screen recording apps is a great alternative. These apps offer additional features and flexibility beyond what the built-in screen recorder provides. Here’s how you can use third-party screen recording apps:
Step 1: Open the Google Play Store on your Android device and search for screen recording apps. Popular options include AZ Screen Recorder, Mobizen Screen Recorder, and DU Recorder. Install the app of your choice by following the on-screen instructions.
Step 2: Once the app is installed, launch it on your device. You may be prompted to grant necessary permissions, such as allowing access to your device’s microphone, camera, or storage. Follow the prompts to grant the required permissions.
Step 3: Depending on the app, you may have various customization options available to tailor your screen recording experience. These options can include adjusting the video quality, selecting the audio source (internal audio, microphone, or both), enabling video editing features, and choosing the output format and resolution.
Step 4: After customizing your settings, initiate the screen recording by tapping the record button within the app. The app may display a floating icon or notification so that you can easily control the recording while performing other actions on your device.
Step 5: Perform the actions you wish to capture on your screen. Whether it’s demonstrating an app, recording a tutorial, or showcasing gameplay, the third-party app will capture and record your screen activities in real-time.
Step 6: To stop the screen recording, return to the app and tap the stop button or notification indicating that the recording is in progress. The recorded video will be saved to your device’s gallery or a designated folder, depending on your app’s settings.
Using third-party screen recording apps offers you a range of advantages over the built-in screen recorder. These apps often provide more customization options, allowing you to fine-tune the recording settings based on your specific requirements. Additionally, some third-party apps offer advanced features like video editing tools, adding annotations and captions, and live streaming directly to social media platforms.
However, it’s important to consider that the performance and available features of these third-party apps can vary. Certain apps may require in-app purchases or display advertisements, while others may have limitations on recording duration or video quality in their free versions. Be sure to read user reviews and explore the features and limitations of the app before making your selection.
In summary, using third-party screen recording apps on your Android device provides you with additional flexibility, customization options, and powerful features beyond what the built-in screen recorder offers. These apps can enhance your screen recording experience and provide you with the tools you need to create high-quality and professional-looking video content.
Now that we have covered the second method of screen recording on Android, let’s move on to the next section where we will explore using Google Play Games for gameplay recording.
Method 3: Using Google Play Games for Gameplay Recording
If you are an Android gamer looking to record your gameplay sessions, using Google Play Games provides a dedicated solution. Google Play Games is a platform that offers various features and services for gamers, including a built-in gameplay recording feature. Here’s how you can use Google Play Games for gameplay recording:
Step 1: Ensure that you have the Google Play Games app installed on your device. If not, you can download it from the Google Play Store and sign in with your Google account.
Step 2: Open the Google Play Games app and navigate to the game you want to record. It should be listed among your installed games.
Step 3: Once you’ve selected the game, you’ll see a series of options and features related to that game. Look for the screen recording option, usually represented by a camera icon or a video recorder icon.
Step 4: Tap on the screen recording icon to start the gameplay recording. You may have the option to customize settings such as video quality, audio source, or whether to record your face using the front camera.
Step 5: Begin playing the game while the screen recording is in progress. Google Play Games will capture everything that happens on your screen along with any in-game audio.
Step 6: To stop the gameplay recording, access the recording controls in the Google Play Games app and tap the stop button. The recorded gameplay video will be saved to your device’s gallery or a designated folder.
Using Google Play Games for gameplay recording offers several advantages. Firstly, it provides a seamless and dedicated solution specifically designed for gamers. The integration with Google Play Games ensures a smooth recording experience without the need to rely on third-party apps. Additionally, gameplay recording through Google Play Games offers the ability to record in-game audio, capture your reactions using the front camera, and easily share your recordings directly to platforms like YouTube.
However, it’s important to note that Google Play Games’ gameplay recording is mainly intended for recording gameplay sessions and may not offer the same level of customization or advanced features as third-party screen recording apps. If you’re looking for more extensive editing options or additional settings, you may need to consider using a different method.
In summary, Google Play Games provides a convenient and dedicated method for recording gameplay on your Android device. It’s an ideal choice for gamers looking to capture and share their gaming experiences without the need for third-party apps. If you primarily want to record your gameplay and take advantage of features like in-game audio and easy sharing options, using Google Play Games is a great option.
Now that we’ve explored different methods for screen recording on Android, it’s time to move on to the next section where we’ll discuss how to choose the best method for your specific screen recording needs.
Choosing the Best Method for Your Needs
Now that we have discussed the different methods of screen recording on Android, it’s important to choose the method that best suits your specific needs. Consider the following factors when deciding which method is right for you:
Purpose: Determine the main reason you want to screen record on your Android device. Are you creating tutorials or instructional videos? Recording gameplay? Documenting bugs and issues? Sharing mobile experiences? Identifying your purpose will help you prioritize the features and capabilities you require.
Features: Evaluate the features and customization options offered by each method. Are you looking for basic screen recording functionality or more advanced features like video editing, internal audio recording, or live streaming? Consider which method provides the features that align with your screen recording goals.
User Experience: Consider the user experience of each method. Do you prefer a built-in screen recorder for its simplicity and integration with your device’s native functionalities? Or do you want the flexibility and additional features provided by third-party apps? Think about how each method fits into your workflow and matches your preference for ease of use.
Compatibility: Check the compatibility of each method with your specific device and Android version. The built-in screen recorder may vary in functionality depending on your device’s manufacturer, while third-party apps may have specific requirements or limitations. Ensure that the method you choose is compatible with your device and provides the necessary performance and capabilities.
Reviews and Recommendations: Read user reviews and recommendations for the different methods. This will give you insights into the experiences of other users and help you identify any potential issues or limitations. Consider the overall reputation and reliability of each method before making your decision.
By considering these factors, you can determine the best method for your screen recording needs. Whether you prefer the convenience of the built-in screen recorder, the advanced features of third-party apps, or the dedicated gaming capabilities of Google Play Games, selecting the method that aligns with your goals will ensure a successful and satisfying screen recording experience.
Now that you have a better understanding of the different methods available and how to choose the best one for your needs, let’s move on to the next section where we’ll provide some useful tips for ensuring a successful screen recording.
Tips for a Successful Screen Recording
Screen recording on Android can be a valuable tool for various purposes, but it’s essential to keep a few tips in mind to ensure a successful recording. Apply these tips to enhance your screen recording experience:
Plan and Prepare: Before starting a screen recording, plan out what you want to capture and ensure that you have everything set up and ready. Close any unnecessary apps or notifications that could interrupt or appear on the screen during the recording. This preparation will help you avoid any distractions or interruptions during the recording process.
Clear and Concise Explanation: If you’re creating a tutorial or instructional video, make sure your explanations are clear and concise. Speak clearly and at an appropriate pace, ensuring viewers can easily follow along. Use visual cues, annotations, or text overlays when necessary to provide additional clarity and guidance.
Practice Smooth Navigation: When demonstrating app features or navigating through screens, aim for smooth and deliberate actions. Avoid hurried movements or excessive scrolling that might make it difficult for viewers to follow along. Take your time to ensure that your actions are smooth and well-paced.
Test Recording Settings: Familiarize yourself with the recording settings and options available in your chosen method. Test different quality settings, audio sources, and resolutions to find the optimal configuration for your needs. This will help you achieve the desired level of video and audio quality for your screen recordings.
Ensure Sufficient Storage Space: Screen recordings can consume a significant amount of storage space, especially if you record lengthy sessions or high-quality videos. Before starting a recording, ensure that your device has sufficient storage available to accommodate the video file size. Consider transferring or deleting any unnecessary files to free up space if needed.
Consider Privacy and Permissions: Be mindful of the content and information that may be captured in your screen recordings. Avoid including sensitive or personal data that should not be shared. Additionally, if your screen recording method requires certain permissions, such as access to your microphone or camera, ensure that you’re comfortable granting those permissions before proceeding.
Edit and Enhance: After completing a screen recording, you may wish to make edits or enhancements to the video before sharing it. Many screen recording apps offer built-in editing features, allowing you to trim, crop, add text, or overlay audio. Take advantage of these editing capabilities to refine your recordings and make them more professional and engaging.
Test and Review: Before sharing your screen recordings, take the time to review them. Verify that the recording captured the desired content accurately and that the audio and video quality meet your expectations. This step ensures that your screen recordings are polished and ready for sharing with your intended audience.
By following these tips, you can optimize your screen recording process and create high-quality and engaging videos. Whether you’re recording tutorials, gameplay sessions, or compelling mobile experiences, these tips will help you capture and present your content effectively.
Now that you have these valuable tips, you’re ready to embark on your screen recording journey. In the concluding section, we’ll summarize the key points covered in this article and provide a final thought on the importance of screen recording on Android.
Conclusion
Screen recording on Android has become an essential tool for a wide range of users, from content creators and gamers to those who want to document their mobile experiences. The ability to capture and share the activities on your Android device’s screen offers a myriad of benefits and possibilities.
In this article, we explored different methods of screen recording on Android. We discussed using the built-in screen recorder available on Android devices, third-party screen recording apps available on the Google Play Store, and the gameplay recording feature within Google Play Games. Each method has its own advantages and limitations, allowing you to choose the one that best suits your specific needs.
We also provided tips for a successful screen recording experience, including planning and preparation, clear and concise explanations, practicing smooth navigation, testing recording settings, ensuring sufficient storage space, considering privacy and permissions, editing and enhancing videos, and reviewing the final recordings before sharing.
Ultimately, screen recording on Android allows you to share your knowledge, entertain your audience, troubleshoot issues, and capture memorable moments. Whether you’re creating educational tutorials, sharing your gaming skills, or documenting your mobile experiences, screen recording provides a valuable tool for communication, learning, and self-expression.
As technology continues to advance, we can expect even more innovative features and possibilities for screen recording on Android devices. Stay curious, explore new apps and methods, and continue to refine your screen recording skills for optimal results.
Now that you have a comprehensive understanding of screen recording on Android, it’s time to grab your device and start capturing those moments. Enjoy the process, unleash your creativity, and make the most of this powerful tool at your disposal.