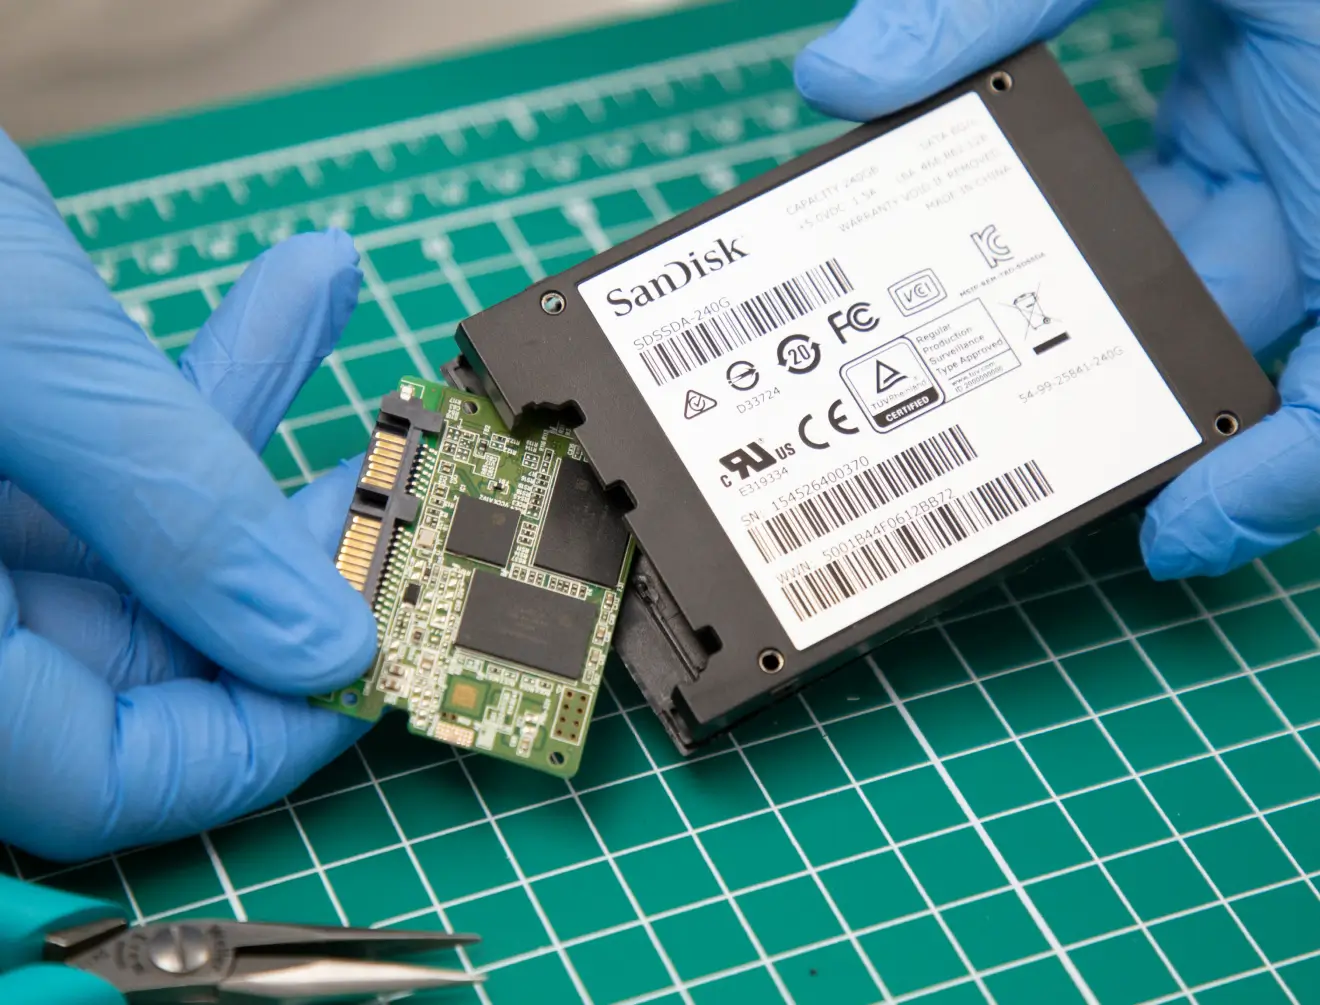
Why is it important to scan SSD for errors?
The Solid-State Drive (SSD) has become an increasingly popular choice for storage due to its high performance and reliability. However, like any electronic device, SSDs are prone to errors that can affect their functionality and data integrity. That’s why it’s crucial to regularly scan your SSD for errors to ensure its optimal performance and prevent potential data loss.
One of the main reasons to scan SSDs for errors is to identify and fix any bad sectors. Bad sectors are areas on the SSD’s memory that are no longer able to store data properly. They can occur due to various factors such as physical damage, excessive heat, power surges, or age-related wear and tear. When bad sectors go undetected, they can lead to data corruption and even system crashes.
Another important reason to scan your SSD for errors is to detect and resolve file system errors. The file system is responsible for organizing and managing the files on your SSD. Over time, file system errors can occur due to improper shutdowns, software conflicts, or disk problems. These errors can result in corrupted files, inaccessible data, or even the inability to boot your operating system.
Scanning your SSD for errors also helps to identify any performance issues. Over time, SSDs can experience slowdowns as the cells that hold data become worn out. By running an error scan, you can identify any areas of the SSD that have degraded performance and take appropriate measures to repair or replace them.
Moreover, regularly scanning your SSD for errors can serve as a preventative measure. By identifying and resolving errors early on, you can avoid potential data loss and ensure the long-term health of your SSD. Regular scans can help you detect any signs of impending failures or issues that may require immediate attention.
In summary, scanning your SSD for errors is essential to maintain its performance, data integrity, and overall functionality. By identifying and resolving errors, you can extend the lifespan of your SSD, prevent data loss, and ensure a smooth computing experience. Taking the time to regularly scan your SSD is a proactive step towards safeguarding your valuable data and maximizing the potential of your storage device.
Understanding the common errors that occur in SSDs
Solid-State Drives (SSDs) are generally reliable storage devices, but like any electronic component, they can experience errors over time. Understanding the common errors that occur in SSDs can help you diagnose and resolve issues more effectively. Here are some of the most common errors you may encounter:
1. Bad sectors: Just like traditional hard drives, SSDs can develop bad sectors. These are areas of the SSD that become unreliable and may lead to data corruption or loss. Bad sectors can occur due to physical damage, wear and tear, or manufacturing defects. Regularly scanning your SSD for bad sectors can help identify and rectify these issues before they escalate.
2. File system errors: The file system is responsible for managing the organization and storage of data on an SSD. However, file system errors can occur due to improper shutdowns, power failures, or software conflicts. When file system errors occur, it can lead to file corruption, data inaccessibility, or even the inability to boot the operating system. Scanning your SSD for file system errors can help identify and repair these issues.
3. Firmware issues: SSDs have firmware, which is essentially the software that controls the drive’s operation. Firmware issues can arise due to bugs, compatibility problems, or outdated firmware versions. These issues can result in performance degradation, data corruption, or even complete drive failure. Keeping your SSD firmware up to date can help minimize the occurrence of firmware-related errors.
4. Overheating: SSDs generate heat during operation, and excessive heat can affect their performance and longevity. Overheating can lead to read and write errors, slow response times, or even drive failure. Keeping your SSD cool and ensuring proper airflow in your system can help mitigate the risk of overheating-related errors.
5. Power-related issues: Sudden power outages or improper power supply can negatively impact an SSD. Power surges or fluctuations can cause data corruption, file system errors, or even physical damage to the drive. Using a reliable power source, such as a surge protector, and providing a consistent power supply to your SSD can help prevent power-related errors.
Understanding these common errors that occur in SSDs can help you take proactive measures to address and mitigate them. Regularly scanning your SSD for errors, keeping firmware updated, and practicing proper care and maintenance can go a long way in ensuring the longevity and optimal performance of your SSD.
Step-by-step guide to scanning SSD for errors
Scanning your Solid-State Drive (SSD) for errors is an important maintenance task that can help ensure its optimal performance and prevent data loss. Here is a step-by-step guide to help you through the process:
Step 1: Backup your data: Before initiating any scanning or repair process, it’s always wise to backup your important data. While scanning for errors doesn’t typically cause data loss, it’s better to be safe than sorry.
Step 2: Choose a scanning tool: There are several third-party software applications available that can help you scan your SSD for errors. Some popular options include CrystalDiskInfo, SSD Fresh, and HD Tune. Research and choose a tool that is compatible with your operating system and meets your requirements.
Step 3: Download and install the software: Once you’ve chosen a scanning tool, download it from the official website or a trusted source and install it on your computer. Follow the installation instructions provided by the software.
Step 4: Launch the scanning tool: After installing the software, launch it. You may need to grant it necessary permissions or provide administrator access if prompted.
Step 5: Select your SSD: The scanning tool should detect all the drives connected to your computer. Select your SSD from the list of available drives to initiate the scan specifically on your SSD.
Step 6: Choose the scanning method: Most scanning tools offer different scanning methods, such as quick scan or full scan. A quick scan checks for basic errors, while a full scan performs a more thorough inspection. Choose the scanning method that suits your needs and preferences.
Step 7: Start the scan: Once you’ve selected the scanning method, click on the “Start” or “Scan” button to begin the process. The tool will start scanning your SSD for errors and anomalies.
Step 8: Review the scan results: After the scanning is complete, the tool will present the scan results. It will highlight any errors, bad sectors, or issues that were identified during the scan.
Step 9: Take necessary actions: Depending on the scan results, you may need to take appropriate actions. In the case of minor errors or bad sectors, the scanning tool might provide options to repair or fix them. Follow the tool’s instructions to resolve the identified issues.
Step 10: Regularly schedule scans: To maintain the health of your SSD, it’s recommended to schedule regular scans. This can be done within the scanning tool’s settings, allowing it to automatically scan your SSD at predetermined intervals.
By following this step-by-step guide, you can effectively scan your SSD for errors, identify potential issues, and take the necessary actions to ensure its optimal performance and longevity.
Recommended tools for scanning SSD
When it comes to scanning your Solid-State Drive (SSD) for errors, having the right tools can make the process more efficient and reliable. Here are some recommended tools that you can use to scan your SSD:
1. CrystalDiskInfo: CrystalDiskInfo is a popular and free tool that provides comprehensive information about your SSD’s health and performance. It supports various SSD models and provides real-time monitoring of the drive’s temperature, SMART attributes, and overall condition. CrystalDiskInfo also includes a feature to scan for errors and bad sectors in your SSD.
2. SSD Fresh: SSD Fresh is a user-friendly tool that is specifically designed for SSD optimization and maintenance. Along with optimizing your SSD settings for better performance, it also includes a built-in scanner that can detect errors, check the health status, and provide recommendations to improve your SSD’s overall lifespan.
3. HD Tune: HD Tune is a widely used software tool that offers a range of functionalities, including SSD scanning and error checking. It provides detailed information about your drive’s health, firmware version, and performance statistics. HD Tune’s error scan feature can detect and repair bad sectors on your SSD, enhancing its overall reliability.
4. Samsung Magician: If you own a Samsung SSD, Samsung Magician is a must-have tool. It is specifically designed for Samsung SSDs and offers advanced features such as firmware updates, performance optimization, and error scanning. The error scan feature in Samsung Magician thoroughly checks for bad sectors and provides options to rectify any issues.
5. Intel Solid State Drive Toolbox: If you have an Intel SSD, the Intel Solid State Drive Toolbox is a valuable software utility. It provides SSD optimization, monitoring, and diagnostic features. The diagnostic scan function can perform a comprehensive check of your Intel SSD’s health, identify errors, and help you resolve any detected issues.
These are just a few examples of the many tools available for scanning SSDs. Before using any tool, ensure that it is compatible with your SSD model and operating system. It’s also recommended to download tools from official sources or trusted websites to ensure their legitimacy and reliability.
Remember to regularly update the scanning tools to benefit from the latest features and bug fixes. By using these recommended tools, you can effectively scan your SSD, identify potential errors, and take the necessary actions to keep your SSD in optimal condition.
Precautions to take before scanning SSD for errors
Before scanning your Solid-State Drive (SSD) for errors, it’s important to take some precautions to ensure a smooth and safe scanning process. Here are some precautions to keep in mind:
1. Backup your data: Before initiating any scanning or repair process, it’s crucial to back up your important data. While scanning for errors generally does not lead to data loss, it’s always better to be safe than sorry. Backing up your data ensures that you have a copy of your important files in case any unexpected issues arise during the scanning process.
2. Close unnecessary applications: To ensure accurate and efficient scanning, it’s advisable to close all unnecessary applications running in the background. Background processes can consume system resources and interfere with the scanning process. Closing applications also reduces the chances of errors or conflicts occurring during the scan.
3. Disconnect unnecessary external devices: If you have any external devices connected to your computer, such as external hard drives or USB devices, disconnect them before scanning your SSD. External devices can sometimes interfere with the scanning process or cause conflicts. By disconnecting them, you eliminate any potential issues that may arise during the scan.
4. Ensure stable power supply: It’s important to ensure that your computer has a stable power supply during the scanning process. Sudden power outages or fluctuations while scanning can corrupt data or interrupt the scanning process. Consider using a reliable power source such as a surge protector to protect your system from power-related issues.
5. Update your SSD firmware: Before performing any scans, ensure that your SSD firmware is up to date. SSD manufacturers often release firmware updates to address known issues, improve performance, and enhance compatibility. By updating your firmware, you ensure that your SSD is optimized and less likely to encounter errors during the scanning process.
6. Use trusted scanning tools: Choose reputable and trusted scanning tools from official sources or reliable websites. By using reputable software, you minimize the risk of downloading malicious or unreliable tools that could potentially harm your SSD or compromise your data.
7. Read the user guide or documentation: Before scanning your SSD, it’s a good practice to read the user guide or documentation provided by the scanning tool. This will familiarize you with the tool’s features, scanning options, and any specific instructions that need to be followed during the scanning process.
By taking these precautions before scanning your SSD for errors, you can ensure a safer and more effective scanning experience. Following these steps minimizes the chances of encountering issues during the scan and helps protect your valuable data stored on the SSD.
Interpreting the scan results and what to do next
Once you have scanned your Solid-State Drive (SSD) for errors, it’s essential to interpret the scan results correctly and take appropriate actions based on the findings. Here’s a guide on how to interpret the scan results and what to do next:
1. No errors detected: If the scan results show no errors or issues, it indicates that your SSD is in good health and performing optimally. In this case, you can continue using your SSD as usual, but it’s advisable to regularly scan it for errors to ensure its ongoing health and performance.
2. Bad sectors detected: If the scan results indicate the presence of bad sectors, it means that some areas of your SSD’s memory are no longer functioning properly. In such cases, you should take immediate action to prevent further data corruption or loss. Depending on the severity of the bad sectors, the scanning tool may provide options to repair or reallocate them. Follow the instructions provided by the tool to address the issue and prevent potential data loss.
3. File system errors found: File system errors can cause data corruption or make your files inaccessible. If the scan results highlight file system errors, proceed to repair them. The scanning tool may provide an option to fix the errors automatically or offer instructions on how to resolve them manually. Follow the recommended steps to repair the file system errors and restore proper functionality to your SSD.
4. Performance issues identified: The scan results might reveal performance issues with your SSD, such as degraded read or write speeds. Performance issues can be caused by factors such as wear and tear or outdated firmware. If performance issues are detected, consider taking appropriate measures to address them. This may include updating your SSD firmware, optimizing system settings, or replacing the SSD if it’s nearing the end of its lifespan.
5. Seek professional assistance: In some cases, the scan results may show complex errors or issues that require expert assistance. If you are unsure about how to interpret the scan results or are unable to resolve the detected problems yourself, seek help from a professional technician or contact the manufacturer’s support team. They can provide guidance and assistance in troubleshooting and resolving the identified errors.
Remember to regularly scan your SSD for errors to catch any potential issues early on. Regular maintenance and monitoring can help prevent significant data loss and maintain the performance and longevity of your SSD.
By interpreting the scan results accurately and taking appropriate actions, you can address any detected errors, maintain your SSD’s health, and ensure the integrity of your stored data.
Tips to prevent future errors in your SSD
Preventing errors in your Solid-State Drive (SSD) is crucial to ensure its longevity, optimal performance, and data integrity. Here are some tips to help you prevent future errors and maintain the health of your SSD:
1. Keep your SSD firmware up to date: SSD manufacturers often release firmware updates to address known issues, improve performance, and enhance compatibility. Regularly check for firmware updates specific to your SSD model and install them as recommended by the manufacturer. Keeping your firmware up to date helps prevent potential errors and ensures that your SSD operates optimally.
2. Avoid abrupt power loss: Sudden power outages or improper shutdowns can lead to data corruption and file system errors in your SSD. Always follow proper shutdown procedures and avoid abrupt power loss. Use an uninterruptible power supply (UPS) or a reliable power source to provide consistent power to your computer system. This helps protect your SSD from unexpected power fluctuations.
3. Maintain proper airflow and temperature: Overheating can reduce the lifespan and performance of your SSD. Ensure that your computer has proper airflow by keeping the cooling system clean and removing any obstructions. Avoid placing your computer in excessively hot environments. Adequate ventilation helps keep your SSD cool and prevents thermal-related errors.
4. Avoid overfilling your SSD: To maintain optimal performance, avoid filling your SSD to its maximum capacity. It’s recommended to leave around 10-20% of the drive’s total capacity free. This allows the SSD’s firmware to perform background operations, such as wear leveling and garbage collection, effectively. Overfilling an SSD can lead to performance degradation and an increased risk of errors.
5. Use a reputable antivirus software: Malware and viruses can cause data corruption and affect the performance of your SSD. Install and regularly update a reputable antivirus software to protect your system from malicious attacks. Perform thorough system scans to detect and remove any potential threats that could harm your SSD and compromise your data.
6. Minimize unnecessary writes: SSDs have a limited lifespan in terms of the number of write operations they can handle. Minimize unnecessary writes by avoiding excessive file transfers, defragmentation, or disk-intensive activities. Instead, optimize your data storage and use SSD-friendly practices, such as using TRIM (if supported) and disabling hibernation.
7. Regularly scan your SSD for errors: Performing regular scans for errors is essential to catch any potential issues early on. Use reliable scanning tools to check for bad sectors, file system errors, and performance issues. Regular scans help identify and rectify problems before they escalate, ensuring the long-term health and performance of your SSD.
By following these tips, you can minimize the risk of future errors in your SSD and prolong its lifespan. Taking proactive measures to prevent errors ensures that your SSD remains reliable, performs optimally, and safeguards your valuable data.
Conclusion
Scanning your Solid-State Drive (SSD) for errors is a vital maintenance task that helps ensure its optimal performance, longevity, and data integrity. Understanding the importance of scanning, the common errors that occur in SSDs, and how to interpret and address scan results are key to keeping your SSD in excellent condition.
By regularly scanning your SSD for errors, you can identify and rectify issues such as bad sectors, file system errors, and performance degradation. This proactive approach helps prevent data corruption, system crashes, and potential data loss. Additionally, taking precautions, using trusted scanning tools, and following best practices can enhance the effectiveness of the scanning process and protect your valuable data.
Remember to keep your SSD firmware updated, maintain proper airflow and temperature, avoid abrupt power loss, and minimize unnecessary writes to prolong the lifespan and performance of your SSD. Utilize reputable antivirus software, regularly back up your data, and seek professional assistance when needed.
Ultimately, by adopting preventive measures and regularly scanning your SSD for errors, you can ensure a reliable and efficient storage solution that meets your needs. Keeping your SSD in top shape not only improves the performance of your system but also safeguards your valuable data against potential errors and issues.
So, take the necessary steps to keep your SSD in optimal health, and enjoy seamless, fast, and reliable storage for your personal and professional needs.