Introduction
Instagram is undoubtedly one of the most popular social media platforms where people share their photos, videos, and stories. While scrolling through your feed, you might come across incredible photos that you’d like to save for later or share with others outside of the app. However, Instagram does not provide a built-in option to download photos directly to your PC. So, how can you save Instagram photos on your computer?
In this article, we will explore different methods to save Instagram photos on your PC. Whether you’re using the Instagram website, a web browser extension, or third-party apps, we’ve got you covered. Additionally, we’ll also discuss how you can take screenshots as a quick and easy way to capture Instagram photos. With these methods at your disposal, you’ll be able to download and save Instagram photos effortlessly.
It’s important to note that while it may be tempting to save any photo you come across, it’s always essential to respect the original creator’s rights and permissions. Make sure you have the necessary rights or seek permission before saving or sharing any photos.
Now, let’s dive into the various methods you can use to save Instagram photos on your PC.
Method 1: Using the Instagram Website
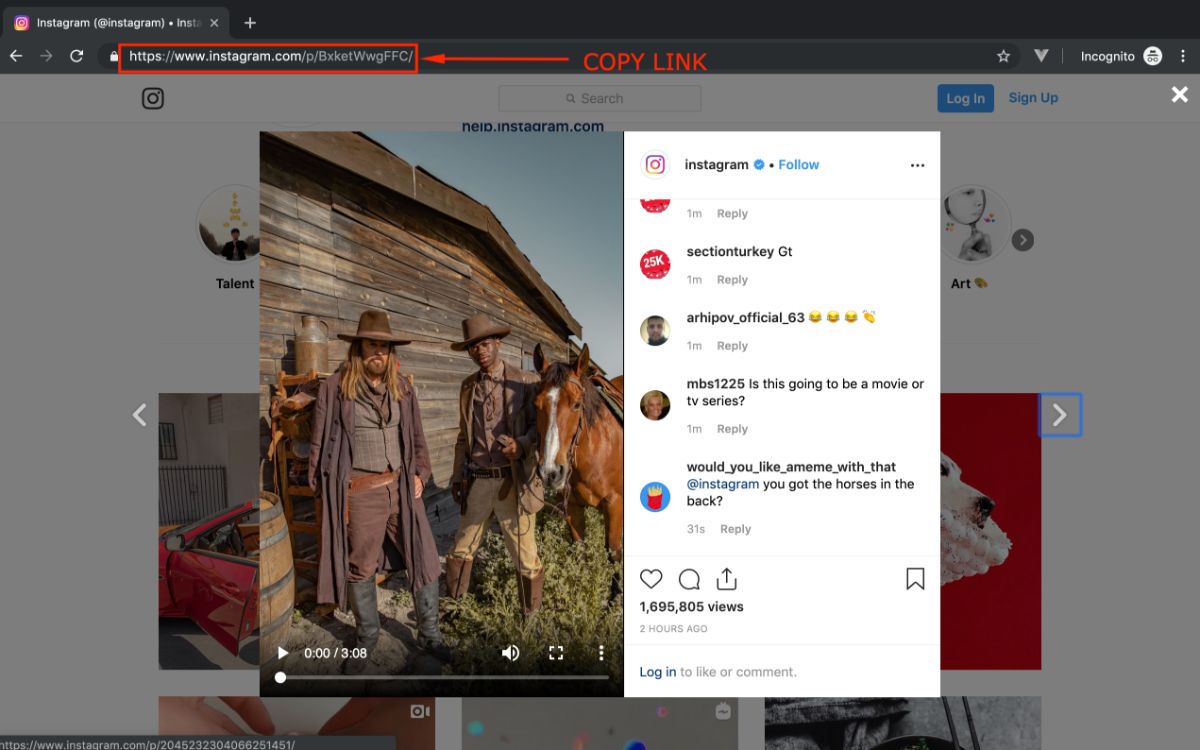
If you prefer to save Instagram photos without using any third-party tools, you can utilize the Instagram website. Here’s how:
- Open your web browser and visit the Instagram website.
- Log in to your Instagram account if you haven’t already.
- Navigate to the photo you want to save.
- Right-click on the photo and select “Save Image As” from the context menu.
- Choose a location on your computer where you want to save the photo, and click “Save”.
By following these steps, you can easily save Instagram photos directly to your computer using the Instagram website. However, it’s worth noting that some users may have restricted their photos from being downloaded. In such cases, you won’t be able to save the photo using this method.
Furthermore, relying on the Instagram website means you’ll need to repeat these steps every time you want to save a photo. If you’re looking for a more convenient solution, continue reading to explore other methods that offer additional functionality and ease of use.
Method 2: Using a Web Browser Extension
If you’re searching for a more streamlined and efficient way to save Instagram photos on your PC, using a web browser extension can be a great option. Follow the steps below:
- Open your web browser and search for a trusted web browser extension that allows you to download Instagram photos.
- Choose a suitable extension and install it on your browser. Popular extensions include “Save IG Live Story” or “Downloader for Instagram.”
- Once the extension is installed, navigate to the Instagram website and log in to your account.
- Find the photo you want to save and click on the extension icon in your browser’s toolbar.
- The extension will provide options to save the photo. Choose the appropriate one to download and save the image on your computer.
Using a web browser extension offers a convenient way to save Instagram photos with just a few clicks. These extensions often come with additional features, such as the ability to download multiple photos at once or directly save photos from private accounts. However, it’s essential to choose a trusted extension from a reliable source to ensure the security of your computer.
With the help of a web browser extension, you can save Instagram photos effortlessly and access them whenever you want without any hassle.
Method 3: Using Third-party Apps
If you prefer using dedicated applications to save Instagram photos on your PC, there are various third-party apps available that can simplify the process. Follow these steps:
- Search for reputable third-party apps that specialize in downloading Instagram photos.
- Choose an app that suits your needs and download it onto your computer.
- Install and open the app.
- Log in to your Instagram account within the app.
- Browse through your Instagram feed within the app and select the photo you want to save.
- Follow the prompts within the app to download and save the selected photo to your computer.
These third-party apps often provide additional features like batch downloading, the ability to save videos, and the option to download photos from private accounts. However, it’s crucial to research and choose a trusted app that has positive user reviews and a good reputation to ensure the security of your data.
By using third-party apps, you can simplify the process of saving Instagram photos on your PC and have more control over the downloaded content.
Method 4: Taking Screenshots
If you’re looking for a quick and simple way to save Instagram photos on your PC, taking a screenshot can be a viable option. Follow these steps:
- Open the Instagram website on your computer.
- Navigate to the photo you want to save.
- Position the photo on your screen, ensuring that it is fully visible.
- Press the “Print Screen” button on your keyboard. This will capture a screenshot of your entire screen.
- Open an image editing software, such as Paint or Photoshop, and paste the screenshot onto a new canvas.
- Crop and edit the screenshot to include only the desired portion of the photo.
- Save the cropped image to your computer.
Taking screenshots is a convenient method to save Instagram photos, as it does not require the use of any additional tools or extensions. However, it’s important to note that this method captures the entire screen, including any user-interface elements or notifications that may be present. Therefore, you may need to crop the screenshot to remove any unwanted elements and focus solely on the photo.
Keep in mind that screenshots may not provide the same level of resolution and quality as the original photo. If you require high-quality images, consider using one of the previously mentioned methods.
With the ability to take screenshots, you’ll have a straightforward solution for capturing and saving Instagram photos on your PC.
Conclusion
Saving Instagram photos on your PC can be essential for various reasons, whether it’s to create a personal collection, share with others, or simply keep a backup of your favorite memories. In this article, we explored four different methods to help you achieve this task.
Firstly, we looked at using the Instagram website itself, which allows you to save photos directly to your computer by right-clicking and choosing “Save Image As.” While this method is straightforward, it may not work for photos that have been restricted by the user.
Next, we discussed using web browser extensions designed specifically for downloading Instagram photos. These extensions offer a more convenient and streamlined experience, often providing additional features such as batch downloading or saving photos from private accounts.
Thirdly, we explored the option of using third-party apps dedicated to downloading Instagram content. These apps provide a specialized experience and may offer more advanced features for managing and downloading photos. It’s crucial to choose a reputable app to ensure the security of your data.
Lastly, we discussed the simple method of taking screenshots to save Instagram photos. While this method may lack the resolution and quality of the original photo, it offers a quick and accessible solution that doesn’t require any additional tools or software.
Remember to respect the rights and permissions of the original creators when saving and using Instagram photos. Always ensure you have the necessary rights or seek permission before sharing or using them for any purpose.
With these four methods at your disposal, you can easily save Instagram photos on your PC and enjoy them whenever you want. Choose the method that works best for your needs and preferences, and start building your personal collection of cherished Instagram memories.


![In-Depth Guide on How to Download Instagram Videos [Beginner-Friendly]](https://robots.net/wp-content/uploads/2020/03/How-to-download-instagram-video-300x157.jpg)


