Introduction
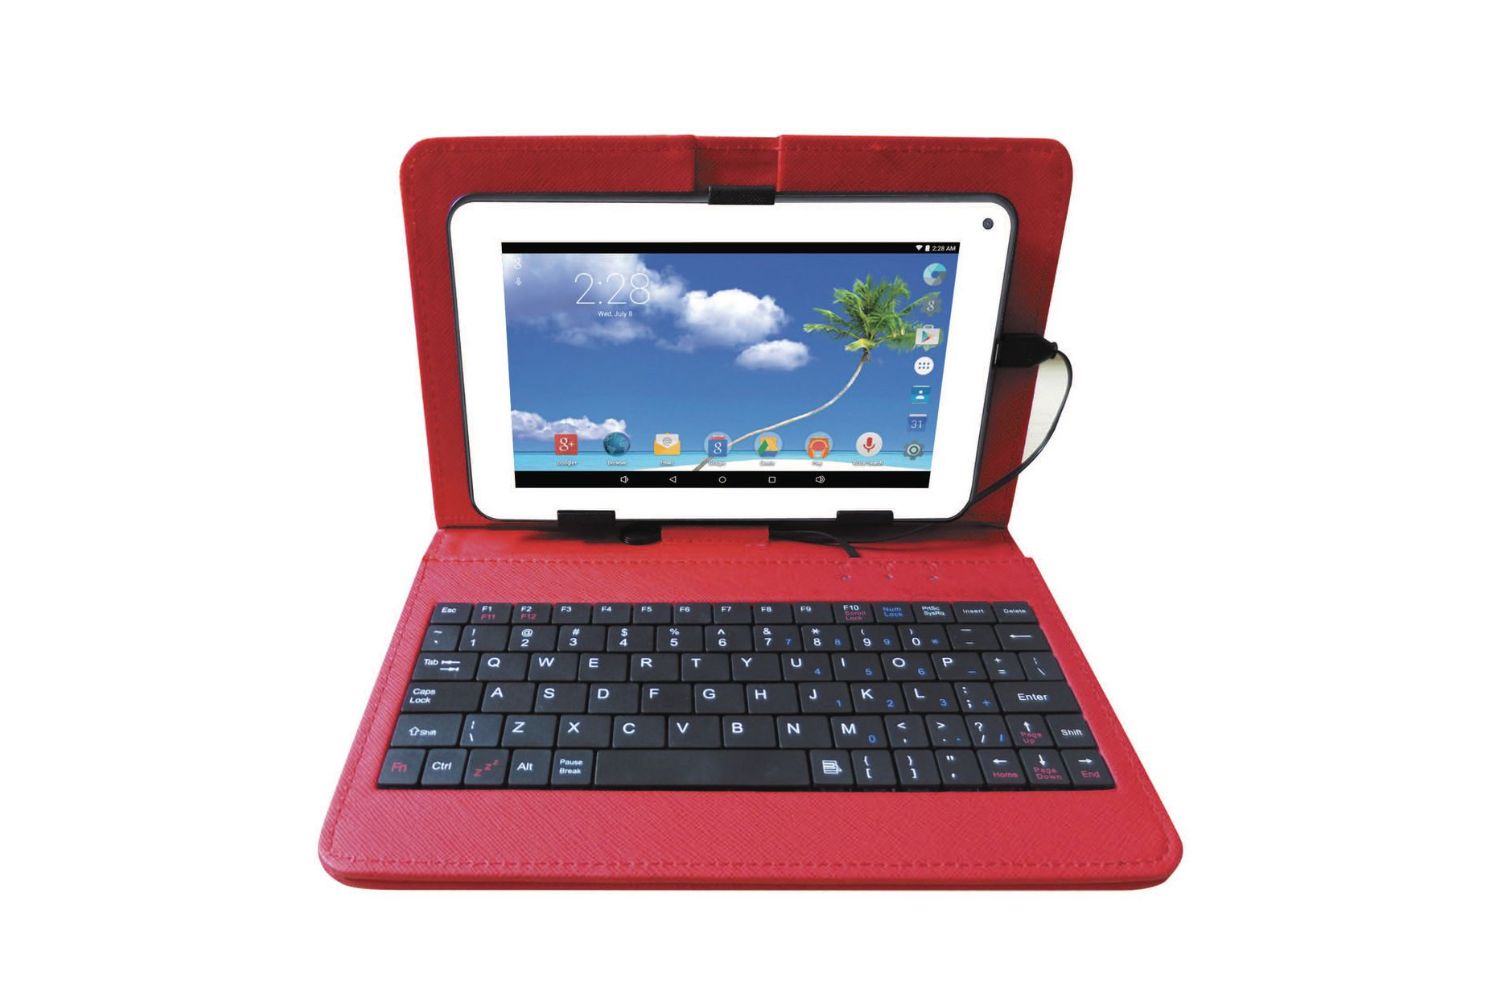
Welcome to the guide on how to reset the Proscan Tablet PLT7777G-Q. If you’re experiencing issues with your tablet or simply want to start fresh, performing a factory reset can help resolve various software-related problems. This process will restore your tablet to its original factory settings, erasing all data and personal settings.
Whether you’re encountering performance issues, software glitches, or you’re planning to sell or give away your tablet, a factory reset can be a useful solution. It’s important to note that performing a factory reset will delete all your data, so it’s crucial to back up any essential files or documents before proceeding.
Keep in mind that the steps outlined in this guide are specifically for the Proscan Tablet PLT7777G-Q. If you have a different Proscan model, the process may vary slightly, so it’s advisable to consult the user manual or Proscan’s support resources for the appropriate steps.
Now, without further ado, let’s dive into the step-by-step process of resetting your Proscan Tablet PLT7777G-Q.
Step 1: Power off the tablet
The first step in resetting your Proscan Tablet PLT7777G-Q is to power it off completely. To do this, locate the power button on your tablet. It is typically located on the side or the top of the device. Press and hold the power button until you see the power options menu appear on the screen.
Once the power options menu appears, select the “Power off” or “Shutdown” option. This will initiate the shutdown process, and your tablet will power off. Wait for a few seconds to ensure that the tablet has completely powered off.
It’s important to ensure that the tablet is powered off before proceeding to the next steps. This will prevent any potential issues during the reset process. Keep in mind that if your tablet is stuck or frozen and you can’t power it off using the power button, you may need to perform a hard reset by holding down the power button for an extended period of time until the tablet shuts down.
With the tablet now powered off, you’re ready to proceed to the next step of the reset process. In the following steps, we will guide you through the button combinations and options necessary to initiate the factory reset on your Proscan Tablet PLT7777G-Q.
Step 2: Press and hold the volume up button
Now that your Proscan Tablet PLT7777G-Q is powered off, it’s time to move on to the next step of the reset process. Locate the volume up button on your tablet, which is typically found along the side of the device. Press and hold the volume up button.
It’s important to hold down the volume up button firmly and continuously throughout the next steps. This button combination will allow you to access the recovery mode, where you can initiate the factory reset process.
By pressing and holding the volume up button, you’re ensuring that the tablet is in the correct mode to perform the reset. Make sure you don’t release the volume up button until instructed to do so in the upcoming steps.
Once you have a firm grip on the volume up button, you’re ready to move on to the next step of the reset process. This step is crucial in preparing your Proscan Tablet PLT7777G-Q for the factory reset, so be sure to follow along carefully.
Step 3: Press and hold the power button
In the previous step, you pressed and held the volume up button on your Proscan Tablet PLT7777G-Q. Now, while continuing to hold the volume up button, simultaneously press and hold the power button.
Ensure that you’re pressing and holding both buttons firmly and simultaneously. This combination of the volume up button and power button will initiate the recovery mode on your tablet, providing access to the necessary options for performing a factory reset.
By holding down the power button in addition to the volume up button, you’re allowing your Proscan Tablet PLT7777G-Q to enter the recovery mode successfully. It may take a few seconds, but don’t release either button until the next step.
Remember to maintain a steady hold on both the volume up button and power button. This will ensure a smooth transition into the recovery mode and will allow you to proceed with the factory reset process smoothly.
Now that you have pressed and held the power button along with the volume up button, we can move on to the next step in resetting your Proscan Tablet PLT7777G-Q.
Step 4: Release the buttons when the Proscan logo appears
As you continue to hold down the volume up button and power button on your Proscan Tablet PLT7777G-Q, you will notice that the tablet begins to boot up. Keep holding the buttons until you see the Proscan logo appear on the screen.
Once you see the Proscan logo, you can release both the volume up button and power button. This indicates that you have successfully entered the recovery mode on your tablet. At this point, you can navigate through the recovery mode options to perform the factory reset.
Releasing the buttons when the Proscan logo appears is crucial, as it signifies that your tablet has entered the appropriate mode to initiate the reset process. If you release the buttons too early or too late, you may need to repeat the previous steps to access the recovery mode correctly.
Now that you have released the buttons and the Proscan logo is displayed on the screen, you can proceed to the next step, where we will guide you through the process of selecting the necessary options to perform the factory reset on your Proscan Tablet PLT7777G-Q.
Step 5: Use volume up/down buttons to navigate and power button to select
With the Proscan logo displayed on your tablet’s screen and the buttons released, you now have access to the recovery mode menu. In this step, we will explain how to navigate through the options using the volume up and volume down buttons, and how to select an option using the power button.
Using the volume up and volume down buttons on your Proscan Tablet PLT7777G-Q, navigate through the recovery mode menu to find the “wipe data/factory reset” option. The exact location of this option may vary depending on the device model and version of Proscan’s software.
Once you have highlighted the “wipe data/factory reset” option, use the power button to select it. Press the power button to confirm your selection and proceed with the reset process.
By using the volume up and volume down buttons to navigate and the power button to select, you are able to interact with the recovery mode menu on your Proscan Tablet PLT7777G-Q. This user-friendly navigation system ensures that you can easily choose the desired options without the need for a touchscreen.
Now that you understand how to navigate and select options using the volume up/down buttons and power button, you’re ready to move on to the next step, where we will guide you through confirming the reset process.
Step 6: Select the “wipe data/factory reset” option
Now that you have navigated to the recovery mode menu on your Proscan Tablet PLT7777G-Q and highlighted the “wipe data/factory reset” option, it’s time to select this option to initiate the factory reset process.
Using the volume up and volume down buttons, ensure that the “wipe data/factory reset” option is selected or highlighted. This option may be labeled differently depending on your device’s software version or customization by Proscan.
Once you have confirmed that the “wipe data/factory reset” option is selected, press the power button to proceed with the reset process. This will initiate the wiping and resetting of your tablet’s data, returning it to its original factory settings.
It’s important to note that the factory reset will erase all data and personal settings on your Proscan Tablet PLT7777G-Q. This includes apps, accounts, photos, documents, and any other files stored on the device. Make sure you have backed up any important data before proceeding with the reset.
By selecting the “wipe data/factory reset” option, you are taking the necessary step to clear out your tablet’s data and start fresh. This can help resolve software issues, improve performance, or prepare the device for resale or gifting.
Now that you have selected the “wipe data/factory reset” option, we can move on to the next step, where we will guide you through confirming the reset and completing the process on your Proscan Tablet PLT7777G-Q.
Step 7: Confirm the reset by selecting “Yes”
After selecting the “wipe data/factory reset” option on your Proscan Tablet PLT7777G-Q, you will be presented with a confirmation message. This message will ask if you are sure you want to proceed with the factory reset.
Using the volume up and volume down buttons, navigate to the “Yes” option on the confirmation screen. This option may be labeled differently depending on your device’s software version. Once you have highlighted the “Yes” option, press the power button to confirm your selection.
It’s important to carefully review the confirmation message before proceeding. Once you confirm the reset, all data on your tablet will be permanently deleted, and the tablet will be restored to its original factory settings.
By selecting “Yes” to confirm the reset, you are acknowledging and agreeing to the consequences of the factory reset. This action cannot be undone, so make sure you have backed up any important files or documents before proceeding.
Confirming the reset is the final step before the factory reset process begins on your Proscan Tablet PLT7777G-Q. Once you have confirmed your selection, the tablet will start erasing the data and resetting itself, preparing to start fresh.
Now that you have confirmed the reset by selecting “Yes”, we’re nearing the end of the reset process. In the next step, we will guide you through waiting for the reset process to complete.
Step 8: Wait for the reset process to complete
Once you have confirmed the factory reset on your Proscan Tablet PLT7777G-Q by selecting “Yes”, the reset process will begin. At this stage, it’s essential to exercise patience and allow the tablet to complete the resetting process.
The duration of the reset process may vary depending on the size of the tablet’s storage and the amount of data being erased. It’s normal for the reset to take several minutes to complete, so it’s important to avoid interrupting the process.
During the reset process, your Proscan Tablet PLT7777G-Q will display a progress bar or an animated “Android” logo. This indicates that the reset is underway and that the tablet is working to erase the data and restore the device’s factory settings.
Resist the temptation to restart the tablet or interfere with the reset process. It’s crucial to let the tablet complete the reset on its own. Interrupting the process may result in an incomplete reset or other potential issues.
While waiting for the reset process to complete, take this time to ensure that the tablet is connected to a stable power source. This will prevent any power-related interruptions during the reset process.
Once the reset process is finished, your Proscan Tablet PLT7777G-Q will automatically proceed to the next step, where we will guide you through rebooting the tablet and finalizing the reset.
Step 9: Select “reboot system now” to restart the tablet
After the factory reset process has completed on your Proscan Tablet PLT7777G-Q, the tablet will automatically move to the final step: rebooting the system. At this point, you will be prompted to select the “reboot system now” option to restart the tablet.
Using the volume up and volume down buttons, navigate to the “reboot system now” option on the screen. Once you have highlighted this option, press the power button to select it and initiate the reboot process.
By selecting “reboot system now,” your Proscan Tablet PLT7777G-Q will restart and boot up with the newly restored factory settings. It may take a few moments for the tablet to power back on and initialize the operating system.
During the reboot process, you may notice that the tablet takes slightly longer to start up compared to a regular startup. This is expected, as the system is reconfiguring itself and preparing to greet you with the fresh factory settings.
Once your Proscan Tablet PLT7777G-Q has rebooted, it will be back to its initial state with no personal data, accounts, or apps installed. You will have a clean slate to set up the tablet according to your preferences and requirements.
Now that you have selected “reboot system now” and the tablet is restarting, congratulations! You have successfully reset your Proscan Tablet PLT7777G-Q. Take this opportunity to set up the tablet with care, restore any backed-up data, and enjoy a fresh start with your device.
Conclusion
Resetting your Proscan Tablet PLT7777G-Q can be a valuable solution to resolve software issues, improve performance, or prepare the device for resale. By following the step-by-step guide outlined above, you have successfully performed a factory reset on your tablet.
Throughout the process, you learned how to power off the tablet, press and hold the volume up button, press and hold the power button, release the buttons when the Proscan logo appears, navigate using the volume up/down buttons, select options using the power button, confirm the reset, and wait for the reset process to complete. Finally, you selected “reboot system now” to restart the tablet with the fresh factory settings.
It’s important to remember that performing a factory reset erases all data and personal settings on your Proscan Tablet PLT7777G-Q. Before proceeding with the reset, make sure to back up any essential files or documents to prevent permanent data loss.
Now that your tablet has been reset, you have a clean slate to customize and configure it according to your needs. Take this opportunity to reinstall your preferred apps, set up your accounts, and personalize the tablet to suit your preferences.
If you encounter any issues or require further assistance with your Proscan Tablet PLT7777G-Q, consult the user manual or reach out to Proscan’s customer support for additional guidance.
Thank you for following this guide, and we hope that the factory reset has provided a fresh start for your Proscan Tablet PLT7777G-Q.