Introduction
Welcome to this guide on how to reprogram your Philips Smart TV remote. Your remote control is a crucial part of your TV viewing experience, allowing you to effortlessly navigate through channels and access various features of your smart TV. However, there may be times when your remote stops working or becomes unresponsive. In such cases, reprogramming your remote can help restore its functionality and ensure you can continue enjoying your favorite shows and movies.
Whether your remote is not responding to button presses, some buttons are not working, or you have replaced the batteries and need to sync the remote with your TV again, we’ll walk you through the necessary steps to reprogram your Philips Smart TV remote. These troubleshooting steps are designed to be simple and easy to follow, helping you resolve common remote-related issues without any technical expertise.
Before we begin, it’s important to note that the specific steps may vary slightly depending on the model of your Philips Smart TV. However, the general process remains the same across most models, and we’ll provide instructions that should work for the majority of devices. If you’re unsure about any specific steps or encounter any difficulties during the reprogramming process, consult your TV’s user manual or reach out to Philips customer support for further assistance.
Now, let’s dive into the troubleshooting steps to reprogram your Philips Smart TV remote and get it working again!
Step 1: Check the batteries
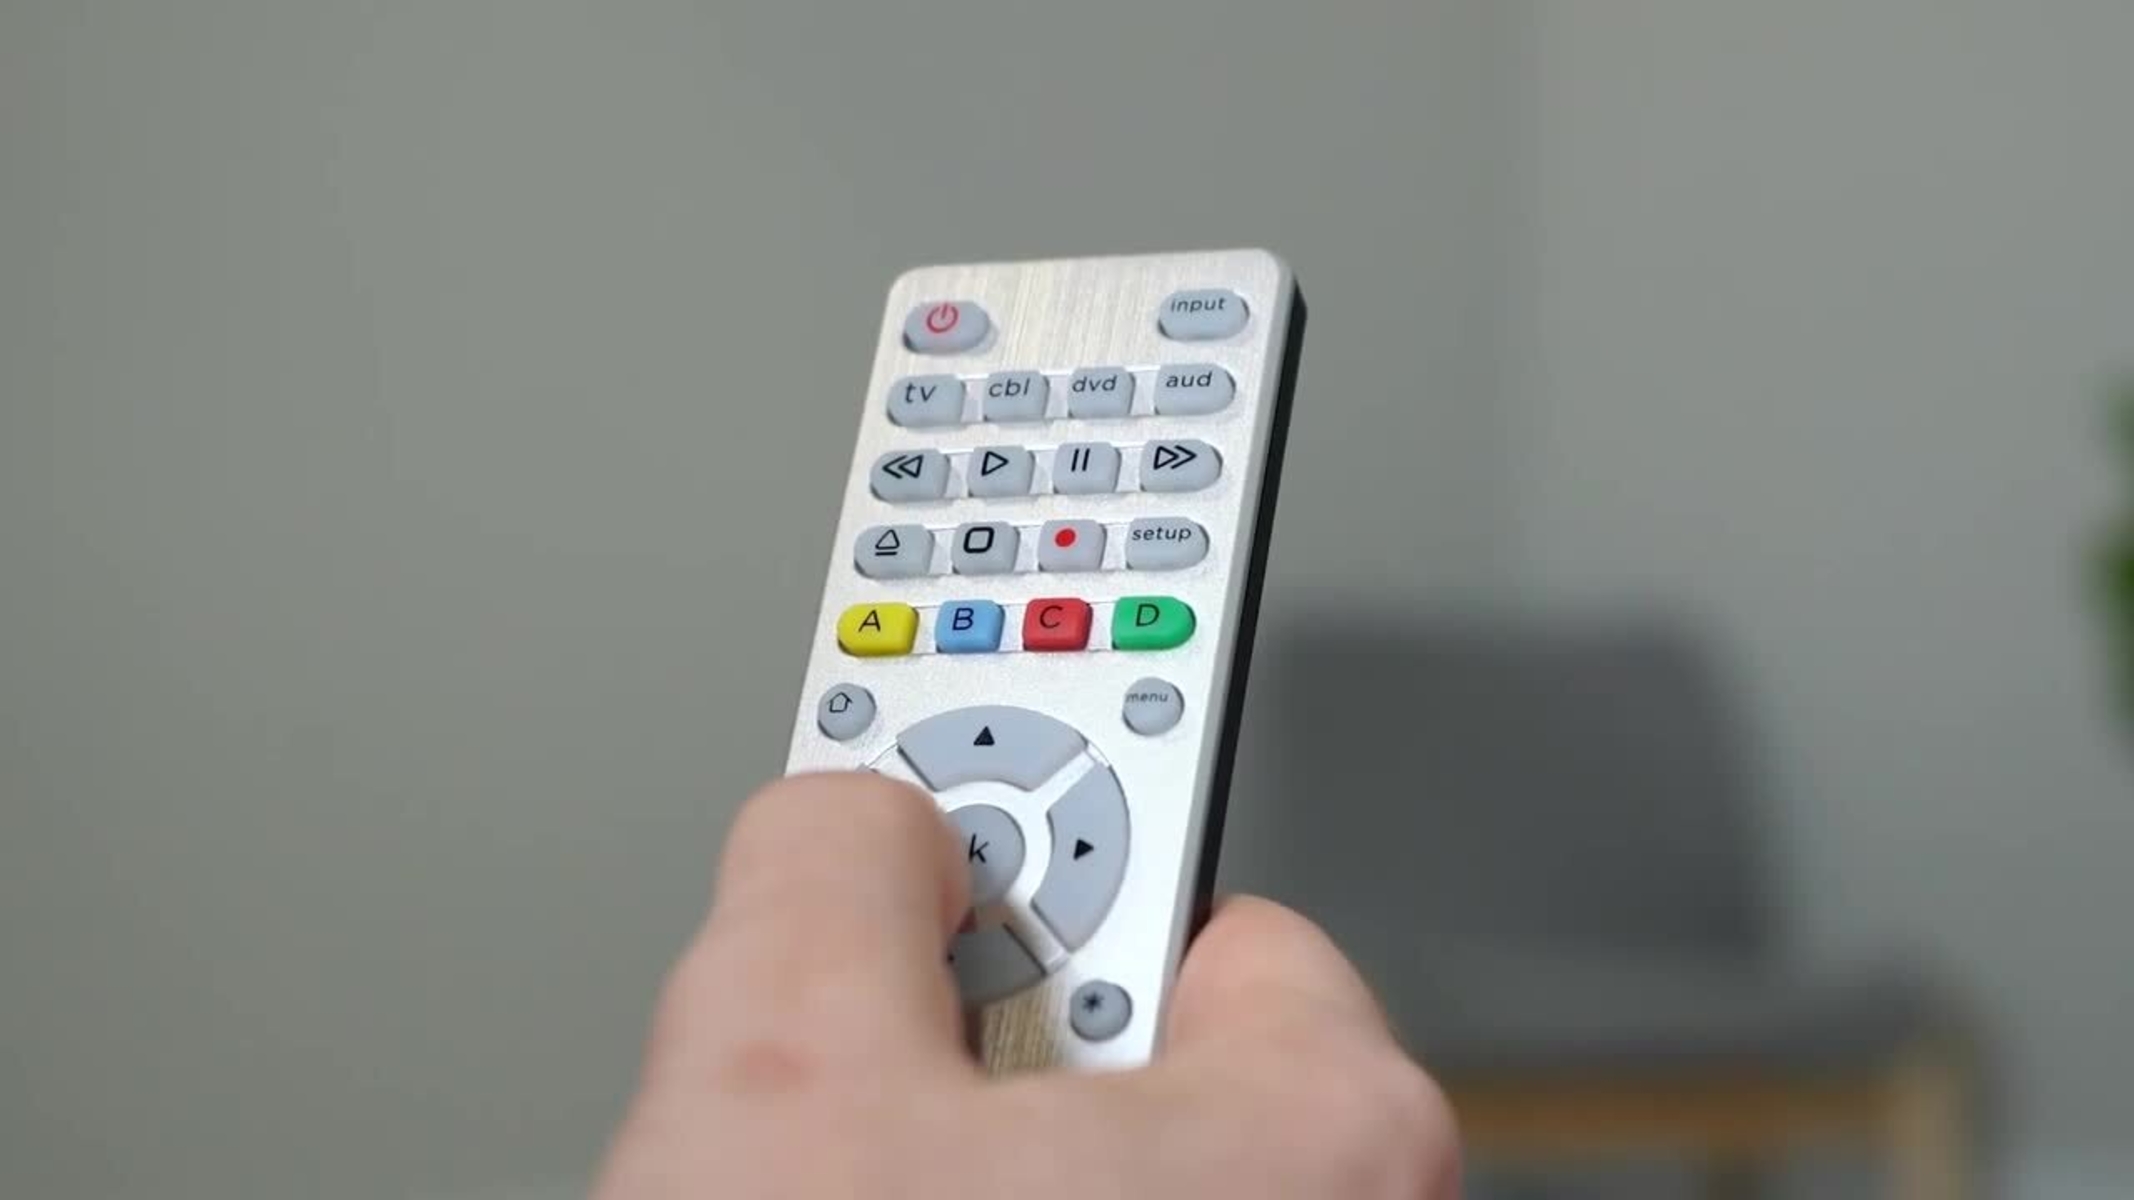
The first step in reprogramming your Philips Smart TV remote is to check the batteries. A common reason for remote control issues is simply depleted or incorrectly placed batteries. Follow these simple steps to ensure the batteries are not the cause of the problem:
- Remove the battery compartment cover from the back of the remote control.
- Check if the batteries are properly inserted. Ensure that the positive (+) and negative (-) ends of the batteries align with the markings inside the compartment.
- If the batteries are inserted correctly, check their charge level. If they are low, replace them with fresh batteries.
- Once you have replaced or repositioned the batteries, carefully put the battery compartment cover back on.
It’s a good idea to use new, high-quality batteries to ensure optimal performance. Weak or expired batteries can cause intermittent issues or make the remote completely unresponsive.
If the remote still doesn’t work after checking and replacing the batteries, proceed to the next step to reset the remote control.
Step 2: Reset the remote
If checking the batteries didn’t solve the problem, the next step is to reset the Philips Smart TV remote. Resetting the remote control can often resolve issues related to synchronization or software glitches. Follow these steps to reset the remote:
- Remove the batteries from the remote control.
- Press and hold the power button on the remote control for about 5 seconds.
- While still holding the power button, reinsert the batteries into the remote control.
- Continue holding the power button for another 5 seconds and then release it.
The remote control should now be reset. This process clears any temporary settings or configurations that might be causing the remote to malfunction. It’s important to note that resetting the remote will not affect your TV settings or any other devices connected to your smart TV.
After resetting the remote, proceed to the next step to pair it with your Philips Smart TV.
Step 3: Pair the remote with your Philips Smart TV
After resetting the remote, the next step is to pair it with your Philips Smart TV. This process ensures that the remote control communicates properly with the TV and allows you to control its functions. Follow these steps to pair the remote:
- Ensure that your Philips Smart TV is turned on.
- Hold the remote close to the TV (within 1 meter or 3 feet) to ensure a strong and uninterrupted connection.
- Press the “Home” button or the “Settings” button on the remote control.
- Using the arrow keys on the remote, navigate to the “Setup” or “Configuration” menu.
- Select “Remote Control” or “Pairing” from the menu options.
- Follow the on-screen instructions to complete the pairing process. This may involve pressing specific buttons on the remote or entering a code on the TV.
Once the pairing process is complete, your remote control should be successfully synced with your Philips Smart TV. You can now use it to navigate through menus, change channels, adjust volume, and access all the features of your smart TV.
If you encounter any difficulties during the pairing process or your remote still doesn’t work after pairing, proceed to the next step for troubleshooting common issues.
Step 4: Test the remote
After pairing the remote with your Philips Smart TV, it’s important to test its functionality to ensure that it’s working properly. Follow these steps to test the remote:
- Point the remote towards your TV and press various buttons, such as the power button, volume buttons, and navigation buttons.
- Observe if the TV responds accordingly to each button press. Check if the power turns on/off, the volume changes, and the menus and channels can be navigated.
- If some buttons are still not working, repeat the pairing process to ensure the remote is properly synced with the TV. Make sure to follow the on-screen instructions carefully.
- If the remote continues to have issues or doesn’t work at all, proceed to the next step to troubleshoot common problems.
During the testing process, it’s important to be patient and thorough. Sometimes, a minor issue like a blocked sensor or a low battery level can cause remote control problems. If you encounter any issues during the testing, refer to the user manual or reach out to Philips customer support for further assistance.
By thoroughly testing your Philips Smart TV remote, you can ensure that all the buttons and functions are working correctly, providing you with a seamless and enjoyable TV viewing experience.
Step 5: Troubleshooting common issues
If you’re still experiencing issues with your Philips Smart TV remote after following the previous steps, there are a few common problems that you can troubleshoot:
- Obstacles and Interference: Make sure there are no objects blocking the line of sight between the remote and the TV. Also, reduce any potential sources of interference, such as other electronic devices, that may disrupt the remote’s signal.
- Cleaning the Remote: Over time, dirt, dust, or debris can accumulate on the remote’s buttons and sensor, affecting its performance. Use a soft, dry cloth to clean the remote and ensure that there are no obstacles hindering button presses.
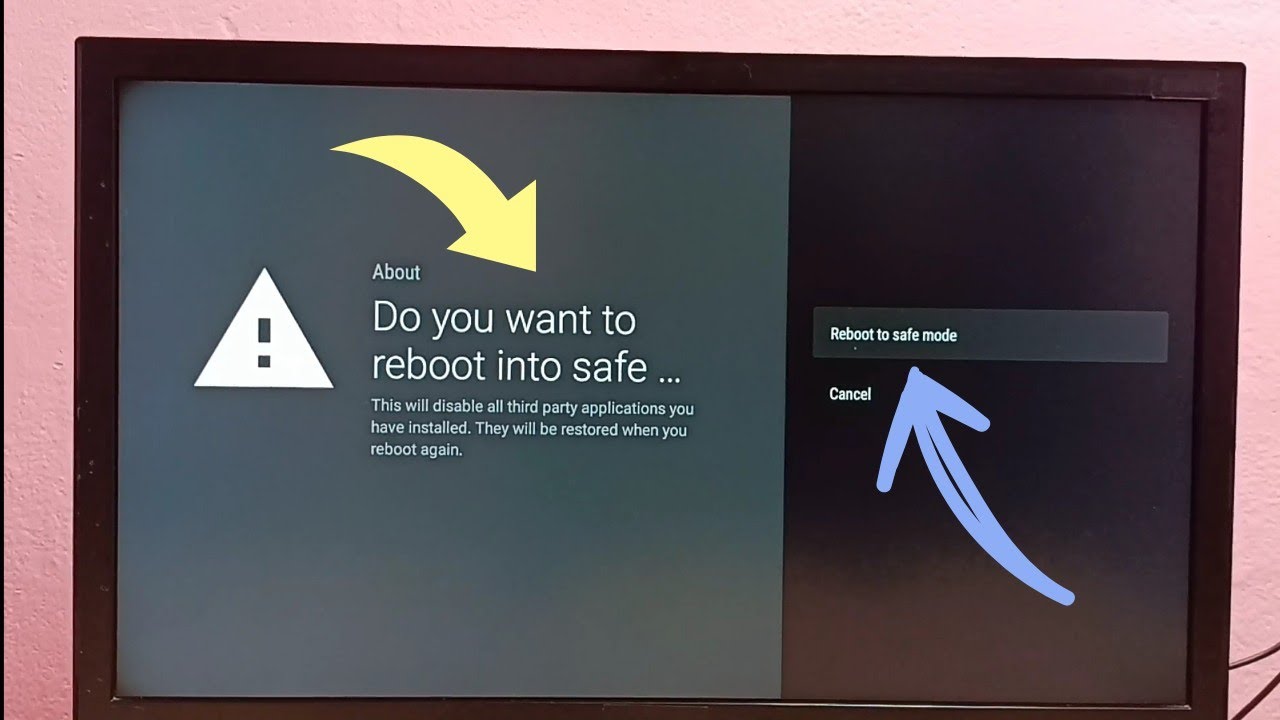
- Update Firmware: Check if there are any available firmware updates for your Philips Smart TV. Updating the TV’s firmware can sometimes resolve compatibility issues and improve the overall performance of the remote.
- Factory Reset: If all else fails, you can try performing a factory reset on your Philips Smart TV. This will restore the TV to its original settings and may help resolve any underlying issues affecting the remote control. However, keep in mind that a factory reset will erase all your custom settings and preferences, so make sure to back up any important data before proceeding.
If none of these troubleshooting steps solve the problem, it’s recommended to contact Philips customer support for further assistance. They have the expertise to diagnose and resolve more complex issues with your Philips Smart TV remote.
Remember, proper maintenance and care of your remote control can help prevent future issues. Clean the remote regularly, replace batteries when needed, and store it in a safe place to avoid damage.
By following these troubleshooting steps, you can hopefully resolve any common problems with your Philips Smart TV remote and regain full control of your TV viewing experience.
Conclusion
Congratulations! You have successfully reprogrammed your Philips Smart TV remote. By following the troubleshooting steps outlined in this guide, you have addressed common issues and ensured that your remote control is functioning properly.
Remember, the key steps to reprogramming your remote include checking the batteries, resetting the remote, pairing it with your Philips Smart TV, testing its functionality, and troubleshooting common problems. By going through these steps systematically, you can overcome most remote control issues and enjoy uninterrupted control over your smart TV.
If you encounter any difficulties along the way or if the remote continues to malfunction, don’t hesitate to consult the user manual or contact Philips customer support. They can provide additional guidance and assistance tailored to your specific model and situation.
Regular maintenance and care of your remote control, such as cleaning it and replacing batteries when necessary, will help prevent future issues. Additionally, staying up-to-date with firmware updates for your Philips Smart TV can ensure optimal compatibility and performance.
We hope that this guide has been informative and helpful in resolving your remote control issues. Now, sit back, relax, and enjoy your favorite shows and movies with full control over your Philips Smart TV!