Introduction
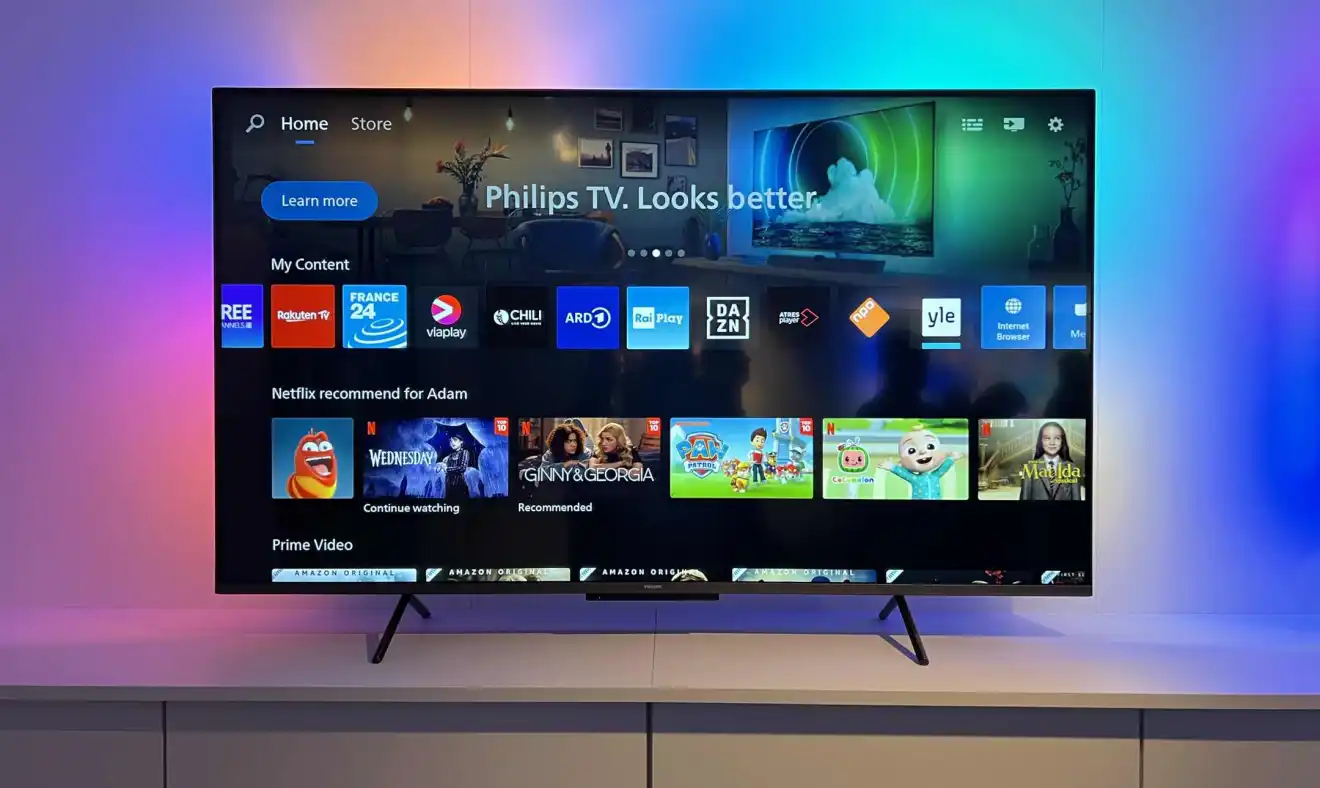
Welcome to the world of Philips Smart TV! With its advanced features and user-friendly interface, Philips Smart TV allows you to enjoy an immersive entertainment experience right in the comfort of your own home. One of the key components of your Philips Smart TV is the remote control, which provides you with the power to navigate through the various menus, apps, and settings.
However, like any electronic device, the Philips Smart TV remote control may encounter issues from time to time. Whether it’s unresponsiveness, pairing problems, or simply a need for a fresh start, knowing how to reset your Philips Smart TV remote can help resolve these issues and get you back to enjoying your favorite TV shows and movies.
In this article, we will guide you through the process of resetting your Philips Smart TV remote. We will explore different troubleshooting techniques, including re-pairing the remote, resetting it to factory settings, and even replacing it if necessary. By the end of this article, you’ll be equipped with the knowledge to tackle any remote-related issues and make the most out of your Philips Smart TV experience.
So, whether you’re experiencing difficulties with your remote or simply want to ensure smooth operation, let’s dive into the world of resetting your Philips Smart TV remote and bring back the joy of effortless control over your entertainment system.
Understanding the Philips Smart TV Remote
Before we jump into the process of resetting your Philips Smart TV remote, it’s important to have a clear understanding of how the remote works. The Philips Smart TV remote is designed to provide seamless navigation and control over your Smart TV functions, offering a range of features to enhance your viewing experience.
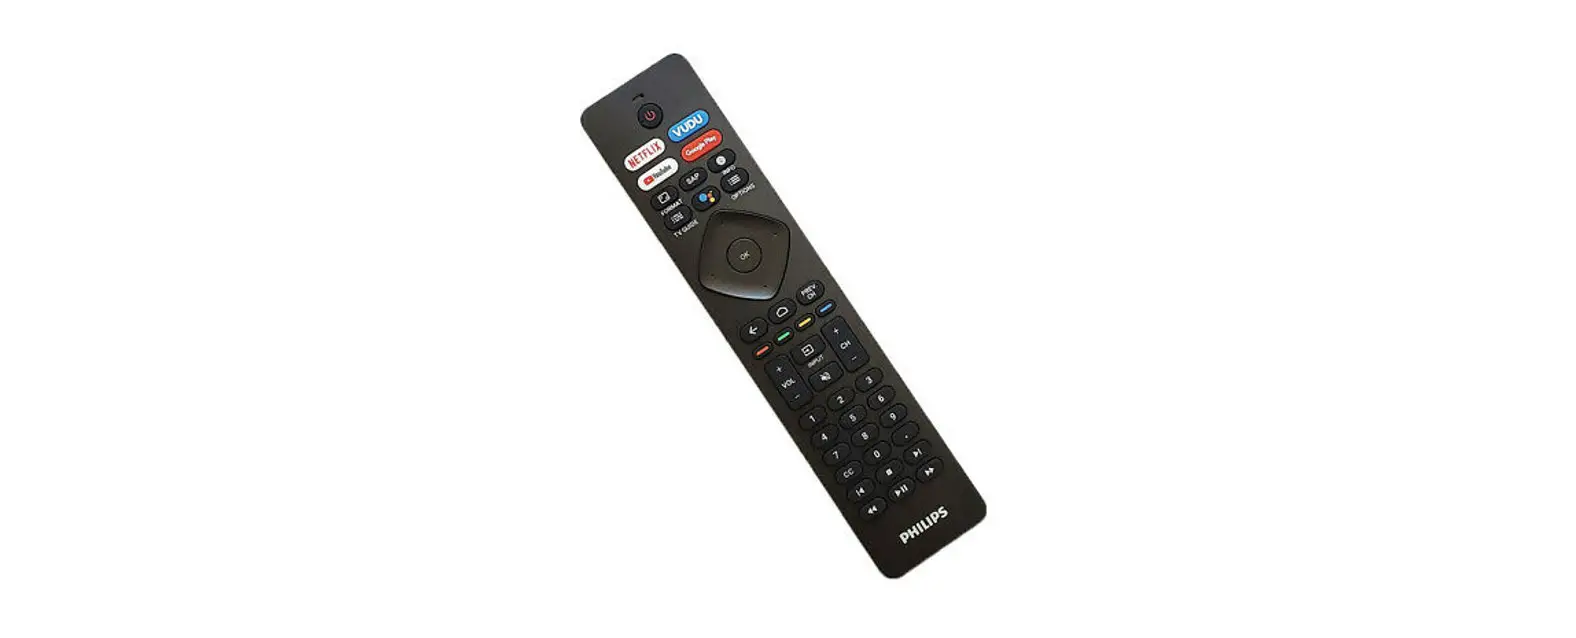
The Philips Smart TV remote is typically sleek and ergonomic in design, making it comfortable to hold and operate. It features a variety of buttons, each serving a specific purpose. The most common buttons you will find on a Philips Smart TV remote include:
- Navigation buttons: These buttons, usually in the form of arrows, allow you to move through menus, apps, and settings.
- OK/Select button: This button is used to confirm your selections or choices while navigating through the TV’s interface.
- Home button: Pressing this button takes you directly to the home screen of your Philips Smart TV, providing quick access to various apps and settings.
- Volume and Channel buttons: These buttons allow you to control the volume level and change channels on your TV.
- Numeric keypad: The numeric keypad enables you to enter specific channel numbers or access certain functions using corresponding codes.
- Settings button: This button grants you direct access to the settings menu of your Philips Smart TV, allowing you to customize various aspects of your TV’s operation.
- Power button: Pressing this button turns your Philips Smart TV on or off.
In addition to these commonly used buttons, some Philips Smart TV remotes may have additional features like a dedicated Netflix or YouTube button for easy access to these popular streaming services.
Understanding the buttons and their functions on your Philips Smart TV remote is essential when troubleshooting remote-related issues. By familiarizing yourself with the different buttons and their purposes, you can effectively navigate through menus, control your TV’s settings, and resolve any problems that may arise.
Now that we have a solid understanding of the Philips Smart TV remote, let’s move on to troubleshooting the remote and learn how to reset it when necessary.
Troubleshooting the Remote
Having trouble with your Philips Smart TV remote? Don’t worry, we’ve got you covered. Before resorting to a complete reset or replacement, let’s explore some common troubleshooting steps to help you get your remote back in working order.
1. Check the Batteries: The first step in troubleshooting any remote control is to ensure that the batteries are fresh and properly inserted. Replace the batteries if necessary, making sure to check the polarity (+/-) and ensuring a secure connection.
2. Clean the Remote: Over time, dirt, grime, and dust can accumulate on the remote’s buttons and affect its functionality. Take a soft, lint-free cloth and gently wipe the surface of the remote, paying extra attention to the buttons. This can help remove any debris that may be interfering with proper button operation.
3. Remove Obstructions: Ensure that there are no objects blocking the line of sight between the remote and the TV’s infrared (IR) sensor. Sometimes, obstructions like furniture or other electronic devices can interfere with the remote’s signals. Clear any obstructions and try again.
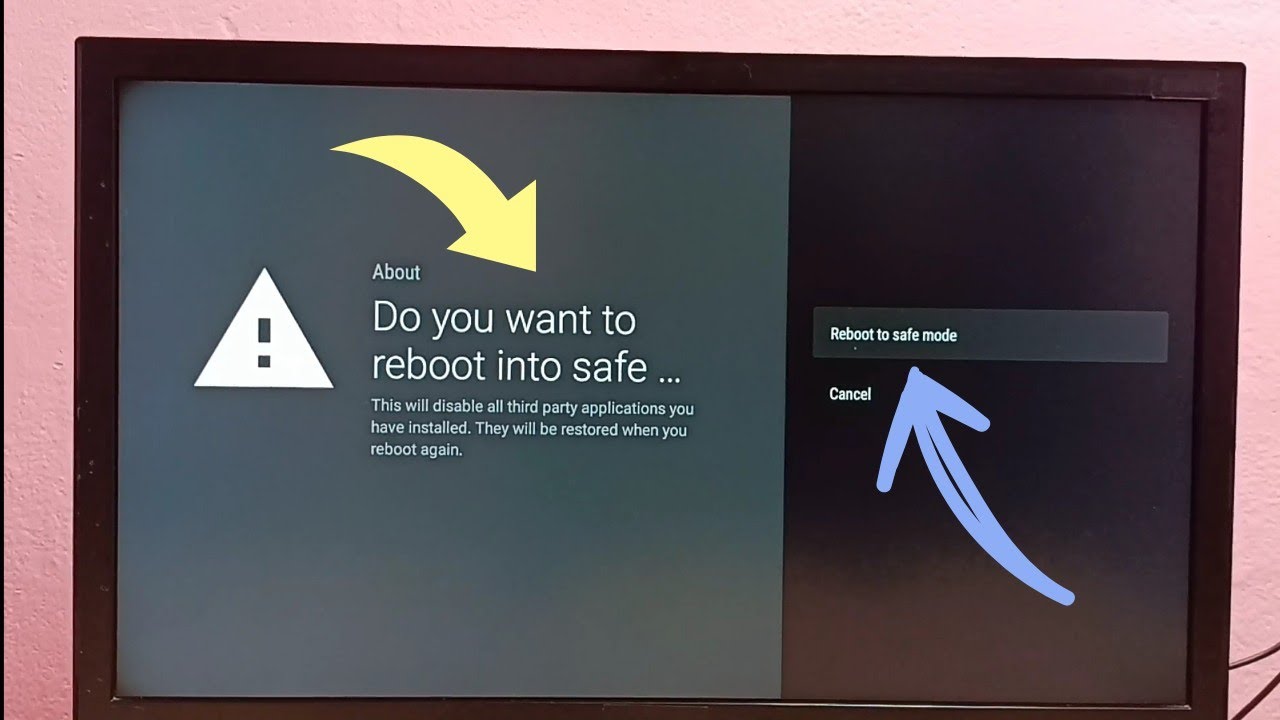
4. Restart the TV: A simple restart can often resolve minor glitches. Turn off your Philips Smart TV, unplug it from the power source, wait for a minute, then plug it back in and turn it on. Once the TV has restarted, try using the remote again to see if it’s working properly.
5. Try Different Angles: Sometimes, aiming the remote from a slightly different angle can improve its functionality. Experiment with different angles and distances to see if it affects the remote’s responsiveness.
6. Update the Software: In some cases, a software update might be necessary to ensure optimal remote performance. Check for any available firmware updates for your Philips Smart TV and follow the instructions provided by the manufacturer to install them.
If these troubleshooting steps don’t resolve the issue, it may be necessary to consider more advanced measures like re-pairing the remote or resetting it to its factory settings, which we’ll discuss in the following sections. Understanding these troubleshooting steps can help you identify and resolve common remote-related issues, saving you time and hassle.
Option 1: Re-pair the Remote
If your Philips Smart TV remote is still not functioning properly after troubleshooting, re-pairing the remote with your TV can often solve the problem. Re-pairing establishes a fresh connection between the remote and the TV, ensuring optimal communication and functionality.
Here is a step-by-step guide on how to re-pair your Philips Smart TV remote:
- Turn on your Philips Smart TV and ensure that it’s in an operational state.
- Locate the pairing button on your TV’s remote control or on the back of your TV. The pairing button typically has an icon resembling two arrows forming a circle.
- Press and hold the pairing button on the remote control for a few seconds until you see a notification indicating that the remote is in pairing mode.
- On your TV, navigate to the settings menu using either the remote control or the buttons on the TV itself.
- Select the “Remote Control” or “Pairing” option from the settings menu.
- Follow the on-screen instructions to complete the pairing process. This may involve entering a code or confirming the pairing request.
- Once the pairing is successful, your remote should now be re-paired with your Philips Smart TV.
After re-pairing, test the remote by navigating through the menus, adjusting the volume, and performing other functions. If the remote is now working properly, you can continue enjoying your TV without any further issues.
If re-pairing the remote doesn’t resolve the problem, it may be necessary to consider resetting the remote to its factory settings, which we’ll explore in the next section.
Please note that the exact steps for re-pairing the remote may differ depending on the specific Philips Smart TV model you own. Consult your TV’s user manual or visit the Philips support website for model-specific instructions.
Option 2: Resetting the Remote to Factory Settings
If re-pairing the remote did not solve the issue, another option is to reset the remote to its factory settings. Resetting the remote can often resolve more complex problems and restore it to its original, out-of-the-box state.
Follow these steps to reset your Philips Smart TV remote to factory settings:
- Turn on your Philips Smart TV and make sure it’s powered on.
- Locate the remote’s settings menu, which is usually accessible through the TV’s interface or by pressing a combination of buttons on the remote.
- Navigate to the “Remote Control” or “Reset” option in the settings menu.
- Select the “Reset to Factory Settings” or similar option to initiate the reset process.
- Confirm the reset when prompted. This will erase any custom settings or configurations you may have made on the remote.
- Wait for the remote to reset to its factory settings. This may take a few moments.
- Once the reset is complete, the remote will be restored to its original state.
After the remote has been reset, try using it to navigate through the TV’s menus and settings. Test the buttons to ensure they are functioning correctly.
If the remote is still experiencing issues or not working as expected even after resetting to factory settings, it may be time to consider replacing the remote. Read on to the next section for more information on obtaining a new Philips Smart TV remote.
Keep in mind that the steps to reset the remote may vary based on the model and firmware version of your Philips Smart TV. Refer to your TV’s user manual or visit the Philips support website for model-specific instructions.
Option 3: Replacing the Remote
If re-pairing and resetting the remote did not resolve the issue, and the remote is still malfunctioning or unresponsive, you may need to consider replacing it. While this is the least ideal option, it can provide a quick and effective solution to restore full control over your Philips Smart TV.
Here are a few steps to help you replace your Philips Smart TV remote:
- Identify the model number of your Philips Smart TV. This information can usually be found on the TV itself or in the user manual.
- Visit the official Philips website or authorized retailers to find a compatible replacement remote for your specific TV model.
- Purchase the replacement remote that matches your Philips Smart TV model.
- Once you have the new remote, carefully unpack it and insert the batteries according to the instructions provided.
- Follow the manufacturer’s instructions to pair the new remote with your Philips Smart TV. This may involve pressing certain buttons in a specific sequence or following an on-screen prompt.
- Once the new remote is paired and working correctly, dispose of the old remote properly, or keep it as a backup in case you encounter any future issues.
By replacing the remote, you can regain full control over your Philips Smart TV and enjoy all of its features without any setbacks. Remember to keep your new remote in a safe place to prevent loss or damage.
If you prefer a slightly different option, you may also consider using a universal remote control that is compatible with Philips Smart TVs. Universal remotes are designed to work with various brands and models, providing a convenient alternative to the original remote. Just ensure that the universal remote supports the specific features and functions of your Philips Smart TV.
Before purchasing a replacement or universal remote, it’s always worth contacting Philips customer support to check if they have any specific recommendations or troubleshooting steps for your remote-related issues.
With a new or compatible remote in hand, you can now continue enjoying your Philips Smart TV without any disruptions or limitations.
Conclusion
Dealing with a malfunctioning or unresponsive Philips Smart TV remote can be frustrating, but with the troubleshooting techniques and options we’ve explored in this article, you now have the tools to tackle these issues effectively.
We started by understanding the Philips Smart TV remote and its various buttons and functions. This knowledge is essential when troubleshooting and navigating through the TV’s interface. We then delved into troubleshooting steps such as checking the batteries, cleaning the remote, removing obstructions, and restarting the TV. These simple actions can often resolve minor issues and get your remote back on track.
If basic troubleshooting doesn’t solve the problem, we explored option one: re-pairing the remote. Re-pairing establishes a fresh connection between the remote and the TV, ensuring optimal communication. If re-pairing doesn’t work, we discussed option two: resetting the remote to its factory settings. This can address more complex problems and restore the remote to its original state. And finally, if all else fails, we discussed option three: replacing the remote. Whether purchasing an original remote or a compatible universal remote, this step ensures that you regain full control over your Philips Smart TV.
Remember, the exact steps may vary depending on your specific TV model. Consult the user manual or the Philips support website for model-specific instructions.
By following these troubleshooting steps and options, you can overcome remote-related issues and enjoy the full functionality of your Philips Smart TV once again.
Should you encounter any persistent or unresolved issues with your remote control, it’s always a good idea to reach out to Philips customer support for further assistance. With their expertise and guidance, you can find a tailored solution to your specific problem.
Now, armed with the knowledge to reset and troubleshoot your Philips Smart TV remote, go ahead and take control of your entertainment experience with ease and convenience.