Introduction
Welcome to this guide on how to factory reset a Philips Smart TV. Whether you’re experiencing technical issues, want to start fresh, or are preparing to sell or give away your TV, performing a factory reset can be a helpful solution. A factory reset will restore your Philips Smart TV to its original settings, erasing all personalized configurations and installed apps. It’s important to note that performing a factory reset should be a last resort, as it will delete all saved data and settings.
Before proceeding with the reset, it’s worth trying basic troubleshooting steps like power cycling the TV, checking the connections, and updating the firmware. If these steps don’t resolve the issue, a factory reset might be necessary.
In this guide, we’ll walk you through the step-by-step process of performing a factory reset on your Philips Smart TV. The exact steps may vary depending on the model and firmware version of your TV, so it’s always a good idea to consult the user manual or Philips’ official support website for specific instructions.
Note: Performing a factory reset will erase all your personalized settings, installed apps, and logged-in accounts. Make sure to take note of any settings or login details you wish to retain before proceeding.
Now, let’s dive into the process of factory resetting a Philips Smart TV.
Step 1: Access the Settings Menu
The first step to factory reset your Philips Smart TV is to access the settings menu. This can usually be done through the TV’s remote control. Here’s how:
- Make sure your TV is turned on and press the “Home” or “Menu” button on your remote control. This will bring up the main menu on your TV screen.
- Using the arrow keys on your remote control, navigate to the “Settings” option. It is typically represented by a gear or wrench icon.
- Once you’ve highlighted the “Settings” option, press the “OK” or “Enter” button to enter the settings menu.
- You should now be in the settings menu, where you can access various configuration options for your TV.
Keep in mind that the exact button names and menu layout may differ slightly depending on your specific Philips Smart TV model. If you’re unsure, refer to the user manual or the support section on Philips’ official website for detailed instructions specific to your TV.
Now that you’ve successfully accessed the settings menu, let’s move on to the next step: selecting the “Installation” option.
Step 2: Select the “Installation” option
After accessing the settings menu, the next step is to select the “Installation” option. This option allows you to perform various setup and configuration tasks on your Philips Smart TV. Here’s how to find and select it:
- Using the arrow keys on your remote control, navigate through the settings menu until you find the “Installation” option. It is typically located under the “Setup” or “System” category.
- Once you’ve highlighted the “Installation” option, press the “OK” or “Enter” button to enter the installation settings.
- You should now see a list of installation-related options on your screen.
Each Philips Smart TV model may have a slightly different layout and naming convention for its settings menu, so make sure to refer to the user manual or Philips’ official support website if you’re unsure about finding the “Installation” option on your specific TV model.
Now that you’ve successfully entered the installation settings, let’s proceed to the next step: choosing the “Factory Reset” option.
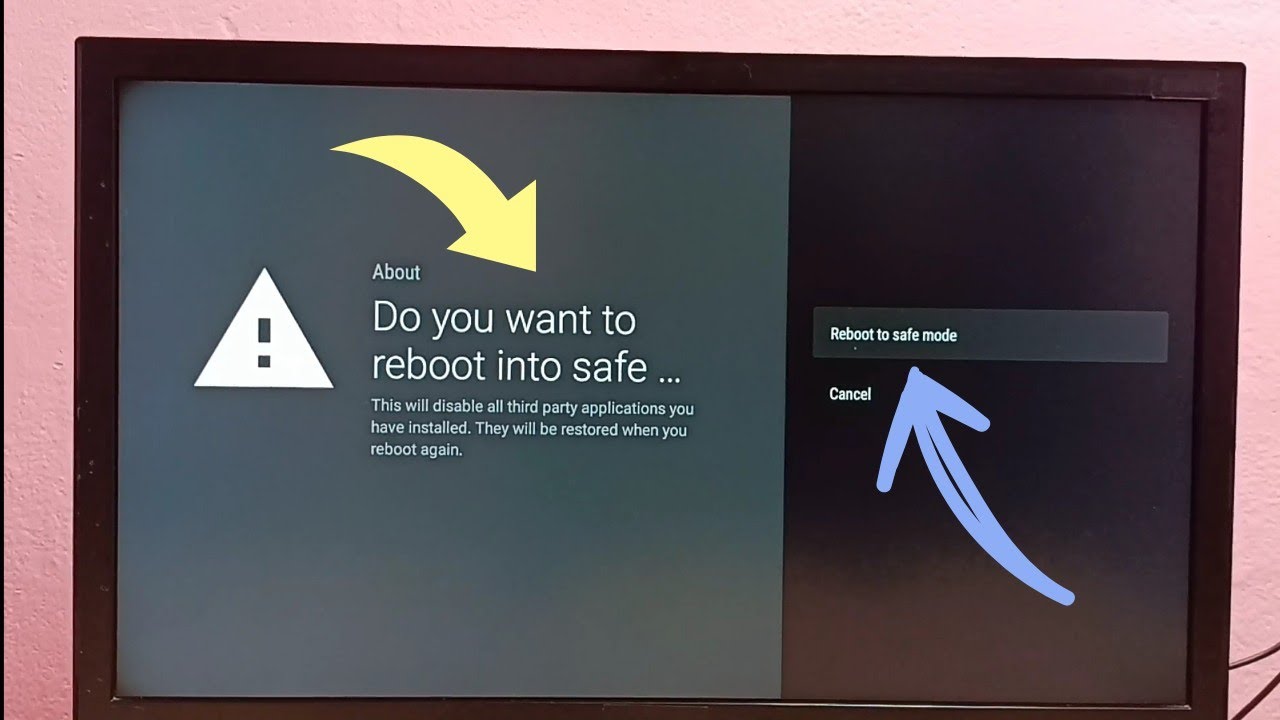
Step 3: Choose “Factory Reset”
Once you have accessed the installation settings menu, the next step is to choose the “Factory Reset” option. This will initiate the process of resetting your Philips Smart TV to its factory default settings. Here’s how to do it:
- Using the arrow keys on your remote control, navigate through the installation settings menu until you find the “Factory Reset” or “Reset TV” option. The exact naming may vary depending on the model and firmware version of your TV.
- Once you’ve highlighted the “Factory Reset” option, press the “OK” or “Enter” button to select it.
- A confirmation prompt may appear on your screen, asking you to confirm the factory reset. Read the prompt carefully and proceed with caution, as this action cannot be undone.
- Use the arrow keys to navigate to the “Yes” or “Confirm” option, and then press the “OK” or “Enter” button to confirm the factory reset.
It’s important to note that the factory reset process may take several minutes to complete. Avoid interrupting the TV’s power supply during this time to prevent any potential issues.
Remember to back up any important files or settings before proceeding, as the factory reset will erase all personalized data from your TV.
Now that you’ve chosen the “Factory Reset” option, let’s move on to the next step: confirming the reset.
Step 4: Confirm the reset
After selecting the “Factory Reset” option, the next step is to confirm the reset on your Philips Smart TV. This confirmation step ensures that you indeed want to proceed with the factory reset and erase all personalized data. Here’s what you need to do:
- Once you have selected the “Factory Reset” option, a confirmation prompt will appear on your TV screen.
- Read the prompt carefully to understand the consequences of the reset, as all personalized settings, installed apps, and logged-in accounts will be permanently deleted.
- Using the arrow keys on your remote control, navigate to the “Yes” or “Confirm” option.
- Press the “OK” or “Enter” button on your remote control to confirm the factory reset.
It’s crucial to double-check your decision before confirming the reset, as there is no way to undo it once the process is initiated. Ensure that you have backed up any important files, settings, or login information that you want to retain.
Once you have confirmed the reset, the TV will begin the process of restoring its factory default settings. This may take a few moments, and you should avoid interrupting the power supply to prevent any potential issues.
Now that you have confirmed the reset, let’s move on to the next step: waiting for the TV to reset.
Step 5: Wait for the TV to reset
After confirming the factory reset on your Philips Smart TV, you will need to wait for the TV to complete the reset process. This step requires patience as the TV restores its factory default settings. Here’s what you need to do:
- Once you have confirmed the factory reset, the TV will begin the resetting process. You will see a progress indicator or a message on your TV screen indicating that the reset is in progress.
- During this time, it’s important to avoid turning off the TV or interrupting the power supply. Doing so could cause potential issues with the reset process.
- The duration of the reset process may vary depending on the TV model and the amount of data to be erased. It could take a few minutes to complete, so be patient and allow the TV to finish the reset.
While waiting for the TV to reset, you can take this opportunity to gather any necessary cables or accessories you may need for the TV setup after the reset is complete.
Once the TV has finished the reset process, it will automatically restart and be restored to its factory default settings. At this point, you can proceed to the final step: setting up the TV again.
Now that you have completed the waiting period, let’s move on to the final step: setting up the TV again.
Step 6: Set up the TV again
After the factory reset is complete, it’s time to set up your Philips Smart TV again. This involves going through the initial setup process to configure your preferences and personalize the TV to your liking. Here’s what you need to do:
- When the TV has finished resetting, it will restart and display the initial setup screen. Follow the on-screen instructions to proceed.
- Select your preferred language using the arrow keys on your remote control, and then press the “OK” or “Enter” button to continue.
- Next, you may be prompted to choose your country or region. Navigate through the options and select the appropriate setting for your location.
- Depending on your TV model and firmware, you may be asked to connect the TV to your home Wi-Fi network. Select your Wi-Fi network from the list of available networks, enter the password if prompted, and connect to it.
- Once connected to the internet, the TV may perform a software update to ensure it has the latest firmware. Let the update process complete if prompted.
- You may be asked to sign in with your Philips account or set up a new account. Follow the on-screen instructions to proceed.
- Finally, you’ll have the option to customize advanced settings such as picture and audio preferences. Navigate through the options and adjust them according to your preferences.
- Once you have completed the setup process, the TV will be ready for use. You can start exploring the various features and options of your Philips Smart TV.
It’s worth noting that the setup process may vary slightly depending on your specific TV model and firmware version. Refer to the user manual or Philips’ official support website for detailed instructions tailored to your TV.
Congratulations! You have successfully reset and set up your Philips Smart TV. Enjoy using your TV with its fresh factory default settings.
Conclusion
Performing a factory reset on your Philips Smart TV can be a helpful solution for troubleshooting issues, starting fresh, or preparing the TV for sale or giveaway. While the process may vary slightly depending on the model and firmware version of your TV, the general steps remain the same.
In this guide, we’ve walked you through the step-by-step process of factory resetting your Philips Smart TV. We started by accessing the settings menu, selecting the “Installation” option, choosing the “Factory Reset” option, confirming the reset, waiting for the TV to reset, and finally setting up the TV again.
Remember, a factory reset will erase all personalized settings, installed apps, and logged-in accounts on your TV. Before proceeding with the reset, make sure to back up any important files, settings, or login information that you want to retain.
If you encounter any issues or have specific questions about the factory reset process for your Philips Smart TV, refer to the user manual or Philips’ official support website for detailed instructions tailored to your TV model.
By following these steps, you can successfully perform a factory reset on your Philips Smart TV, allowing you to start fresh and enjoy your TV with its default settings.
Thank you for reading this guide, and we hope it has been helpful to you. Happy resetting!