Introduction
Welcome to our guide on how to remove unwanted cables from your power supply unit (PSU). If you’re looking to optimize your PC’s cable management or replace your current PSU with a more efficient model, this article will walk you through the process step by step.
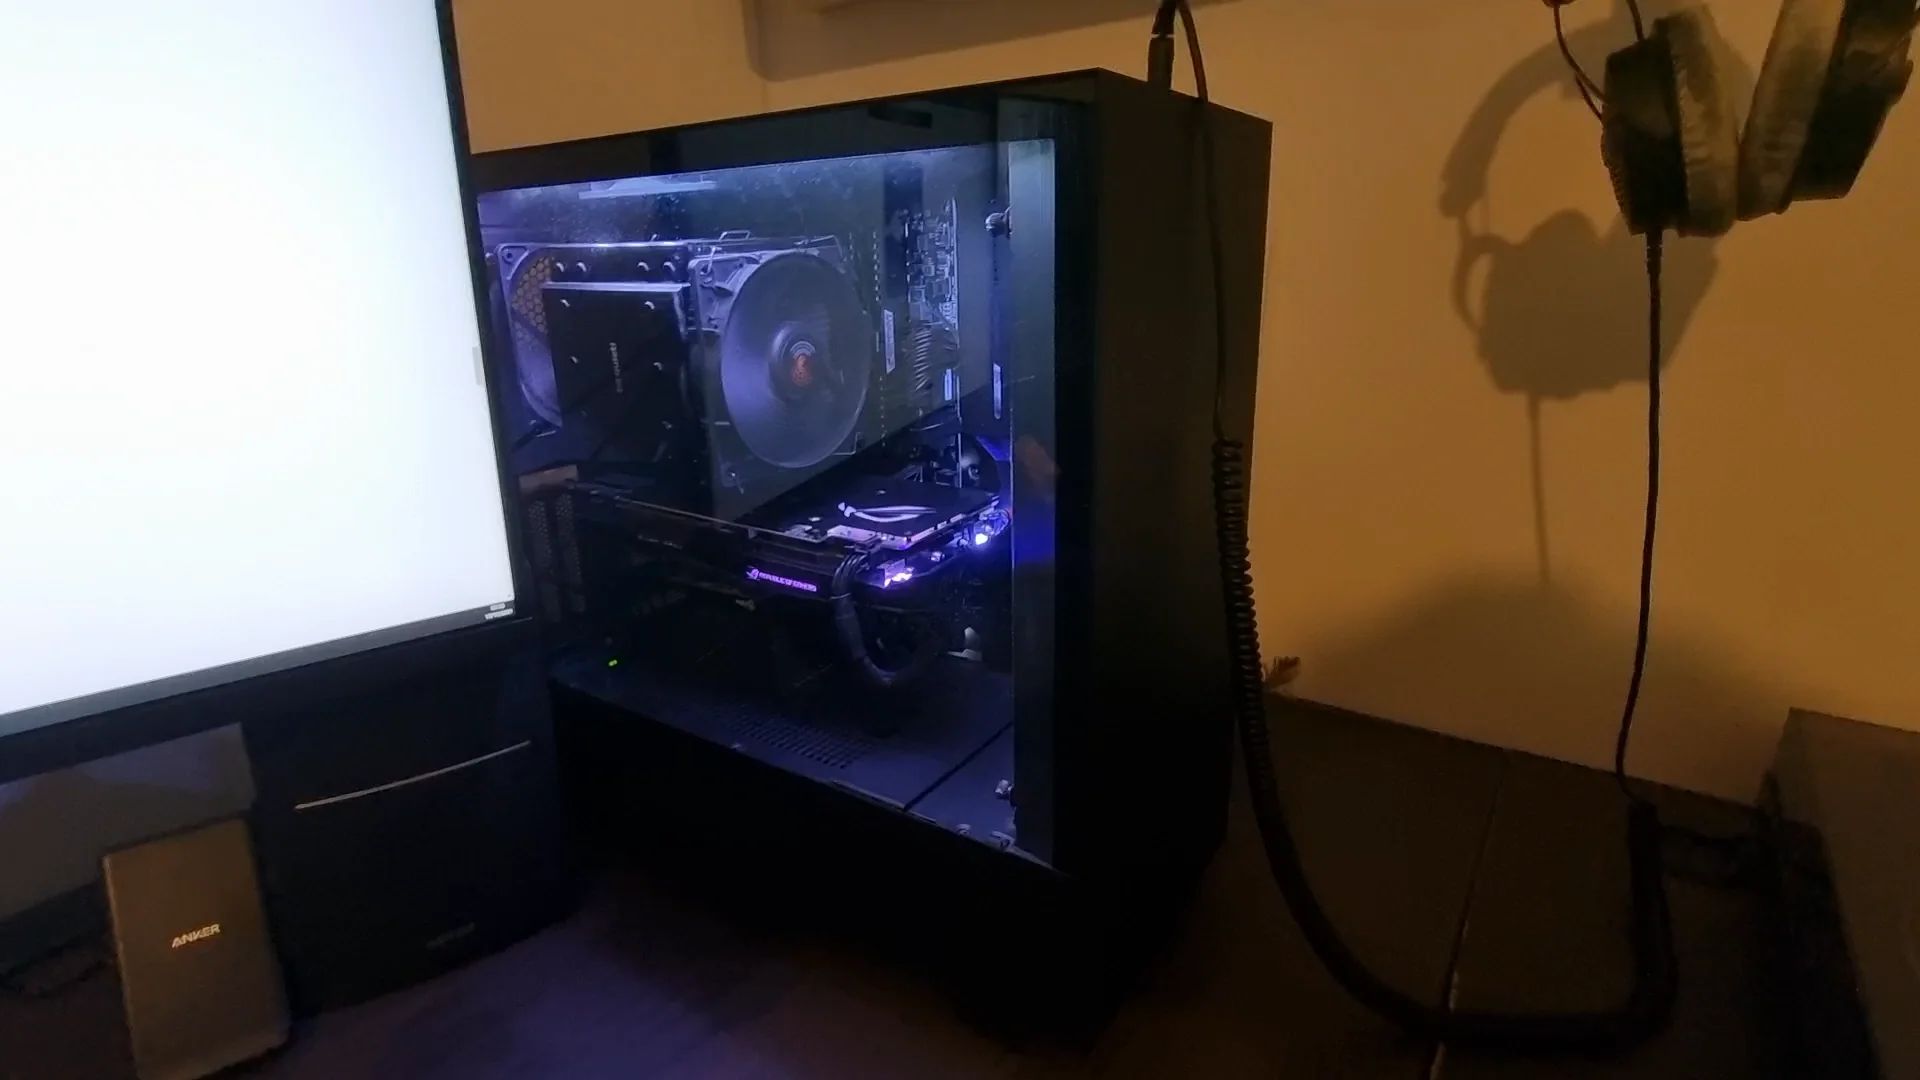
Having unnecessary cables in your PSU can not only hinder airflow and increase the temperature inside your computer case, but it can also make cable management a challenging task. Removing unwanted cables can improve the overall aesthetics of your PC build and ensure better airflow, resulting in improved system performance and reduced noise.
Before we dive into the cable removal process, it is important to note that making changes to your PSU can void any warranty it may have. If your PSU is still under warranty, it’s best to check with the manufacturer or consult a professional for assistance. Additionally, always make sure to turn off your PC and unplug it from the power source before working on the internal components to avoid any electrical accidents.
In this guide, we will discuss the tools you’ll need, the precautions to take before removing any cables, how to identify unwanted cables, step-by-step instructions for disconnecting them, techniques for organizing the remaining cables, and finally, testing the PSU to ensure everything is functioning correctly.
Are you ready to tidy up your PC and remove those unnecessary cables from your power supply? Let’s get started with the necessary tools and materials required for this project.
Tools and Materials Needed
Before you begin removing unwanted cables from your PSU, make sure you have the following tools and materials:
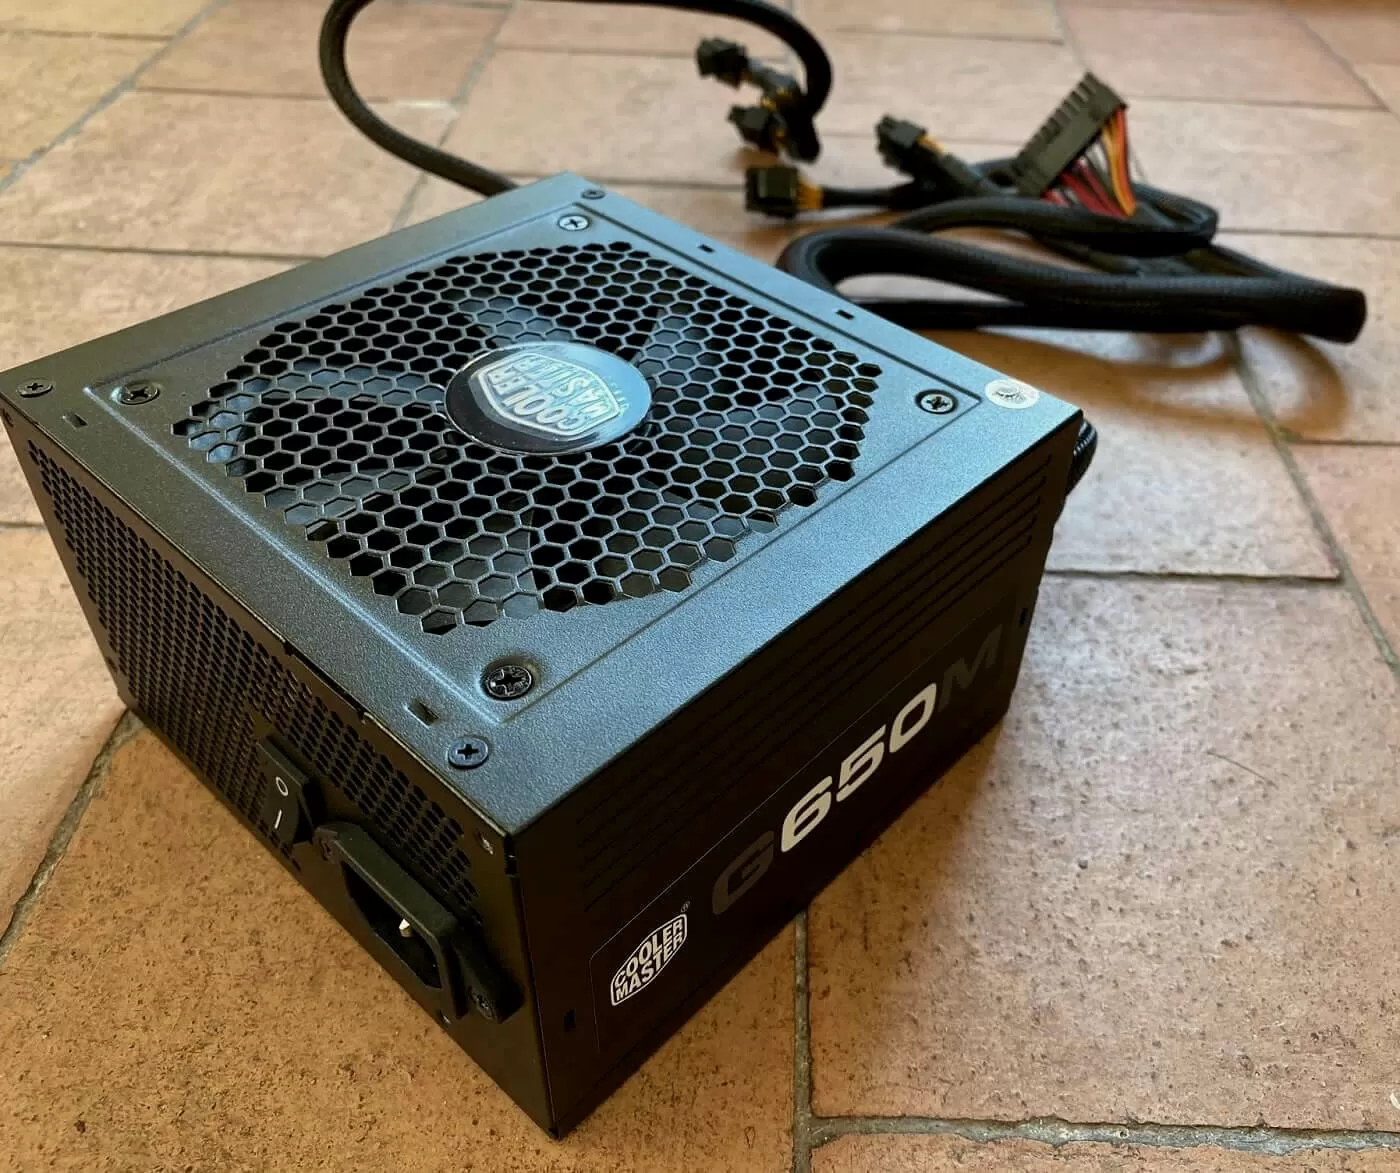
- Screwdriver (usually a Phillips head) – This will be used to open your computer case and access the PSU.
- Anti-static wrist strap – It’s important to prevent static electricity from damaging your components, so wearing an anti-static wrist strap is highly recommended.
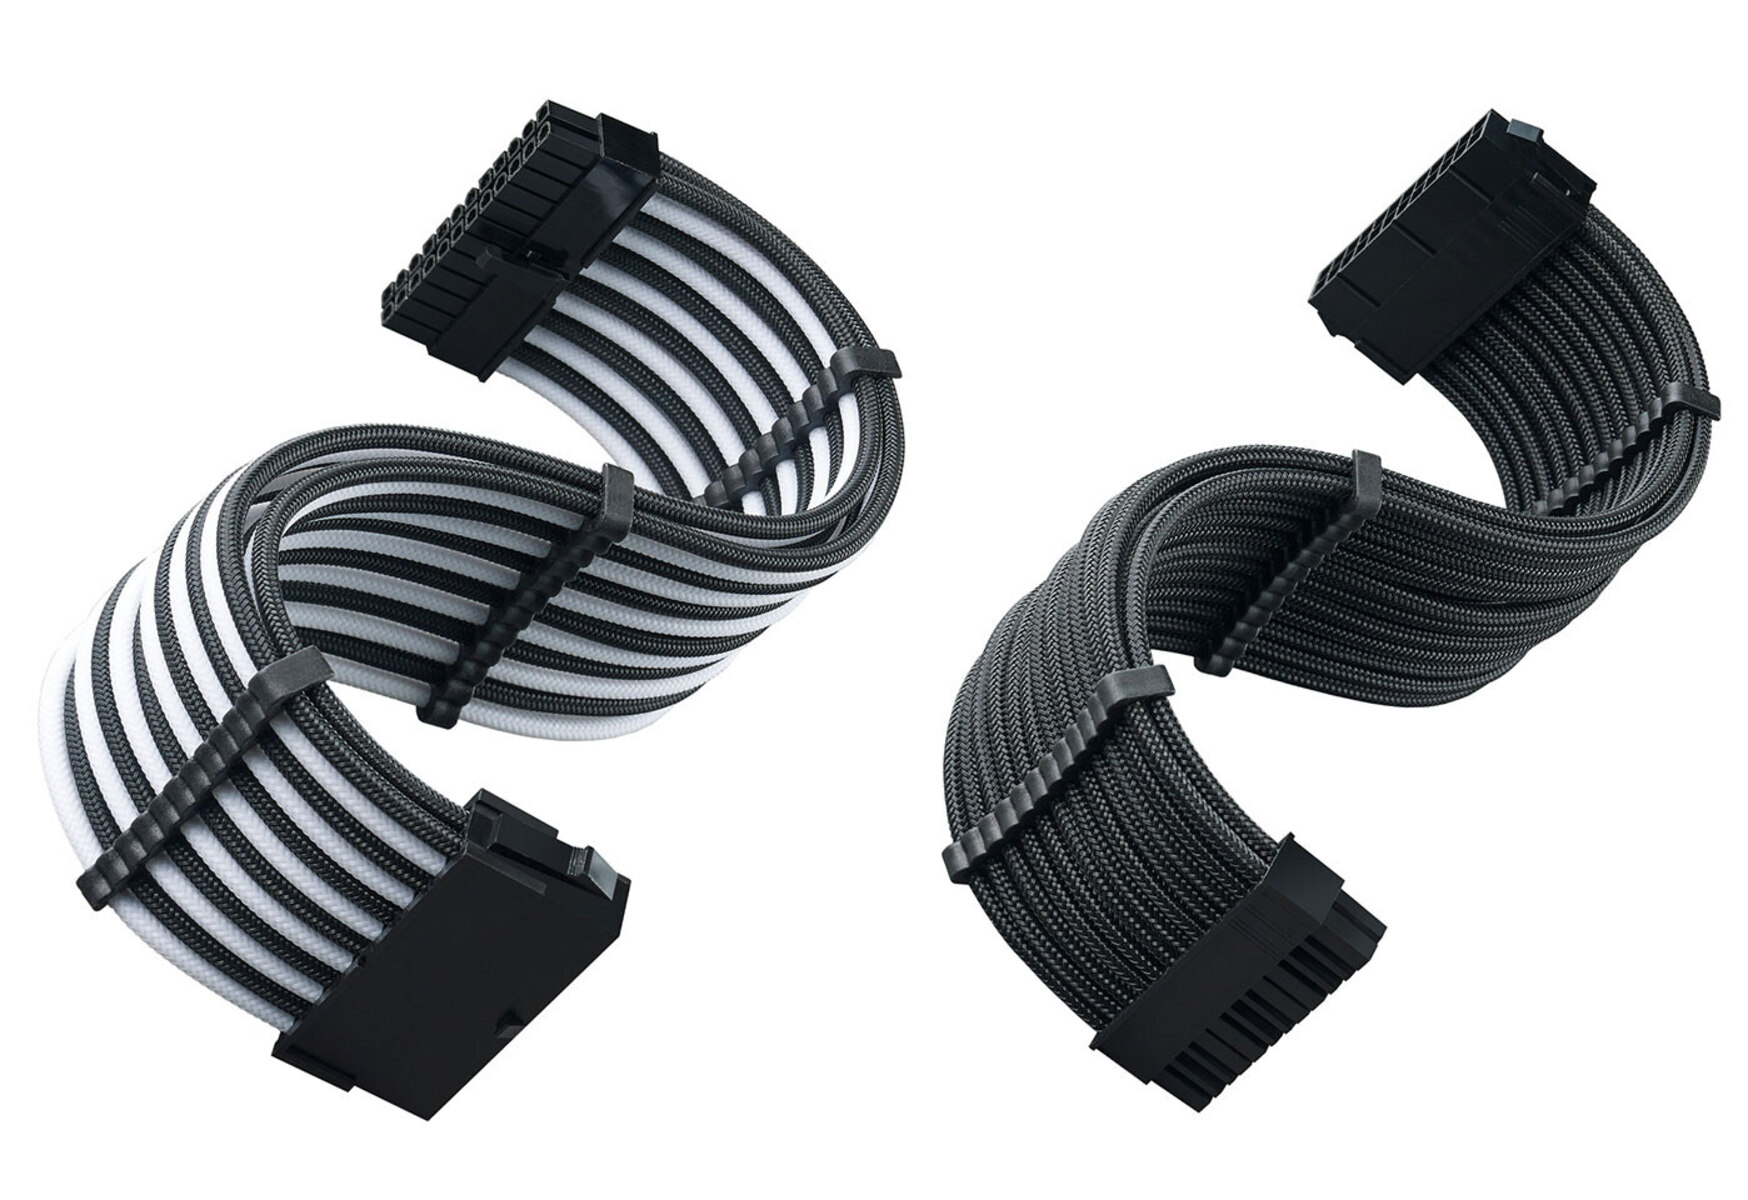
- Cable ties or Velcro straps – These will help with cable management and keeping the remaining cables organized and secure.
- Wire cutters – In case you need to trim any excess length from the cables you remove.
- Plastic cable combs (optional) – These can help you achieve a cleaner and more organized look by neatly aligning the cables.
Additionally, it’s a good idea to have a clean and well-lit workspace, preferably with a grounded surface. This will help prevent any potential damage to your components and make the removal process smoother and more efficient.
Remember, it’s important to use the proper tools when working with computer hardware to avoid any mishaps or damage to your equipment. Now that you have all the necessary tools and materials ready, let’s move on to the precautions you should take before removing any cables.
Precautions to Take Before Removal
Before you begin removing any cables from your PSU, it’s crucial to take the following precautions to ensure your safety and the well-being of your computer:
- Turn off your computer and unplug it from the power source – This will prevent any potential electrical accidents while you work on the internal components.
- Ground yourself to discharge any static electricity – Use an anti-static wrist strap or touch a grounded metal surface to avoid damaging sensitive electronic components.
- Read the manual for your PSU – Take the time to familiarize yourself with the specific instructions provided by the manufacturer to ensure proper removal of cables.
- Take pictures or make notes – Before you start removing any cables, it’s a good idea to take photos or make notes of the current cable layout. This will help you remember how everything was connected and make it easier to reinstall cables later if needed.
- Handle cables with care – Avoid using excessive force when disconnecting cables from the PSU or other components. Gently pull on the connector, making sure to grasp it firmly and not the cable itself.
- Double-check cable identification – Before removing any cable, make sure you are disconnecting the correct one. Refer to the PSU manual or online resources for proper identification.
Taking these precautions will help ensure a smooth and incident-free cable removal process. Once you have taken the necessary precautions, it’s time to move on to the next step: identifying the unwanted cables in your PSU.
Identifying Unwanted Cables
Before you start removing cables from your PSU, it’s essential to identify which ones are unwanted. Identifying unwanted cables can vary depending on your specific needs and preferences. Here are a few considerations to help you determine which cables can be removed:
- Refer to the PSU manual – Take a look at the documentation provided by the manufacturer for your PSU. It should outline the purpose and function of each cable. Identify any cables that are not necessary for your current setup.
- Check for unused connectors – Inspect the connectors on the PSU itself and see if there are any that are not being used by any components in your PC. These unused connectors are good candidates for removal.
- Consider your current hardware configuration – Take into account the components you have installed in your PC. For example, if you no longer use a DVD drive, the corresponding power cable can be removed.
- Evaluate your cable management goals – If you are aiming for a clean and organized cable setup, you may want to remove any excess cables that are not contributing to the overall aesthetics and airflow of your system.
Remember to carefully examine each cable before deciding to remove it to avoid accidentally disconnecting an important cable that may be difficult to replace or reconnect.
Once you have identified the unwanted cables, it’s time to move on to the next step: disconnecting them from your PSU.
Disconnecting Unwanted Cables
Now that you have identified which cables are unwanted, it’s time to carefully disconnect them from your power supply unit (PSU). Follow these step-by-step instructions:
- Ensure your computer is turned off and unplugged from the power source.
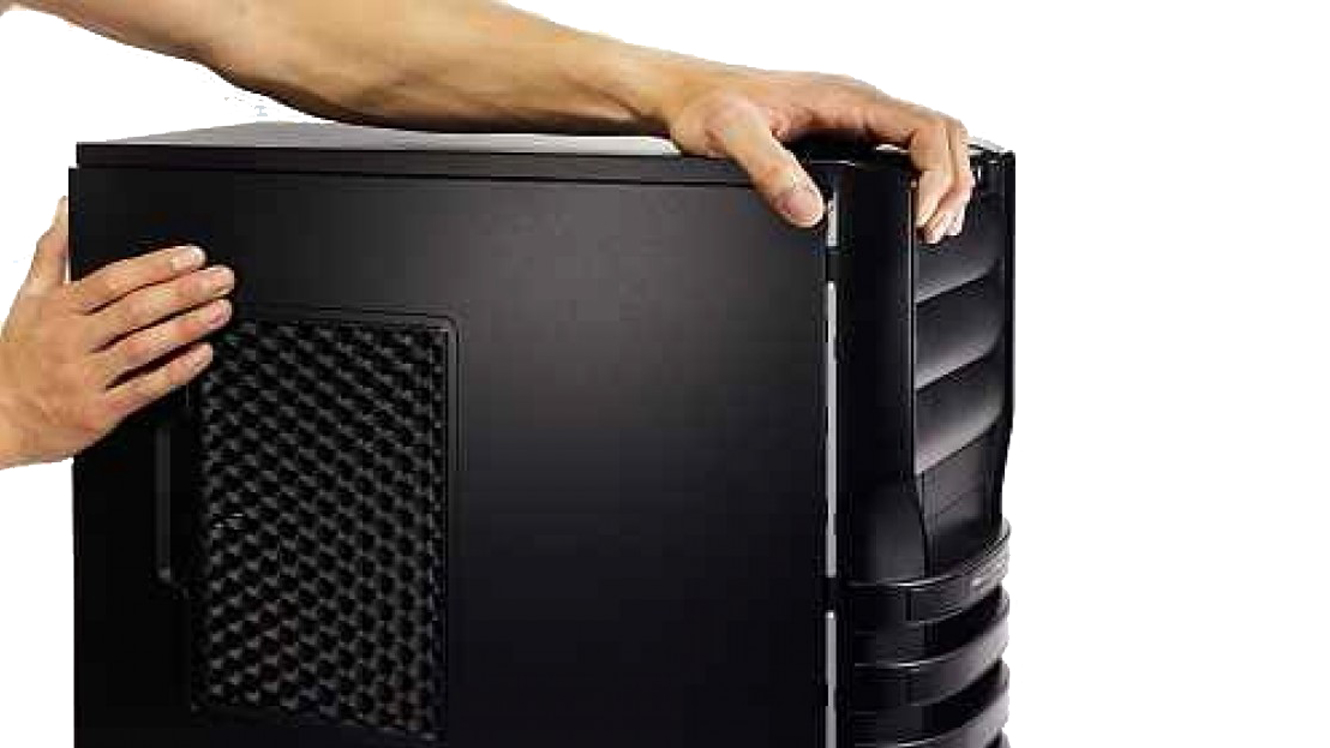
- Open your computer case using the appropriate screwdriver. This will grant you access to the interior and the PSU.
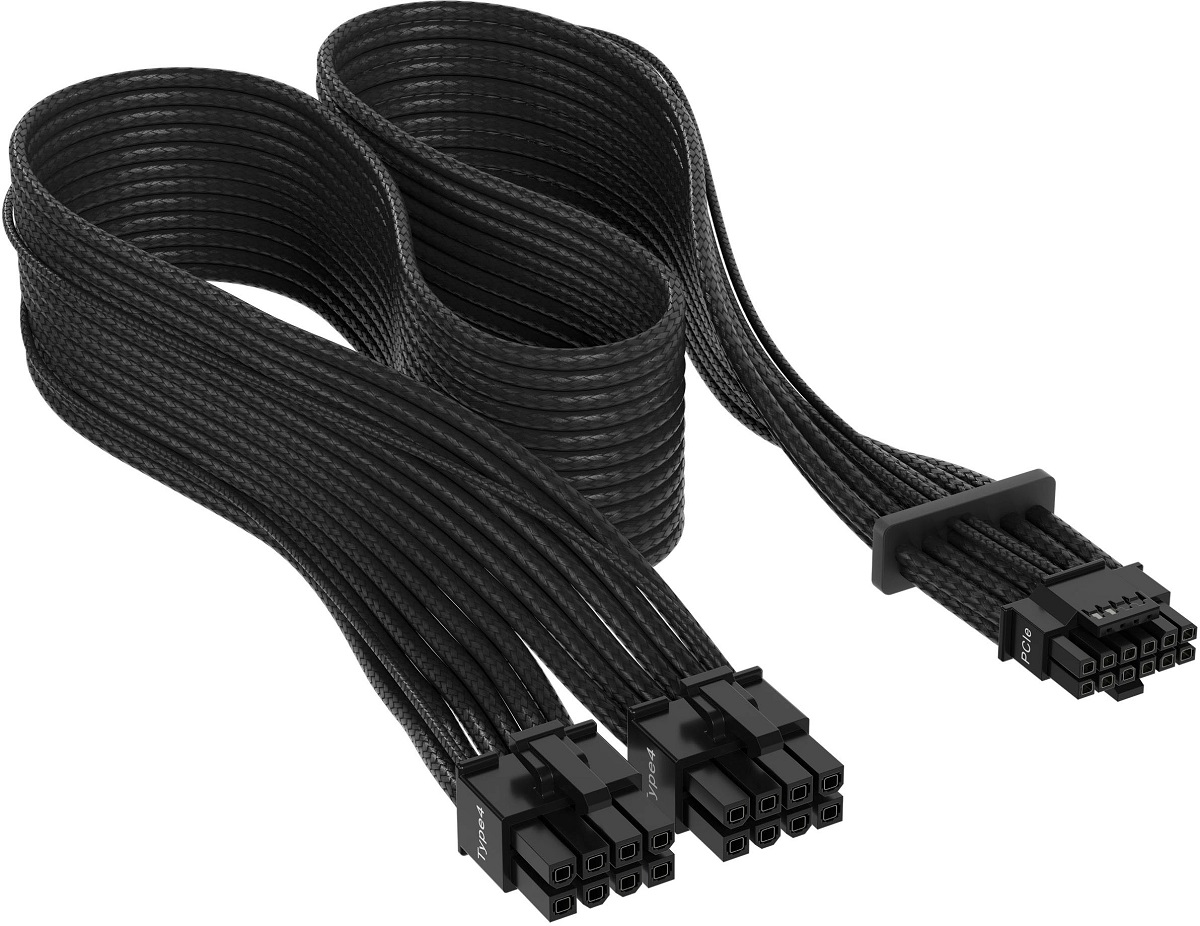
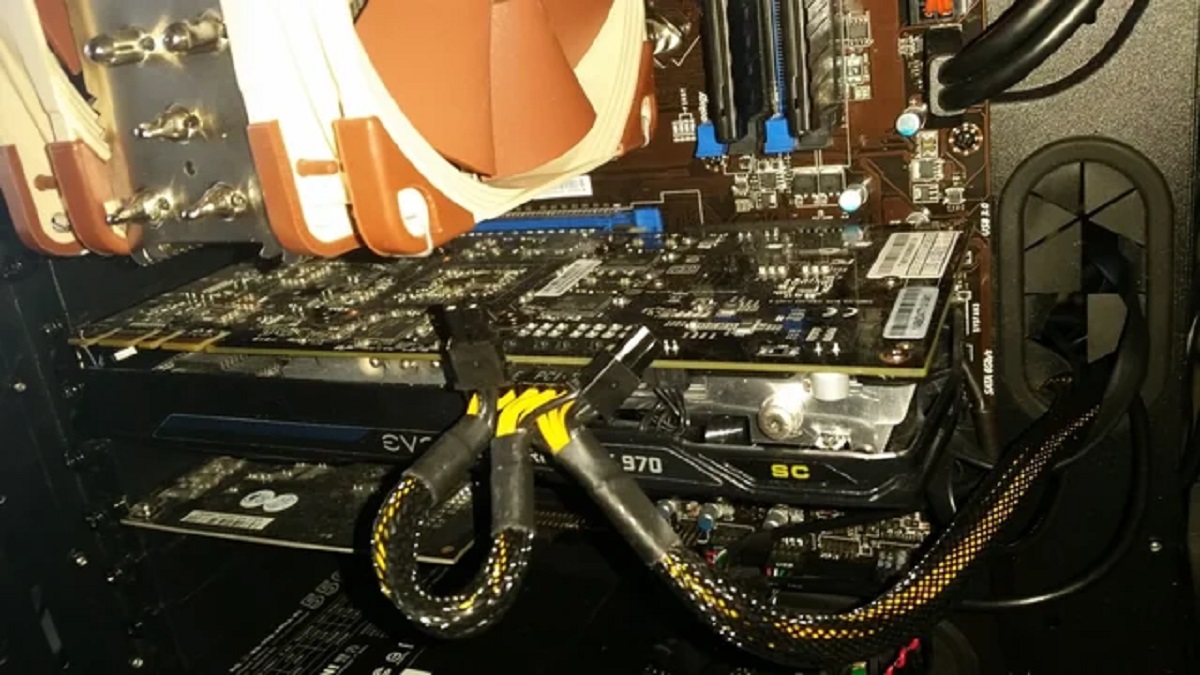
- Locate the unwanted cables connected to your PSU. They will typically be grouped together and may have labels indicating their purpose.
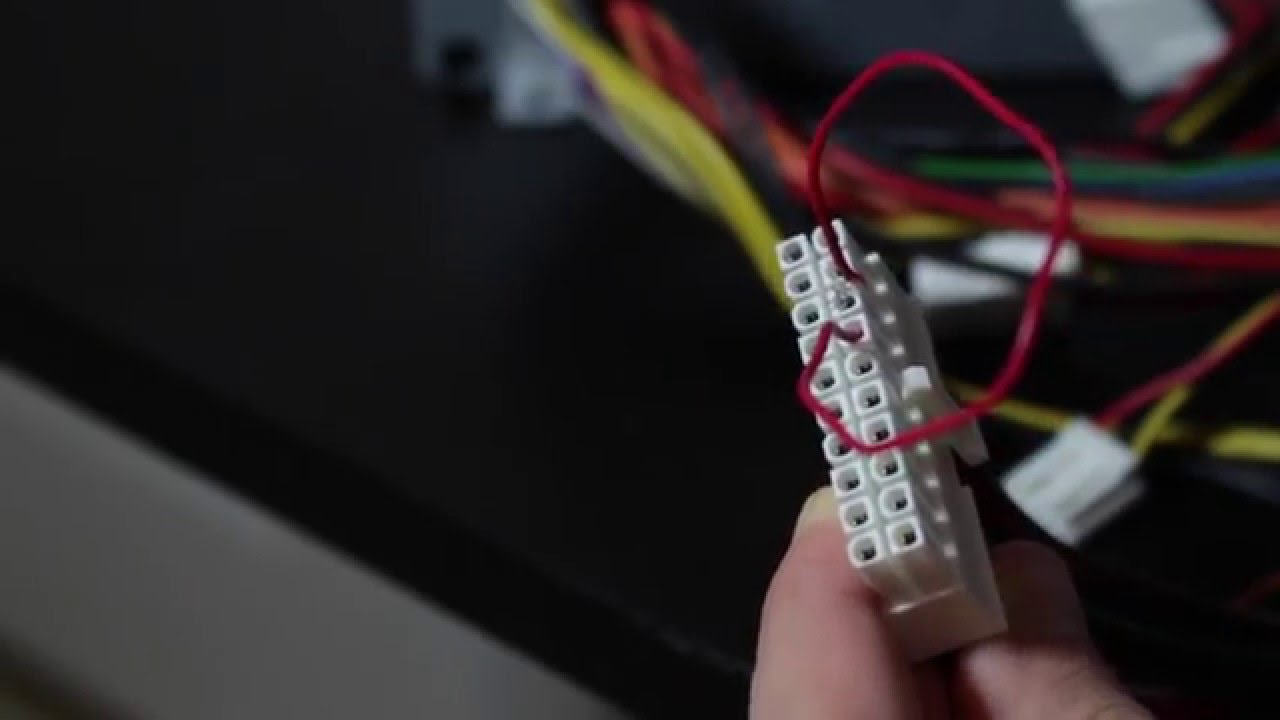
- For each unwanted cable, gently grasp the connector and firmly pull it out. Be careful not to pull on the cables themselves, as this can cause damage.
- Keep track of the cables you remove. You can organize them separately or label them if you plan to reuse them in the future.
- If you encounter any resistance while disconnecting a cable, double-check to ensure that you are removing the correct one. Consult your PSU manual or online resources for assistance.
- Set aside the removed cables in a safe place. You may also choose to wrap them with cable ties or secure them with Velcro straps for easier storage.
Take your time and work methodically to avoid any accidental disconnections or damage. Remember, it’s important not to rush the process and to handle the cables with care.
Once you have successfully disconnected all the unwanted cables, it’s time to move on to the next step: organizing the remaining cables for a cleaner and more efficient setup.
Organizing Remaining Cables
After removing the unwanted cables, it’s time to focus on organizing the remaining cables for a clean and efficient setup. Proper cable management not only improves the aesthetics of your PC but also helps with airflow and maintenance. Follow these steps to organize your remaining cables:
- Plan your cable routing – Before you start securing the cables, take a moment to plan the desired routing path. This will help ensure a neat and efficient layout.
- Group the cables – Group similar cables together to create a more organized appearance. Use cable ties or Velcro straps to hold the cables together.
- Route cables through designated openings – Utilize any available cable management holes or slots in your computer case to guide the cables to their intended destinations.
- Avoid blocking airflow – Make sure the cables do not obstruct the airflow to important components such as fans, heatsinks, or the PSU itself.
- Use cable combs or clips (optional) – If you desire an even cleaner and more organized look, consider using plastic cable combs or clips to align the cables neatly.
- Secure the cables – Use cable ties or Velcro straps to secure the grouped and routed cables to the case. This will help prevent them from shifting around during operation.
- Leave some slack – Ensure that there is enough slack in the cables to allow for future upgrades or adjustments without causing strain or tension.
Remember to take your time and be patient during the cable organization process. It may require some trial and error to achieve the desired layout, but the improved aesthetics and airflow will be well worth it.
Now that you have organized the remaining cables, it’s time to properly secure and manage them to maintain a clean and functional PC setup.
Properly Securing and Managing Cables
Once you have organized the remaining cables, it’s crucial to properly secure and manage them to maintain a clean and functional PC setup. Follow these guidelines to ensure your cables are securely fastened and managed:
- Double-check cable connections – Before securing the cables, make sure all the necessary connections are firmly plugged in. This includes cables connected to the motherboard, GPU, storage devices, and any other components.
- Use cable ties or Velcro straps – Secure the grouped and routed cables to the case using cable ties or Velcro straps. This will help keep them in place and prevent them from interfering with other components or blocking airflow.
- Route cables away from components – Ensure that the cables are routed away from any fans, heatsinks, or moving parts to avoid any potential damage or interference.
- Avoid sharp bends and twists – Cables should be gently curved to avoid sharp bends or twists that could strain the connectors or cause signal interference.
- Consider cable management accessories – Depending on your preferences and the size of your PC case, you may want to invest in cable management accessories such as cable channels, clips, or adhesive cable organizers. These can help secure and guide cables further for a cleaner look.
- Label or color-code cables (optional) – If you anticipate future upgrades or troubleshooting, consider labeling or color-coding the cables for easier identification.
By properly securing and managing your cables, you not only improve the overall aesthetics of your PC but also make future maintenance or upgrades more accessible and efficient.
With the cables securely fastened and managed, it’s time to move on to the final step: testing the PSU to ensure everything is functioning as expected.
Testing the PSU
After removing unwanted cables, organizing and securing the remaining ones, it’s essential to test the power supply unit (PSU) to ensure everything is functioning correctly. Follow these steps to test your PSU:
- Recheck all cable connections – Double-check that all cables, including the main power connector, are securely plugged into their respective components.
- Close the computer case – Once you’ve verified that all cables are properly connected, close your computer case and fasten any screws to secure it.
- Plug in and turn on the PC – Connect your PC to the power source and turn it on. Ensure that all fans, lights, and components are receiving power.
- Listen for unusual noises – While the PC is powered on, listen for any unusual buzzing, clicking, or grinding sounds. These could indicate a problem with the PSU or other components.
- Check for error messages – Monitor your computer screen for any error messages or warnings that suggest an issue with the power supply.
- Test system stability – Run stress tests or use resource-intensive applications to assess the stability and performance of your system. Monitor for any unexpected shutdowns or power-related issues.
If you experience any issues during the testing process, make sure to verify that all connections are secure and that the power requirements of your components are compatible with the PSU’s capacity.
Once you have confirmed that the PSU is functioning correctly, you can pat yourself on the back for successfully removing unwanted cables and improving your PC’s cable management. Enjoy the benefits of enhanced airflow, reduced clutter, and a more aesthetically pleasing system.
Conclusion
Congratulations! You have successfully removed unwanted cables from your power supply unit (PSU) and organized the remaining cables for a clean and efficient PC setup. By taking the time to remove unnecessary cables and properly manage the remaining ones, you have improved the aesthetics, airflow, and overall performance of your computer.
Throughout this guide, we discussed the tools and materials needed for the cable removal process, the precautions to take before starting, how to identify unwanted cables, the steps for disconnecting them, techniques for organizing the remaining cables, and the importance of properly securing and managing them. We also covered the testing process to verify the functionality of the PSU.
Remember, cable management is not only about tidying up the appearance of your PC; it also plays a vital role in maintaining optimal airflow, reducing heat, and improving system performance. Additionally, a well-organized setup makes future upgrades or maintenance much easier.
Now that you have successfully completed the cable removal and organization process, enjoy the benefits of a cleaner and more efficient PC setup. Take pride in your improved cable management skills and the enhanced performance of your system.
If you have any further questions or need additional assistance, feel free to consult the PSU manual or seek professional advice. Happy computing!