Introduction
Having Face ID on your phone can be incredibly convenient and secure. However, there may be instances where you need to remove someone’s Face ID from your device. Whether it’s a former partner, a family member, or a friend who no longer has permission to access your phone, it’s important to know how to remove their Face ID profile effectively and ensure your privacy remains intact. In this guide, we will walk you through the step-by-step process of removing someone’s Face ID from your phone, so you can have full control over who has access to your personal device.
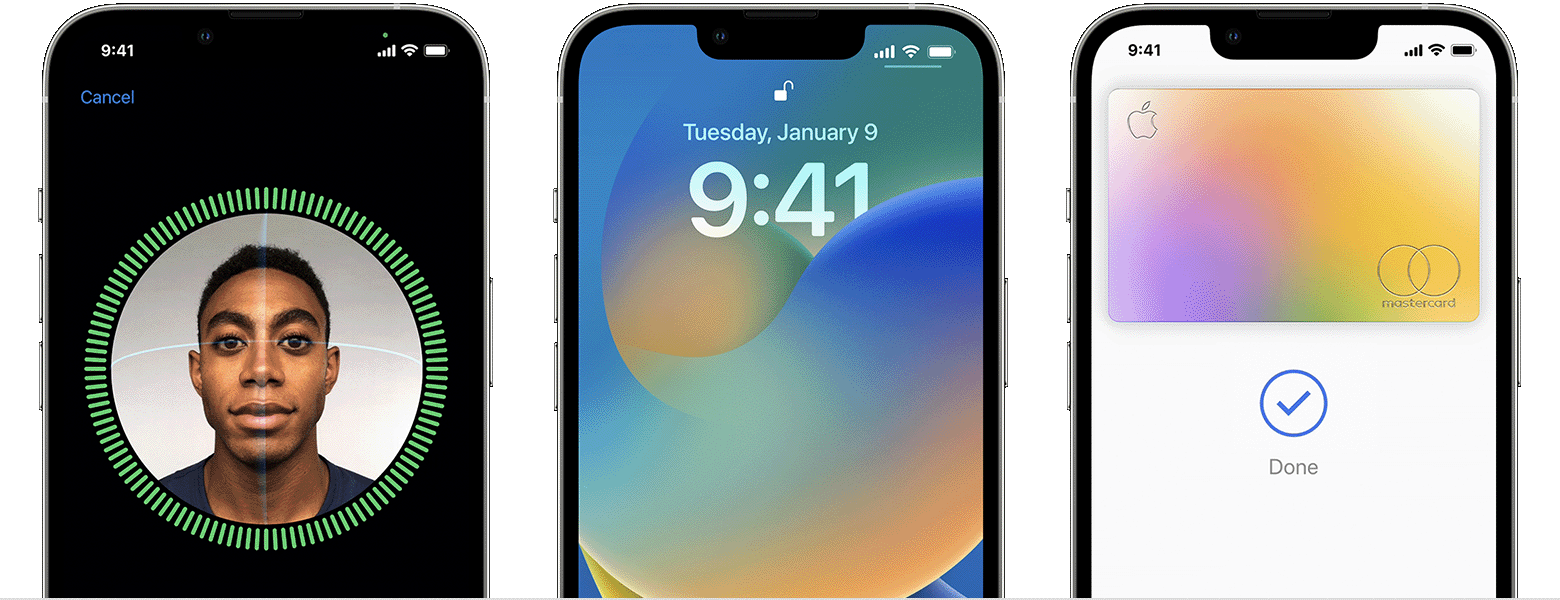
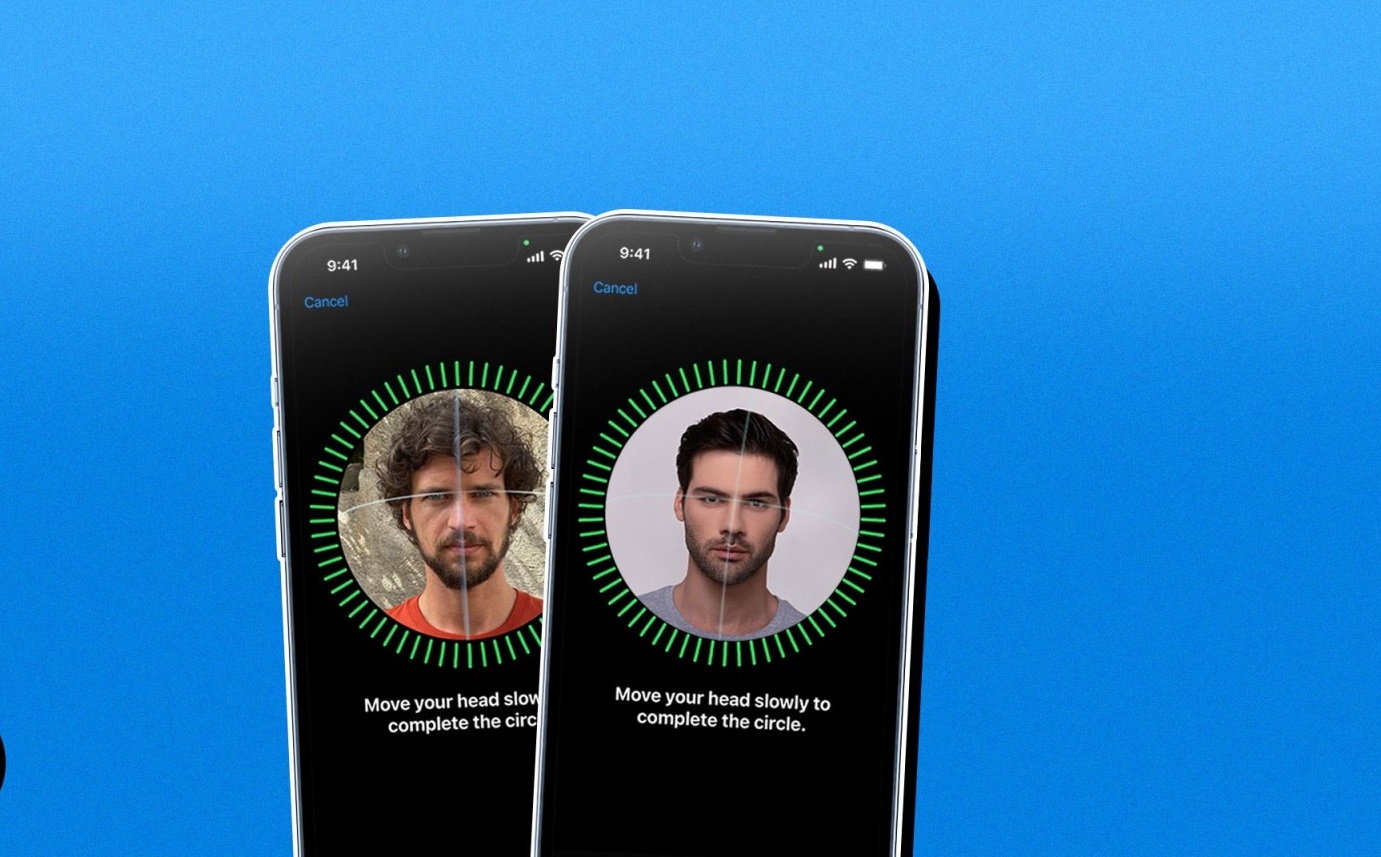
Face ID is a biometric authentication feature available on Apple devices, including iPhones and iPads. It scans your face to unlock your device and authenticate certain actions like making payments or accessing sensitive data. By removing someone’s Face ID profile, you revoke their ability to use their face to unlock your phone, ensuring that only you have the authority to do so.
It’s essential to note that removing someone’s Face ID profile does not erase their personal data or account from your device. It simply disables their ability to unlock your phone using Face ID. If you want to completely remove all traces of them from your device, you may need to take additional steps such as signing them out of iCloud or deleting their account from your phone.
Now, let’s dive into the step-by-step process to remove someone’s Face ID from your phone and regain control over your device’s security and privacy.
Step 1: Access the Face ID settings
To begin removing someone’s Face ID from your phone, you first need to access the Face ID settings. Follow these simple steps:
- Open the Settings app on your iPhone or iPad. The Settings app is represented by a gray gear icon and is usually located on the home screen.
- Scroll down and tap on “Face ID & Passcode.” This option may vary depending on your device model and iOS version. If you are using an older device without Face ID, you may see “Touch ID & Passcode” instead.
- You will be prompted to enter your device passcode. This passcode is a numeric or alphanumeric code that you use to unlock your device. Enter the passcode to proceed.
- Once you have entered the passcode correctly, scroll down to the “Face ID” section. Here, you will find the list of registered Face ID profiles on your device.
By accessing the Face ID settings, you are now ready to proceed to the next step and choose the specific Face ID profile that you want to remove from your device.
Step 2: Choose the Face ID profile to remove
Once you have accessed the Face ID settings on your device, it’s time to select the Face ID profile that you want to remove. Follow these steps to proceed:
- In the “Face ID” section of the settings, you will see a list of registered Face ID profiles. These profiles represent the different faces that have been registered on your device.
- Identify the Face ID profile of the person you want to remove. Look for their name or any distinguishing information that will help you identify the correct profile.
- Tap on the profile to select it. This will take you to the settings dedicated to that particular Face ID profile.
- Review the information displayed on the screen to ensure that you have selected the correct profile. Check the name and any other details associated with the profile to confirm its identity.
It’s essential to be sure that you have chosen the correct Face ID profile to remove. Removing the wrong profile could result in the loss of access for a permitted user. Take a moment to double-check the details before proceeding to the next step.
Now that you have chosen the Face ID profile you want to remove, let’s move on to the next step and disable Face ID for that selected profile.
Step 3: Disable Face ID for the selected profile
After selecting the specific Face ID profile you want to remove, the next step is to disable Face ID for that profile. Follow these instructions to proceed:
- In the settings for the selected Face ID profile, scroll down until you see the option labeled “Use Face ID.” This toggle switch indicates whether Face ID is currently enabled or disabled for the chosen profile.
- Make sure the toggle switch is in the “On” position. If it is already turned off, then Face ID is disabled for that profile and you can proceed to the next step. If the toggle switch is turned on, tap on it to disable Face ID for the selected profile.
- You will be prompted to confirm the action. A message will appear, notifying you that turning off Face ID will require entering the passcode to unlock your device.
- Tap on the “Disable” option to confirm the action. Face ID will now be disabled for the selected profile, preventing the person associated with that profile from using their face to unlock your phone.
Disabling Face ID for the selected profile increases the security of your device by making it impossible for that individual to access your phone using their registered face. However, keep in mind that they can still potentially unlock your device using other authentication methods like entering the passcode if they have knowledge of it.
Once you have successfully disabled Face ID for the selected profile, it’s time to move on to the next step and delete the Face ID data associated with that profile.
Step 4: Delete the Face ID data
With Face ID disabled for the selected profile, the next step is to delete the Face ID data associated with that profile. Follow these instructions to proceed:
- In the Face ID settings for the selected profile, look for the option labeled “Reset Face ID” or “Remove Face.” This option allows you to delete the Face ID data for that specific profile.
- Tap on the “Reset Face ID” or “Remove Face” option. A confirmation message will appear, warning you that deleting the Face ID data will remove all biometric information associated with that profile.
- Read the confirmation message carefully, ensuring that it pertains to the correct Face ID profile. Deleting the Face ID data cannot be undone, so it’s crucial to be certain of your actions.
- Tap on the “Reset” or “Remove” option to confirm the deletion of the Face ID data. The Face ID data for the selected profile will be permanently removed from your device.
By deleting the Face ID data, you completely erase all traces of the selected profile’s face from the device’s memory. This ensures that the person associated with that profile can no longer use their face to unlock your phone or access any Face ID protected features on your device.
Now that you have successfully deleted the Face ID data for the selected profile, let’s move on to the final step to ensure that the removal process has been successful.
Step 5: Ensure Face ID removal is successful
After completing the previous steps to disable Face ID and delete the Face ID data for the selected profile, it’s important to verify that the Face ID removal process has been successful. Here’s what you need to do:
- Exit the Face ID settings and return to the main settings menu on your device.
- Lock your device by pressing the power button or letting it idle for a moment. This will enable the device’s lock screen.
- Hold your device in front of your face to simulate an attempt to unlock it using Face ID.
- If the removal process has been successful, your device should now prompt you to enter the passcode to unlock it, instead of attempting to scan your face.
- Enter the passcode correctly to unlock your device. This confirms that the Face ID removal for the selected profile has been successful.
Ensuring that Face ID removal is successful is crucial for maintaining the security and privacy of your device. By verifying that the removed profile can no longer unlock your phone using their registered face, you can have peace of mind that your device is secure from unauthorized access.
Congratulations! You have successfully removed someone’s Face ID from your device. By following these steps, you have taken control over who can access your personal information and ensured the privacy of your device. Remember that you can repeat these steps for any additional Face ID profiles you want to remove from your device.
Conclusion
In this guide, we have walked you through the step-by-step process of removing someone’s Face ID from your phone. By accessing the Face ID settings, choosing the specific profile, disabling Face ID, deleting the Face ID data, and verifying the removal, you have successfully regained control over who can unlock your device using their face.
Removing someone’s Face ID is an important step in maintaining your device’s security and protecting your personal information. It allows you to revoke access for individuals who no longer have permission to unlock your phone or access sensitive data.
However, it’s important to note that removing someone’s Face ID does not remove their personal data or accounts from your device. If you want to completely erase all traces of them, you may need to take additional steps such as signing them out of iCloud or deleting their account from your phone.
By following the steps outlined in this guide, you can ensure that your device remains secure and that only trusted individuals have access to it. Taking control of your own privacy is a crucial aspect of using modern technology, and understanding how to manage biometric authentication like Face ID is a step in the right direction.
We hope that this guide has been helpful in assisting you with the process of removing someone’s Face ID from your phone. If you have any further questions or need assistance, refer to your device’s user manual or reach out to the manufacturer’s support team for additional guidance.