Introduction
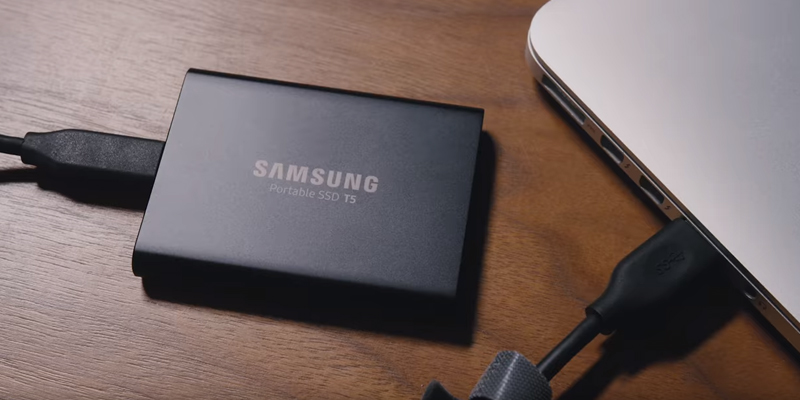
Welcome to our comprehensive guide on how to remove a recovery partition from your SSD. In today’s digital era, solid-state drives (SSDs) have become increasingly popular due to their faster performance and higher storage capacities. However, one common issue faced by SSD users is the presence of a recovery partition.
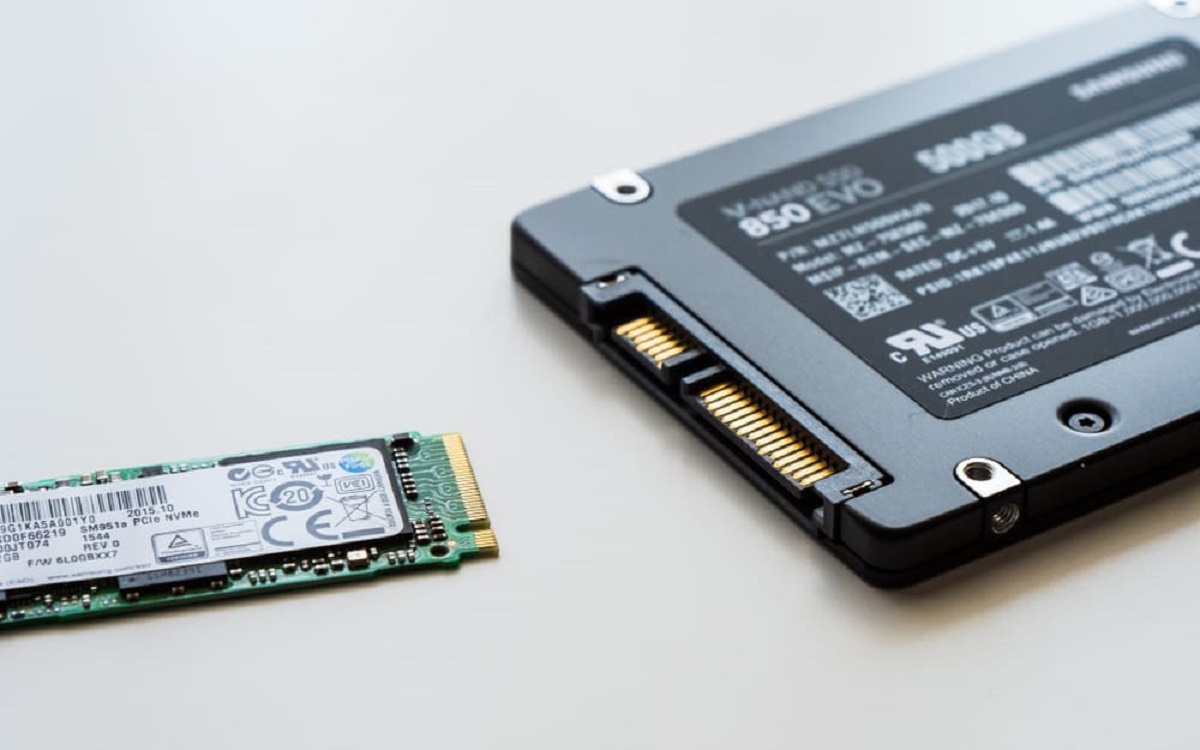
A recovery partition is a dedicated section of your SSD that contains system recovery tools and files. It is usually created by the manufacturer to provide an easy way to restore your computer to its original state in case of system failures or issues. While this feature can be helpful for some users, others may want to remove the recovery partition for various reasons.
In this guide, we will discuss the reasons why you might want to remove a recovery partition from your SSD and provide step-by-step instructions on how to do it safely and effectively. Whether you need to free up space on your SSD or simply prefer to handle system recovery using other methods, this guide will help you navigate through the process with ease.
Before we dive into the methods of removing a recovery partition, it’s crucial to understand that this process should be approached with caution. Removing the recovery partition without proper knowledge and backup can result in the loss of important files or system functionality. Therefore, we strongly recommend following the instructions carefully and backing up your data before proceeding.
Now, let’s explore the reasons why you might want to remove a recovery partition from your SSD and how to determine if your SSD has one.
What is a recovery partition?
A recovery partition is a dedicated section of your solid-state drive (SSD) that is reserved for system recovery tools and files. It is typically created by the manufacturer during the SSD’s initial setup or by the operating system during installation.
The main purpose of a recovery partition is to provide a convenient way to restore your computer to its factory settings or fix system issues. It contains essential files and utilities that can help you recover your operating system in case of a crash, malware infection, or other software-related problems.
Some common components you may find in a recovery partition include:
- System backup: The recovery partition often houses a complete backup of your operating system, including the core files and configurations.
- System restore tools: This partition contains tools that allow you to restore your computer to a previous working state.
- Startup repair: In the event of a startup failure, the recovery partition offers a startup repair tool designed to diagnose and fix boot-related issues.
- Hardware diagnostics: Some recovery partitions include built-in diagnostic tools to identify and troubleshoot hardware-related problems.
Having a recovery partition can be beneficial for users who prefer an easy and convenient way to restore their system without the need for external recovery media. It streamlines the recovery process and can save time and effort. However, there are various reasons why you might want to remove the recovery partition from your SSD.
Let’s explore these reasons in the next section to help you determine if removing the recovery partition is the right choice for you.
Why would you want to remove a recovery partition from your SSD?
While a recovery partition can be useful for some users, there are several valid reasons why you might want to remove it from your solid-state drive (SSD).
1. Freeing up storage space: Recovery partitions can take up a significant amount of space on your SSD. If you are dealing with limited storage capacity or want to make more room for important files, removing the recovery partition can help you reclaim that space.
2. Customized recovery options: Many users prefer to have more control over their system recovery process. By removing the recovery partition, you can choose alternative recovery methods that better suit your needs, such as creating a bootable USB or using external recovery media.
3. Increased flexibility: Some users prefer to perform clean installations of their operating system rather than restoring from a system backup. Removing the recovery partition allows for a fresh installation, giving you more flexibility and control over your system’s setup and customization.
4. Third-party recovery software: If you have third-party recovery software that you trust and prefer to use, removing the recovery partition can make it easier to manage and utilize that software without interference.
5. Privacy and security concerns: The recovery partition may contain sensitive information, such as system logs or personal data remnants. By removing it, you can eliminate the risk of potential data breaches or unauthorized access to your information.
6. Different system recovery methods: Some users may find that the recovery partition’s built-in tools are not sufficient or do not meet their specific needs. Removing the partition allows for exploring and utilizing alternative recovery methods that better align with individual preferences.
It is important to note that removing the recovery partition is an irreversible process, and it is crucial to backup your data and create a system image before proceeding. This ensures that you have a fallback option in case anything goes wrong during the removal process.
Next, we will guide you on how to check if your SSD has a recovery partition, enabling you to determine if you need to remove it.
How to check if your SSD has a recovery partition?
Before you proceed with removing the recovery partition from your solid-state drive (SSD), it’s essential to determine whether your SSD actually has a recovery partition. Here are a few methods to check:
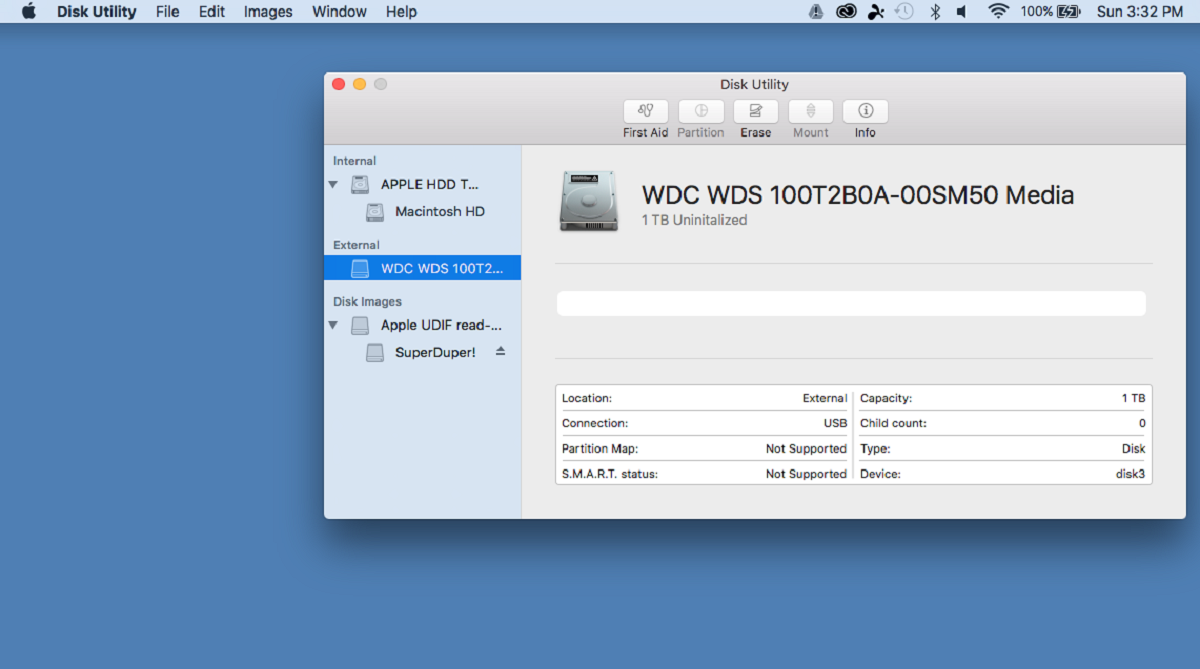
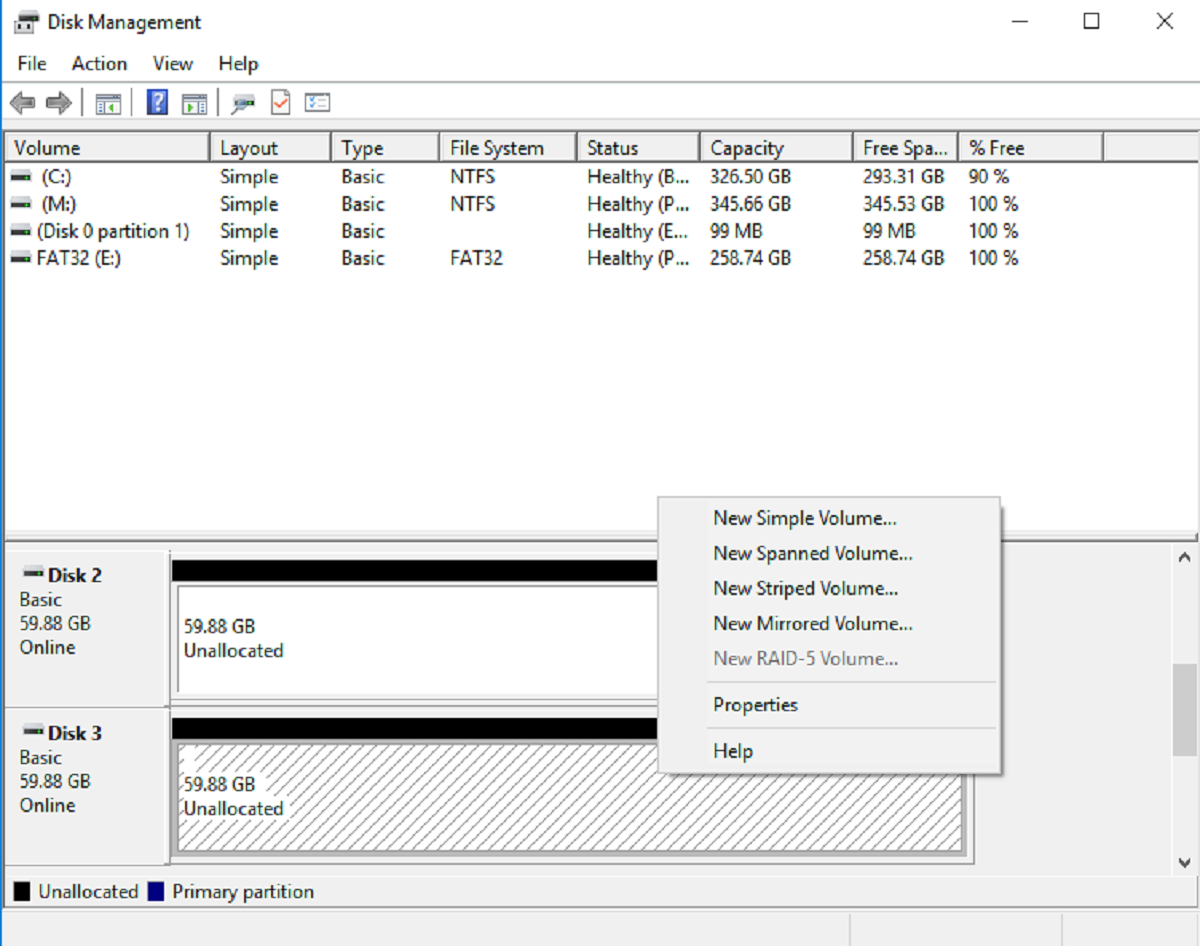
- Using Disk Management on Windows: One way to check for a recovery partition is by using the built-in Disk Management tool on Windows. To access it, press the Windows key + R to open the Run dialog box, type “diskmgmt.msc”, and press Enter. In the Disk Management window, you will see a list of all connected drives, including partitions. Look for a partition labeled “Recovery.” If you see it, then your SSD has a recovery partition.
- Using Command Prompt: Another method is to use the Command Prompt. Open the Command Prompt by pressing the Windows key + R, typing “cmd”, and pressing Enter. In the Command Prompt window, type the following command:
diskpartand press Enter. Then, type:list diskand press Enter. This command will display all the disks connected to your computer. Identify your SSD by looking at the disk size and type:select disk X(replace X with the disk number of your SSD). Finally, type:list partitionand press Enter. This command will list all the partitions on your SSD. Look for a partition labeled “Recovery” in the list. - Using third-party partition management software: There are several third-party partition management software options available that provide a graphical interface to view and manage your partitions. These tools often provide detailed information about your SSD’s partitions, including a recovery partition, if present.
By using these methods, you can easily determine whether your SSD has a recovery partition or not. Once you confirm the presence of a recovery partition, you can proceed with backing up your data before removing it.
In the next sections, we will provide you with detailed instructions on different methods to remove the recovery partition from your SSD. Whether you choose to use Windows Disk Management, third-party partition management software, or the command prompt, we’ve got you covered.
Backup your data before removing the recovery partition
Before you proceed with removing the recovery partition from your solid-state drive (SSD), it is absolutely crucial to back up your data. Removing the recovery partition is an irreversible process, and you want to ensure that you have a backup of all your important files and documents in case of any unforeseen issues or difficulties.
Here are some important steps to follow when backing up your data:
- Identify critical data: Take some time to identify the data that you absolutely cannot afford to lose. This may include personal documents, photos, videos, and any other files that hold significant value to you.
- Create a backup method: Determine the best method for backing up your data. You can use external storage devices such as external hard drives, USB flash drives, or solid-state drives (SSDs). Alternatively, you can utilize cloud storage services like Google Drive, Dropbox, or OneDrive. Choose a method that suits your needs and ensure that you have enough space to store all your important files.
- Organize and transfer your files: Organize your files into appropriate folders and transfer them to your selected backup method. Make sure to double-check that all files are successfully transferred and that they are accessible when needed.
- Verify the backup: After the backup process is complete, take the time to verify that all your important files have been successfully backed up and can be restored if necessary. This will give you peace of mind knowing that your data is secure.
- Perform regular backups: It is always a good practice to regularly backup your important files, even if you are not removing the recovery partition. Set a schedule or use automatic backup software to ensure that your data is continuously protected.
By following these steps, you can ensure that your data is safely backed up before proceeding with the removal of the recovery partition from your SSD.
Now that you have backed up your data, you are ready to move on to the methods of removing the recovery partition. In the next sections, we will guide you through different options, including using Windows Disk Management, third-party partition management software, and the command prompt.
Method 1: Using Windows Disk Management
Windows Disk Management is a built-in tool that allows you to manage and manipulate disk partitions on your computer. Here’s a step-by-step guide on how to remove the recovery partition using Windows Disk Management:
- Open Disk Management: Press the Windows key + R to open the Run dialog box, then type “
diskmgmt.msc” and hit Enter. This will open the Disk Management window. - Locate the recovery partition: In the Disk Management window, you will see a graphical representation of all the connected drives and their partitions. Look for a partition labeled as “Recovery.”
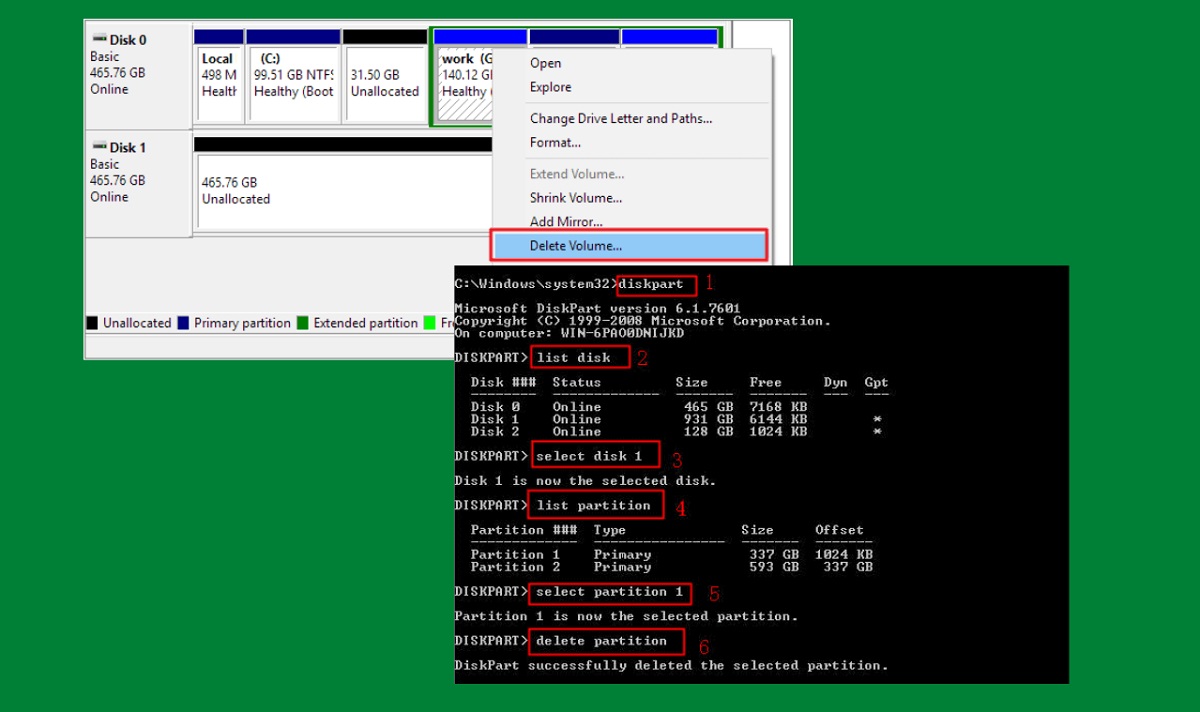
- Right-click and select “Delete Volume”: Right-click on the recovery partition and select “Delete Volume” from the context menu. Confirm the action when prompted.
- Extend other partitions (optional): If you want to utilize the freed up space from the deleted recovery partition, you can consider extending other partitions on your SSD. Right-click on a partition, select “Extend Volume,” and follow the instructions to merge the unallocated space into that partition.
- Confirm deletion: Once you have deleted the recovery partition and extended other partitions if desired, take a moment to review the changes in Disk Management. Double-check that everything looks correct before proceeding.
- Restart your computer: After making these changes, it is recommended to restart your computer to ensure that all modifications take effect properly.
By following these steps, you can successfully remove the recovery partition using Windows Disk Management. However, it’s important to note that Windows Disk Management may not always have the necessary features to perform certain advanced partition management tasks. In such cases, you may need to consider using third-party partition management software, which we will discuss in the next section.
Now that you’re familiar with the method using Windows Disk Management, let’s explore another option for removing the recovery partition: using third-party partition management software.
Method 2: Using third-party partition management software
If you require more advanced partition management options or if Windows Disk Management does not suffice, you can opt for third-party partition management software to remove the recovery partition from your SSD. Here’s a step-by-step guide:
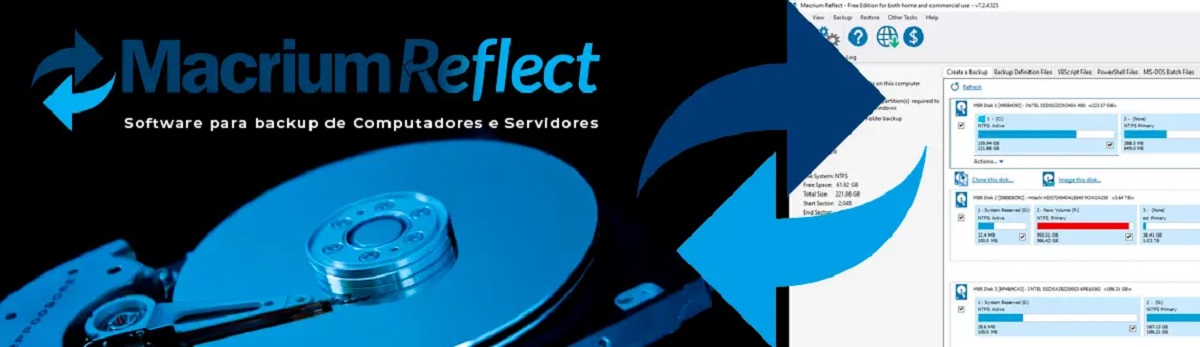
- Research and choose reputable software: There are several reliable third-party partition management software options available, such as MiniTool Partition Wizard, EaseUS Partition Master, and AOMEI Partition Assistant. Research and select the one that suits your needs.
- Download and install the software: Visit the official website of the chosen software and download the installer. Follow the on-screen instructions to install the software on your computer.
- Launch the software: After installation, launch the partition management software.
- Select your SSD: In the software’s user interface, select your SSD from the list of available disks.
- Locate the recovery partition: Identify the recovery partition within the software’s interface. It is typically labeled as “Recovery” or has a recognizable size and format.
- Select and remove the partition: Right-click on the recovery partition and choose the option to delete or remove it. Confirm the action when prompted by the software.
- Apply the changes: After deleting the recovery partition, you will typically need to apply the changes. Look for an “Apply” or “Apply Changes” button, usually located in the software’s toolbar or menu. Click on it to apply the changes and proceed with the removal of the recovery partition.
- Review and confirm: Take a moment to review the changes in the software’s interface before proceeding. Ensure that the recovery partition has been successfully removed.
- Restart your computer: Once the changes have been applied, it is recommended to restart your computer for the modifications to take effect.
Using third-party partition management software provides more flexibility and advanced options for managing your partitions, including removing the recovery partition. However, it is important to choose reputable software and follow the instructions carefully to avoid any unintended consequences or data loss.
In the next section, we will explore an alternative method to remove the recovery partition using the command prompt.
Method 3: Using command prompt
If you prefer a command-line approach or if you want more control over the partition removal process, you can use the command prompt to remove the recovery partition from your SSD. Here’s a step-by-step guide:
- Open the Command Prompt: Press the Windows key + R to open the Run dialog box, then type “
cmd” and hit Enter. This will open the command prompt window. - Launch the Diskpart utility: In the command prompt, type “
diskpart” and hit Enter. This will launch the Diskpart utility, which allows for advanced disk and partition management. - List your disks: In the Diskpart utility, type “
list disk” and hit Enter. This will display a list of all the disks connected to your computer. - Select your SSD: Identify your SSD from the list based on the disk’s size and type. Type “
select disk X” (replace X with the disk number of your SSD) and hit Enter. - List your partitions: Type “
list partition” and hit Enter. This will display a list of all the partitions on your SSD. - Select the recovery partition: Look for the recovery partition in the list based on its label or size. Type “
select partition X” (replace X with the partition number of the recovery partition) and hit Enter. - Delete the partition: Type “
delete partition” and hit Enter. Confirm the action by typing “yes” and hitting Enter again. - Exit Diskpart: Type “
exit” and hit Enter to exit the Diskpart utility. - Exit the Command Prompt: Finally, type “
exit” and hit Enter to close the command prompt window.
Using the command prompt and Diskpart utility allows for a more manual and controlled approach to removing the recovery partition. However, it is important to exercise caution and ensure you are selecting the correct disk and partition to avoid any unintended data loss.
After following these steps, restart your computer to finalize the removal of the recovery partition.
Please note that the command prompt method requires a good understanding of disk management commands, and any incorrect operations may lead to data loss or system instability. If you’re not comfortable using the command prompt, it’s recommended to use the Windows Disk Management or third-party partition management software methods discussed earlier.
Next, we will explore how to reclaim the space after removing the recovery partition.
How to reclaim the space after removing the recovery partition?
After successfully removing the recovery partition from your solid-state drive (SSD), you can now reclaim the space that was previously occupied by the partition. Here are a few steps to follow:
- Open Disk Management: Press the Windows key + R to open the Run dialog box, then type “
diskmgmt.msc” and hit Enter. This will open the Disk Management window. - Locate the unallocated space: In the Disk Management window, you will see the unallocated space previously occupied by the recovery partition. It will be labeled as “Unallocated.”
- Right-click on an existing partition: To reclaim the space, you can allocate it to existing partitions on your SSD. Right-click on the partition that you want to extend using the unallocated space.
- Select “Extend Volume”: From the context menu, select “Extend Volume” to start the Extend Volume Wizard.
- Specify the amount of space: In the Extend Volume Wizard, specify the amount of space you want to add to the selected partition. The wizard will typically suggest the maximum available space by default.
- Complete the wizard: Follow the on-screen instructions to complete the Extend Volume Wizard, confirming the changes and applying them to extend the selected partition.
- Review and confirm: Once the changes are applied, take a moment to review the Disk Management window and confirm that the selected partition has successfully been extended using the unallocated space.
By following these steps, you can effectively reclaim the space previously occupied by the recovery partition and allocate it to other partitions on your SSD, if desired. This allows you to utilize the additional space for storing files, installing applications, or any other purposes that better suit your needs.
It is important to note that the ability to extend a partition may depend on its specific location and the presence of adjacent unallocated space on the disk. If the partition you want to extend does not have adjacent unallocated space, you may need to use third-party partition management software to achieve the desired result.
Now that you have successfully removed the recovery partition and reclaimed the space on your SSD, you can enjoy the increased storage capacity and flexibility on your computer.
In the next section, we will conclude the guide.
Conclusion
Removing the recovery partition from your solid-state drive (SSD) can offer benefits such as freeing up storage space, customizing your recovery options, and increasing flexibility. Whether you choose to use Windows Disk Management, third-party partition management software, or the command prompt, it’s important to proceed with caution, backup your data, and take necessary precautions to avoid any unintended consequences or data loss.
In this comprehensive guide, we have discussed the purpose of a recovery partition, reasons why you might want to remove it, and various methods to remove it from your SSD. We covered using Windows Disk Management, third-party partition management software, and the command prompt, providing step-by-step instructions for each method. Additionally, we highlighted the importance of backing up your data before removing the recovery partition to ensure that you have a safety net in case of any issues.
Furthermore, we explained how to check if your SSD has a recovery partition, enabling you to determine if the removal process is applicable to your specific situation. Additionally, we discussed reclaiming the space after removing the recovery partition by using Disk Management to extend existing partitions.
Remember, the process of removing a recovery partition is an irreversible action, and it is crucial to be careful and double-check every step along the way. If you are unsure or uncomfortable with performing these actions yourself, it is always recommended to seek assistance from a professional or consult the manufacturer’s guidelines.
We hope this guide has provided you with the necessary information and guidance to remove the recovery partition from your SSD successfully. By doing so, you can customize your system recovery methods and make better use of the available space on your drive.
Thank you for reading, and we wish you the best in managing your SSD partitions and optimizing your storage space!