Introduction
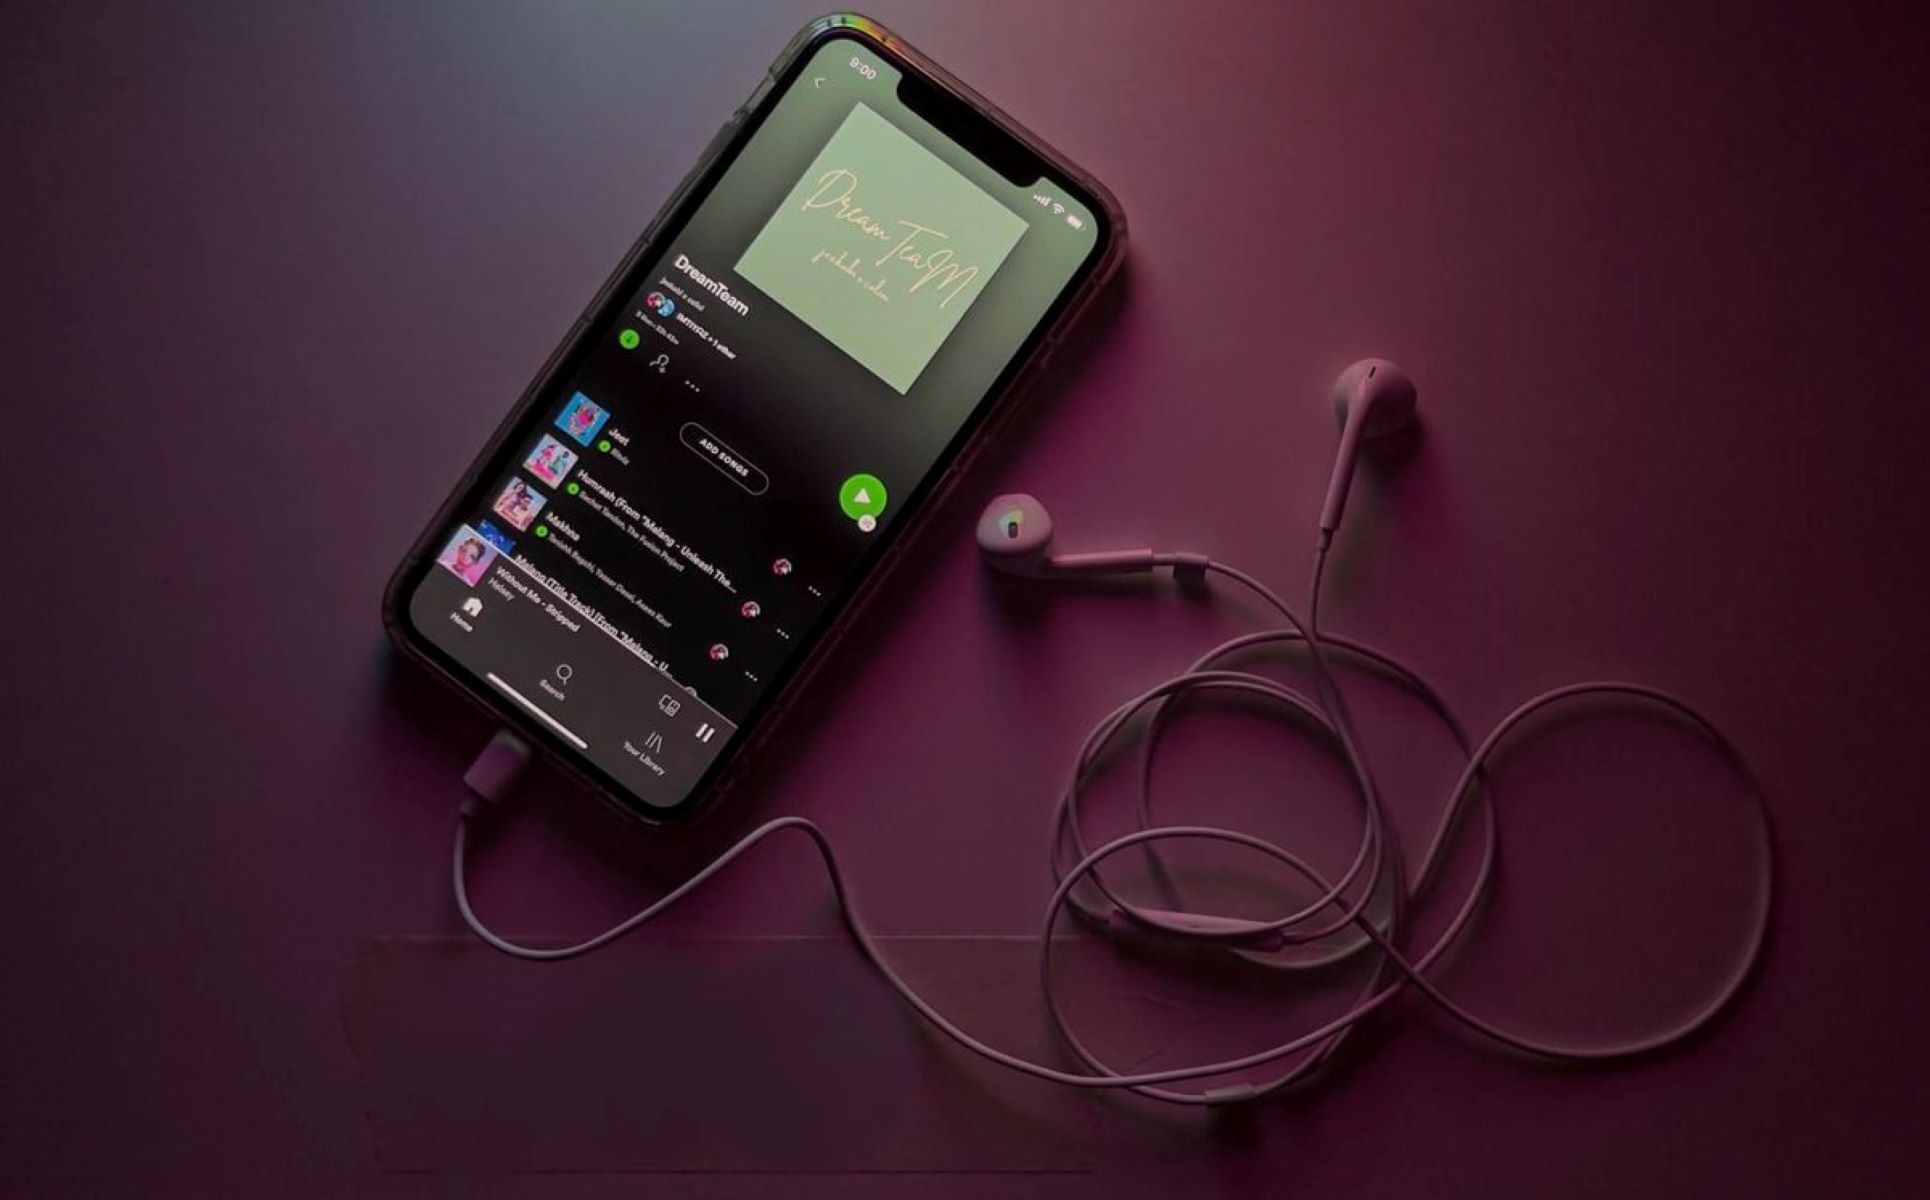
Spotify is a popular music streaming platform that allows users to sync and play music across multiple devices. However, there may be times when you no longer want a particular device to be connected to your Spotify account. It could be an old phone, a computer you no longer use, or a friend’s device that you previously connected to.
In such cases, it becomes necessary to remove the unwanted device from your Spotify account. Removing a device from Spotify is a simple process that can be done directly from the Spotify app on your smartphone or computer. In this guide, we will walk you through the steps to remove a device from Spotify, ensuring that your account stays secure and clutter-free.
By following these steps, you can easily disconnect any unwanted devices that are associated with your Spotify account. Whether you want to remove a device that you no longer use or safeguard your account against unauthorized access, the process is straightforward and can be completed in just a few minutes.
So, let’s dive in and learn how to remove a device from Spotify!
Step 1: Open Spotify app
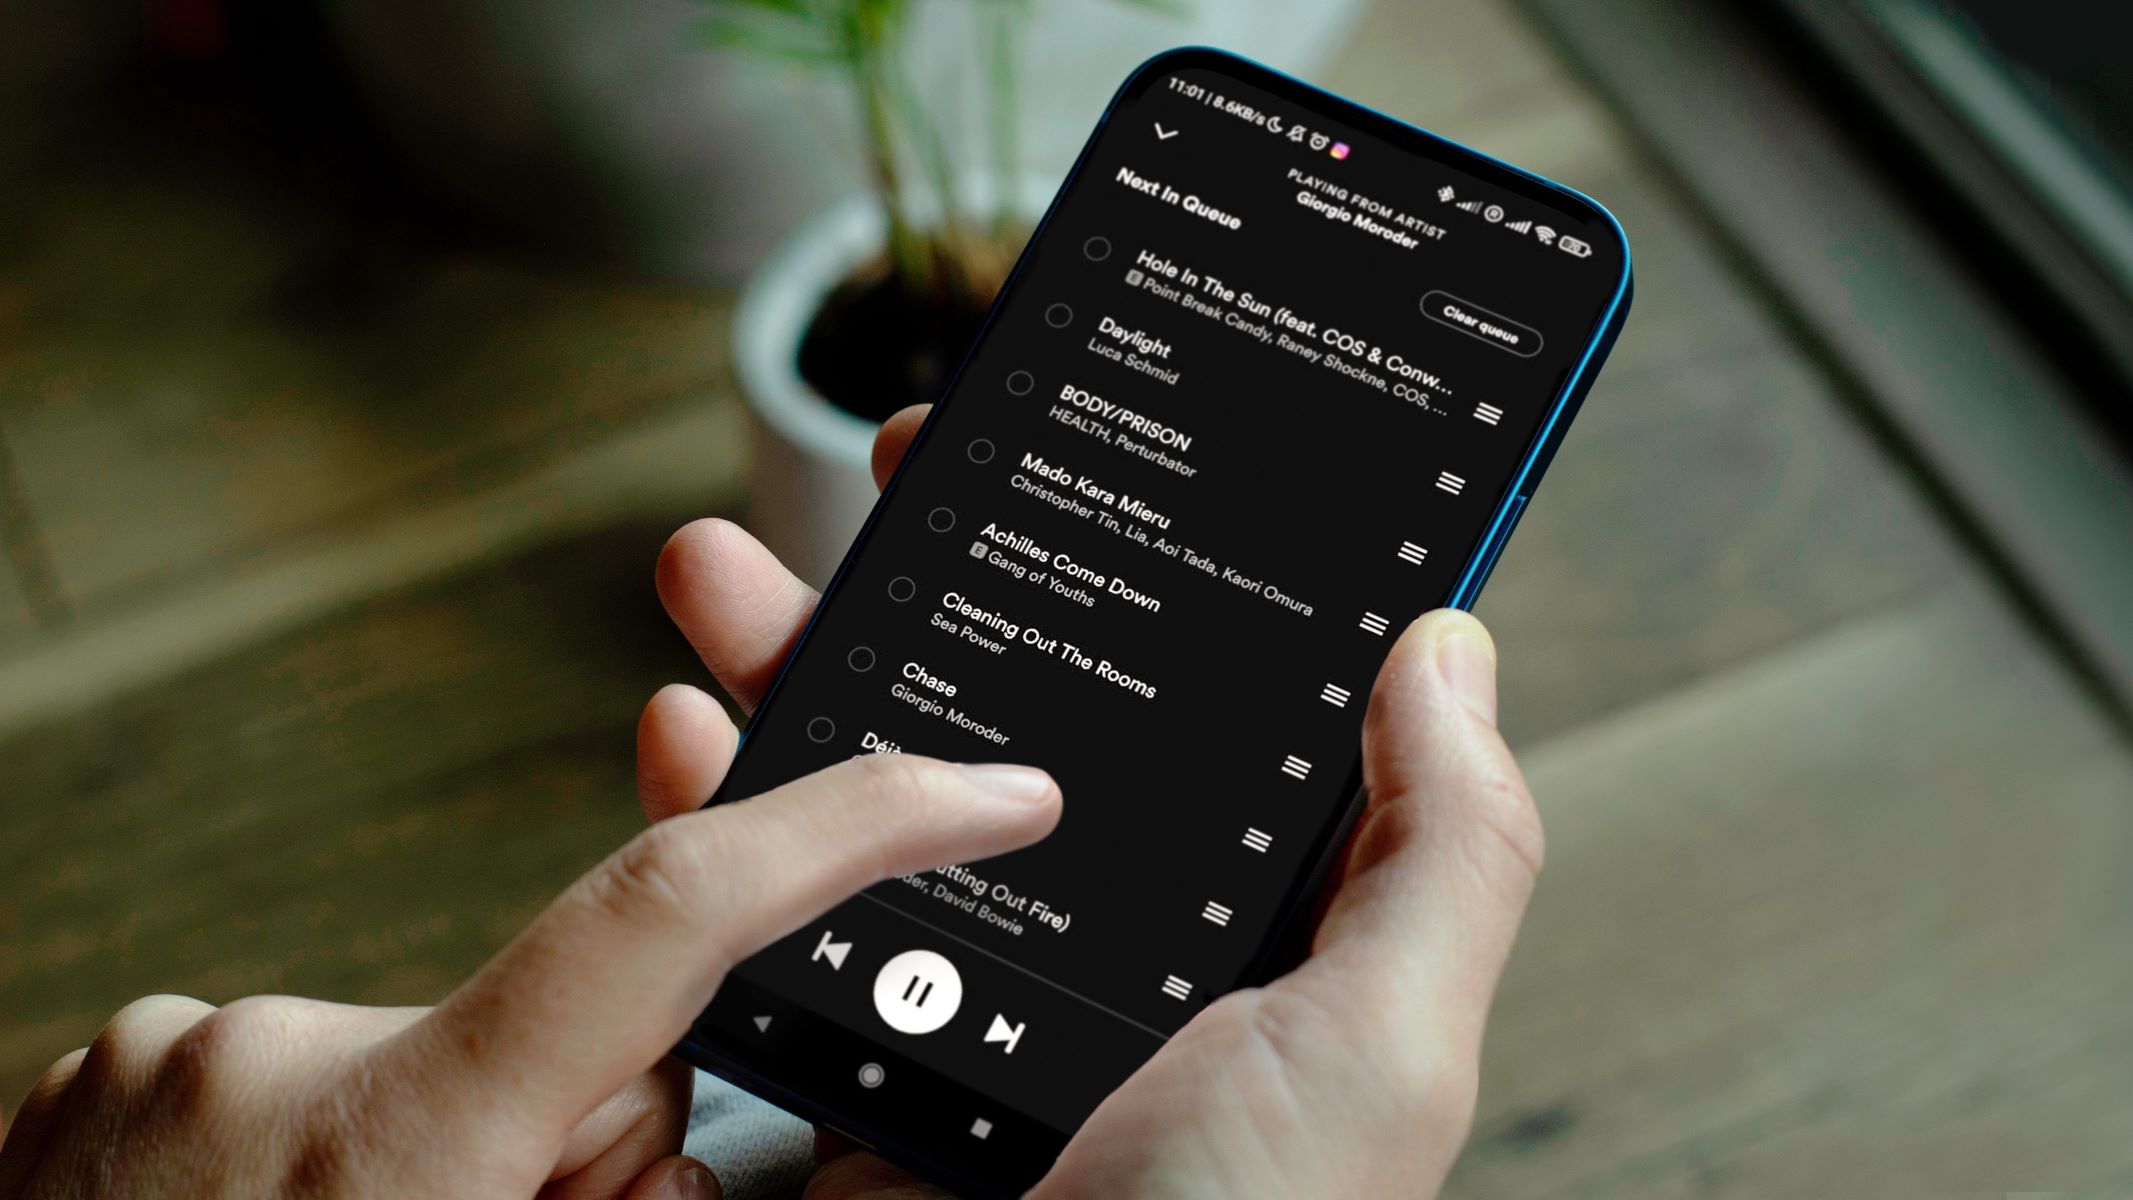
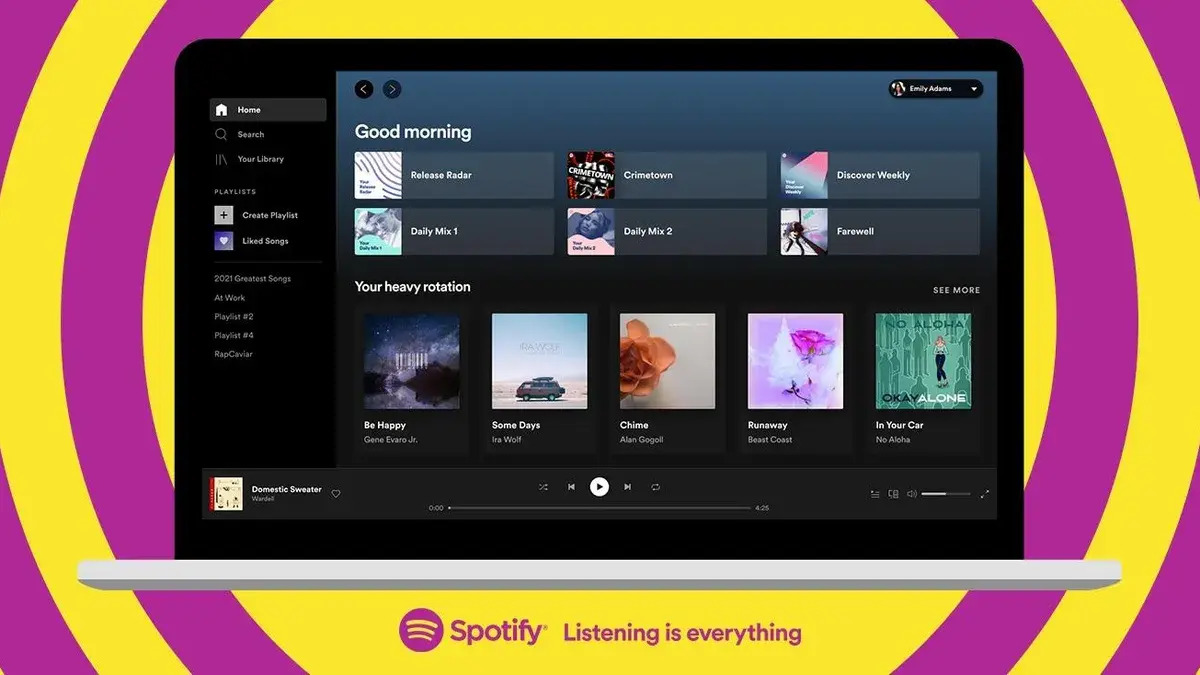
To remove a device from Spotify, the first step is to open the Spotify app on your preferred device. You can either use the Spotify mobile app on your smartphone or the desktop app on your computer. Make sure you are logged in to your Spotify account before proceeding with the following steps.
If you are using a smartphone, locate the Spotify app on your home screen or in your app drawer. Tap on the app icon to launch it. If you are using a computer, click on the Spotify app shortcut on your desktop or search for Spotify in your applications folder and open it.
Once the app is launched, you will be directed to the Spotify home screen. From here, you can access all the features and settings of your Spotify account.
It is important to note that the screenshots and steps mentioned in this guide may vary slightly depending on the device you are using and the version of the Spotify app you have installed. However, the overall process remains the same, and you should be able to find the necessary options by navigating through the app.
Now that you have opened the Spotify app, let’s move on to the next step and learn how to remove a device from your Spotify account.
Step 2: Go to “Settings”
After opening the Spotify app on your device, the next step is to navigate to the “Settings” section. This is where you can access various options and configurations for your Spotify account.
The specific location of the “Settings” option may differ slightly depending on the device you are using. However, locating it should be relatively straightforward, as Spotify typically organizes its settings in a logical and user-friendly manner.
On the Spotify mobile app, look for the gear icon, which represents the settings. This icon is usually found in the top-right corner of the screen. Tap on the gear icon to access the settings menu.
If you are using the Spotify desktop app, you can find the “Settings” option in the top-left corner of the app window. Click on the downward-facing arrow next to your profile name, and a drop-down menu will appear. From the menu, select “Settings”.
Once you have accessed the “Settings” menu, you will be presented with a range of options related to your Spotify account. This is where you can customize your music playback preferences, manage your social connections, and, most importantly, remove unwanted devices.
Now that you have successfully located the “Settings” section, let’s move on to the next step and learn how to navigate to the “Devices” option, where you can remove a device from your Spotify account.
Step 3: Navigate to “Devices”
Once you have accessed the “Settings” section in your Spotify app, the next step is to navigate to the “Devices” option. This is where you can manage and remove the devices that are currently connected to your Spotify account.
In the “Settings” menu, scroll through the options until you find “Devices” or a similar option related to managing devices. The specific location of this option may vary depending on the version of the Spotify app you are using.
On the Spotify mobile app, you may need to scroll down to find the “Devices” option. It is typically located under the “Playback” or “Connect to a device” section. Tap on “Devices” to proceed.
If you are using the Spotify desktop app, it is common to find the “Devices” option in the left-hand sidebar of the “Settings” menu. Look for an option that says “Devices”, “Connect to a device”, or something similar, and click on it.
After navigating to the “Devices” section, you will be presented with a list of all the devices that are currently connected to your Spotify account. This list includes your smartphone, computers, smart speakers, and any other devices on which you have used Spotify in the past.
Now that you have successfully reached the “Devices” section, let’s move on to the next step and learn how to select and remove the specific device that you want to disconnect from your Spotify account.
Step 4: Select the device to remove
After navigating to the “Devices” section in your Spotify app, you will now be able to see a list of all the devices that are currently connected to your account. This list includes all the devices you have used to access Spotify in the past, such as smartphones, computers, tablets, and smart speakers.
Take a moment to review the list and identify the specific device that you want to remove from your Spotify account. The devices are usually listed with their names or model numbers, making it easier to identify them.
Once you have identified the device you want to remove, go ahead and select it. On the Spotify mobile app, you can simply tap on the device’s name to proceed. On the Spotify desktop app, you may need to click on the device or select it using the mouse.
When selecting the device, make sure to double-check that you have chosen the correct one. Removing a device from your Spotify account will permanently disconnect it, and you may need to go through the pairing or login process again if you want to use it in the future.
It is worth noting that you can remove multiple devices from your Spotify account if needed. This allows you to clean up your device list and ensure that only the devices you currently use are connected to your account.
Now that you have selected the device you want to remove, let’s move on to the next step and learn how to disconnect it from your Spotify account.
Step 5: Tap on “Forget This Device” or “Disconnect”
Now that you have selected the device you want to remove from your Spotify account, it’s time to disconnect it. The exact terminology and options may vary slightly depending on the version of the Spotify app you are using, but the process remains the same.
On the Spotify mobile app, look for an option that says “Forget This Device” or similar. Tap on this option to proceed with the disconnection. You may see a prompt asking for confirmation. Verify that you want to remove the device and tap “Yes” or “OK.”
If you are using the Spotify desktop app, you may need to look for an option that says “Disconnect” or similar. Click on this option to initiate the disconnection process. Similar to the mobile app, you will likely be prompted to confirm the action. Click “Yes” or “OK” to proceed.
After tapping on “Forget This Device” or “Disconnect” and confirming your choice, Spotify will immediately sever the connection between your account and the selected device. This means that the device will no longer have access to your Spotify account, and you will need to re-enter your login credentials if you want to use it in the future.
It is crucial to note that removing a device from your Spotify account does not affect the availability or access to your saved playlists, liked songs, or other preferences. These will still be accessible from any other connected device.
Now that you have successfully initiated the disconnection process, let’s move on to the next step and confirm that the device has been successfully removed from your Spotify account.
Step 6: Confirm the removal
After tapping on “Forget This Device” or “Disconnect” in the previous step, Spotify will remove the selected device from your account. However, it is always a good practice to confirm that the removal has been successful.
After disconnecting the device, you may be redirected back to the “Devices” section in your Spotify app. Take a moment to review the updated device list and make sure that the device you wanted to remove is no longer listed.
If you do not see the device in the list anymore, it means that the removal was successful and the device is no longer connected to your Spotify account. This ensures that your account remains secure and only the devices you actively use have access to your music.
In some cases, you may need to refresh the device list by closing and reopening the “Devices” section, or by navigating back to it from the main menu. This will allow Spotify to update the list and reflect the changes you made.
It is important to keep in mind that once a device is removed from your account, you will need to go through the login or pairing process again if you wish to use it in the future. This step adds an extra layer of security and control to your Spotify account.
Congratulations! You have successfully confirmed the removal of the device from your Spotify account. Now let’s move on to the final step and conclude the process of removing a device from Spotify.
Step 7: Device successfully removed
By following the previous steps, you have successfully removed the unwanted device from your Spotify account. Whether it was an old smartphone, a computer you no longer use, or any other device, it is now disconnected and no longer has access to your Spotify account.
Removing a device from your Spotify account helps ensure the security and privacy of your account. It also allows you to have better control over the devices connected to your account and ensures that only the devices you actively use have access to your music.
Now that the device has been successfully removed, you can have peace of mind knowing that your Spotify account is clean and clutter-free. You can continue enjoying your favorite music without any distractions or unauthorized access from disconnected devices.
If at any point in the future you decide to use the removed device again, you will need to go through the setup or login process, just as you would with a new device. This step helps maintain the integrity of your Spotify account and keeps your music preferences and library secure.
Remember that you can repeat these steps to remove any other devices that you no longer wish to have connected to your Spotify account. This allows you to keep your account organized and ensure that only the devices you actively use have access to your music.
Congratulations! You have successfully completed the process of removing a device from your Spotify account. Enjoy your music and the enhanced control you now have over your connected devices!
Conclusion
Removing a device from your Spotify account is a simple and important process to ensure the security and control of your music streaming experience. By following the steps outlined in this guide, you can easily disconnect any unwanted devices from your account.
We started by opening the Spotify app on your device and navigating to the “Settings” section. From there, we accessed the “Devices” option, which allowed us to view the list of devices connected to your Spotify account.
After identifying the specific device you wanted to remove, you selected it and tapped on the “Forget This Device” or “Disconnect” option. This initiated the disconnection process and severed the connection between your Spotify account and the device.
It is essential to confirm that the removal was successful by checking the updated device list in the Spotify app. Once the device is no longer listed, you can be confident that it has been successfully removed.
Removing devices from your Spotify account helps maintain your account’s security, privacy, and organization. It ensures that only the devices you actively use have access to your music, and provides you with better control over your connected devices.
Remember, if you decide to use a removed device again in the future, you will need to go through the setup or login process as if it were a new device. This adds an extra layer of security to your account by preventing unauthorized access.
By following these steps, you can keep your Spotify account tidy, secure, and tailored to your preferences. Enjoy the seamless and uninterrupted music streaming experience on your desired devices!


