Introduction
Welcome to our comprehensive guide on how to recover deleted files on a 2.5 Inch SATA Hard Disk Drive. Accidentally deleting important files can be a frustrating experience, especially when you realize that you haven’t made a backup. However, there’s no need to panic – there are steps you can take to potentially restore your deleted files.
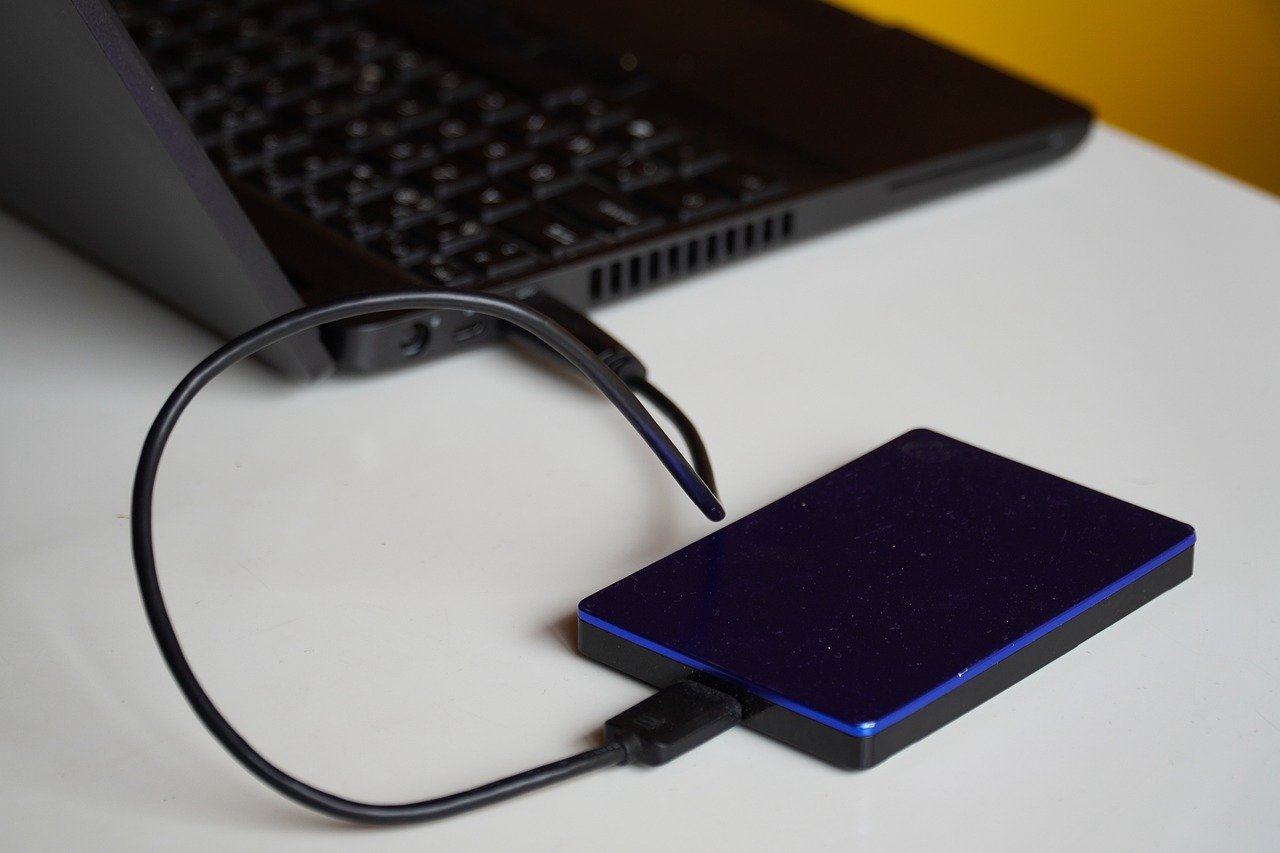
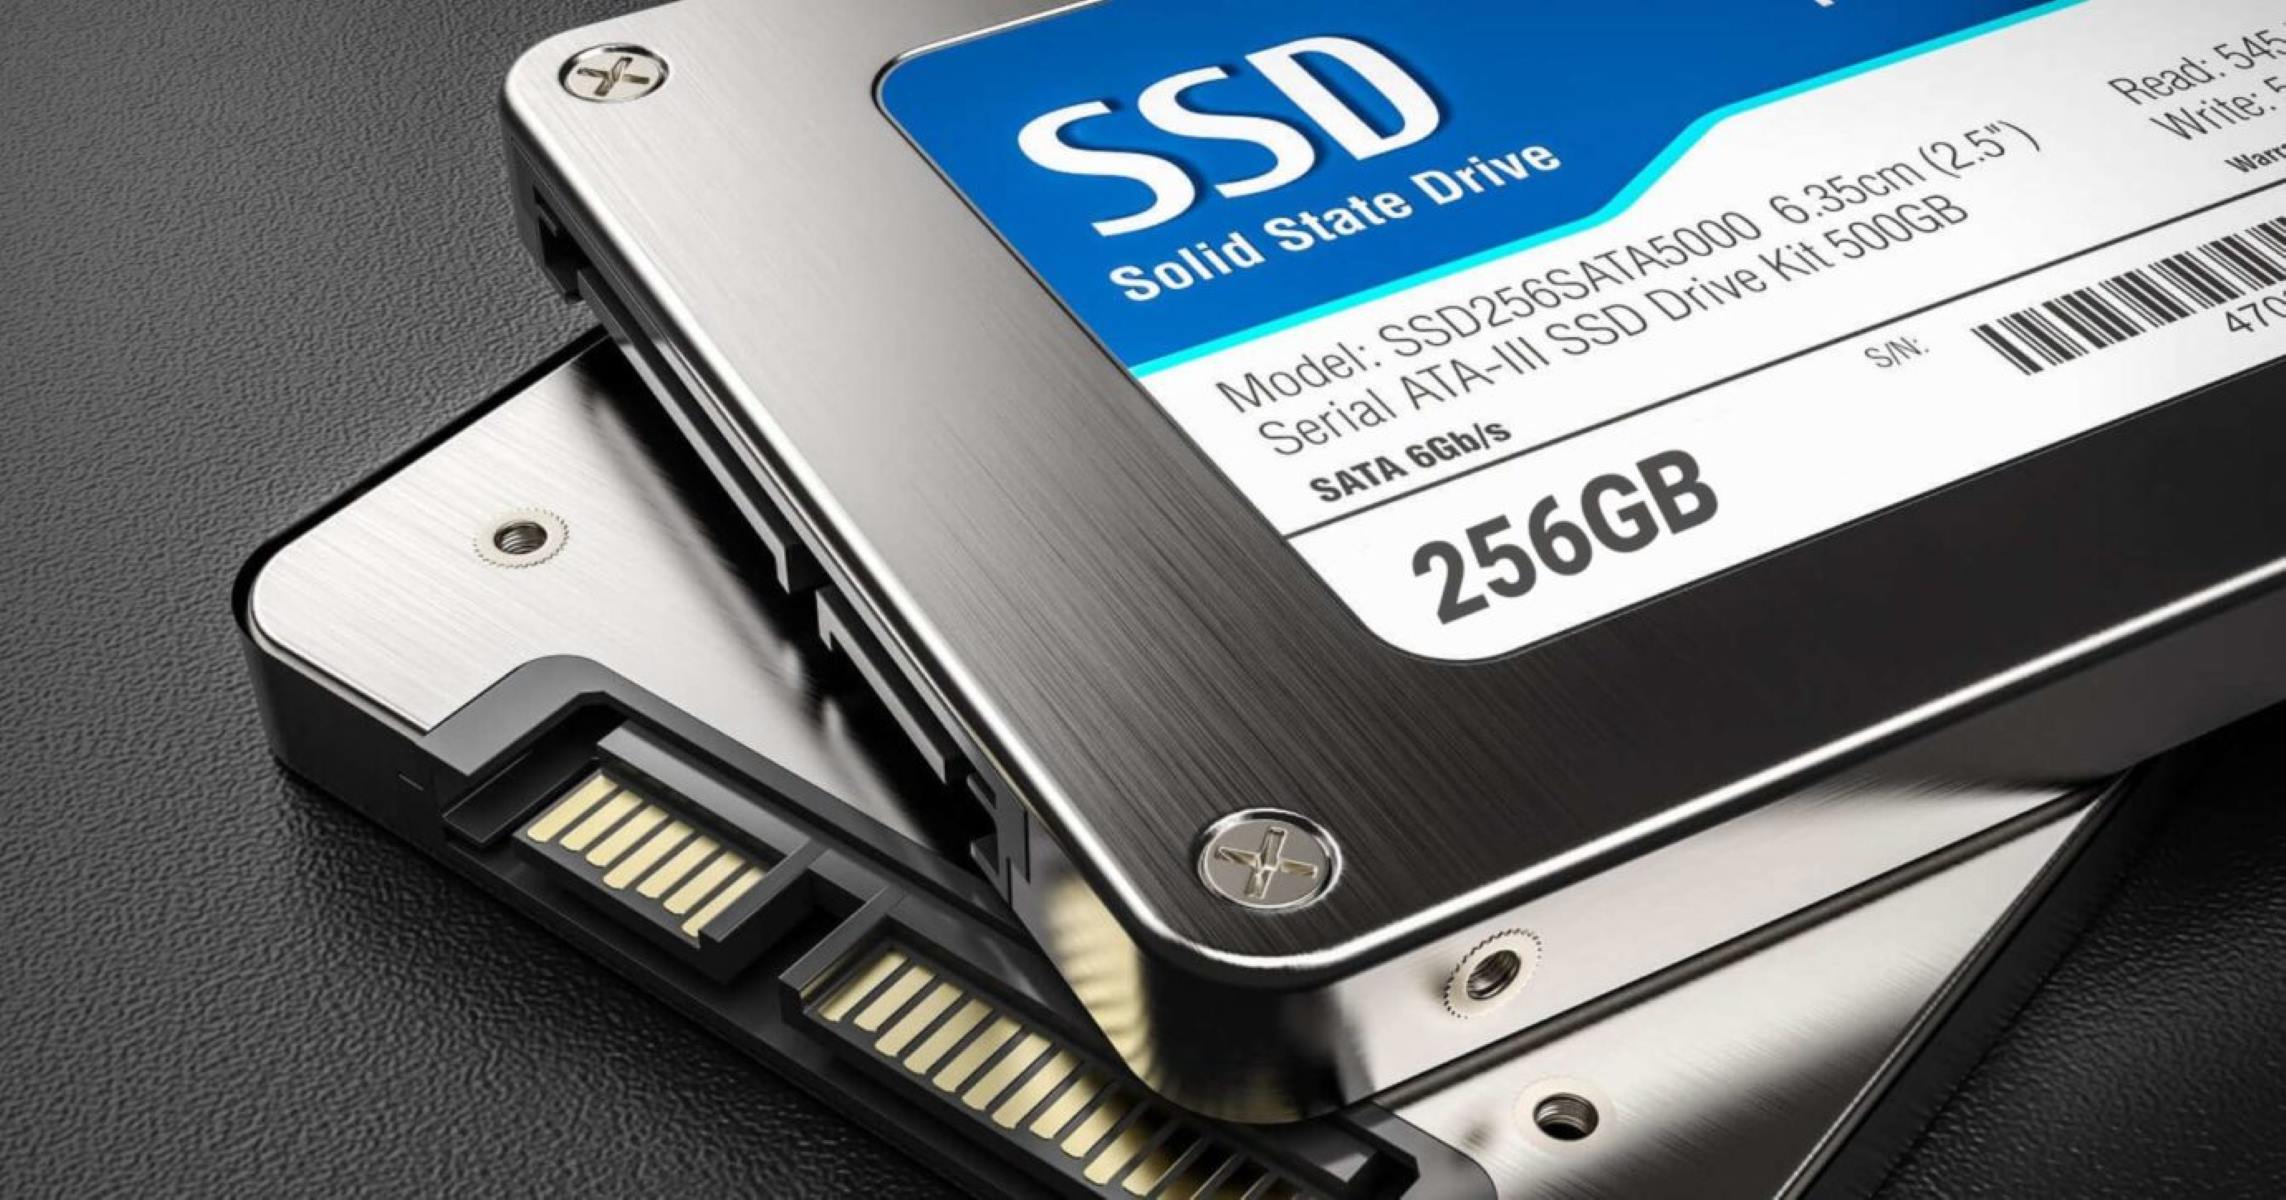
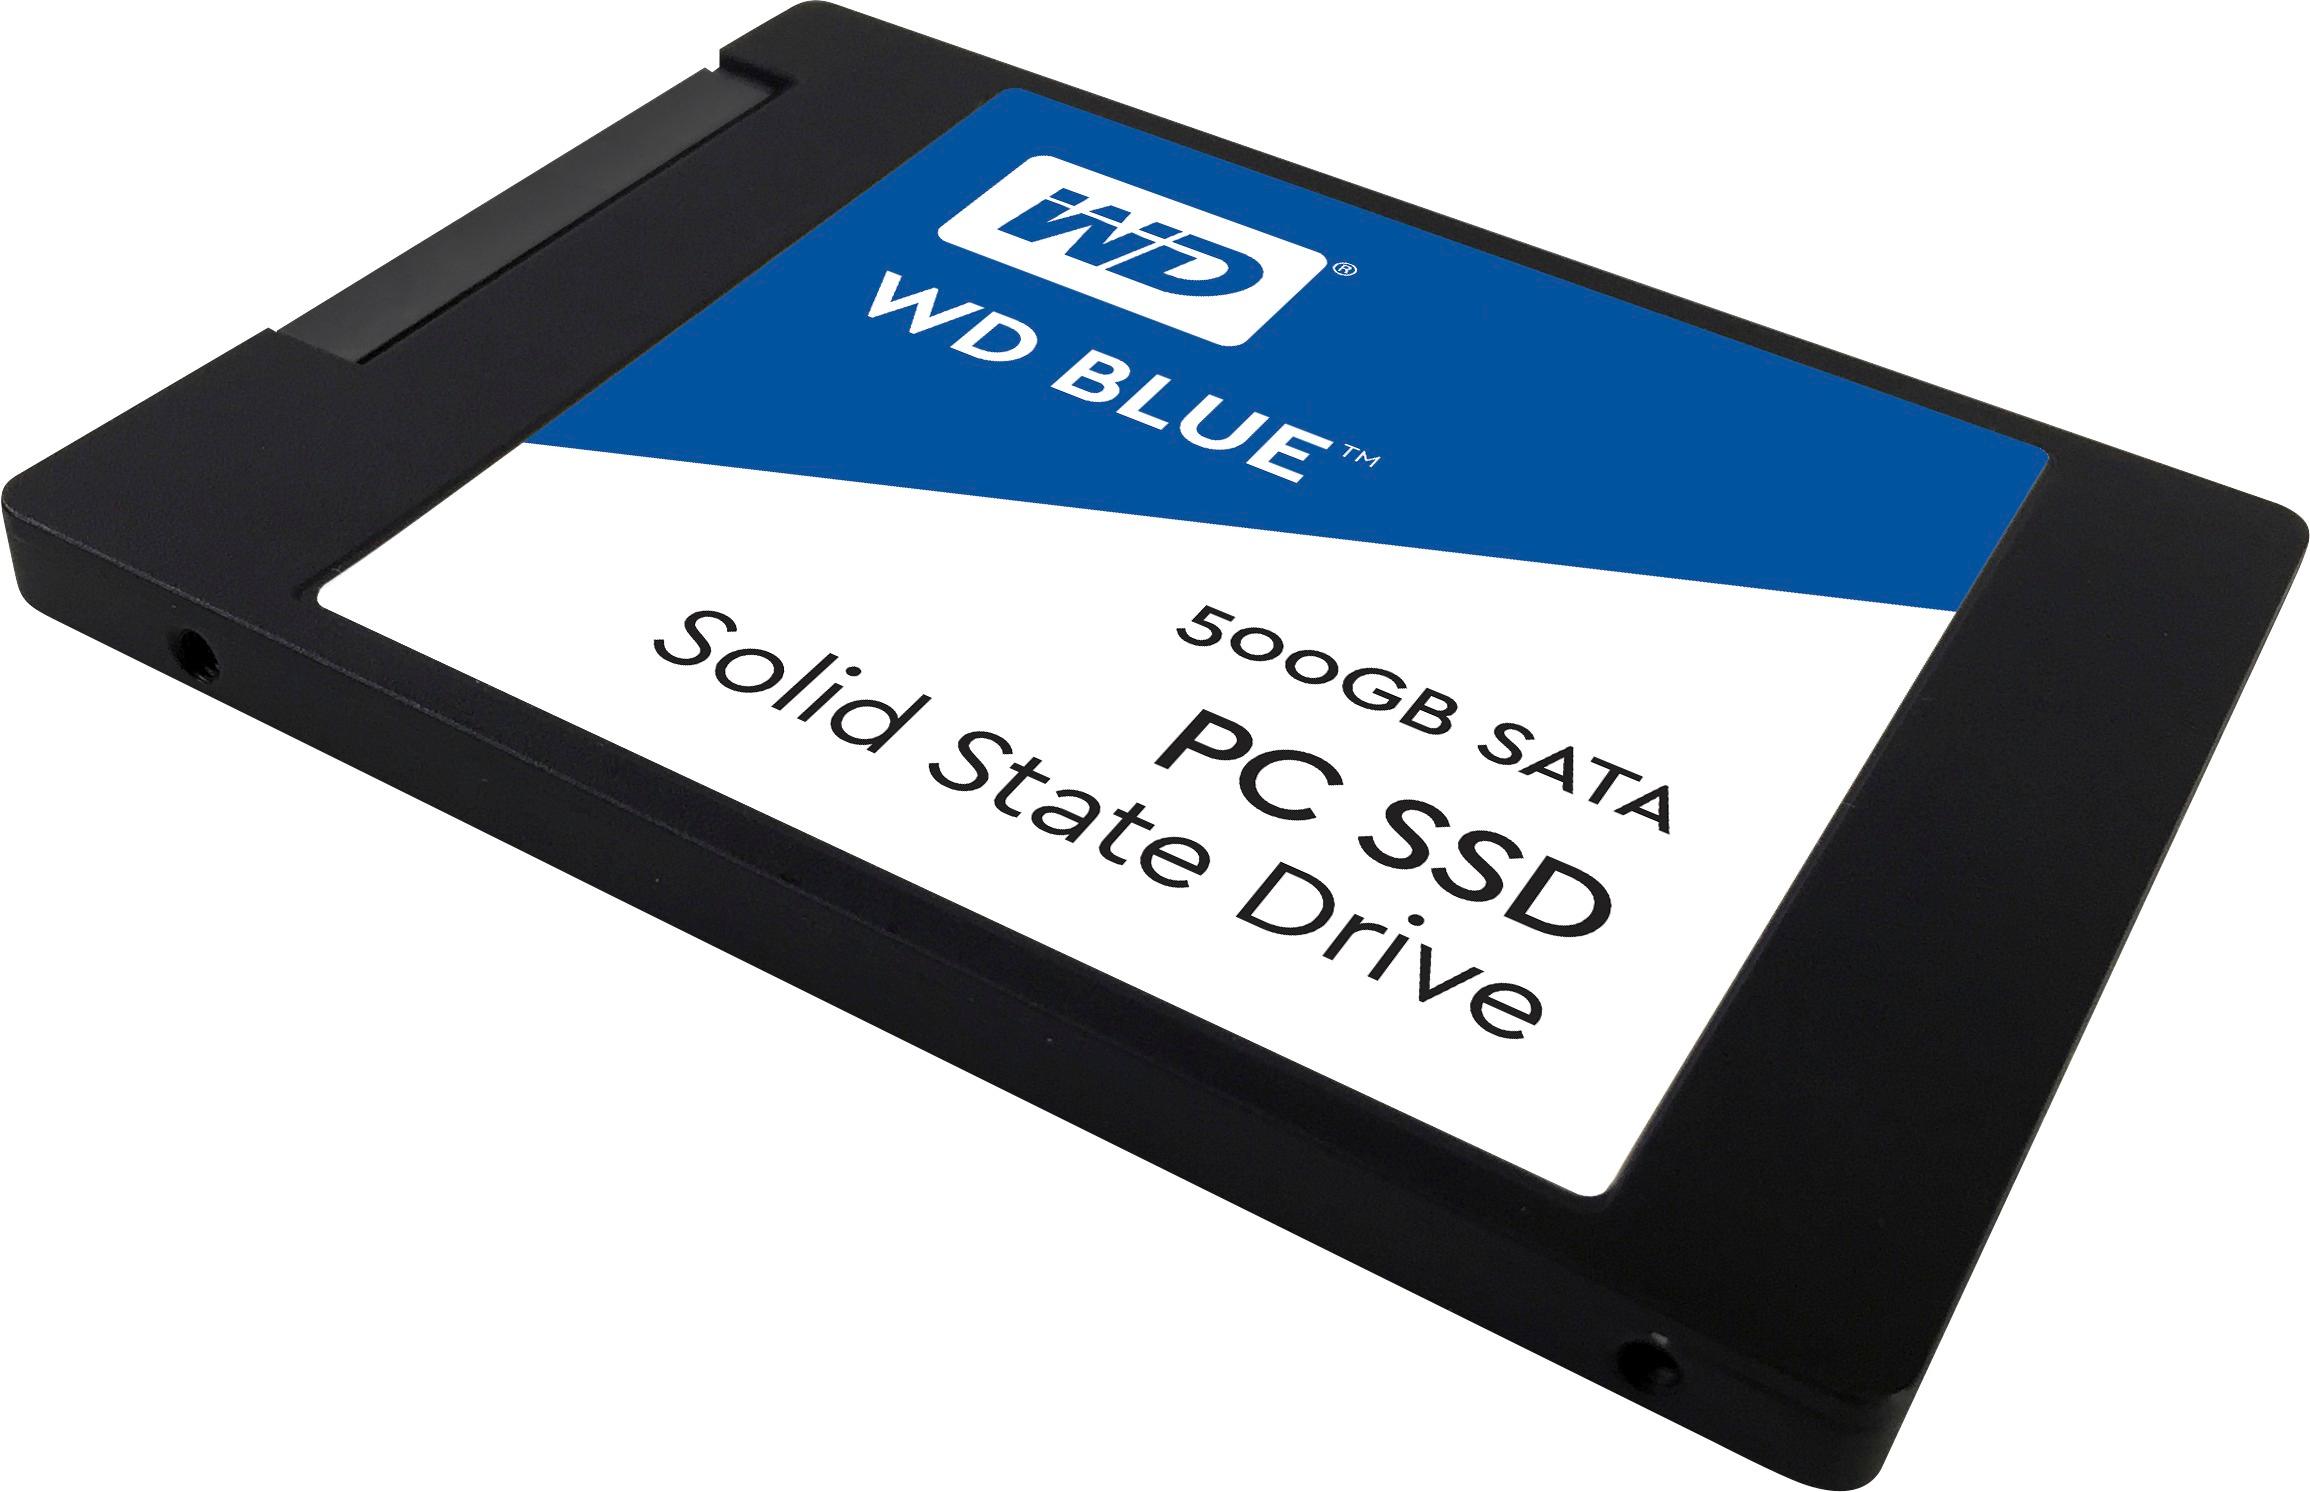
A 2.5 Inch SATA Hard Disk Drive is a common storage device found in laptops and external hard drives. These drives use a Serial ATA (SATA) interface to connect to the computer’s motherboard. Understanding how data is stored on these drives is crucial for successful file recovery.
In this guide, we will walk you through the process of recovering deleted files from a 2.5 Inch SATA Hard Disk Drive. From stopping further data writes on the drive to using specialized recovery software, we will provide step-by-step instructions to help you retrieve your important files.
It is important to note that the success of file recovery depends on various factors, including the extent of data overwriting and the condition of the hard drive. If you have accidentally deleted files, it is recommended to act quickly and follow the steps outlined in this guide to maximize your chances of successful recovery.
Whether you have deleted important work documents, cherished memories, or crucial personal files, this guide aims to help you recover your data from a 2.5 Inch SATA Hard Disk Drive. Remember, time is of the essence, so let’s dive into the recovery process and restore your deleted files.
Understanding how data is stored on a 2.5 Inch SATA Hard Disk Drive
Before we delve into the steps of recovering deleted files, it is essential to have a basic understanding of how data is stored on a 2.5 Inch SATA Hard Disk Drive. This knowledge will help you grasp the concepts and processes involved in the recovery process.
A 2.5 Inch SATA Hard Disk Drive consists of one or more spinning platters coated with a magnetic material. These platters rotate at high speeds while a read/write head accesses and alters the data on the surface of the platters. The data is stored in the form of magnetic bits, which are represented by changes in the magnetic field.
To organize and quickly retrieve the stored data, the hard drive utilizes a file system. The most commonly used file systems on Windows operating systems are NTFS (New Technology File System) and FAT32 (File Allocation Table 32).
The file system divides the hard drive into sectors, which are the smallest units for storing data. Each sector can store a fixed amount of data, typically 512 bytes, and is assigned a unique address. These addresses help in locating and retrieving the stored data quickly.
Further organizing the sectors, the file system uses various data structures, including the Master Boot Record (MBR) and the File Allocation Table (FAT) or Master File Table (MFT). The MBR stores information about the partitions and the location of the file system on the hard drive, while the FAT or MFT keeps track of the files’ metadata and their physical locations on the hard drive.
When a file is deleted, it is not immediately removed from the hard drive. Instead, the file system marks the space occupied by the deleted file as available for reuse. Until the space is overwritten by new data, the deleted file remains intact on the hard drive. This is the window of opportunity for file recovery.
However, it is important to note that if new data is written to the hard drive, it may overwrite the space previously occupied by the deleted file. Once overwritten, the chances of recovering the deleted file decrease considerably.
Now that we have a basic understanding of how data is stored on a 2.5 Inch SATA Hard Disk Drive, let’s proceed to the steps involved in recovering deleted files from such a drive.
Step 1: Stop using the hard drive immediately
When you realize that important files have been deleted from your 2.5 Inch SATA Hard Disk Drive, the first and most crucial step is to stop using the hard drive immediately. Continuing to use the drive may cause new data to be written on the same sectors where the deleted files were stored, reducing the chances of a successful recovery.
By ceasing any activity on the hard drive, you prevent the risk of overwriting the deleted files with new data. This includes avoiding any file saving, editing, or installation of software on the drive. Even browsing the internet or using programs that may initiate background data writes should be avoided.
If your operating system is installed on the drive that contains the deleted files, it is recommended to shut down the system completely. Connecting the drive to another computer for file recovery is the best course of action.
Remember, time is of the essence in file recovery. The longer you continue to use the hard drive after the files have been deleted, the higher the chance of the deleted files being overwritten. Therefore, it is crucial to act quickly and minimize any further data writes to the drive.
Once you have stopped using the hard drive, proceed to the next step of the file recovery process, which involves removing the hard drive and connecting it to another computer.
Step 2: Remove the hard drive and connect it to another computer
After stopping any further use of the hard drive, the next step in recovering deleted files from a 2.5 Inch SATA Hard Disk Drive is to remove the drive from the current device and connect it to another computer.
First, power off your computer completely and disconnect any power source. Locate the 2.5 Inch SATA Hard Disk Drive, which is typically located inside the laptop or within an external hard drive enclosure.
If you are dealing with a laptop, refer to the manufacturer’s manual or online resources for instructions on how to remove the hard drive. In most cases, you will need to unscrew a panel at the bottom of the laptop and carefully disconnect the SATA and power cables from the drive.
If the hard drive is housed in an external enclosure, disconnect it from the current computer by removing the USB cable or any other connection that may be in place. Some enclosures may require the use of a screwdriver or other tools to release the drive.
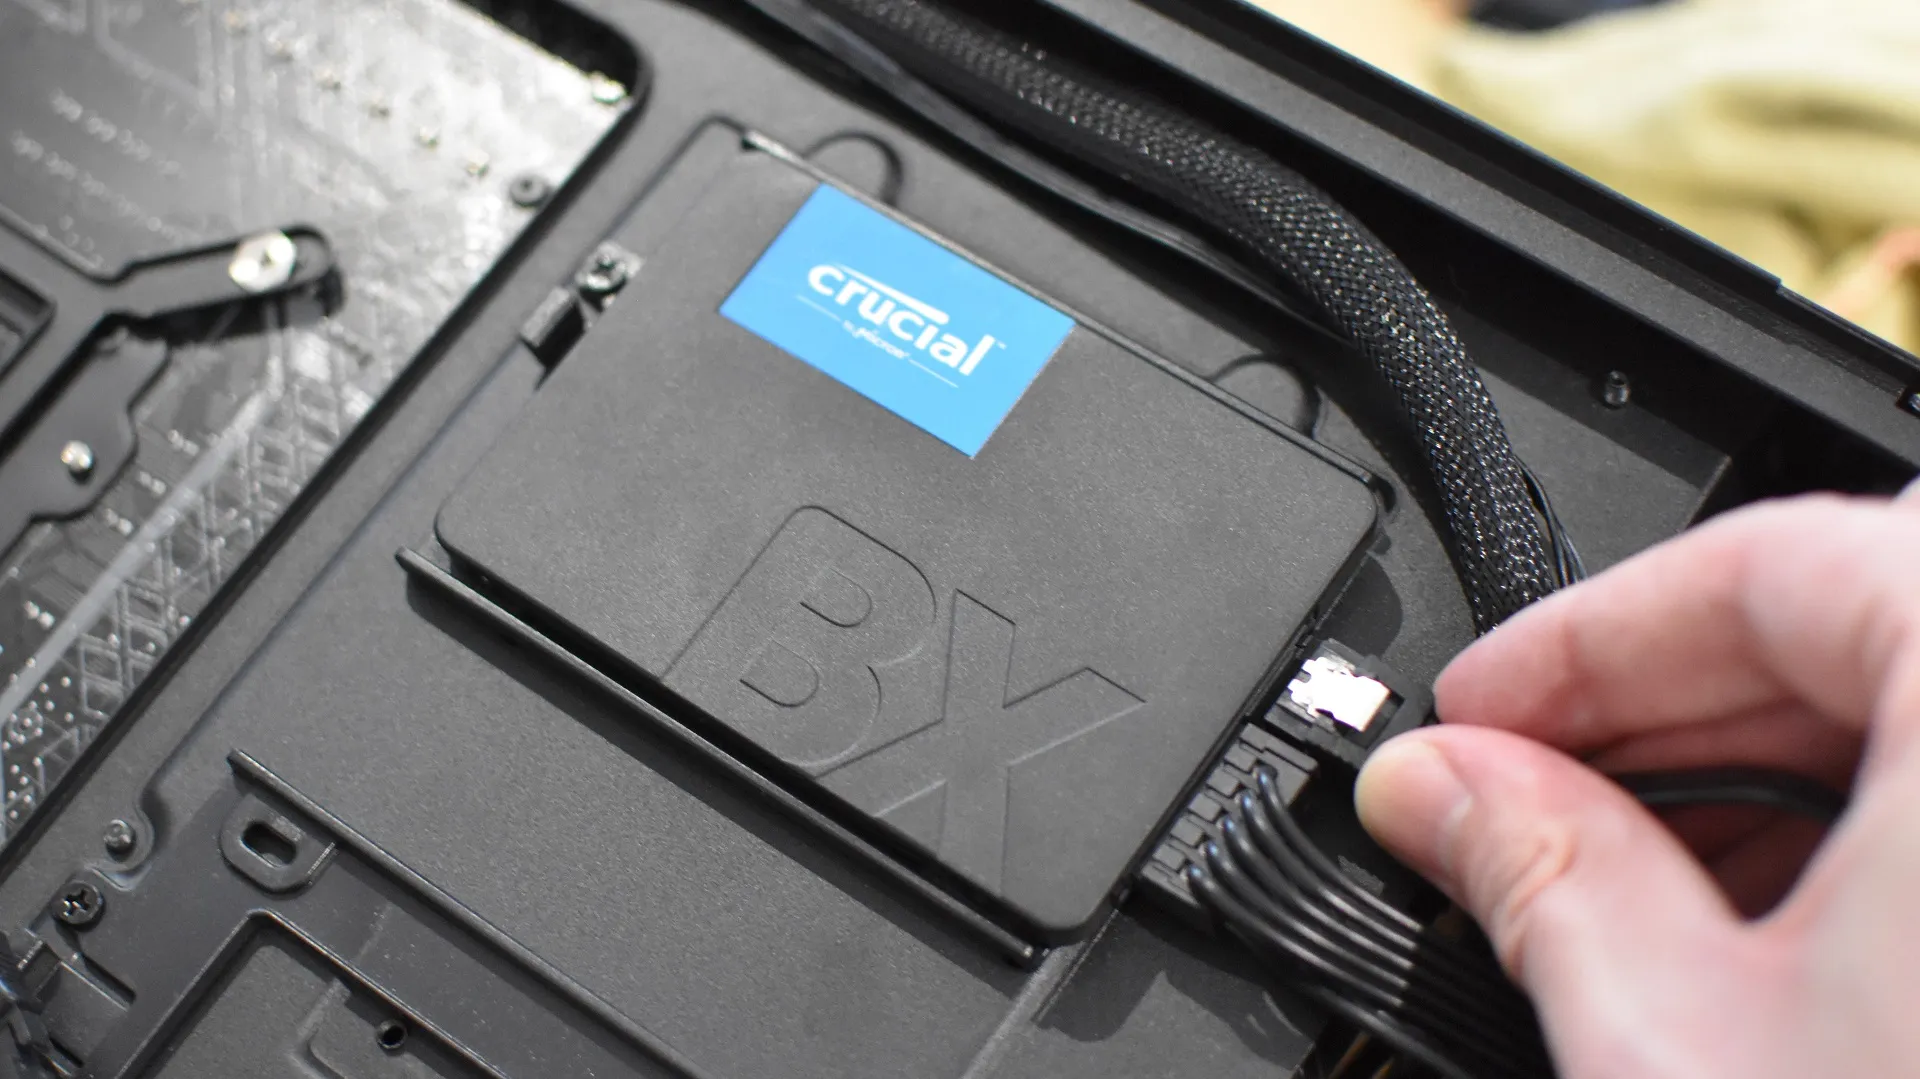
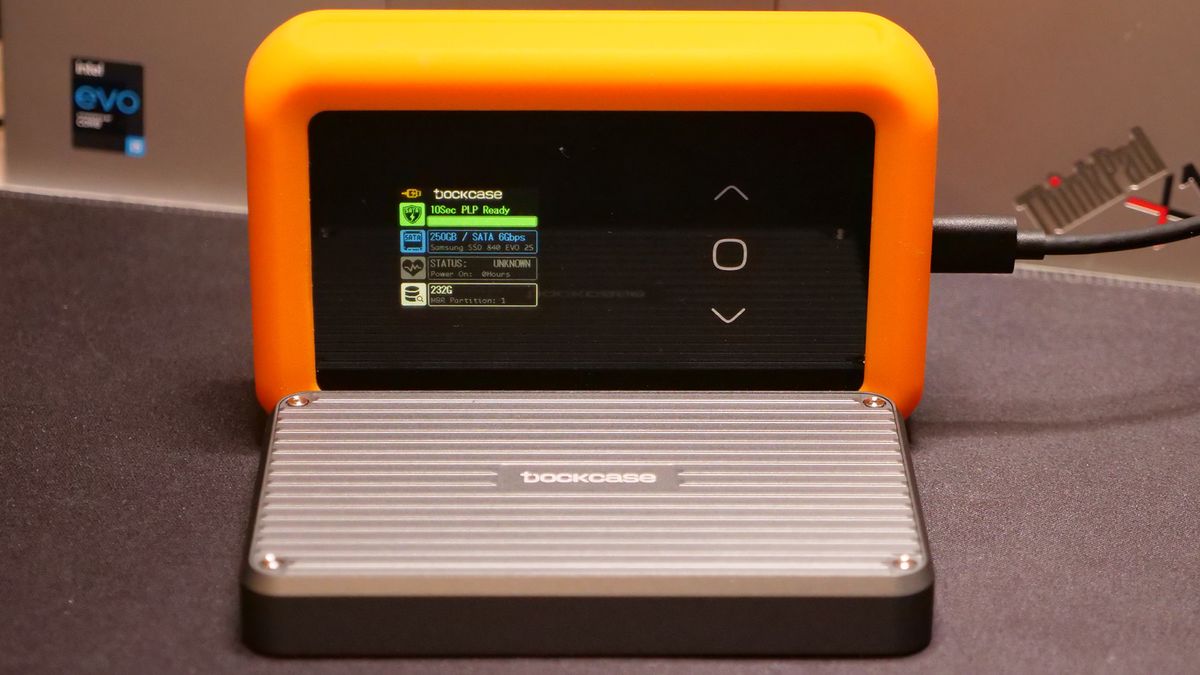
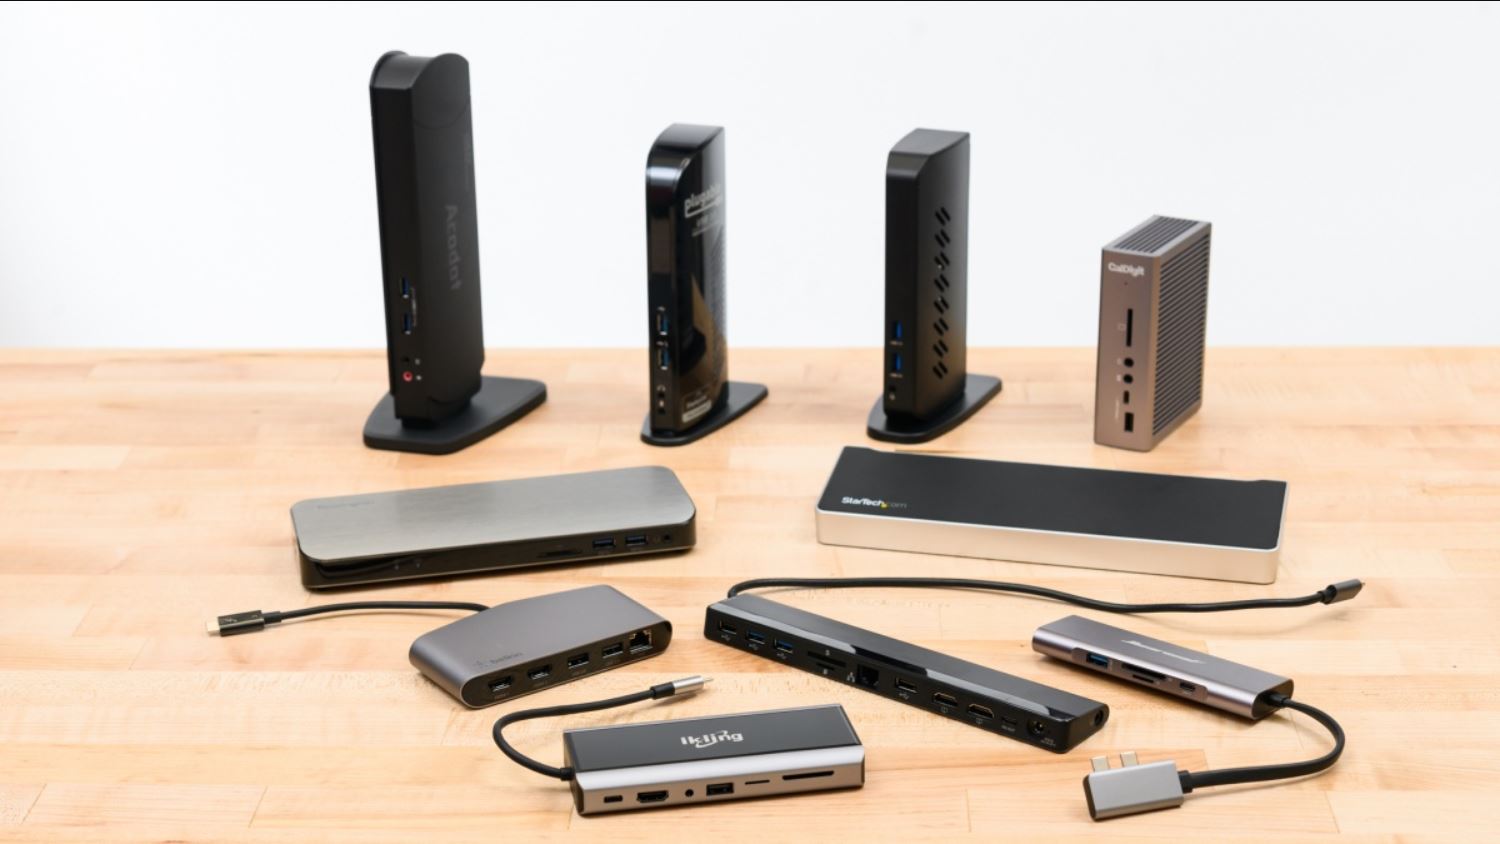
Once the hard drive is disconnected, connect it to another computer. The simplest method is to use a USB SATA adapter or docking station. These devices allow you to connect the hard drive to a different computer via USB. Alternatively, if you have experience working with computer hardware, you can directly connect the drive to the motherboard using a spare SATA cable and power connector.
Once the connection is established, power on the computer. The operating system of the second computer should detect the newly connected hard drive as an external storage device.
Now that you have successfully connected the 2.5 Inch SATA Hard Disk Drive to another computer, it’s time to proceed with step three: using data recovery software.
Step 3: Use data recovery software
With the 2.5 Inch SATA Hard Disk Drive connected to another computer, the next step in the file recovery process is to use specialized data recovery software. There are many reliable software options available that can help you retrieve deleted files from the hard drive.
Data recovery software works by scanning the storage device for traces of deleted files, allowing you to preview and recover them. These tools utilize advanced algorithms to search for file signatures and recover the data that has not been overwritten by new files.
Before you proceed, it is important to choose a reputable data recovery software program. Look for programs that have positive reviews, offer a user-friendly interface, and have a high success rate in recovering deleted files.
Install the selected data recovery software on the computer to which you have connected your 2.5 Inch SATA Hard Disk Drive. Once the installation is complete, launch the software and follow the on-screen instructions to begin the recovery process.
Usually, data recovery software will provide you with the option to select the storage device you want to recover files from. Choose the connected hard drive from the list of available devices.
Next, you will be prompted to select the type of files you want to recover. If you have deleted specific types of files and know exactly what you are looking for, you can select those file types. However, if you are unsure or want to recover all deleted files, you can choose to perform a deep scan that will search for all recoverable files on the hard drive.
Once you have made your selections, initiate the scanning process. The software will thoroughly scan the 2.5 Inch SATA Hard Disk Drive for any traces of deleted files. The scanning process may take some time, depending on the size and condition of the drive.
Throughout the scanning process, the software will display a progress indicator and provide an estimate of the time remaining. You can leave the software to complete the scan in the background while you attend to other tasks.
Do not interrupt the scanning process, as it may affect the software’s ability to locate and recover deleted files effectively.
Once the scan is complete, the software will present you with a list of recoverable files. You can usually preview the files to verify their integrity before proceeding with the recovery process.
Now that you have used data recovery software to scan the hard drive and identify the deleted files, it’s time to move on to step four: performing a thorough scan on the hard drive.
Step 4: Perform a thorough scan on the hard drive
After using data recovery software to identify the deleted files on the 2.5 Inch SATA Hard Disk Drive, the next step is to perform a thorough scan to ensure maximum file recovery. This step involves a deep dive into the hard drive’s sectors to locate any hidden or fragmented files.
Many data recovery software programs offer the option to perform a detailed or deep scan on the hard drive. This scan goes beyond the surface-level search conducted in the previous step and examines each sector of the drive for any remnants of deleted files.
To initiate the thorough scan, select the appropriate option in the data recovery software’s interface. The software will begin the scanning process, which may take considerably more time compared to the initial scan.
As the thorough scan progresses, the software will meticulously examine each sector, searching for fragmented files or hidden traces of the deleted files. This process is crucial for recovering files that may have been partially overwritten or hidden by the file system.
It is important to note that the thorough scan may take a significant amount of time, especially on larger hard drives. You might want to let the scan run in the background while you attend to other tasks.
Do not interrupt the thorough scan and avoid any activities that may put a strain on the system. This can include running other resource-intensive applications or performing large file transfers.
Once the thorough scan is complete, the data recovery software will present you with an updated list of recoverable files. This list may include additional files that were not detected during the initial scan.
Proceed to preview the recovered files to ensure their integrity and decide which ones you want to recover. Most data recovery software programs allow you to preview the content of the files and filter them based on file type, size, or date.
After carefully reviewing the recovered files, it’s time to move on to step five: previewing and recovering the deleted files.
Step 5: Preview and recover the deleted files
After performing a thorough scan on the 2.5 Inch SATA Hard Disk Drive and identifying the recoverable files, the next step is to preview and recover the deleted files. This step allows you to ensure the integrity of the files and select the ones you want to restore.
Most data recovery software programs provide a preview feature that allows you to view the content of the recovered files before proceeding with the recovery process. This is particularly useful when you have numerous files to recover and want to ensure they are intact and usable.
Select the files you want to preview from the list provided by the data recovery software. The preview feature typically allows you to view documents, images, videos, and other supported file formats without actually restoring them.
Previewing the files gives you the opportunity to assess their quality and confirm that they are indeed the files you intend to recover. Take your time to review each file to ensure it is complete and undamaged.
Once you have previewed the files and made your selections, it’s time to proceed with the actual recovery process. Most data recovery software programs provide an option to restore the selected files to a location of your choice.
Ensure that you have a different location, such as an external hard drive, USB drive, or a separate partition, to save the recovered files. It is crucial to avoid saving the files to the same hard drive from which they are being recovered to prevent overwriting the already deleted files.
Select the destination or target folder where you want to save the recovered files. Ensure that you have sufficient storage space available to accommodate the files you wish to recover.
Initiate the recovery process by clicking on the appropriate option in the data recovery software’s interface. The software will begin restoring the selected files to the designated location.
Depending on the size and number of files, the recovery process may take some time. It is recommended to let the recovery process run undisturbed to ensure the successful retrieval of your deleted files.
Once the recovery process is complete, navigate to the designated location and verify that the recovered files are intact and accessible. Take the time to review each file to ensure its integrity and usability.
Congratulations! You have successfully previewed and recovered the deleted files from your 2.5 Inch SATA Hard Disk Drive. It’s time to move on to the final step: saving the recovered files to a different location.
Step 6: Save the recovered files to a different location
As you have successfully recovered the deleted files from your 2.5 Inch SATA Hard Disk Drive, the final step is to save them to a different location. Saving the recovered files to a separate location ensures that they are safely stored and reduces the risk of accidental overwriting or data loss.
When saving the recovered files, it is important to choose a different storage device or location than the one you recovered them from. This can be an external hard drive, a USB drive, or a different partition on your computer.
Before proceeding, ensure that you have enough available storage space on the destination device to accommodate the recovered files. If necessary, free up space or use additional storage media to ensure you can copy all the recovered files.
Open the file explorer or the software used for recovering the files and navigate to the location where the recovered files are stored. Select the files and folders that you want to save to the different location.
Next, navigate to the destination location where you want to save the recovered files. This can be a specific folder or location on the external device or a separate partition on your computer’s hard drive. Create a new folder if needed and open it.
Copy the selected recovered files from their current location and paste them into the destination folder. Depending on the number and size of the files, this process may take some time.
During the copying process, make sure not to interrupt the operation or disconnect any storage devices. Doing so may result in data loss or corruption.
Once the files have been successfully copied to the new location, take a moment to verify their integrity. Open a few random files and check if they are accessible and non-corrupted.
If you encounter any issues or errors with the recovered files, it is advisable to run a virus scan to ensure that the files are not infected with malware or viruses.
Congratulations! You have successfully saved the recovered files to a different location. Remember to keep a backup of the recovered files in case of any future mishaps or accidental deletions.
By following these steps, you have maximized your chances of successful file recovery from a 2.5 Inch SATA Hard Disk Drive. Remember to always act quickly and avoid using the drive after deleting files to improve your chances of successful recovery.
Now that you have successfully recovered and saved your deleted files, you can breathe a sigh of relief knowing that your important data has been restored.
Conclusion
Accidentally deleting files from a 2.5 Inch SATA Hard Disk Drive can be a stressful experience, but with the right steps and tools, it is possible to recover those files. In this comprehensive guide, we have walked you through the process of recovering deleted files from a 2.5 Inch SATA Hard Disk Drive.
Starting with the crucial step of stopping any further use of the hard drive after realizing that files have been deleted, we emphasized the importance of minimizing the risk of overwriting the deleted files with new data.
Next, we guided you through the process of removing the hard drive from the original device and connecting it to another computer. This step ensures that you can work on the recovery process without any interference or risk to the integrity of the deleted files.
Using data recovery software was the subsequent step in the recovery process. We highlighted the significance of choosing reputable software and provided instructions on scanning the hard drive to identify the deleted files.
Performing a thorough scan on the hard drive was the subsequent step, which helps to maximize the chances of recovering all potential fragments and hidden files that may have been missed during the initial scan.
After completing the thorough scan, we explained the importance of previewing the recovered files to ensure they are intact and usable. This step allows you to select the files you wish to recover and discard any files that may be corrupt or unnecessary.
Finally, we outlined the process of saving the recovered files to a different location. By doing so, you safeguard the recovered files and minimize the risk of accidental deletion or overwriting.
By following these steps, you have equipped yourself with the knowledge and tools to successfully recover deleted files from a 2.5 Inch SATA Hard Disk Drive. However, it is important to note that not all files may be recoverable, and success rates may vary depending on various factors such as the condition of the drive and the extent of data overwriting.
We advise you to act promptly when you realize files have been deleted and to follow the steps outlined in this guide as soon as possible. Remember to always keep regular backups of your important files to avoid data loss and minimize the need for file recovery in the future.
Thank you for taking the time to read this guide. We hope it has been helpful to you in understanding and executing the process of recovering deleted files from a 2.5 Inch SATA Hard Disk Drive. Best of luck in your file recovery endeavors!