Introduction
Welcome to the exciting world of online gaming! Whether you’re a seasoned gamer or just starting out, one thing is for sure – there are countless memorable moments waiting to be captured and shared with the gaming community. But how can you record those epic gameplay sessions and preserve them for future enjoyment? In this article, we will guide you through the process of recording your online gaming adventures and provide helpful tips to make your recordings stand out.
Recording your online gaming sessions offers a multitude of benefits. First and foremost, it allows you to share your gaming skills, strategies, and achievements with fellow gamers on platforms like YouTube and Twitch. Creating and sharing gameplay videos not only helps you build a community, but it can also serve as a portfolio if you’re aspiring to become a professional gamer or content creator.
Additionally, recording gameplay sessions enables you to review your own performance, identify areas for improvement, and even create entertaining montages or highlight reels. It’s also a great way to relive and preserve your favorite gaming moments, whether it’s a hilarious fail or a legendary victory.
Now that you understand the importance of recording your online gaming sessions, let’s dive into the key considerations when choosing the right recording software. The software you use will determine the quality of your recordings, the available features, and the ease of use. Whether you’re a PC gamer or console enthusiast, we’ll cover options for both so you can find the one that suits your needs best.
Why Record Online Gaming?
Have you ever experienced an incredible gaming moment that you wish you could relive or share with others? Recording your online gaming sessions offers a range of advantages that can enhance your gaming experience and provide opportunities for growth and connection within the gaming community.
One primary reason to record your online gaming sessions is the ability to showcase your skills and achievements. By capturing your gameplay, you can create engaging and entertaining content to share on platforms like YouTube or Twitch. These platforms provide an avenue to connect with fellow gamers, build a community, and even monetize your content if you reach a substantial following.
Recording your gameplay also allows you to review and analyze your performance. Watching your sessions back enables you to identify areas where you can improve your strategies, reflexes, or decision-making. This self-reflection can lead to better gameplay, increased success, and a deeper understanding of your strengths and weaknesses.
Moreover, recording your online gaming sessions can serve as a documentation of your gaming journey. By capturing key moments, such as completing challenging missions, winning intense battles, or experiencing funny glitches, you can create a visual diary of your gaming adventures. As time passes, you’ll be able to look back at these recordings and reminisce about your accomplishments and the memories associated with each gaming session.
Another compelling reason to record your online gaming is to participate in the growing trend of esports and gaming competitions. With the increasing popularity of competitive gaming, recording your gameplay allows you to assess and refine your skills, track your progress over time, and even submit your best moments for consideration in tournaments or professional esports organizations.
Furthermore, recording your gameplay provides an opportunity for creativity and self-expression. You can edit and enhance your recordings using video editing software, adding effects, music, and commentary to create a unique and engaging viewing experience. This allows you to showcase your personality, humor, or informative insights, making your gaming content even more enjoyable for your audience.
Whether you’re aiming to entertain, educate, or simply connect with the gaming community, recording your online gaming sessions provides a platform for you to share your passion and skills with others. So, let’s explore the various recording software options available and the steps to get started on your journey to becoming a gaming content creator!
Choosing the Right Recording Software
When it comes to recording your online gaming sessions, selecting the right recording software is crucial. The software you choose will impact the quality of your recordings, the available features, and the ease of use. Here are some key factors to consider when making your decision.
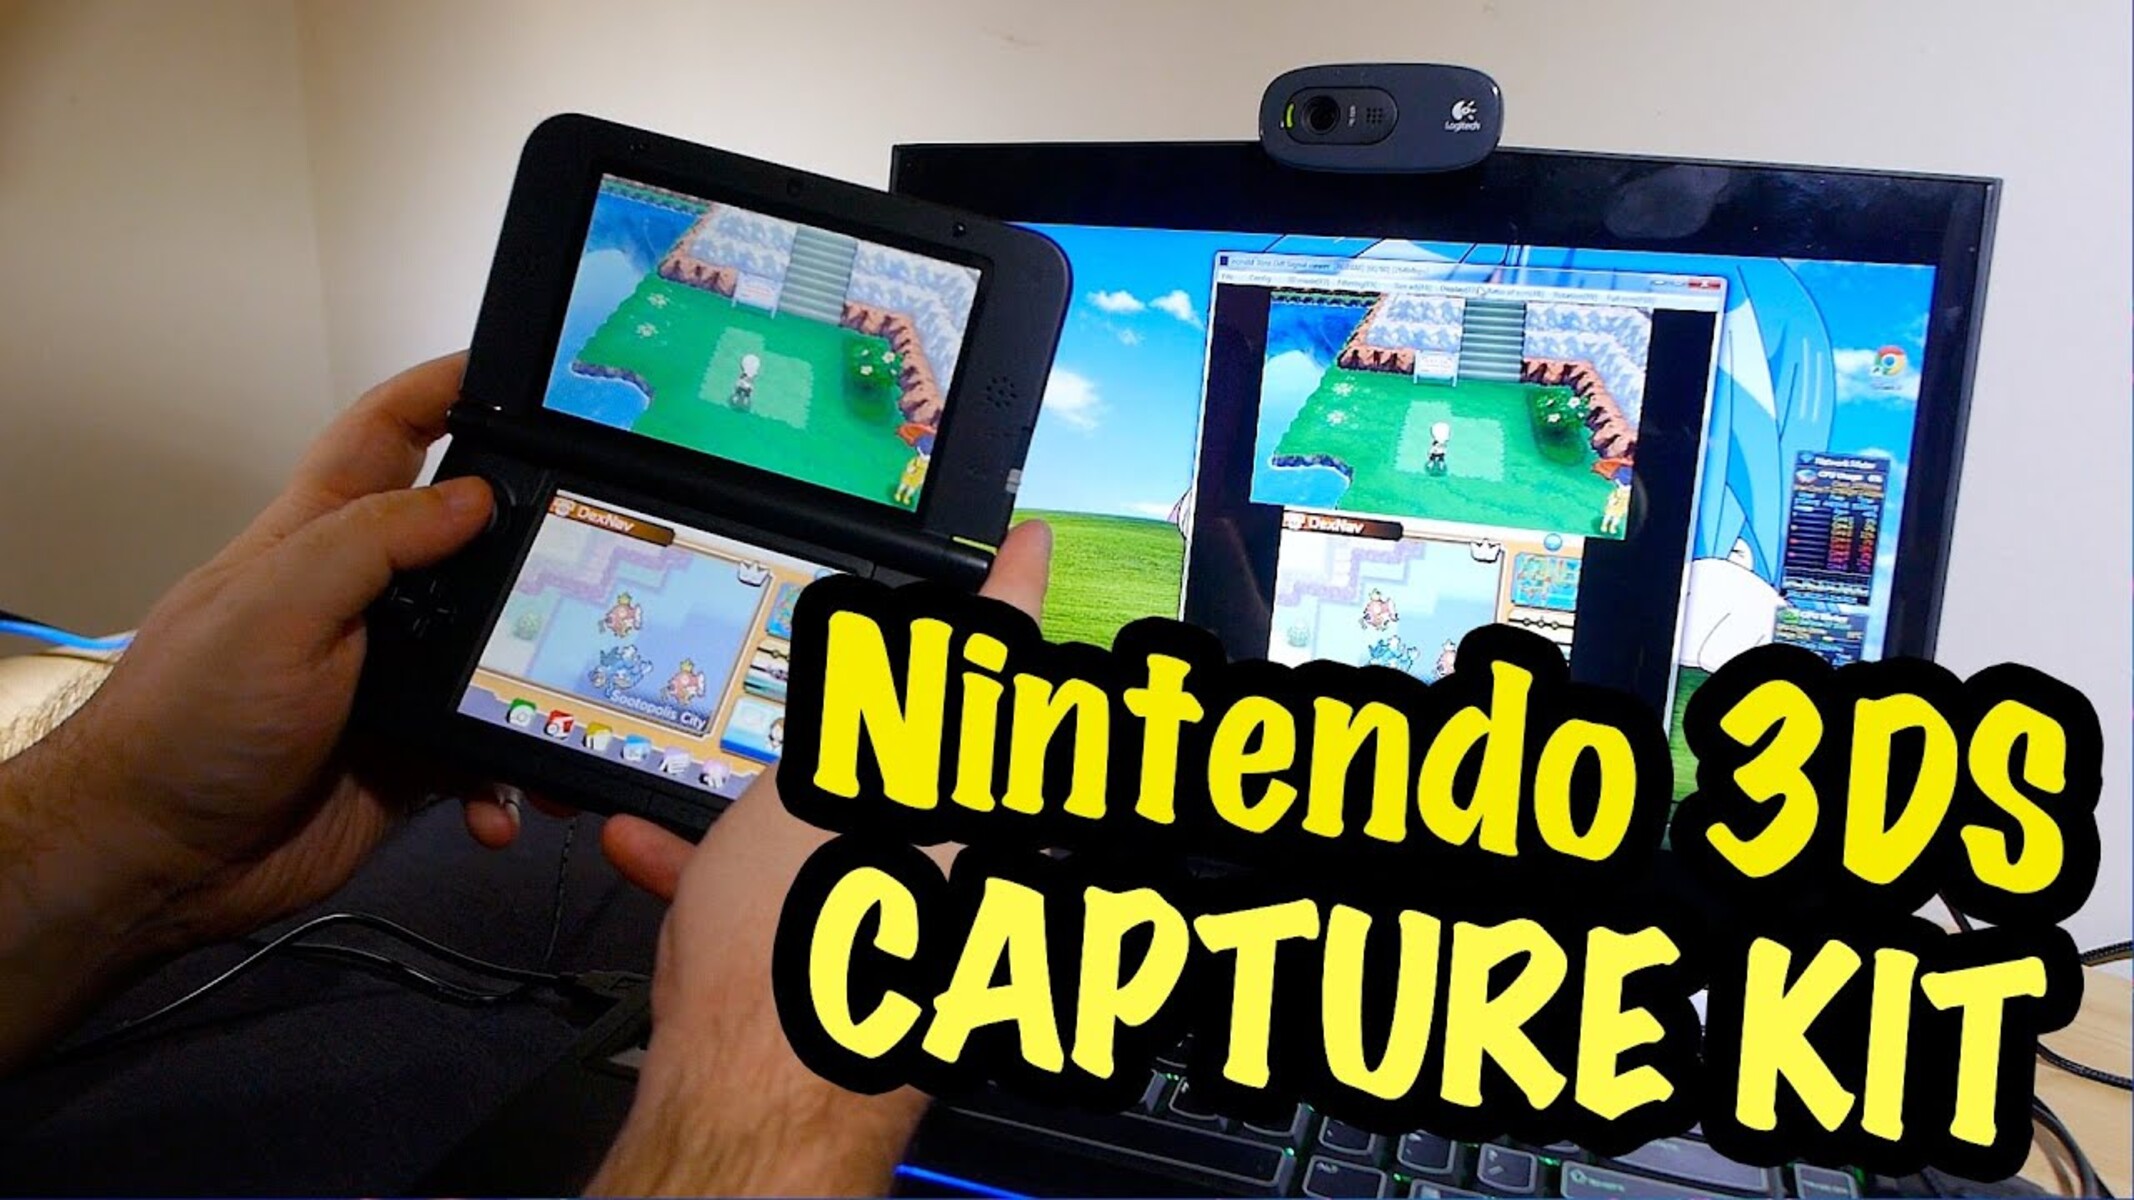
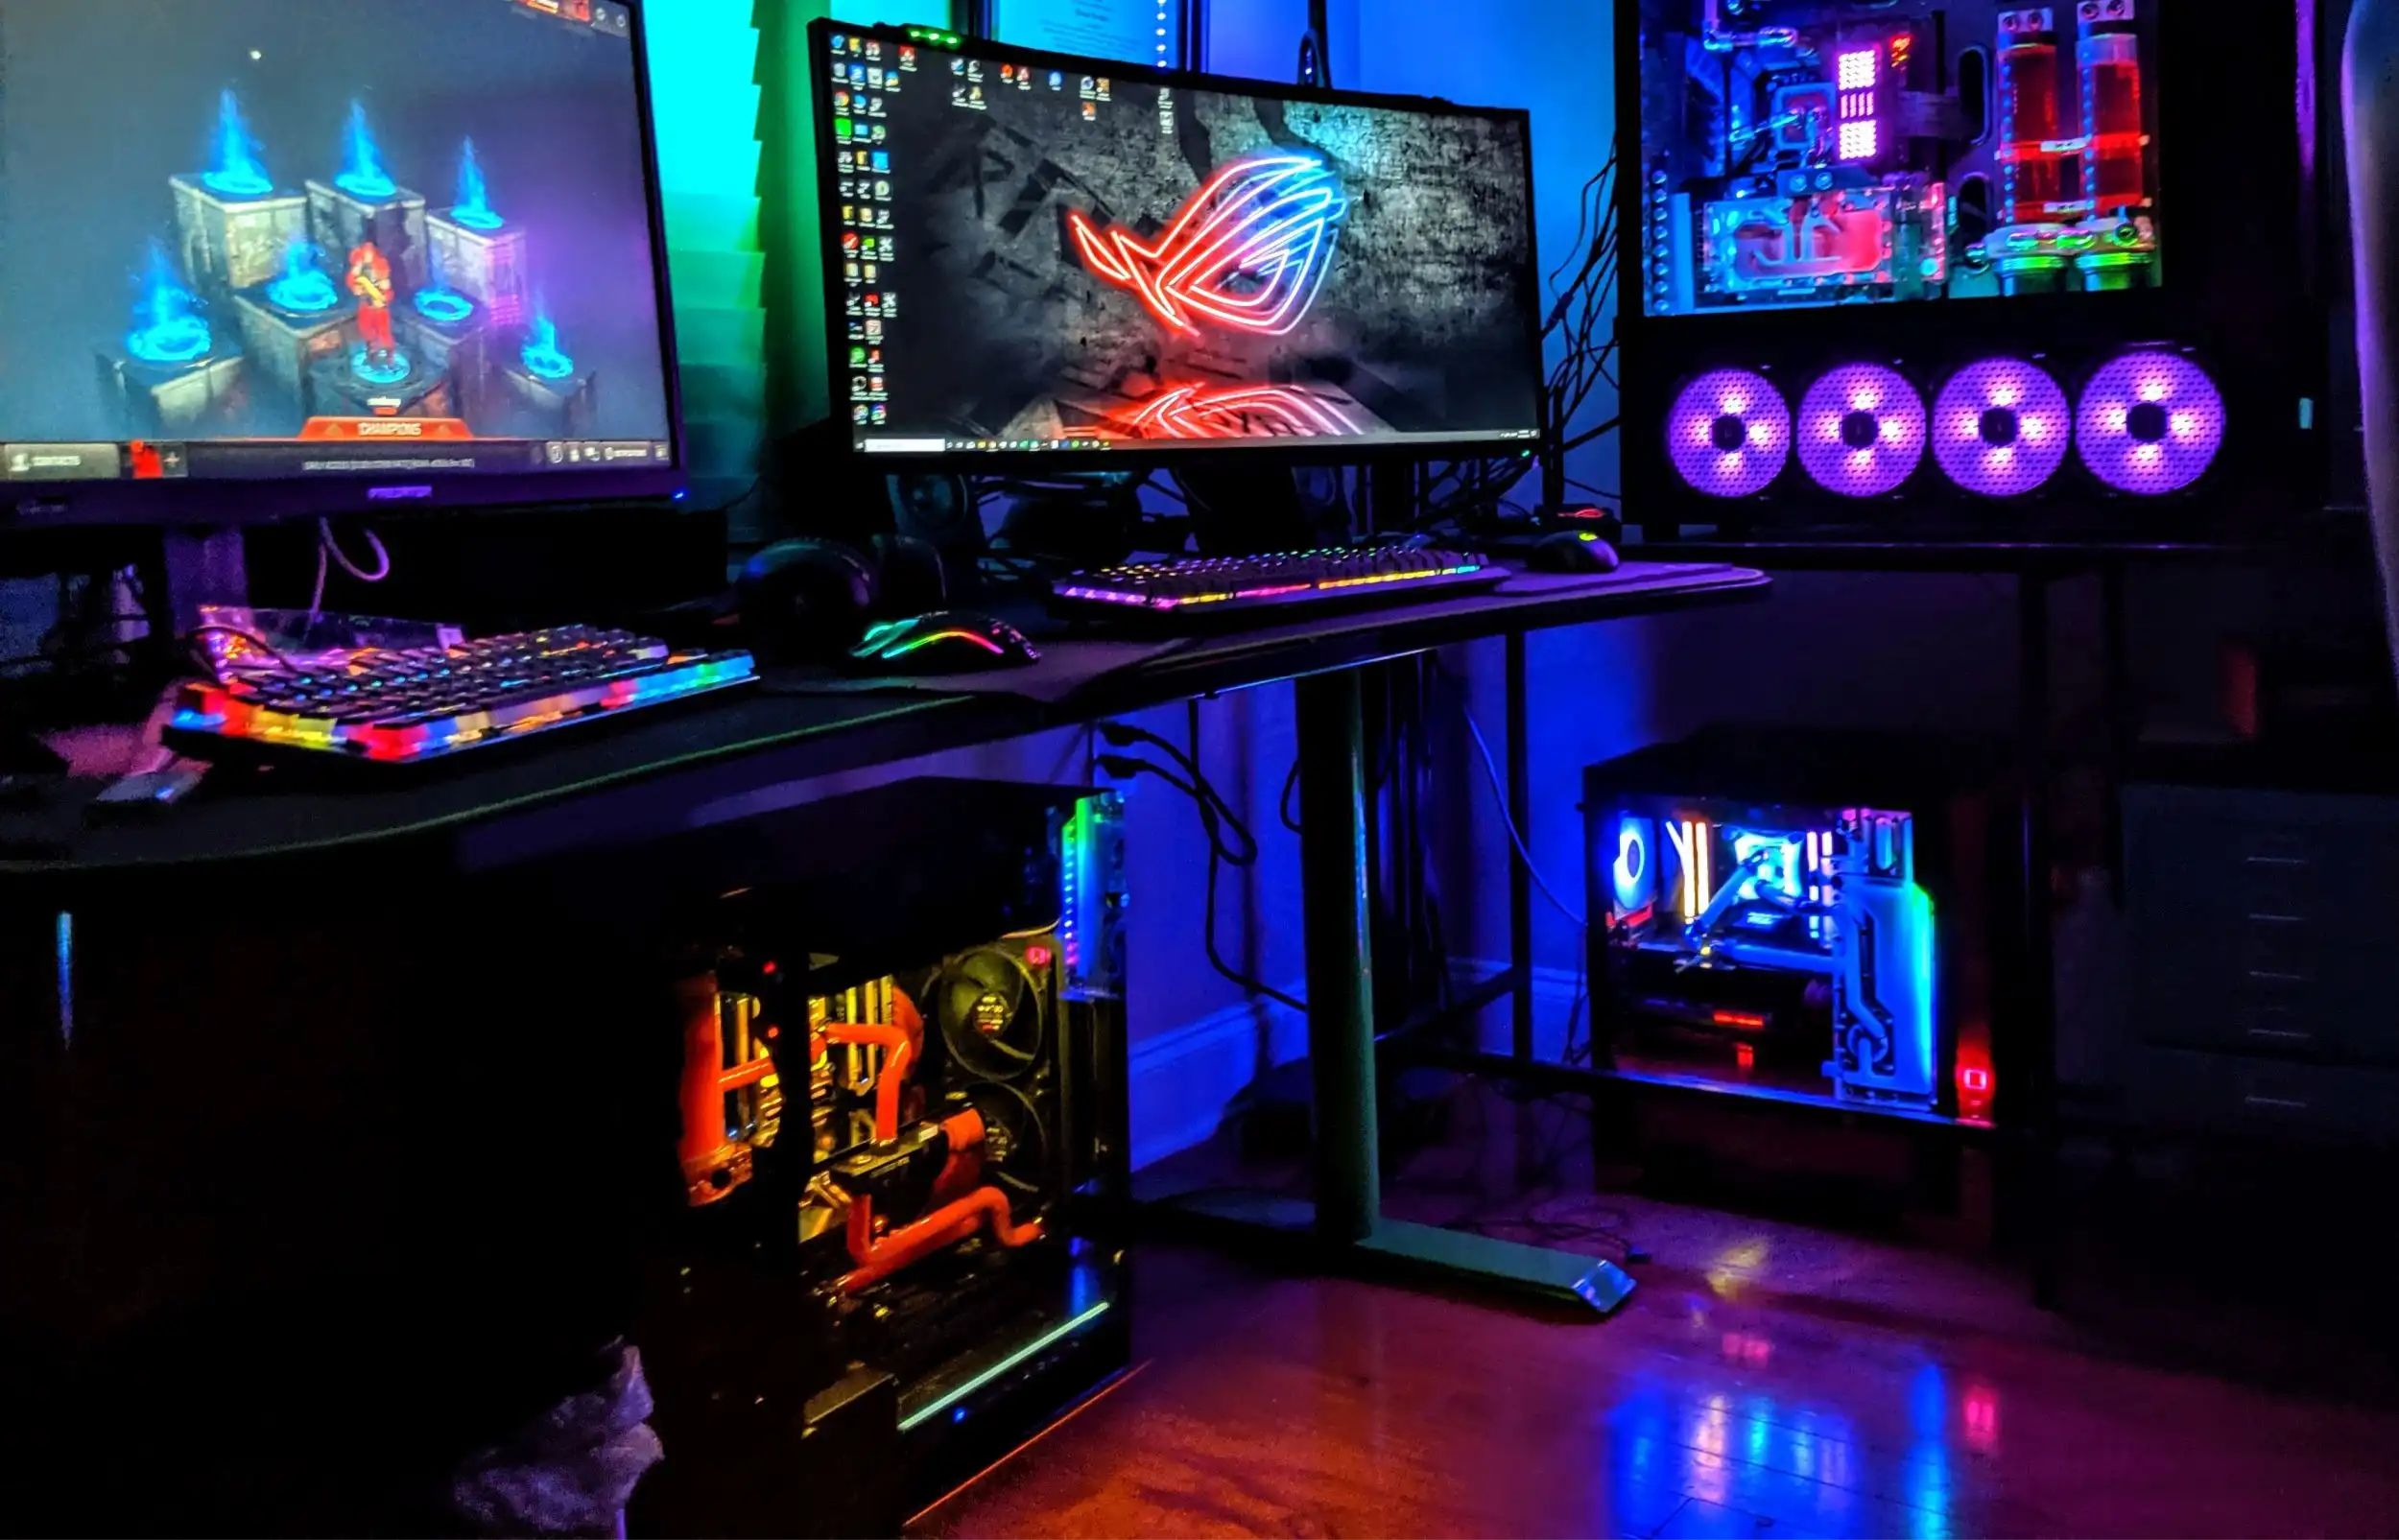
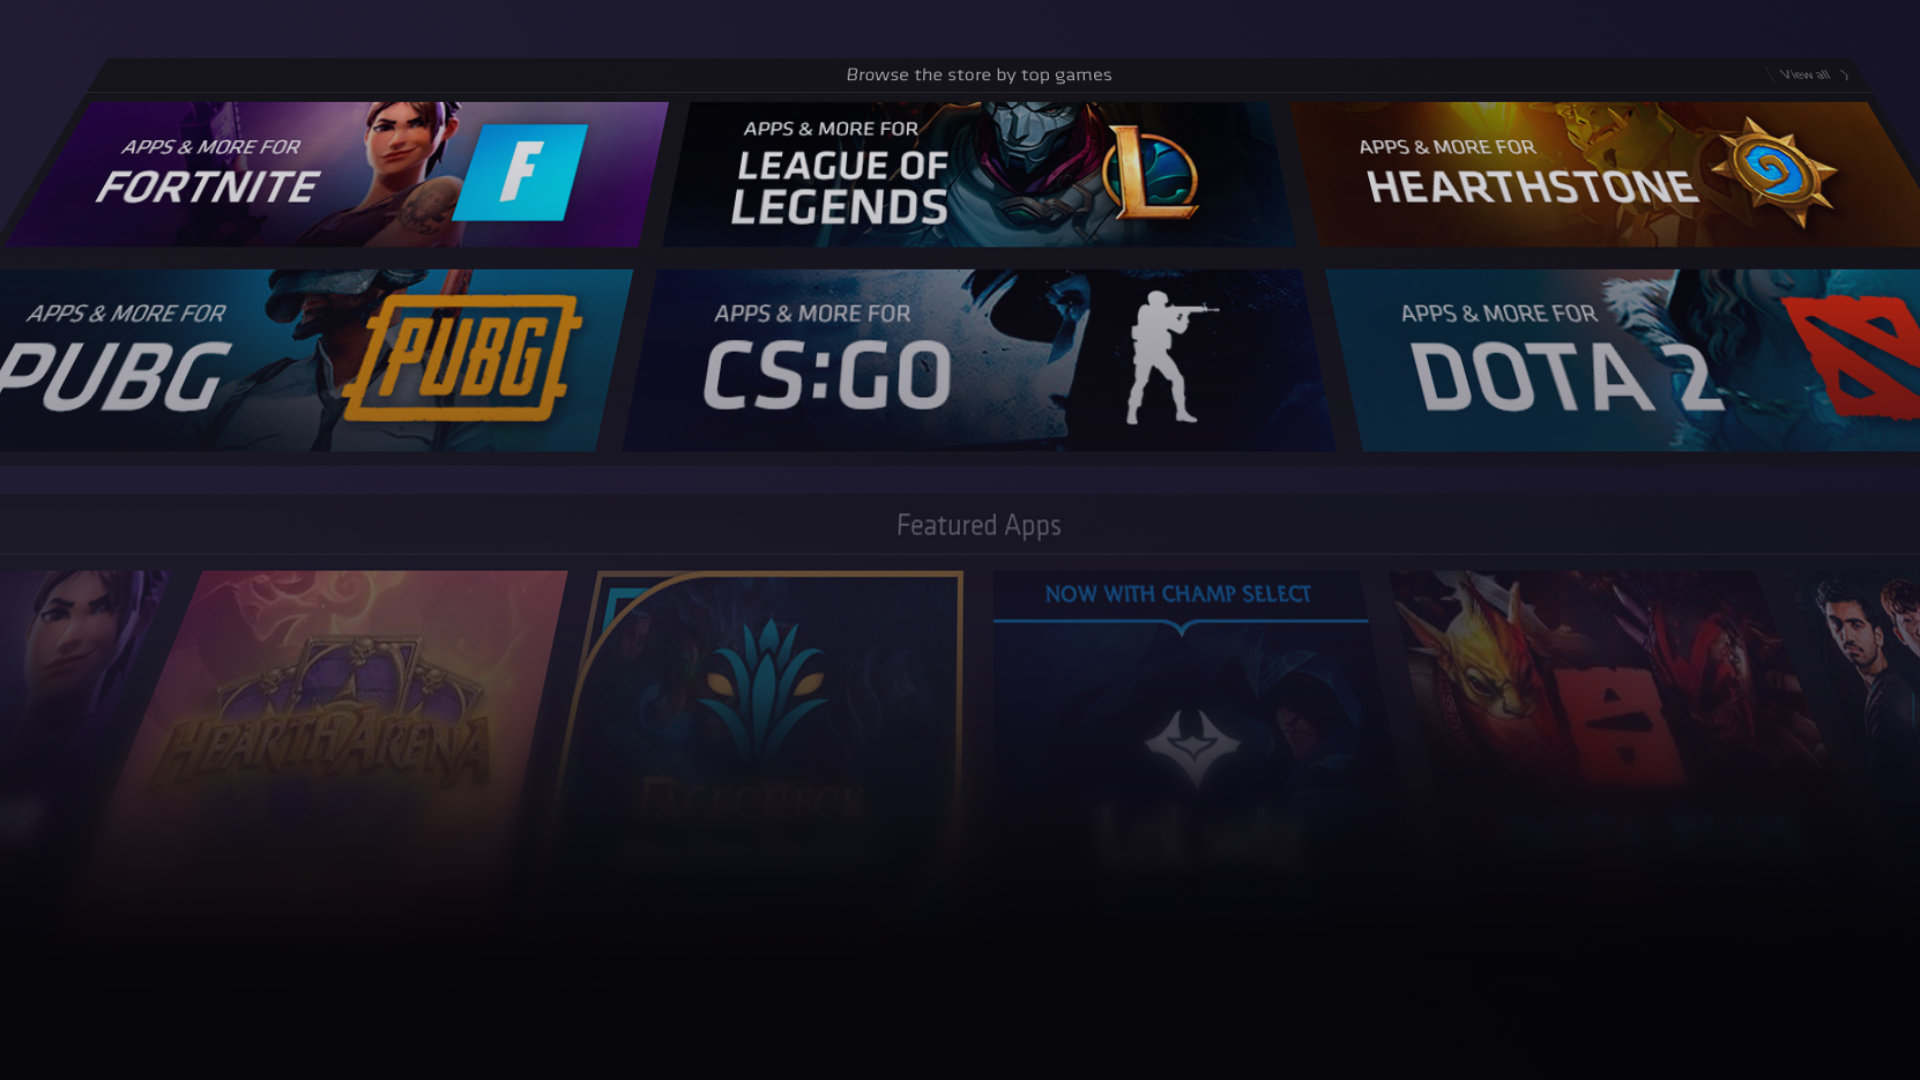
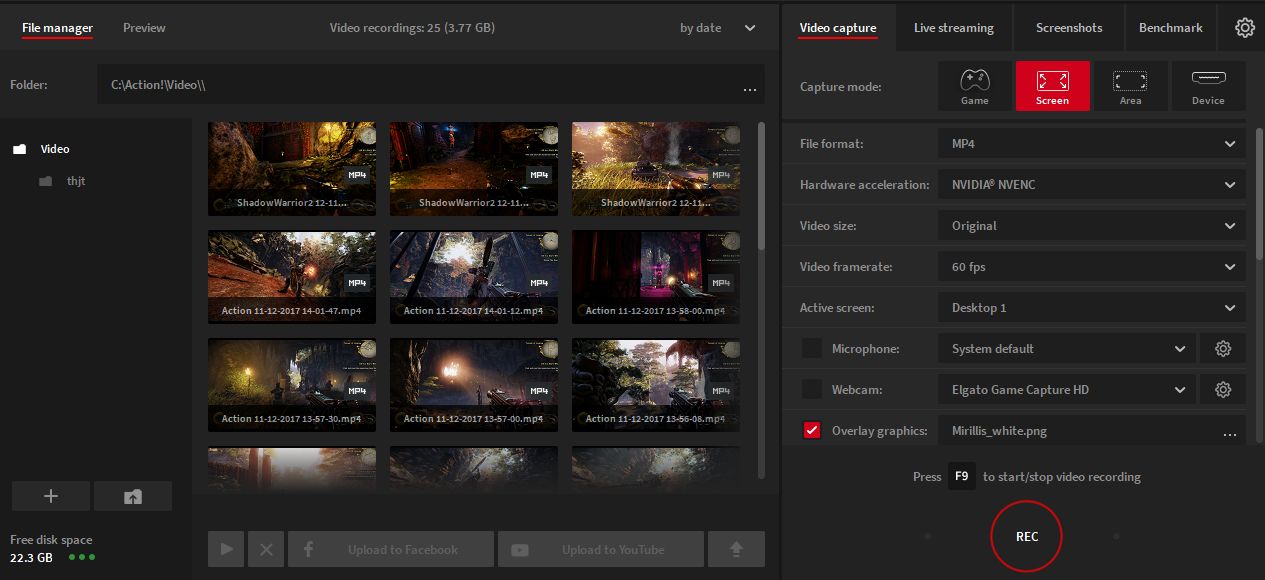
First, determine whether you’re a PC gamer or console enthusiast. Different recording software options are available depending on your gaming setup. If you’re a PC gamer, there are numerous software options to choose from, such as OBS Studio, Nvidia ShadowPlay, or Bandicam. These programs offer a range of features, including customizable settings, overlays, and the ability to record high-quality footage. For console gamers, platforms like PlayStation 4 and Xbox One offer built-in recording capabilities, allowing you to capture gameplay without the need for additional software. However, if you want more advanced features and editing options, third-party capture cards like Elgato Game Capture or AVerMedia Live Gamer Portable can be connected to your console to achieve higher-quality recordings.
Consider your recording needs and the features that are important to you. Do you want to record your gameplay in full-screen mode or only capture a specific window? Look for software that allows you to select the desired recording area. Additionally, check if the software offers adjustable frame rates and resolution settings to ensure optimal recording quality. If you’re planning to create tutorial videos or provide commentary, choose software that supports simultaneous audio recording, allowing you to capture both the game sound and your voice.
User-friendliness is another crucial aspect to consider. Look for software with a straightforward interface and intuitive controls, as this will make the recording process smoother and more enjoyable. Some software options provide hotkey shortcuts, making it easier to start and stop recordings at the desired moments. Furthermore, consider the software’s resource usage. Recording software that requires minimal system resources will ensure that your gaming experience remains smooth and uninterrupted.
Lastly, consider the post-recording capabilities of the software. Some programs offer basic editing features, allowing you to trim, crop, or add text to your recordings. If you’re interested in more advanced editing options, look for software that is compatible with video editing programs like Adobe Premiere Pro or Final Cut Pro. These software combinations will provide you with a wide range of editing tools to polish your recordings and create professional-looking gameplay videos.
Take the time to research and experiment with different recording software options to find the one that best suits your needs. Consider your gaming setup, desired features, ease of use, and post-recording capabilities. With the right recording software in hand, you’ll be well on your way to capturing and sharing your online gaming adventures in no time!
Adjusting Settings for Optimal Recording
Once you have selected the right recording software, it’s essential to adjust the settings for optimal recording quality. Fine-tuning these settings will ensure that your gameplay footage is smooth, visually appealing, and properly optimized for sharing and editing. Here are some key settings to consider:
First and foremost, pay attention to the video resolution and frame rate. Choose a resolution that matches the capabilities of your system and the platform on which you plan to share your recordings. Higher resolutions offer better visual clarity but require more processing power. Similarly, frame rate determines the number of frames captured per second and affects the smoothness of your gameplay footage. Common frame rate options include 30fps and 60fps, with higher rates resulting in smoother playback but requiring more storage space and system resources.
Next, adjust the bitrate setting. This determines the amount of data recorded per second and impacts the video quality. Higher bitrates result in crisper and more detailed recordings but can also lead to larger file sizes. Strike a balance based on your storage capacity, upload speeds, and the desired quality of your final footage.
Consider enabling hardware acceleration if your recording software supports it. This feature offloads the processing tasks to your GPU (graphics processing unit), resulting in smoother recordings with lower CPU usage. Utilizing hardware acceleration can help mitigate performance issues, especially during resource-intensive gaming sessions.
Pay attention to the audio settings as well. Ensure that the game audio and your commentary (if applicable) are properly balanced. Adjust the levels to ensure clear and audible audio without distortion. It’s also worth considering using a separate microphone for recording your voice, as dedicated microphones often provide better sound quality compared to built-in options.
Furthermore, if you plan to record lengthy gameplay sessions or live streams, consider configuring the recording file format and storage location. Choose a file format that offers a good balance between quality and file size, such as MP4 or AVI. Additionally, designate a specific folder on your storage device to save your recordings. This will help keep your files organized and make them easier to locate when it’s time to edit or share them.
Lastly, remember to periodically update your recording software to ensure that you have access to the latest features, bug fixes, and optimizations. Developers often release updates that can improve recording performance and offer additional functionality, so keeping your software up to date is essential.
Take the time to experiment with different settings and configurations to find the optimal combination for your unique gaming setup. Each game and system may require specific adjustments, so don’t hesitate to tweak the settings until you achieve the desired results. With the right settings in place, you’ll be well on your way to capturing high-quality gameplay footage that truly showcases your online gaming adventures.
Selecting the Best File Format for Recording
When recording your online gaming sessions, selecting the right file format is crucial for ensuring optimal quality and compatibility. Different file formats have varying levels of compression, supported features, and compatibility with video editing software. Here are key considerations to help you choose the best file format for your recordings:
One popular and widely supported file format is MP4 (MPEG-4). MP4 offers a good balance between quality and file size, making it ideal for sharing on various platforms. It maintains a relatively high level of video and audio quality while keeping file sizes manageable. Additionally, MP4 supports multiple streams, allowing you to record both game audio and commentary as separate tracks. This flexibility is useful for editing and adjusting audio levels during post-production.
If you require lossless recording with maximum quality, consider using a format like AVI (Audio Video Interleave). AVI files are large and uncompressed, retaining the highest level of visual and audio fidelity. However, they occupy significant storage space, require more processing power for playback, and may not be supported on all devices or platforms. AVI is commonly used for professional video editing, where the highest quality is essential.
An alternative option is the MKV (Matroska) format. MKV is known for its ability to store multiple audio, video, and subtitle tracks within a single file. This makes it a versatile format for recording that allows for easy toggling of different language tracks or adding subtitles during editing. MKV also supports high-quality video and audio codecs, providing excellent flexibility for customization during the editing process.
Consider the platform or software you plan to use for editing and sharing your recordings. Some video editing software has specific requirements or compatibility limitations when it comes to file formats. For example, if you use Adobe Premiere Pro, it is advisable to check the supported formats recommended by Adobe to ensure smooth workflow and editing capabilities.
Additionally, take into account the device or platform on which you plan to play your recordings. Most modern devices and media players support popular file formats such as MP4 and MKV. However, if you are recording specifically for a certain platform or device, check its supported file formats to ensure compatibility and optimal playback quality.
File formats also come with different codecs that determine how the video and audio data is compressed and encoded. Consider the codecs supported by your recording software and chosen file format, as these can impact the file size, quality, and compatibility. H.264 is a widely used video codec that offers efficient compression and good quality, making it suitable for online sharing. For audio, AAC (Advanced Audio Codec) is a common choice due to its broad compatibility and good compression ratio.
Ultimately, the best file format for your recording will depend on your specific needs and intended use. Consider factors such as desired quality, file size, compatibility, and the editing or sharing platform. Experiment with different file formats and codecs to find the optimal balance that meets your requirements and produces high-quality recordings that can be enjoyed by yourself and your audience.
Setting Up Audio for Recording
When recording your online gaming sessions, ensuring high-quality audio is just as important as capturing stunning visuals. Whether you plan to provide live commentary, include game sound effects, or add background music during post-production, setting up your audio correctly is crucial. Here are some key considerations to help you achieve optimal audio recording:
First, decide on the source of your audio. If you want to record your voice while gaming, consider using a dedicated microphone. A standalone microphone provides better audio quality compared to built-in options on headphones or webcams. USB microphones offer convenience and can be easily connected to your computer or console, while XLR microphones provide professional-grade audio quality for those seeking higher fidelity.
Next, ensure that your microphone is properly positioned and set up. Consider using a microphone stand or boom arm to position the mic at an appropriate distance from your mouth. Experiment with different positions to find the one that offers the best balance between audio clarity and minimizing background noise. You can also use a pop filter to reduce plosive sounds caused by strong puffs of air hitting the microphone.
Additionally, adjust the microphone’s volume levels to achieve the desired audio balance. You want to ensure that your voice is clear and audible without overpowering the game sound effects or becoming distorted. Most recording software provides options to adjust microphone sensitivity or gain settings. Gradually increase or decrease the volume until you achieve the desired clarity without clipping or distortion.
If you are recording game audio along with your voice, make sure the balance between the two is well-adjusted. In some cases, you may want your voice to be the focus, while in others, the game sound effects may take precedence. Finding the right balance will depend on the genre of the game and your personal preference. Your recording software should allow you to adjust the relative volume levels of both sources during the recording or in post-production.
Consider using headphones while recording to prevent audio feedback or echoing. By wearing headphones, you can hear the game audio and your voice without the sound bleeding into your microphone and causing unwanted distortions.
If you plan to include background music during editing, ensure that the music is copyright-free or properly licensed to comply with intellectual property laws. There are various platforms and websites that offer royalty-free music that can be used in your gaming recordings without legal issues. Remember to adjust the volume of the background music to maintain a balance with the game audio and your voice.
Before recording, conduct a test run to ensure all audio settings are properly configured and functioning as expected. Play a quick gameplay session and monitor the recordings to check the audio quality, clarity, and balance. Make adjustments as necessary to achieve the best possible audio recording.
Remember to periodically clean and maintain your microphone to ensure optimal performance. Use a soft cloth to wipe away any dust or debris and consider using pop filter foam covers to protect the microphone from accumulation of spit or moisture during use.
By setting up your audio correctly, you can enhance the overall quality of your recordings and create an immersive experience for your viewers. Take the time to experiment with different microphone positions, volume settings, and balancing game audio to achieve the optimal audio setup for your online gaming recordings.
Configuring Webcam and Overlay Settings
In addition to capturing gameplay footage and audio, incorporating your webcam and overlay elements can enhance the overall presentation of your online gaming recordings. Configuring your webcam and overlay settings allows you to personalize your videos, add a visual presence, and engage with your viewers. Here are some key considerations for setting up your webcam and overlays:
Start by choosing the right webcam that suits your needs. There are various webcams available on the market, ranging from basic models to those with advanced features such as high-resolution imaging, autofocus, and low-light correction. Consider your budget, the desired video quality, and the environment in which you will be recording to make an informed decision.
Once you have your webcam, position it in an optimal location. The ideal placement depends on your preferences and the content you want to capture. Common options include placing the webcam above your monitor, on a tripod next to your gaming setup, or mounted on your console. Experiment with different positions to find the angle that provides the best visibility of your face without obstructing gameplay or other important elements on the screen.
Adjust the framing and composition of your webcam feed to create a visually pleasing setup. Make sure you are well-lit and visible in the frame, with minimal distractions in the background. Consider using proper lighting techniques, such as placing a soft light source in front of you or utilizing natural light from a nearby window, to enhance the clarity and visibility of your face.
Furthermore, consider adding overlay elements to your recordings. Overlays can include elements such as your channel logo, social media handles, player stats, or a chat window to interact with your viewers. These visual additions can provide important information, promote your brand, and create a consistent and professional look for your videos.
Experiment with different overlays and their placement on the screen. Strive for a balance between visibility and minimal distraction from the gameplay. Most recording software allows you to add overlays and customize their appearance, size, opacity, and position. Take advantage of these features to tailor your overlays to match your personal style and branding.
Consider the content and context of the gameplay when deciding what elements to include in your overlay. For example, in a competitive multiplayer game, displaying the current score, health bar, or minimap could be useful for your viewers. On the other hand, for a single-player story-driven game, a minimalist and less intrusive overlay might be more appropriate to maintain the immersive experience.
When in doubt, simplicity is key. Avoid overcrowding the screen with too many overlay elements, as it can be visually overwhelming and distract viewers from the gameplay. Keep the focus on the game itself and use overlays judiciously to enhance rather than overpower the recording.
Remember to periodically review and update your webcam and overlay settings as needed. Continually assess the visual appeal and effectiveness of your setup to ensure that it aligns with your evolving style and content.
By configuring your webcam and overlay settings thoughtfully, you can create a visually engaging and personalized experience for your viewers. Experiment with different webcam positions, lighting techniques, and overlay elements to find the setup that best represents your brand and complements your online gaming recordings.
Recording Gameplay: Step-by-Step Guide
Recording your online gaming sessions is an exciting process that allows you to capture epic moments, share your skills, and engage with the gaming community. To help you get started, here is a step-by-step guide outlining the process of recording gameplay:
Step 1: Choose the right recording software: Select a recording software that suits your gaming setup and preferences. Consider factors such as ease of use, available features, and compatibility with your platform.
Step 2: Configure the recording settings: Adjust the video resolution, frame rate, and bitrate to achieve optimal recording quality. Set up audio settings, including microphone volume and game audio balance, to ensure clear and balanced sound.
Step 3: Position your webcam (if applicable): Mount or position your webcam in the desired location, ensuring that it captures your face without obstructing important gameplay elements. Adjust the framing and lighting to enhance visibility and clarity.
Step 4: Configure overlay elements (if desired): Customize overlay elements such as logos, social media handles, or chat windows to enhance the visual presentation of your recordings. Experiment with the placement and appearance to strike the right balance between visibility and aesthetics.
Step 5: Start the recording software: Launch your chosen recording software and ensure that it recognizes your gaming window as the target for recording. Familiarize yourself with the software’s options and settings to make adjustments as needed.
Step 6: Start the recording: When you’re ready to start recording, click the appropriate button in your recording software or use the assigned hotkey shortcut. Remember to set the recording duration and file format according to your preferences.
Step 7: Play your game: Begin your gaming session as usual, immersing yourself in the gameplay and delivering your best performance. Remember to be mindful of any commentary or reactions you want to include in your recordings.
Step 8: End the recording: When you’ve finished your gaming session or captured the desired footage, stop the recording by clicking the appropriate button or using the assigned hotkey shortcut. Ensure that the recording is saved properly and review it to ensure everything was captured as intended.
Step 9: Edit and enhance the recording (optional): If desired, import your recorded gameplay footage into a video editing software to add effects, trim unwanted sections, or incorporate other elements to enhance the overall quality of your recordings.
Step 10: Share your gaming videos: Once you are satisfied with the final edit, export the video in a desired format and upload it to platforms such as YouTube, Twitch, or social media. Interact with your viewers and encourage engagement.
Remember to regularly review and refine your recording process based on feedback and evolving preferences. Each gaming session presents an opportunity for improvement and creativity, so have fun and enjoy the process of capturing and sharing your online gaming adventures!
Editing and Enhancing Your Gameplay Videos
Once you’ve recorded your gameplay sessions, the next step is to edit and enhance your videos to make them visually appealing, engaging, and enjoyable for your viewers. Editing allows you to trim out unnecessary footage, add effects, incorporate transitions, and polish your recordings to create a professional-looking final product. Here are some key steps to follow when editing and enhancing your gameplay videos:
Step 1: Import the recorded footage: Transfer the recorded gameplay footage from your recording software to a video editing program of your choice. Most popular video editing software, such as Adobe Premiere Pro, Final Cut Pro, or Sony Vegas Pro, provide options for importing media files.
Step 2: Review and select the best footage: Scrutinize the recorded footage and identify the highlights, key moments, and segments you want to include in your final video. Trim out any unnecessary sections such as loading screens, downtime, or repetitive gameplay.
Step 3: Organize your timeline: Arrange the selected clips in a logical and cohesive order to tell a story or showcase the progression of your gameplay. Use drag-and-drop functionality to adjust the order and duration of each clip for fluid transitions.
Step 4: Add transitions and effects: Enhance the visual appeal of your video by incorporating transitions between different scenes or footage. Choose from a range of pre-designed transitions or create custom ones for a unique touch. Experiment with effects like color correction, filters, or overlays to add mood and atmosphere to your footage.
Step 5: Incorporate background music and sound effects: Choose appropriate background music that complements the gameplay and enhances the overall experience. Ensure that the music selection does not overshadow important audio elements such as your commentary or the game sound effects. You may also consider adding sound effects to intensify certain actions or to add comedic or dramatic effects.
Step 6: Include overlays and text: Overlay elements such as your channel logo, subscriber count, or social media handles can enhance your branding and provide additional information to your viewers. Add text elements to provide context or captions for key moments or to highlight important information within your gameplay.
Step 7: Enhance audio: Fine-tune the audio levels of your recorded gameplay, commentary, music, and sound effects to achieve a balanced and professional auditory experience. Adjust the volume, remove background noise, and use audio effects to enhance the clarity and presence of your voice.
Step 8: Polish and finalize your video: Review your edited video from start to finish, checking for any errors, inconsistencies, or areas that need improvement. Fine-tune the pacing, transitions, and overall flow to ensure a seamless viewing experience. Make any necessary adjustments until you are satisfied with the final result.
Step 9: Export the video: Choose the appropriate exporting settings, including file format, resolution, and quality, to ensure compatibility and maintain the desired level of visual and audio fidelity. Consider the platform on which you intend to share the video to optimize the settings for the best viewing experience.
Step 10: Share and engage with your audience: Upload the final edited video to platforms like YouTube, Twitch, or social media, and engage with your viewers. Encourage feedback, respond to comments, and take note of what resonates with your audience to continually improve and refine your content.
Remember, editing is a creative process, and there are no set rules. Experiment with different techniques, try out new effects, and develop your own editing style over time. With each editing session, you’ll gain more experience and expertise in crafting captivating and entertaining gameplay videos that truly showcase your online gaming adventures.
Uploading and Sharing Your Gaming Videos
Once you have finished editing and enhancing your gaming videos, it’s time to share your creations with the world. Uploading and sharing your videos effectively is essential for growing your audience, engaging with viewers, and building a strong presence within the gaming community. Here’s a step-by-step guide on how to upload and share your gaming videos:
Step 1: Choose the right platform: Consider which platforms align best with your goals and target audience. YouTube is the most popular platform for sharing gaming videos, offering a wide reach and opportunities for monetization. Twitch is ideal for live streaming and building an interactive community. Additionally, consider sharing your videos on social media platforms such as Instagram, Twitter, and Facebook to reach a broader audience.
Step 2: Create an engaging video thumbnail: Design a visually appealing and eye-catching thumbnail that accurately represents your video’s content. Use high-quality images, include text overlays, and choose colors that stand out to capture viewers’ attention when browsing through videos.
Step 3: Write a compelling video title and description: Craft a title that is concise, descriptive, and optimized for search engines. Include relevant keywords that highlight the main themes or highlights of your video. In the video description, provide more details about the content, add timestamps, and include relevant links and hashtags to further boost discoverability.
Step 4: Add relevant tags and captions: Use tags that are relevant to your video and target audience. These tags can help your video appear in search results and related videos. Additionally, consider adding captions or subtitles to make your content accessible to a wider audience, including those with hearing impairments or speakers of different languages.
Step 5: Engage with your viewers: Reply to comments, questions, and feedback from your viewers. Building a strong connection with your audience fosters loyalty and encourages them to share your videos with others. Take the time to interact with your community, ask for their input, and listen to their suggestions.
Step 6: Promote your videos: Don’t rely solely on the platform’s algorithms to promote your videos. Take an active approach by sharing your videos on your website or blog, promoting them on social media channels, and collaborating with other content creators in the gaming community. Participate in gaming forums or communities to raise awareness and spark discussions around your content.
Step 7: Optimize your videos for search: Research and implement search engine optimization (SEO) techniques to improve the discoverability of your videos. This includes using relevant keywords in titles, descriptions, and tags, as well as providing accurate and compelling video metadata. Pay attention to video thumbnails and titles that entice viewers to click on your videos in search results.
Step 8: Analyze and adapt: Monitor your video performance by studying metrics such as views, watch time, engagement, and audience retention. Use these insights to understand what content resonates with your audience and adapt your future videos accordingly. Analyzing your video data helps you refine your content strategy and ensure continued growth.
Step 9: Consistency is key: Establish a regular upload schedule to keep your audience engaged and establish a reliable reputation. Consistent and frequent uploads build anticipation and keep viewers coming back for more. However, prioritize quality over quantity to ensure that each video meets your standards and provides value to your audience.
Step 10: Stay connected with your community: Maintain an active presence by responding to comments, participating in discussion forums, and keeping up with the gaming community’s trends and news. Building a strong connection with your audience helps foster loyalty and promotes long-term growth.
By following these steps, you can effectively upload and share your gaming videos, expand your reach, and create a thriving online presence. Remember to focus on creating high-quality content, engaging with your viewers, and continuously improving your skills to stand out in the competitive world of gaming content creation.
Conclusion
Recording and sharing your online gaming adventures can be an incredibly rewarding and exciting experience. By following the steps outlined in this guide, you can capture high-quality gameplay footage, enhance it through editing, and share it with an audience that appreciates your skills and passion for gaming.
Choosing the right recording software, adjusting settings for optimal recording quality, and configuring your webcam and overlay elements allow you to create visually appealing and professional-looking videos. Editing and enhancing your gameplay footage add another layer of creativity and polish, enabling you to highlight the most exciting moments and engage your audience through captivating storytelling.
When it comes to sharing your videos, selecting the right platform, optimizing your content for search, and actively promoting your videos are key to reaching a wider audience. Engaging with your viewers, incorporating their feedback, and staying connected within the gaming community are crucial in building a loyal following and fostering growth as a gaming content creator.
Remember, the journey of capturing and sharing your gaming experiences is a continuous process of improvement and adaptation. Embrace the opportunity to learn from each recording, seek inspiration from fellow creators, and consistently refine your content to provide value and entertainment to your viewers.
With dedication, creativity, and a genuine love for gaming, you have the potential to build a thriving community, connect with like-minded individuals, and share your unique gaming perspective with the world. So, pick up your controller, hit that record button, and let the adventures begin!