Introduction
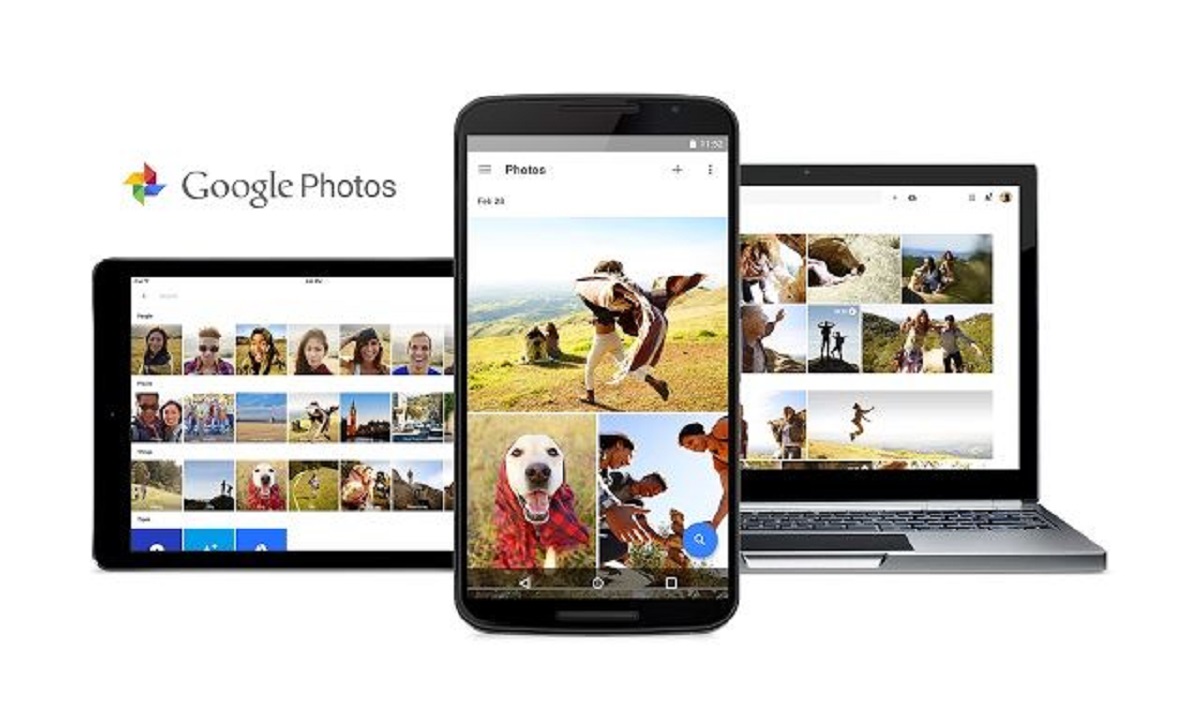
Google Photos is a popular cloud-based photo storage and sharing platform that allows users to store, organize, and access their photos and videos from any device. With its user-friendly interface and powerful features, Google Photos has become a go-to app for many photography enthusiasts and casual users alike.
In today’s digital era, we capture countless moments using our smartphones, cameras, and other devices. However, managing and organizing these photos can be a daunting task. That’s where Google Photos comes in handy. It provides a seamless experience for managing your photo collection and allows you to easily find and relive your favorite memories.
Whether you have a vast collection of travel photos, family snapshots, or professional portfolio shots, Google Photos offers various features to help you organize your photos efficiently. In this article, we will explore how to rearrange photos in Google Photos, allowing you to customize the order of your photos within albums and create a more personalized viewing experience.
By rearranging photos, you can tell a story, emphasize important moments, or simply group your photos in a way that makes sense to you. Whether you want to showcase your recent vacation photos in chronological order or highlight specific events, Google Photos empowers you to have full control over the arrangement of your photos.
So, whether you want to create a stunning photo album for a special occasion or simply want to organize your photo library, let’s dive into the world of Google Photos and discover how to rearrange photos in albums effectively.
Understanding Google Photos
Before we delve into the specifics of rearranging photos in Google Photos, it’s important to have a solid understanding of the platform’s features and functionalities. Google Photos is a cloud-based service that offers unlimited storage for high-quality photos and videos.
One of the key advantages of Google Photos is its ability to automatically backup and sync your photos across devices. Once you enable the backup option, all the photos on your device will be securely uploaded to the Google Photos cloud, ensuring that you never lose your precious memories.
Google Photos also utilizes advanced artificial intelligence (AI) and machine learning algorithms to organize and categorize your photos automatically. It can recognize and group photos based on faces, locations, objects, and even specific events, making it easier to search and revisit moments from the past.
The platform offers a variety of intuitive features to streamline the photo management process. You can create albums to organize your photos into specific collections or themes, add captions and descriptions to provide context, and even collaborate with others by sharing albums or individual photos.
In addition to the web interface, Google Photos is available as a mobile app for both Android and iOS devices. This allows you to access and manage your photo library on the go, making it convenient to upload, view, and edit your photos anytime, anywhere.
Understanding the core features of Google Photos sets the foundation for effectively rearranging your photos within albums. With this knowledge in hand, you can make the most out of the platform’s capabilities and create a visually appealing and organized collection of memories.
Organizing Photos in Albums
When it comes to organizing your photos in Google Photos, albums play a crucial role. Albums are like virtual folders that allow you to group related photos together, creating a more organized and meaningful collection.
By creating albums, you can easily access and showcase photos based on specific themes, events, or people. For example, you can create albums for family vacations, birthday parties, or memorable moments with friends.
To create an album in Google Photos, start by opening the app or website and navigating to the “Albums” tab. Here, you’ll find the option to create a new album. Give your album a descriptive title to easily identify its contents. You can also add a cover photo to make the album visually appealing.
Once you’ve created an album, you can add photos to it from your existing library. Google Photos provides various ways to add photos to albums. You can select individual photos, choose multiple photos at once, or even add entire folders.
Rearranging photos within an album is a powerful feature that allows you to control the visual flow and storytelling of your albums. It lets you arrange the photos in a specific order that makes sense to you or reflects the narrative you want to convey.
By default, the photos in an album are displayed in the order in which they were added. However, you have the flexibility to rearrange them according to your preference. This allows you to create a curated viewing experience for yourself and others who have access to the album.
To rearrange photos within an album, open the album and tap on the “Organize” or “Edit” option, depending on your device. From there, you can drag and drop the photos to change their order. Take your time to experiment and find the arrangement that best tells your story or captures the essence of the album’s theme.
Remember, the ability to rearrange photos within an album is not only limited to the web interface. You can also do it on the Google Photos mobile app with a few taps and swipes, making it convenient to organize your photos on the go.
Whether you’re creating a travel album, a family photo collection, or a portfolio of your work, organizing photos in albums gives you the flexibility and creativity to showcase your memories in a structured and visually appealing way.
Creating a New Album
Creating a new album in Google Photos is a simple and straightforward process. Whether you want to group photos from a specific event or create a collection of your favorite shots, albums allow you to organize your photos in a more personalized and meaningful way.
To create a new album, open Google Photos and follow these steps:
- Click on the “Albums” tab, which can usually be found at the bottom of the screen or in the side menu.
- Look for the “+ Create album” or “New album” button and click on it.
- Give your album a descriptive title that reflects its contents. For example, “Summer Vacation 2022” or “Best Friends Reunion.”
- Optionally, you can add a cover photo to make the album visually appealing and recognizable. You can choose a photo from the album itself or select one from your entire library.
- Click on the “Create” or “Save” button to create the album.
And that’s it! Your new album is now ready to be populated with photos. You can start adding photos to the album by selecting them from your library and choosing the “Add to album” option.
Creating multiple albums allows you to categorize your photos and keep them organized based on themes, events, or specific subjects. It provides a convenient way to access and share your photos, making it easier to find and revisit your favorite memories.
Remember, albums in Google Photos are not limited to just your personal use. You can also share these albums with friends and family, allowing them to view and contribute their own photos or comments. It’s a fantastic way to collaborate and create shared photo albums for special occasions or group events.
Whether you want to create albums for your travel adventures, family milestones, or a collection of your pet’s cute moments, the process of creating a new album in Google Photos is quick and intuitive. Get started today and enjoy a more organized and visually appealing photo library.
Adding Photos to an Album
After creating an album in Google Photos, the next step is to add photos to it. Adding photos to an album allows you to curate a collection of images that are meaningful and relevant to the album’s theme or purpose.
To add photos to an album in Google Photos, follow these simple steps:
- Open the Google Photos app or website and navigate to the “Albums” tab.
- Select the album to which you want to add photos.
- Look for the “Add photos” or “Edit” option and click on it.
- From your photo library, select the photos you want to add to the album. You can choose multiple photos by tapping on each of them.
- Once you have selected the desired photos, click on the “Add” or “Save” button to add them to the album.
It’s important to note that adding photos to an album in Google Photos does not create duplicates or consume additional storage. The photos remain in their original location while being associated with the specific album you have created.
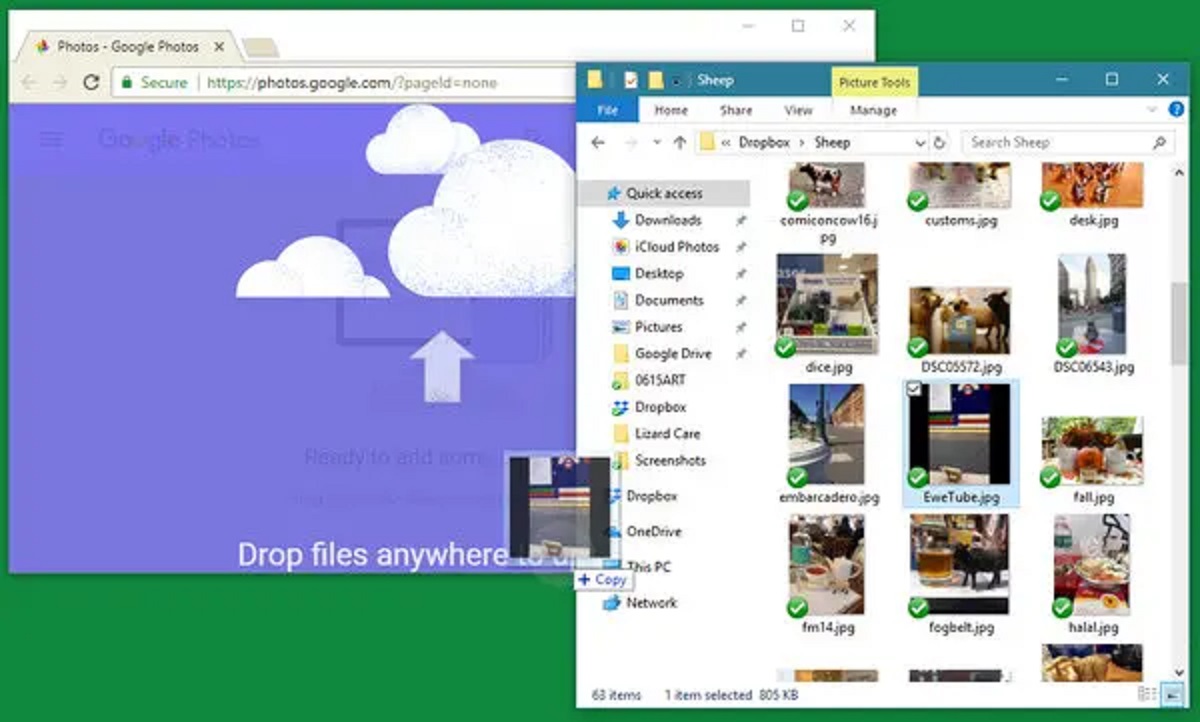
Google Photos also provides an option to add entire folders to an album. This feature is particularly useful when you have a large number of photos that are already organized into folders on your device. By adding the entire folder, you can quickly populate your album with the selected photos.
Once you have added photos to an album, you can view them in a grid layout. You can further customize the arrangement of the photos by rearranging them within the album, as discussed in the previous section. This allows you to create a visually appealing order that suits your preferences or tells a story.
Adding photos to an album is not only limited to the web interface. You can also do it on the Google Photos mobile app, making it convenient to organize and curate your photo collection while on the go.
With the ability to add photos to albums in Google Photos, you can create curated collections of your favorite moments, special events, or specific themes. It provides you with a flexible and personalized way to organize and showcase your photos, making them easily accessible and shareable with others. Start adding photos to your albums today and transform your photo library into a curated masterpiece.
Rearranging Photos in an Album
Google Photos provides a simple and intuitive way to rearrange photos within an album, allowing you to customize the order and visual flow of your images. Rearranging photos in an album gives you the freedom to create a curated viewing experience and tell a story through your photo collection.
Follow these steps to rearrange photos within an album in Google Photos:
- Open Google Photos and navigate to the “Albums” tab.
- Select the album that you want to rearrange.
- Tap on the “Organize” or “Edit” option, depending on your device.
- Drag and drop the photos to change their order. You can move a photo to a new position by tapping and holding it, then dragging it to the desired location within the album.
- Continue rearranging the photos until you are satisfied with the new order.
- Once you have finished rearranging the photos, click on the “Done” or “Save” button to apply the changes.
It’s worth mentioning that the changes you make to the photo order within an album won’t affect the chronological order or organization of the original photos in your library. The rearrangement is specific to the album, allowing you to create a custom sequence that complements the narrative or visual appeal you want to achieve.
The ability to rearrange photos within an album is not limited to the web interface. You can also do it on the Google Photos mobile app, making it convenient to customize your albums on the go.
Experiment with different arrangements to find the optimal order for your photos. Consider the composition, subject matter, and story you want to convey through the album. Whether you prefer a chronological sequence, a thematic arrangement, or a balanced mix of various elements, Google Photos gives you the flexibility to create a visually appealing and curated photo collection.
Moreover, if you decide to add new photos to an album after rearranging the existing ones, they will be added to the end of the album by default. You can always rearrange the newly added photos to fit your desired order and maintain the consistency within the album.
By taking advantage of the option to rearrange photos within an album in Google Photos, you can elevate your photo collection, create meaningful visual narratives, and showcase your memories in a personalized and engaging manner. Start rearranging your album photos today and unlock the full creative potential of your Google Photos library.
Customizing the Album Cover Photo
The album cover photo serves as the visual representation of your album in Google Photos. It’s the first image that people see when they browse through your collection, making it an important element for customization and personalization. Google Photos allows you to easily customize the album cover photo, giving you the opportunity to choose an image that best represents the content and theme of your album.
To customize the album cover photo in Google Photos, follow these steps:
- Open Google Photos and navigate to the “Albums” tab.
- Select the album for which you want to customize the cover photo.
- Tap on the three-dot menu icon or the “Edit” option, depending on your device.
- Look for the “Change cover photo” or “Edit cover photo” option.
- Choose a new image for the album cover from your photo library. You can select a photo from the album itself or from your entire collection.
- Position and adjust the cover photo as desired by zooming in or out.
- Click on the “Save” or “Done” button to apply the changes.
By customizing the album cover photo, you can make your collection more visually appealing and instantly convey the essence of the album to viewers. It allows you to set the tone, highlight key moments, or create intrigue about the contents of the album.
It’s important to choose a cover photo that accurately represents the theme or subject matter of the album. For example, if your album is about a wedding, selecting a photo of the bride and groom would be fitting. If your album focuses on a specific location, choose an image that showcases the beauty of that place.
Keep in mind that changing the album cover photo won’t affect the order or arrangement of the photos within the album. It’s a purely visual customization that enhances the overall aesthetic appeal of the collection.
Customizing the album cover photo is not restricted to the web interface; you can also do it on the Google Photos mobile app. This allows you to conveniently personalize your albums even when you’re on the move.
Taking the time to customize the album cover photo in Google Photos adds a personal touch to your collection and creates a visually appealing presentation for viewers. Make use of this feature to effectively captivate attention and give your albums a unique identity.
Managing Multiple Albums
Google Photos provides a seamless way to manage multiple albums, allowing you to keep your photo collection organized and easily accessible. Whether you have albums for different trips, events, or subjects, efficiently managing them ensures a smooth browsing experience and convenient access to your favorite memories.
Here are some tips for effectively managing multiple albums in Google Photos:
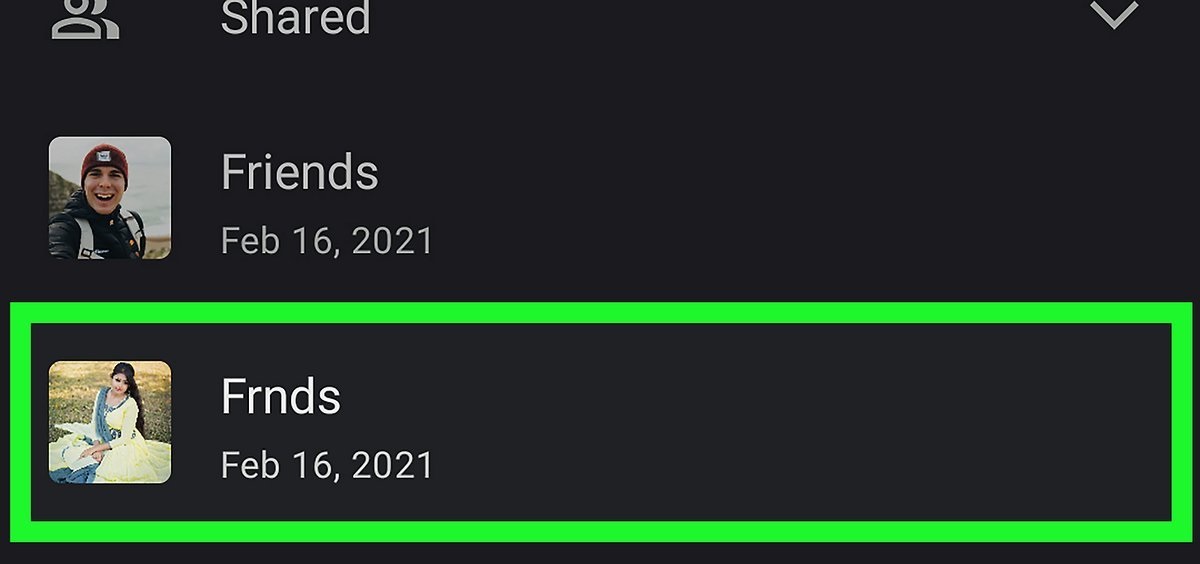
- Use descriptive and meaningful titles: When creating albums, give them clear and descriptive titles that represent the content or theme. This helps you easily identify and differentiate between albums when browsing through your collection.
- Order albums strategically: You can rearrange the order of albums to prioritize the ones you access most frequently or to create a logical sequence. Simply drag and drop the albums to rearrange them according to your preference.
- Utilize search and filters: If you have a large number of albums, utilize the search functionality to quickly locate a specific album. Additionally, Google Photos offers filters that allow you to view albums by date, location, or people, making it easier to find what you’re looking for.
- Share and collaborate: Google Photos allows you to share albums with others, making it a great platform for collaboration. You can invite friends, family, or colleagues to view, contribute to, or even edit your shared albums. It’s a fantastic way to create collaborative photo collections for group events or projects.
- Stay organized with sub-albums: If you have a large album that you want to further categorize, consider creating sub-albums. Sub-albums allow you to organize your photos within a larger album, adding another layer of organization and structure to your photo collection.
- Regularly review and update: As your photo collection grows and evolves, it’s important to review and update your albums. Remove any duplicates, outdated photos, or irrelevant content to keep your albums fresh and relevant. You can also add new photos or create new albums to reflect your latest experiences.
Managing multiple albums in Google Photos is made easy by the platform’s intuitive interface and powerful features. By utilizing these tips, you can effectively organize, access, and share your albums, creating a cohesive and personalized photo collection.
Remember, Google Photos offers seamless synchronization across devices, so any changes you make to your albums on one device will be reflected on all your devices. This ensures that your albums are consistently organized, regardless of whether you’re accessing them from your computer, smartphone, or tablet.
Take advantage of the flexibility and convenience that Google Photos provides for managing multiple albums. Keep your collection organized, showcase your favorite memories, and easily share your albums with others. With a little effort in managing your albums, you can create a personalized and engaging photo experience for yourself and those you choose to share it with.
Conclusion
Google Photos is a powerful tool for organizing and managing your photo collection. From creating new albums to customizing the cover photo, rearranging photos, and managing multiple albums, Google Photos offers a user-friendly interface and a range of features that make organizing and showcasing your photos a breeze.
By utilizing the capabilities of Google Photos, you can transform your photo library into a visually appealing and well-structured collection. Whether you want to create themed albums, chronologically arrange photos, or highlight your favorite moments, the platform provides the flexibility and tools to achieve your desired results.
Take the time to explore the different features and options available in Google Photos. Experiment with rearranging photos within albums, customize the album cover photo, and utilize various organization techniques to create a personalized and organized photo experience.
Remember, Google Photos also allows you to easily share your albums with others, enabling collaboration and the opportunity to create shared photo collections. This feature is perfect for family vacations, group events, or collaborative projects where multiple individuals can contribute their own photos and memories to a single album.
Keep your photo collection fresh and organized by regularly reviewing and updating your albums. Remove duplicates, outdated photos, or irrelevant content to ensure your albums accurately represent your most cherished memories.
In conclusion, Google Photos provides an intuitive and powerful platform for organizing and managing your photo collection. With its user-friendly interface, advanced features, and seamless synchronization across devices, Google Photos is the ideal choice for photography enthusiasts and casual users alike. Start organizing and showcasing your photos today, and unlock the full potential of your memories with Google Photos.