Introduction
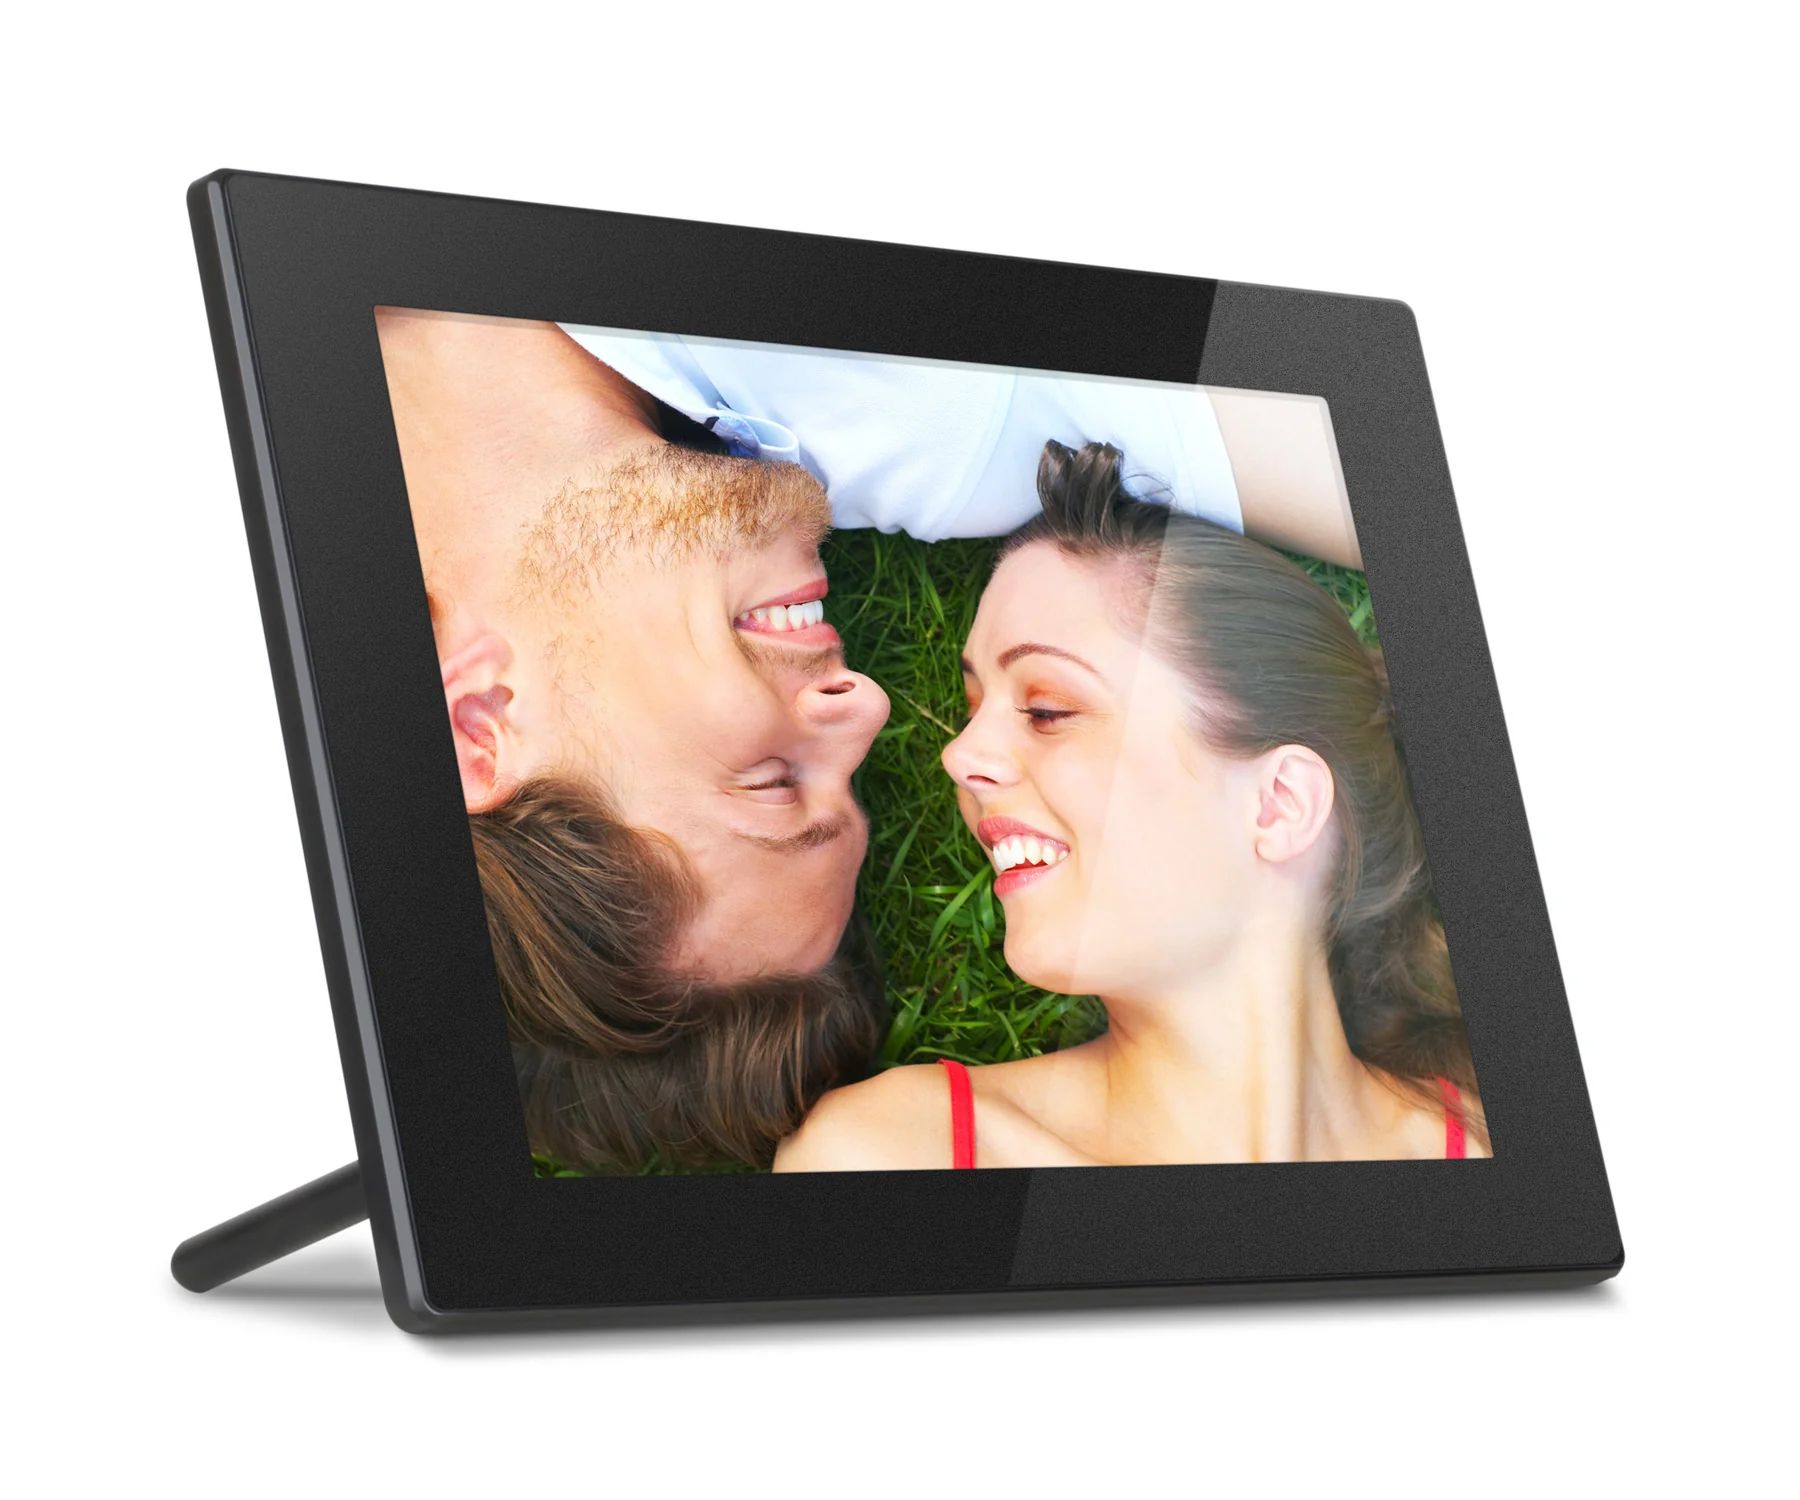
Welcome to this guide on how to put pictures on your Aluratek Digital Photo Frame. If you’re someone who loves capturing moments and wants to display your favorite photos in a stylish and convenient way, a digital photo frame is the perfect solution. Aluratek offers a range of high-quality digital photo frames that allow you to showcase your memories with ease.
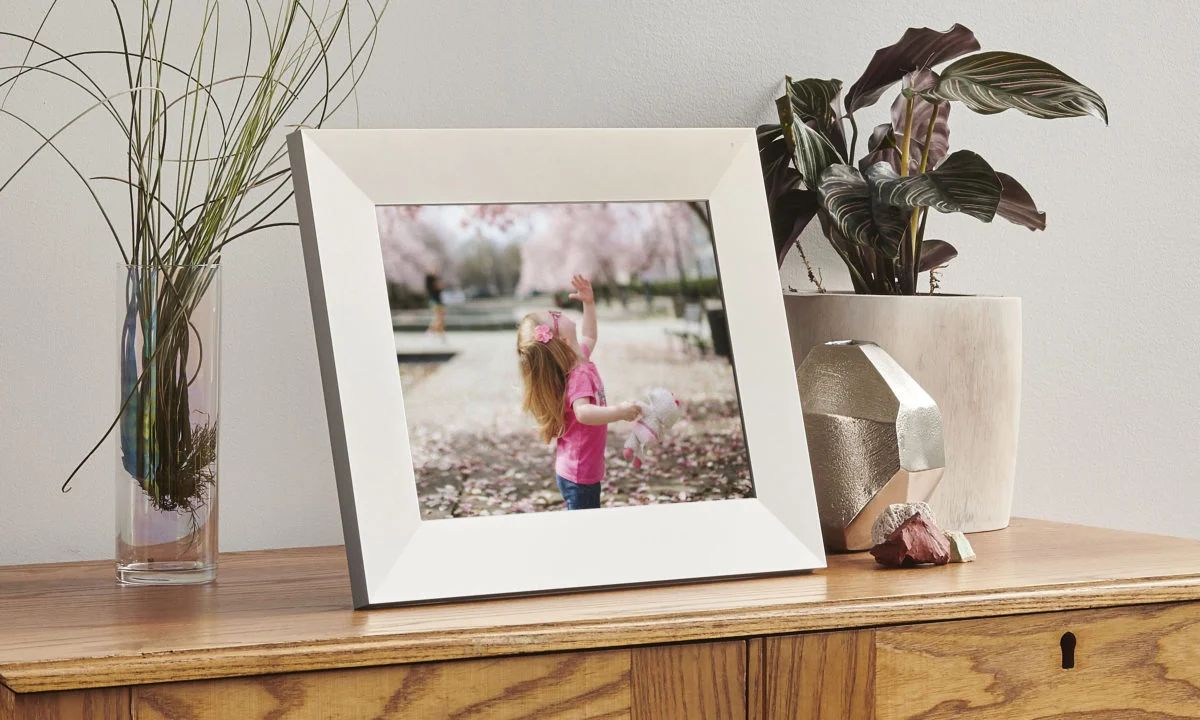
With the advancement of technology, gone are the days of printing and framing every photo. Digital photo frames offer a dynamic and versatile way to display your pictures, allowing you to change and update them whenever you want. Plus, with the Aluratek Digital Photo Frame, you can showcase multiple photos in a slideshow format, adding a touch of digital elegance to your home or office.
In this guide, we will walk you through the step-by-step process of how to put pictures on your Aluratek Digital Photo Frame. Whether you’re a beginner or a tech-savvy individual, you’ll find this guide easy to follow, allowing you to enjoy your favorite photos in no time!
Step 1: Choose your pictures
The first step in putting pictures on your Aluratek Digital Photo Frame is to select the images you want to display. Take some time to go through your photo collection and choose the photos that hold special meaning to you or that you want to share with others.
Consider the theme or mood you want to create with your digital photo frame. It could be family moments, travel adventures, or even a collection of your favorite landscapes. Selecting a cohesive set of pictures will enhance the overall visual appeal and storytelling aspect of your digital photo frame.
Make sure that the photos you choose are in a supported format by the Aluratek Digital Photo Frame. Most digital photo frames support popular image formats such as JPEG and PNG. If you have photos in other formats, you may need to convert them before transferring them to the frame.
Additionally, it’s important to consider the resolution of your photos. Higher resolution images will offer better clarity and detail on the digital photo frame. However, keep in mind that very large file sizes may take longer to load and may occupy more storage space on the frame. Striking a balance between image quality and file size is important.
Once you have selected the pictures you want to display, consider organizing them in the order you want them to appear on the digital photo frame. This can be done by creating a separate folder for each set of photos or by renaming the files accordingly. Organizing your pictures will help you easily locate and manage them when transferring to the digital photo frame.
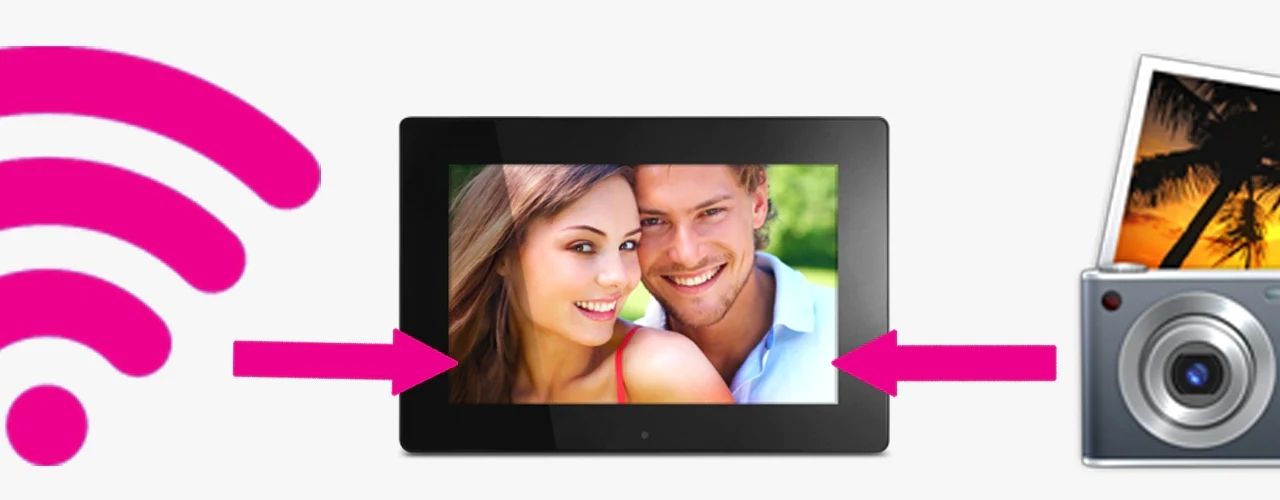
Step 2: Connect your digital photo frame to your computer
Connecting your Aluratek Digital Photo Frame to your computer is an essential step in transferring your chosen pictures. Follow these steps to establish a connection:
- Locate the USB cable that came with your digital photo frame. It’s usually a standard USB-A to USB Mini-B or USB Micro-B cable.
- Connect one end of the USB cable to the USB port on your computer. Ensure that it is securely inserted.
- Connect the other end of the USB cable to the USB port on your Aluratek Digital Photo Frame. The USB port is typically located on the side or back of the frame.
- Power on your digital photo frame. Most Aluratek frames have an On/Off switch located on the back or side.
- When the frame is powered on, it should be detected by your computer. Look for a notification or popup indicating that a new device has been connected.
- You may need to install device drivers or software provided by Aluratek. Refer to the instruction manual or the Aluratek website for any specific software requirements.
Once the connection between your computer and the digital photo frame is established, you are ready to begin transferring your selected pictures to the frame. The next step will guide you through this process.
Step 3: Transfer pictures to the digital photo frame
Now that you have successfully connected your Aluratek Digital Photo Frame to your computer, it’s time to transfer your selected pictures. Follow these steps to complete the transfer process:
- Open the file explorer or file manager on your computer.
- Navigate to the folder or location where your chosen pictures are stored.
- Select the pictures you want to transfer to the digital photo frame. You can do this by clicking and dragging the cursor over the desired images or by holding the Ctrl key (or Command key on Mac) and clicking on each photo individually.
- Right-click on the selected pictures and choose the “Copy” option from the context menu.
- Go back to the file explorer or file manager and navigate to the connected digital photo frame. It should appear as a separate drive or device.
- Open the digital photo frame’s storage on your computer. This can usually be done by double-clicking on the corresponding drive or device icon.
- Right-click inside the digital photo frame’s storage space and choose the “Paste” option from the context menu. This will transfer the selected pictures to the frame.
- Wait for the transfer process to complete. The time taken will depend on the number and size of the transferred pictures.
- Once the transfer is finished, safely disconnect the digital photo frame from your computer. You can do this by right-clicking on the frame’s storage icon and selecting the “Eject” or “Safely Remove” option.
Now your selected pictures are successfully transferred to your Aluratek Digital Photo Frame. In the next step, we will explore how to organize and adjust settings to enhance your photo display experience.
Step 4: Organize and adjust settings
Now that your pictures are transferred to your Aluratek Digital Photo Frame, it’s time to organize them and adjust the settings to ensure an optimal photo viewing experience. Follow these steps to organize and customize your digital photo frame:
- Power on your Aluratek Digital Photo Frame and navigate to the menu or settings options. This can usually be done using the buttons on the frame itself or through a touchscreen interface.
- Explore the available menu options to find features such as slideshow mode, photo rotation, transition effects, and display duration. Customize these settings to your preference. For example, you can choose to have your photos displayed in sequential or random order, adjust the time duration for each photo to be shown, and apply different transition effects between pictures.
- If your digital photo frame supports additional features such as music playback or video viewing, you can also explore those options and adjust the settings accordingly.
- Organize your pictures into specific folders or albums on the digital photo frame. This can help you categorize and locate specific sets of photos easily. Some frames allow you to create folders directly on the frame itself, while others require you to organize the folders on your computer and transfer them to the frame.
- Consider adding captions to your photos. Some digital photo frames allow you to add text captions to accompany each picture, providing additional context or personalization.
- Once you have organized and adjusted the settings to your liking, save the changes and exit the menu or settings screen.
- Preview your photos on the digital photo frame to ensure that everything is displayed correctly and as intended. Make any additional tweaks or adjustments if necessary.
By organizing your pictures and customizing the settings on your Aluratek Digital Photo Frame, you can create a personalized and engaging photo viewing experience that will bring your memories to life.
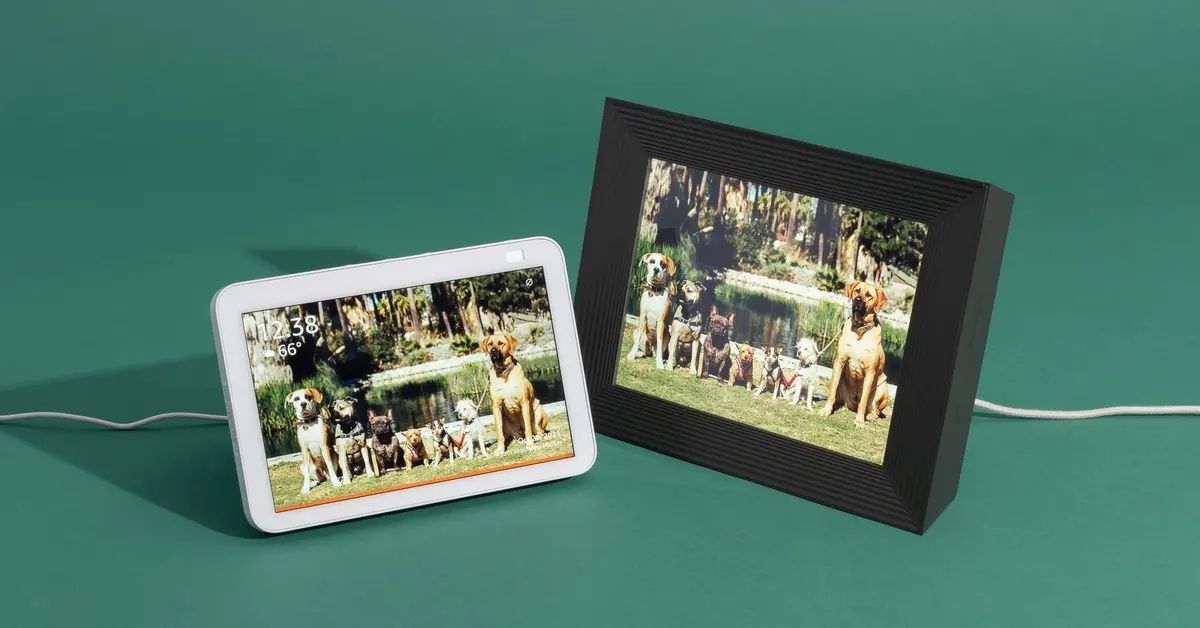
Step 5: Enjoy your pictures on the Aluratek digital photo frame
Now that you have successfully organized and adjusted the settings of your Aluratek Digital Photo Frame, it’s time to sit back, relax, and enjoy the beautiful display of your favorite pictures. Follow these final steps to make the most of your digital photo frame:
- Place the digital photo frame in a prominent location where it can be easily seen and admired. Consider displaying it on a tabletop, desk, or mounted on the wall.
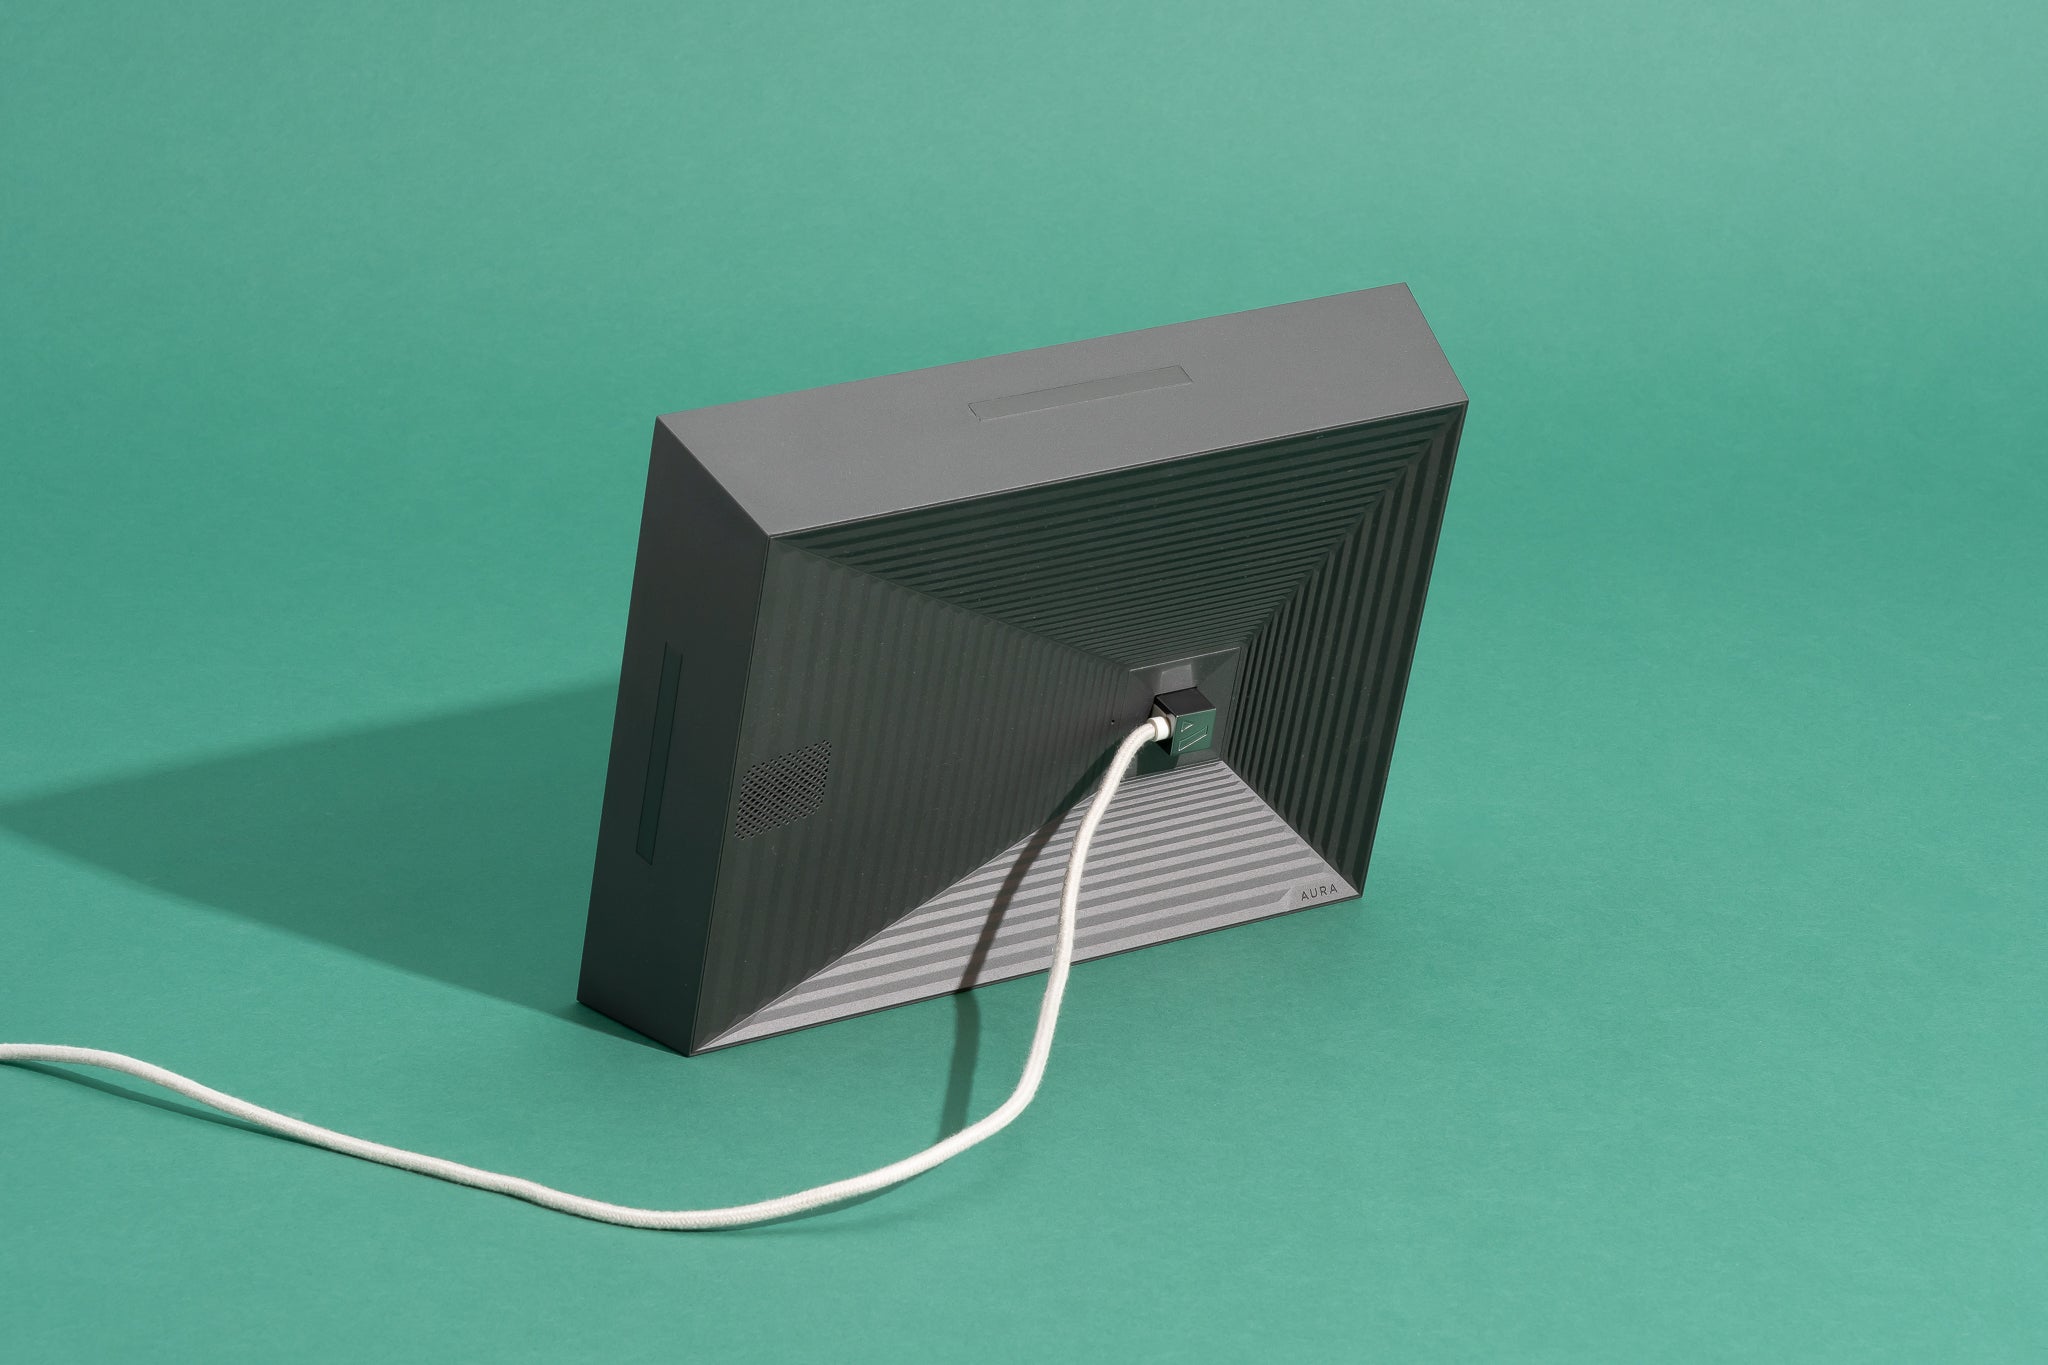
- Ensure that the digital photo frame is connected to a power source, either through an AC adapter or a USB power supply.
- Power on the digital photo frame and let it load your selected pictures. Depending on the frame model and the number of photos, it may take a few moments to load.
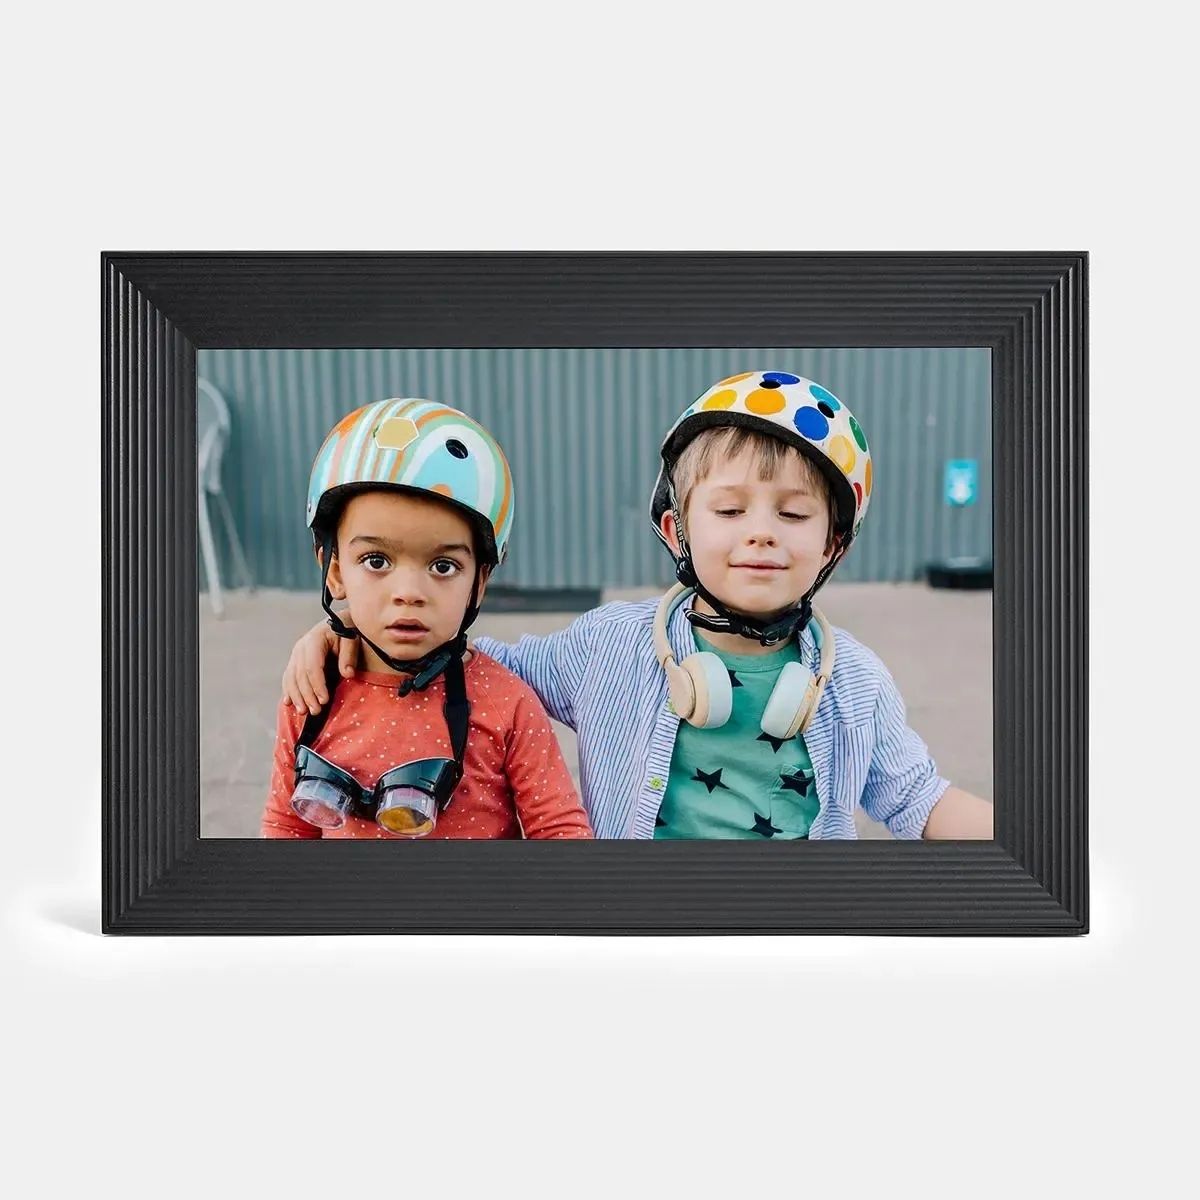
- Sit back and watch as your pictures come to life in a slideshow format. Enjoy the smooth transitions, beautiful colors, and high-resolution display that the Aluratek Digital Photo Frame offers.
- Take advantage of any additional features or functions available on your digital photo frame. This may include setting up automatic on/off timers, adjusting brightness and contrast levels, or even syncing the frame with your online photo storage to display the latest pictures.
- Invite family and friends to enjoy your digital photo frame with you. As they visit your home or office, let them experience the joy of reliving special moments through your carefully curated collection of pictures.
- Regularly update the pictures on your digital photo frame to keep the display fresh and exciting. Replace older photos with new ones to ensure that you can continue to enjoy a variety of memories.
By following these simple steps, you can fully enjoy the beauty and convenience of your Aluratek Digital Photo Frame. Let it become a centerpiece in your space, showcasing your most cherished moments and bringing them to life in a captivating and dynamic way.
Conclusion
Congratulations! You have now learned how to put pictures on your Aluratek Digital Photo Frame. By following the step-by-step guide, you have successfully selected, transferred, organized, and adjusted the settings of your digital photo frame to create a personalized and visually pleasing display.
With your Aluratek Digital Photo Frame, you can now showcase your favorite memories, special events, and cherished moments in a convenient and elegant way. The digital slideshow feature allows you to effortlessly display multiple photos, adding a touch of sophistication to your home or office decor.
Remember to choose photos that hold special meaning to you, and consider organizing them in a way that tells a story or creates a specific mood. Adjust the settings and explore the customization options to enhance the visual presentation of your pictures, such as determining the display duration, transition effects, and even adding captions.
Once everything is set up, sit back and enjoy the delightful experience of watching your pictures come to life on the vibrant display of your Aluratek Digital Photo Frame. Share these moments with loved ones, as they too can appreciate and relive the memories you’ve captured.
Remember to regularly update your pictures to keep the display fresh and exciting. Whether it’s a recent family vacation, a milestone celebration, or a collection of stunning landscapes, your digital photo frame gives you the flexibility to showcase a wide range of moments that are important to you.
Thank you for following this guide on how to put pictures on your Aluratek Digital Photo Frame. We hope you now feel confident and inspired to create a captivating display of your cherished memories. Enjoy the beauty of your photos as they come to life on your digital photo frame!