Introduction
Welcome to the wonderful world of playing music directly from an external hard drive without the need for a computer! If you’re looking for a convenient way to enjoy your extensive music collection without relying on a computer or a cloud storage service, this guide is for you.
Traditionally, playing music required a computer or a dedicated music player with built-in storage. However, with advances in technology, it is now possible to connect an external hard drive directly to a music player and access your favorite tunes on the go.
In this article, we will walk you through the step-by-step process of playing music from an external hard drive without the need for a computer. Whether you’re planning a road trip or simply want to declutter your computer’s storage space, this guide will provide you with all the information you need.
We’ll discuss the essential requirements, including the formatting of your external hard drive, transferring your music files, and connecting the hard drive to your music player. By following these simple steps, you’ll be able to enjoy your music collection with ease and convenience.
So, grab your external hard drive and let’s get started on this exciting journey of music on the go!
What You’ll Need
Before you embark on playing music from an external hard drive, there are a few essential items and preparations you’ll need to ensure a smooth and hassle-free experience. Here’s what you’ll need:
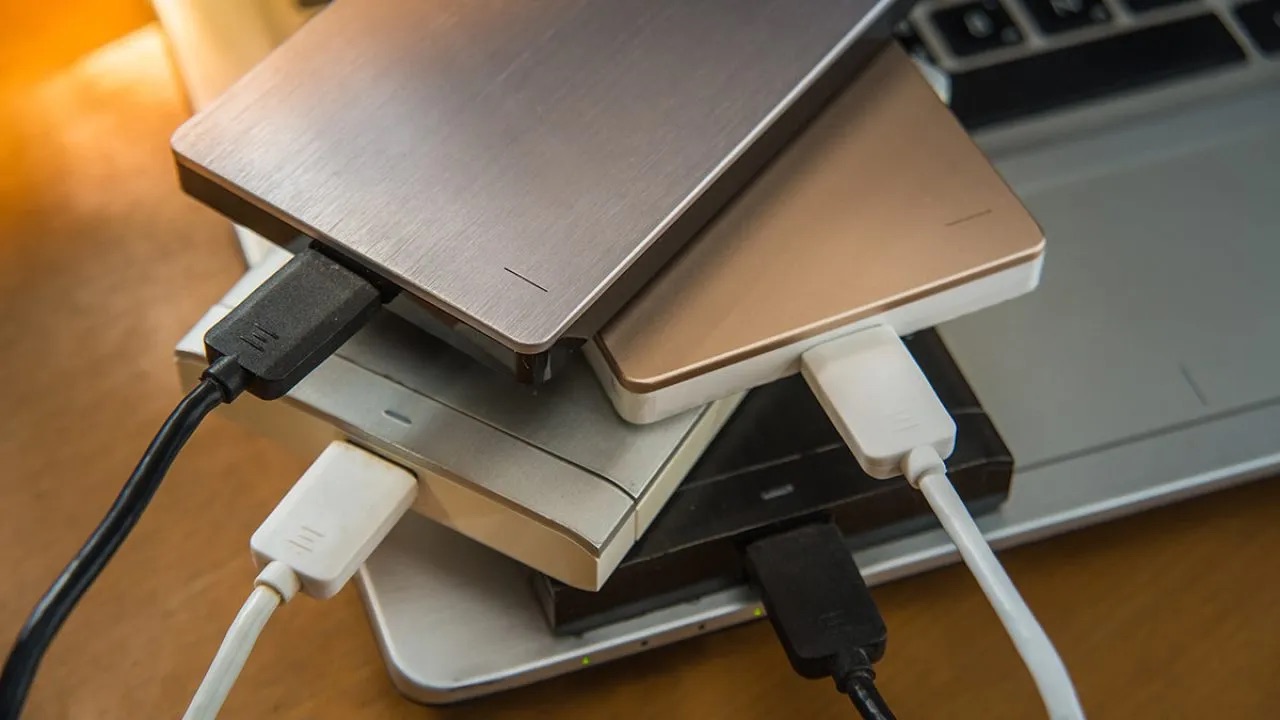
- External Hard Drive: Make sure you have a compatible external hard drive that has enough storage capacity to accommodate your music collection. Consider factors such as portability, durability, and compatibility with your music player.
- Music Player: You will need a music player that supports USB or other connectivity options to connect your external hard drive. Check the specifications of your music player or consider purchasing a new one if needed.
- USB Cable or Adapter: Depending on the connectivity options of your music player and external hard drive, you may need a USB cable or adapter to establish a connection between the two.
- Music Files: Ensure that your music collection is organized and stored on your computer or another storage device for easy transfer to the external hard drive. Supported file formats usually include MP3, AAC, WAV, and FLAC.
- Backup of Music Files: It’s always a good idea to keep a backup of your music files in case of any unforeseen issues. Create a backup on your computer or on a separate storage device before transferring the files to the external hard drive.
Once you have gathered these essential items, you’ll be well-prepared to start playing music directly from your external hard drive without the need for a computer. Next, we’ll guide you through the step-by-step process of formatting your external hard drive to ensure compatibility and transferring your music files for seamless playback.
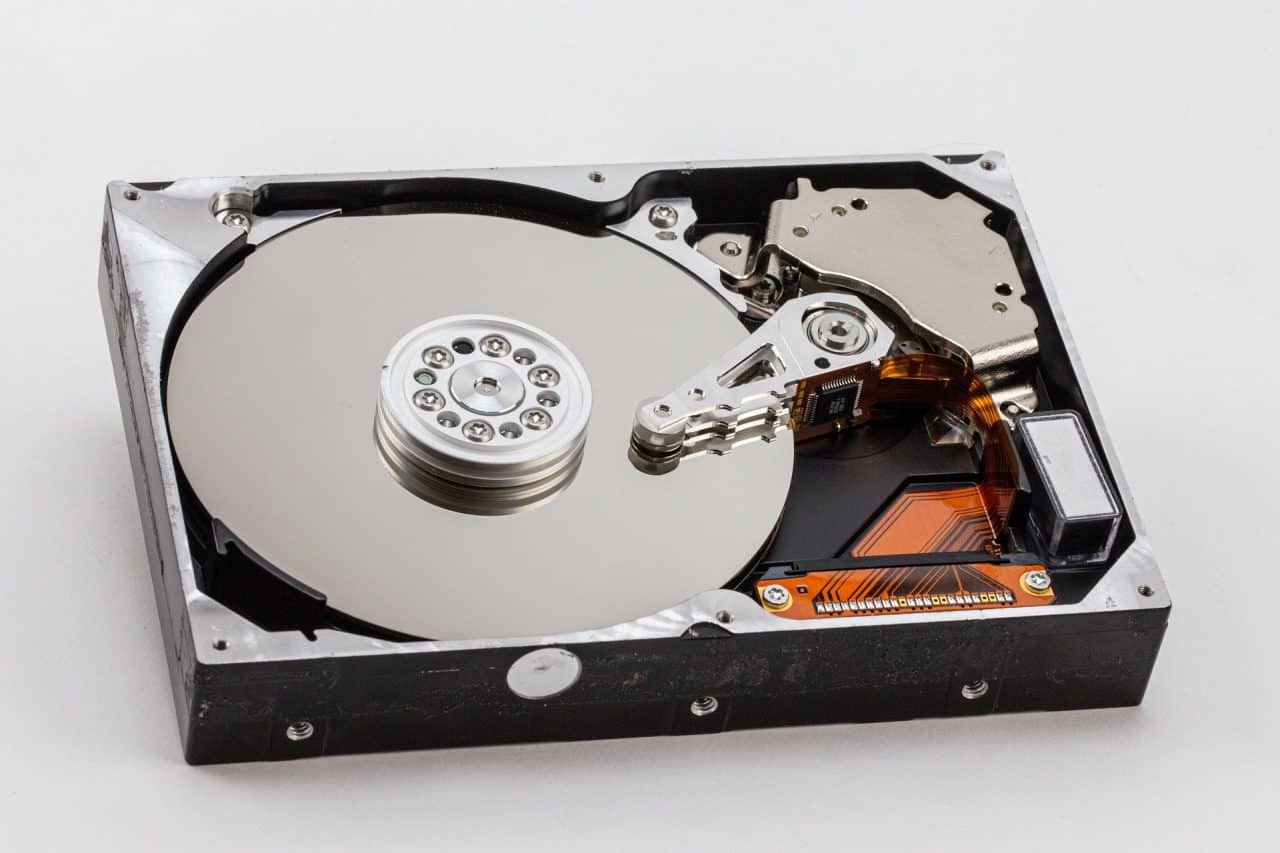
Step 1: Format Your External Hard Drive
Before you can start transferring your music files to the external hard drive, it is essential to format the drive in a compatible file system. Formatting prepares the hard drive for use with your music player, ensuring seamless playback. Follow these steps to format your external hard drive:
- Connect your external hard drive: Plug in your external hard drive to your computer using the supplied USB cable or adapter. Ensure that the drive is properly connected and recognized by your computer.
- Open Disk Utility (Mac) or Disk Management (Windows): On a Mac, you can access Disk Utility by going to “Applications” > “Utilities” > “Disk Utility.” On Windows, open the Start menu and search for “Disk Management.”
- Select your external hard drive: In Disk Utility or Disk Management, locate your external hard drive from the list of available drives. Be cautious and select the correct drive to avoid formatting the wrong device.
- Format the hard drive: In Disk Utility (Mac) or Disk Management (Windows), choose the option to format the drive. Select the desired file system format, such as FAT32 or exFAT, which offers compatibility with both Mac and Windows systems.
- Confirm the formatting: Follow the prompts to confirm the formatting process. Keep in mind that formatting will erase all data on the external hard drive, so ensure you have a backup of any important files.
- Wait for the formatting to complete: The formatting process may take some time, depending on the size of the hard drive. Be patient and wait for the process to finish.
- Eject and disconnect the external hard drive: Once the formatting is complete, safely eject the external hard drive from your computer. Disconnect it from the USB port.
Congratulations! You have successfully formatted your external hard drive for use with your music player. In the next step, we will guide you through the process of transferring your music files to the external hard drive.
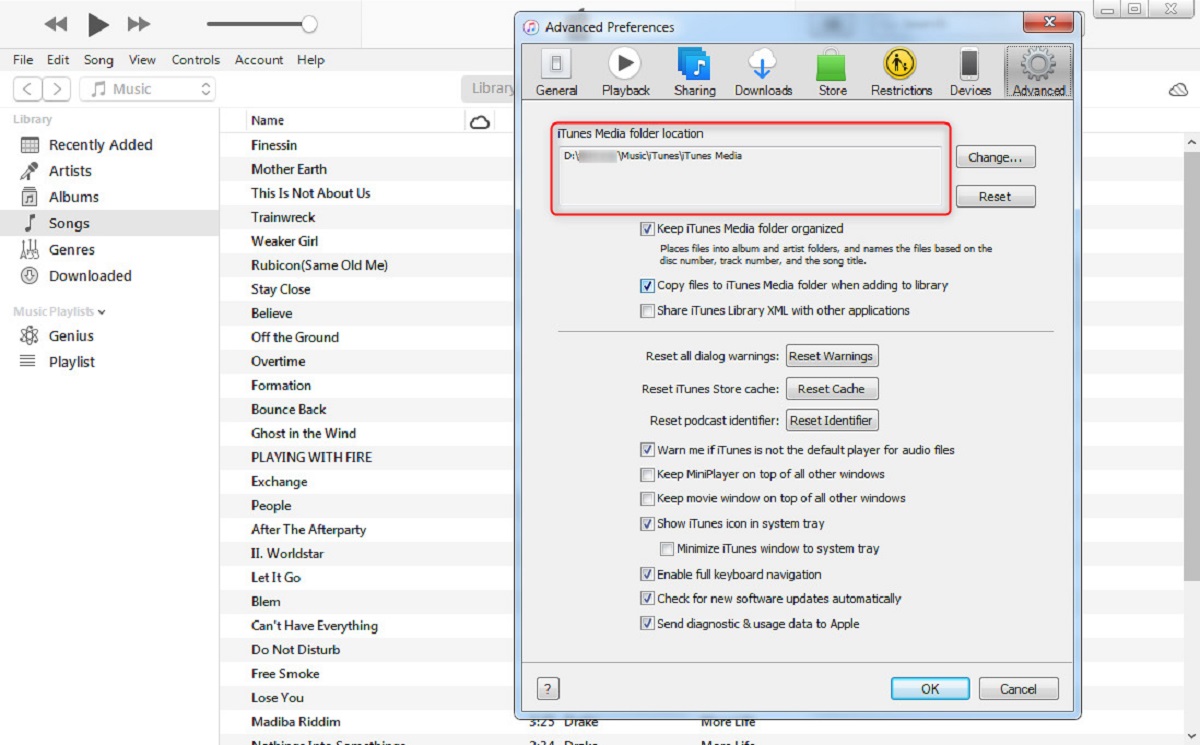
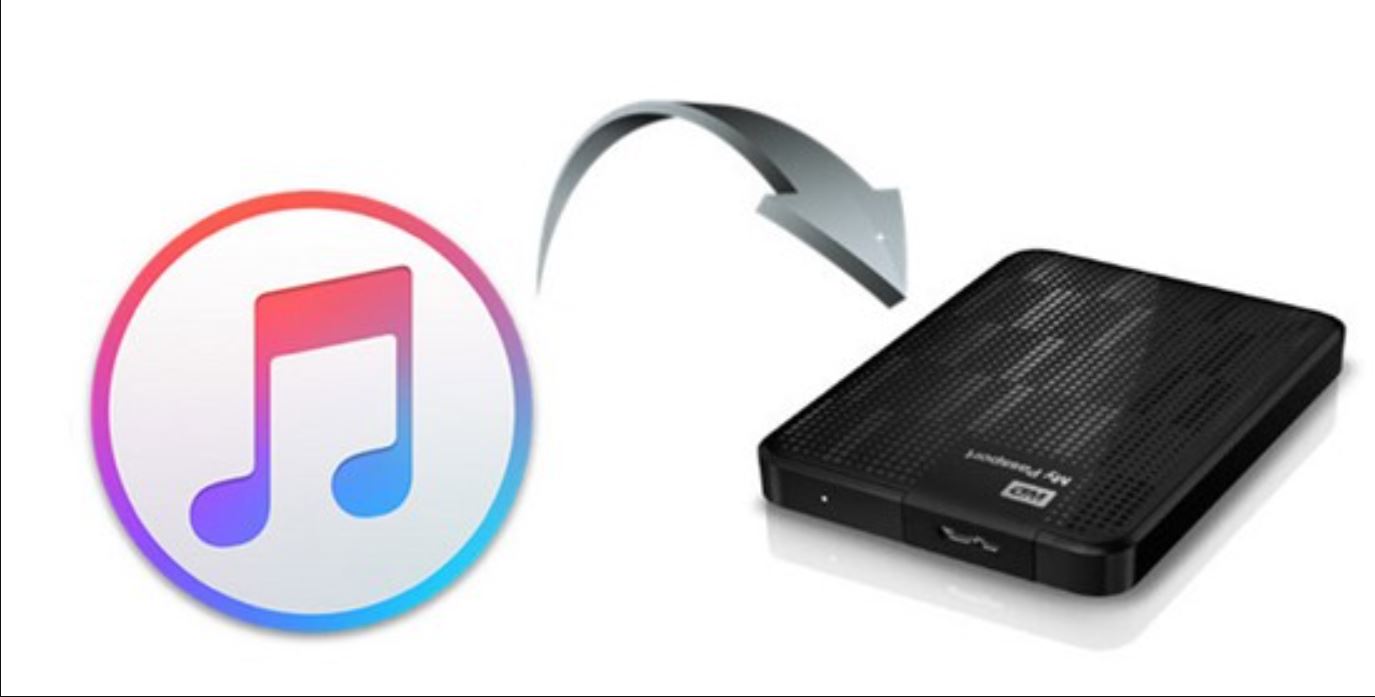
Step 2: Transfer Your Music Files to the External Hard Drive
Now that you have formatted your external hard drive, it’s time to transfer your music files. Follow these steps to seamlessly transfer your music collection to the external hard drive:
- Connect your external hard drive: Plug in your external hard drive to your computer using the USB cable or adapter.
- Open the file explorer: On a Mac, open Finder. On Windows, open File Explorer.
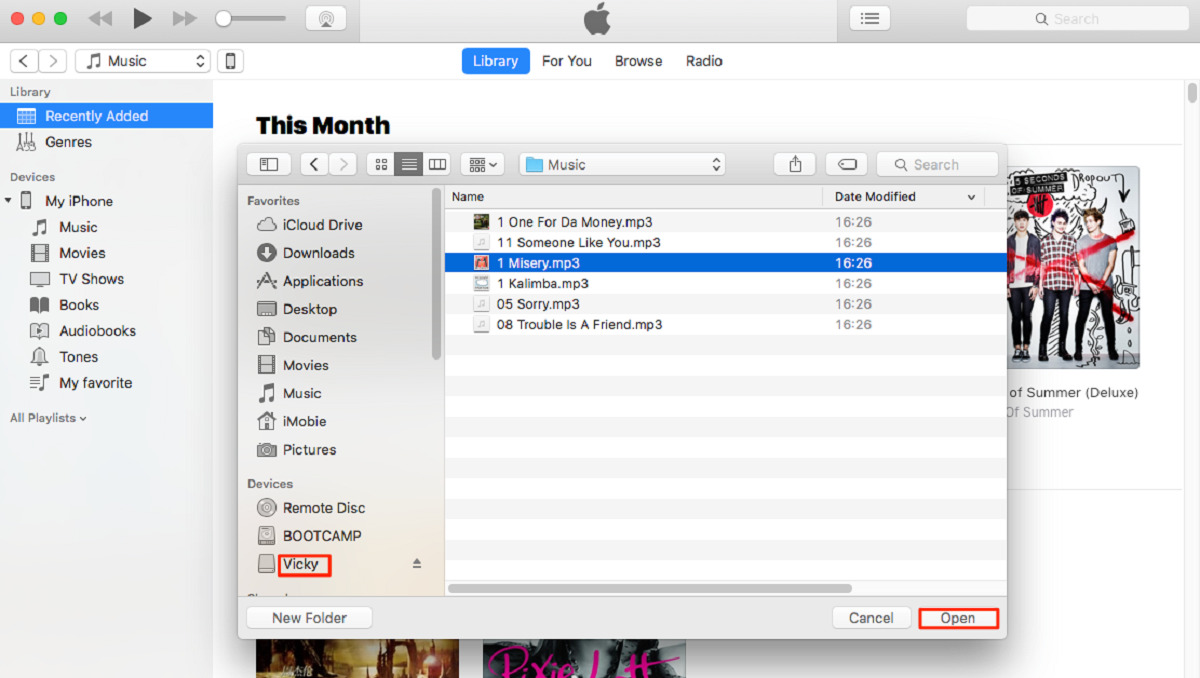
- Navigate to your music files: Locate the folder or directories where your music files are stored on your computer. Select the files or folders you want to transfer to the external hard drive.
- Copy the music files: Right-click on the selected files or folders and choose the “Copy” option. Alternatively, you can use the keyboard shortcut
Ctrl+C(Windows) orCommand+C(Mac). - Access the external hard drive: In the file explorer, navigate to the external hard drive. It should appear as a separate drive or volume.
- Paste the music files: Right-click on an empty space within the external hard drive and choose the “Paste” option. Alternatively, you can use the keyboard shortcut
Ctrl+V(Windows) orCommand+V(Mac). - Wait for the file transfer: The time it takes to transfer the music files will depend on the size of the files and the speed of your computer and external hard drive. Be patient and wait for the transfer to complete.
- Eject and disconnect the external hard drive: Once the file transfer is complete, safely eject the external hard drive from your computer. Disconnect it from the USB port.
Great job! You have successfully transferred your music files to the external hard drive. In the next step, we will guide you on how to connect your external hard drive to the music player.
Step 3: Connect Your External Hard Drive to the Music Player
Now that your music files are safely stored on the external hard drive, it’s time to connect it to your music player. Follow these steps to establish a connection:
- Ensure compatibility: Make sure your music player supports external storage devices and has the necessary connectivity options such as USB or a dedicated SD card slot. Refer to the user manual or specifications of your music player for confirmation.
- Power off your music player: Before connecting the external hard drive, power off your music player to avoid any potential issues or data loss.
- Connect the external hard drive: Depending on the connectivity options of your music player, plug in the USB cable or insert the SD card into the appropriate slot on the music player.
- Power on your music player: Once the external hard drive is securely connected, power on your music player. It should recognize the external storage and display an option to access the music files.
- Browse and select your music: Navigate through the music player’s menu or interface to locate the external storage option. Usually, it will be labeled as “External Storage,” “USB,” or “SD Card.” Select it to access your music files.
- Navigate through your music library: Once you have accessed the external storage, browse through your music library just as you would on a computer or other music player. Use the music player’s controls to play, shuffle, or create playlists with your music.
Voila! You have successfully connected your external hard drive to your music player. Now you can enjoy your music collection directly from the external storage without the need for a computer. In the next step, we will guide you on how to select the music source on your music player.
Step 4: Select the Music Source on Your Music Player
With your external hard drive connected to your music player, it’s time to choose the music source and start playing your favorite tunes. Follow these steps to select the music source on your music player:
- Open the music player’s menu or settings: Use the controls or touchscreen interface on your music player to access the menu or settings.
- Navigate to the music source: Look for an option or category that allows you to choose the music source. This could be labeled as “Source,” “Storage,” “Library,” or something similar.
- Select the external storage: Once you have located the music source category, select the option that corresponds to the external storage or the connected USB/SD card. This will ensure that the music player reads the files from the external hard drive.
- Browse and play your music: After selecting the external storage, navigate through your music library using the music player’s interface. You can typically browse by artists, albums, genres, or playlists. Choose the desired music and press play to enjoy your tunes.
- Utilize playlist and playback options: Explore the music player’s features to create playlists, shuffle songs, adjust volume, and customize the playback experience according to your preferences.
Fantastic! You have successfully selected the music source on your music player, allowing you to play the files from your external hard drive. Now you can sit back, relax, and enjoy your favorite music without the need for a computer. In the final step, we’ll wrap things up and remind you to enjoy your music from the external hard drive.
Step 5: Enjoy Your Music from the External Hard Drive
Now that everything is set up and ready to go, it’s time to sit back, relax, and enjoy your music collection directly from the external hard drive. Follow these steps to make the most of your music playback experience:
- Connect your headphones or speakers: If you’re using headphones or external speakers, make sure to connect them to your music player for optimal audio quality.
- Play your favorite tunes: Use the music player’s interface to select the songs, albums, or playlists you want to listen to. Navigate through your music library and choose the tracks that suit your mood.
- Make use of additional features: Explore the features and settings of your music player to enhance your listening experience. You may find options for equalizer settings, gapless playback, or even visualizations.
- Create custom playlists: If your music player allows it, take advantage of the ability to create personalized playlists. Organize your favorite songs into different playlists for different occasions or moods.
- Take your music on the go: With your music stored on the external hard drive, you can easily take it with you wherever you go. Whether you’re going for a walk, traveling, or simply lounging at home, your music collection is now portable.
- Ensure proper storage and care: Keep your external hard drive in a safe place, protected from physical damage and extreme temperatures. Regularly back up your music files and keep your external hard drive clean to maintain its performance.
Congratulations! You have successfully learned how to play music from an external hard drive without the need for a computer. Now, enjoy the freedom and convenience of having your entire music collection at your fingertips, ready to be enjoyed anytime, anywhere.