Introduction
Welcome to our guide on how to move windows to another monitor. Whether you’re looking to improve productivity or enhance your gaming experience, being able to move windows seamlessly between monitors can be incredibly useful. In this article, we will walk you through the various methods to accomplish this task, from simple keyboard shortcuts to utilizing third-party software for advanced window management.
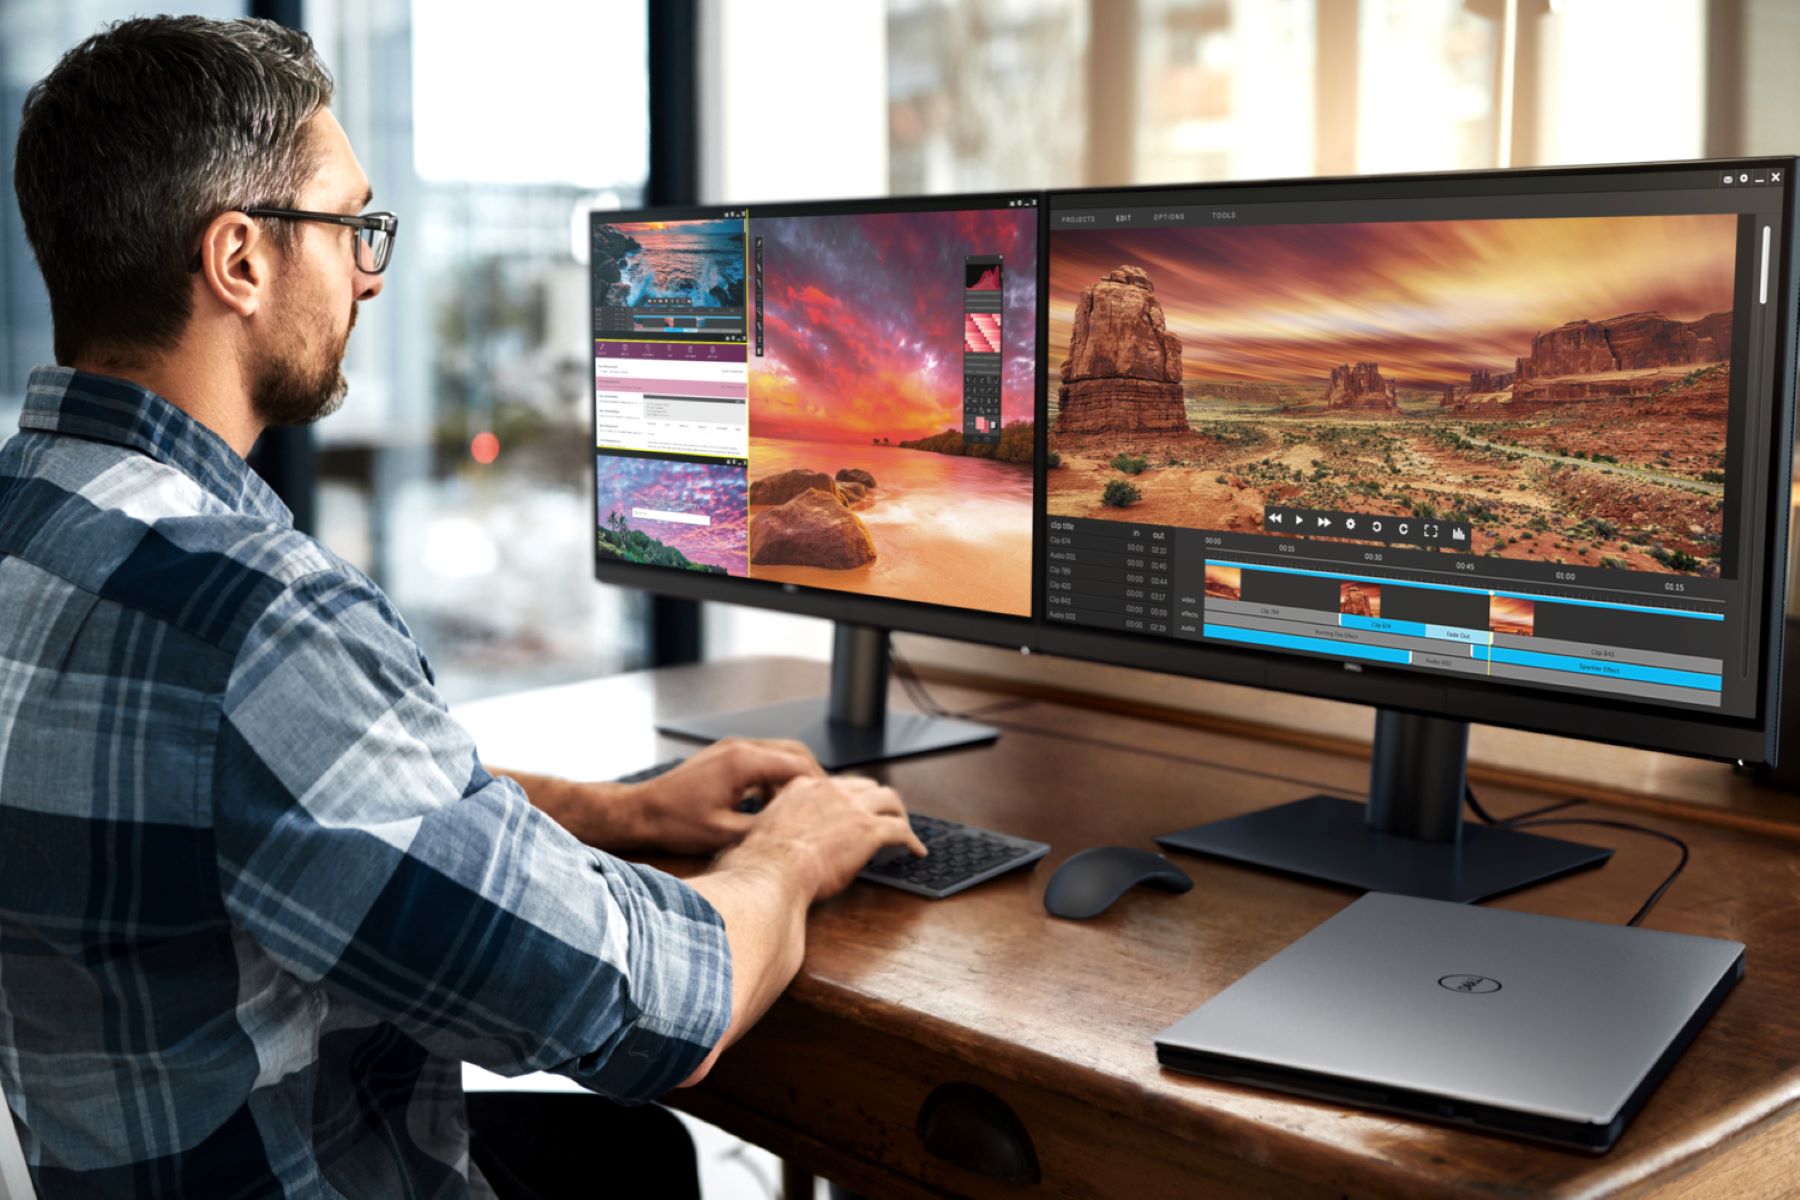
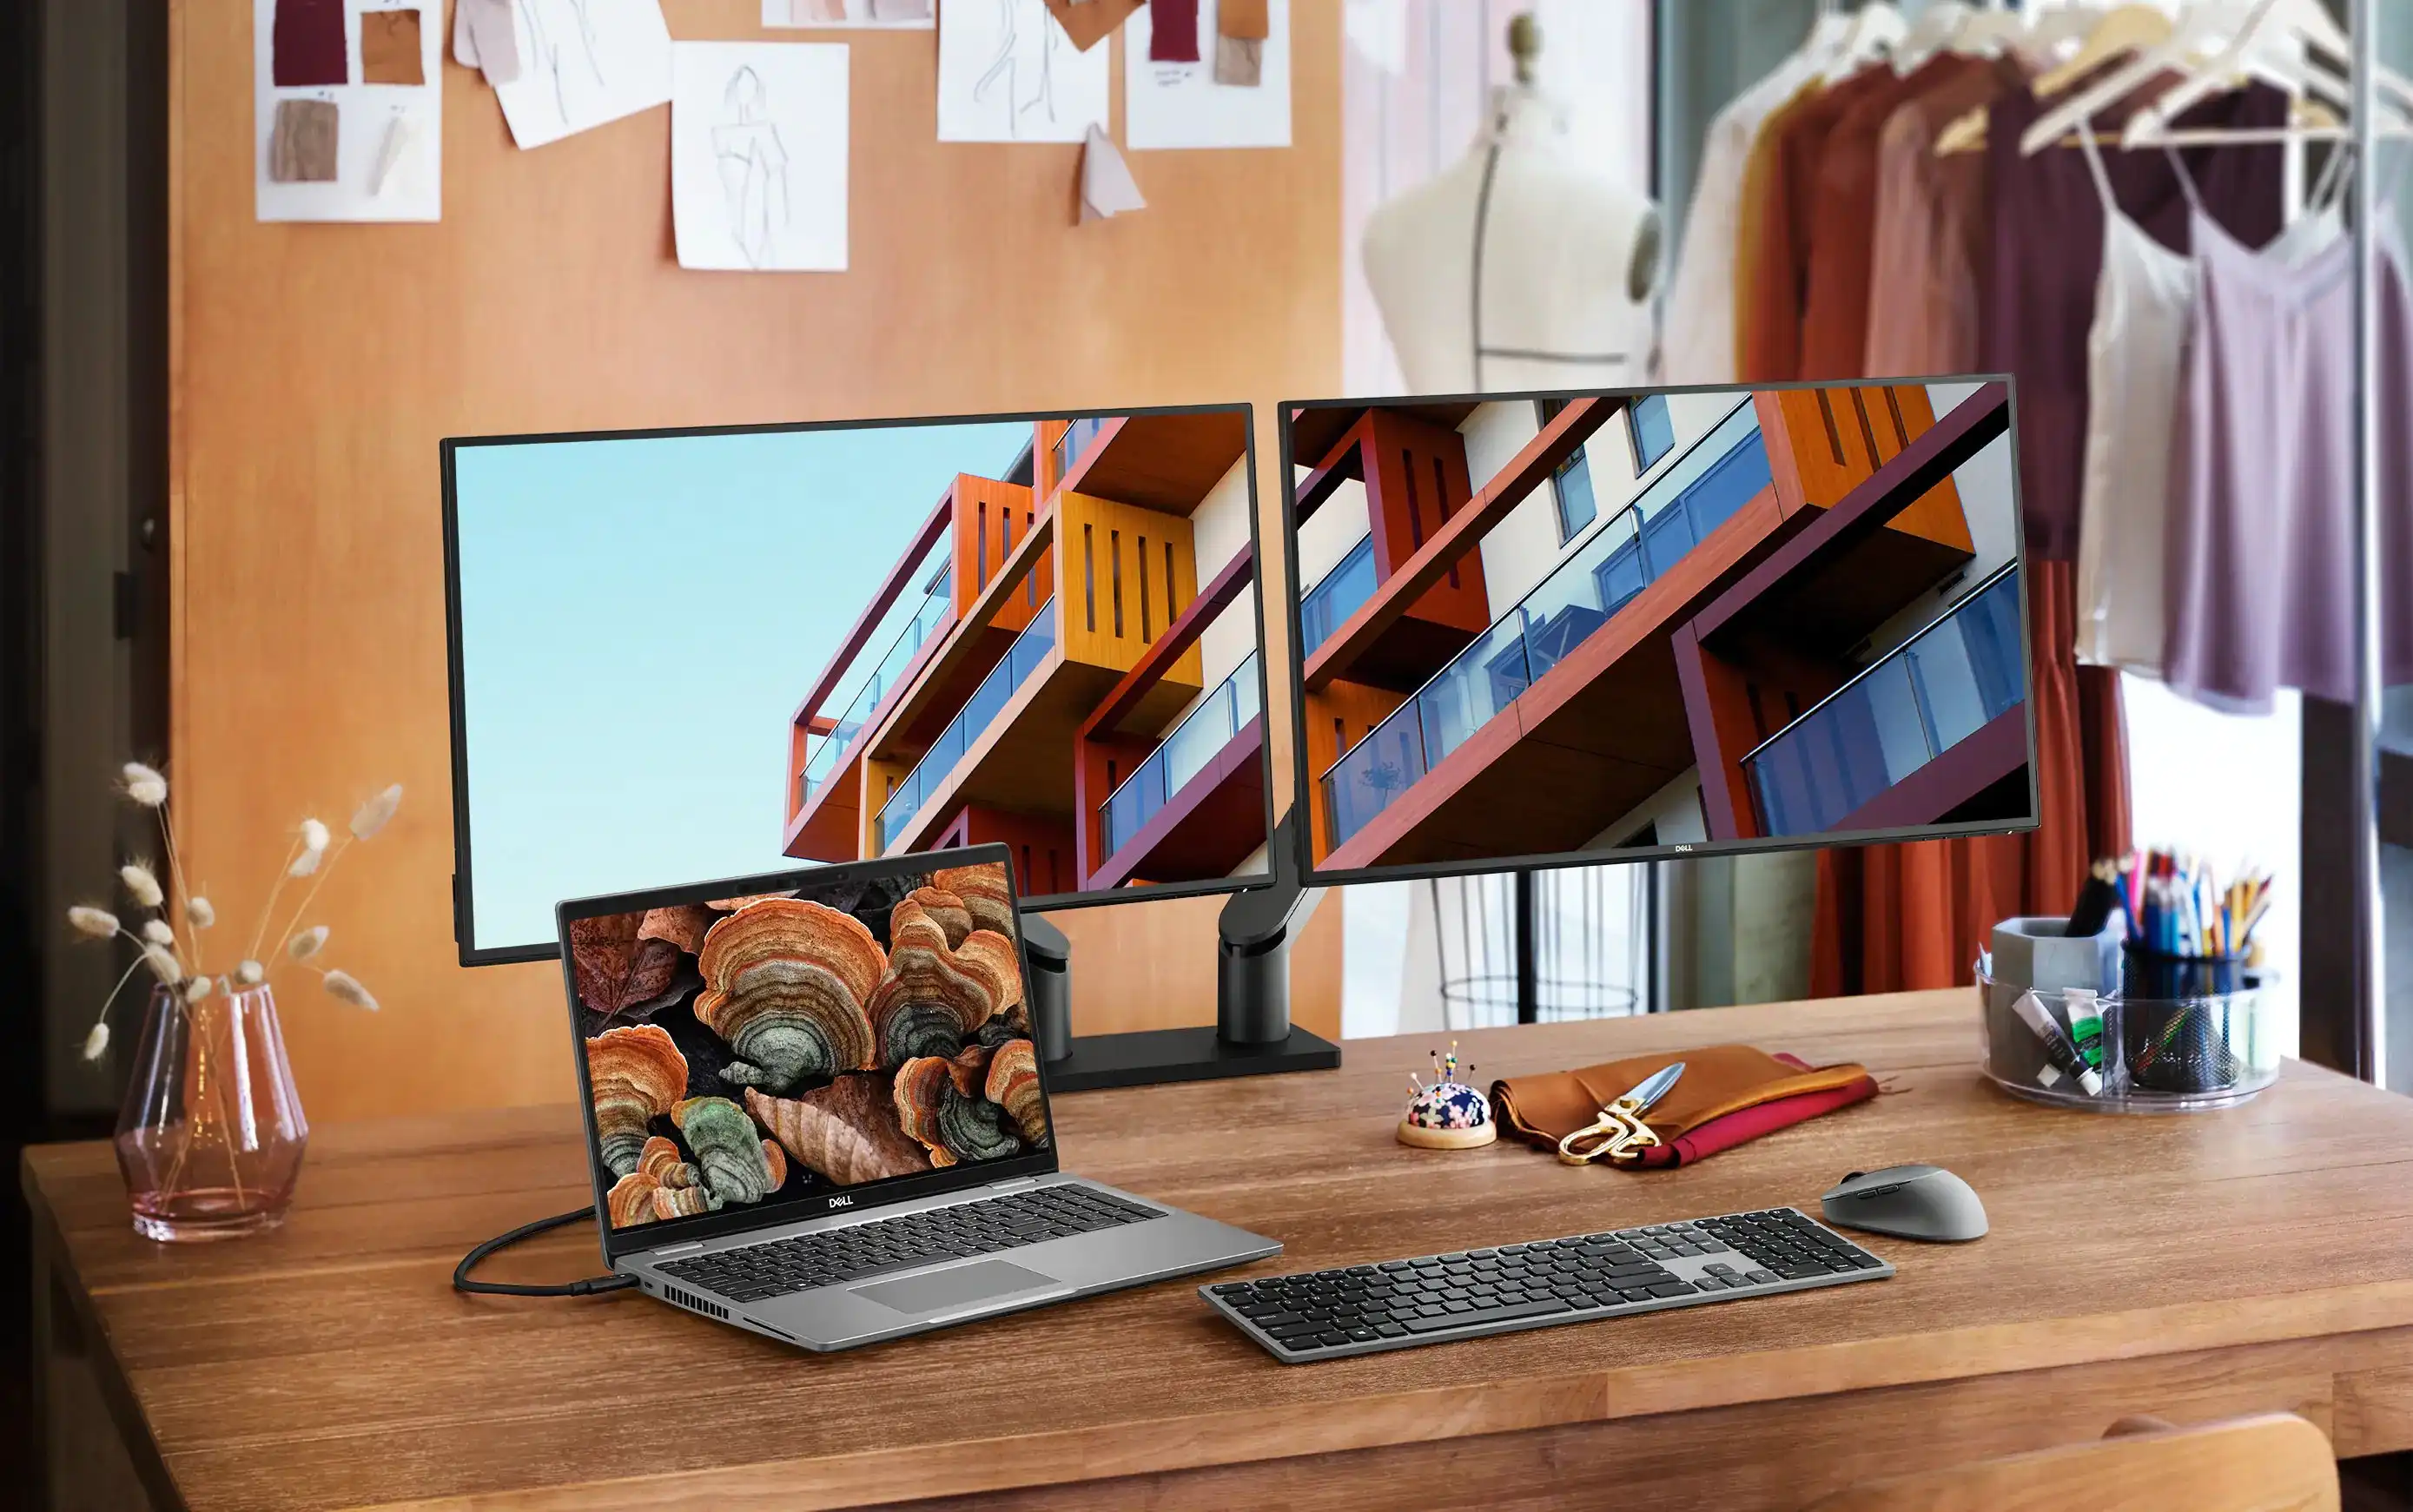
Having multiple monitors can help you create a more expansive and organized workspace. You can have your email client open on one screen, your web browser on another, and your work software on the main display. However, the default behavior of most operating systems is to open new windows on the main monitor, which can be frustrating when you want to rearrange your workspace.
Fortunately, moving windows to a different monitor is a straightforward process once you understand the different methods available to you. Whether you’re using Windows, macOS, or Linux, we will cover the steps for each platform so you can easily follow along.
Throughout this guide, we will provide you with step-by-step instructions and tips to make the process as smooth as possible. You don’t need to be a computer expert to master window movement – we’ve got you covered!
So, let’s dive in and explore the various methods you can use to move windows to other monitors.
Step 1: Connect the Second Monitor
The first step in moving windows to another monitor is to ensure that you have properly connected the second monitor to your computer. This step may vary slightly depending on your operating system, but the general process remains the same.
1. Check the physical connection: Start by checking the cables and connectors. Most monitors use either HDMI or DisplayPort cables to connect to the computer. Make sure that the cables are securely plugged into both the monitor and the computer’s graphics card.
2. Power on the second monitor: Once the physical connection has been established, power on the second monitor. It should display a “No Signal” message or a blank screen until the computer recognizes it.
3. Adjust display settings: Depending on your operating system, you may need to adjust the display settings to recognize the second monitor. Here’s how to do it for some popular operating systems:
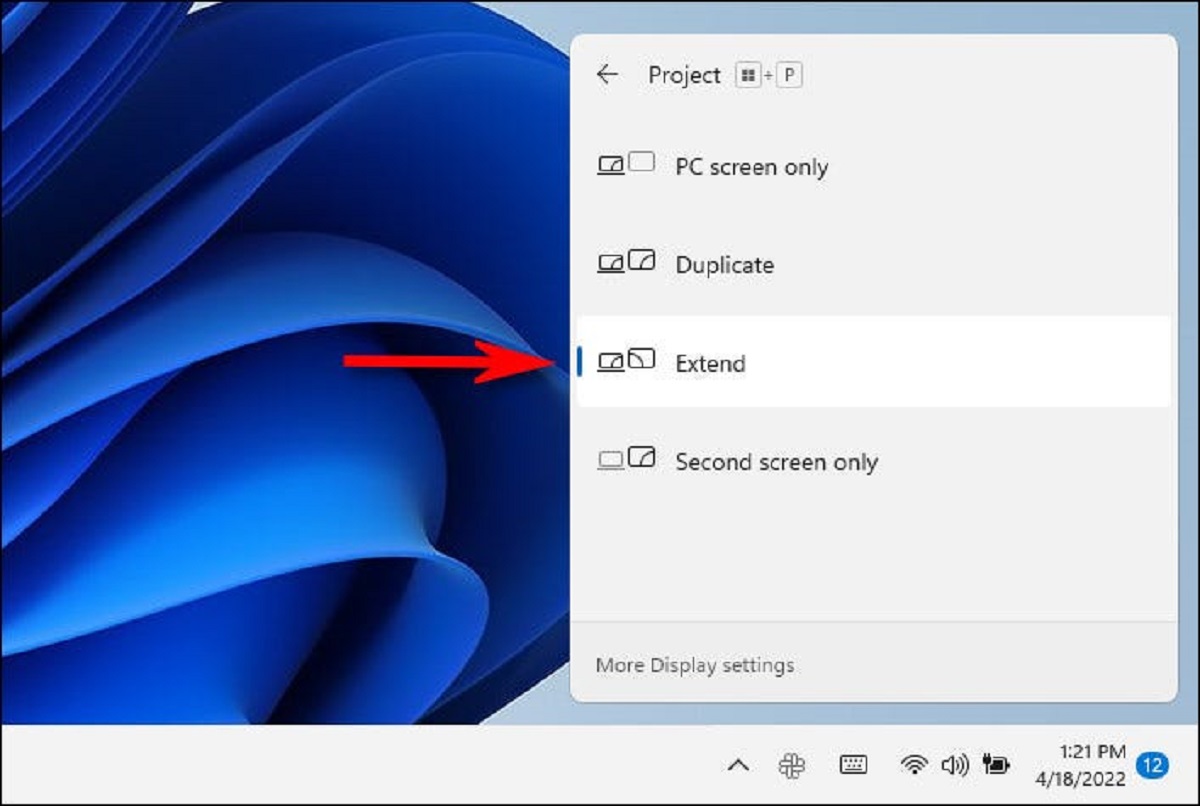
- Windows: Right-click on the desktop and select “Display settings” from the context menu. In the Display settings window, you should see both monitors listed. Make sure the second monitor is recognized and set as an extended display.
- macOS: Click on the Apple menu and select “System Preferences.” In the System Preferences window, click on “Displays” and go to the “Arrangement” tab. Here, you can drag and position the displays as desired.
- Linux: The process may vary depending on the Linux distribution you’re using. In most cases, you can access the display settings by searching for “Displays” in the system settings. From there, you can configure the second monitor.
Once you have successfully connected and configured the second monitor, you’re ready to start moving windows between the displays. Continue reading to learn the different methods available for this task.
Step 2: Adjust Display Settings
After connecting the second monitor, the next step is to adjust the display settings. This will ensure that your computer recognizes and utilizes the additional screen real estate effectively.
The process of adjusting display settings may differ slightly depending on the operating system you’re using. However, the general steps remain the same.
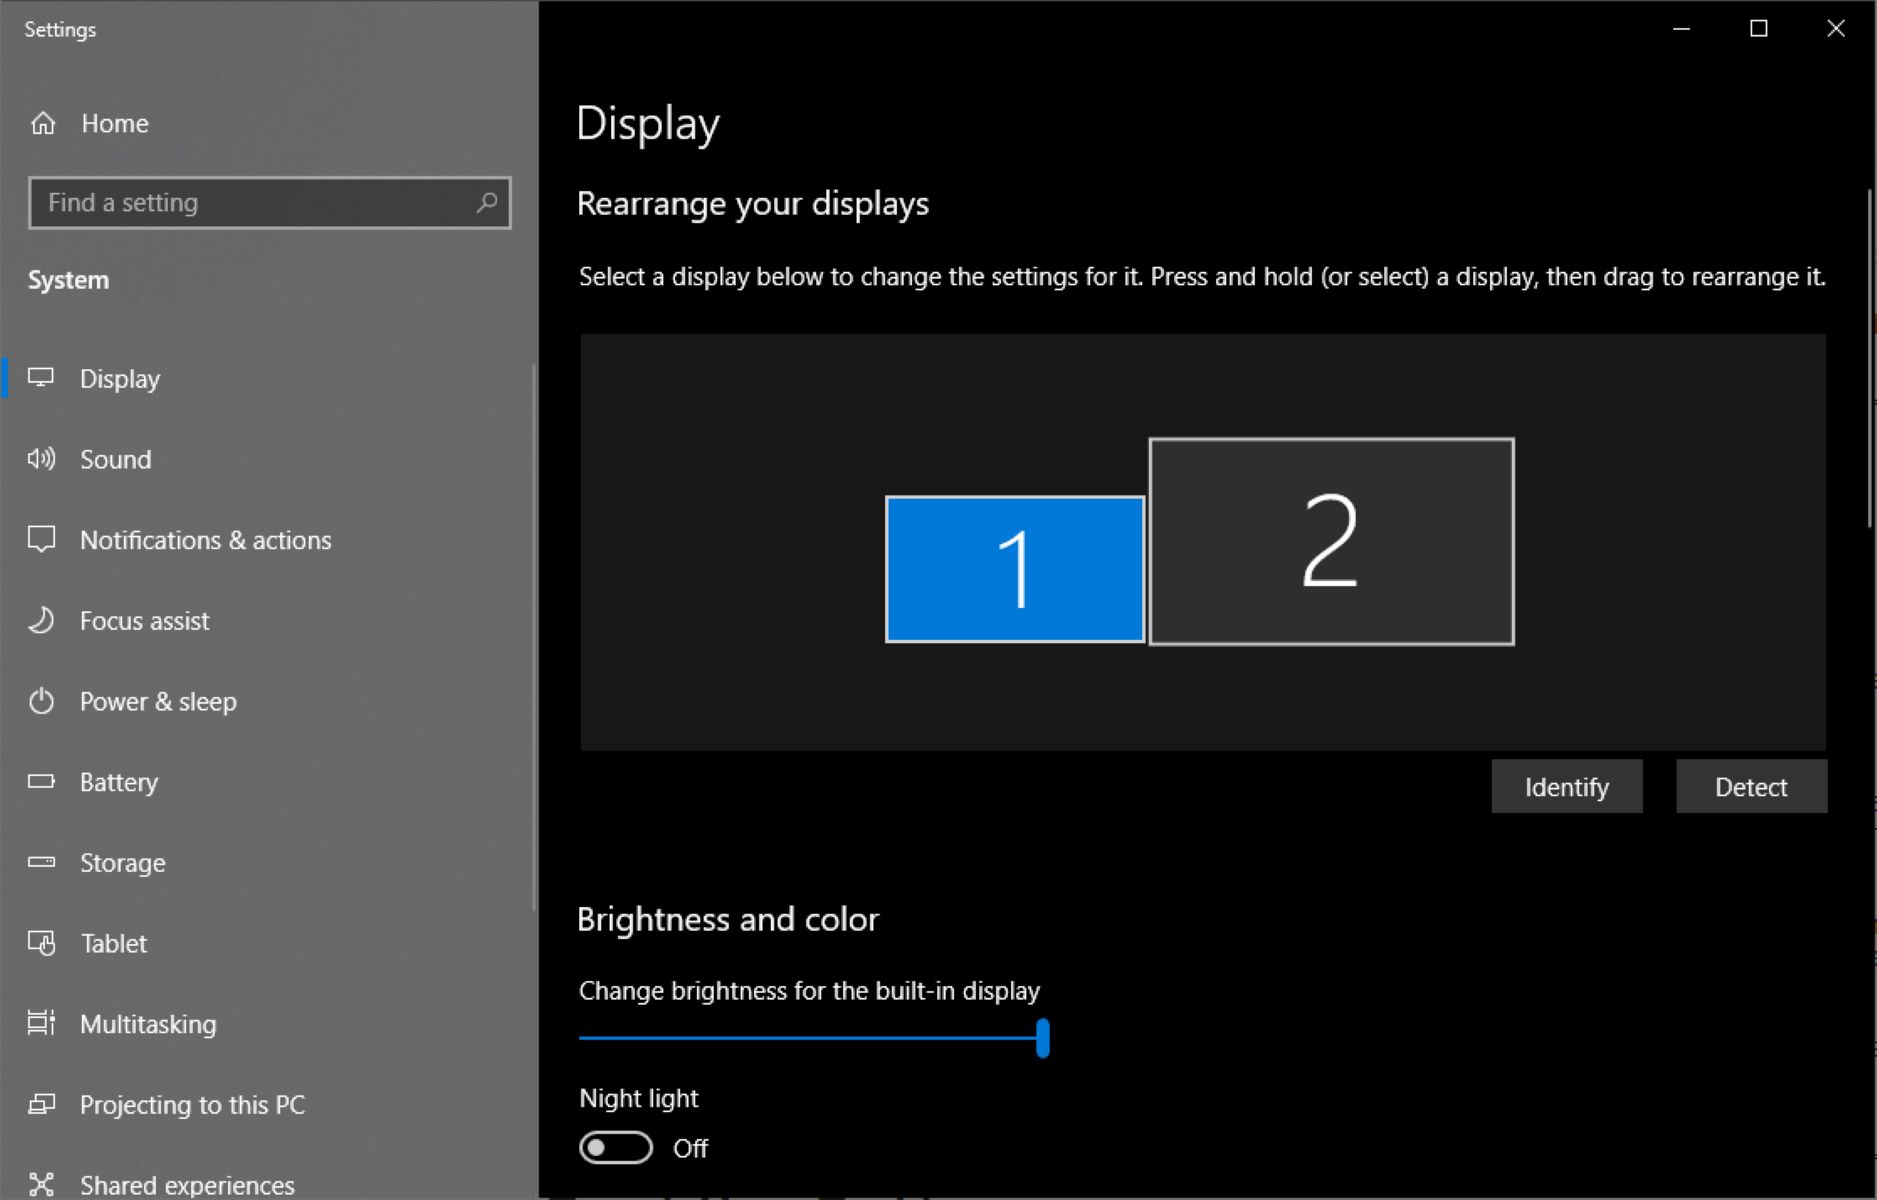
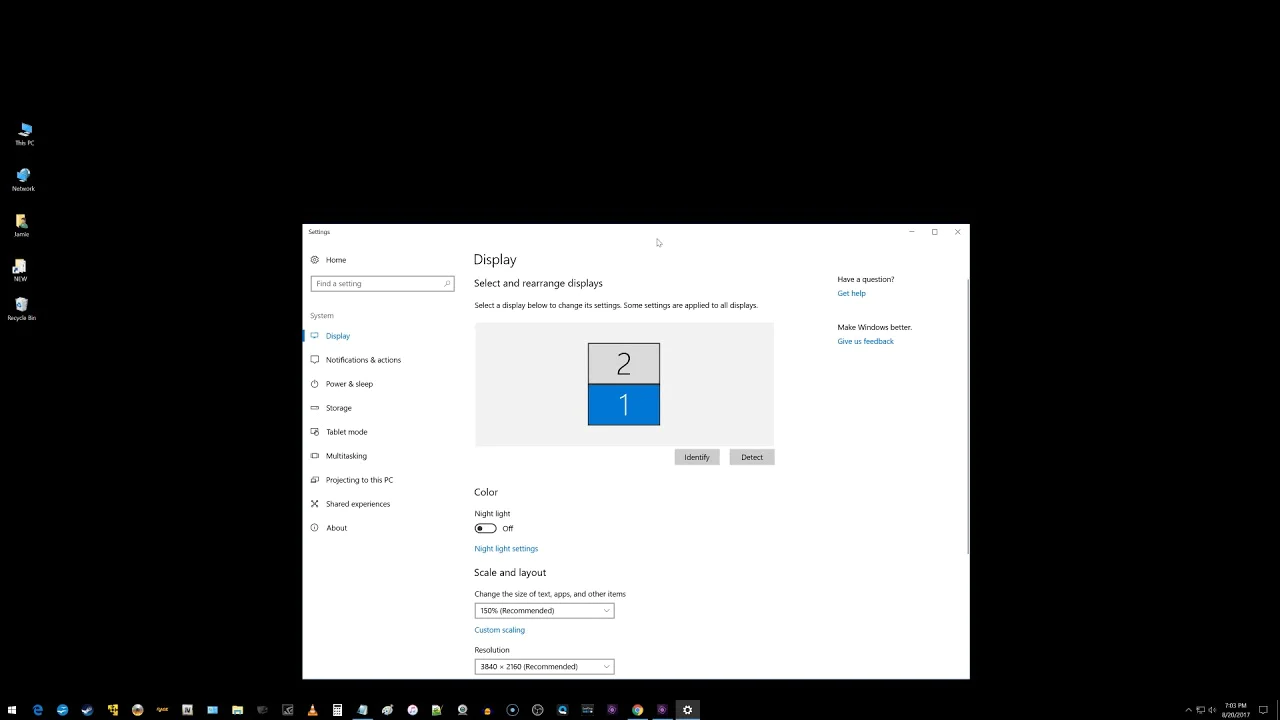
1. Windows: In Windows, right-click on the desktop, and select “Display settings” from the context menu. In the display settings window, you will see thumbnails representing your monitors. Identify the primary monitor, which is usually labeled as “1,” and the secondary monitor labeled as “2.” Click on the “Identify” button to verify the physical arrangement of the monitors.
Next, you can adjust other display settings such as resolution, orientation, and scale. To change the position of the monitors, click and drag the screen arrangement in the window to match the physical setup of your monitors.
2. macOS: On a Mac, click on the Apple menu and select “System Preferences.” In the System Preferences window, click on “Displays” and go to the “Arrangement” tab. You will see a layout representing your monitors. Similar to Windows, you can drag and position the displays to match the physical setup of your monitors.
Additionally, you can adjust the resolution, brightness, and other display preferences from this section.
3. Linux: The process for adjusting display settings in Linux may vary depending on the distribution you’re using. In most cases, you can access the display settings by searching for “Displays” in the system settings or control center. From there, you can configure the resolution, orientation, and positioning of your monitors.
Once you have adjusted and saved the display settings, your computer will recognize the unique arrangement of your monitors. This allows you to move windows seamlessly between displays, maximizing your productivity or gaming experience.
With the display settings set up correctly, let’s move on to the next step and learn how to move windows using keyboard shortcuts.
Step 3: Move Windows Using Keyboard Shortcuts
Moving windows between monitors can be easily accomplished using keyboard shortcuts. These shortcuts allow you to quickly relocate windows without the need for dragging and dropping.
1. Windows: In Windows, you can use the following keyboard shortcuts to move windows:
- Win + Shift + Left or Right Arrow: This shortcut allows you to move the active window to the left or right monitor.
- Win + Shift + Up Arrow: If you have multiple monitors stacked vertically, this shortcut will maximize the active window to the fullscreen area of the current monitor.
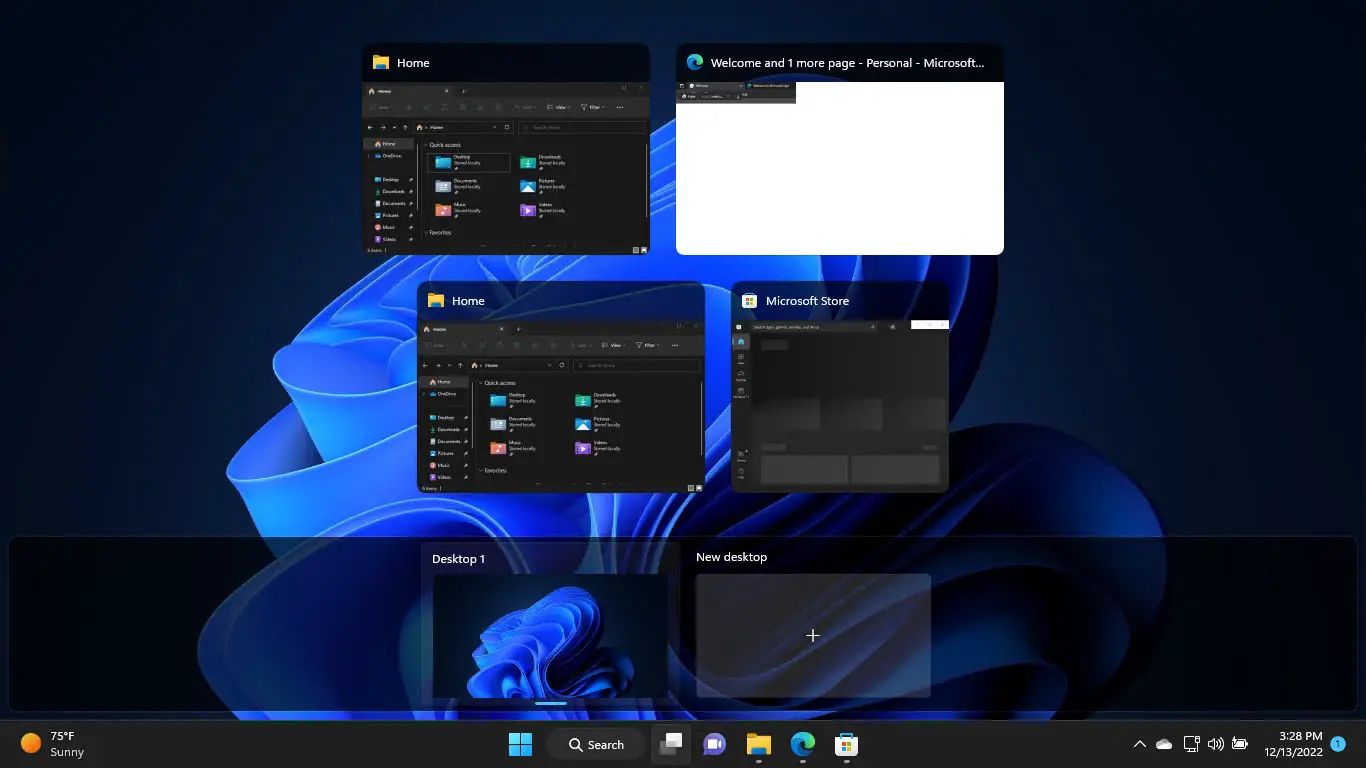
- Alt + Tab: Pressing the Alt + Tab keys together allows you to cycle through your active windows. While holding the Alt key, you can press Tab repeatedly until the desired window is highlighted. Release the keys to bring that window to the forefront of the current monitor.
2. macOS: On a Mac, you can utilize the following keyboard shortcuts to move windows:
- Control + Left or Right Arrow: This shortcut allows you to move the active window to the left or right monitor.
- Control + Up Arrow: If you have multiple monitors stacked vertically, this shortcut will maximize the active window to the fullscreen area of the current monitor.
- Command + Tab: Pressing the Command + Tab keys together will bring up the application switcher. You can continue to press the Tab key until the desired window is selected. Release the keys to switch to that window.
3. Linux: The keyboard shortcuts for moving windows in Linux may vary depending on your distribution and desktop environment. However, most Linux distributions provide customizable keyboard shortcuts that can be set up through the system settings or configuration tools of your desktop environment.
By utilizing these keyboard shortcuts, you can easily move windows between monitors and manage your workspace efficiently. However, if you prefer a more intuitive method, continue reading to learn about moving windows using mouse drag and drop.
Step 4: Move Windows Using Mouse Drag and Drop
If you prefer a more visual approach to moving windows between monitors, you can use the mouse drag and drop method. This method allows you to grab and drag windows from one screen to another, making it easy to arrange and organize your desktop workspace.
1. Windows: In Windows, you can move windows using the mouse drag and drop method by following these steps:
- Click and hold the title bar of the window you want to move.
- Drag the window to the edge of the screen or to the desired position on the second monitor.
- Release the mouse button to drop the window in its new location.
The window will snap to the edge of the screen or the position you indicated, allowing you to easily arrange your windows across multiple monitors.
2. macOS: On a Mac, you can move windows using mouse drag and drop by following these steps:
- Click and hold the title bar of the window you want to move.
- Drag the window to the edge of the screen or the desired position on the second monitor.
- Release the mouse button to drop the window in its new location.
Similar to Windows, the window will snap to the edge of the screen or the position you indicated, making it easy to arrange your workspace across multiple monitors.
3. Linux: The mouse drag and drop method in Linux will depend on your distribution and desktop environment. In most cases, you can move windows using the following steps:
- Click and hold the title bar or the window border.
- Drag the window to the edge of the screen or the desired position on the second monitor.
- Release the mouse button to drop the window in its new location.
By using the mouse drag and drop method, you can easily rearrange your windows between monitors and customize your workspace based on your preferences. However, for more advanced window management options, you may want to consider third-party software, which we will explore in the next step.
Step 5: Use Third-Party Software for Advanced Window Management
If you require more advanced window management options beyond the built-in features of your operating system, utilizing third-party software can be a game-changer. These tools provide enhanced functionality, allowing you to fine-tune window placement, create custom window layouts, and automate window management tasks.
1. DisplayFusion (Windows): DisplayFusion is a popular third-party software for Windows that offers advanced window management features. It enables you to create and save custom window layouts, define rules for window positioning, and manage windows using powerful hotkeys.
2. Magnet (macOS): Magnet is a highly regarded window manager for macOS. It allows you to easily snap windows to different regions of the screen using customizable keyboard shortcuts. With Magnet, you can efficiently organize your windows into a grid, split-screen mode, or even across multiple monitors.
3. i3 (Linux): i3 is a tiling window manager for Linux that focuses on efficiency and flexibility. It automatically arranges windows in a grid-like pattern, eliminating the need for manual window positioning. i3 also offers a range of keyboard shortcuts and customization options to streamline your window management workflow.
These are just a few examples of the many third-party software options available for advanced window management. Before using any software, ensure that it is compatible with your operating system and meets your specific requirements. Take the time to explore different tools to find the one that best suits your needs.
With the help of third-party software, you can take your window management skills to the next level and optimize your productivity or gaming experience across multiple monitors.
Now that you are familiar with the different methods for moving windows to other monitors, you’re well-equipped to create the perfect workspace setup tailored to your preferences and needs.
Experiment with these techniques and discover the method that works best for you. Whether you utilize keyboard shortcuts, mouse drag and drop, or third-party software, the ability to seamlessly move windows between monitors will enhance your productivity and make multitasking a breeze.
Conclusion
Moving windows to another monitor can greatly improve productivity and enhance your computing experience. Whether you have a dual monitor setup for work or you want to immerse yourself in gaming on multiple screens, the ability to seamlessly move windows between monitors is essential.
In this guide, we explored the step-by-step process of moving windows to another monitor, starting with connecting the second monitor and adjusting display settings. We then discussed two popular methods for moving windows: using keyboard shortcuts and mouse drag and drop. Lastly, we highlighted the benefits of using third-party software for advanced window management.
By following these steps, you can optimize your workspace, arrange your windows effectively, and work more efficiently across multiple monitors. Whether you’re a professional who needs to have different applications open simultaneously for seamless multitasking or a gamer looking for an immersive experience, mastering the art of moving windows between monitors will undoubtedly be beneficial.
Experiment with the methods discussed in this guide to find the workflow that best suits your needs. Whether you prefer the convenience of keyboard shortcuts, the visual approach of mouse drag and drop, or the advanced features offered by third-party software, there is a method that will work for you.
Remember to consider your operating system’s built-in features and explore the wide range of third-party software options available to enhance your window management capabilities.
With the newfound knowledge and techniques presented in this guide, you are ready to take full advantage of your multiple monitors and create a productive and immersive computing environment.


