Introduction
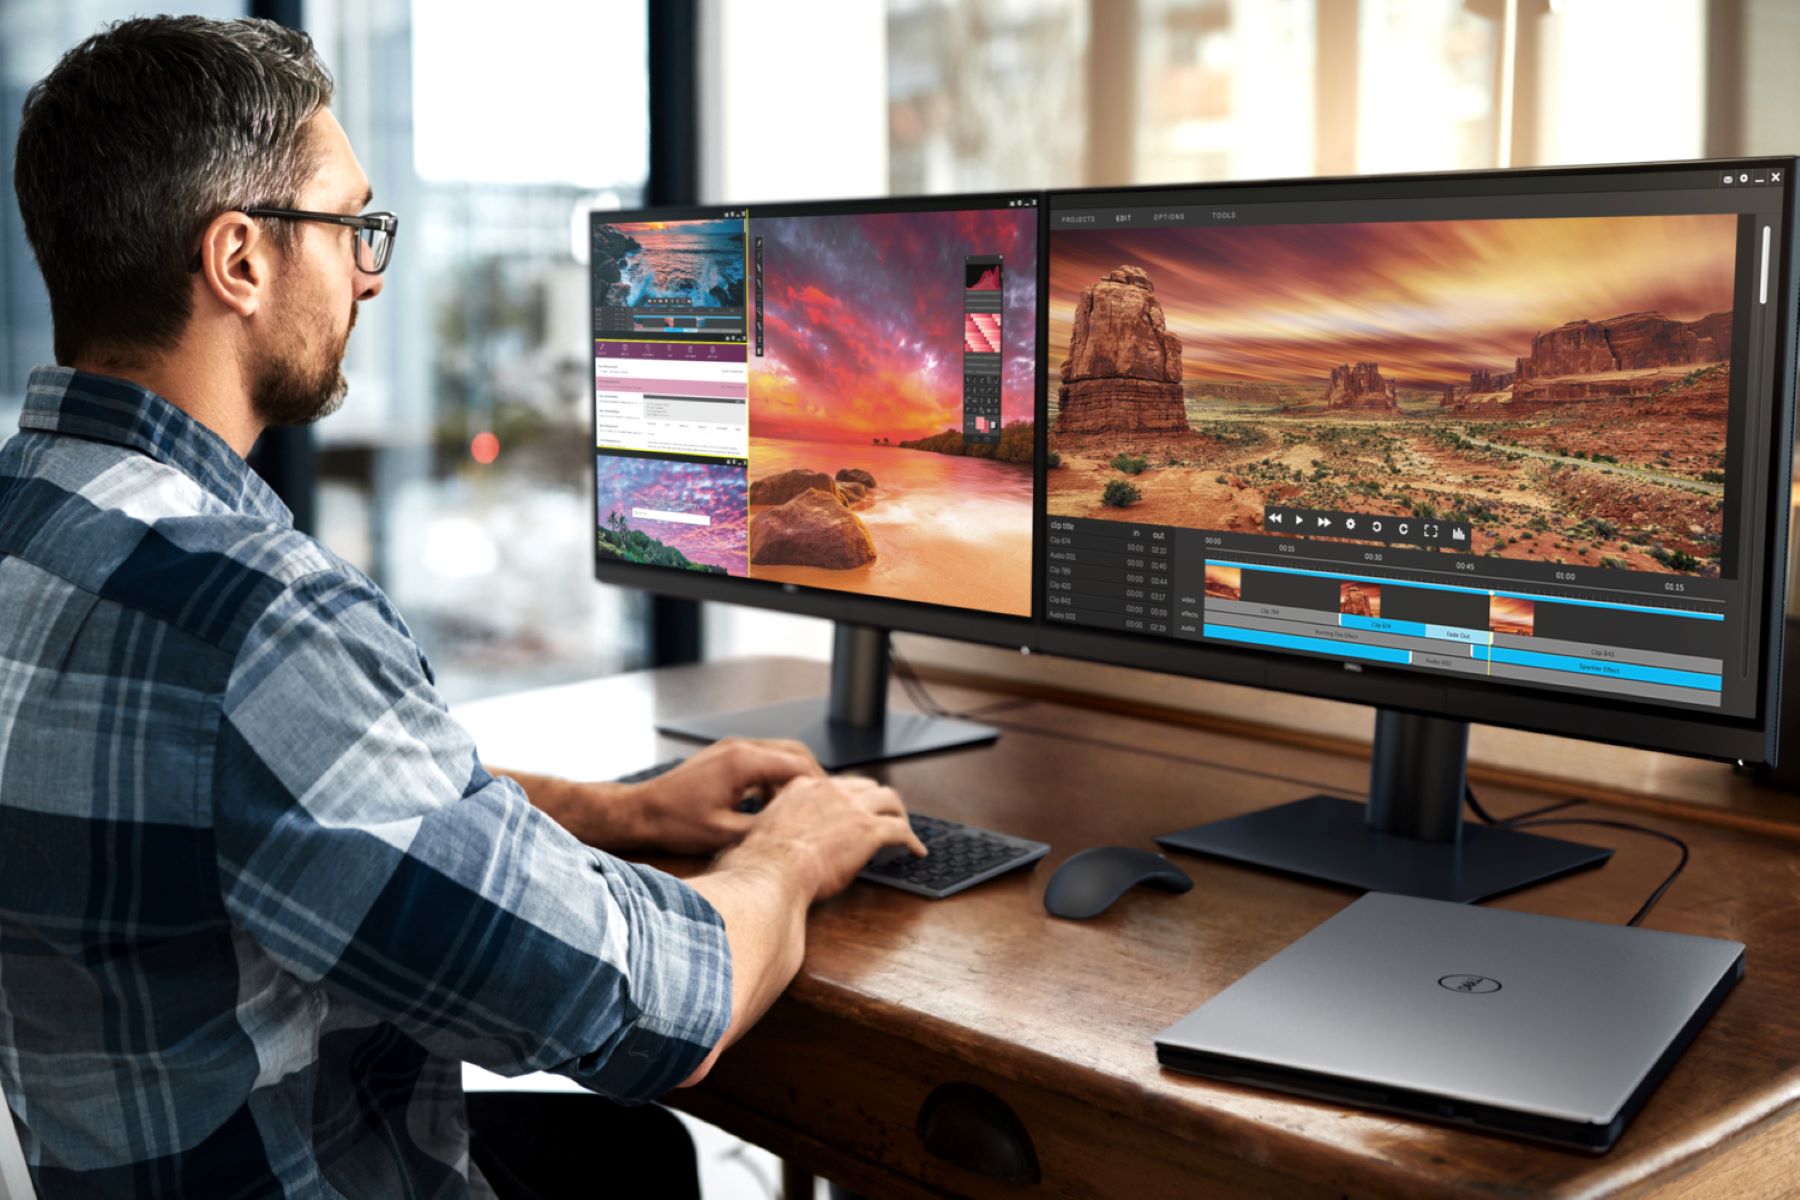
Welcome to the guide on how to move your mouse to a second monitor! As technology continues to advance, the use of multiple monitors has become increasingly popular among computer users. Whether you are a graphic designer, gamer, or simply need more screen real estate for multitasking, adding a second monitor to your setup can greatly enhance your productivity and overall experience.
Multiple monitors allow you to have different applications, documents, or websites open on separate screens, eliminating the need to constantly switch between windows. This not only saves time but also allows for better organization and improved workflow.
In this guide, we will walk you through the process of connecting a second monitor to your computer and show you different methods to move your mouse seamlessly between monitors. From keyboard shortcuts to third-party software, we have got you covered.
So, if you are ready to upgrade your productivity and take advantage of the benefits of using multiple monitors, let’s dive in and learn how to move that mouse to your second screen!
Understanding Multiple Monitors
Before we dive into the practical aspects of setting up and using multiple monitors, let’s take a moment to understand the basics. A multiple monitor setup refers to connecting two or more monitors to your computer system, allowing you to extend your desktop across these displays.
One of the primary benefits of multiple monitors is the ability to increase your screen real estate. Instead of working with a single screen, you can have multiple applications, documents, or windows open simultaneously. This can greatly enhance your productivity, especially if you need to work with multiple programs or reference materials at the same time.
Another advantage of multiple monitors is improved multitasking. With each monitor dedicated to a specific task or application, you can seamlessly switch between different activities without the need to constantly minimize or maximize windows. This allows for a smoother workflow and reduces the risk of distractions.
When it comes to connecting multiple monitors, most modern computers and operating systems support this feature. You can connect monitors via various ports, such as HDMI, DisplayPort, or VGA, depending on your computer’s graphics card and the available ports on your monitors.
It’s important to note that the quality and resolution of your monitors can have an impact on your overall experience. Higher-resolution monitors with better color accuracy will provide a more immersive and crisp visual experience, especially when working with graphics-intensive tasks or enjoying multimedia content.
Additionally, multi-monitor setups are not limited to desktop computers. Many laptops also support the connection of external monitors, allowing you to extend your laptop’s display for more efficient work or entertainment.
Now that we have a solid understanding of multiple monitors and their benefits, let’s proceed to the next section, where we will discuss the steps involved in connecting a second monitor to your computer.
Connecting a Second Monitor
Connecting a second monitor to your computer is a straightforward process. Here are the steps to follow:
- Check the ports on your computer and the available ports on the monitor you want to connect. Common ports include HDMI, DisplayPort, DVI, or VGA.
- Ensure that your computer is turned off and both the computer and the monitor are unplugged from the power source for safety.
- Connect one end of the appropriate cable (HDMI, DisplayPort, etc.) to the video output port on your computer. It is usually located on the back, but it may also be on the side of your laptop.
- Connect the other end of the cable to the matching input port on your second monitor.
- Once the connections are secure, power on your computer and the second monitor.
- Depending on your operating system, you may need to adjust the display settings to detect and configure the second monitor. This will be covered in the next section.
It’s important to note that certain setups may require additional hardware, such as an adapter or docking station, to connect the second monitor. In such cases, refer to the manufacturer’s instructions or consult the user manual for guidance on the specific requirements.
Remember that not all computers or laptops can support multiple monitors simultaneously. Make sure to check your computer’s specifications and limitations before attempting to connect a second monitor.
Once you have successfully connected your second monitor, you are one step closer to enjoying the benefits of a multi-monitor setup. In the next section, we will discuss how to configure the display settings to optimize your dual monitor experience.
Configuring the Display Settings
After connecting your second monitor, it’s important to configure the display settings to ensure optimal functionality and usability. Depending on your operating system, the steps may vary slightly, but the general process remains the same. Here’s how to configure the display settings:
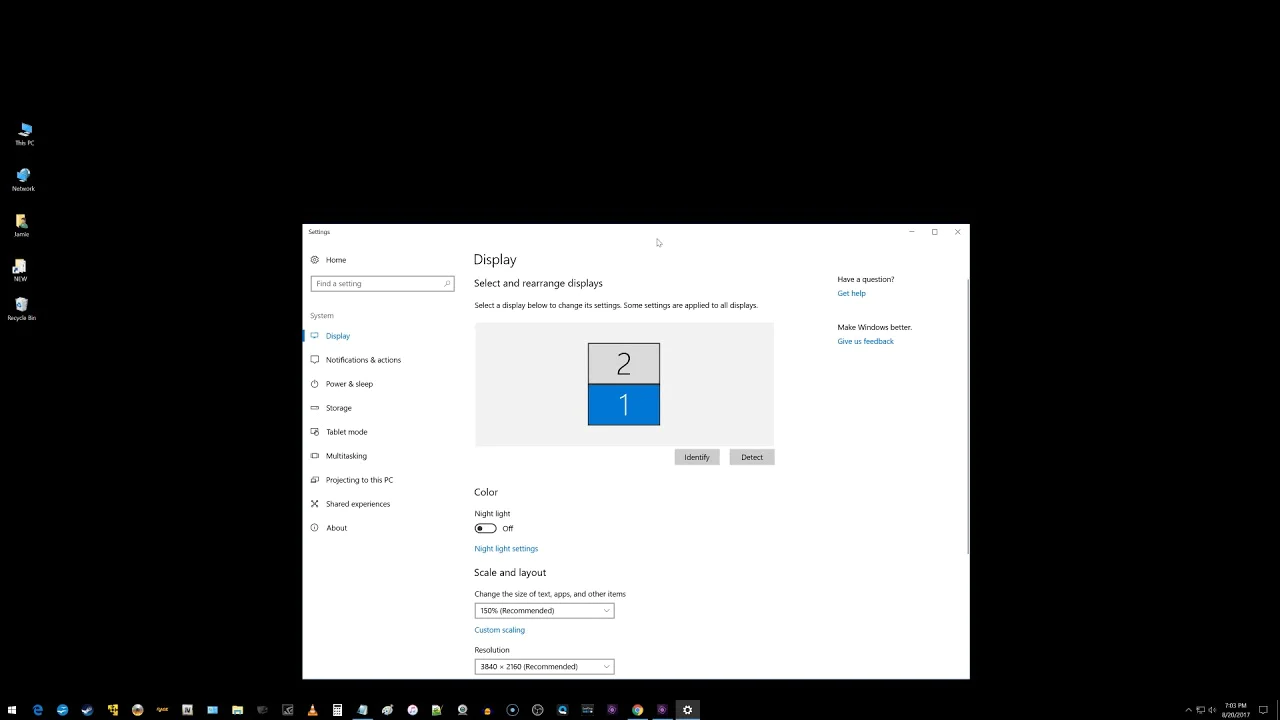
- Right-click on your desktop and select “Display settings” or “Screen resolution.”
- In the display settings window, you will see a visual representation of your monitors. Identify the primary display, which is typically denoted by a numbered box or a monitor icon with the text “This is your main display.”
- Drag and arrange the monitors based on their physical positions relative to each other. This will help you align the monitors correctly in your virtual workspace.
- Choose the resolution for each monitor. It is recommended to select the native resolution of your monitors to ensure optimal visual quality.
- Set the orientation of each monitor. You can choose between landscape (horizontal) or portrait (vertical) orientation, depending on your preference or specific requirements.
- If you want to extend your desktop to the second monitor, make sure the “Extend these displays” option is selected.
- Click “Apply” to save the changes and test the configuration. If everything looks good, click “OK” to finalize the settings.
Some operating systems may offer additional customization options, such as adjusting the scaling or color profiles for each monitor. Explore these settings to further optimize your multi-monitor setup based on your specific needs.
Keep in mind that not all applications or programs may support multiple monitors by default. While most modern software is designed to work seamlessly across displays, some older or specialized applications may require specific configuration or compatibility settings. Refer to the software’s documentation or support resources for guidance on multi-monitor support.
Now that you have successfully configured the display settings for your dual monitor setup, let’s proceed to the next section, where we will explore different methods for moving the mouse between monitors.
Moving the Mouse to the Second Monitor
Once you have connected and configured your second monitor, you may find that your mouse does not automatically move to the second screen. However, there are several methods you can use to seamlessly navigate between monitors. Let’s explore them:
1. Mouse Movement: The simplest way to move the mouse to the second monitor is by physically moving it beyond the edge of the first monitor. As you reach the edge, the cursor will smoothly transition to the second screen.
2. Hot Corners: Some operating systems allow you to set up “hot corners” that trigger specific actions when the cursor is moved to a designated corner of the screen. You can assign a hot corner to instantly move the mouse to the second monitor.
3. Keyboard Shortcuts: Many operating systems offer built-in keyboard shortcuts to move the mouse quickly between monitors. For example, pressing a combination of the Windows key + Shift + right arrow key can move the mouse to the next monitor on the right.
4. Taskbar: On certain operating systems, you can configure the taskbar to appear on both monitors. By clicking on an application icon on the taskbar of the second monitor, the mouse will automatically move to that screen.
5. Display Settings: Some display settings allow you to enable a feature called “Display mirroring.” This duplicates the content of the primary monitor on the second monitor, which means the mouse will move identically on both screens.
Choose the method that best suits your workflow and preferences. You can experiment with different options to find the most efficient way to move the mouse across multiple monitors.
If the built-in options do not meet your needs, there are also third-party software solutions available that provide advanced mouse control and customization features, including the ability to define specific mouse movements or create virtual borders to transition between monitors seamlessly.
Now that you have explored various methods for moving the mouse between monitors, let’s move on to the next section, where we will discuss keyboard shortcuts that can further enhance your dual monitor experience.
Keyboard Shortcuts for Moving the Mouse
Keyboard shortcuts can be a quick and efficient way to move your mouse between monitors, especially if you prefer using your keyboard over the mouse. Here are some commonly used keyboard shortcuts to navigate between monitors:
1. Windows Key + Shift + Left/Right Arrow: On Windows operating systems, pressing the Windows key along with the Shift key and left or right arrow key allows you to move the active window to the adjacent monitor.
2. Ctrl + Alt + Left/Right Arrow: This shortcut is commonly used on Linux distributions, such as Ubuntu, to switch between virtual desktops. If you have multiple monitors, pressing Ctrl + Alt along with the left or right arrow key will move the mouse to the corresponding monitor.
3. Command + Option + Left/Right Arrow: For Mac users, pressing the Command key along with the Option key and left or right arrow key allows you to move the mouse between monitors.
4. Alt + Tab: While not specifically for moving the mouse, the Alt + Tab shortcut is a handy way to switch between open applications or windows. You can use this shortcut to focus on an application on a different monitor, which will automatically move the mouse to that screen.
5. Third-Party Tools: Additionally, there are third-party software applications available that allow you to define custom keyboard shortcuts for moving the mouse between monitors. These tools often provide more advanced features and customization options for enhanced productivity.
By utilizing these keyboard shortcuts, you can seamlessly navigate between monitors without needing to reach for the mouse. Experiment with different shortcuts and find the ones that work best for your workflow and operating system.
Now that you have learned about keyboard shortcuts for moving the mouse between monitors, let’s explore the option of using third-party software to further enhance your multi-monitor experience.
Using Third-Party Software
While operating systems provide built-in features and keyboard shortcuts for managing multiple monitors, there are also third-party software solutions available that offer additional functionality and customization options. These software tools can further enhance your multi-monitor experience. Here are some popular options:
1. DisplayFusion: DisplayFusion is a comprehensive multi-monitor management tool available for Windows. It offers advanced features such as customizing monitor layouts, creating taskbars for each monitor, and defining keyboard shortcuts for moving windows between screens. DisplayFusion also provides options for managing wallpaper, screensaver, and application window positioning across multiple monitors.
2. Ultramon: Ultramon is another popular multi-monitor software for Windows. It offers similar features as DisplayFusion, including taskbar customization, window management, and multi-monitor wallpaper support. Ultramon also provides additional tools for managing screen resolutions and application compatibility across monitors.
3. BetterTouchTool: While primarily known for its touchpad and mouse gesture customization, BetterTouchTool is also useful for managing multiple monitors on macOS. It allows you to define keyboard shortcuts, gestures, and hot corners to move windows between monitors, resize them, or snap them to specific positions on each screen.
4. Multimon: Multimon is a simple and lightweight multi-monitor utility for Linux systems. It provides basic features like moving windows between monitors, adjusting resolutions, and managing taskbars. It offers a straightforward and easy-to-use interface for configuring multi-monitor setups.
5. Matrox PowerDesk: Matrox PowerDesk is a software suite designed for Matrox graphics cards and supports Windows and macOS. It provides advanced features for managing multi-monitor configurations, including stretched desktop mode, customizable screen orientations, and multi-display calibration tools.
Before installing any third-party software, make sure to research and choose a reliable and compatible tool based on your operating system and specific requirements. Always download software from trusted sources and follow the installation instructions provided by the developers.
By using third-party software, you can unlock additional features and customization options to tailor your multi-monitor setup to your specific needs. Explore the available options, try out different software tools, and find the one that best fits your workflow.
Now that we have explored third-party software options, let’s move on to the next section, where we will discuss common issues you may encounter when setting up and using multiple monitors, along with troubleshooting tips.
Troubleshooting Common Issues
While setting up and using multiple monitors can greatly enhance your productivity, you may encounter some common issues along the way. Here are a few troubleshooting tips for addressing these issues:
1. Screen Resolution Mismatch: If the display resolution of your monitors does not match, it can result in visual inconsistencies or image stretching. To resolve this, make sure to set the same resolution for all connected monitors in the display settings.
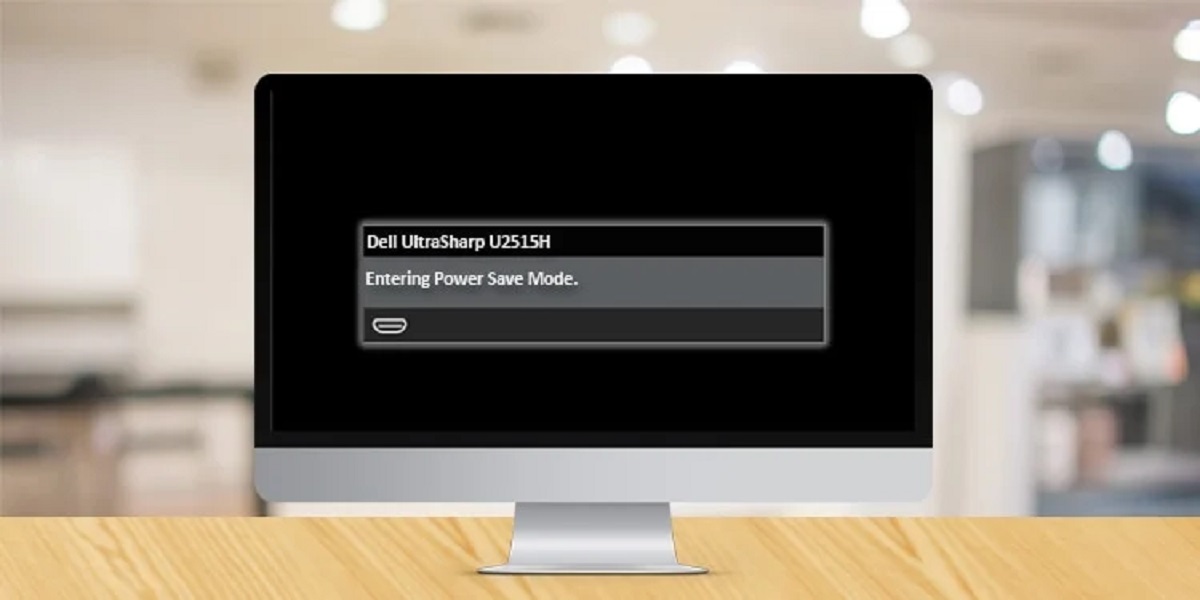
2. No Signal or Blank Screen: If you encounter a “No Signal” or blank screen on the second monitor, verify the cable connections and ensure the monitor is powered on. You may also need to check the display settings and ensure the second monitor is detected and enabled.
3. Mouse Not Moving to Second Monitor: If the mouse does not move to the second monitor when you reach the edge of the first monitor, ensure that the display settings are correctly configured to extend the desktop across both screens. If the issue persists, try restarting your computer or updating the graphics drivers.
4. Application Compatibility: Some applications may not be optimized for multiple monitors and may open on the wrong monitor or not resize properly. In such cases, you can use window management features in your operating system or third-party software to move or resize the application window to the desired monitor.
5. Flickering or Refresh Rate Issues: If you notice flickering on one or both monitors, it could be due to a mismatch in refresh rates. Ensure that the refresh rates are set to the same value for all connected monitors in the display settings. You may need to adjust the refresh rate to a value that is supported by your monitors and graphics card.
6. Audio Output: If you have speakers or headphones connected to your computer, check the audio settings to ensure that the correct audio output device is selected for each monitor. This is especially relevant if you have multiple monitors with built-in speakers or different audio devices connected to each monitor.
If you continue to experience issues with your multiple monitor setup, consult the documentation or support resources for your operating system, graphics card, or any relevant third-party software you are using. Additionally, online forums and communities can be a valuable resource for troubleshooting and finding solutions to specific problems.
Remember to regularly update your operating system, graphics drivers, and any third-party software to ensure compatibility and access to the latest features and bug fixes.
Now that you are equipped with troubleshooting tips, you can confidently resolve common issues that may arise when working with multiple monitors.
Conclusion
Congratulations! You have reached the end of this guide on how to move your mouse to a second monitor. By now, you should have a clear understanding of the process involved in connecting a second monitor, configuring display settings, moving the mouse, and troubleshooting common issues.
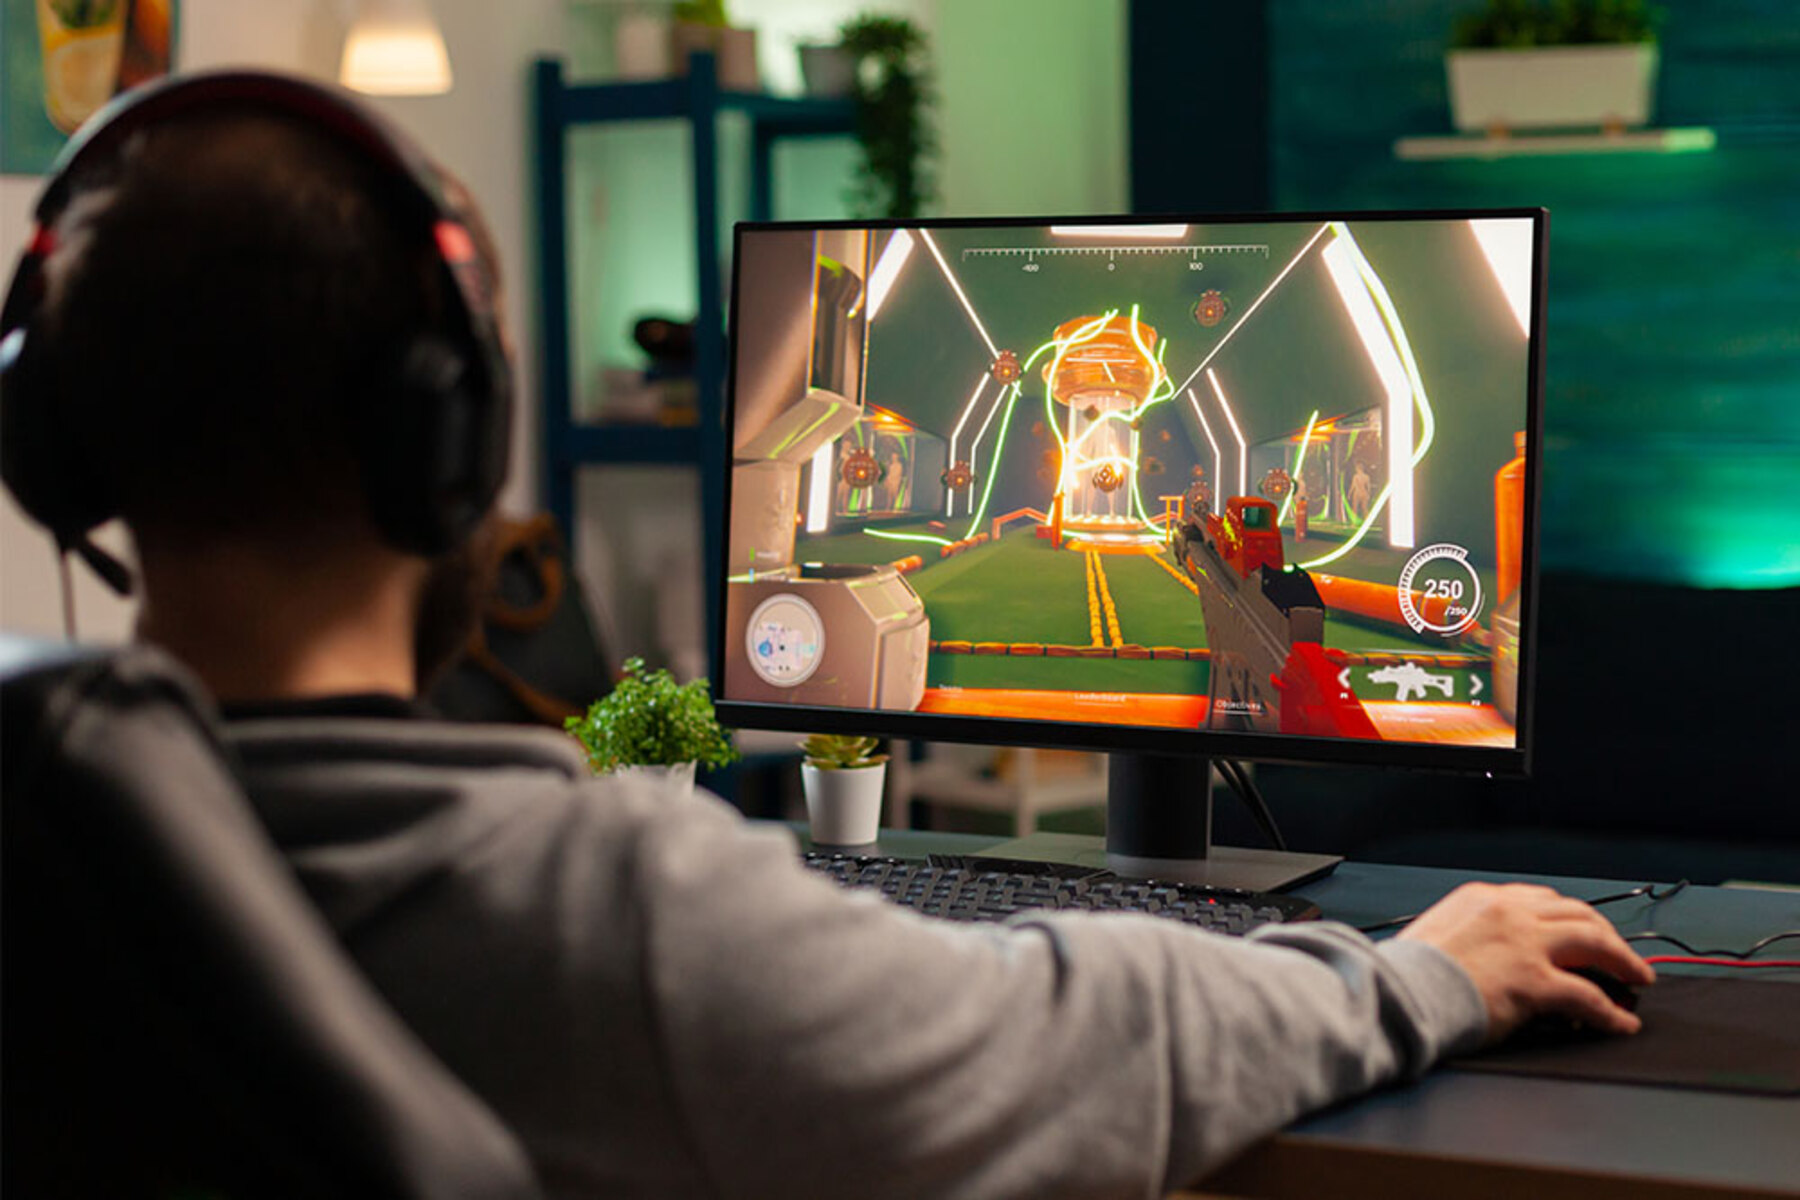
Using multiple monitors can greatly enhance your productivity and provide a more immersive computing experience. Whether you are a professional seeking better multitasking capabilities, a gamer craving a wider field of view, or simply someone who appreciates the convenience of having more screen real estate, the benefits of a multi-monitor setup are undeniable.
Remember, the specific steps and options for managing multiple monitors may vary depending on your operating system and hardware. However, with the basic principles covered in this guide, you should be well-equipped to set up and optimize your dual monitor or multi-monitor setup.
Make use of the built-in features and keyboard shortcuts provided by your operating system to effortlessly navigate between monitors. If desired, explore third-party software solutions to unlock additional customization options and advanced features tailored to your specific needs.
Should you encounter any issues during the setup process or while using multiple monitors, refer to the troubleshooting tips provided in this guide or seek assistance from relevant online resources and communities.
Now that you are armed with knowledge and practical tips, it’s time to set up your second monitor, expand your workspace, and enjoy the benefits of a more efficient and enjoyable computing experience.
Happy multitasking!