Introduction
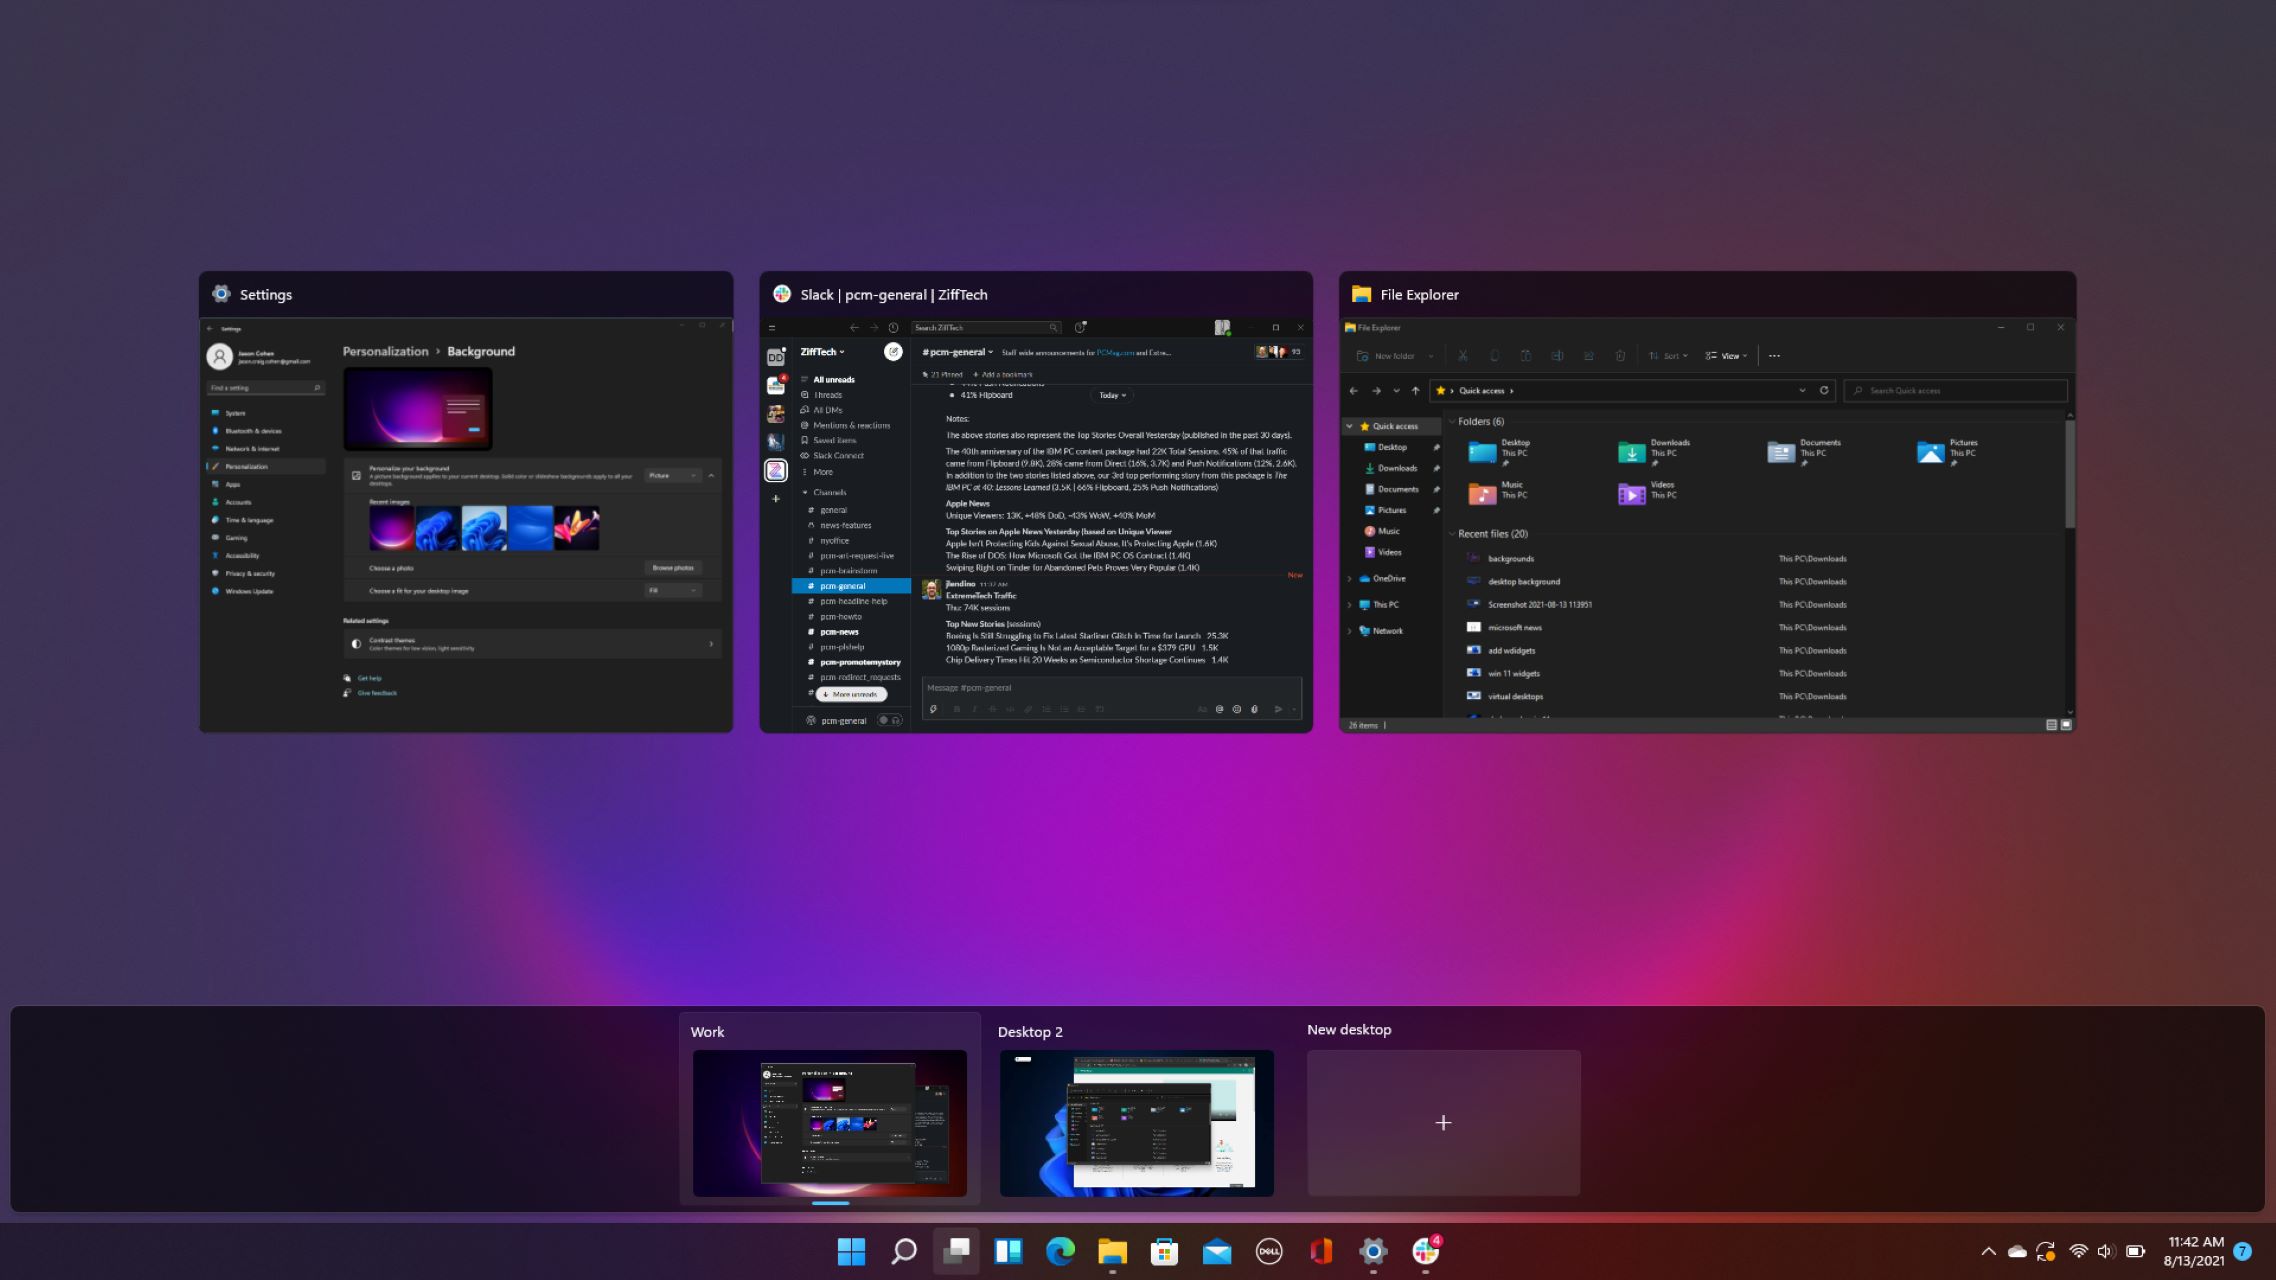
Windows 11 introduces a fresh and modern interface, including an updated taskbar that offers a sleek and streamlined experience. The taskbar, a staple feature of the Windows operating system, provides quick access to frequently used applications, system notifications, and the Start menu. While the default position of the taskbar is at the bottom of the screen, you may find it more convenient or visually appealing to move it to a different location.
In this article, we will explore various methods that will allow you to easily move the taskbar on your Windows 11 PC. Whether you prefer to have the taskbar at the top, left, or right side of your screen, or even floating freely, we’ve got you covered. With just a few simple steps, you can customize the taskbar’s position to suit your preferences and optimize your workflow.
It’s worth noting that the methods outlined in this article are applicable specifically to Windows 11. If you are using an earlier version of Windows, the steps might vary slightly. Without further ado, let’s dive into the different methods to move the taskbar in Windows 11.
Method 1: Using the Taskbar Settings
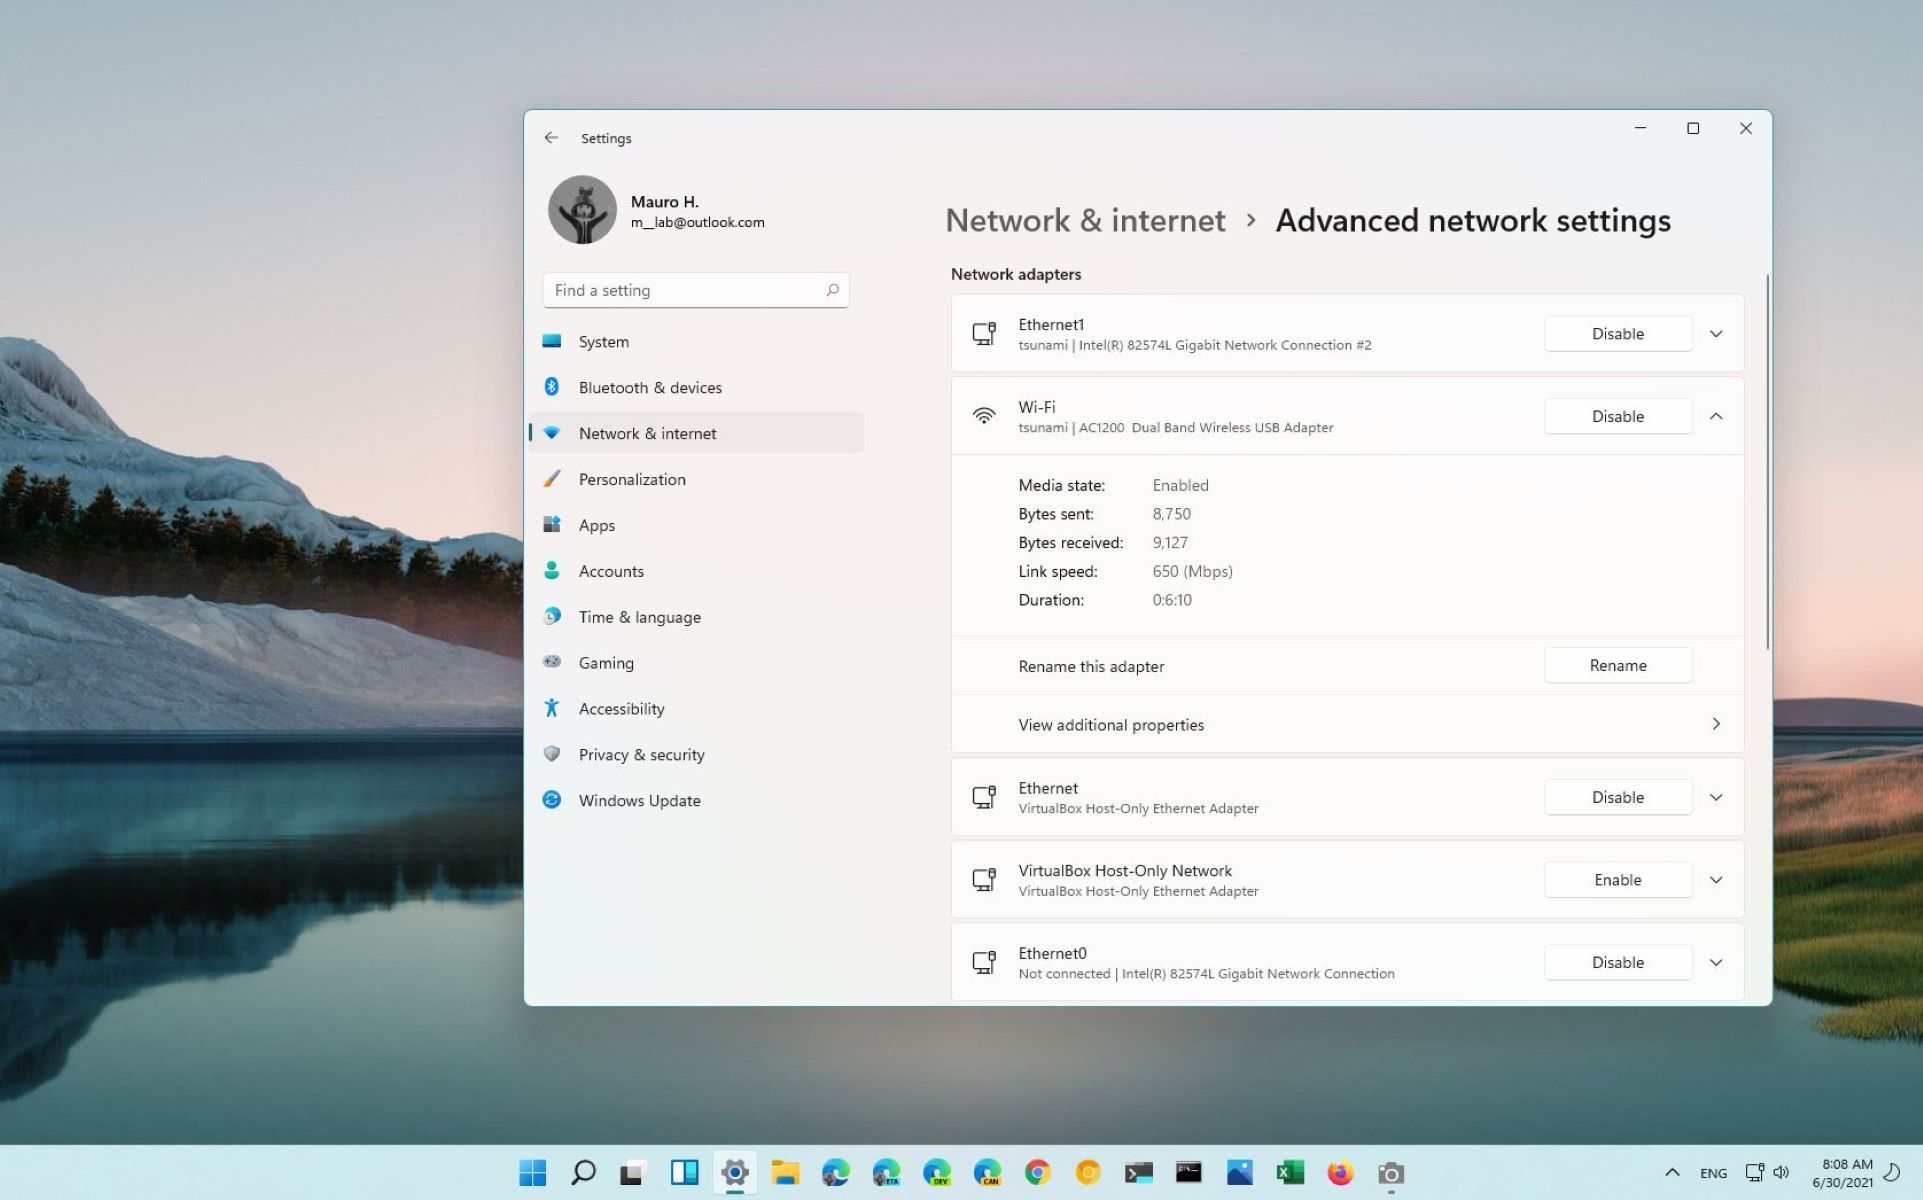
Windows 11 offers a built-in option in the Taskbar settings that allows you to easily move the taskbar to a different position on your screen.
Here’s how you can do it:
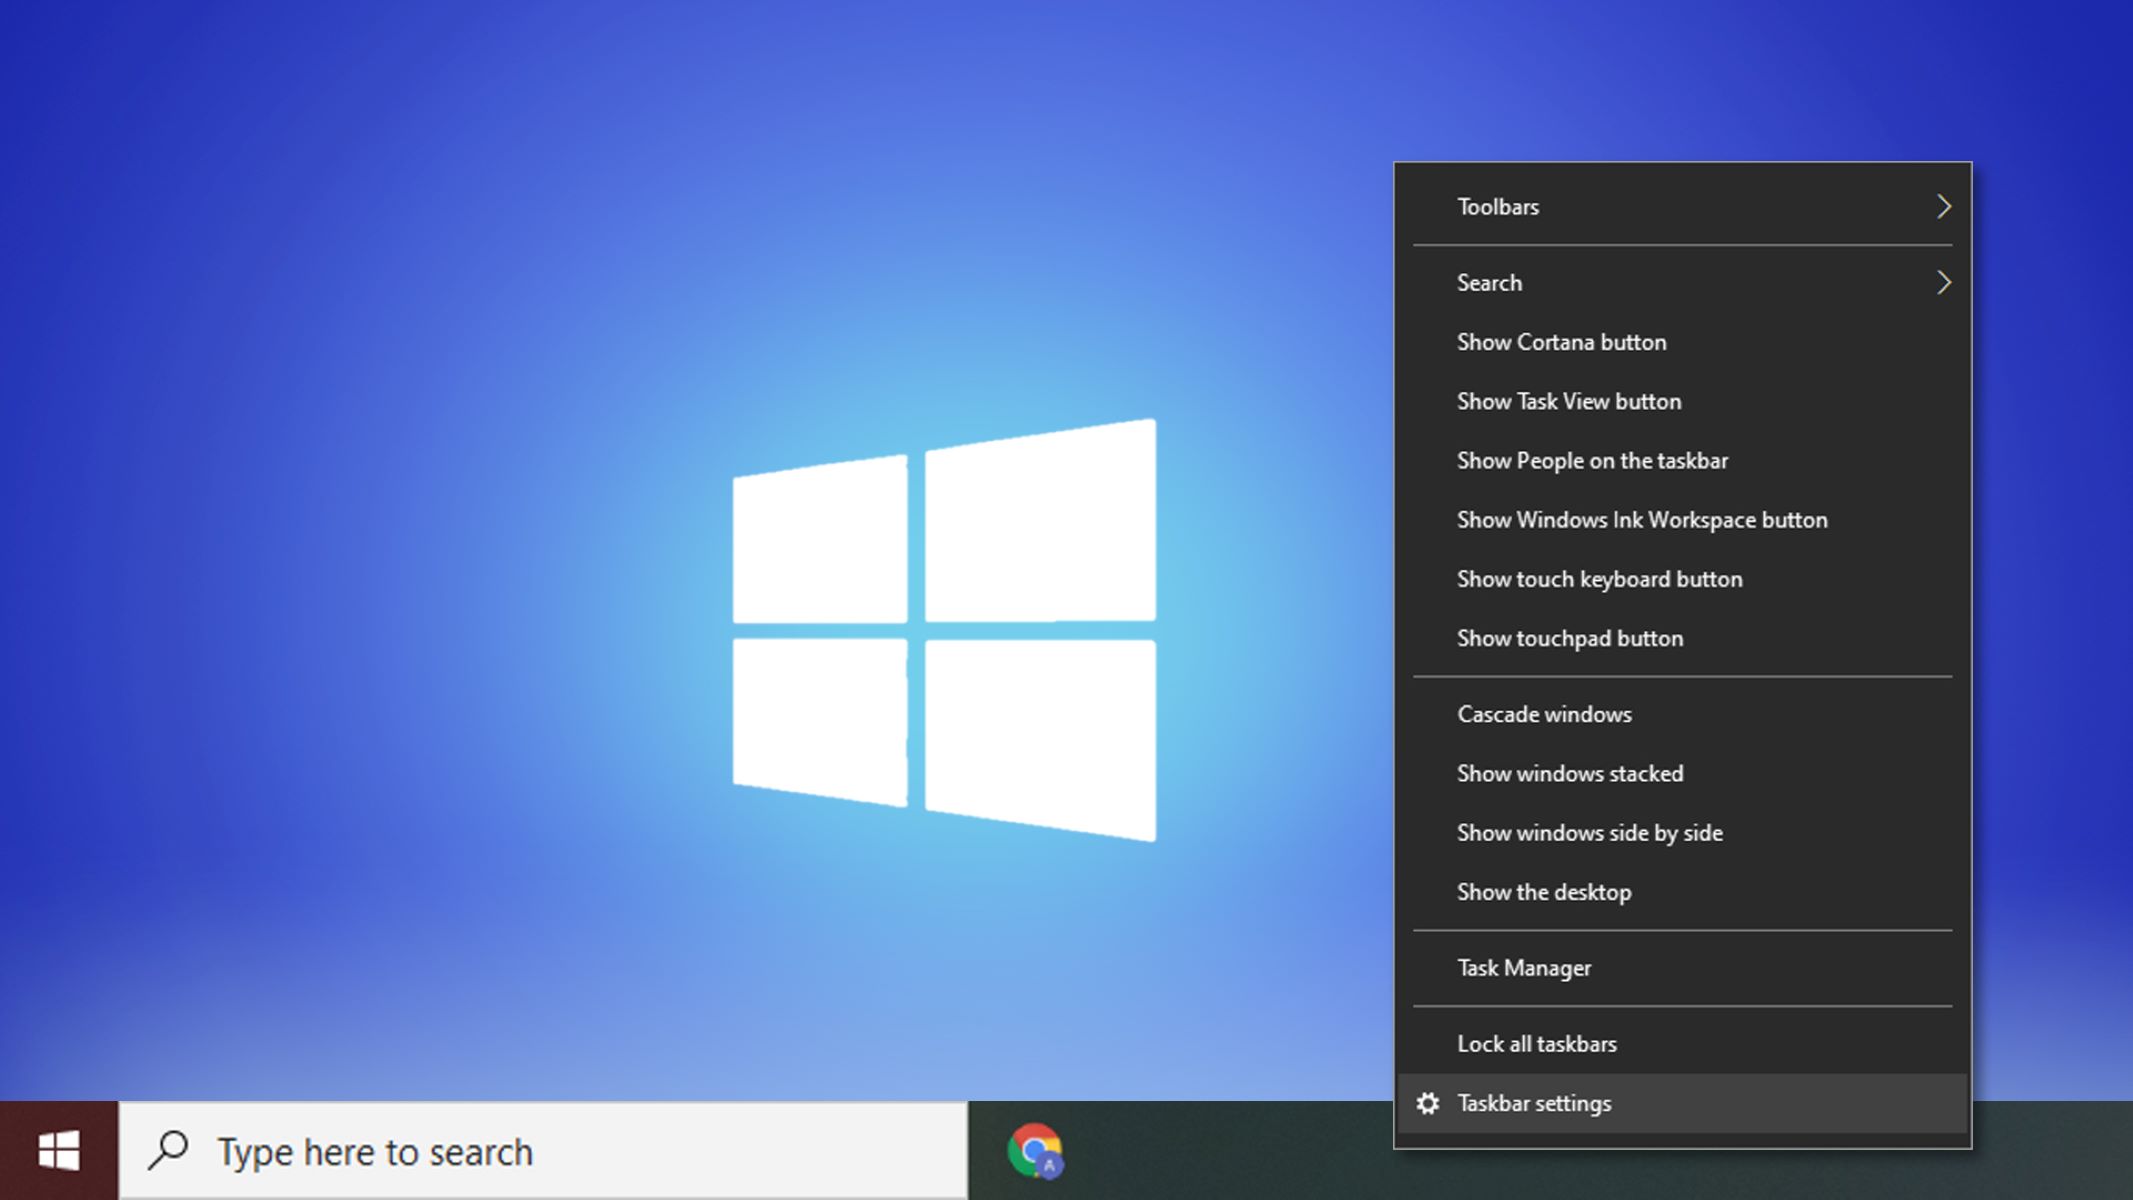
- Right-click on an empty area of the taskbar to open the context menu.
- From the menu, select “Taskbar settings”. This will open the Taskbar settings window.
- In the Taskbar settings window, scroll down to the “Taskbar behaviors” section.
- Under the “Taskbar alignment” option, click on the drop-down menu and select the desired position for the taskbar, such as “Top”, “Bottom”, “Left”, or “Right”.
- Once you’ve selected the desired position, close the Taskbar settings window.
After performing these steps, the taskbar will move to the position you selected. You can easily switch back to the default position by following the same steps and selecting the “Bottom” option in the Taskbar settings.
By using the Taskbar settings, you can quickly and conveniently adjust the position of the taskbar to enhance your workflow and personalize your Windows 11 experience. Experiment with different positions to find the one that suits you best.
Method 2: Using the Right-Click Menu
If you prefer a more direct approach, Windows 11 offers a simple method to move the taskbar using the right-click menu.
Follow these steps to move the taskbar using the right-click menu:
- Locate an empty area on the taskbar.
- Right-click on the taskbar to open the context menu.
- Hover over the “Taskbar settings” option in the menu.
- From the expanded sub-menu, select one of the options that represent the desired position, such as “Top”, “Bottom”, “Left”, or “Right”.
Once you have selected the desired position, the taskbar will automatically move to the new location on your screen.
This method provides a quick and straightforward way to move the taskbar without having to delve into the settings menu. It is especially useful when you want to make minor adjustments on the fly, without navigating through multiple windows.
Remember that you can always revert to the default position by right-clicking on the taskbar, selecting the “Taskbar settings” option, and choosing the “Bottom” alignment.
With the ability to move the taskbar at your fingertips, you have the flexibility to customize your workspace and optimize your productivity based on your preferences.
Method 3: Using the Keyboard Shortcuts
If you’re a fan of keyboard shortcuts and prefer a more efficient way to move the taskbar in Windows 11, you’ll be glad to know that there are keyboard shortcuts specifically designed for this purpose.
Follow these steps to move the taskbar using keyboard shortcuts:
- Press the Windows key on your keyboard to open the Start menu.
- Use the Tab key to navigate to the taskbar.
- Once the taskbar is selected, press the Shift + F10 keys to open the right-click menu.
- Use the Arrow keys to navigate to the “Taskbar settings” option.
- Press the Enter key to open the Taskbar settings window.
- Within the Taskbar settings window, use the Tab key and arrow keys to navigate to the “Taskbar alignment” option.
- Press the Enter key to open the drop-down menu and select the desired position, such as “Top”, “Bottom”, “Left”, or “Right”.
- Press the Enter key to confirm your selection and close the Taskbar settings window.
By utilizing these keyboard shortcuts, you can swiftly change the position of the taskbar without needing a mouse or trackpad. This method is particularly handy for those who prefer a faster and more hands-on approach to taskbar customization.
Remember to test different positions and find the one that suits your workflow and screen layout. If you ever want to move the taskbar back to the default position, you can follow the same steps and select the “Bottom” option in the Taskbar settings.
With keyboard shortcuts, moving the taskbar becomes a breeze, allowing you to effortlessly optimize your workspace and navigate your Windows 11 system.
Method 4: Using the Registry Editor
If you’re comfortable making edits in the Registry Editor, you can use this method to move the taskbar in Windows 11. However, please note that modifying the registry can have serious consequences if done incorrectly. Therefore, it is highly recommended to create a backup of your registry before proceeding with this method.
Follow these steps to move the taskbar using the Registry Editor:
- Press Windows + R to open the Run dialog box.
- Type “regedit” (without the quotation marks) and press Enter to open the Registry Editor.
- In the Registry Editor, navigate to the following path:
HKEY_CURRENT_USER\Software\Microsoft\Windows\CurrentVersion\Explorer\StuckRects3. - Find the key named “Settings” and double-click on it to open the Edit String dialog box.
- Locate the value that represents the position of the taskbar. The values are as follows:
- Bottom:
02 00 00 00 - Left:
01 00 00 00 - Right:
03 00 00 00 - Top:
00 00 00 00
- Bottom:
- Edit the value according to your desired position (e.g., “01” for left, “03” for right, etc.).
- Click OK to save the changes.
- Close the Registry Editor.
After completing these steps, restart your computer, and the taskbar will be positioned according to the value you set in the Registry Editor.
It is important to exercise caution when using the Registry Editor, as incorrect modifications can lead to system instability. If you are unfamiliar with using the Registry Editor, it is recommended to use the previous methods or seek assistance from a knowledgeable individual.
By utilizing the Registry Editor, you have greater flexibility in customizing the position of the taskbar, allowing you to align it precisely to your preference.
Conclusion
The taskbar is an essential component of the Windows 11 interface, providing quick access to your favorite applications and system notifications. Moving the taskbar to a different position on your screen can not only enhance the aesthetics of your workspace but also optimize your workflow based on your preferences.
In this article, we explored four methods to move the taskbar in Windows 11:
- Using the Taskbar Settings: By right-clicking on the taskbar and accessing the Taskbar settings, you can easily adjust the taskbar’s position.
- Using the Right-Click Menu: Right-clicking on the taskbar and selecting the desired position from the context menu allows for a quick and direct movement of the taskbar.
- Using Keyboard Shortcuts: Through a series of keyboard shortcuts, you can navigate through the taskbar settings and change its position without the need for a mouse.
- Using the Registry Editor: For advanced users comfortable with editing the registry, modifying the “Settings” value in the Registry Editor can offer precise control over the taskbar’s position.
Each method provides a unique way to customize the taskbar’s location according to your liking. It’s important to find the position that best suits your workflow and screen setup, whether it’s at the top, bottom, left, or right side of your screen.
When making changes to the taskbar position using advanced methods like the Registry Editor, remember to exercise caution and create a backup of your registry before proceeding. Making unintended changes in the registry can lead to system issues.
With the ability to move the taskbar, you can tailor your Windows 11 experience to suit your preferences and create a more productive and personalized workspace.
So go ahead and experiment with these methods to find the perfect placement for your taskbar. Whether you like it at the bottom, top, left, right, or floating freely, the choice is yours to make!