Introduction
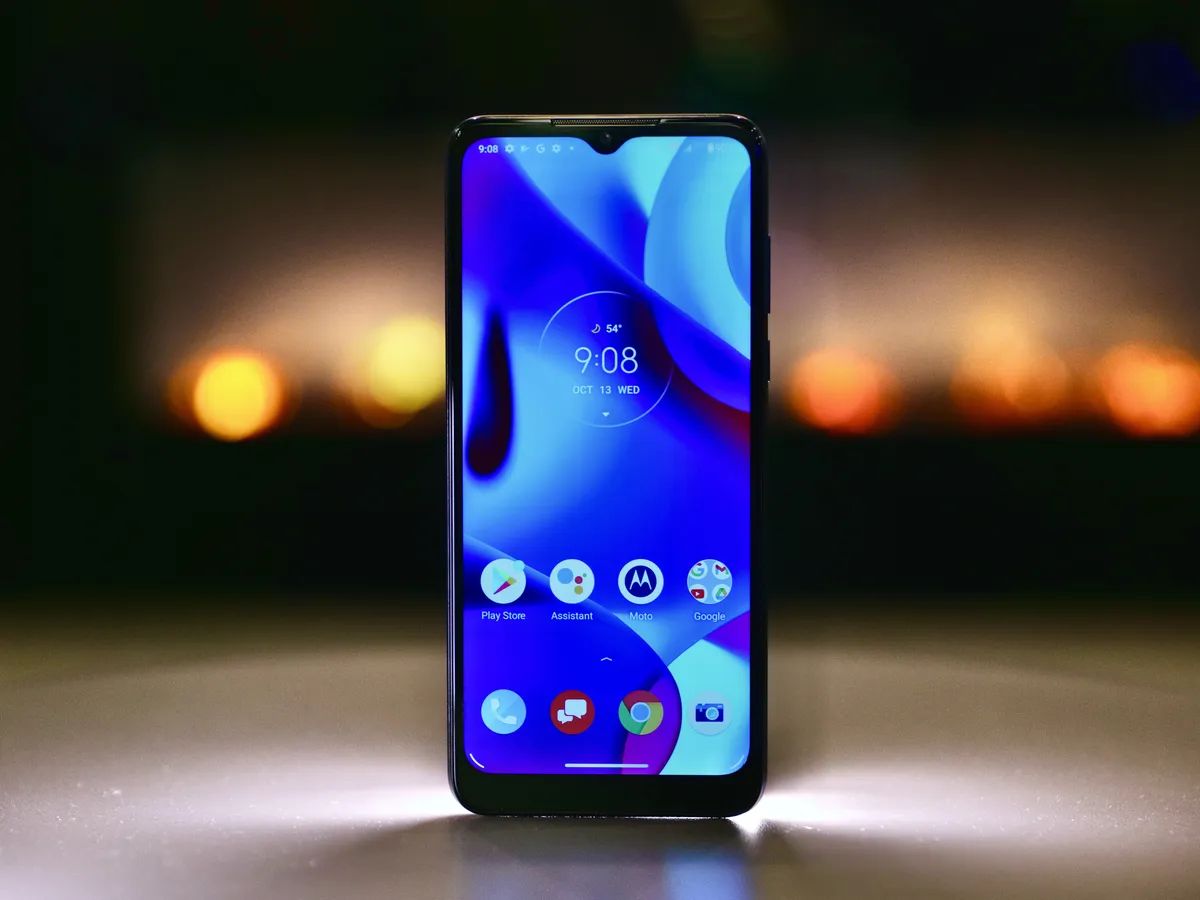
Welcome to our guide on how to move apps to the SD card on the Moto G. The Moto G is a popular smartphone that offers an excellent balance of features and affordability. However, one potential downside is limited internal storage space. Fortunately, the Moto G allows you to expand its storage capacity by inserting an SD card.
Moving apps to the SD card can be a great solution to free up space on your device’s internal storage. By doing so, you can maintain a smoother performance and avoid the frustrating “low storage” notifications. Additionally, moving apps to the SD card allows you to keep important files, photos, and videos on your internal storage while moving less frequently used apps to the SD card.
Before we dive into the steps to move apps to the SD card, it’s essential to determine if your Moto G model supports this feature. Not all versions of the Moto G have the capability to move apps to the SD card, so it’s crucial to check before proceeding.
In this guide, we’ll walk you through the process of checking if your Moto G supports moving apps to the SD card and provide step-by-step instructions on how to move apps to the SD card. Additionally, we’ll offer you some valuable tips to ensure a smooth and hassle-free experience.
So, if you’re ready to make the most out of your Moto G’s storage capacity and optimize your device’s performance, let’s get started on moving apps to the SD card!
Why Move Apps to SD Card on Moto G?
There are several compelling reasons to move apps to the SD card on your Moto G. Let’s take a closer look at why you should consider this option:
- Free up internal storage: The Moto G, like many smartphones, comes with a limited amount of internal storage. Over time, as you install apps and accumulate data, your internal storage may fill up quickly. By moving apps to the SD card, you can free up valuable space on your device and ensure smooth performance.
- Store more apps: Moving apps to the SD card allows you to install and keep more apps on your Moto G. Instead of being constrained by the limited internal storage, you can take advantage of the larger capacity offered by the SD card. This is particularly useful if you’re a heavy app user or if you frequently download new apps.
- Organize your storage: Having the option to move apps to the SD card provides a convenient way to organize your device’s storage. You can choose to keep essential apps on the internal storage for quicker access and move less frequently used or larger apps to the SD card. This allows you to create a more efficient and organized storage system.
- Preserve internal storage for important files: By offloading apps to the SD card, you can reserve the internal storage of your Moto G for important files, such as documents, photos, and videos. These files can take up a significant amount of space, and having ample internal storage allows you to store and access them without any storage-related issues.
- Easy app management: Moving apps to the SD card provides a convenient way to manage your apps. If you no longer use a particular app or need to make space for a new one, you can easily uninstall or remove apps from the SD card. This flexibility allows you to have better control over the apps installed on your Moto G.
Overall, moving apps to the SD card on your Moto G is a practical solution to optimize storage, enhance performance, and efficiently manage your device’s apps. Now that we understand the benefits of moving apps to the SD card, let’s explore how to check if your Moto G supports this feature and proceed with moving apps to the SD card.
Check if Your Moto G Supports Moving Apps to SD Card
Before you proceed with moving apps to the SD card on your Moto G, it’s important to check if your device supports this feature. Not all models of the Moto G have the capability to move apps to the SD card. Here’s how you can determine if your Moto G supports app migration to the SD card:
- Check device specifications: The first step is to check the specifications of your Moto G. You can do this by accessing the official Moto G website or referring to the user manual that came with your device. Look for information related to expandable storage or whether the device supports moving apps to the SD card.
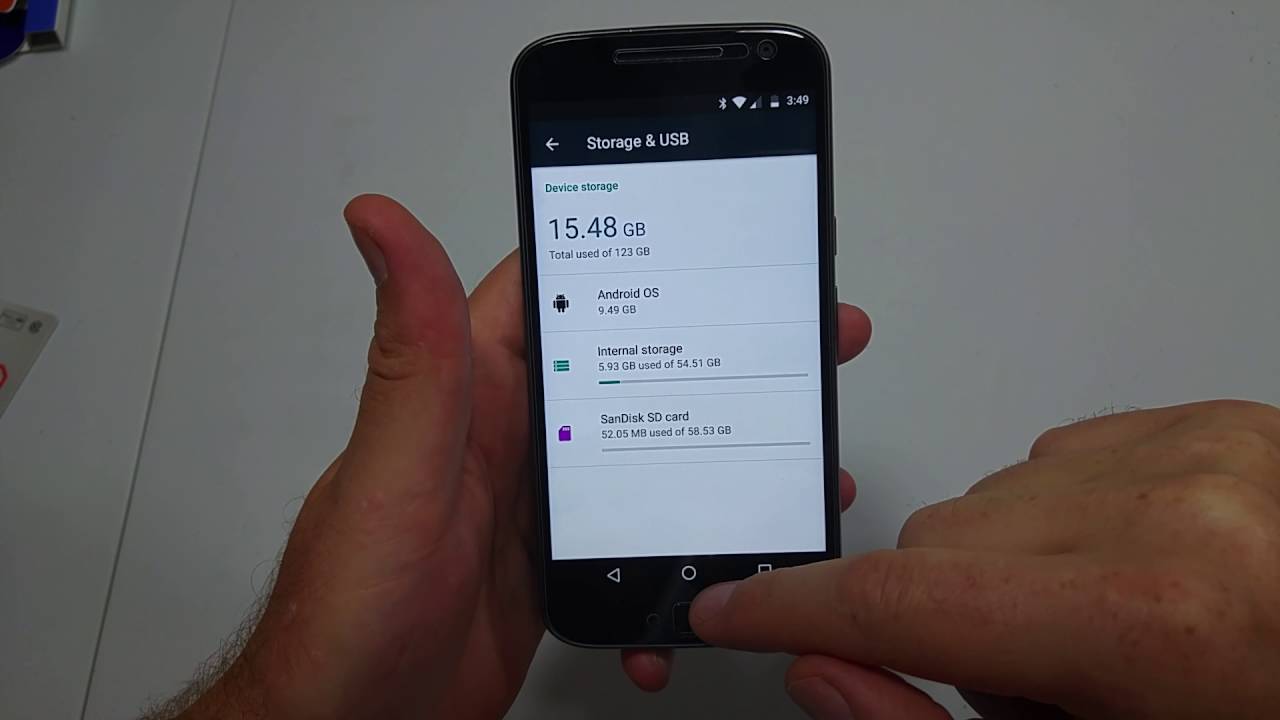
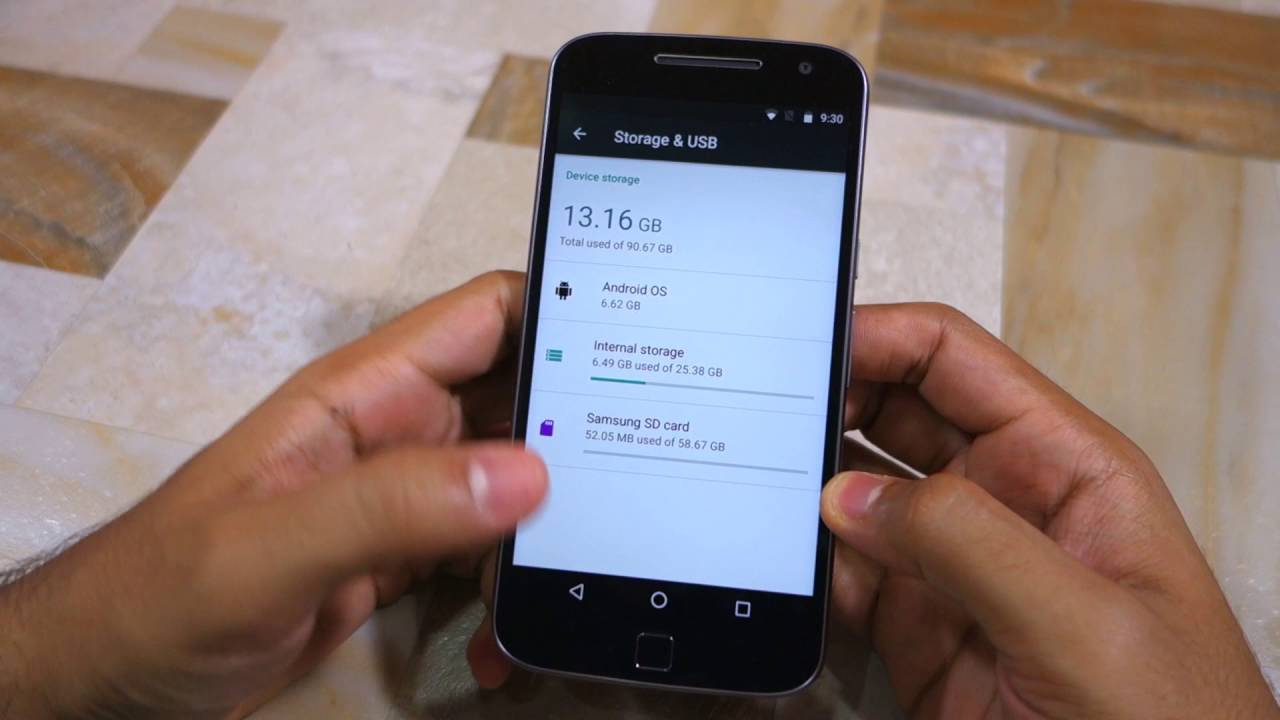
- Go to device settings: If you’re unable to find information about app migration to the SD card in the specifications, you can check directly on your device. Go to the settings menu on your Moto G and look for the “Storage” option. Tap on it to access the storage settings.
- Look for the SD card option: In the storage settings, you should see an option related to the SD card. It may be labeled as “SD card” or “Portable storage.” Tap on this option to check if your Moto G recognizes the SD card and allows for app migration.
- Check app management options: If your Moto G supports moving apps to the SD card, you should find additional options related to app management in the storage settings. Look for features like “Move apps to SD card,” “App preferences,” or “App storage location.” These options indicate that your device has the capability to migrate apps to the SD card.
- Consult the user community: If you’re still unsure whether your Moto G supports moving apps to the SD card, you can seek guidance from the user community. Online forums and Moto G user groups can provide valuable insights and experiences regarding app migration to the SD card on different Moto G models.
By following these steps, you can determine if your Moto G supports moving apps to the SD card. If your device has this capability, you’re ready to proceed with the steps to move apps to the SD card on your Moto G. Let’s continue with the next section to learn how to do it!
Steps to Move Apps to SD Card on Moto G
Once you have determined that your Moto G supports moving apps to the SD card, you can follow these step-by-step instructions to transfer your apps:
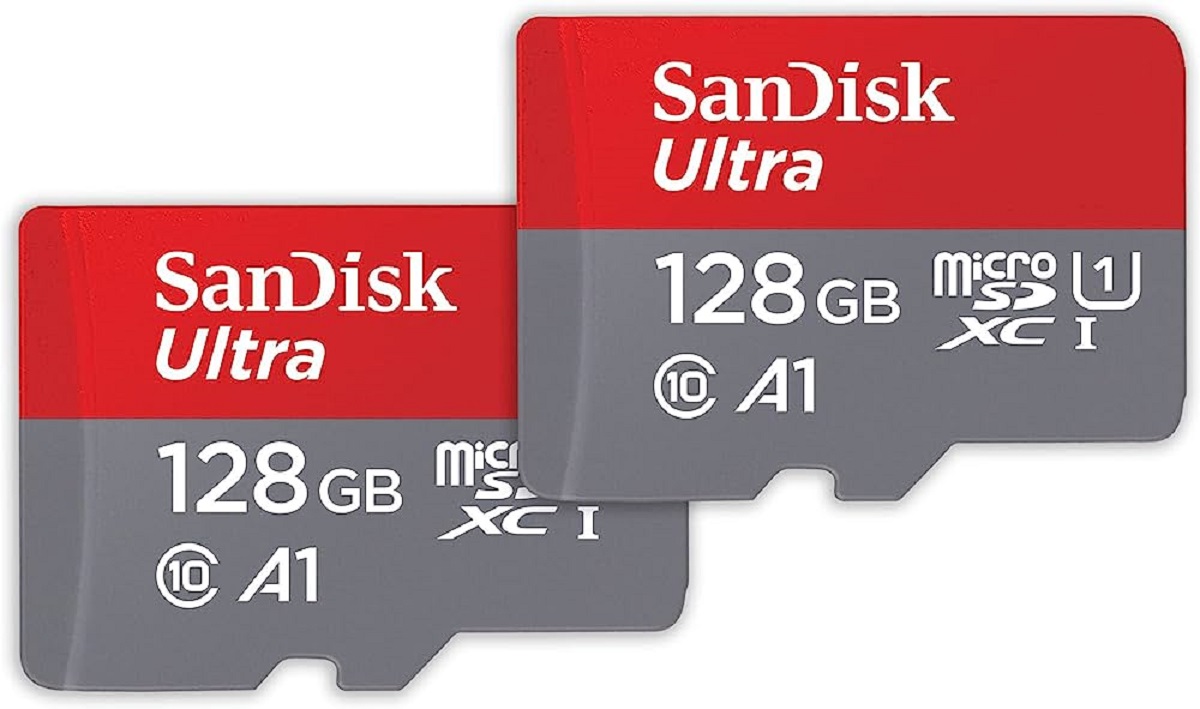
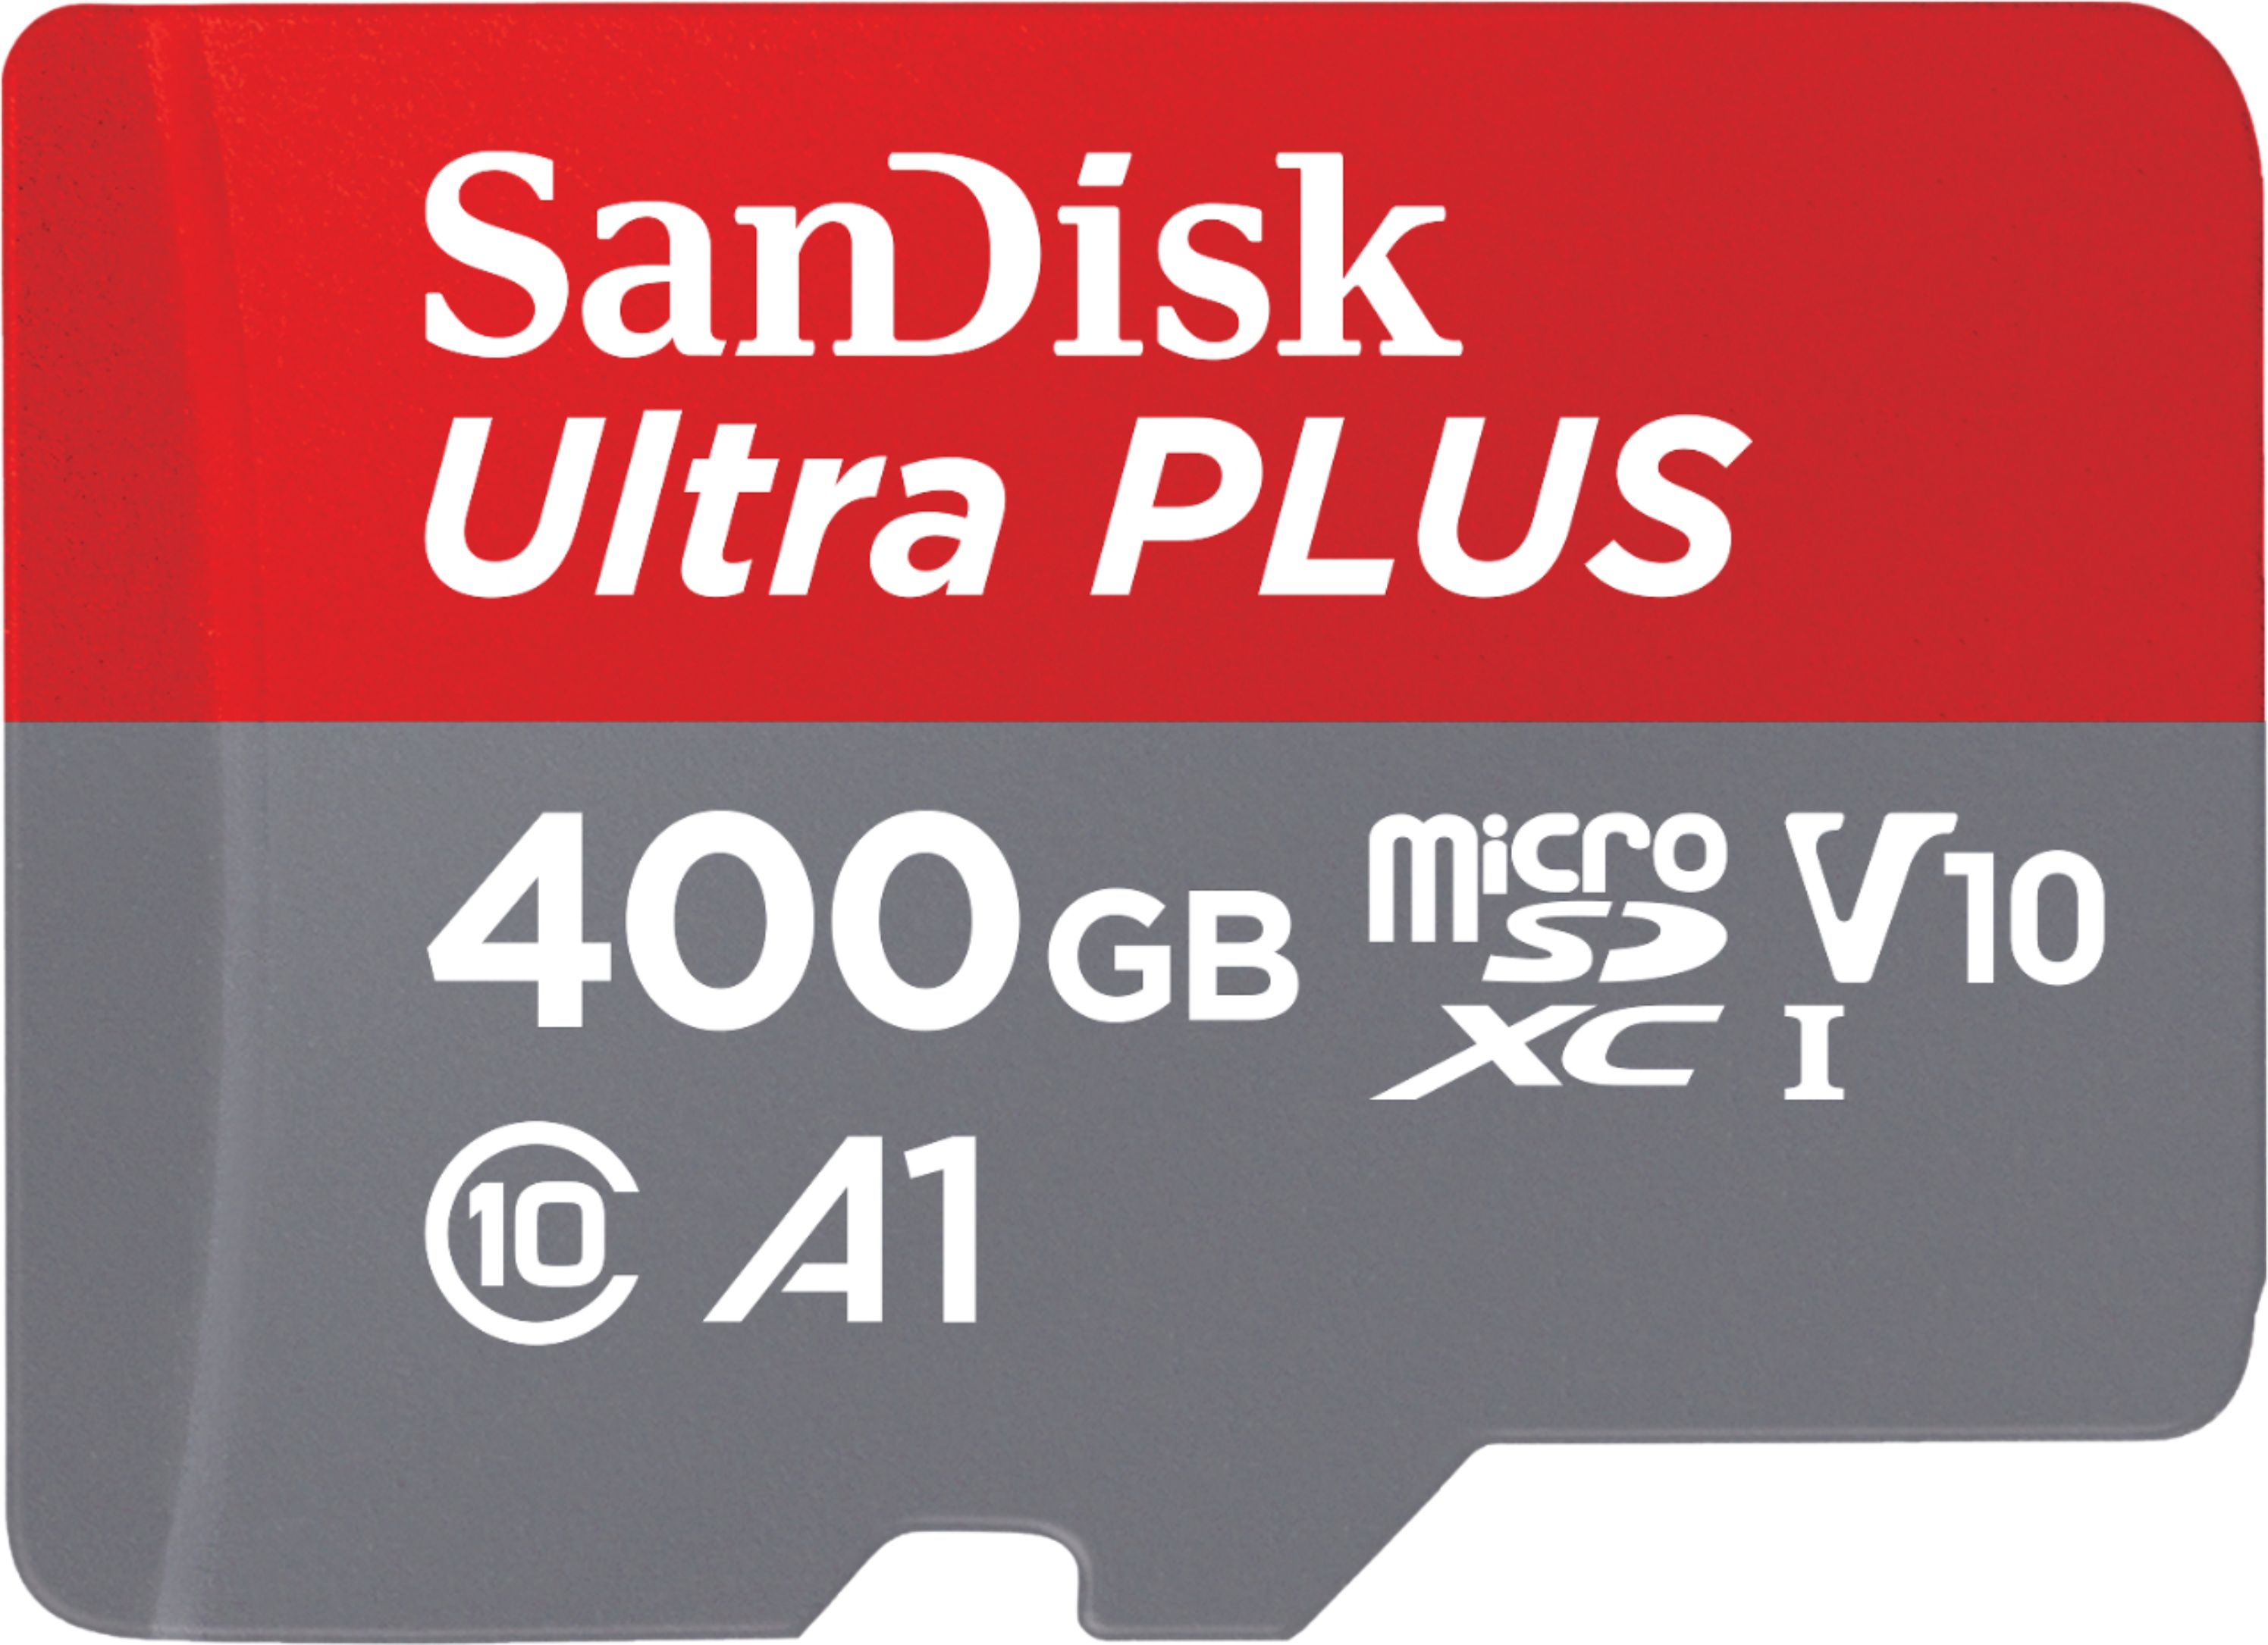
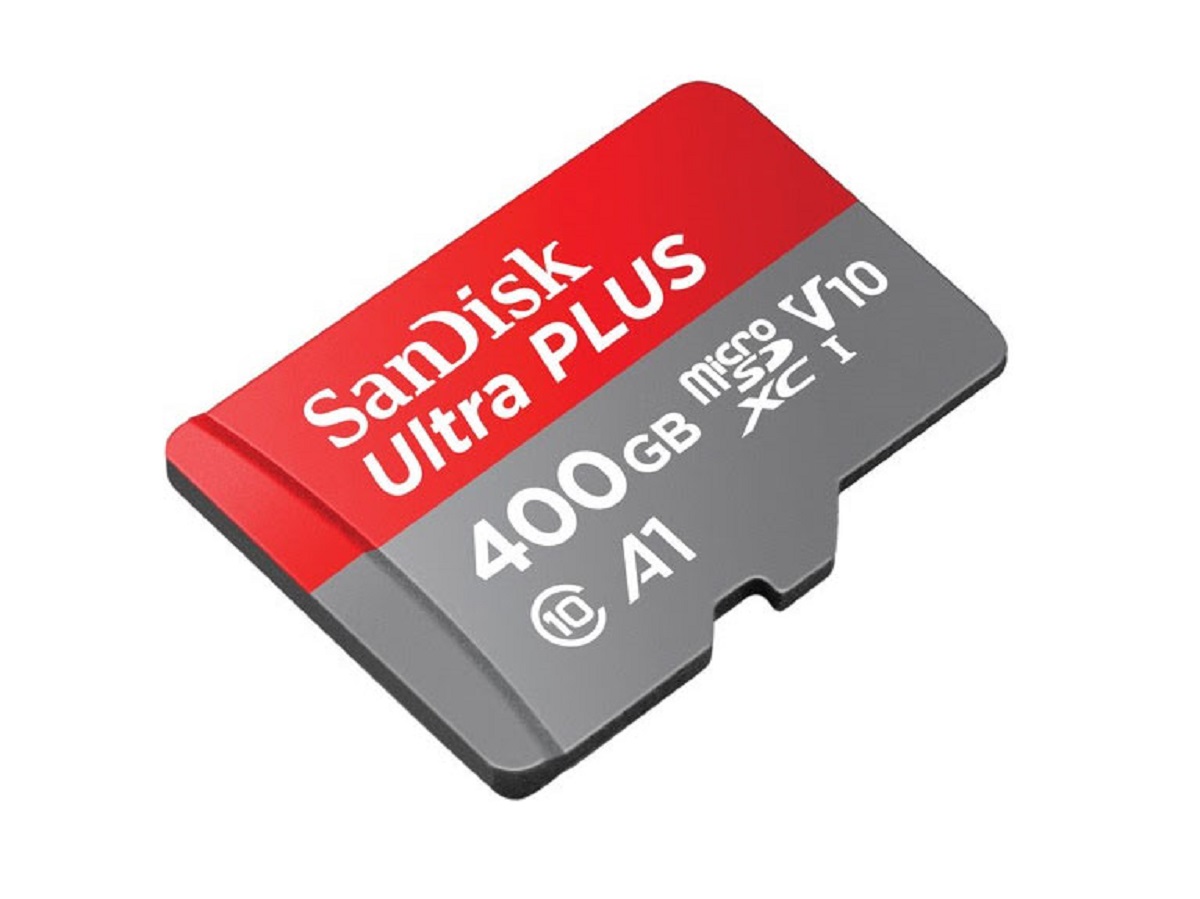
- Insert the SD card: Begin by inserting the SD card into your Moto G. Open the back cover of your device and locate the SD card slot. Carefully insert the SD card into the slot, making sure it is properly aligned and secured.
- Access the Apps menu: On your Moto G, go to the home screen and tap on the “Apps” menu. This will display all the apps installed on your device.
- Select the app: Scroll through the apps list and select the app you want to move to the SD card. Tap and hold on the app’s icon until a menu pops up.
- Open the app’s details: From the menu, select the “App info” or “App details” option. This will open the settings page for the selected app.
- Move the app to SD card: On the app’s settings page, you should see an option to “Move to SD card” or “Storage.” Tap on this option to initiate the app migration process. The Moto G will begin moving the app to the SD card.
- Wait for the process to complete: Depending on the size of the app and the speed of your SD card, the process may take a few seconds to a few minutes. Allow the device to complete the app migration process without interruption.
- Repeat for other apps: If you want to move multiple apps to the SD card, repeat steps 3 to 6 for each app. This will allow you to transfer all desired apps to the SD card.
- Verify the app’s location: After moving the apps, you can verify their location by going to the “Settings” menu, selecting “Apps & notifications,” and choosing the “App info” option. In the app settings, you should see the storage location mentioned as “SD card” or “External storage.”
By following these steps, you can successfully move apps from your Moto G’s internal storage to the SD card. Remember that not all apps can be moved to the SD card, as some system apps or apps that require constant access to internal storage may not have the option available.
Now that you know how to move apps to the SD card on your Moto G, let’s move on to some additional tips that can optimize your app migration experience.
Additional Tips for Moving Apps to SD Card on Moto G
While moving apps to the SD card on your Moto G is a straightforward process, there are a few additional tips that can help optimize your experience:
- Choose the right apps to move: Not all apps can be moved to the SD card, so it’s important to choose wisely. Consider moving apps that take up a significant amount of space or apps that you don’t use frequently. System apps, critical apps, and apps that require constant access to internal storage should not be moved.
- Regularly clean up the SD card: Over time, your SD card can accumulate unnecessary files and cache data from the apps. It’s a good practice to regularly clean up and optimize your SD card. You can use a file manager app or the built-in storage settings on your Moto G to delete unnecessary files and clear cache data.
- Keep the SD card secure: To ensure the safety of your data, it’s essential to keep your SD card secure. Avoid removing the SD card while apps are actively using it, as this can lead to data corruption or app malfunctions. It’s also a good idea to regularly back up the contents of your SD card to prevent any potential data loss.
- Transfer app data to the SD card: In addition to moving the apps themselves, you can also transfer app data to the SD card. Some apps allow you to store data, such as game progress or offline files, on the SD card. You can modify this preference in the app settings to further optimize your device’s internal storage.
- Update your apps: After moving apps to the SD card, it’s important to keep them updated. App updates often include bug fixes and performance improvements, which can enhance the overall user experience. Keep an eye out for app updates in the Google Play Store and ensure that your apps on the SD card are regularly updated.
By following these additional tips, you can maximize the benefits of moving apps to the SD card on your Moto G. Enjoy the increased storage capacity and improved performance that this feature provides.
With this guide, you should now have a clear understanding of how to move apps to the SD card on your Moto G. Take advantage of this feature to free up internal storage, store more apps, and keep your device organized. Now it’s time to put this knowledge into action and enjoy a more optimized and efficient Moto G experience!
Conclusion
In this guide, we have explored how to move apps to the SD card on your Moto G. By moving apps to the SD card, you can free up internal storage, store more apps, and keep your device organized. We discussed the importance of checking if your Moto G supports app migration to the SD card and provided step-by-step instructions to transfer apps. Additionally, we shared some additional tips to optimize your app migration experience.
Moving apps to the SD card is a practical solution to maximize the storage capacity of your Moto G and ensure smooth performance. However, it’s important to note that not all apps can be moved to the SD card, as certain system apps and apps requiring constant access to internal storage may not have the option available.
Remember to choose the right apps to move, regularly clean up your SD card, and keep it secure to protect your data. Transferring app data to the SD card and keeping your apps updated are also recommended practices to optimize your device’s performance.
We hope that this guide has provided you with the knowledge and confidence to move apps to the SD card on your Moto G. Enjoy the increased storage capacity, organized device storage, and improved overall experience. If you have any questions or encounter any issues along the way, don’t hesitate to reach out to the Moto G user community or seek assistance from customer support.
Now, it’s time to take control of your Moto G’s storage and make the most out of your device. Start moving apps to the SD card and enjoy the benefits of a more optimized and efficient Moto G!