Introduction
Welcome to this guide on how to mount a wall server rack. If you’re looking to optimize your space and keep your server equipment organized and easily accessible, a wall-mounted server rack can be a great solution. Whether you’re a small business owner, a home-based entrepreneur, or a tech enthusiast, mounting a wall server rack can help maximize your efficiency and productivity.
In this step-by-step guide, we will walk you through the process of mounting a wall server rack. We will provide you with the necessary tools and materials, as well as detailed instructions on how to choose the right location, measure and mark the ideal mounting height, locate wall studs, and securely mount the rack brackets to the wall. We will also cover how to mount the server rack onto the brackets, organize and secure cables within the rack, and test the stability of the setup.
Having a wall server rack not only keeps your server equipment off the floor but also helps with cable management, airflow, and overall organization. You can conveniently store your servers, switches, routers, and other network equipment in a compact and secure manner. By mounting your server rack on the wall, you’ll also free up valuable floor space, making it easier to move around and access your equipment when needed.
Whether you’re a professional or a DIY enthusiast, this guide will provide you with all the necessary information and steps to successfully mount a wall server rack. It’s important to note that this guide assumes you have some basic knowledge of tools and are comfortable working with them. Let’s dive in and get started on the journey to enhance your server setup!
Step 1: Gather the necessary tools and materials
Before you begin the process of mounting a wall server rack, it’s important to gather all the necessary tools and materials. Having everything prepared beforehand will ensure a smooth and efficient installation process. Here’s a list of the tools and materials you’ll need:
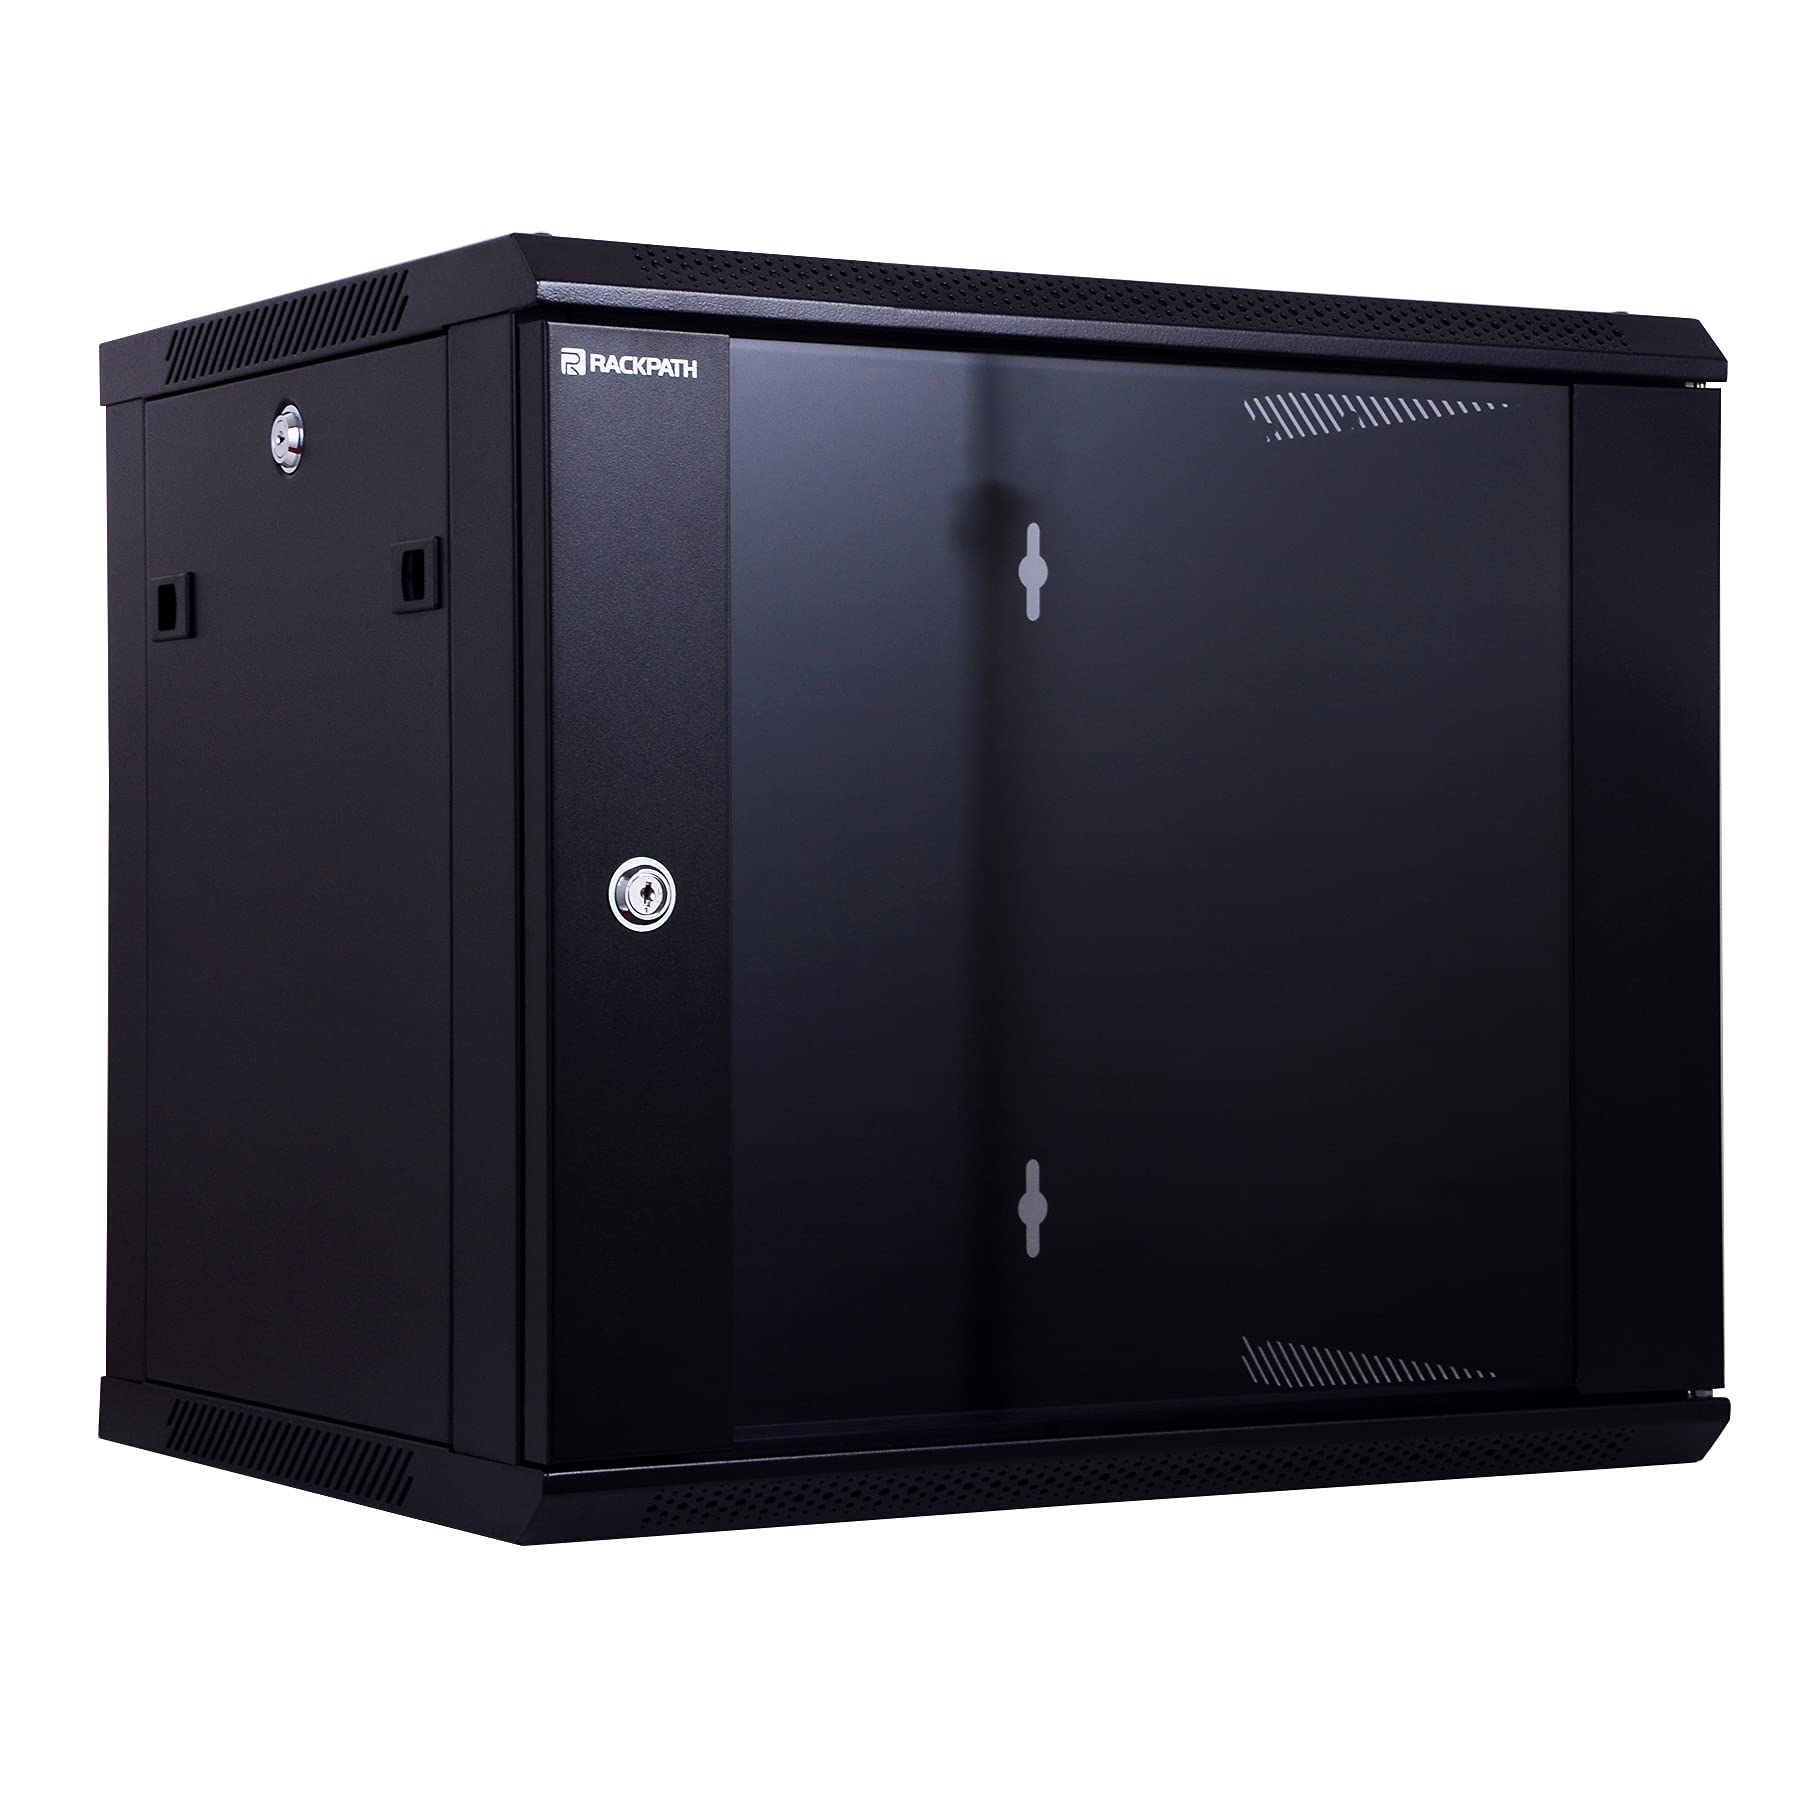
- Wall server rack: Choose a rack that suits your needs in terms of size and capacity. Consider factors such as the number of servers and network equipment you plan to install.
- Wall mounting brackets: These brackets will securely hold the server rack in place. Make sure they are compatible with your chosen rack.
- Stud finder: This tool will help you locate the wall studs, which are essential for providing the necessary support for the server rack.
- Tape measure: Accurate measurements are crucial during the installation process. A tape measure will help you determine the ideal mounting height and ensure proper alignment.
- Pencil or marker: You’ll need a pencil or marker to mark the wall studs, as well as the positions for mounting brackets.
- Screwdriver or drill with appropriate bits: Depending on the type of mounting brackets and screws provided, you’ll need either a screwdriver or a drill with appropriate bits to secure the brackets to the wall studs.
- Level: A level will help you ensure that the server rack is mounted straight and aligned properly.
- Cable management accessories: To keep your cables organized and secure, consider using cable ties, cable management panels, and cable clips.
It’s important to have all these tools and materials on hand before you begin the installation process. This will save you time and frustration, ensuring a successful and efficient wall server rack installation.
Step 2: Choose the right location for your wall server rack
Choosing the right location for your wall server rack is crucial for optimal functionality and convenience. Before you start the installation process, take some time to consider the following factors:
- Accessibility: Select a location that provides easy access to your server equipment. You should be able to reach the rack comfortably for maintenance, upgrades, and troubleshooting.
- Adequate ventilation: Servers generate heat, so it’s essential to ensure proper airflow around the rack. Avoid placing the rack in enclosed spaces or areas with restricted ventilation.
- Noise considerations: Servers can be noisy, especially when cooling fans are running. Choose a location away from quiet areas such as bedrooms or home offices.
- Weight-bearing capacity: Ensure that the chosen wall can support the weight of the server rack and the equipment it will hold. This is especially important for larger racks or when organizing heavy servers.
- Space requirements: Take into account the size and dimensions of the server rack, leaving enough space for expansion and future upgrades.
Once you’ve considered these factors, identify a suitable wall where you can mount the server rack. Clear any obstacles or obstructions in the area before proceeding.
Keep in mind that the location you choose will impact the overall functionality, accessibility, and aesthetics of your server setup. Take the time to evaluate different options and select the one that works best for your specific needs.
By carefully choosing the right location for your wall server rack, you’ll ensure a practical and efficient setup that meets your requirements and enhances your overall server management experience.
Step 3: Measure and mark the ideal mounting height
Measuring and marking the ideal mounting height for your wall server rack is a crucial step in the installation process. Consider the following guidelines to ensure the rack is positioned at a convenient and ergonomic height:
- Eye-level placement: Ideally, the top of the server rack should be at or slightly below eye level. This makes it easier to view and access the equipment without straining your neck or back.
- Accessibility: Ensure that the server rack is within easy reach, allowing you to interact with the equipment comfortably. Consider the height of the tallest server or network equipment you plan to install and ensure there is ample clearance.
- Vertical alignment: Measure and mark the desired height for the top of the server rack on the wall. Use a tape measure and a level to ensure that the mark is straight and aligned with other reference points in the room.
- Consider future expansion: If you anticipate adding more equipment to the rack in the future, take that into account when determining the mounting height. Leave some space above the rack to accommodate additional servers or accessories.
After marking the ideal mounting height on the wall, step back and visualize how the server rack will fit into the overall space. Make any necessary adjustments to ensure that the placement is convenient and aesthetically pleasing.
By carefully measuring and marking the ideal mounting height, you’ll create a functional and user-friendly server rack setup that meets your specific requirements and enhances your overall workflow.
Step 4: Locate and mark the wall studs
Locating and marking the wall studs is an important step in ensuring a secure and stable installation of your wall server rack. The wall studs provide the necessary support to hold the weight of the rack and the equipment it will hold. Here’s how to locate and mark the wall studs:
- Begin by using a stud finder to scan the wall in the area where you plan to mount the server rack. This handheld device detects changes in density behind the wall and can detect the presence of studs.
- Follow the manufacturer’s instructions for using the stud finder, ensuring that it is set to the appropriate scanning mode (typically either stud or deep scan mode).
- Slowly move the stud finder across the wall, starting from one end and gradually working your way to the other. Pay attention to any indicator lights or beeping sounds that indicate the presence of a stud.
- When the stud finder detects a stud, mark the location with a pencil or marker. Repeat this process along the wall until you have marked the positions of multiple studs.
- To confirm the presence of a stud, you can gently tap the wall at the marked location. A solid, non-hollow sound will typically indicate the presence of a stud.
- Connect the marked stud locations with a straight line using a level or ruler. This will create a visual reference for the next steps of the installation process.
It’s important to note that wall studs are typically spaced at 16 inches apart, though this may vary in some cases. By locating and marking the studs, you’ll be able to securely anchor the server rack to the wall, ensuring stability and preventing any potential damage or accidents.
Take your time during this step to ensure accuracy and precision. Locating and marking the wall studs correctly will lay the foundation for a successful and secure wall server rack installation.
Step 5: Install the top bracket of the wall server rack
Installing the top bracket of the wall server rack is a crucial step in ensuring the stability and proper alignment of the entire setup. This bracket will provide support and serve as the anchor point for the rack. Follow these steps to install the top bracket:
- Hold the top bracket against the wall, ensuring that it is aligned with the marked stud locations. Use a level to verify that the bracket is straight.
- Mark the hole locations on the wall using a pencil or marker. These holes will be used to secure the bracket to the wall.
- Using an appropriate drill bit, create starter holes at the marked locations. Take care to drill into the wall studs for maximum stability.
- Position the top bracket back on the wall, aligning the starter holes with the drill holes. Insert the screws provided into the holes and tighten them using a screwdriver or drill.
- Check the bracket for stability by gently applying pressure. It should feel secure and firmly anchored to the wall.
During this step, it’s essential to pay close attention to the alignment and stability of the top bracket. Misaligned or loose brackets can compromise the integrity of the server rack and put your equipment at risk. Take your time to ensure a secure and properly anchored top bracket.
Once the top bracket is securely installed, you can proceed to the next step, which is attaching the bottom bracket and completing the wall server rack installation.
Remember, the top bracket is a crucial component in providing stability and support for the wall server rack. Take the time to complete this step carefully and accurately to ensure a successful and reliable installation.
Step 6: Attach the bottom bracket of the wall server rack
Attaching the bottom bracket is the next step in the installation process, and it is just as crucial as installing the top bracket. The bottom bracket provides additional stability and support for the wall server rack. Here’s how to properly attach the bottom bracket:
- Hold the bottom bracket against the wall, aligning it with the already-installed top bracket. Use a level to ensure that the bracket is straight and aligned correctly.
- Mark the hole locations on the wall using a pencil or marker. These holes will be used to secure the bottom bracket to the wall.
- Using an appropriate drill bit, create starter holes at the marked locations. Make sure to drill into the wall studs for optimal strength and stability.
- Position the bottom bracket back on the wall, aligning the starter holes with the drill holes. Insert the screws provided into the holes and tighten them using a screwdriver or drill.
- Check the bracket for stability by applying gentle pressure. It should feel secure and firmly anchored to the wall, similar to the top bracket.
During this step, it’s crucial to pay attention to the alignment and stability of the bottom bracket. Proper alignment ensures that the server rack will be straight and securely mounted, preventing any unnecessary movement.
Once the bottom bracket is securely attached, your wall server rack is now fully supported and ready for the next steps in the installation process.
Remember, the bottom bracket plays a vital role in providing stability and support to the wall server rack. Take your time during this step to ensure the bracket is correctly aligned and securely fastened to the wall.
Step 7: Securely mount the wall server rack brackets to the wall studs
Now that both the top and bottom brackets are installed, it’s time to securely mount the wall server rack brackets to the wall studs. This step is crucial for the stability and durability of your server rack. Follow these steps to ensure a secure and reliable mounting:
- Position the wall server rack onto the installed brackets, making sure it aligns properly with the brackets.
- Insert the included screws through the mounting holes on the sides of the server rack and into the holes on the brackets.
- Tighten the screws using a screwdriver or drill, ensuring they are securely fastened. Take care not to overtighten and risk damaging the rack or brackets.
- Gently shake the server rack to test its stability. It should be firmly fixed to the brackets and remain steady.
During this step, it’s essential to double-check the alignment of the server rack and ensure that it is properly seated on the brackets. The wall studs and brackets provide the necessary support to hold the weight of the rack and equipment securely.
Properly secured wall server rack brackets ensure that your equipment stays in place and reduces the risk of any accidents or damage. A secure mounting is crucial, especially if you plan to store heavy or delicate equipment in the rack.
With the brackets securely mounted to the wall studs, your wall server rack is now in place and ready to be utilized for your server and networking needs.
Remember, take your time and pay attention to detail during this step to ensure that the brackets are properly secured and that your wall server rack is stable and dependable.
Step 8: Mount the server rack onto the brackets
With the brackets securely fastened to the wall studs, it’s time to mount the server rack onto the brackets. This step is crucial in ensuring that the rack is properly supported and remains stable during use. Follow these steps to correctly mount the server rack:
- Carefully lift the server rack and align it with the mounted brackets on the wall.
- Gently place the rack onto the brackets, ensuring that the brackets fit securely into the corresponding slots or holes on the rack’s sides.
- Slide the rack onto the brackets until it is fully secured in place.
- Double-check to ensure that the server rack is level and properly aligned with the wall brackets.
It’s important to take your time during this step to ensure that the server rack is properly seated on the brackets. Proper alignment and a secure fit will provide stability and support for your server equipment.
Once the server rack is mounted onto the brackets, gently push or pull on the rack to ensure that it is securely in place. It should not wobble or move excessively.
Mounting the server rack onto the brackets completes the installation process, providing a reliable and sturdy foundation for your server equipment.
Remember to handle the server rack with care during this step to prevent any accidental damage to the equipment or the brackets.
With the server rack securely mounted, you’re ready to move to the next step, which involves organizing and securing the cables within the rack.
Step 9: Organize and secure cables within the wall server rack
Proper cable organization is essential for efficient and hassle-free server management. Step 9 involves organizing and securing the cables within the wall server rack. Follow these steps for effective cable management:
- Start by identifying the different cables that need to be connected to your servers and network equipment.
- Group similar cables together, such as power cords, Ethernet cables, and HDMI cables. Keeping them organized will make it easier to locate and manage them in the future.
- Use cable ties, Velcro straps, or cable management panels to bundle and secure the cables. This will help eliminate tangles and ensure a neat and organized appearance.
- Route the cables along the designated cable management channels or brackets within the server rack. This will help prevent tangling, reduce cable clutter, and promote better airflow.
- Label the cables to identify their purpose or destination. Labeling cables can save time when troubleshooting or making changes to your setup.
- Ensure that cables are not pulled too tightly or strained, as this can cause connectivity issues or damage the cables.
- Regularly inspect and adjust cable organization as needed to maintain a clean and organized server rack.
Effective cable management not only enhances the overall appearance of the server rack but also ensures optimal airflow, reduces the risk of accidental disconnections, and simplifies troubleshooting and maintenance.
Take the time to properly organize and secure the cables within the wall server rack. It will save you from future headaches and make it easier to manage your server setup.
With your cables organized and secured, the final step is to test the stability of the wall server rack before finalizing the installation process.
Step 10: Test the stability of the wall server rack
The final step in the installation process is to test the stability of the wall server rack. Conducting this test ensures that the rack is securely mounted and will provide a safe and stable environment for your server equipment. Follow these steps to test the stability of the rack:
- Ensure all the brackets, screws, and components are securely tightened and properly aligned.
- Gently shake the server rack from different angles to check for any wobbling or movement. It should remain stable and not shift or sway.
- Test the rack’s stability by applying some pressure to it, simulating the weight and movement that may occur during regular use. The rack should hold up without any signs of strain or shifting.
If the server rack passes these stability tests and remains secure, you can proceed with confidence knowing that your equipment will be well-supported and protected.
However, if you notice any instability or movement, carefully inspect the brackets, screws, and mounting points. Ensure that everything is properly tightened and aligned. If necessary, make any adjustments or revisit previous steps to reinforce the rack’s stability.
Testing the stability of the wall server rack is a critical step, as it ensures the safety of your equipment and the longevity of the installation. By taking the time to thoroughly test the rack’s stability, you can have peace of mind knowing your server equipment is in a secure and reliable environment.
With the stability of the rack confirmed, you have now successfully mounted and tested your wall server rack. Enjoy the benefits of an organized and accessible server setup!
Conclusion
Congratulations! You have successfully completed the installation of your wall server rack. By following the step-by-step guide provided, you have created a functional and efficient setup for your server and network equipment.
Mounting a wall server rack offers numerous benefits, including improved organization, space optimization, and easy accessibility to your equipment. With a properly installed server rack, you can now enjoy a clutter-free and well-managed server environment.
Throughout the installation process, you learned how to gather the necessary tools and materials, choose the right location for your rack, measure and mark the ideal mounting height, locate and mark wall studs, install the top and bottom brackets, securely mount the rack onto the brackets, organize and secure cables, and test the stability of the rack.
Remember, maintaining the integrity and stability of your server rack is crucial. Regularly inspect the rack, brackets, screws, and cables to ensure everything remains secure and in good condition. Any adjustments or maintenance should be performed promptly to avoid any potential issues.
Proper cable management is also essential for maintaining an organized and efficient server rack. Take the time to periodically assess and rearrange cables as needed to maintain optimal airflow and reduce the risk of cable damage or disconnections.
With your wall server rack expertly installed, you can now enjoy the benefits of a well-organized and easily accessible server setup. Whether you are a small business owner, a home-based entrepreneur, or a tech enthusiast, this installation will help streamline your operations and enhance your productivity.
Thank you for following this guide, and we hope it has been a valuable resource in your wall server rack installation journey. If you have any further questions or need assistance, feel free to consult the manufacturer’s instructions or seek professional help.
Wishing you success and efficiency in managing your server equipment!