Introduction
Mounting a monitor can greatly improve your workspace efficiency and ergonomics. By elevating your monitor off your desk, you can create more space, reduce neck and eye strain, and achieve a more comfortable viewing angle. Whether you’re setting up a home office or optimizing your workstation, mounting your monitor is a practical and aesthetically pleasing solution.
In this guide, we will provide you with step-by-step instructions on how to mount a monitor. From choosing the right mount to securing the monitor in place, we will walk you through the entire process. With just a few tools and materials, you’ll be able to transform your workspace and enjoy the benefits of a mounted monitor.
Before we begin, it’s important to note that the specific steps may vary depending on the type of monitor and mount you have. It’s advisable to consult the manufacturer’s instructions for your specific mount to ensure proper installation. Additionally, if you’re not comfortable with DIY projects or working with tools, it’s always a good idea to seek professional assistance.
Now, let’s dive into the world of monitor mounting and discover how you can revolutionize your workspace!
Tools and Materials Needed
Before you begin mounting your monitor, make sure you have the following tools and materials readily available:
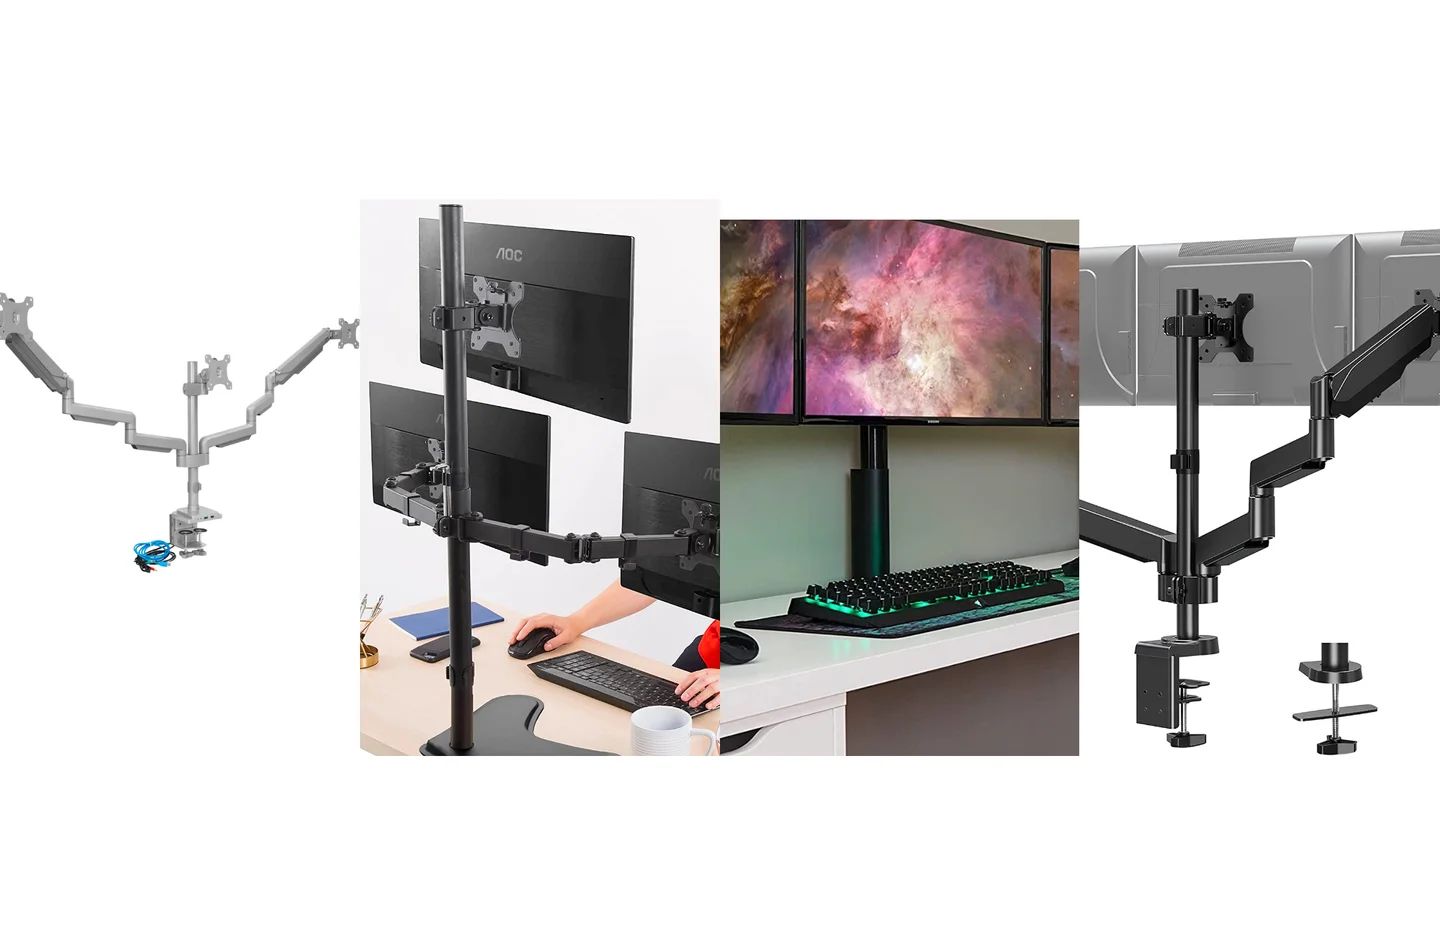
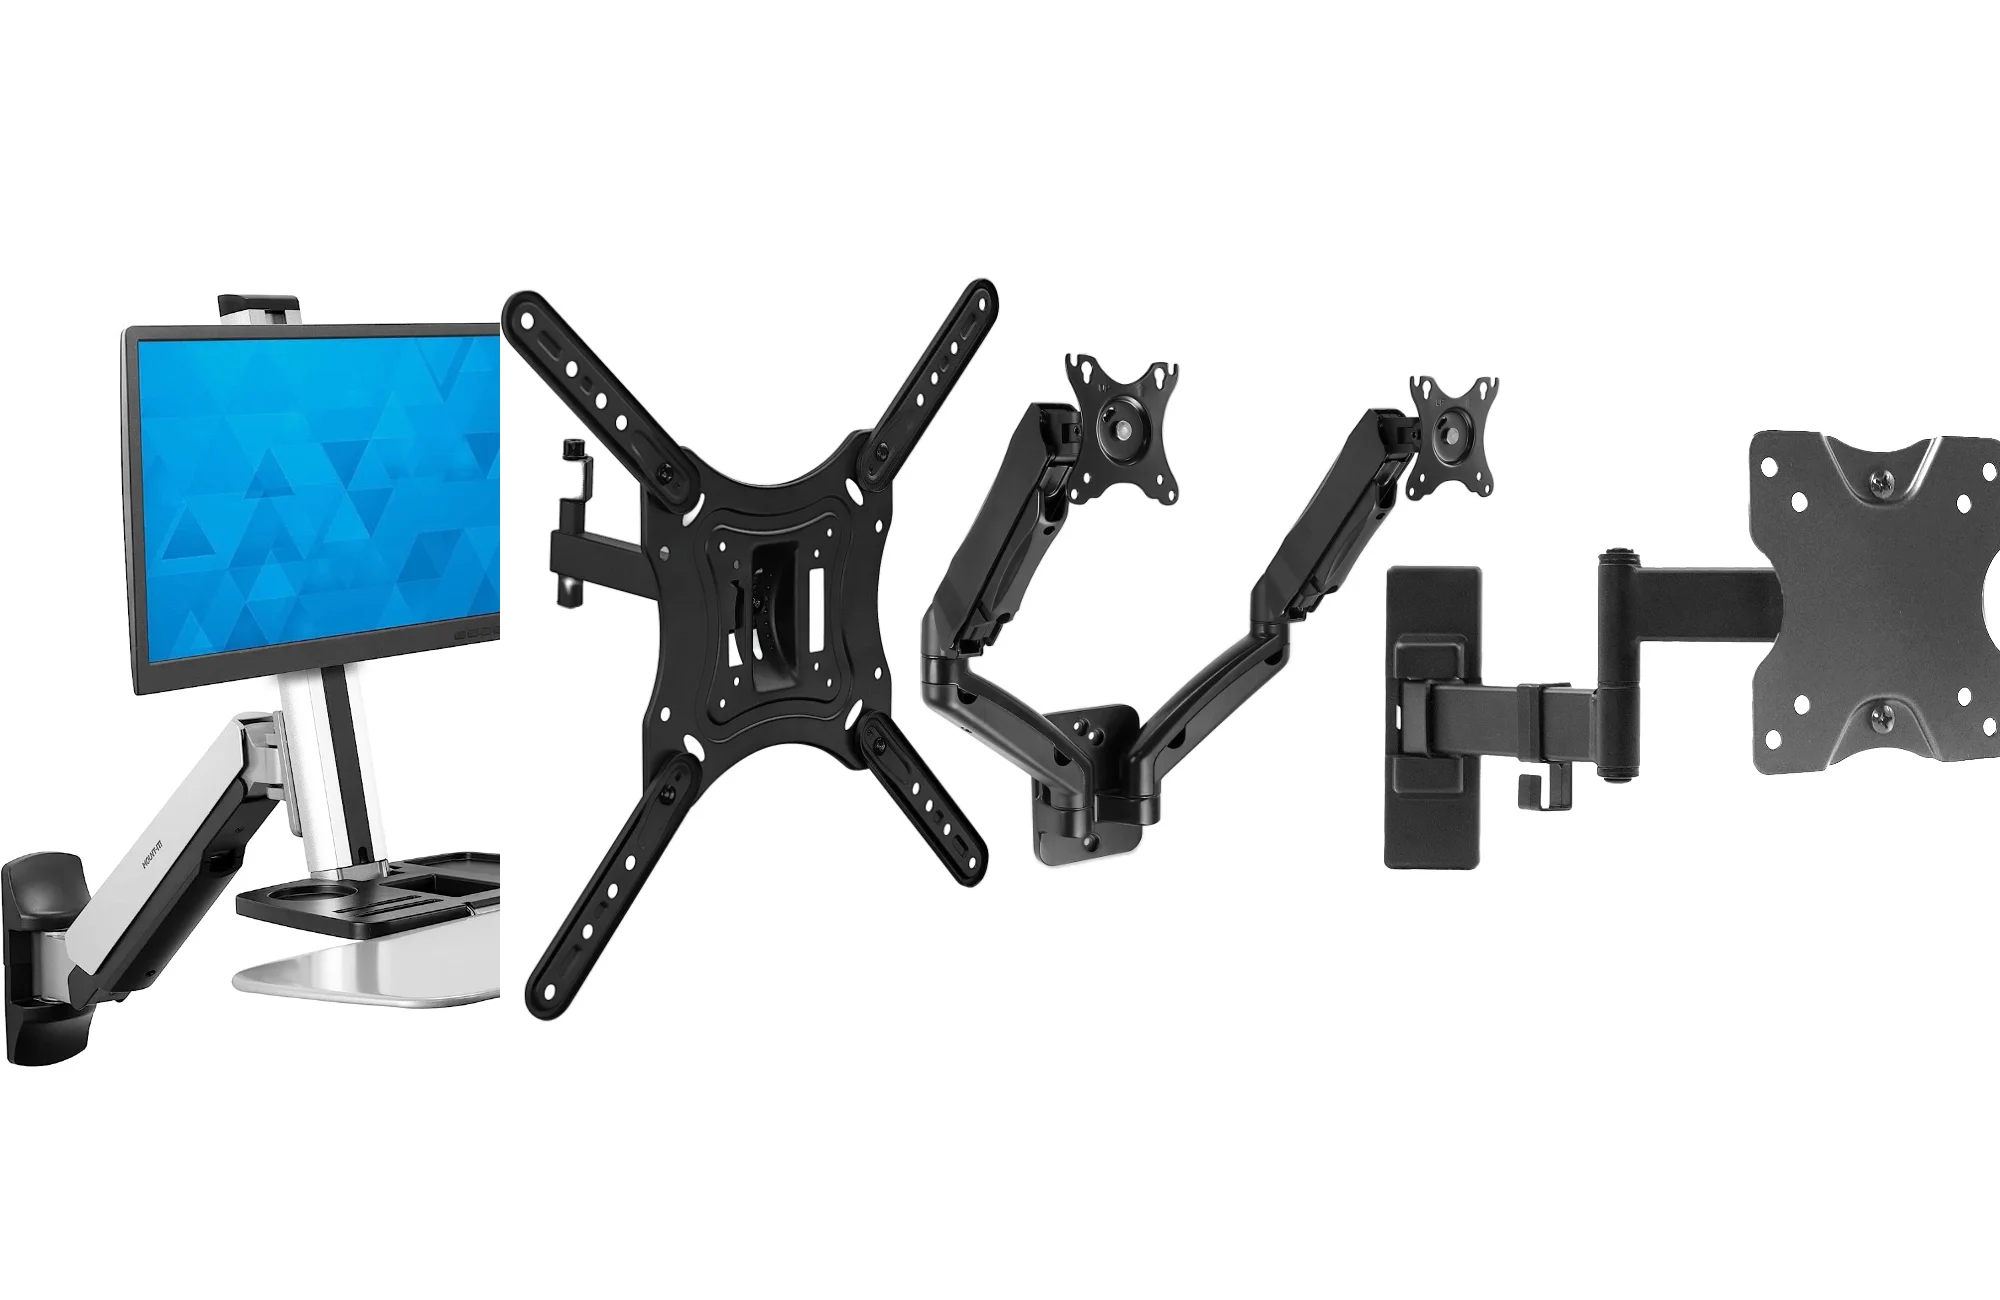
- Monitor mount: Choose a mount that is compatible with your monitor’s size and weight. There are various types of mounts available, including wall mounts, desk mounts, and stand-alone mounts.
- Monitor: Obviously, you’ll need a monitor to mount. Ensure that it has standard VESA mounting holes on the back.
- Wall anchors: If you’re mounting your monitor on a wall, you’ll need wall anchors to provide extra support and stability. The type of anchor will depend on your wall material, such as drywall, concrete, or wood.
- Mounting hardware: This typically includes screws, washers, and spacers. The hardware should be included with your monitor mount, but it’s a good idea to double-check before starting the installation.
- Screwdriver: Depending on the type of screws provided with your monitor mount, you may need a Phillips screwdriver or a hex key.
- Tape measure: Accurate measurements are essential for proper placement of the mount. A tape measure will ensure that your monitor is mounted at the right height and distance.
- Pencil or marker: These will be used to mark the drill holes on the wall.
- Power drill: If you’re mounting your monitor on a wall, a power drill will be necessary for drilling pilot holes and inserting wall anchors.
- Level: To ensure that your monitor is mounted straight and level, a bubble or laser level is essential.
- Cable management solutions (optional): If you want to keep your cables organized and out of sight, consider using cable clips, cable sleeves, or a cable management kit.
Having these tools and materials prepared before you start the installation process will help make the process smoother and more efficient.
Step 1: Choose the Right Mount
Choosing the right mount is crucial to ensure a secure and suitable installation for your monitor. Consider the following factors when selecting a mount:
- Monitor size and weight: Determine the size and weight of your monitor to ensure that the mount can accommodate it. Most mounts have weight and size specifications, so it’s important to check if your monitor falls within those parameters.
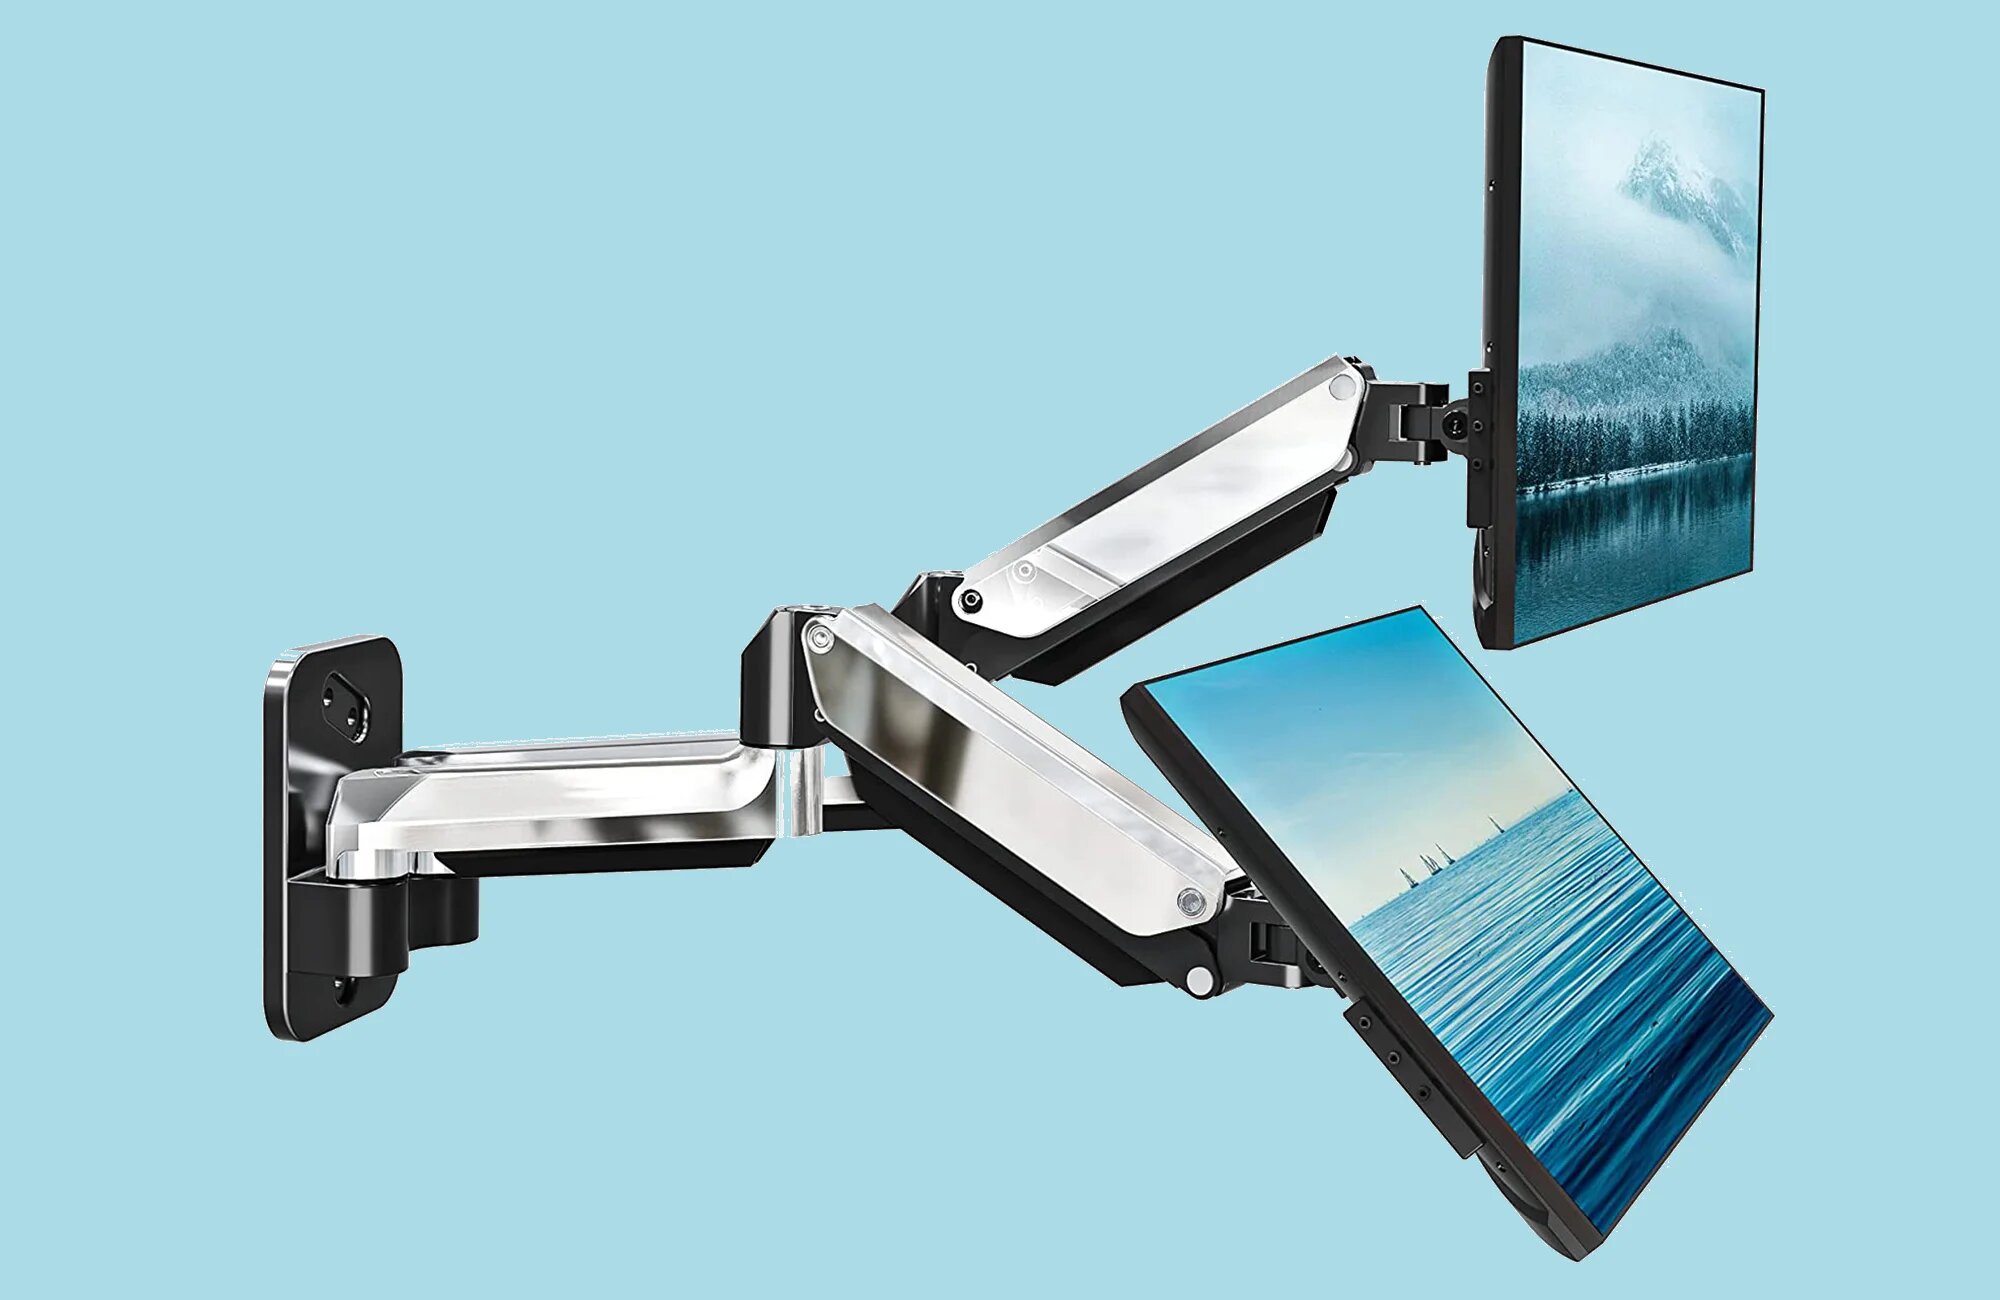
- Mounting options: Consider where and how you want to mount your monitor. Common options include wall mounts, desk mounts, and stand-alone mounts. Wall mounts are ideal if you want to save desk space, while desk mounts offer flexibility in positioning. Stand-alone mounts are suitable for standalone monitors that do not require any surface attachment.
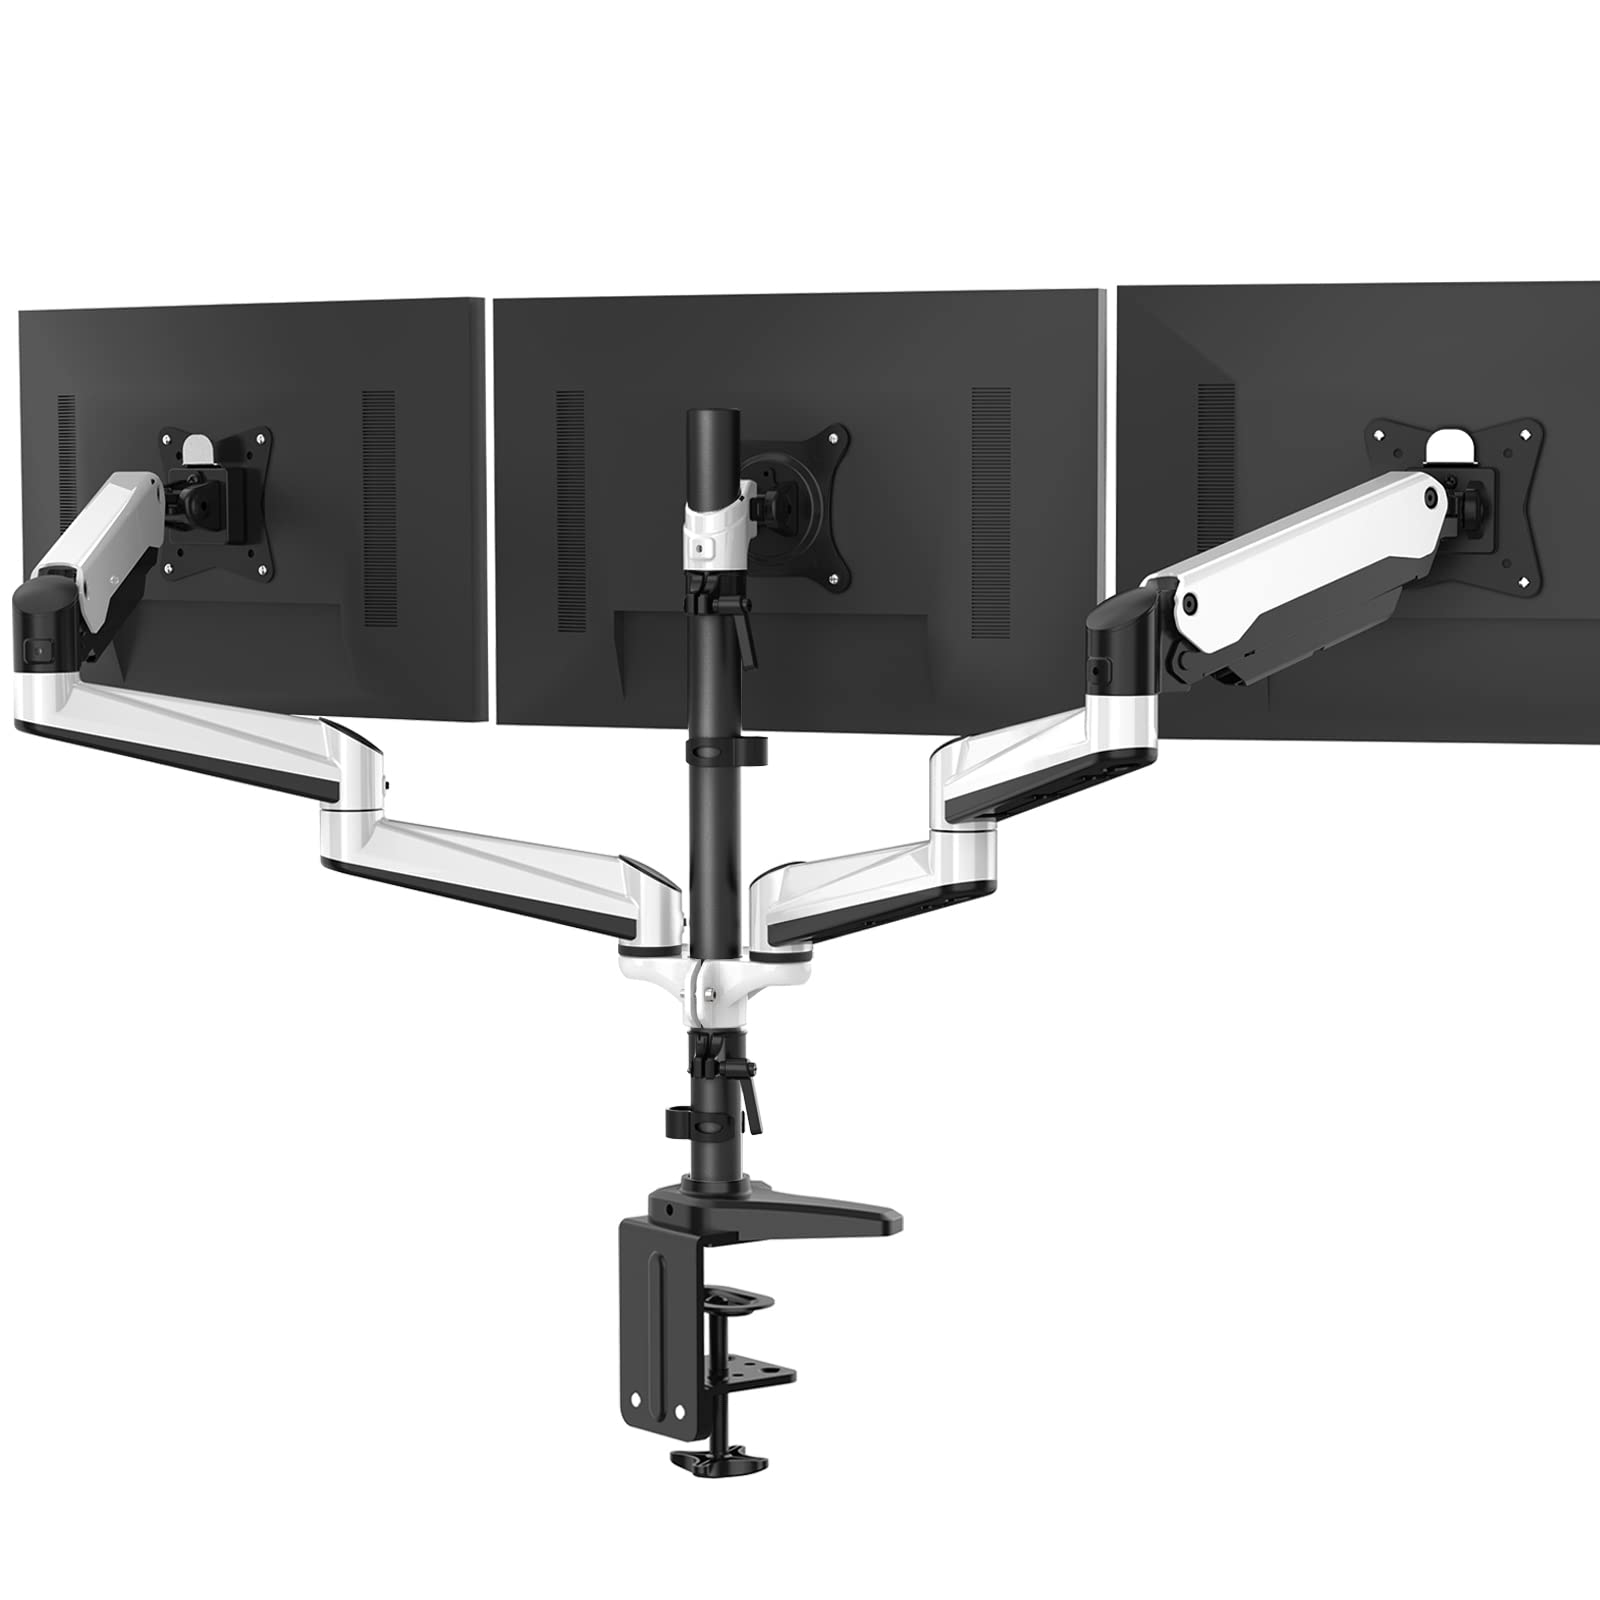
- Ergonomic features: Look for mounts that offer adjustable height, tilt, and swivel options. These features allow you to customize the position of your monitor to find the most comfortable viewing angle.
- Compatibility: Ensure that the mount is compatible with your monitor. Check if your monitor has VESA mounting holes on the back. VESA (Video Electronics Standards Association) is the standard for monitor mounting, so most mounts will be VESA compatible.
- Installation ease: Consider your DIY skills and comfort level with tools. Some mounts are easier to install than others, so choose one that aligns with your abilities and confidence.
Once you have considered these factors, you can start researching different mount options. Read reviews and compare features to find the mount that best suits your needs and budget.
Remember, the right mount will provide a secure and flexible solution for mounting your monitor, enhancing your overall workspace experience.
Step 2: Find the Right Location
Finding the right location for mounting your monitor is essential for optimal viewing and comfort. Consider the following factors when selecting a suitable spot:
- Eye level: The ideal position for your monitor is at eye level. This helps reduce strain on your neck and eyes. Measure the height of your eyes when seated at your desk and use this as a reference point when positioning the mount.
- Distance from the eyes: Aim to position the monitor at a comfortable distance from your eyes. Generally, a distance of around 20 to 40 inches (50 to 100 cm) is recommended for most monitors.
- Avoid glare and reflections: Look for a spot where there is minimal glare and reflection on the monitor screen. This will ensure that you have a clear and distraction-free view of your display. Consider the placement of windows, light sources, and other reflective surfaces in the room.
- Accessibility: Ensure that the mounted monitor is easily accessible. You should be able to reach the controls, ports, and cables without any difficulty. Additionally, make sure that the mount does not obstruct other important items on your desk.
- Room layout and aesthetics: Consider the overall layout and aesthetics of the room when choosing the location. Mounting the monitor in a visually pleasing spot can enhance the overall ambiance and organization of your workspace.
Once you have identified a potential location, take a moment to visualize how the mounted monitor will fit into your workspace. Make adjustments if needed, ensuring that the spot you choose aligns with your ergonomic needs and enhances your productivity.
Remember, finding the right location for your monitor is vital for a comfortable and enjoyable viewing experience while you work or play.
Step 3: Measure and Mark Drill Holes
Before drilling any holes, it’s crucial to measure and mark the precise locations where the mount will be installed. Follow these steps to ensure accurate hole placement:
- Measure the height: Using a tape measure, determine the desired height of your monitor. Consider factors like your seating position and eye level. Mark this height on the wall using a pencil or marker.
- Find the center: Measure the width of your monitor and locate the center point. Mark this point on the wall, ensuring it aligns with the previously marked height.
- Mark the mounting holes: Check the mounting plate of your monitor mount to find the hole positions. Measure the distance between the holes horizontally and mark these points on the wall. Repeat this step for the vertical distance between the holes.
- Double-check the measurements: Use a level to verify that the marks are straight and aligned. Make adjustments if needed to ensure the proper alignment of the mount.
Once you have marked the drill hole points, step back and confirm that they align with your desired monitor placement and the overall layout of your workspace.
Remember, precise measurement and marking of drill holes is vital to ensure the secure and accurate installation of the monitor mount.
Step 4: Drill the Pilot Holes
Now that you have measured and marked the drill hole locations, it’s time to proceed with drilling the pilot holes. Follow these steps to ensure a smooth and precise drilling process:
- Choose the right drill bit: Select a drill bit that matches the diameter of the wall anchors you’ll be using. Refer to the instructions provided with your wall anchors to determine the appropriate size.
- Put on safety gear: Wear safety goggles to protect your eyes from any flying debris while drilling.
- Position the drill: Hold the drill securely with both hands and align the drill bit with the first marked hole on the wall.
- Start drilling: Apply gentle pressure as you slowly drill into the wall. Begin with a slow speed to create a guide hole. Then, increase the speed and continue drilling until you reach the required depth for the wall anchors.
- Repeat for remaining holes: Move to the next marked hole and drill in the same manner. Repeat this step for all the marked holes on the wall.
- Remove debris: After drilling each hole, use compressed air or a small brush to remove any debris or dust from the holes. This will ensure a better fit for the wall anchors.
Remember to take breaks if necessary, especially if you’re drilling into harder materials like concrete or brick. It’s important to maintain control and avoid rushing the drilling process.
Once you have drilled the pilot holes, you’re one step closer to securely mounting your monitor. The next step is inserting the wall anchors to provide stability and support.
Step 5: Insert Wall Anchors
With the pilot holes drilled, it’s time to insert wall anchors to ensure a secure installation of your monitor mount. Follow these steps to insert the wall anchors:
- Choose the right wall anchors: Refer to the instructions provided with your monitor mount to determine the appropriate type and size of wall anchors for your specific wall material. Common types include expansion anchors, toggle bolts, and plastic anchors.
- Prepare the wall anchors: If necessary, assemble the wall anchors according to the instructions provided. This may involve attaching screws or expanding the anchor wings.
- Insert the wall anchors: Place a wall anchor into each of the pilot holes you drilled earlier. Use a hammer or a rubber mallet to gently tap the anchor into place until it is flush with the wall surface.
- Double-check the anchor fit: Ensure that the wall anchors fit snugly and securely in the pilot holes. This will provide a stable foundation for mounting your monitor.
Inserting wall anchors is a crucial step in ensuring that your monitor mount is properly supported and can withstand the weight of your monitor. It’s essential to follow the manufacturer’s instructions and use the correct wall anchors for your wall material.
Once the wall anchors are securely in place, you’re ready to move on to the next step and attach the mount to the wall.
Step 6: Attach the Mount to the Wall
Now that the wall anchors are in place, it’s time to attach the monitor mount to the wall. Follow these steps to ensure a secure and stable attachment:
- Align the mount: Line up the mounting plate or bracket on the back of the mount with the wall anchors. Ensure that the holes on the mount align with the anchors.
- Secure the mount: Insert the screws provided with your monitor mount into the holes on the mount and tighten them using a screwdriver or the appropriate tool. Make sure to follow the manufacturer’s instructions for proper tightening.
- Double-check the stability: Give the mount a gentle shake to ensure that it is securely attached to the wall. If there is any wobbling or instability, check the screws and wall anchors to ensure they are tightened correctly.
- Use a level: Place a level on the mount to ensure that it is straight and level. Make any necessary adjustments if the mount is not aligned properly.
It’s important to note that the process of attaching the mount may vary depending on the specific design of your monitor mount. Always refer to the manufacturer’s instructions to ensure the correct installation process.
Once the mount is securely attached to the wall, you’re one step closer to enjoying the benefits of a mounted monitor. The next steps involve adjusting the monitor placement and securing the monitor to the mount.
Step 7: Adjust the Monitor Placement
With the mount securely attached to the wall, it’s time to adjust the placement of your monitor for optimal viewing comfort. Follow these steps to find the perfect position:
- Tilt adjustment: If your mount allows for tilt adjustment, adjust it to find the most comfortable viewing angle. Tilt the monitor up or down based on your personal preference and the level of eye strain you experience.
- Swivel adjustment: Some mounts offer swivel adjustment, allowing you to rotate the monitor from side to side. Rotate the monitor to align it with your seating position or to share the screen with others when needed.
- Height adjustment: If your mount has height adjustment capabilities, set the height of the monitor to align with your eye level. This will reduce neck strain and promote better posture.
- Distance adjustment: Adjust the distance between your eyes and the monitor. Ensure that it is neither too close nor too far, aiming for a comfortable viewing experience.
Take your time to experiment with different adjustments until you find the perfect balance of comfort and visibility. Remember, everyone’s preferences may vary, so find the position that works best for you.
In addition, make sure that the monitor is properly aligned with your desk and other surrounding elements to create a cohesive and functional workspace.
By adjusting the monitor placement, you can enhance your viewing experience and reduce the risk of discomfort associated with prolonged computer use.
Step 8: Secure the Monitor to the Mount
Now that you have adjusted the monitor placement to your liking, it’s time to secure the monitor to the mount. Follow these steps to ensure a stable and secure attachment:
- Locate the mounting holes: Check the back of your monitor for the VESA mounting holes. These holes are typically in a square or rectangular pattern and allow you to attach the monitor to the mount.
- Attach the mounting plate: Place the mounting plate or bracket on the back of the monitor, aligning the mounting holes with the holes on the monitor. Use the screws provided with your monitor mount to secure the plate to the monitor.
- Tighten the screws: Use a screwdriver or the appropriate tool to tighten the screws. Ensure that they are securely fastened, but be careful not to overtighten, as this could damage the monitor.
- Check for stability: Once the monitor is attached to the mount, give it a gentle shake to ensure that it is securely in place. Make any necessary adjustments if there is any wobbling or instability.
It’s important to note that the process of attaching the monitor to the mount may vary depending on the specific design of your monitor and mount. Always refer to the manufacturer’s instructions for proper attachment.
Once the monitor is securely attached to the mount, you can enjoy its stability and adjustability benefits. The final steps involve connecting the necessary cables and power to complete the setup.
Step 9: Connect Cables and Power
With the monitor securely attached to the mount, it’s time to connect the necessary cables and power to complete the setup. Follow these steps to ensure a proper connection:
- Review the cable connections: Take note of the cable ports on your monitor and gather the appropriate cables for connection. Common cables include HDMI, DisplayPort, VGA, or DVI cables.
- Connect the video cable: Depending on the available ports on your monitor and computer, connect the appropriate video cable. Insert one end of the cable into the corresponding port on the back of the monitor, and the other end into the corresponding port on your computer’s graphic card or video output.
- Connect the power cable: Insert the power cable into the power port on the back of the monitor. Connect the other end into a nearby power outlet.
- Check the cable connections: Ensure that all cable connections are secure and firmly attached. Verify that the cables are not bent or twisted, as this could affect the signal transmission.
Once all the cables are properly connected, you can power on the monitor and adjust any necessary display settings on your computer to optimize the screen resolution and refresh rate.
Remember to follow the instructions provided with your monitor and computer for any specific cable connection requirements.
With the cables and power successfully connected, you can now enjoy your mounted monitor and reap the benefits of an organized and ergonomic workspace.
Step 10: Test the Mount for Stability
Before considering the installation complete, it’s crucial to test the stability of the mount to ensure a safe and secure setup. Follow these steps to test the stability of your monitor mount:
- Gently shake the monitor: Apply light pressure and give the monitor a gentle shake to simulate everyday movements or accidental bumps. Observe if the mount remains stable and if the monitor stays securely in place.
- Check for any wobbling: Carefully observe the monitor for any signs of wobbling or movement. If you notice excessive wobbling, double-check the tightness of the screws and ensure that the mount is properly attached to both the wall and the monitor.
- Verify the angle adjustments: Test the tilt and swivel adjustments of the mount to ensure smooth movement and secure locking in place. Make any necessary adjustments if the angle adjustments are not functioning properly.
- Ensure cable management: Check the cables connected to the monitor and ensure they are properly managed and organized. Use cable clips or ties to keep them tidy and prevent them from interfering with the mount or the monitor’s movement.
By conducting these tests, you can be confident that your mount is stable and that the monitor is securely attached, reducing the risk of accidents or damage. If any issues are identified during testing, make the necessary adjustments or seek professional assistance if required.
Once you are satisfied with the stability of the mount, you can now fully enjoy the benefits of your mounted monitor, including improved productivity, comfort, and a clutter-free workspace.
Conclusion
Mounting your monitor can significantly enhance your workspace by providing better ergonomics, improved visibility, and increased desk space. By following these step-by-step instructions, you can successfully mount your monitor and enjoy the benefits of a secure and organized setup.
We started by choosing the right mount for your monitor, considering factors such as size, weight, and adjustability. Then, we discussed finding the ideal location for mounting the monitor, taking into account factors like eye level, distance, and accessibility.
Next, we went through the process of measuring and marking drill holes, drilling the pilot holes, and inserting wall anchors to ensure a solid foundation. We then moved on to attaching the mount to the wall, aligning it properly, and confirming its stability.
After that, we discussed the importance of adjusting the monitor’s placement, including tilt, swivel, height, and distance, to optimize comfort and viewing angles. We also covered securing the monitor to the mount with the appropriate mounting plate and screws.
Connecting the necessary cables and power came next, ensuring proper video and power transmission between the monitor and your computer. Finally, we concluded by testing the stability of the mount, ensuring that it can withstand everyday movements and vibrations.
By following these steps, you can achieve a secure and ergonomic monitor setup that promotes productivity, reduces strain on your body, and enhances your overall workspace aesthetics.
Remember, always refer to the manufacturer’s instructions specific to your monitor and mount for the most accurate and detailed installation guidance. If you’re unsure or uncomfortable with the process, it’s recommended to seek professional assistance to ensure a safe and successful installation.
Now, with your monitor securely mounted, you can enjoy a more efficient and comfortable work or play environment. Happy computing!