Introduction
Mounting a CPU cooler is an essential step in building or upgrading your computer. The cooler ensures that the processor stays within safe operating temperatures, preventing overheating and potential damage. Generally, CPU coolers come with pre-installed mounts that make the installation process straightforward. However, there may be instances where you need to mount a CPU cooler without pre-existing mounts or when the mounts are lost or broken.
In this article, we will explore various methods to mount a CPU cooler without mounts. Whether you don’t have the necessary mounts or are looking for a budget-friendly solution, we’ve got you covered. We’ll guide you through each method, outlining the steps you need to follow to successfully mount your CPU cooler. From using zip ties to creating homemade mounts, we’ll provide you with different techniques that can save you time and money.
Before delving into the different methods, it’s important to understand the basics of CPU coolers and the role they play in maintaining optimal processor temperatures. Let’s now take a closer look at CPU coolers and their significance in computer systems.
Understanding CPU Coolers
A CPU cooler is a device that dissipates heat generated by the Central Processing Unit (CPU) during operation. It plays a crucial role in maintaining stable operating temperatures for your computer’s processor, ensuring optimal performance and longevity.
There are various types of CPU coolers available on the market, each with its own unique design and cooling capabilities. The two most common types are air coolers and liquid coolers.
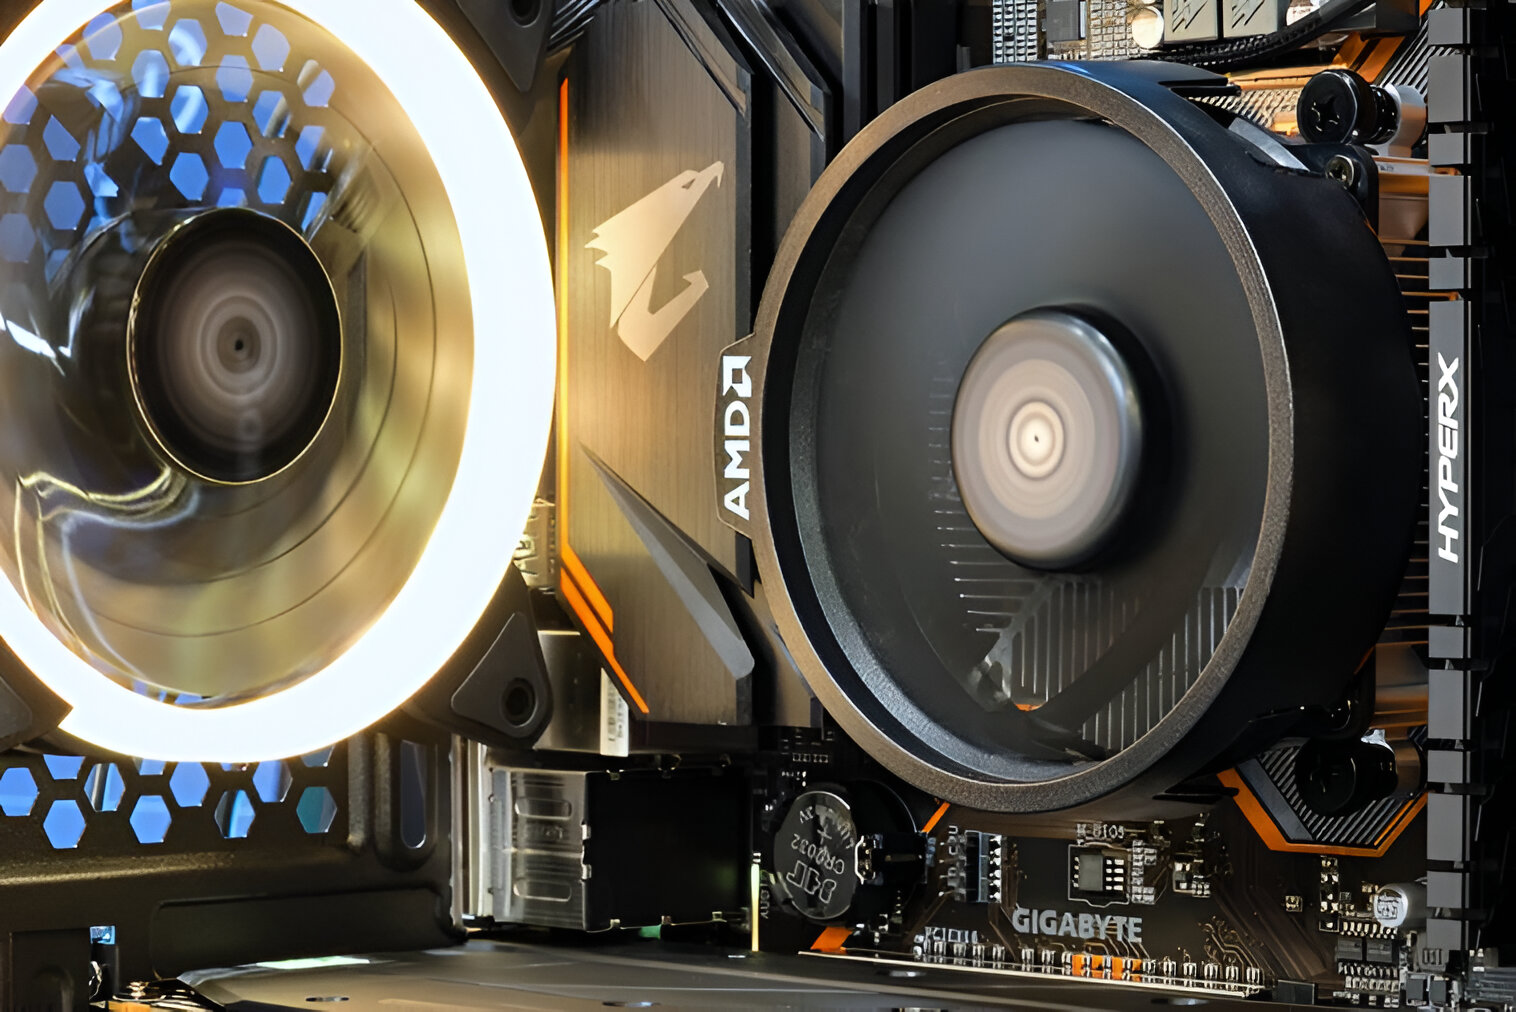
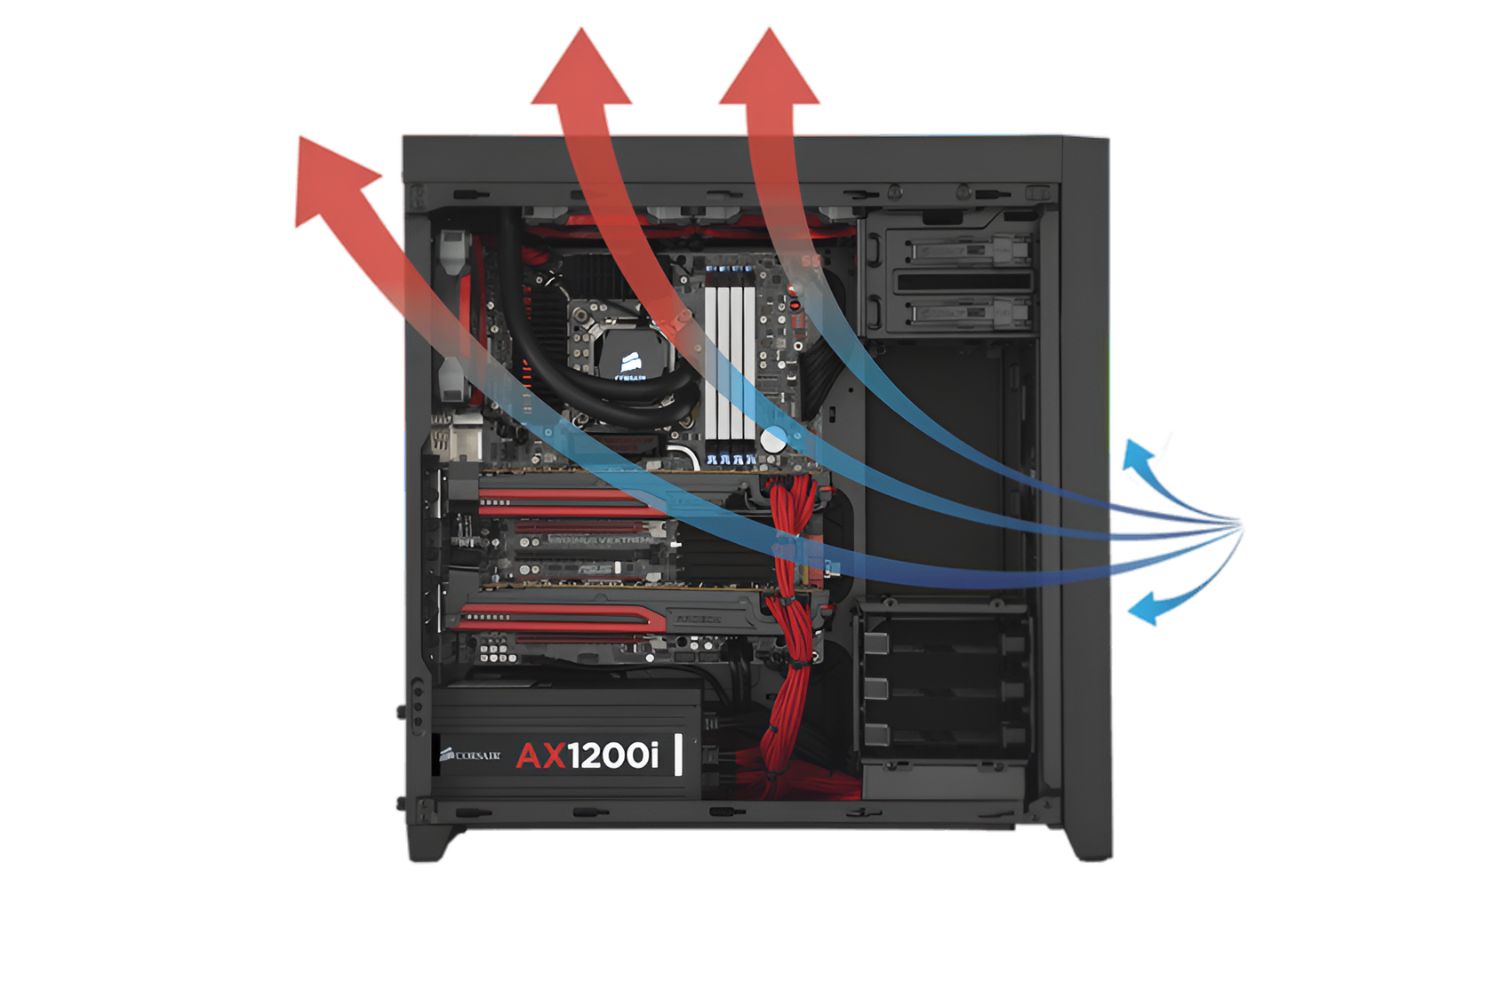
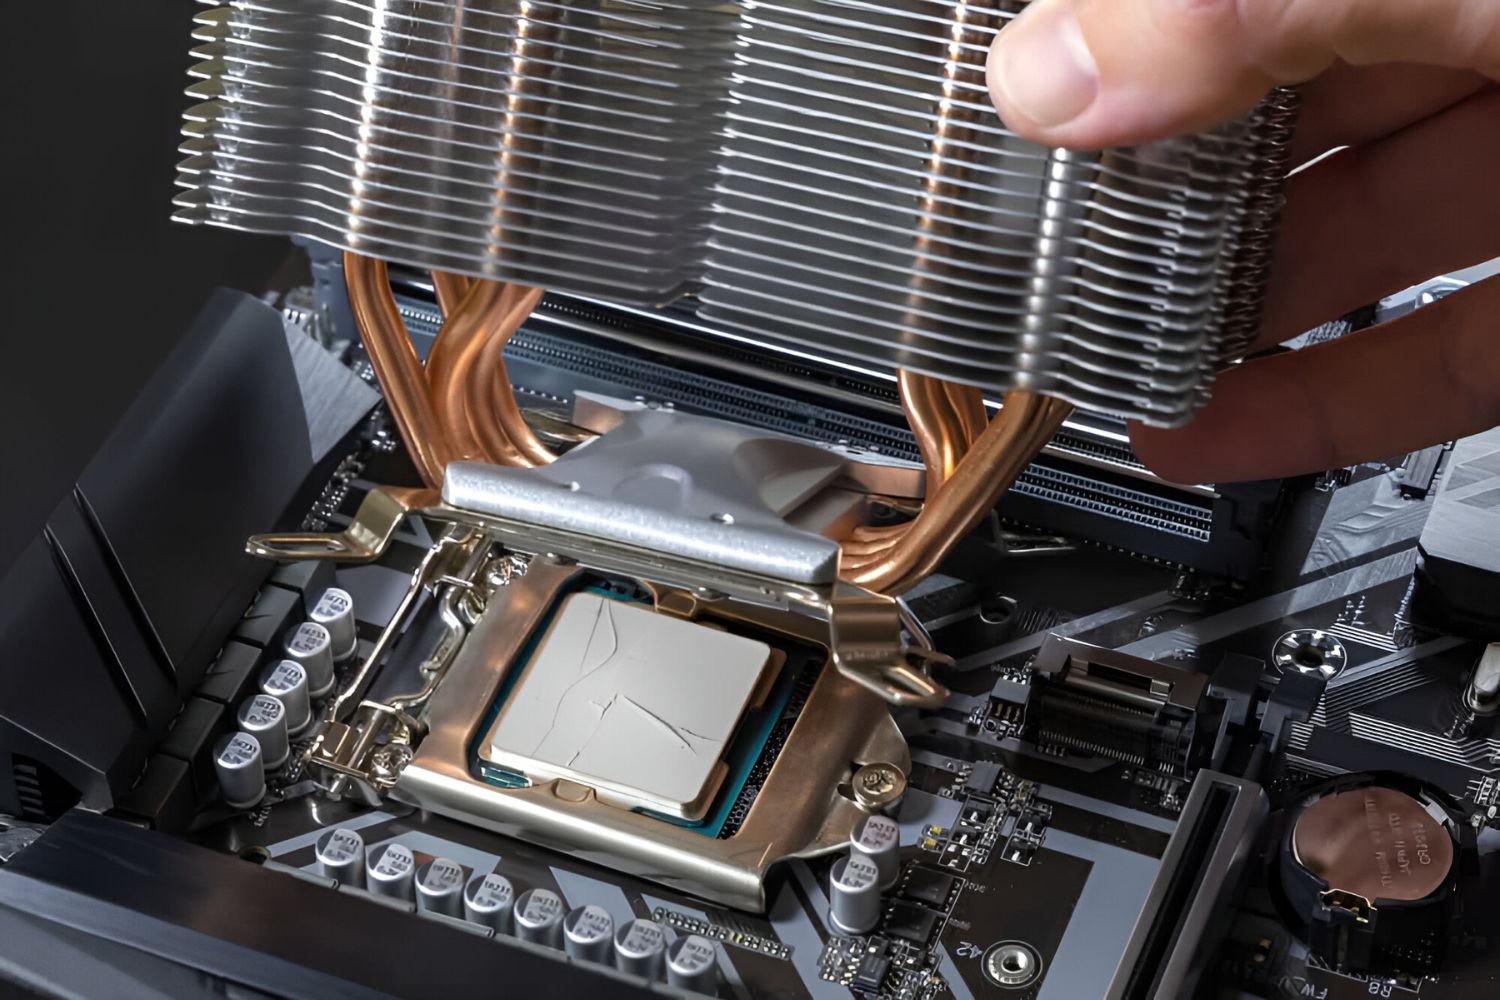
Air coolers consist of a heatsink, which is a collection of metal fins that absorb heat from the CPU, and a fan that blows air across the heatsink, dissipating the heat. These coolers are typically more affordable and easier to install.
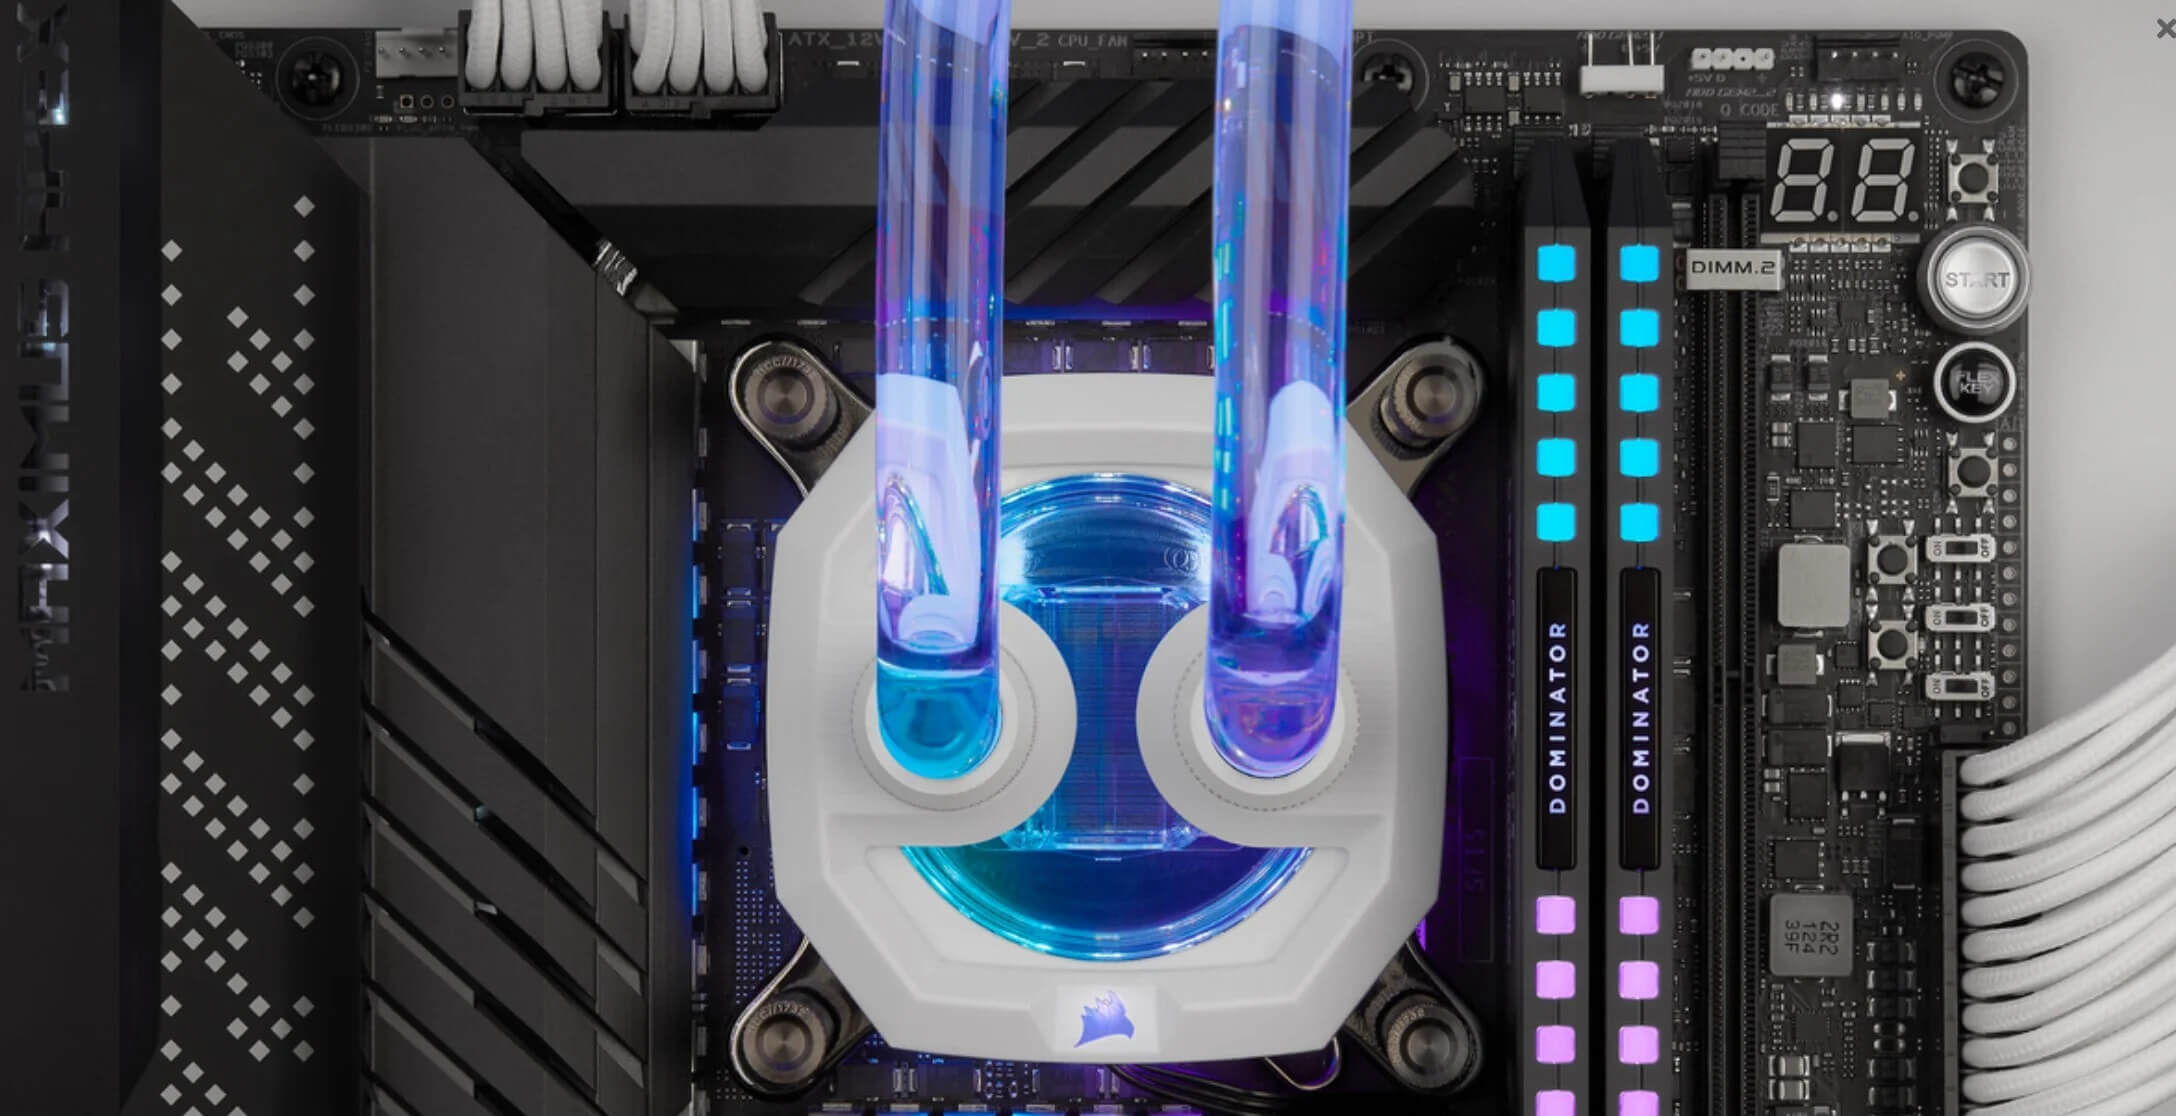
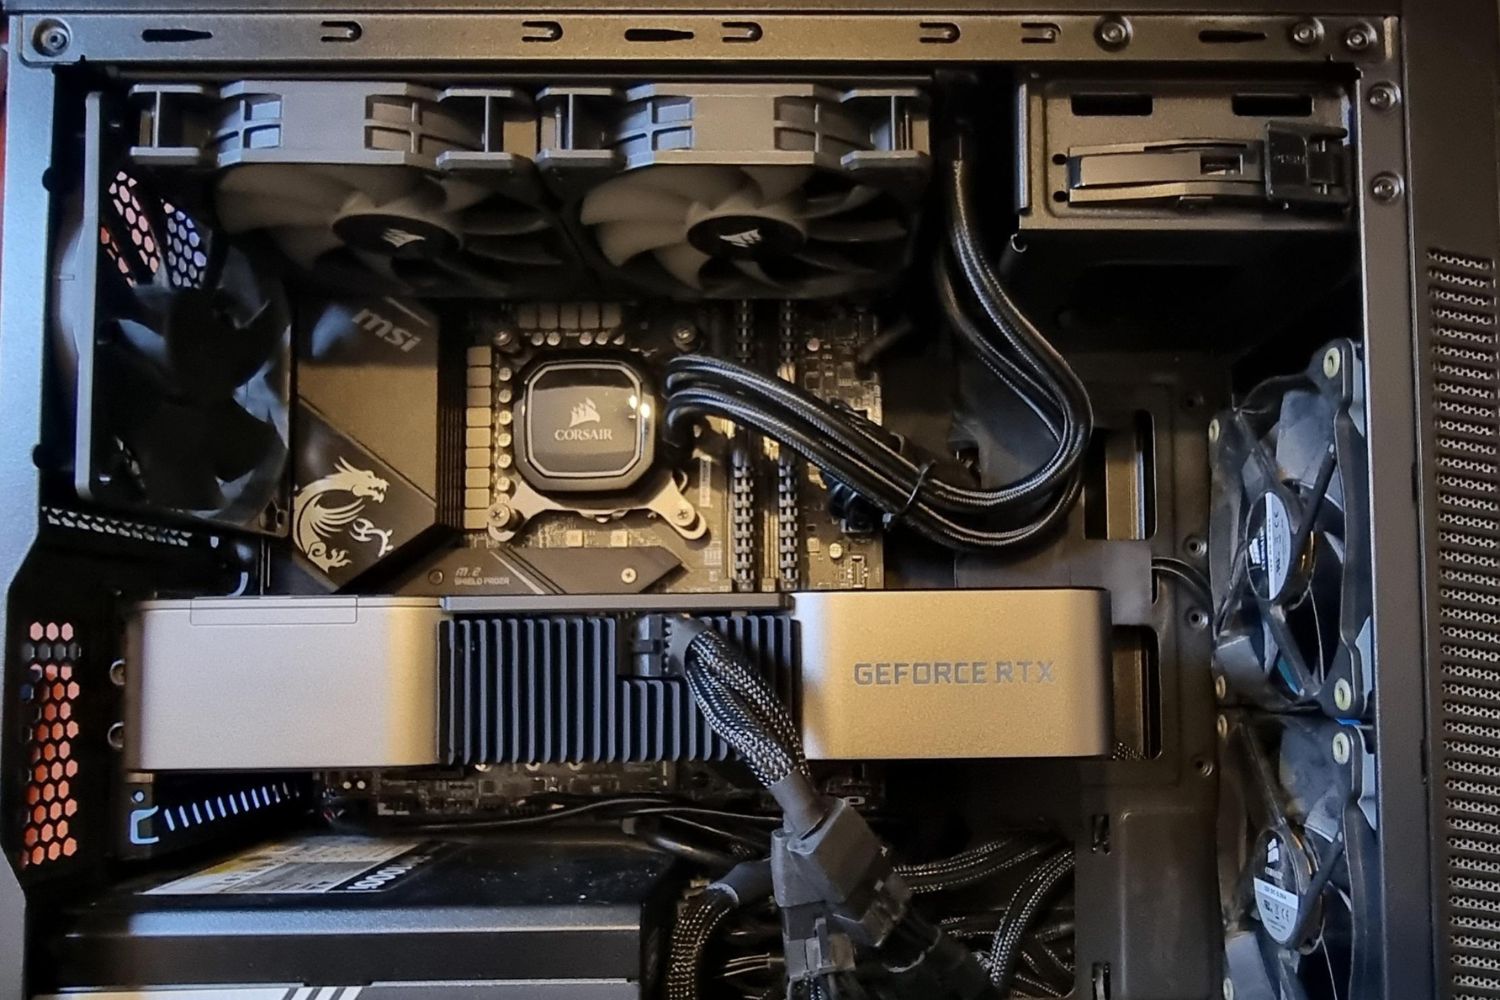
Liquid coolers, on the other hand, utilize a closed-loop system that circulates liquid coolant to cool the CPU. The liquid absorbs the heat from the CPU and transfers it to a radiator, where the heat is then dissipated into the air by a fan. Liquid coolers are often more efficient at cooling the CPU, especially in cases where the CPU is overclocked or subjected to heavy workloads.
It is important to choose a CPU cooler that is compatible with your CPU socket, as different CPUs require different coolers. Additionally, factors such as the case size, clearance for the cooler, and noise levels should be taken into consideration when selecting a CPU cooler.
Proper installation of a CPU cooler is crucial to ensure effective cooling. The cooler should be securely mounted on the CPU with good thermal paste application to facilitate efficient heat transfer. While most coolers come with pre-installed mounts, there may be situations where you need to find alternative methods to mount your CPU cooler.
In the following sections, we will explore different techniques to mount a CPU cooler without using traditional mounts. Whether you’re facing a broken mount or simply looking for a cost-effective solution, these methods will come in handy. So, let’s dive into the various methods of mounting a CPU cooler without mounts.
Preparation
Before proceeding with any of the methods to mount a CPU cooler without mounts, it’s important to gather the necessary tools and ensure you have a suitable workspace. Here are some key preparations to make before getting started:
1. Gather the tools: Check the requirements for the specific mounting method you plan to use and gather the required tools. This may include zip ties, adhesive mounting tape, a drill, screws, washers, pliers, or any other supplies mentioned in the method you choose.
2. Prepare the CPU cooler: Ensure that your CPU cooler is clean and in good condition. Remove any dust or debris from the heatsink and fan using compressed air or a soft brush. Also, make sure you have thermal paste available for proper heat transfer between the CPU and cooler.
3. Clearing the workspace: Create a clean and clutter-free space to work on. This will minimize the risk of losing or damaging any small components during the mounting process. Additionally, ensure that you have enough lighting and a stable surface to place your computer.
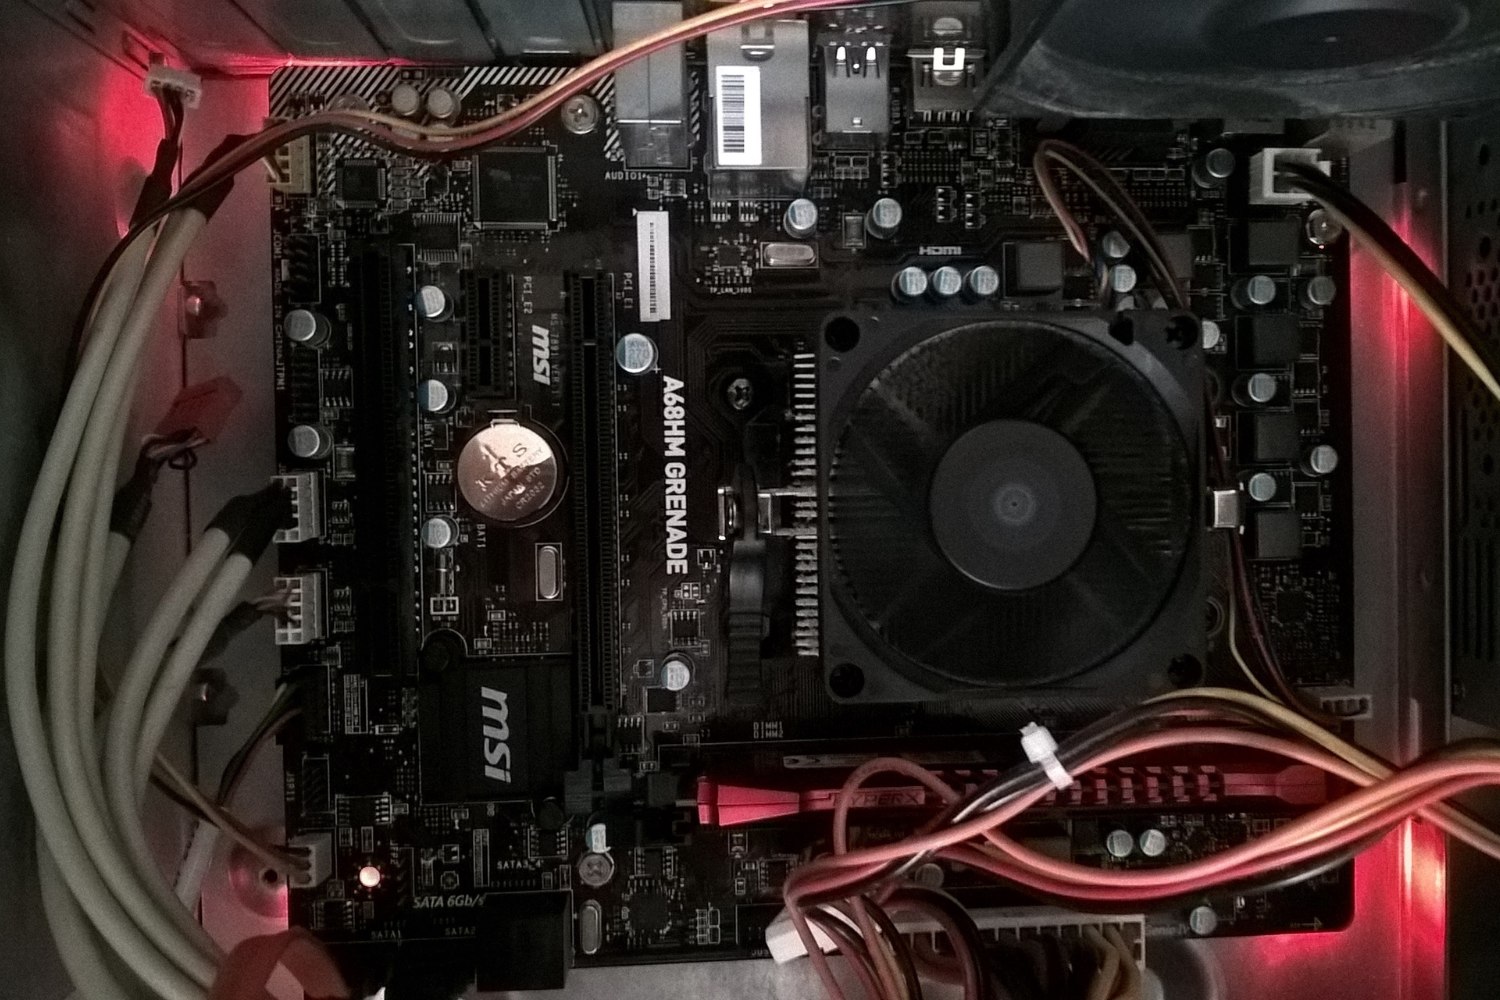
4. Familiarize yourself with the CPU socket: Take a moment to understand the layout and design of the CPU socket on your motherboard. This will help you navigate the installation process and identify any potential obstacles or constraints that may affect the mounting process.
5. Access the motherboard manual: It’s always a good idea to consult your motherboard’s manual to understand the specific requirements and recommendations for mounting a CPU cooler. The manual can provide valuable instructions and illustrations that are specific to your motherboard model.
By taking these preparation steps, you will be well-equipped to proceed with mounting your CPU cooler without mounts using the method that best suits your situation. Now that you’re ready, let’s explore the different methods you can employ to successfully mount your CPU cooler.
Method 1: Using Zip Ties
If you find yourself without the necessary mounts for your CPU cooler, using zip ties can be an effective and convenient alternative. Zip ties are inexpensive and widely available, making them a popular choice for mounting coolers in situations where traditional mounts are not available. Follow these steps to mount your CPU cooler using zip ties:
1. Prepare the cooler and motherboard: Ensure that both the CPU cooler and motherboard are clean and free of any obstructions. Remove any pre-existing mounts or brackets that may interfere with the installation process.
2. Align the cooler: Carefully place the cooler onto the CPU, aligning it with the mounting holes on the motherboard. Check that the cooler is centered and in the correct position before proceeding.
3. Insert the zip ties: Take two zip ties and insert them through the mounting holes on the motherboard, passing them over the CPU cooler. Make sure to position the zip ties in a way that they will securely hold the cooler in place.
4. Tighten the zip ties: Begin tightening the zip ties by pulling them snugly. Be cautious not to overtighten, as this may damage the cooler or motherboard. Ensure that the cooler is firmly and evenly attached to the CPU.
5. Trim the excess: Once the zip ties are tightened, trim off the excess length to achieve a clean and tidy appearance. This will prevent any interference with other components or fans within the case.
6. Test the mounting: Gently shake the computer case to ensure that the cooler is securely mounted. If the cooler moves excessively, readjust the zip ties and tighten them further as needed.
By following these steps, you can successfully mount your CPU cooler using zip ties. However, it’s important to note that while zip ties can be a temporary solution, they may not provide as secure or long-lasting of a hold as traditional mounts. Therefore, it’s advisable to find a more permanent mounting solution at your earliest convenience.
Method 2: Creating Homemade Mounts
If you don’t have access to traditional mounts for your CPU cooler, you can create your own homemade mounts using readily available materials. This method requires a bit of creativity and resourcefulness, but it can be an effective solution. Follow these steps to create homemade mounts for your CPU cooler:
1. Assess available materials: Look for any small, sturdy objects that can be repurposed as mounts. This can include metal brackets, washers, screws, or any other materials you have on hand that are suitable for supporting the weight of the cooler.
2. Measure and cut: Take precise measurements of the distance between the mounting holes on the cooler and the corresponding holes on the motherboard. Use these measurements to cut the metal brackets or other materials to the appropriate size that aligns with the mounting holes.
3. Position the mounts: Place the cut pieces in the desired position, ensuring they align with the mounting holes on both the cooler and the motherboard. Use pliers or a small screwdriver to bend or reshape the mounts if necessary to achieve a proper fit.
4. Secure the mounts: Using screws or other appropriate fasteners, attach the homemade mounts to the cooler and motherboard, ensuring a tight and secure connection. Make sure the alignment is correct and there is no wobbling or movement.
5. Test the mounting: Gently shake the computer case to check if the cooler is securely mounted. If there is excessive movement or the mounts feel unstable, readjust and tighten them as needed until the cooler is firmly fixed in place.
By creating homemade mounts, you can securely attach your CPU cooler even without the traditional mounts. However, keep in mind that this method requires some DIY skills and may not provide the same level of stability as pre-existing mounts. It is recommended to monitor the mount’s performance and replace it with a proper mount as soon as possible for long-term reliability.
Method 3: Utilizing Retention Brackets
If your CPU cooler does not have the necessary mounts, another option is to utilize retention brackets. Retention brackets are additional components that can provide a secure mounting solution for coolers without pre-existing mounts. Follow these steps to mount your CPU cooler using retention brackets:
1. Identify compatible brackets: Check if your CPU cooler manufacturer offers retention brackets as an accessory or if there are aftermarket options available. Ensure that the retention brackets you choose are compatible with your CPU cooler model and motherboard socket.
2. Install the retention brackets: Begin by removing any pre-existing mounts or brackets from your CPU cooler. Then, follow the instructions provided by the manufacturer to install the retention brackets onto the cooler. Make sure they are securely attached and properly aligned.
3. Prepare the motherboard: Remove any existing mounting hardware or brackets from the CPU socket on your motherboard. Clean the area around the CPU socket, ensuring there are no debris or obstructions that may interfere with the installation of the retention brackets.
4. Insert the retention brackets: Carefully position the CPU cooler with the attached retention brackets on the CPU socket, aligning them with the corresponding mounting holes. Gently push down on the cooler to ensure it is properly seated on the CPU.
5. Secure the retention brackets: Use the provided screws or fasteners to secure the retention brackets onto the motherboard. Tighten them gradually in a diagonal pattern to ensure even pressure distribution.
6. Test the mounting: Give the computer case a gentle shake to verify that the cooler is firmly attached to the CPU socket. If there is excessive movement or looseness, check the retention brackets and screws for proper installation.
By utilizing retention brackets, you can securely mount your CPU cooler even without the original mounts. These brackets provide a reliable and stable mounting solution, ensuring efficient heat dissipation and preventing any damage to your CPU. Remember to choose retention brackets that are designed specifically for your cooler model and motherboard socket for optimal compatibility and performance.
Method 4: Using Existing Mounts
In some cases, you may be fortunate enough to have existing mounts available to secure your CPU cooler, even if they are not specifically designed for your cooler model. By repurposing these mounts, you can successfully install your CPU cooler. Follow these steps to mount your CPU cooler using existing mounts:
1. Assess the existing mounts: Inspect your computer case and motherboard for any unused or slightly modified mounts that may be suitable for mounting your CPU cooler. Look for mounts that align with the mounting holes on your cooler and are sturdy enough to support its weight.
2. Adjust the mounts if necessary: If the existing mounts are slightly modified or not a perfect match for your CPU cooler, you may need to make some adjustments. Use pliers or a small screwdriver to carefully reshape or bend the mounts to better align with the cooler’s mounting holes.
3. Position the cooler: Carefully place the CPU cooler onto the CPU, aligning it with the existing mounts on the motherboard. Ensure that the cooler is centered and in the correct position for optimal heat dissipation.
4. Secure the mounts: Using screws, nuts, or other appropriate fasteners, attach the existing mounts to the cooler and motherboard. Make sure they are tightened securely but not overly tightened, as this could damage the cooler or motherboard.
5. Test the mounting: Gently shake the computer case to check if the cooler is securely mounted. If there is excessive movement or instability, readjust and tighten the mounts as needed until the cooler is firmly fixed in place.
By repurposing existing mounts, you can effectively mount your CPU cooler even if they are not originally designed for your cooler model. However, it’s important to ensure that the mounts are sturdy and provide a secure connection to prevent any potential damage to your CPU or motherboard. If you encounter any issues or concerns with this method, consider exploring alternative mounting solutions or seeking assistance from a professional technician.
Tips and Precautions
When mounting a CPU cooler without using traditional mounts, it’s important to keep a few tips and precautions in mind to ensure a successful installation. Here are some helpful tips and precautions to consider:
1. Take your time: Mounting a CPU cooler without traditional mounts may require some additional effort and patience. Take your time to carefully follow the instructions and double-check your work to ensure a secure and proper installation.
2. Check compatibility: Before attempting any alternative mounting methods, ensure that the cooler, mounts, and brackets you are using are compatible with your CPU socket and motherboard. Double-check the manufacturer’s specifications and recommendations to avoid any compatibility issues.
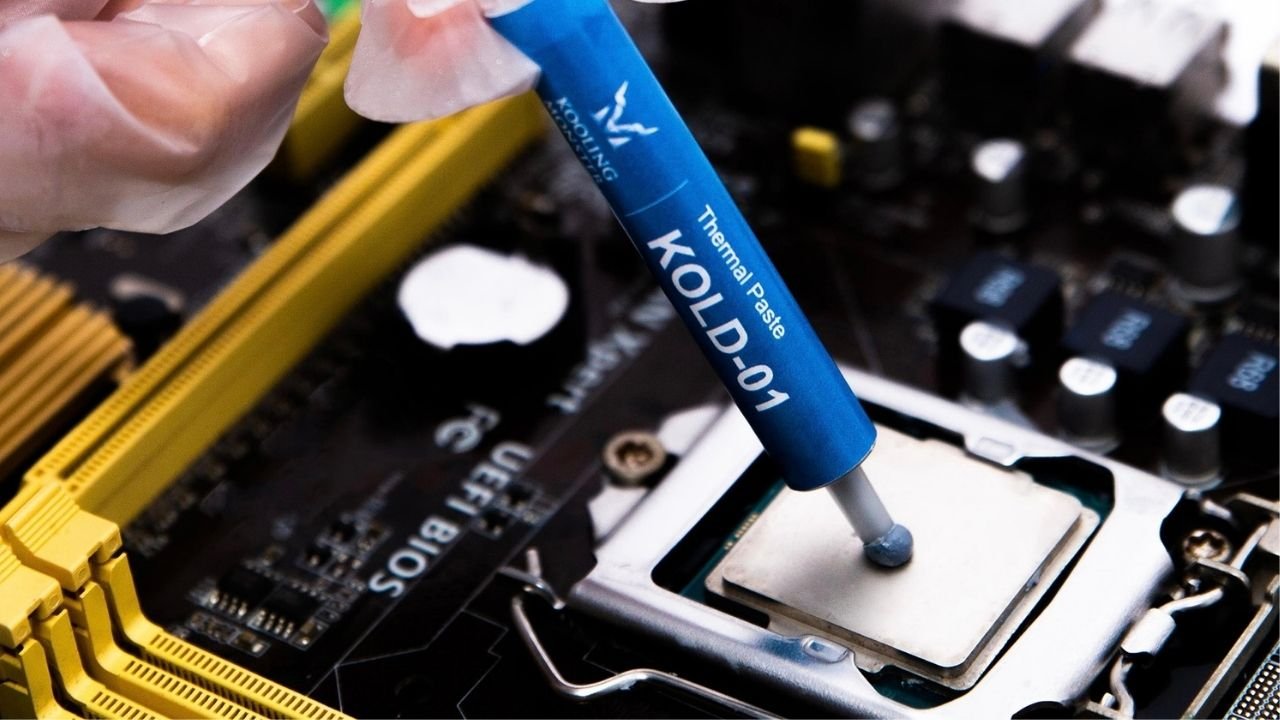
3. Use thermal paste: Regardless of the mounting method you choose, make sure to apply a thin layer of thermal paste between the CPU and the cooler. This will facilitate better heat transfer and improve cooling performance.
4. Monitor temperatures: After mounting your CPU cooler, keep an eye on the CPU temperatures during operation. Use monitoring software to ensure the cooler is effectively dissipating heat and maintaining safe temperature levels. If temperatures are consistently high, consider reevaluating the mounting method or seeking professional assistance.
5. Consider long-term solutions: While alternative mounting methods can be effective as temporary solutions, it’s recommended to find a more permanent mounting solution as soon as possible. Consider purchasing the appropriate mounts or brackets for your cooler or seek advice from a professional technician for the best long-term solution.
6. Safety first: Always prioritize safety when working on your computer. Ensure that the computer is powered off and unplugged before mounting or modifying any components. Take precautions to avoid any electrostatic discharge that may damage your sensitive computer components.
By following these tips and taking necessary precautions, you can increase the chances of a successful CPU cooler mounting experience. Remember, if you are unsure or uncomfortable with the process, it is always recommended to seek assistance from a qualified technician to ensure the best results and prevent any potential damage to your computer components.
Conclusion
Mounting a CPU cooler without traditional mounts may seem like a daunting task, but with the right methods and tools, it can be successfully accomplished. In this article, we explored various techniques to mount a CPU cooler without mounts, including using zip ties, creating homemade mounts, utilizing retention brackets, and repurposing existing mounts.
Each method offers its own advantages and considerations, allowing you to find the best solution based on your resources and requirements. From budget-friendly options to DIY approaches, these methods provide alternatives when pre-existing mounts are unavailable or damaged.
However, it’s important to remember that alternative mounting methods may not provide the same level of stability and reliability as traditional mounts. It is recommended to monitor the performance of your CPU cooler and consider finding a proper mounting solution as soon as possible.
Throughout the process, remember to follow precautions, such as taking your time, double-checking compatibility, and ensuring proper thermal paste application. Always prioritize safety and seek professional assistance if needed.
By exploring these methods and implementing the tips and precautions provided, you can successfully mount a CPU cooler without traditional mounts and ensure optimal cooling performance for your computer system.
Remember, the mounting process may vary based on your specific hardware, so it’s always a good idea to consult the manufacturer’s instructions and seek additional guidance if necessary. With the right approach and attention to detail, you’ll be able to efficiently mount your CPU cooler and enjoy a properly cooled system.