Introduction
Welcome to our guide on how to measure CPU cooler height. If you’re a PC enthusiast or planning to upgrade your computer’s cooling system, knowing the dimensions and compatibility of a CPU cooler is essential. The height of a CPU cooler refers to its vertical size, which is crucial for ensuring it fits inside your computer case without any issues.
Measuring CPU cooler height is particularly important when considering an upgrade or purchasing a new cooler. If a cooler is too tall, it may not fit inside your case, leading to compatibility issues and potentially obstructing other components. On the other hand, if a cooler is too short, it might not provide adequate cooling performance for your processor.
By accurately measuring the CPU cooler height, you can confidently select a cooler that meets your needs and fits perfectly in your computer case. In this guide, we will walk you through the step-by-step process of measuring CPU cooler height, from removing the side panel to considering compatibility factors.
Before we jump into the measurements, let’s take a look at the tools you will need to successfully measure CPU cooler height.
Why Measure CPU Cooler Height
Measuring the height of a CPU cooler is essential for several reasons. Let’s explore why it’s important to accurately measure CPU cooler height before making any upgrades or purchases.
1. Compatibility: Different computer cases have different clearance limits for CPU coolers. Measuring the height of your current cooler or the available space in your case will help you ensure that any new cooler you choose will fit properly. It will prevent you from encountering compatibility issues and save you the hassle of having to return or exchange a cooler that doesn’t fit.
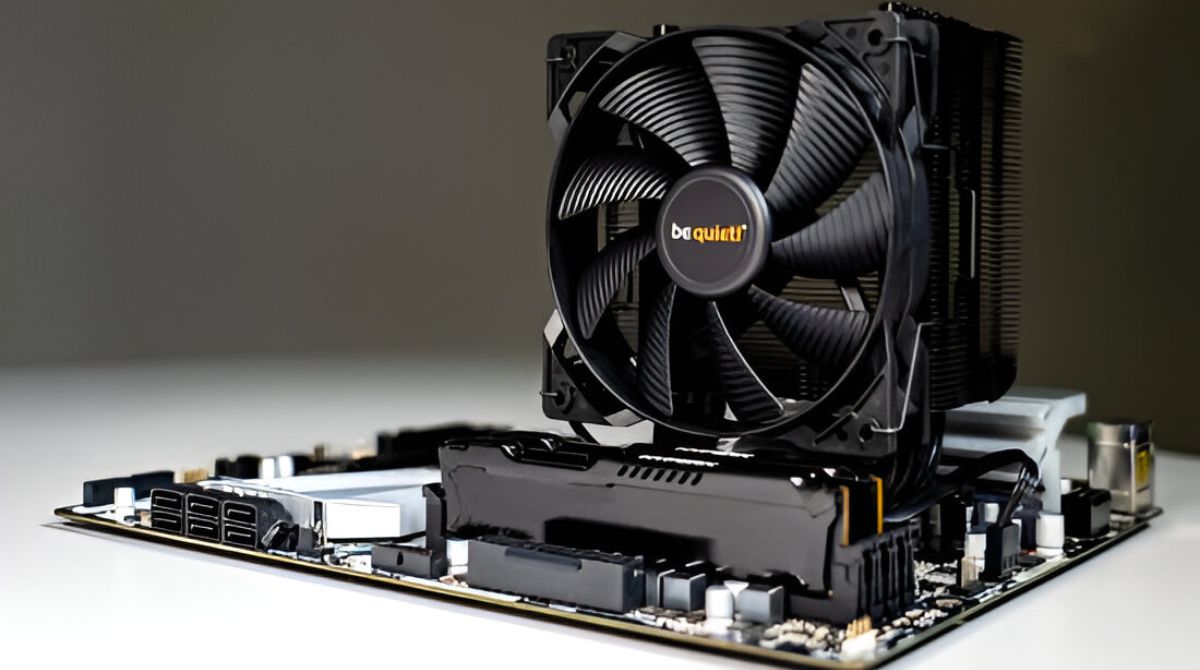
2. Cooling Performance: The height of a CPU cooler plays a crucial role in its cooling performance. A taller cooler generally has larger heatsinks and more surface area for heat dissipation, resulting in better cooling efficiency. By measuring the height of your current cooler, you can determine if upgrading to a taller cooler will provide improved cooling for your processor, especially if you are overclocking or running demanding tasks.
3. Noise Level: Some CPU coolers come with larger and slower-spinning fans, which can significantly reduce noise levels compared to smaller coolers. By measuring the height of your current cooler and researching the noise levels of other models, you can find a taller cooler that offers quieter operation without compromising on cooling performance.
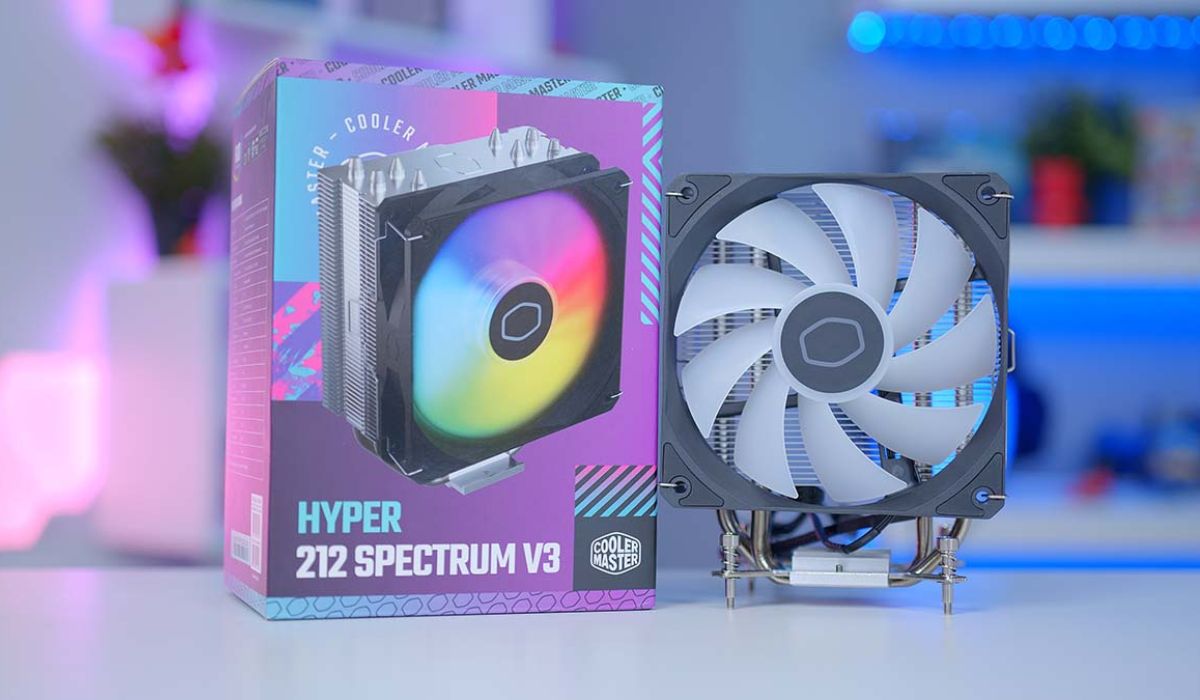
4. Aesthetics: The height of a CPU cooler can also impact the overall aesthetics of your computer build. If you have a windowed computer case or enjoy showcasing your components, a taller cooler with striking design features can enhance the visual appeal of your setup. Measuring the height of potential coolers will allow you to choose one that not only fits technically but also aligns with your aesthetic preferences.
By understanding the importance of measuring CPU cooler height, you can make informed decisions when it comes to upgrading or purchasing a new cooler. Now let’s move on to the tools you will need for the measuring process.
Tools Needed
Before you begin measuring the height of your CPU cooler, it’s important to gather the necessary tools. Here are the essential items you’ll need for this process:
1. Screwdriver: A screwdriver is essential for removing the side panel of your computer case. Depending on the type of screws used, you may need either a Phillips or a flathead screwdriver.
2. Measuring Tape or Ruler: You’ll need a measuring tape or ruler to accurately measure the height of your CPU cooler. Make sure the measuring device you use has clear markings in millimeters or inches to ensure precise measurements.
3. Notepad and Pen: Keeping a notepad and pen handy will come in handy when recording the measurements. Jot down the height of your current cooler and any other relevant details for future reference.
4. Camera or Smartphone: While not essential, having a camera or smartphone can be helpful for documenting the measurements or any other details you may need to refer to later on. This can be especially useful if you plan on researching or consulting experts before making a final decision.
With these tools at your disposal, you’re ready to begin measuring the height of your CPU cooler. In the next section, we’ll walk you through the step-by-step process of removing the side panel to access the cooler.
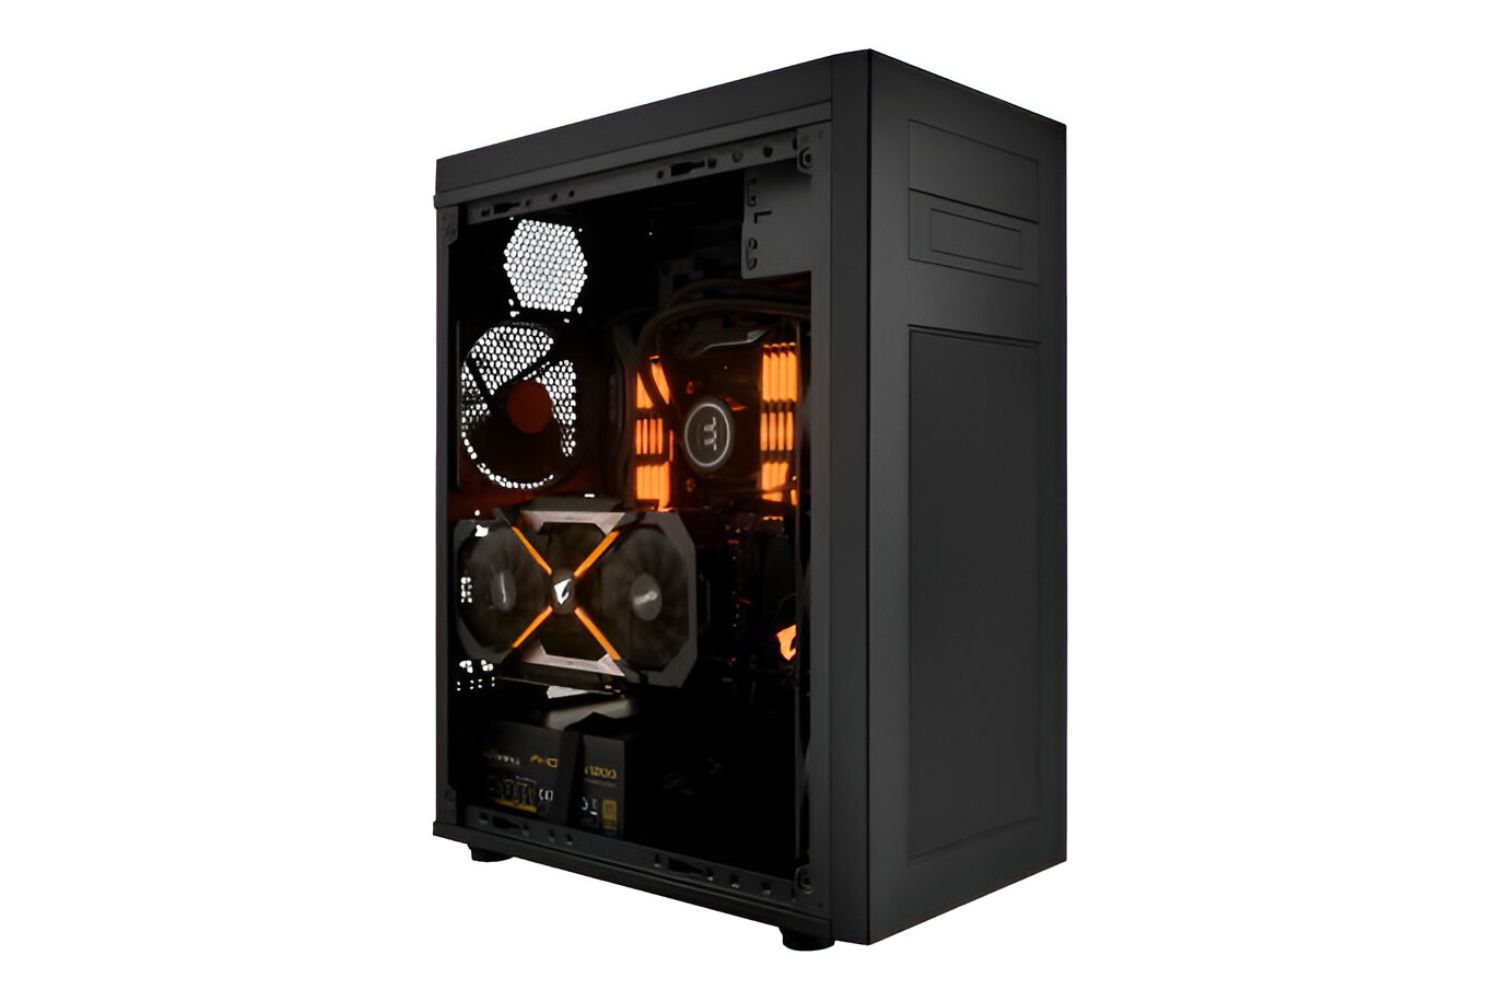
Step 1: Removing the Side Panel
To access your CPU cooler and measure its height, the first step is to remove the side panel of your computer case. Follow these steps to safely remove the side panel:
- Make sure your computer is powered off and unplugged to avoid any electrical hazards.
- Locate the screws or fasteners holding the side panel in place. These are usually located on the back or side of the case.
- Using a screwdriver, carefully remove the screws or unfasten the fasteners that secure the side panel. Set the screws aside in a safe place to avoid losing them.
- Gently slide or pull off the side panel, being careful not to apply too much force or damage any components inside.
Once the side panel is successfully removed, you will have clear access to your CPU cooler, allowing you to proceed with measuring its height. Keep in mind that the process of removing the side panel may vary slightly depending on the specific design of your computer case.
It is recommended to consult the manual or documentation provided with your computer case if you encounter any difficulties during this step. Different cases may have unique mechanisms or additional steps required for removing the side panel.
Now that you have accessed the CPU cooler, we can move on to the next step, which involves identifying the cooler for accurate measurement.
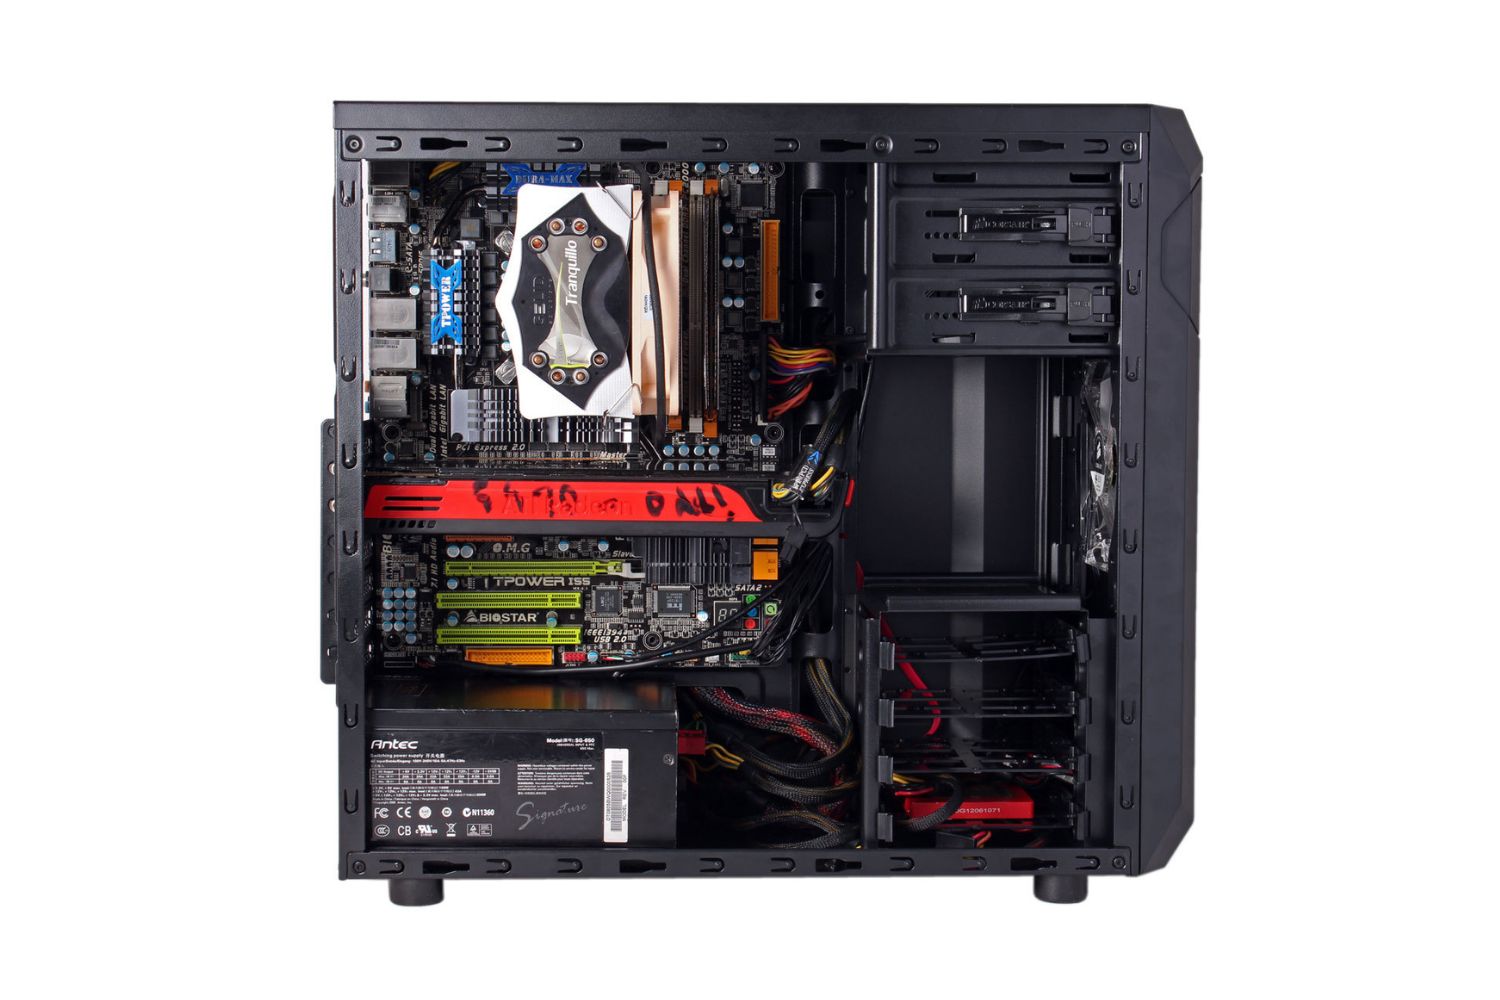
Step 2: Identifying the CPU Cooler
Once you have successfully removed the side panel of your computer case, the next step is to identify the CPU cooler. This will allow you to determine its specific height and proceed with measuring it accurately. Follow these steps to identify your CPU cooler:
- Locate the CPU socket on your motherboard. The CPU socket is usually a square or rectangular metal bracket with several holes or pins.
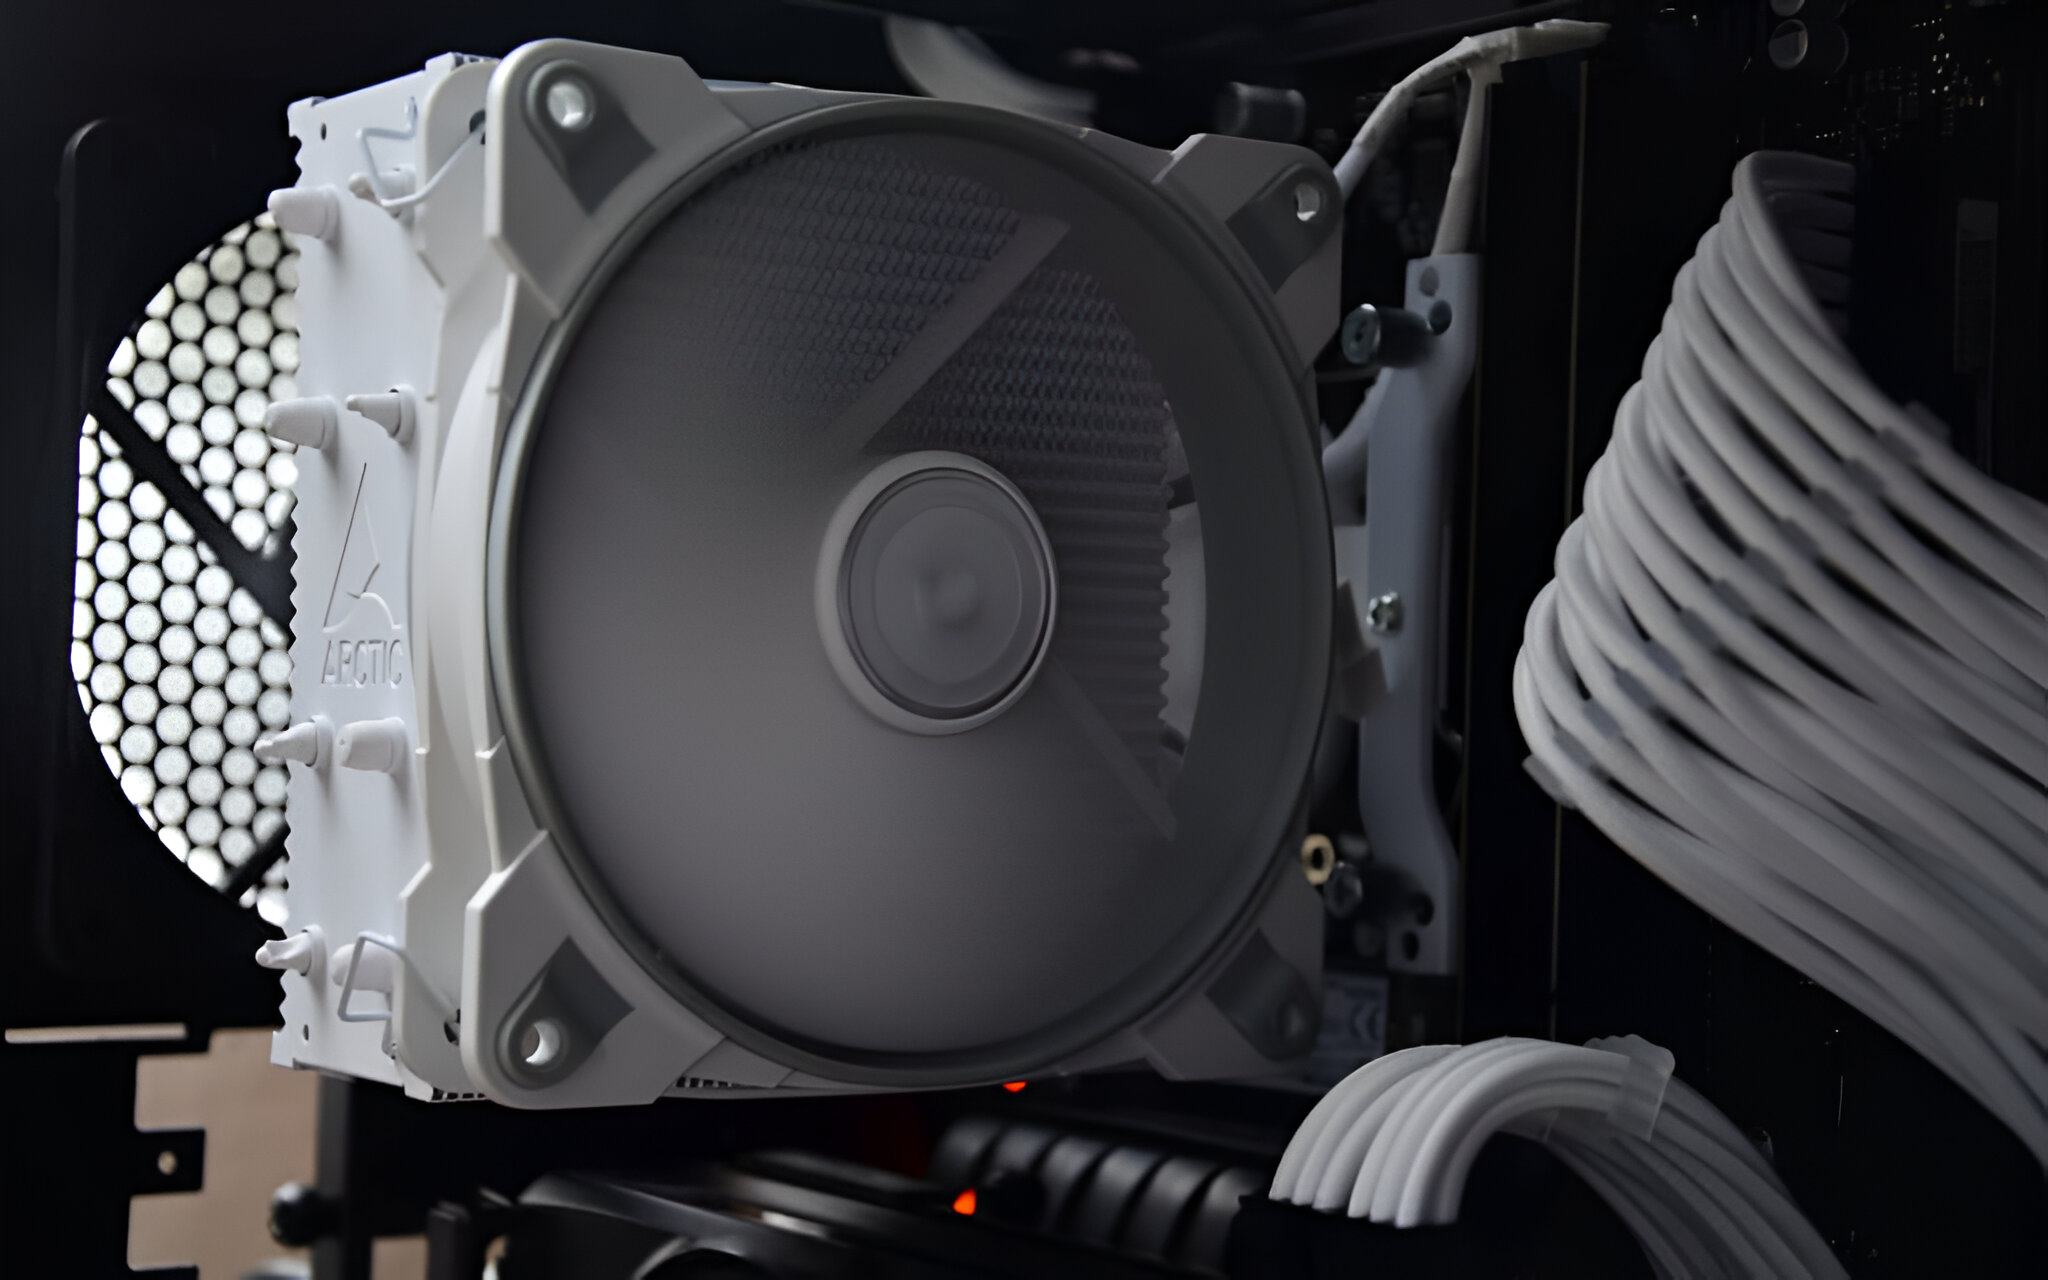
- Look for the cooling apparatus mounted on top of the CPU socket. This cooling apparatus consists of a heatsink and a fan.
- Inspect the cooler for any visible labels, markings, or logos that indicate the make and model. This information can typically be found on the top or side of the cooler.
- If you cannot find any labels or markings, use a camera or smartphone to take clear pictures of the cooler from different angles. These images can be useful for further research or consulting with experts.
Identifying the CPU cooler is crucial as it helps ensure accurate measurement and provides valuable information for compatibility assessment or future reference. In case you are unable to identify the cooler or gather sufficient information, consider contacting the manufacturer or referring to the documentation that came with your computer or cooler.
Once you have successfully identified the CPU cooler, you can proceed to the next step, which involves measuring its height.
Step 3: Measuring the Height
Now that you have identified your CPU cooler, it’s time to measure its height accurately. Follow these steps to measure the height of your CPU cooler:
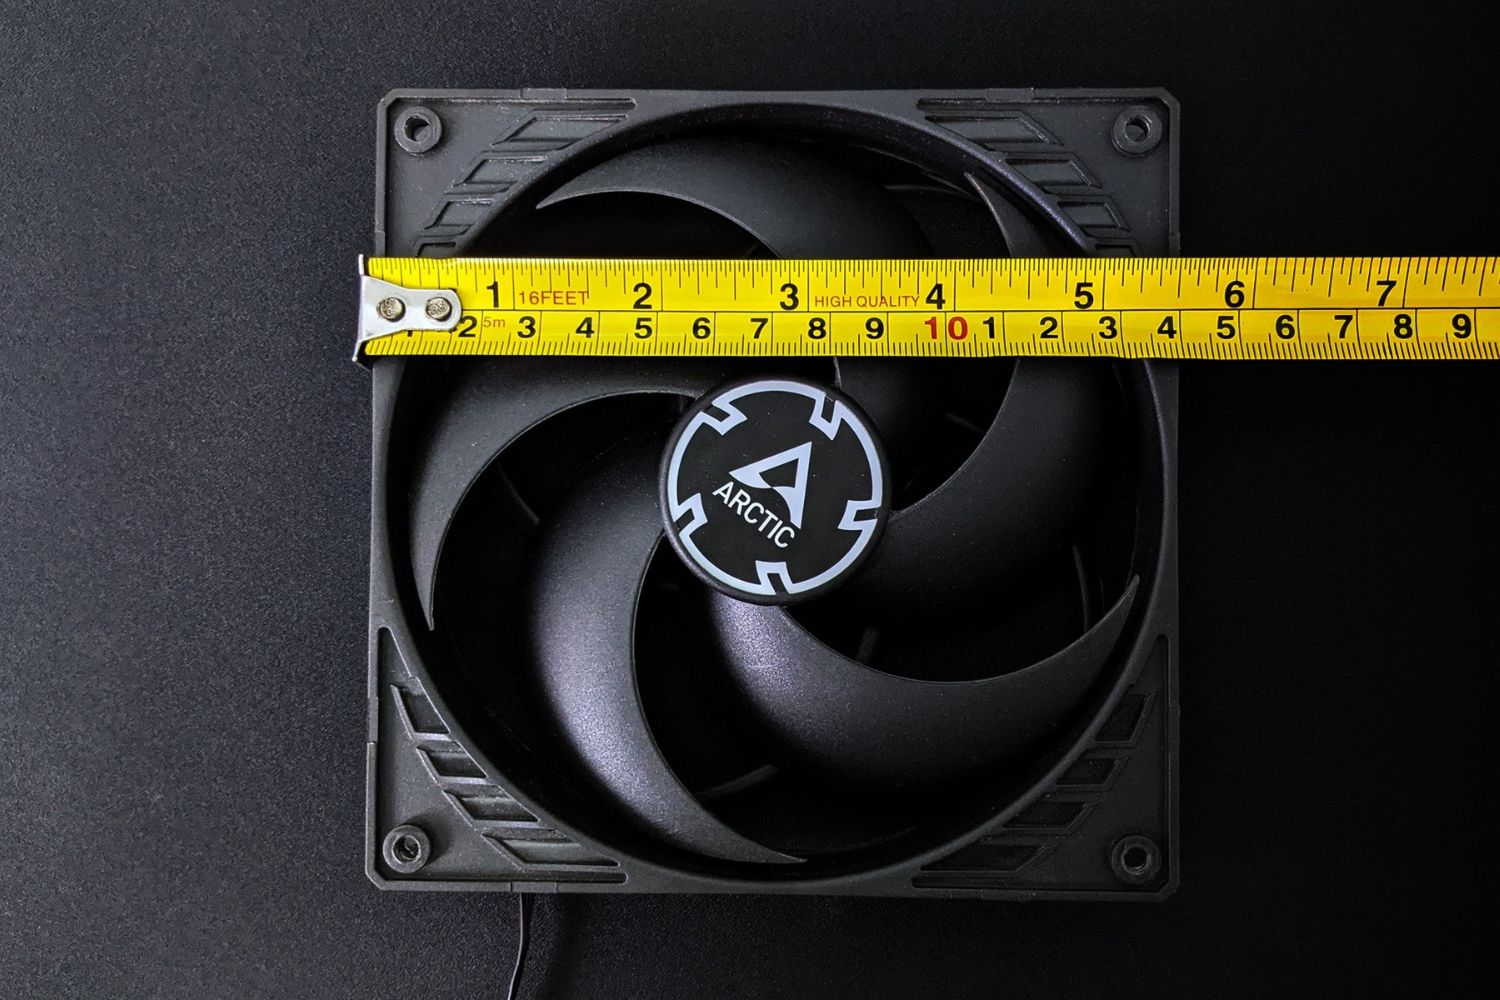
- Using a measuring tape or ruler, position the measuring device vertically along the side of the CPU cooler.
- Align the starting point of the measuring device with the base or bottom of the CPU cooler.
- Gently extend the measuring device upwards until you reach the top or highest point of the CPU cooler.
- Note down the measurement shown on the measuring device. Ensure your measurement is in millimeters or inches for consistency.
It’s important to take an accurate measurement by aligning the measuring device vertically along the side of the CPU cooler. Ensure that the measuring device remains straight and perpendicular to the base of the cooler for precise results.
If your CPU cooler has a unique shape or design that makes it difficult to measure directly, take multiple measurements from different points to get an average height. This will provide a more accurate representation of the CPU cooler’s overall height.
Once you have recorded the measurement, take note of any additional details about the CPU cooler that may be relevant for compatibility evaluation or future reference. This includes the make, model, and any special features or dimensions that may impact its installation or performance.
With the CPU cooler’s height accurately measured, we can move on to the next step, which involves considering compatibility factors and ensuring the selected cooler fits within your computer case.
Step 4: Considerations and Compatibility
After measuring the height of your CPU cooler, it’s important to consider compatibility factors before making a final decision. Here are some key considerations to keep in mind:
1. Computer Case Clearance: Check the specifications of your computer case to determine the maximum CPU cooler height it can accommodate. Compare this measurement with the height of your current cooler or the one you intend to purchase. Ensure there is enough clearance for the cooler to fit comfortably inside your case without obstructing other components such as RAM modules or the graphics card.
2. Airflow and Cooling Performance: Consider the cooling performance requirements of your system. A taller cooler with a larger heatsink and fan may provide better heat dissipation and airflow, leading to improved cooling performance. However, ensure that the cooler’s increased height does not interfere with other components or impede airflow within the case.
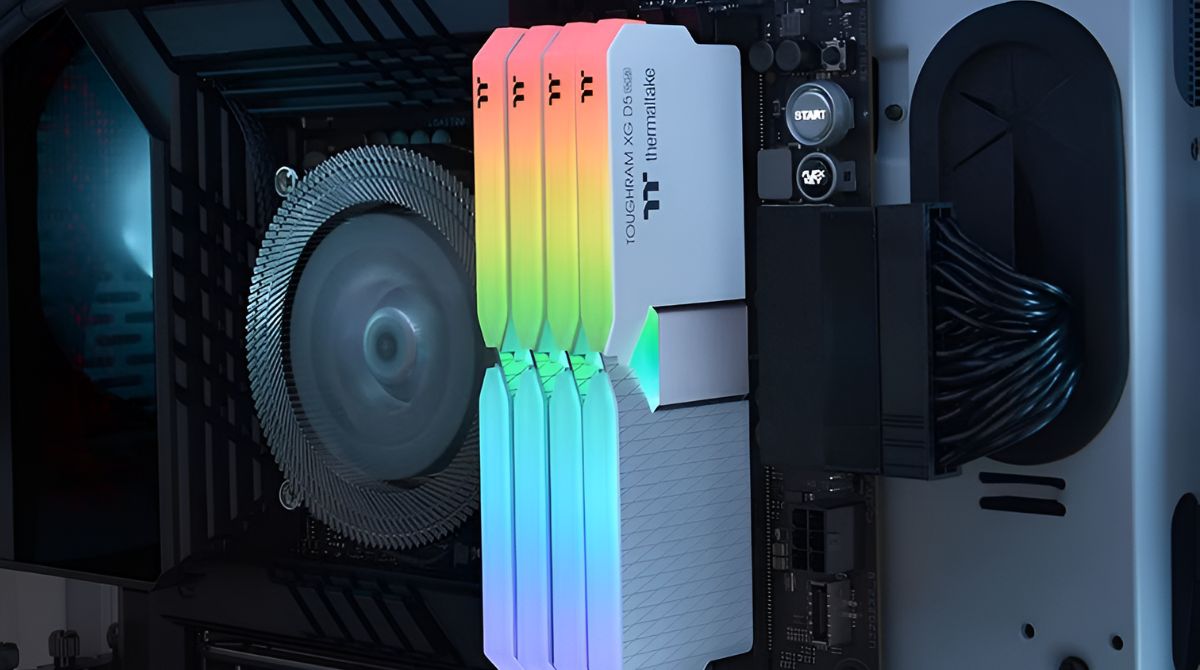
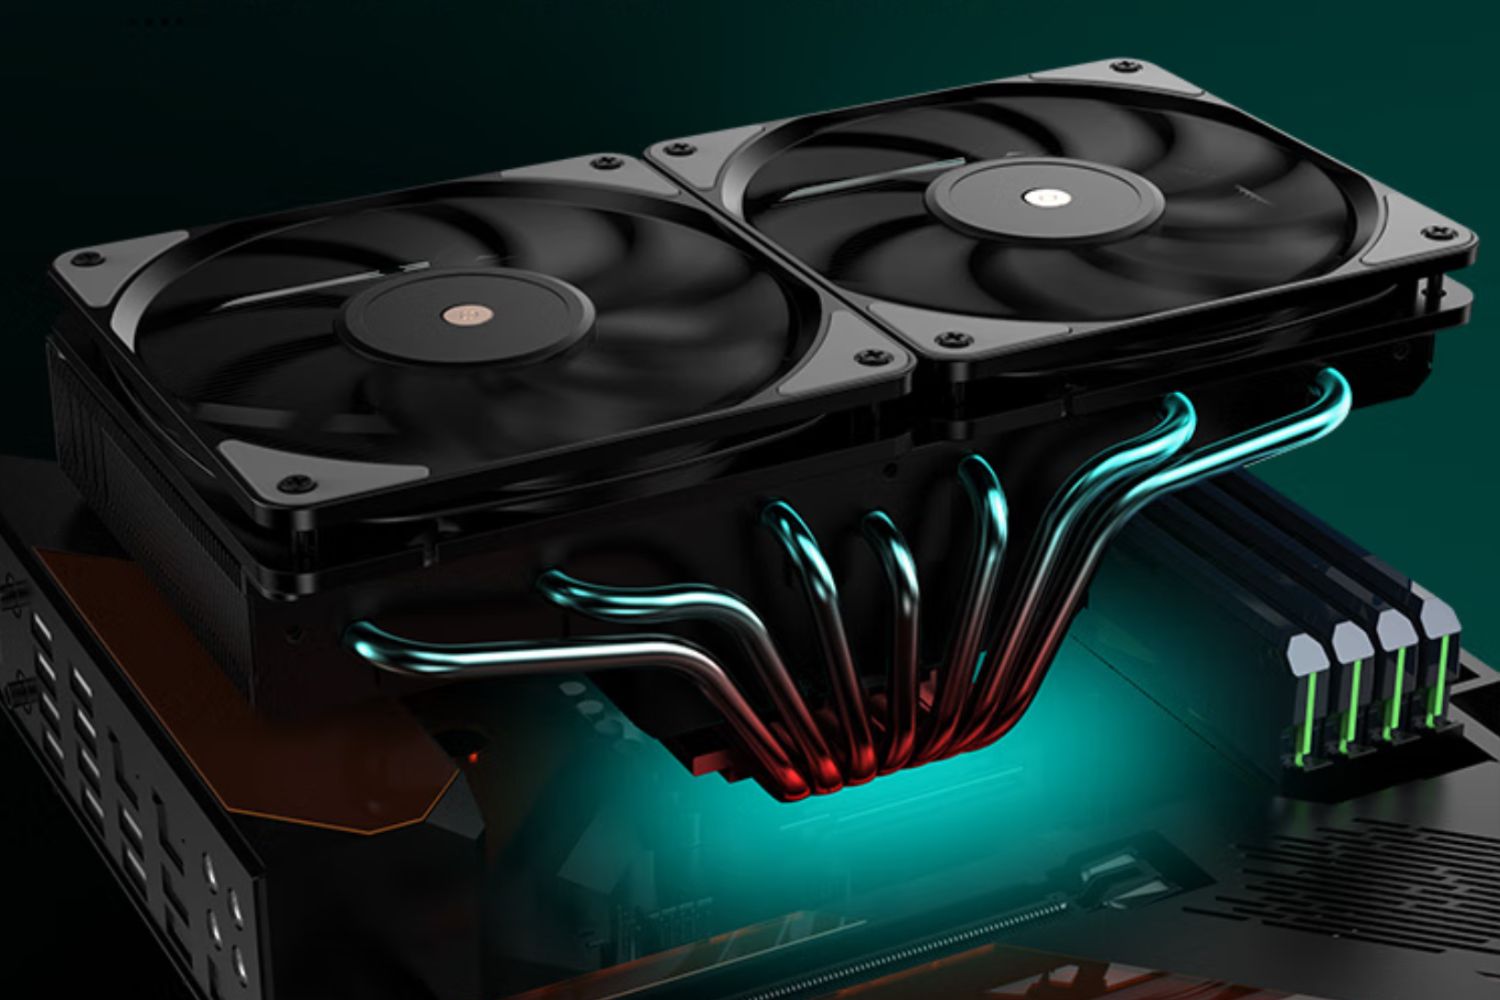
3. RAM Clearance: Some CPU coolers can have a significant height that overlaps with the RAM slots on the motherboard. Ensure that the cooler height allows for proper clearance, especially if you have taller RAM modules or plan to upgrade them in the future.
4. Power Supply Unit (PSU) Clearance: In some cases, the height of the CPU cooler can conflict with the placement of the power supply unit. Ensure that there is sufficient space between the cooler and the PSU to avoid any interference.
5. Other Component Clearance: Take into account the overall layout and placement of other components, such as the graphics card or storage drives. Verify that the selected cooler’s height doesn’t obstruct these components or interfere with their proper functioning.
By considering these compatibility factors, you can ensure a seamless fit between the CPU cooler and your computer case, maximizing performance while avoiding any potential issues.
Once you have assessed the compatibility and made a final decision, you can move on to the last step, which involves reassembling the side panel of your computer case.
Step 5: Replacing the Side Panel
With the height of your CPU cooler measured and compatibility considerations taken into account, it’s time to reassemble the side panel of your computer case. Follow these steps to properly replace the side panel:
- Ensure that all cables, wires, and components inside the case are properly aligned and not obstructing the placement of the side panel.
- Align the side panel with the edges of the computer case, making sure it lines up perfectly.
- Gently slide or push the side panel back into place until it fits snugly. Take care not to exert excessive force or damage any internal components.
- Secure the side panel by screwing it back in or reattaching the fasteners.
- Double-check that the side panel is securely fastened and flush with the rest of the case, ensuring proper sealing and stability.
By properly replacing the side panel, you ensure the overall integrity and functionality of your computer case. It helps maintain a controlled environment for cooling and protects your components from dust, debris, and potential damage.
Once the side panel is securely in place, you can plug in and power on your computer. Take a moment to observe any potential changes in cooling performance or any other factors influenced by the new CPU cooler’s height. If everything looks and functions as expected, you can enjoy the benefits of your upgraded or newly installed CPU cooler.
Remember, it’s always a good practice to keep track of your CPU cooler’s measurements, compatibility details, and any other relevant information for future reference. This will make future upgrades or troubleshooting efforts much more convenient and efficient.
Congratulations! You have successfully measured the height of your CPU cooler and taken the necessary steps to ensure compatibility and proper installation within your computer case.
Conclusion
Measuring the height of a CPU cooler is an essential step for any PC enthusiast or individual looking to upgrade their computer’s cooling system. By accurately measuring the CPU cooler height, you can ensure compatibility with your computer case, optimize cooling performance, and enhance the overall functionality of your system.
In this guide, we have taken you through the step-by-step process of measuring CPU cooler height. We began by emphasizing the importance of measuring the height for compatibility and performance reasons. We then listed the tools needed, such as a screwdriver and measuring tape, to successfully carry out the measurement process.
We detailed the steps involved in removing the side panel of your computer case, identifying the CPU cooler, and measuring its height accurately. We also discussed the considerations you need to keep in mind, such as computer case clearance, RAM and PSU clearance, and airflow optimization.
Finally, we covered the process of replacing the side panel and ensuring the proper reassembly of your computer case. Taking these steps will help maintain the integrity of your system and protect it from potential damage.
By following this guide, you can confidently measure the height of your CPU cooler and make informed decisions when upgrading or purchasing a new cooler. Remember to document the measurements and compatibility details for future reference.
Thank you for reading our guide on how to measure CPU cooler height. We hope this information has been helpful, allowing you to optimize your computer’s cooling system and enhance your overall computing experience.