Introduction
Welcome to our guide on how to make your Ethernet faster. If you find that your internet connection is sluggish or you’re experiencing slow download and upload speeds, there are several steps you can take to optimize your Ethernet connection and improve your overall internet performance. In this article, we will walk you through various tips and techniques that can help you enhance your Ethernet speed.
Having a fast and reliable internet connection is crucial, especially in today’s digital age where we rely heavily on online activities such as streaming, gaming, video conferencing, and downloading files. A slow Ethernet connection can be frustrating and hinder your productivity. By following the steps outlined in this guide, you can optimize your Ethernet connection and enjoy a faster and more efficient online experience.
Before we dive into the specific techniques, it’s important to note that the speed of your internet connection depends on various factors, including your internet service provider (ISP) plan, hardware setup, and network environment. While some of the tips mentioned here can help improve your Ethernet speed, it’s important to understand that certain limitations may exist depending on your infrastructure and internet package.
Now, let’s explore the different ways you can boost your Ethernet speed, from checking your current internet speed to optimizing your router settings. By following these steps, you’ll have a better chance of maximizing the performance of your Ethernet connection and enjoying a faster and smoother internet experience.
Check your current internet speed
Before making any changes to your Ethernet setup, it’s essential to determine your current internet speed. This will serve as a baseline measurement and help you gauge the effectiveness of any improvements you make. To check your internet speed, follow these steps:
- Connect your device directly to your modem using an Ethernet cable. This eliminates any potential interference from a Wi-Fi connection.
- Open a web browser and search for “internet speed test”. There are several reliable websites that offer free speed tests.
- Select a reputable speed test website and initiate the test by clicking on the “Go” or “Start” button.
- Wait for the test to complete. This process usually takes just a few seconds.
- Review the results, which typically include your download speed (measured in megabits per second, or Mbps), upload speed, and ping (response time).
Once you have obtained your internet speed measurement, compare it to the speed specified in your internet service provider (ISP) plan. If your actual speed is significantly lower than the advertised speed, it may be time to consider troubleshooting and optimizing your Ethernet connection.
Keep in mind that internet speeds can vary throughout the day due to network congestion, so it’s a good idea to perform multiple tests at different times to get a more accurate average. Additionally, make sure that no other devices on your network are consuming large amounts of bandwidth during the test, as this can affect the results.
Knowing your current internet speed will help you identify if any improvements are needed and allow you to track the progress of any changes you make to optimize your Ethernet connection. Armed with this information, you can move on to the next steps to enhance your internet speed and overall browsing experience.
Upgrade your ISP plan
If you find that your current internet speed is consistently lower than what you require, it may be time to upgrade your internet service provider (ISP) plan. ISPs offer different packages with varying speeds, so it’s worth investigating if there are faster plans available in your area.
Start by researching the different options provided by ISPs in your region. Check their websites or contact their customer service to find out about the available plans and their corresponding speeds. Take note of the download and upload speeds offered by each plan, as well as any data caps or limitations that may be in place.
Consider your specific needs when choosing a plan. If you frequently stream high-definition videos, play online games, or have multiple devices connected to the internet simultaneously, you will likely benefit from a higher-speed plan. On the other hand, if you primarily use the internet for basic web browsing and email, a lower-speed plan may be sufficient.
Keep in mind that upgrading your plan may come with additional costs, so it’s important to factor that into your decision-making process. Compare the pricing of different plans and evaluate the value you will get in terms of the increased speed and your internet usage requirements.
Once you have selected a suitable plan, get in touch with your ISP to arrange the upgrade. They will guide you through the process and provide any necessary equipment, such as a new modem or router, if required.
Upgrading your ISP plan can significantly improve your internet speed and overall performance. It’s important to regularly review your internet needs and adjust your plan accordingly to ensure you have the fastest and most reliable connection available to you.
Use a wired connection
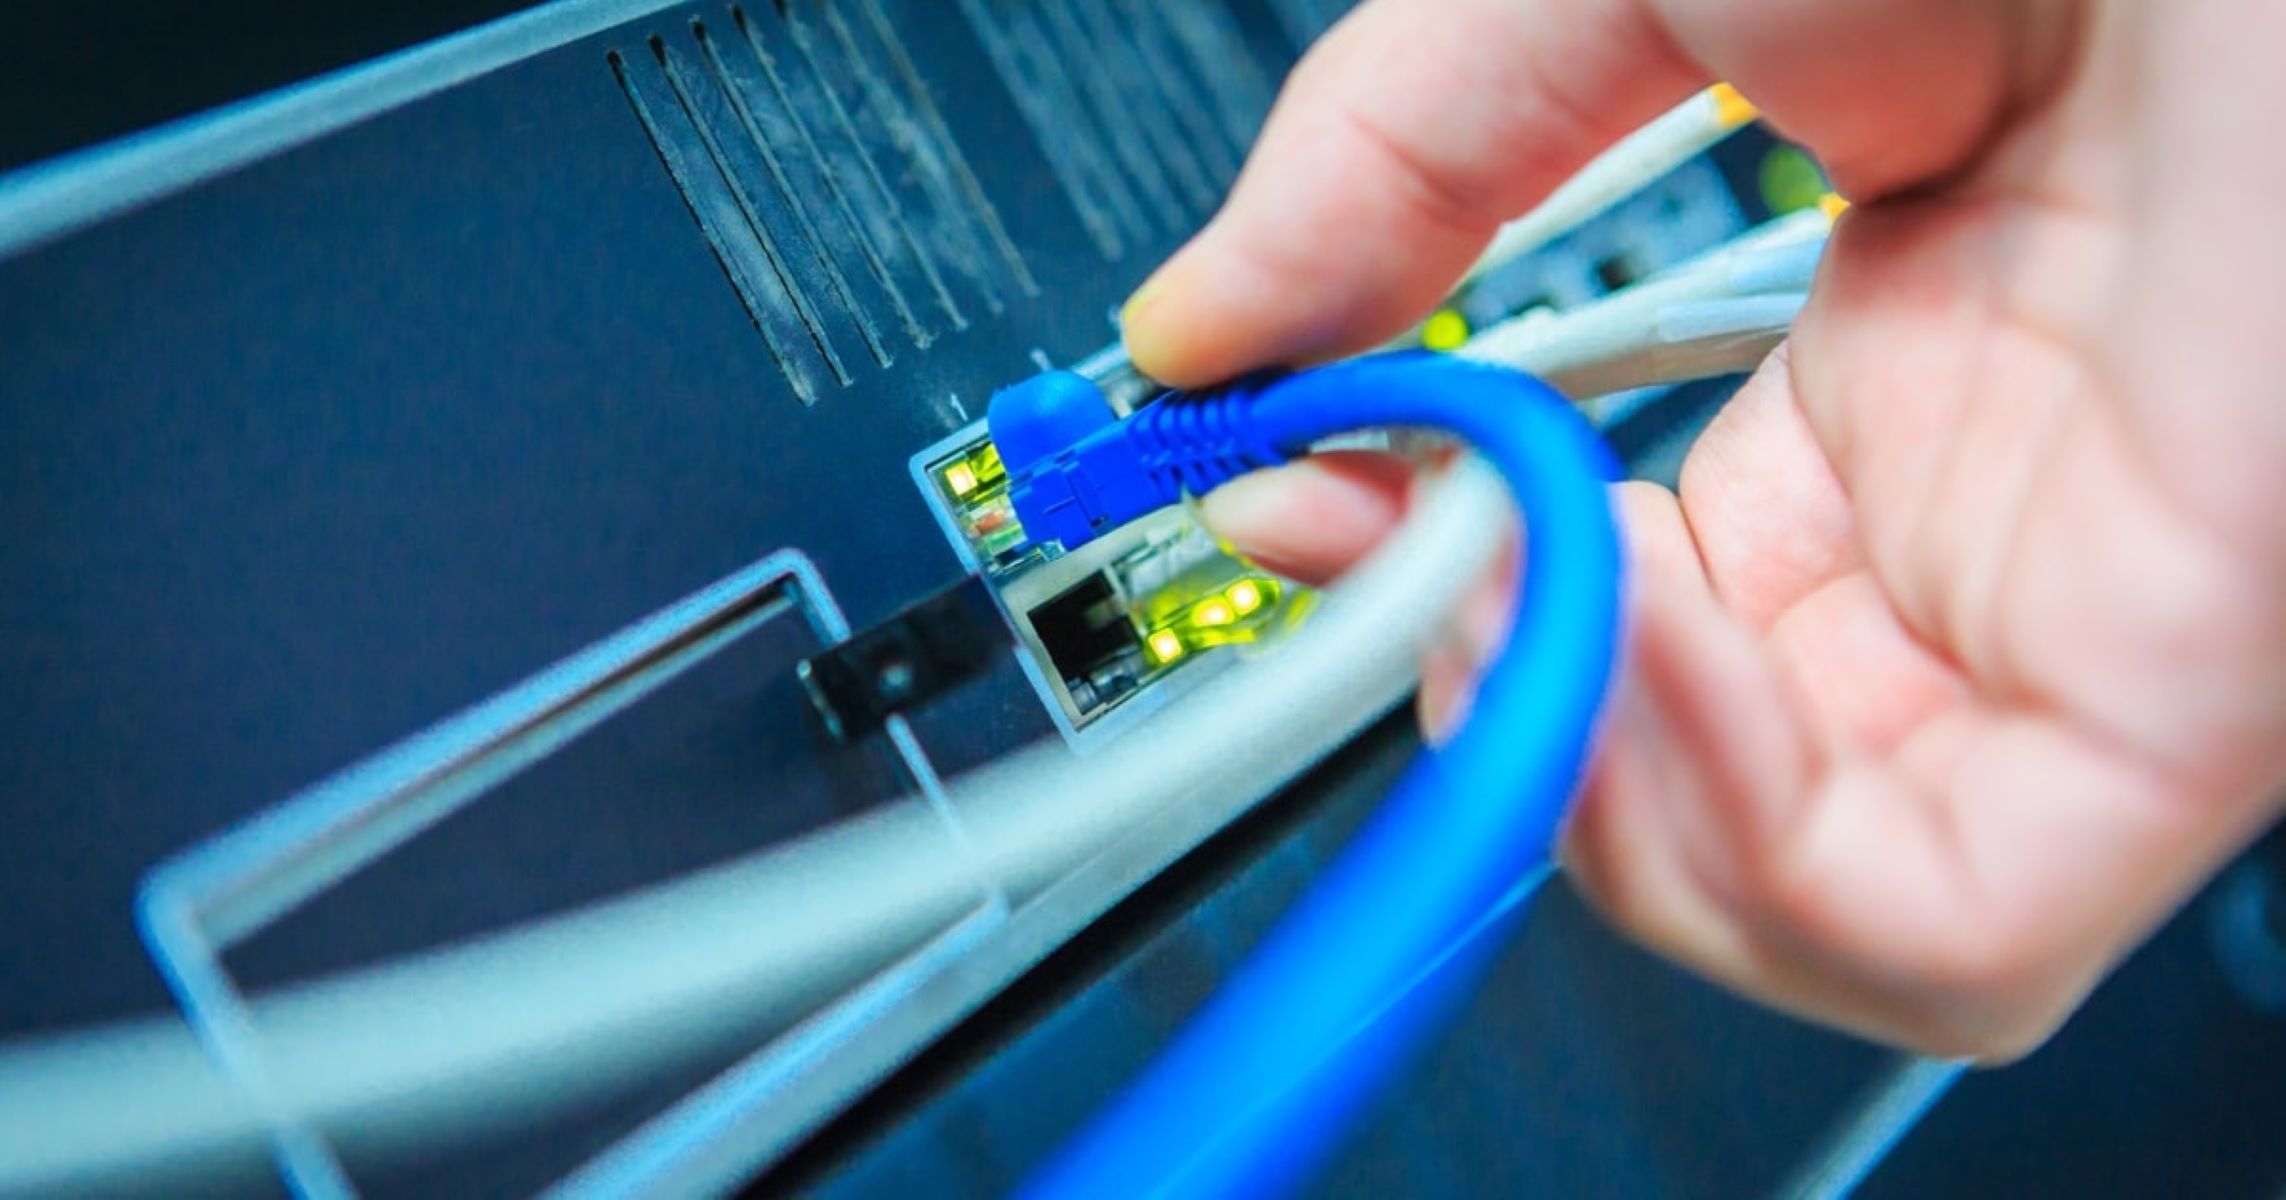
One of the most effective ways to improve the speed and stability of your Ethernet connection is to use a wired connection instead of relying on Wi-Fi. While Wi-Fi offers convenience and mobility, it can be prone to interference and signal degradation, resulting in slower speeds. By connecting your device directly to your modem or router with an Ethernet cable, you can experience faster and more reliable internet connectivity.
To use a wired connection, follow these steps:
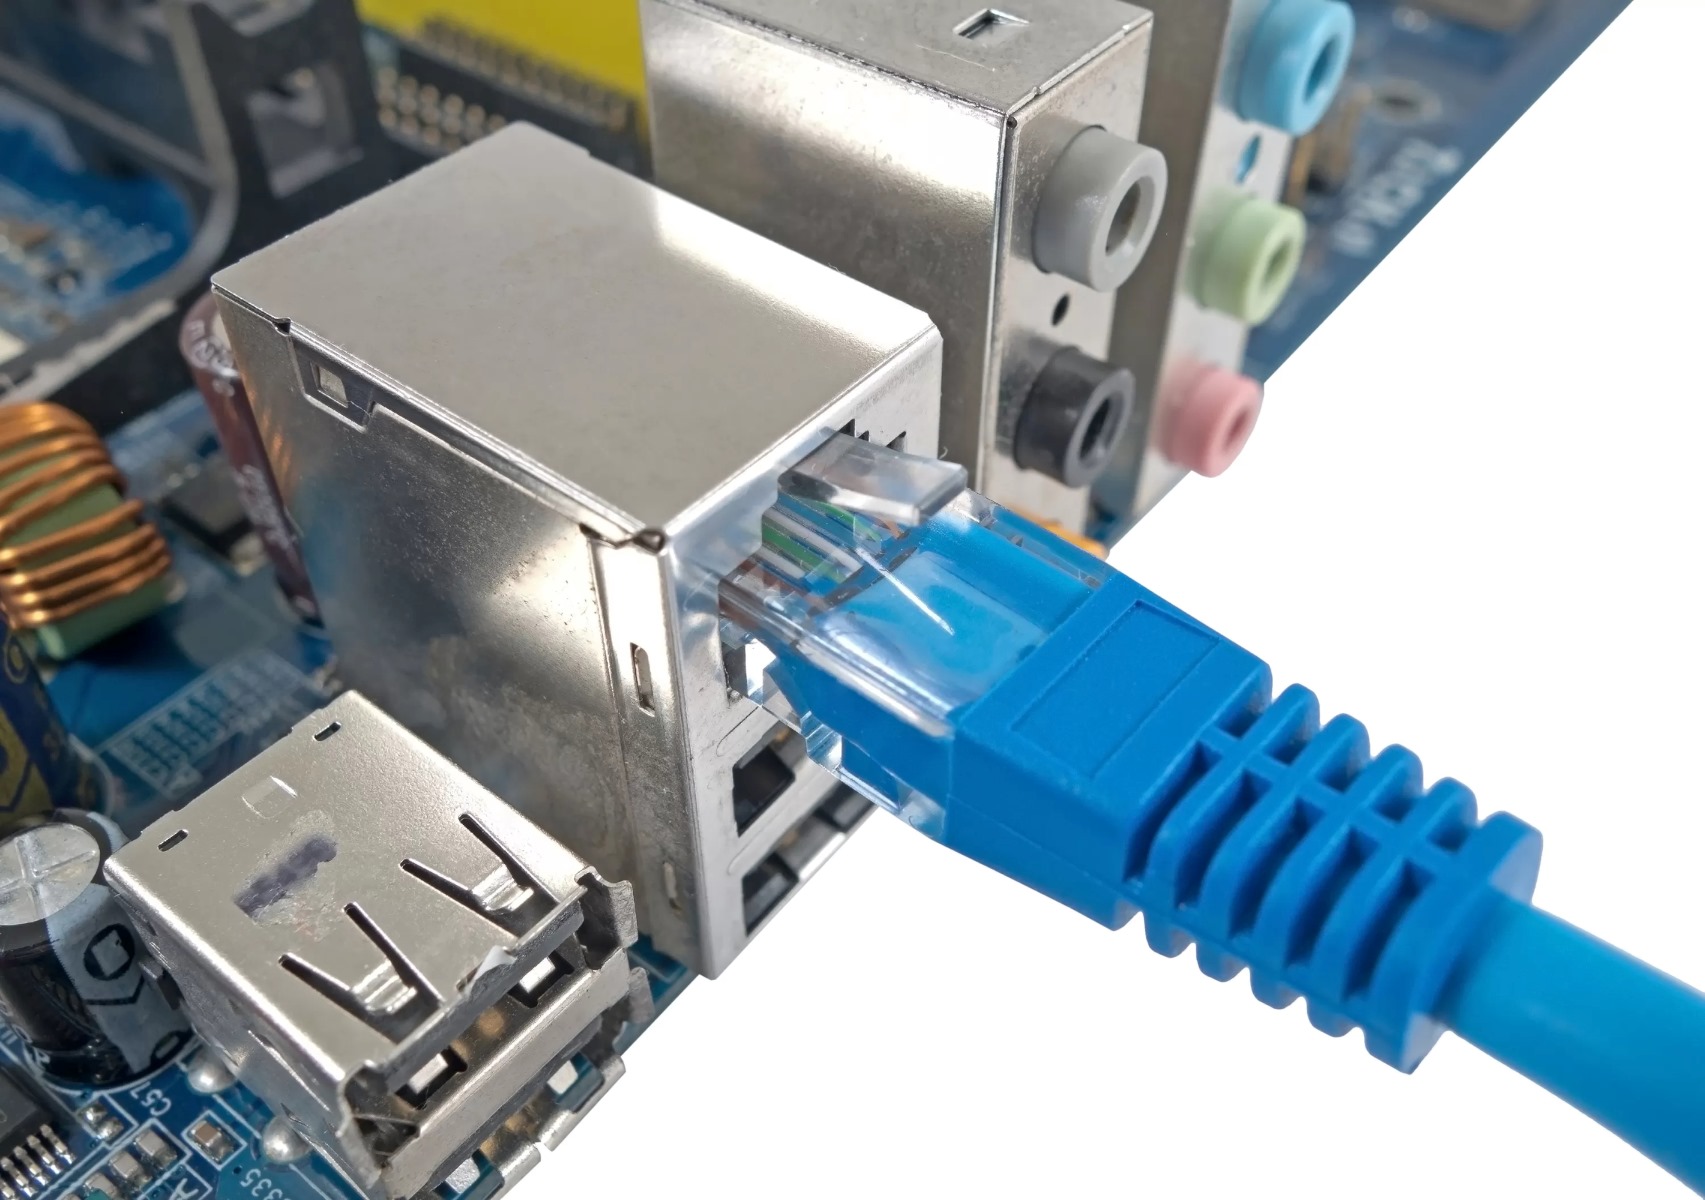
- Locate the Ethernet port on your device (such as a computer, game console, or streaming device) and the Ethernet port on your modem or router.
- Plug one end of the Ethernet cable into your device’s Ethernet port and the other end into the appropriate Ethernet port on your modem or router.
- Ensure that the connection is secure by gently tugging on the cable, checking if it’s firmly plugged in on both ends.
Once your wired connection is established, it bypasses the potential interference and signal loss that can occur with Wi-Fi. This means you can enjoy faster and more consistent internet speeds, especially for activities that demand reliable and high-bandwidth connections, such as online gaming or streaming high-definition videos.
Using a wired connection also eliminates the need to worry about Wi-Fi range and obstacles that can hinder signal strength. This is particularly beneficial in larger homes or offices with multiple rooms, where Wi-Fi signals may struggle to reach all areas effectively.
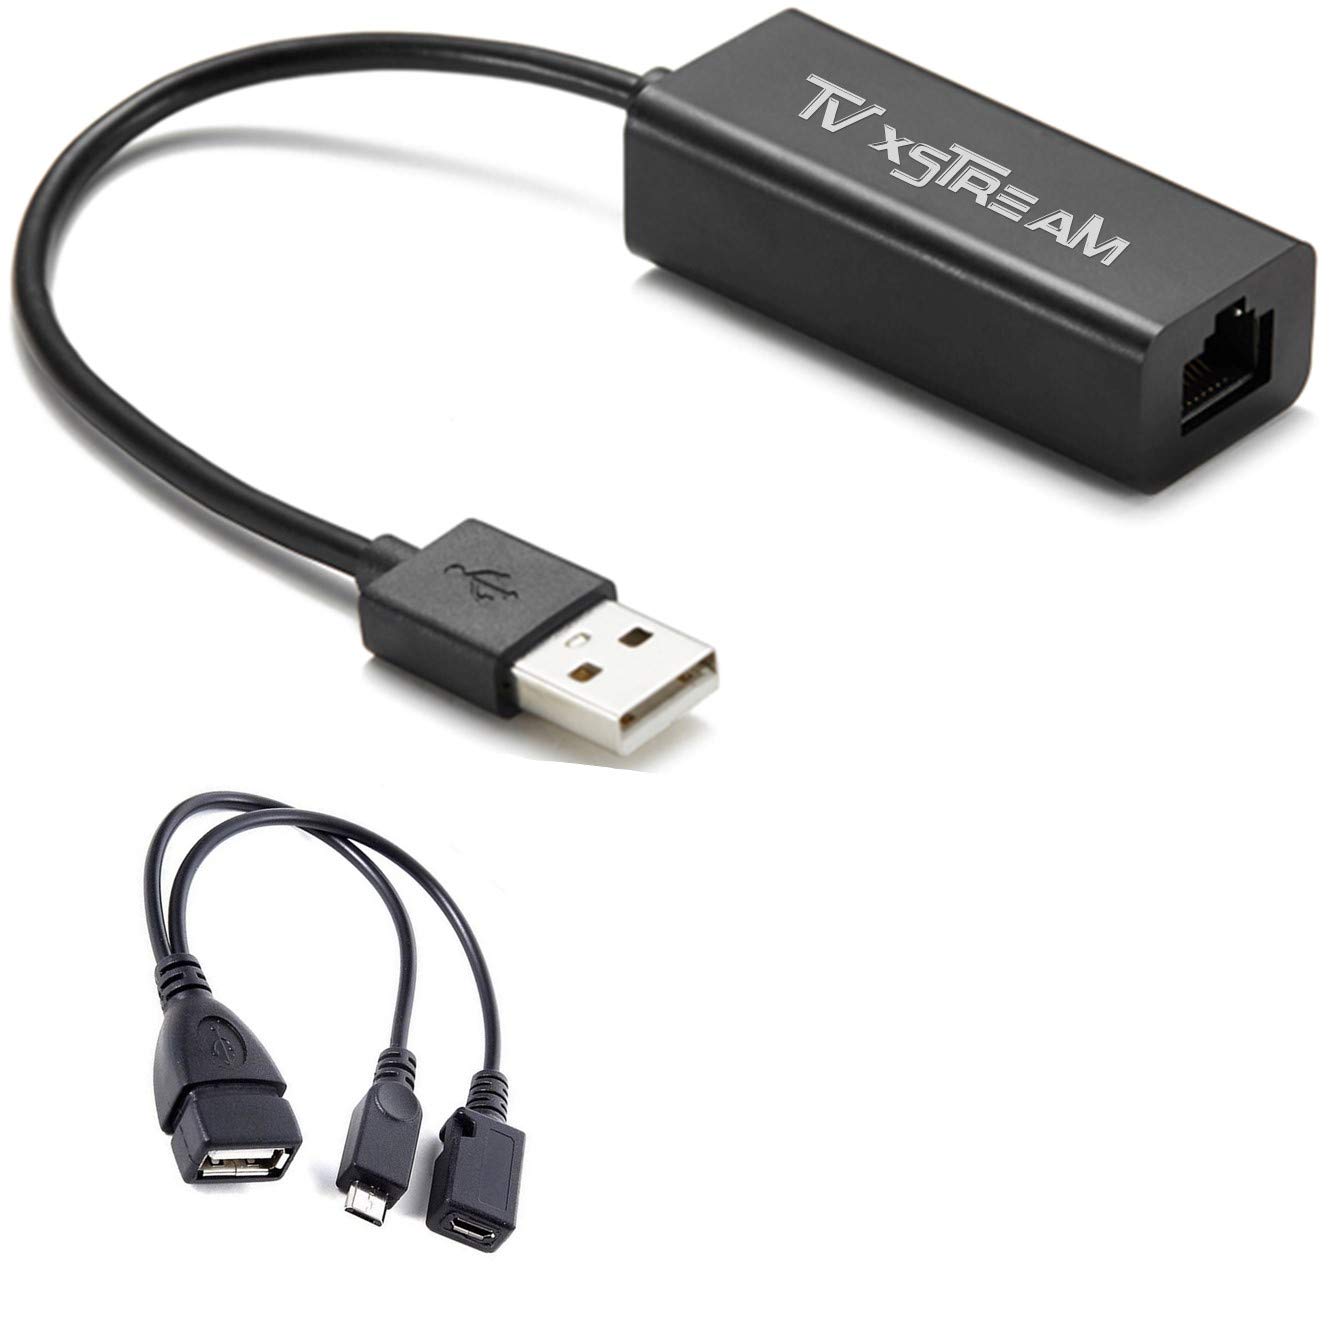
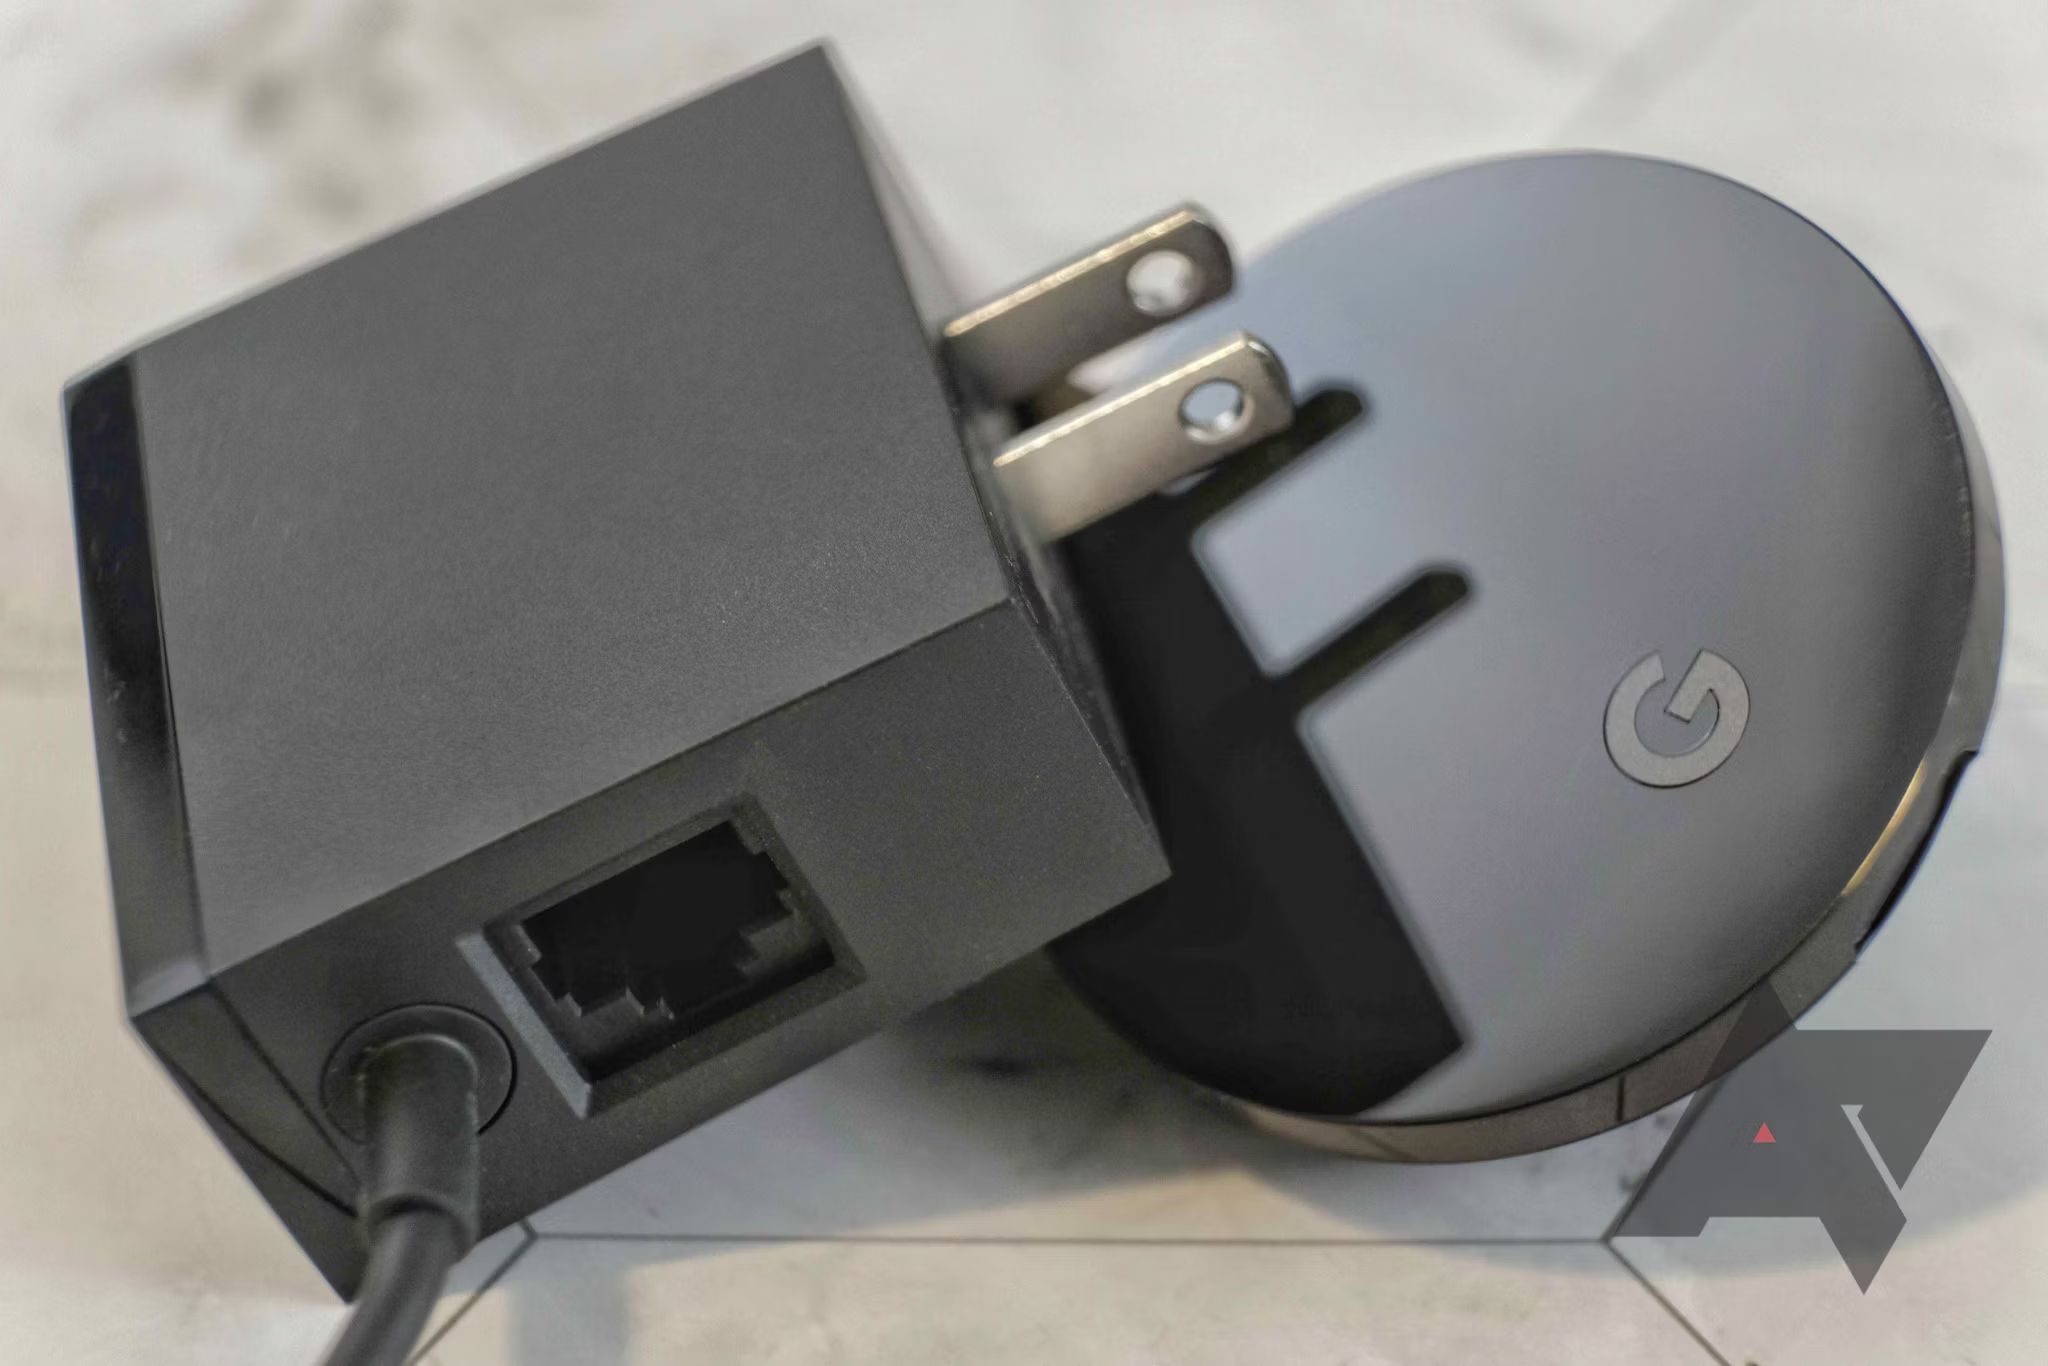
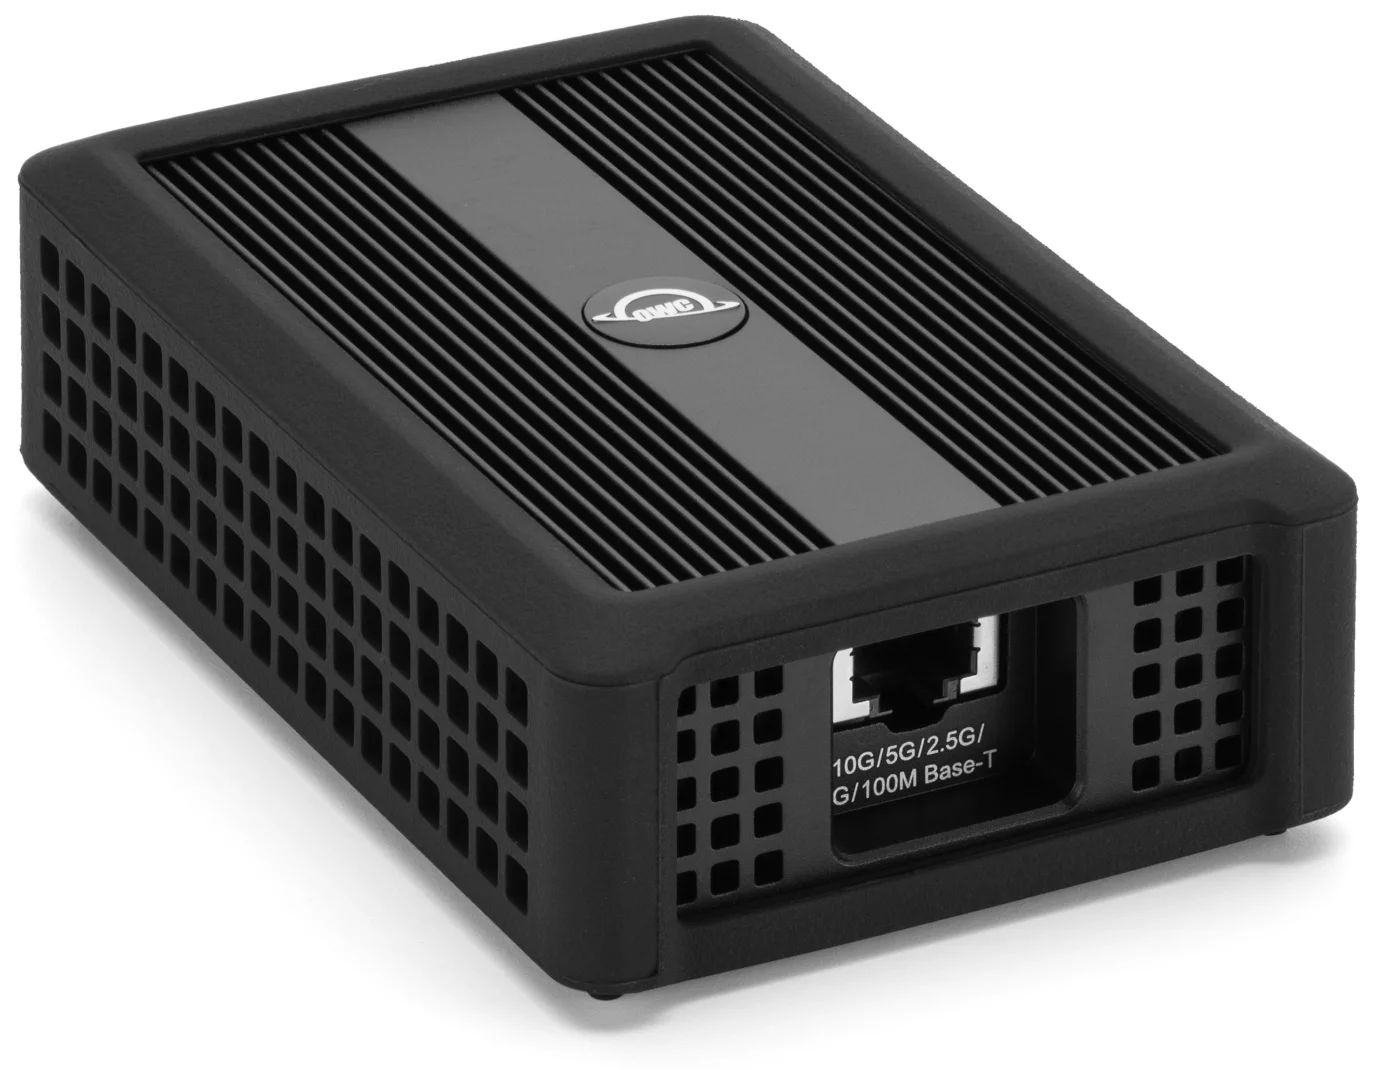
Keep in mind that for devices without built-in Ethernet ports, such as smartphones or tablets, you may need an Ethernet adapter or docking station to connect them using a wired connection.
By using a wired connection, you can maximize your Ethernet speed and enjoy a more consistent and reliable internet connection. However, if a wired connection is not feasible, there are still optimization steps you can take to improve your Wi-Fi performance, which we will discuss in later sections.
Check your Ethernet cable
The Ethernet cable you use to connect your device to your modem or router plays a crucial role in maintaining a fast and reliable connection. Over time, cables can become damaged or degraded, which can affect the speed and performance of your Ethernet connection. To ensure optimal performance, it’s important to regularly check and if necessary, replace your Ethernet cable.
Here are a few steps you can take to check your Ethernet cable:
- Inspect the cable visually to check for any visible signs of damage, such as frayed or exposed wires, bent connectors, or loose ends. If you notice any physical damage, it’s advisable to replace the cable.
- Try reseating both ends of the Ethernet cable by unplugging and securely reconnecting them. Sometimes, loose connections can cause signal loss and slower speeds.
- Test your Ethernet cable by using a different cable, if available, to see if there’s any improvement in speed. This will help you identify if the cable itself is the cause of any speed issues.
- Ensure that you are using a Cat5e or Cat6 Ethernet cable, as these are designed to handle higher speeds and provide better performance compared to older cable types. If you’re using an older Cat3 or Cat5 cable, consider upgrading to a Cat5e or Cat6 cable.
It’s important to note that the length of your Ethernet cable can also impact the performance of your connection. Generally, longer cables can introduce more signal loss compared to shorter cables. If you are using an excessively long cable, consider using a shorter one if possible.
By checking and potentially replacing your Ethernet cable, you can eliminate any potential cable-related issues that may be affecting your Ethernet speed. A high-quality and properly functioning Ethernet cable will ensure a stable and faster connection, allowing you to make the most of your internet connection.
Use a shorter cable
The length of your Ethernet cable can have an impact on the performance of your connection. Generally, shorter cables are preferred as they tend to offer better signal quality and lower signal loss compared to longer cables. If you’re experiencing slower Ethernet speeds, using a shorter cable may significantly improve your connection.
Here are a few reasons why using a shorter cable can enhance your Ethernet speed:
- Reduced signal loss: As the length of the cable increases, the signal traveling through it can weaken. This can result in slower speeds and less reliable connections. By using a shorter cable, you can minimize signal loss and maintain a stronger and more consistent signal.
- Improved signal integrity: Longer cables are more susceptible to interference and crosstalk, which can degrade the quality of the signal. High-quality shorter cables are engineered to minimize these issues and provide better signal integrity, leading to faster and more stable connections.
- Ease of installation: Longer cables can be more challenging to route and manage, especially in tight spaces. By using a shorter cable, you can simplify the installation process and reduce the risk of cable damage or accidental disconnections.
When determining the ideal length for your Ethernet cable, consider the distance between your device and the modem or router. Measure the exact length you need, taking into account any bends or turns the cable may need to make.
It’s important to note that while using a shorter cable can generally improve your Ethernet speed, excessively short cables can also lead to connection issues. Ensure that the cable is long enough to comfortably reach your device without causing strain or tension on the connectors.
If you’re currently using a long Ethernet cable and notice a significant improvement in speed after switching to a shorter cable, it may be worth considering rearranging your setup to position your device closer to the modem or router. This can help optimize your Ethernet connection and further enhance your internet experience.
By switching to a shorter Ethernet cable, you can minimize signal loss and improve the overall performance of your Ethernet connection. It’s a simple yet effective step towards maximizing your internet speed and reliability.
Avoid Interference
Interference can greatly impact the speed and stability of your Ethernet connection. By identifying and mitigating potential sources of interference, you can optimize your connection and ensure a faster and more reliable internet experience. Here are some steps you can take to avoid interference:
- Distance from electrical devices: Keep your modem, router, and Ethernet cables away from electrical devices that generate electromagnetic fields, such as microwaves, cordless phones, and Bluetooth devices. These devices can create interference that disrupts your Ethernet signal.
- Proper cable routing: Ensure that your Ethernet cables are routed away from power cables, especially for longer distances. Power cables can emit electrical noise that interferes with the Ethernet signal. If possible, try to route the Ethernet cables along different paths than power cables.
- Shielded Ethernet cables: Consider using shielded Ethernet cables, especially in environments where there is a high chance of electromagnetic interference. Shielded cables have an extra layer that helps to reduce the impact of external electrical noise.
- Eliminate neighboring Wi-Fi interference: If you’re experiencing slow Ethernet speeds in a crowded Wi-Fi environment, the Wi-Fi signals from other nearby routers can cause interference. Change the channel or frequency of your Wi-Fi network to avoid overlap with nearby networks and reduce interference.
- Position of the router: Position your router in a central location within your home or office to ensure a better connection to all devices. Avoid placing it near walls, floors, or other obstructions that may hinder the signal strength. A good router placement can help minimize interference and improve your Ethernet speeds.
- Update firmware: Regularly check for firmware updates for your modem and router. Manufacturers often release firmware updates that address performance issues and improve compatibility, which can help mitigate interference and enhance your Ethernet connection.
By being mindful of potential sources of interference and employing these measures, you can minimize or even eliminate disruptions to your Ethernet connection. This will result in improved speed, stability, and overall performance.
Update your Ethernet drivers
Outdated or incompatible Ethernet drivers can cause performance issues and slow down your connection speed. Keeping your Ethernet drivers up to date is important to ensure optimal performance and compatibility. Here’s how you can update your Ethernet drivers:
- Check for driver updates: Visit the website of your device’s manufacturer or the manufacturer of your Ethernet adapter to check for the latest driver updates. Look for a “Support” or “Downloads” section on their website where you can find the necessary drivers for your specific device.
- Download the correct driver: Identify your device and its specific model number, then search for the appropriate Ethernet driver. Make sure to choose the driver that matches your operating system (e.g., Windows, macOS) and the version (32-bit or 64-bit) you are using.
- Install the new drivers: Once you’ve downloaded the latest Ethernet drivers, open the installer file and follow the on-screen instructions to install them on your computer. If prompted, restart your computer to complete the driver installation process.
- Verify the driver update: After the installation, confirm that the new Ethernet drivers are successfully installed. You can do this by checking the device manager in your operating system. Look for “Network Adapters” or “Ethernet Controllers” to verify that the updated driver is listed.
Updating your Ethernet drivers can fix compatibility issues, address performance bugs, and provide better overall stability. It ensures that your operating system communicates effectively with your Ethernet adapter, which directly impacts the speed and performance of your connection.
If you’re not comfortable manually updating your Ethernet drivers, you can also consider using driver update software. These programs automate the process by scanning your system, identifying outdated drivers, and downloading and installing the latest versions for you.
Remember to periodically check for driver updates to keep your Ethernet drivers up to date. Manufacturers often release new driver versions to enhance performance and address security vulnerabilities, so staying current with the latest updates can lead to noticeable improvements in your Ethernet speed and reliability.
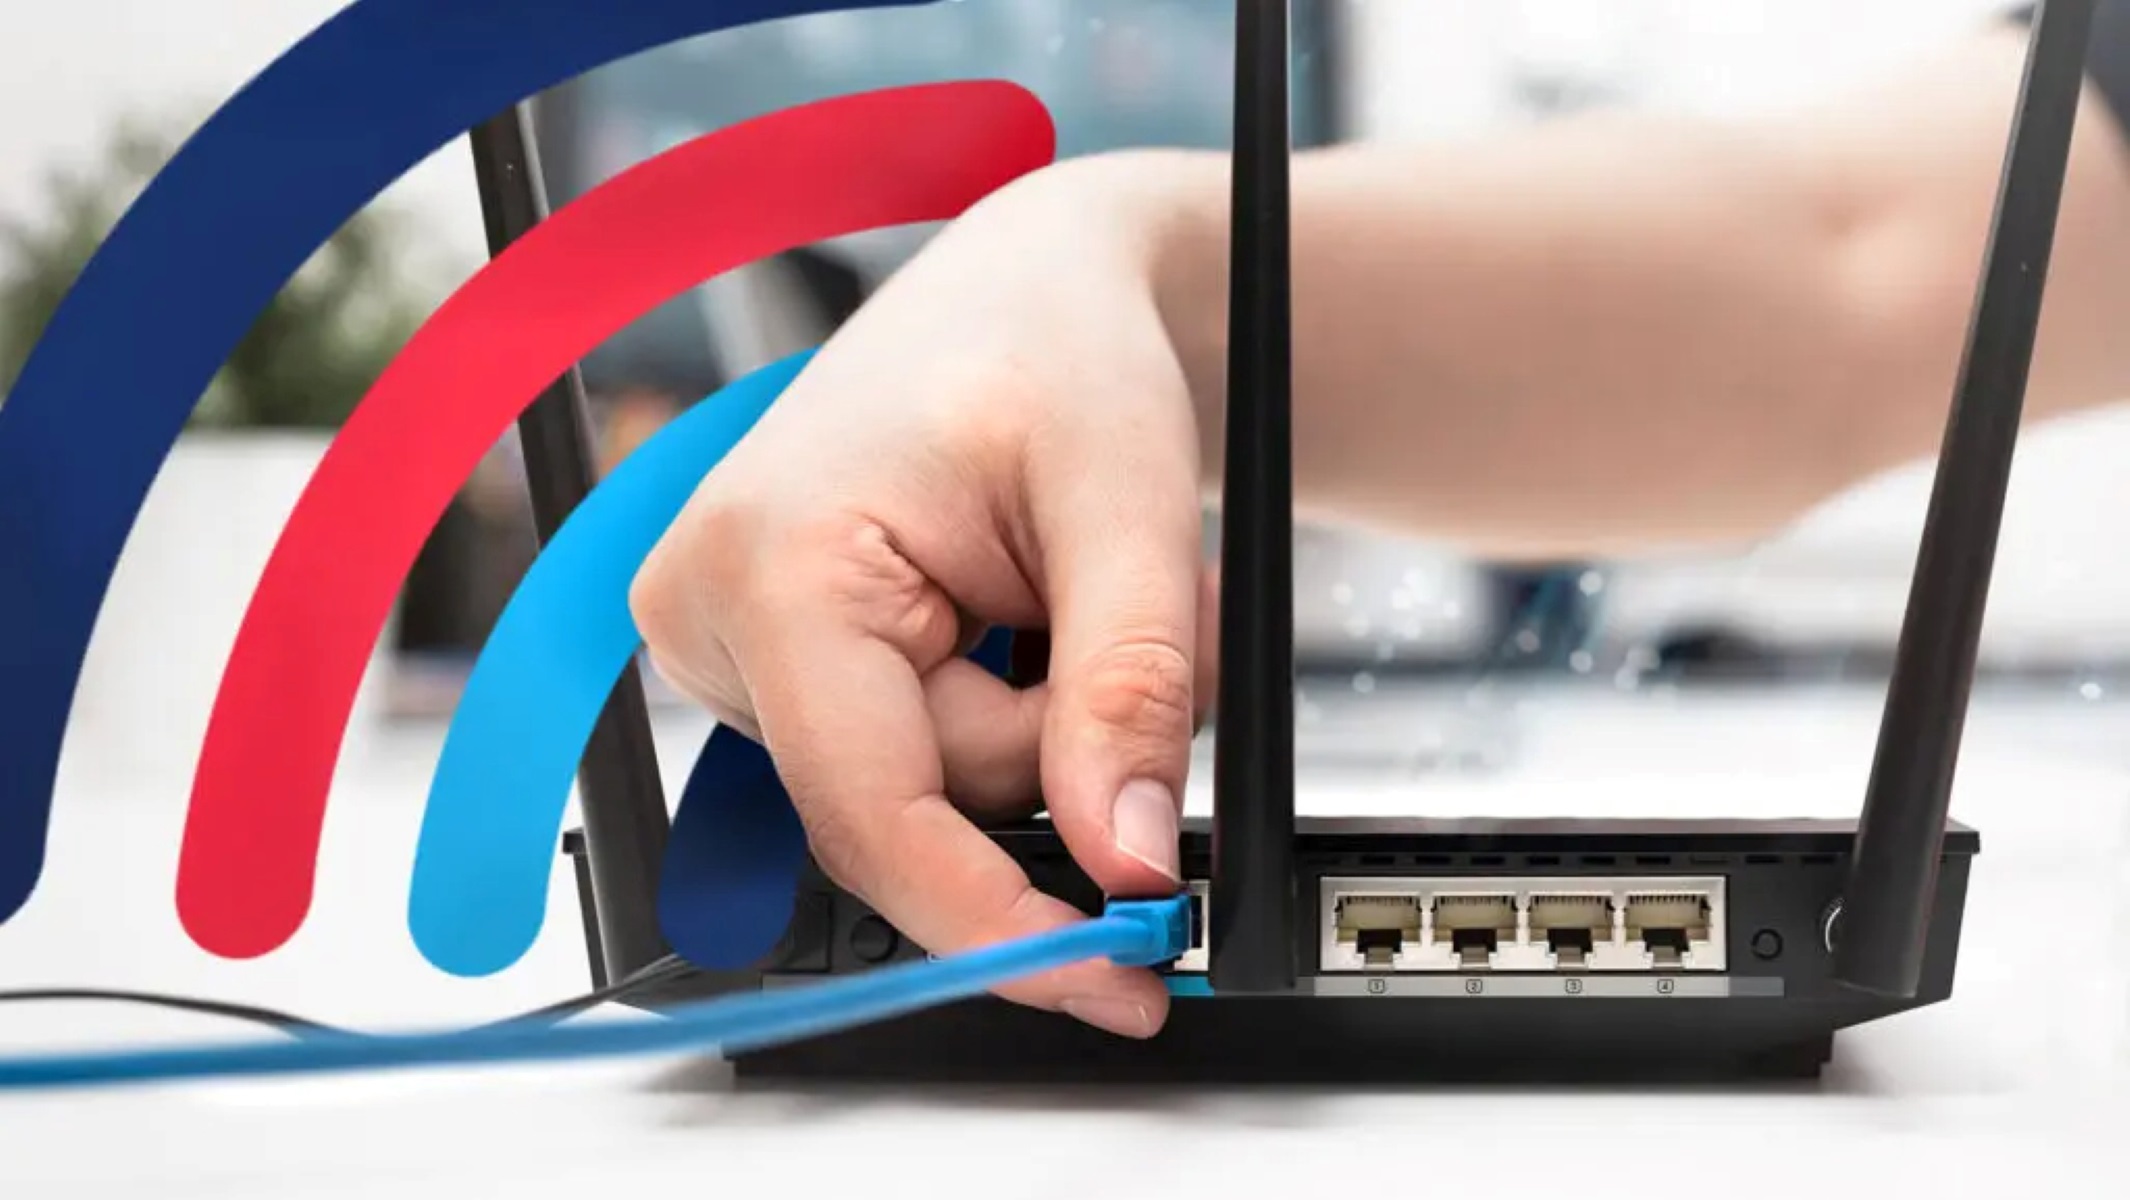
Optimize your router settings
Optimizing your router settings can have a significant impact on your Ethernet speed and overall internet performance. By adjusting specific settings, you can fine-tune your router to maximize its capabilities. Here are some key settings to consider:
- Update router firmware: Check for firmware updates for your router from the manufacturer’s website. Firmware updates often include fixes for known issues and may improve your router’s stability and performance.
- Change the Wi-Fi channel: If you’re also using Wi-Fi, interference from neighboring networks on the same channel can impact your Ethernet speed. Access your router’s settings, often through a web-based interface, and change the Wi-Fi channel to one that is less congested.
- Enable Quality of Service (QoS): QoS allows you to prioritize certain types of traffic over others, ensuring that time-sensitive applications such as online gaming or video streaming get the necessary bandwidth. Enable QoS and configure it to prioritize your Ethernet-connected devices or specific applications that require faster speeds.
- Enable hardware acceleration: Some routers have hardware acceleration features that offload certain processing tasks from the CPU. Enabling this feature can improve your router’s performance, especially under heavy network load.
- Adjust wireless transmit power: If you’re using both Ethernet and Wi-Fi, reducing the transmit power of your router’s Wi-Fi signals can minimize interference with your Ethernet connection and potentially improve its speed.
- Enable port forwarding: If you regularly use certain applications or services that require inbound connections, configuring port forwarding on your router can help ensure that necessary ports are open and properly forwarded to your device, improving the performance of those applications or services.
The process of accessing and adjusting router settings can vary depending on the make and model. Consult your router’s user manual or visit the manufacturer’s website for specific instructions regarding your router model.
It’s important to note that while making changes to your router settings can enhance your Ethernet speed, it’s advisable to document any changes you make and understand their potential implications. If you’re unsure about specific settings or their impact, consult the router’s documentation or seek assistance from the manufacturer’s support team.
By optimizing your router settings, you can fine-tune its performance and improve your Ethernet speed and overall internet experience. These adjustments can help ensure that your router is operating at its fullest potential and delivering the fastest and most reliable connection possible.
Disable bandwidth-hungry applications
Bandwidth-hungry applications running in the background can consume a significant portion of your internet connection, resulting in slower Ethernet speeds. By identifying and disabling these applications, you can free up bandwidth for your essential tasks and optimize your connection for faster speeds. Here’s how you can do it:
- Identify bandwidth-hungry applications: Open your task manager or activity monitor to see which applications are utilizing the most network resources. Look for applications that are actively sending or receiving data, as they are the likely culprits affecting your Ethernet speed.
- Close unnecessary applications: Once you’ve identified bandwidth-hungry applications, close any unnecessary applications that you aren’t actively using. This will prevent them from using your network bandwidth and allow more bandwidth to be allocated to your important tasks.
- Disable automatic updates: Some applications have automatic update features that download updates in the background, consuming bandwidth. Disable automatic updates or set them to occur during off-peak hours when you’re not using your computer.
- Manage cloud backup services: Cloud backup services can consume significant bandwidth, especially during initial backups or when large files are being synced. Adjust the settings of your cloud backup service to limit the bandwidth it uses or schedule backups during times when you’re not heavily reliant on your internet connection.
- Limit streaming services: Streaming services like Netflix, YouTube, or Spotify can consume a substantial amount of bandwidth, particularly when streaming in high definition. Consider lowering the streaming quality or limiting streaming usage when you need faster Ethernet speeds.
- Configure software and game updates: Some software or game clients automatically download updates when they become available. Adjust the settings of these clients to either prompt you before downloading updates or schedule updates during non-peak times.
By disabling or managing bandwidth-hungry applications, you can prioritize and reserve your network resources for essential tasks. This will free up bandwidth and allow your Ethernet connection to operate at a higher speed, resulting in a smoother and faster internet experience.
Remember to periodically review your applications and their bandwidth usage, as new applications or updates may introduce additional demands on your network connection. By staying vigilant and managing bandwidth usage, you can optimize your Ethernet speed and ensure a more efficient online experience.
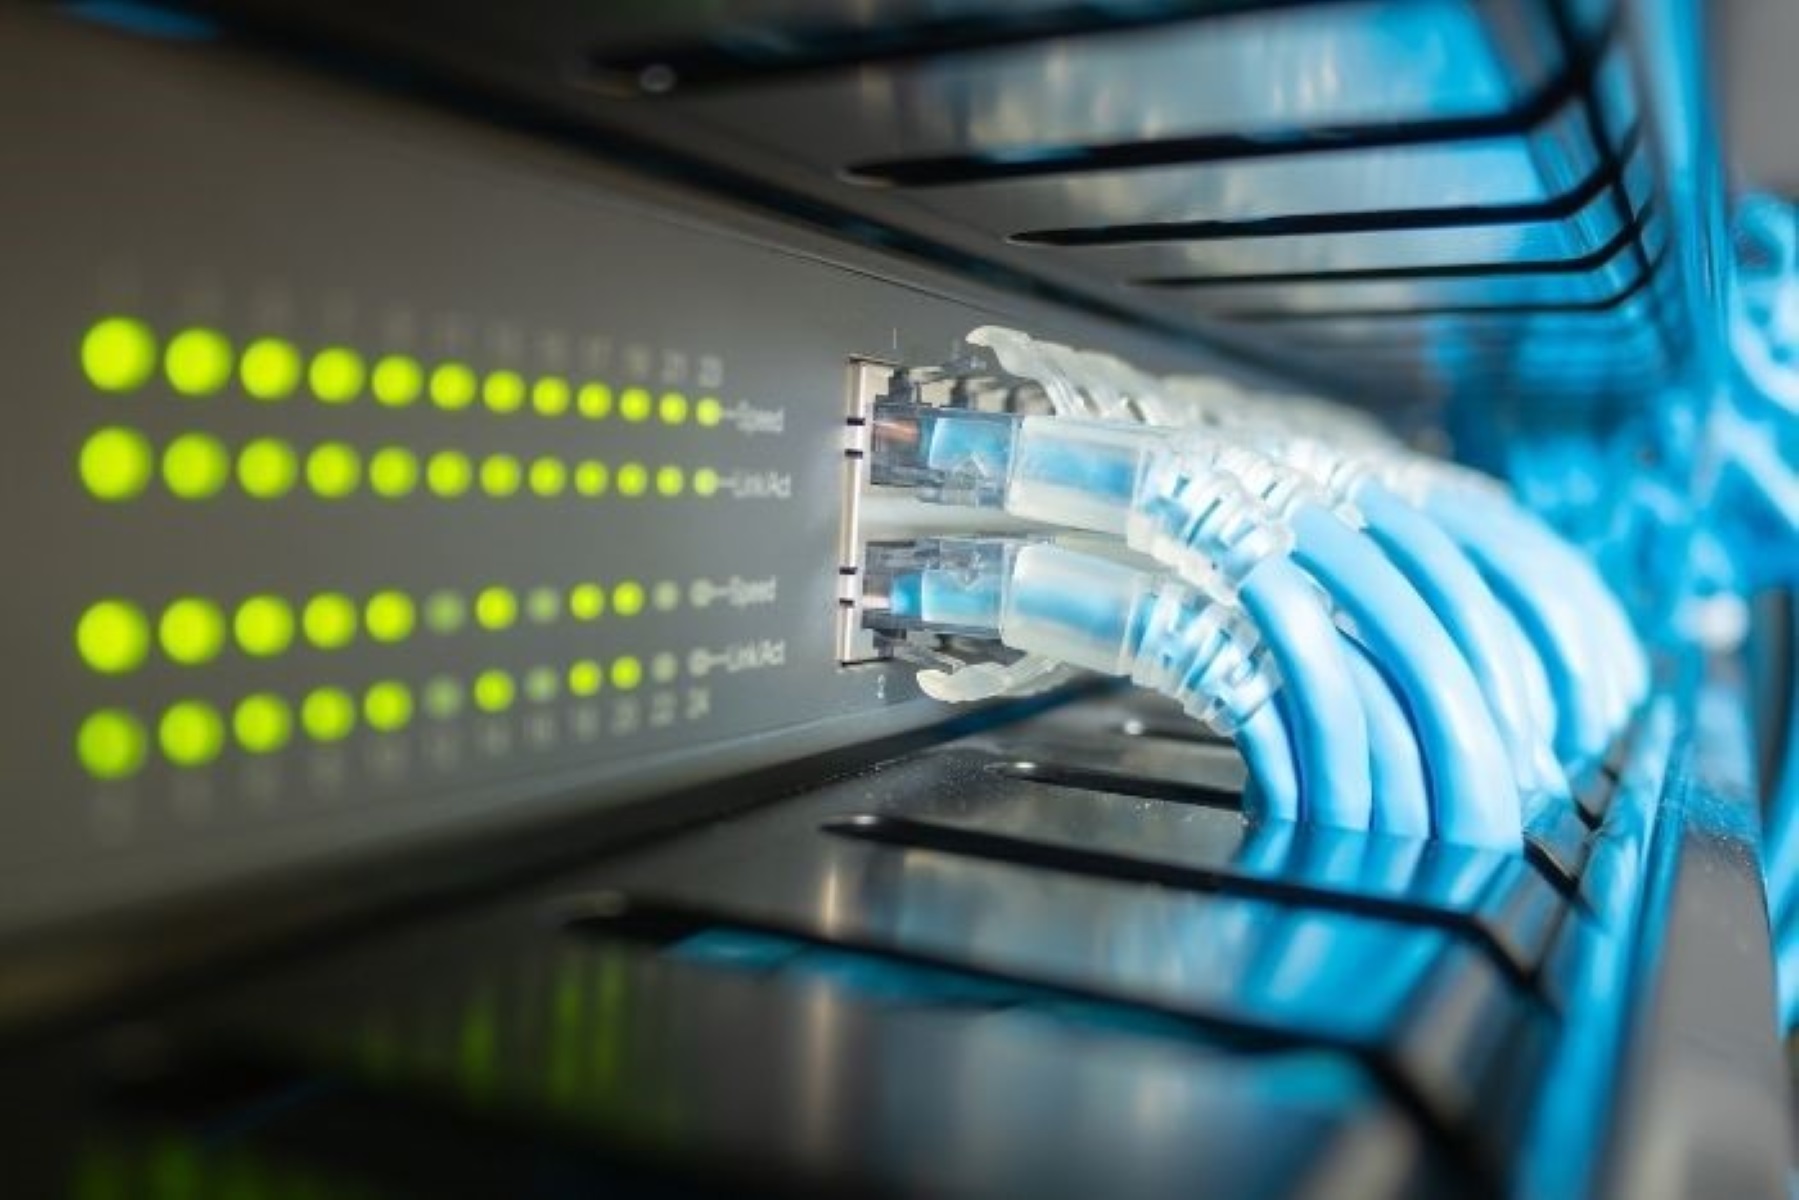
Use a network switch or hub
If you have multiple devices that require Ethernet connections but only have one Ethernet port available on your modem or router, using a network switch or hub can expand your connectivity options. These devices allow you to connect multiple devices to a single Ethernet port, enabling you to maximize your Ethernet connection and improve overall network performance.
Here’s how you can use a network switch or hub:
- Choose the right device: Depending on your needs, select either a network switch or a hub. While both devices allow you to connect multiple devices to a single Ethernet port, switches provide better performance and more advanced features compared to hubs.
- Connect the switch or hub: Connect one end of an Ethernet cable to an available port on your modem or router, and then connect the other end to the uplink port on the switch or hub. Some devices may require you to use a specific uplink port, so consult the device’s documentation for guidance.
- Connect your devices: Connect your devices to the available ports on the network switch or hub using Ethernet cables. Each device will have a dedicated connection to the network, allowing for simultaneous use without sacrificing speed or stability.
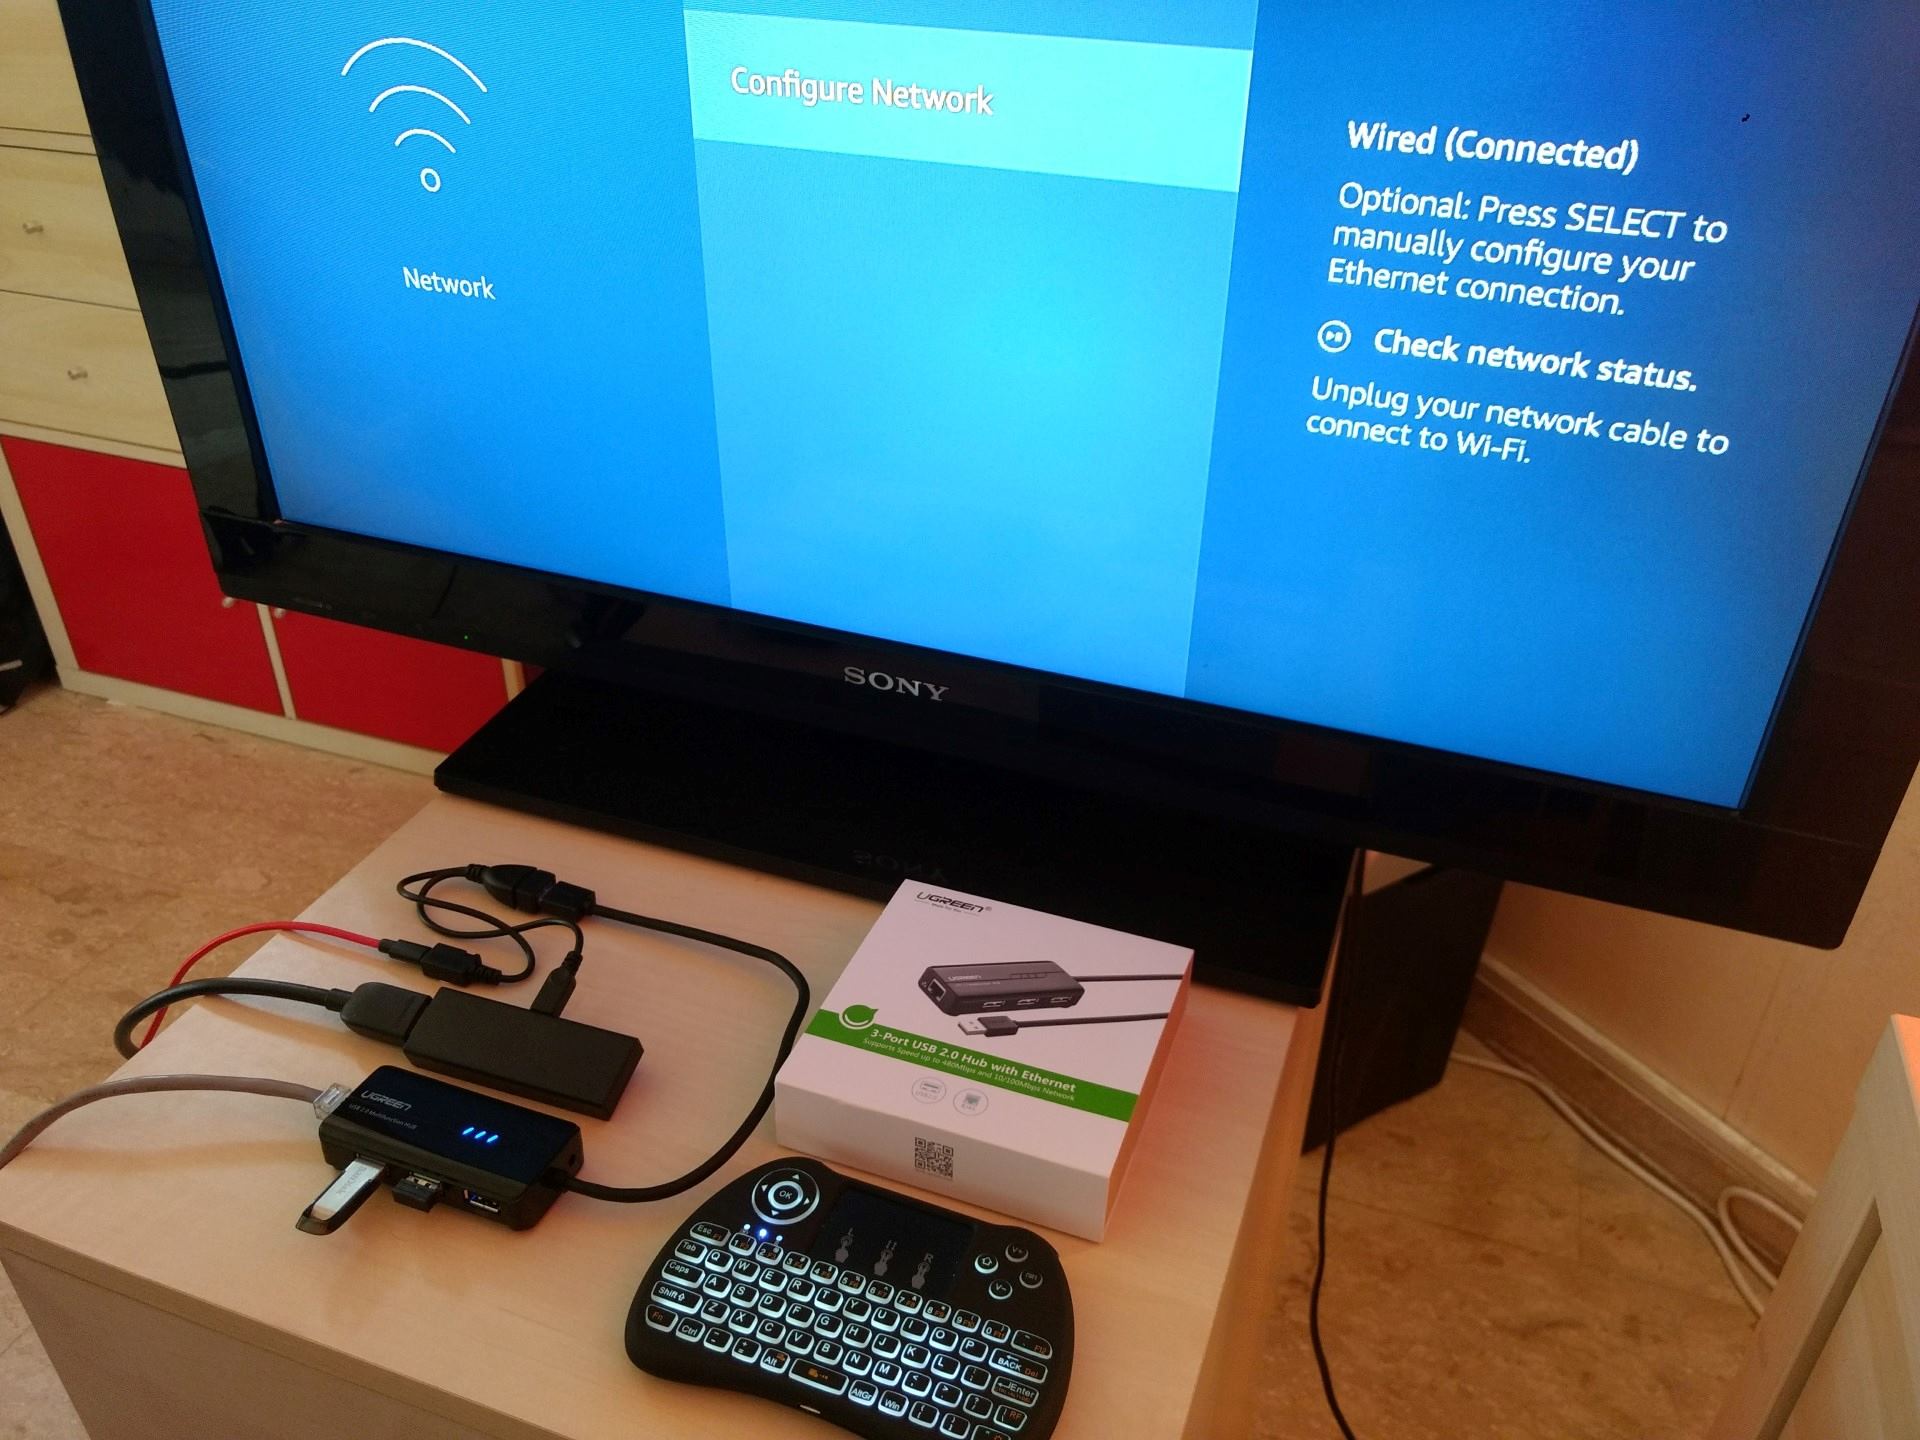
- Verify connectivity: Once all devices are connected, ensure that they are successfully connected to the network and have access to the internet. You can check this by opening a web browser on each device and confirming that you can access websites or perform other network-related tasks.
Using a network switch or hub eliminates the need for additional Ethernet ports on your modem or router and provides a convenient solution for connecting multiple devices. It allows you to distribute your Ethernet connection among different devices, enabling them to fully utilize the available bandwidth and optimizing their performance.
Keep in mind that the performance of a network switch is dependent on its capabilities. Look for a switch that supports high-speed Ethernet standards, such as Gigabit Ethernet, for maximum performance. Additionally, consider a managed switch if you need more advanced features, such as VLANs or Quality of Service (QoS) settings.
By using a network switch or hub, you can efficiently manage multiple Ethernet connections and enhance your overall network experience. This is especially valuable in environments where there are multiple devices requiring stable and fast internet connections, such as offices or households with numerous devices.
Adjust your network settings
To optimize your Ethernet connection and improve your overall network performance, adjusting certain network settings can make a significant difference. Here are some key settings to consider adjusting:
- Configure IP settings: By assigning a static IP address to your device, you can avoid potential conflicts and improve network stability. Access your device’s network settings and choose the option to manually configure the IP address, subnet mask, gateway, and DNS server addresses.
- Enable jumbo frames: If you frequently transfer large files over your network, enabling jumbo frames can increase throughput and reduce CPU utilization. Jumbo frames allow for larger packets to be transmitted, reducing the overhead associated with transmitting smaller packets.
- Adjust DNS settings: Consider using a faster and more reliable DNS (Domain Name System) server. Public DNS services like Google DNS or OpenDNS can often provide faster resolution times, resulting in quicker website loading times and improved overall network performance.
- Change the MTU size: The Maximum Transmission Unit (MTU) size is the maximum packet size that can be transmitted over your network. Adjusting the MTU size can improve network performance by optimizing the packet size for your specific network configuration.
- Enable QoS settings: Quality of Service (QoS) settings allow you to prioritize certain types of network traffic over others. By setting QoS rules, you can ensure that time-sensitive applications or specific devices receive the necessary bandwidth and have a better overall network experience.
- Disable unnecessary network protocols: Some network protocols, such as IPv6 or NetBIOS, may not be necessary for your network setup. Disabling unused protocols can reduce network overhead and potentially improve network performance.
Accessing and adjusting these network settings may vary depending on your operating system and the device you are using. Consult your device’s documentation or search online for specific instructions on how to modify these settings for your particular setup.
It’s important to note that adjusting network settings incorrectly can cause network issues or conflicts, so proceed with caution and make sure to document any changes you make. If you’re unsure about specific settings or their impact, seek guidance from your network administrator or consult online resources for more information.
By fine-tuning your network settings, you can optimize your Ethernet connection and achieve better overall network performance. These adjustments can help maximize your available bandwidth, reduce latency, and ensure a smoother and more efficient network experience.
Restart your modem and router
If you’re experiencing slow Ethernet speeds, one of the simplest yet often effective troubleshooting steps is to restart your modem and router. Over time, these devices can encounter issues that may impact their performance. Restarting them can help resolve any temporary glitches or refresh their settings, potentially improving your Ethernet connection speed. Here’s how you can do it:
- Power off your devices: Locate the power source of your modem and router and disconnect them from the power outlet. You may need to unplug them individually or turn off a power strip that they are connected to.
- Wait for a few minutes: Give your modem and router a few minutes of downtime. This allows them to completely power down and clear any lingering temporary issues.
- Power on your devices: Reconnect the modem and router to the power source and wait for them to fully boot up. This usually takes a couple of minutes, during which you will see blinking lights or other indicators on the devices.
- Verify network connection: Once the devices are powered on, check your network connection by connecting your device to the Ethernet port and ensuring that you have access to the internet. Test your connection speed to see if there are any noticeable improvements.
Restarting your modem and router can clear any temporary issues, such as memory leaks or firmware glitches, that may be affecting your Ethernet speed. It gives your devices a fresh start and reestablishes their network connections, which can lead to improved performance.
It’s worth noting that in some cases, a simple restart may not completely resolve underlying issues, especially if there are hardware problems or network-related factors beyond your control. If you continue to experience slow Ethernet speeds after restarting your devices, consider reaching out to your internet service provider (ISP) for further assistance.
Restarting your modem and router periodically can also help maintain their performance over time. It’s recommended to restart them every few months, or as advised by your ISP, to ensure you’re getting the best possible Ethernet speeds.
By taking the time to restart your modem and router, you can quickly troubleshoot any connection issues and potentially improve the speed and stability of your Ethernet connection.
Consult with a network technician
If you’ve tried all the troubleshooting steps mentioned above and are still experiencing slow Ethernet speeds, it may be time to consult with a network technician. A network technician can provide expert assistance and diagnose any complex network issues that may be affecting your Ethernet connection. Here’s how you can benefit from their expertise:
- Professional assessment: A network technician can thoroughly assess your network infrastructure, including your modem, router, cabling, and other network components. They can identify any potential hardware or configuration issues that may be impacting your Ethernet speed.
- Advanced diagnostics: Network technicians have access to specialized tools and equipment that can help diagnose complex network problems. They can conduct in-depth tests to measure network performance, identify bottlenecks, and pinpoint the root cause of your slow Ethernet speeds.
- Configuration optimization: A network technician can optimize the configuration of your modem, router, and other network devices. They can adjust settings, update firmware, and implement best practices to ensure your network is optimized for speed and performance.
- Expert recommendations: Based on their assessment, a network technician can provide tailored recommendations specific to your network setup. This could include upgrading certain hardware components, reconfiguring your network topology, or implementing additional network security measures.
- Network troubleshooting: If there are network-related issues beyond the scope of your expertise, a network technician can troubleshoot and resolve those issues efficiently. They have the experience and knowledge to navigate complex network challenges and restore your Ethernet connection to its optimal performance.
Consulting with a network technician is especially valuable when dealing with larger network setups, complicated network configurations, or enterprise-level infrastructure. Their specialized skills and experience can make a significant difference in ensuring a fast, stable, and secure Ethernet connection.
Contact your internet service provider (ISP) for recommendations on reputable network technicians in your area. Alternatively, you can seek recommendations from local computer repair shops or IT professionals. Be prepared to provide details about your network setup, any troubleshooting steps you’ve already taken, and the specific issues you’re experiencing with your Ethernet connection.
By consulting with a network technician, you can access expert assistance to identify and resolve network-related issues that impact your Ethernet speed. Their expertise can save you time, frustration, and potentially costly mistakes, ensuring that your Ethernet connection operates at its optimal level.
Conclusion
Having a fast and reliable Ethernet connection is essential for a seamless online experience. By following the tips and techniques outlined in this guide, you can optimize your Ethernet speed and improve overall internet performance. Here’s a recap of the steps we discussed:
- Check your current internet speed to establish a baseline.
- Consider upgrading your internet service provider (ISP) plan for faster speeds.
- Utilize a wired connection whenever possible to minimize interference and improve stability.
- Regularly check your Ethernet cable for any damage and consider using a shorter cable.
- Avoid interference by keeping your devices away from electrical devices and adjusting router placement.
- Update your Ethernet drivers to ensure compatibility and performance.
- Optimize your router settings by updating firmware, adjusting QoS, and enabling hardware acceleration.
- Disable bandwidth-hungry applications that may consume excessive network resources.
- Expand your network capacity with a network switch or hub.
- Adjust your network settings to optimize performance, such as IP settings and DNS configuration.
- Restart your modem and router periodically to resolve temporary issues.
- If all else fails, consulting with a network technician can help diagnose and address complex issues.
Remember that every network setup is unique, and the effectiveness of these optimization steps may vary. It’s important to regularly assess and evaluate your Ethernet connection to ensure it meets your desired speed and performance requirements.
By implementing these improvements, you can enhance your Ethernet connection’s speed, stability, and reliability. Enjoy faster downloads, smoother streaming, and improved online productivity with an optimized Ethernet connection.