Introduction
Have you ever craved a luscious, creamy bowl of strawberry ice cream only to discover that you don’t have an ice cream maker? Don’t worry – you can still satisfy your sweet tooth! Making strawberry ice cream without an ice cream maker is easier than you think, and the results are just as delicious. Whether you’re hosting a summer barbecue, planning a romantic dessert for two, or simply want a refreshing treat on a hot day, this homemade strawberry ice cream recipe is sure to impress.
With just a few simple ingredients and a little bit of time, you can whip up a batch of creamy, dreamy strawberry ice cream that will rival any store-bought variety. The secret lies in using fresh, ripe strawberries to infuse the ice cream with their natural sweetness and vibrant flavor. By following these easy steps, you’ll end up with a dessert that is velvety smooth, bursting with strawberry goodness, and guaranteed to keep you coming back for more.
To make this delectable treat, you don’t need any fancy equipment – just a blender or food processor and a freezer. So, gather your ingredients, roll up your sleeves, and let’s dive into the magical world of homemade strawberry ice cream.
Ingredients
Making strawberry ice cream without an ice cream maker requires a handful of simple ingredients that you may already have in your kitchen. Here’s what you’ll need:
- 2 cups fresh strawberries
- 1 cup heavy cream
- 1 cup whole milk
- 3/4 cup granulated sugar
- 1 teaspoon vanilla extract
- A pinch of salt
These ingredients are easy to find and come together to create a harmonious balance of sweet strawberry flavor and creamy richness. Ensure that your strawberries are ripe and sweet for the best results. Feel free to adjust the sugar according to your preference – you can add more if you like it sweeter or reduce it for a more tangy taste. Now that you have all the ingredients, let’s move on to the next steps of this mouthwatering recipe.
Step 1: Prepare the strawberries
The first step to making delicious strawberry ice cream without an ice cream maker is to prepare the strawberries. Start by washing 2 cups of fresh strawberries under cold water to remove any dirt or debris. Pat them dry gently with a paper towel.
Next, remove the green stems and hull the strawberries. You can simply cut off the green tops with a knife or use a strawberry huller if you have one. Once the strawberries are hulled, chop them into smaller pieces. This will make it easier to blend them later on and ensure a smooth texture in your ice cream.
If you prefer chunkier strawberry pieces in your ice cream, you can leave some of them slightly larger. However, if you prefer a smoother consistency, cut the strawberries into smaller chunks. It’s entirely up to you and your personal preference.
Once you have prepared the strawberries, you’re ready to move on to the next step – mixing the ingredients. Get ready to experience the enticing aroma of fresh strawberries as you combine them with the other components to create a delectable treat.
Step 2: Mix the ingredients
After preparing the strawberries, it’s time to mix the ingredients for your homemade strawberry ice cream. In a mixing bowl, combine 1 cup of heavy cream, 1 cup of whole milk, and 3/4 cup of granulated sugar. Whisk the mixture gently until the sugar is fully dissolved.
To add a hint of vanilla flavor and a touch of salt, stir in 1 teaspoon of vanilla extract and a pinch of salt. The vanilla extract enhances the overall taste of the ice cream, while the salt helps to balance the sweetness and heighten the flavors.
Once all the ingredients are combined, you can adjust the sweetness and flavor to your liking. Taste the mixture and add more sugar or vanilla extract if desired. Remember that the flavors will intensify as the ice cream freezes, so it’s better to slightly under-sweeten the mixture at this stage.
Now that you have a creamy and sweet mixture ready, it’s time to bring out the blender or food processor – the key tools that will help transform the ingredients into a smooth and delightful strawberry blend. Prepare to witness the magic unfold as you move on to the next step of this ice cream-making adventure.
Step 3: Blend the mixture
With your ingredients mixed together, it’s time to blend them to create a smooth and creamy strawberry mixture. Transfer the mixture into a blender or food processor.
Blend the mixture on a low or medium speed until everything is well combined and the strawberries are completely pureed. This will help incorporate all the flavors and ensure a uniform texture throughout the ice cream.
When blending, make sure to scrape down the sides of the blender or food processor bowl with a spatula to ensure that all the ingredients are being blended evenly. This will help break down any chunks of strawberries and create a creamy and velvety ice cream base.
The blending time may vary depending on the power of your blender or food processor and the desired consistency. Blend for about 1-2 minutes, or until the mixture is smooth and has no lumps of fruit remaining.
As you blend, be prepared to be captivated by the tantalizing scent of fresh strawberries filling your kitchen. The mixture will become a beautifully vibrant and luxurious shade of pink, promising a delightful strawberry flavor in every scoop.
Once the mixture is perfectly blended, it’s time to move on to the next step – freezing the mixture and turning it into irresistible strawberry ice cream. Get ready to savor the taste of summer!
Step 4: Freeze the mixture
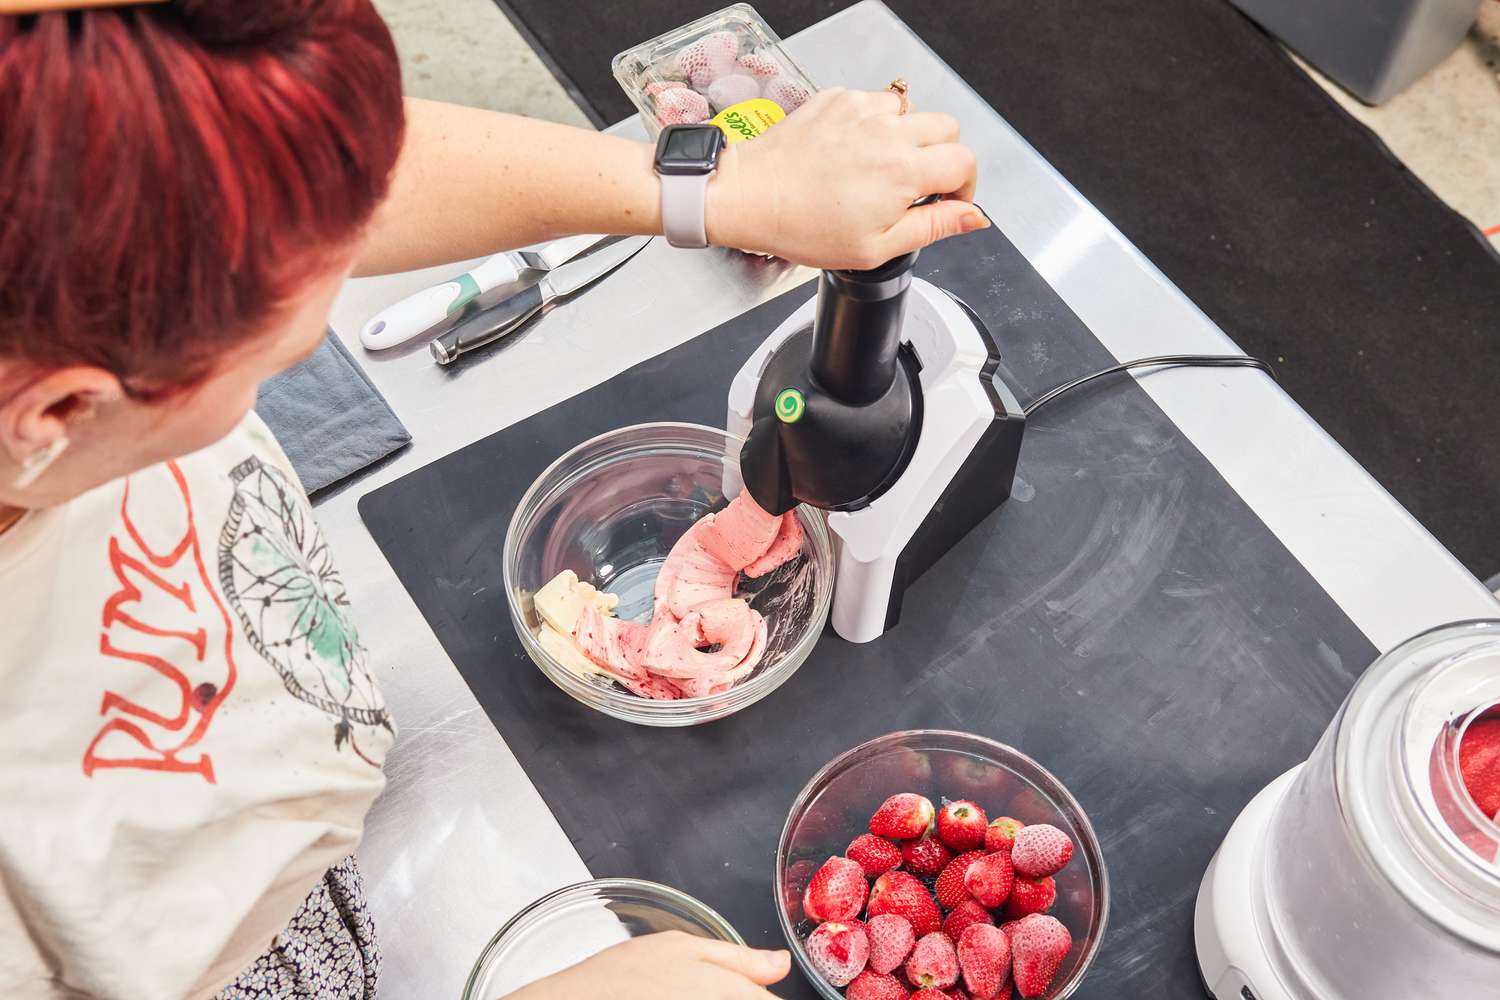
Now that you have a perfectly blended strawberry mixture, it’s time to freeze it and transform it into delectable strawberry ice cream. Transfer the mixture into a shallow container or an ice cream tub suitable for freezing.
Make sure the container has an airtight lid to prevent any freezer burn or unwanted ice crystals from forming on your ice cream. This will help maintain the smooth and creamy texture.
Place the container in the freezer and let it freeze for about 2 hours, or until the edges of the mixture start to solidify. During this time, the mixture will turn colder, but it will still have a slightly soft consistency.
After the initial freezing period, take out the container from the freezer and give the mixture a good stir. This will help break up any ice crystals that may have formed and ensure a smoother texture.
Return the container to the freezer and let the ice cream continue to freeze for about 4-6 hours, or until it becomes firm and scoopable. It’s important to be patient during this step and resist the temptation to constantly check on it or stir it, as this can disrupt the freezing process.
As the mixture freezes, the flavors will meld together, and the ice cream will become firm and creamy. The anticipation of scooping out a spoonful of refreshing strawberry goodness will keep you eagerly waiting for the next step.
Once the mixture is completely frozen and has reached the desired consistency, it’s time to move on to the final steps – blending it once again and freezing it for the last time. Prepare to indulge in a homemade frozen treat that will rival any store-bought strawberry ice cream!
Step 5: Blend again
After the initial freeze, it’s time to give your strawberry ice cream mixture another round of blending. Take the container out of the freezer and let it thaw for a few minutes until it’s soft enough to blend.
Transfer the partially frozen ice cream back into the blender or food processor. This step is crucial as it helps break down any ice crystals that may have formed and ensures a smooth and creamy texture in your final product.
Blend the mixture on a low or medium speed until it becomes smooth and homogeneous. This should only take a couple of minutes. Similar to the first blending step, be sure to scrape down the sides of the blender bowl with a spatula to ensure even blending.
As you blend, take a moment to appreciate how the creamy texture is starting to develop. The second blending will help incorporate air into the ice cream, making it lighter and more airy. The result will be a velvety smooth strawberry ice cream with a luxurious mouthfeel.
Once the mixture is well blended, it’s time to move on to the final step – freezing the ice cream for the last time. Get ready to patiently wait for the flavors to fully develop and the ice cream to firm up to perfection.
Transfer the mixture back into the container and place it in the freezer. Allow it to freeze for an additional 4-6 hours, or until it reaches the desired firmness. This final freeze ensures that the ice cream has the ideal texture for scooping and serving.
When the ice cream is fully frozen, it’s time to reward yourself with a well-deserved treat. This homemade strawberry ice cream, made with love and attention to detail, is about to become your new favorite summertime indulgence!
Step 6: Freeze again
Now that your strawberry ice cream has undergone its second blend, it’s time to freeze it one final time to ensure a perfect texture and consistency. Place the container back into the freezer and let it freeze for another 4-6 hours, or until it has completely hardened.
This last freeze is crucial as it allows the ice cream to set and develop its smooth and creamy texture. The extended freezing time ensures that the flavors meld together beautifully, resulting in a rich and indulgent strawberry ice cream.
During this freezing period, it’s important to avoid constantly opening the freezer door or disturbing the container. Minimal movement and a stable freezing environment will yield the best results. Be patient, and the rewards will be worth it!
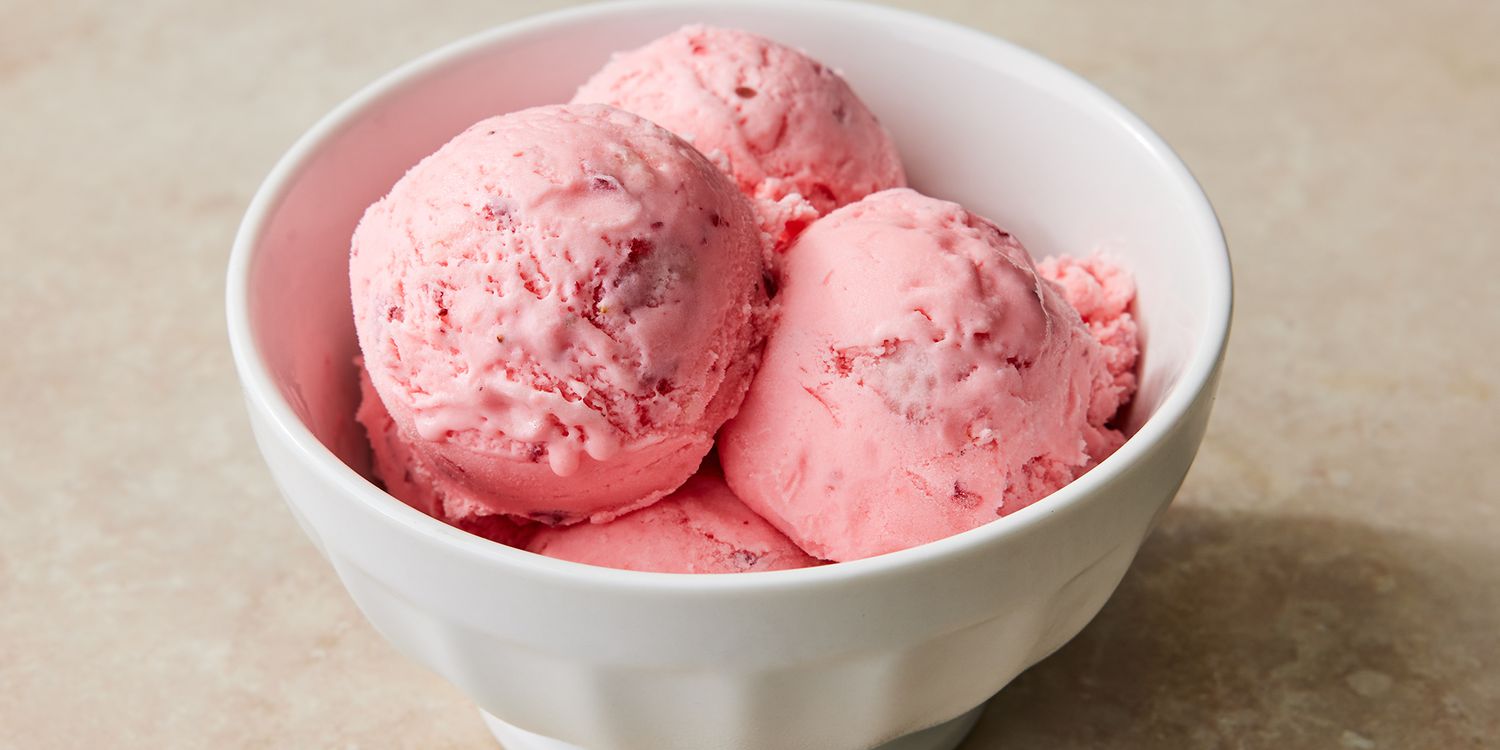
As the hours pass, the ice cream will transform into a luscious frozen dessert, ready to be scooped into bowls or cones. The vibrant pink color and the enticing aroma of fresh strawberries will greet you as you open the lid to reveal your frozen masterpiece.
Keep in mind that the freezing time may vary depending on the temperature of your freezer. You’ll know the ice cream is ready when it is firm to the touch and holds its shape when scooped.
Once the ice cream has reached its desired firmness, you’re ready for the final step – serving and savoring your homemade strawberry ice cream. It’s time to treat yourself to a refreshing and delicious dessert that will impress your friends and family.
Now, all that’s left to do is grab a spoon, dig into the velvety goodness, and enjoy a taste of summer in every bite.
Step 7: Serve and enjoy!
Congratulations! You have successfully made homemade strawberry ice cream without an ice cream maker. Now, it’s time to indulge in the fruits of your labor and savor the sweet reward.
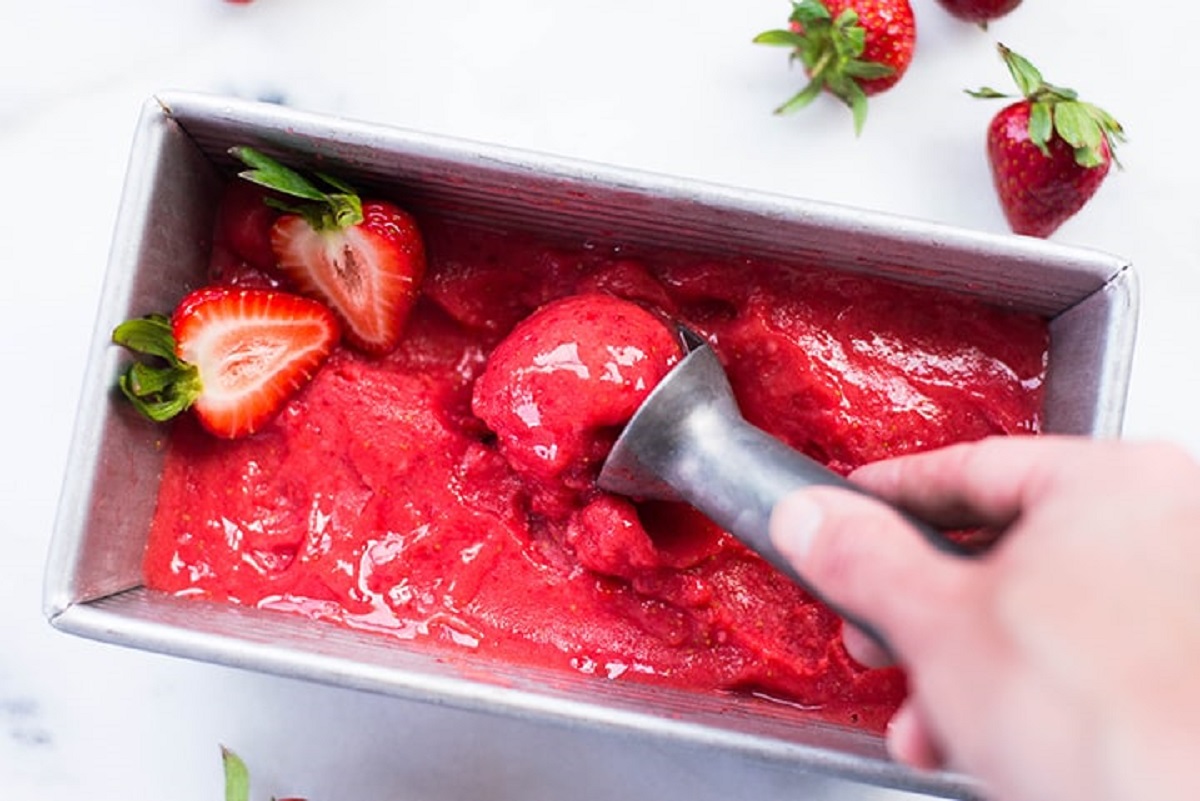
To serve your delicious strawberry ice cream, remove the container from the freezer and let it sit at room temperature for a few minutes to soften slightly. This will make scooping much easier and ensure a smooth and creamy texture.
Grab an ice cream scoop and dive right in. Watch as the scoop glides through the velvety pink ice cream, revealing layers of strawberry goodness. Place a scoop or two into a bowl, cone, or onto your favorite dessert for an extra special touch.
If you want to take your strawberry ice cream to the next level, consider adding some garnishes. Freshly sliced strawberries, a drizzle of chocolate syrup, or a sprinkle of crushed nuts are all delightful ways to enhance the flavors and presentation.
Now, it’s time to enjoy the creamy, dreamy treat you’ve created. Take a bite and let the rich strawberry flavor burst in your mouth. Close your eyes and savor the smooth and velvety texture as it melts on your tongue.
Whether you’re enjoying a bowl of strawberry ice cream on a hot summer day, sharing it with loved ones at a backyard gathering, or treating yourself to a special dessert, this homemade delight is sure to bring smiles and satisfy your sweet tooth.
So, sit back, relax, and relish in the joy of creating your very own strawberry ice cream. The hard work and love you put into making it truly shines through in every spoonful.
Remember, this recipe is just a starting point. Feel free to experiment with different mix-ins, such as chocolate chips, cookie crumbs, or fresh mint leaves, to make it uniquely your own. Get creative and have fun!
Now, go ahead and delight in your homemade strawberry ice cream creation. Enjoy every spoonful, and share the joy with those around you. Cheers to your culinary accomplishment!