Introduction
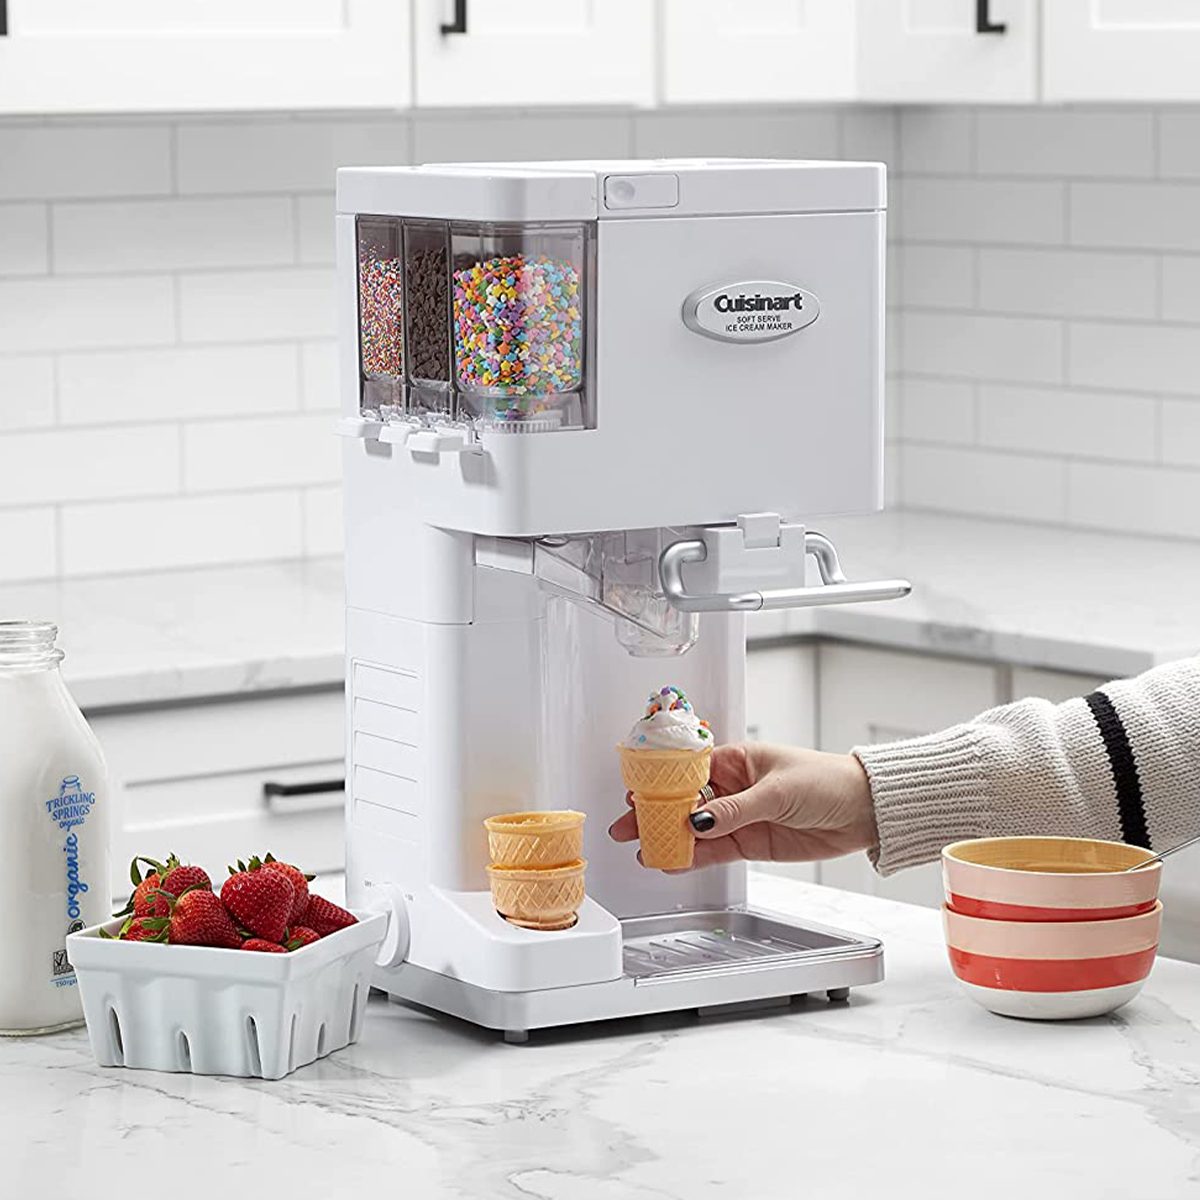
Are you looking for a delicious and refreshing treat to enjoy during the autumn season? Look no further than homemade pumpkin ice cream! With the help of a Cuisinart ice cream maker, you can easily create a creamy and flavorful dessert that captures the essence of fall.
Pumpkin ice cream is the perfect way to savor the rich, warm flavors of pumpkin pie in a cool and indulgent frozen treat. It combines the smooth texture of ice cream with the subtle sweetness and earthy notes of pumpkin. Whether you’re hosting a cozy gathering or simply want to treat yourself, making pumpkin ice cream at home is a satisfying and rewarding experience.
In this article, we will guide you through the step-by-step process of making pumpkin ice cream using a Cuisinart ice cream maker. We will share tips and tricks to ensure your ice cream turns out perfectly creamy and delicious every time.
Before we dive into the recipe, let’s take a look at the ingredients you will need to create this delightful fall dessert.
Ingredients
To make pumpkin ice cream using a Cuisinart ice cream maker, you will need the following ingredients:
- 1 cup of pumpkin puree
- 1 ½ cups of heavy cream
- ½ cup of whole milk
- ¾ cup of granulated sugar
- 1 teaspoon of vanilla extract
- 1 teaspoon of cinnamon
- ½ teaspoon of nutmeg
- ¼ teaspoon of ginger
- A pinch of salt
These ingredients can be easily found at your local grocery store during the fall season. When purchasing the pumpkin puree, make sure to get 100% pure pumpkin without any added spices or sweeteners.
The heavy cream and whole milk will give your ice cream its creamy and smooth texture, while the granulated sugar will add sweetness. The combination of vanilla extract, cinnamon, nutmeg, ginger, and a pinch of salt will enhance the flavor and complement the pumpkin’s natural taste.
Feel free to adjust the spices according to your personal preference. If you prefer a stronger spice flavor, you can increase the amounts slightly. Conversely, if you prefer a milder flavor, you can reduce the spices accordingly.
Now that you have gathered all the necessary ingredients, let’s move on to the step-by-step process of making pumpkin ice cream using your Cuisinart ice cream maker.
Step 1: Preparing the Pumpkin Puree
The first step in making homemade pumpkin ice cream is preparing the pumpkin puree. While you can certainly use canned pumpkin puree, making your own from fresh pumpkins adds a delightful freshness and flavor to the ice cream.
Here’s how to prepare the pumpkin puree:
- Start by selecting a small cooking pumpkin, often called a sugar pumpkin. These pumpkins are smaller in size, sweeter in taste, and ideal for making puree.
- Preheat your oven to 375°F (190°C). Meanwhile, wash the pumpkin thoroughly and pat it dry.
- Cut off the stem using a sharp knife, and then slice the pumpkin in half from top to bottom.
- Use a spoon to scoop out the seeds and pulp from the pumpkin halves.
- Place the pumpkin halves, cut side down, on a baking sheet lined with parchment paper.
- Bake the pumpkin in the preheated oven for about 45-60 minutes, or until the flesh is fork-tender.
- Once the pumpkin is done baking, remove it from the oven and let it cool completely.
- Once the pumpkin has cooled, use a spoon to scoop out the cooked flesh from the skin.
- Transfer the cooked pumpkin flesh to a blender or food processor and blend until smooth.
- Your homemade pumpkin puree is now ready to be used in the ice cream recipe.
If you choose to use canned pumpkin puree, make sure it is 100% pure pumpkin without any added spices or sweeteners. Canned pumpkin provides convenience and saves time, but making your own puree from scratch guarantees the freshest flavor for your homemade ice cream.
Now that you have prepared the pumpkin puree, let’s move on to the next step of making the ice cream base.
Step 2: Making the Ice Cream Base
Now that you have prepared the pumpkin puree, it’s time to move on to the next step: making the ice cream base. This is where all the delicious flavors of pumpkin, cream, and spices come together to create a creamy and delectable dessert.
Follow these steps to make the ice cream base:
- In a medium-sized mixing bowl, combine the pumpkin puree, heavy cream, whole milk, granulated sugar, vanilla extract, cinnamon, nutmeg, ginger, and a pinch of salt.
- Using a whisk or electric mixer on low speed, blend the ingredients together until they are well combined and the sugar has dissolved completely. Make sure there are no lumps remaining in the mixture.
- Once the ice cream base is well mixed, cover the bowl with plastic wrap or a lid and refrigerate it for at least 2 hours, or overnight. Chilling the mixture will help the flavors meld together and ensure a smooth texture when churning.
During the refrigeration process, the mixture may thicken slightly, which is perfectly normal. This will result in a creamier and smoother ice cream once it is churned.
Now that the ice cream base is prepared and chilling, let’s move on to the exciting part: churning the ice cream using your Cuisinart ice cream maker.
Step 3: Churning the Ice Cream
Now comes the fun part – churning the ice cream! This step involves using your Cuisinart ice cream maker to transform the chilled ice cream base into a smooth and creamy frozen dessert.
Follow these steps to churn the ice cream:
- Before you begin, make sure your Cuisinart ice cream maker bowl has been thoroughly frozen according to the manufacturer’s instructions. This typically requires freezing the bowl for at least 24 hours prior to churning.
- Once your ice cream base has chilled, take the Cuisinart ice cream maker bowl out of the freezer and assemble the machine according to the manufacturer’s instructions.
- Turn on the ice cream maker and pour the chilled ice cream base into the frozen bowl.
- Allow the machine to churn the ice cream for about 20-25 minutes, or until the mixture thickens and reaches a soft-serve consistency. The length of time may vary depending on your specific ice cream maker model.
- While the ice cream is churning, resist the temptation to overfill the machine with mix-ins, as this may prevent the ice cream from churning properly.
- Once the ice cream has reached the desired consistency, carefully transfer it to a lidded freezer-safe container. If you want to add mix-ins, such as chocolate chips or crushed cookies, do so at this stage, gently folding them into the ice cream.
Churning the ice cream incorporates air into the mixture, resulting in a lighter and smoother texture. The continuous movement of the machine helps prevent ice crystals from forming, ensuring a creamy and velvety finish.
Now that your pumpkin ice cream is churned, it’s time to consider adding some delicious mix-ins to enhance the flavor and texture.
Step 4: Adding Mix-ins (optional)
Adding mix-ins to your pumpkin ice cream is a fantastic way to take it to the next level and add some extra texture and flavor. While the base recipe itself is delicious, mix-ins can add a delightful surprise and variety to each bite.
Here are some popular mix-in ideas for your pumpkin ice cream:
- Chocolate chips: Add a generous amount of chocolate chips, whether dark, milk, or white, to create a decadent and indulgent treat.
- Pecans or walnuts: Chopped nuts provide a delightful crunch and complement the creamy texture of the ice cream. Toasting the nuts beforehand will enhance their flavor.
- Graham crackers or cookie crumbs: Crushed graham crackers or your favorite cookie crumbs can add a hint of sweetness and recreate the taste of a pumpkin pie crust.
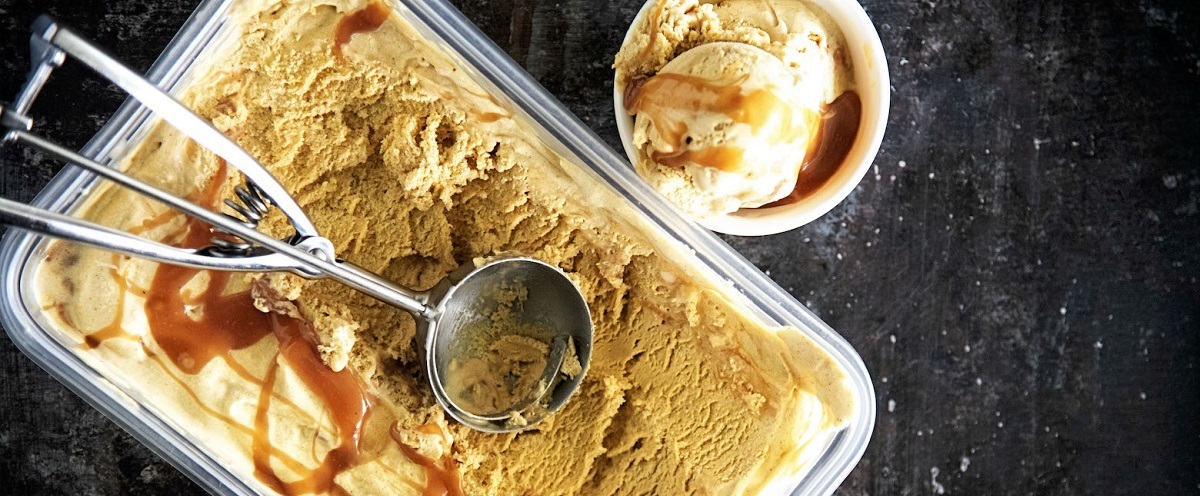
- Caramel swirls: Drizzle some warm caramel sauce into the churned ice cream to create delightful ribbons of caramel throughout.
- Candied ginger: For those who enjoy a bit of spiciness, finely chop some candied ginger and fold it into the ice cream for a zesty kick.
These are just a few suggestions, but the possibilities for mix-ins are endless. Feel free to get creative and experiment with your favorite ingredients to customize your pumpkin ice cream just the way you like it.
After adding the mix-ins, gently fold them into the ice cream using a spatula or spoon. Be careful not to overmix, as you want to preserve the integrity of the mix-ins and avoid overworking the ice cream.
Now that your pumpkin ice cream is perfectly infused with delightful mix-ins, it’s time to freeze and store it for future enjoyment.
Step 5: Freezing and Storing the Ice Cream
Now that you have churned your pumpkin ice cream and added any desired mix-ins, it’s time to freeze and store it properly to maintain its creamy texture and delicious flavor.
Follow these steps to freeze and store your ice cream:
- Transfer the churned ice cream, along with any mix-ins, into a lidded freezer-safe container. Make sure the container has enough room for the ice cream to expand as it freezes.
- Smooth the surface of the ice cream with a spatula or the back of a spoon to create an even layer.
- Place a piece of wax paper or plastic wrap directly on the surface of the ice cream. This helps prevent ice crystals from forming.
- Seal the container with the lid to ensure a tight seal and prevent any freezer odors from seeping into the ice cream.
- Label the container with the date and flavor to easily identify it in the freezer.
- Place the ice cream container in the coldest part of your freezer, preferably towards the back. This will help maintain a consistent temperature and prevent the ice cream from softening too quickly.
- Allow the ice cream to freeze for at least 4-6 hours, or preferably overnight, until it reaches a firm and scoopable consistency.
When you’re ready to enjoy your homemade pumpkin ice cream, simply remove the container from the freezer and let it sit at room temperature for a few minutes to soften slightly. This will make scooping easier and prevent any freezer burn.
Remember, homemade ice cream is best enjoyed within a few weeks for optimal flavor and texture. If stored properly, your pumpkin ice cream should stay delicious for up to 2-3 months.
Now that you’ve learned how to freeze and store your pumpkin ice cream, it’s time to grab a spoon and savor the delightful flavors of this homemade frozen treat!
Conclusion
Congratulations! You have successfully learned how to make delicious pumpkin ice cream using a Cuisinart ice cream maker. This creamy and flavorful dessert is the perfect way to enjoy the beloved flavors of fall in a frozen treat.
By following the step-by-step instructions in this article, you have learned how to prepare the pumpkin puree, create the ice cream base, churn the mixture, add optional mix-ins, and properly freeze and store the ice cream.
With just a few simple ingredients and the right equipment, you can create a homemade pumpkin ice cream that rivals any store-bought version. The rich and creamy texture, combined with the warm spices and subtle sweetness of pumpkin, will delight your taste buds and impress your family and friends.
Remember, you can customize your ice cream by adding your favorite mix-ins, such as chocolate chips, nuts, or cookie crumbs, to create unique flavor combinations. Don’t be afraid to get creative and experiment with different ingredients to make your pumpkin ice cream truly your own.
Whether you’re hosting a fall gathering, celebrating a special occasion, or simply craving a delightful frozen dessert, making pumpkin ice cream in a Cuisinart ice cream maker is a fantastic choice. It’s a fun and rewarding way to enjoy the flavors of the season and create lasting memories.
So why wait? Gather the ingredients, dust off your Cuisinart ice cream maker, and embark on a delicious journey of making homemade pumpkin ice cream. Treat yourself and your loved ones to this delightful autumn dessert that will surely become a favorite in your household.
Thank you for joining us on this pumpkin ice cream adventure. Enjoy every spoonful of this sweet and creamy delight!