Introduction
Welcome to the world of audio recording! Whether you are a podcaster, musician, or content creator, having crystal clear audio is essential for delivering a professional and captivating experience to your audience. However, one common challenge that many people face is dealing with mic noise. Nothing ruins a recording faster than unwanted background hiss, hum, or room echo.
In this article, we will explore various techniques and solutions for mitigating mic noise and achieving high-quality audio recordings. We’ll dive into different aspects, including understanding mic noise, choosing the right microphone, mic placement techniques, using pop filters, implementing acoustic treatment, software solutions for mic noise cancelling, and even some DIY techniques.
Before we delve into the specifics, it’s important to understand what mic noise is. Mic noise refers to any unwanted sound picked up by the microphone that is not part of the desired audio signal. This can include electrical interference, background noise, vibrations, or even reflections of sound waves in the recording environment.
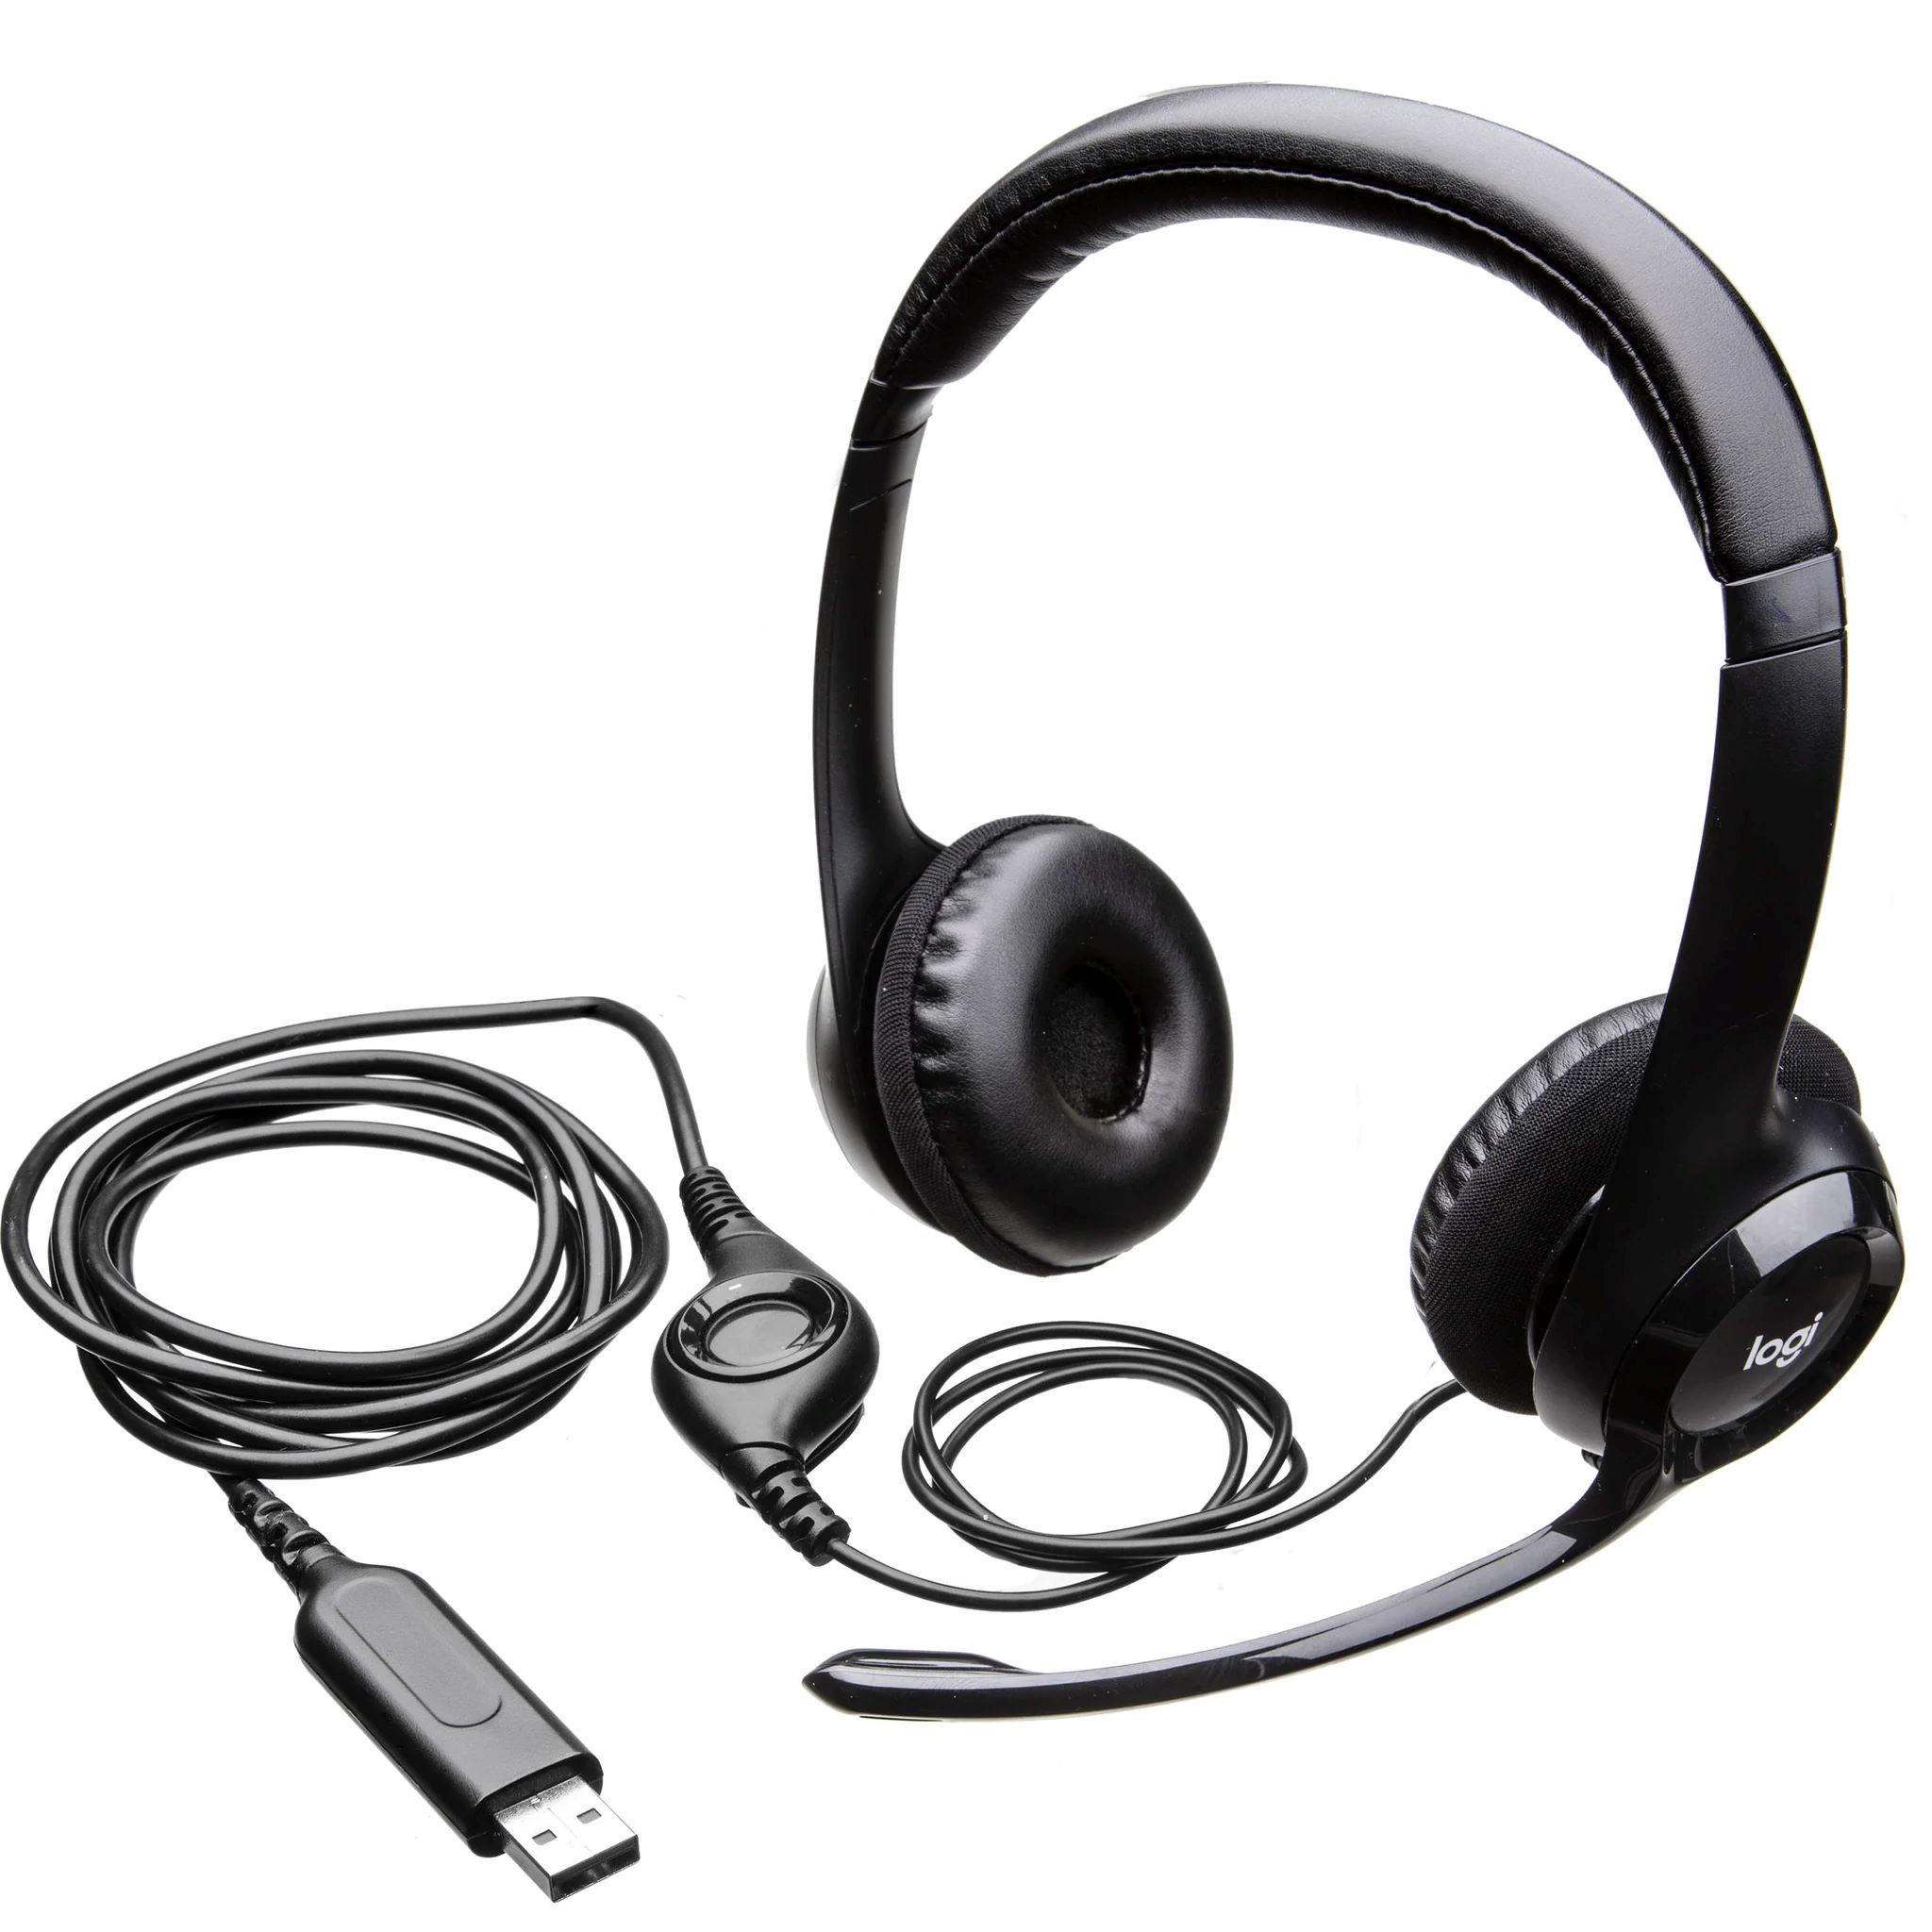
Choosing the right microphone is the first step in combating mic noise. Different microphones have different characteristics and sensitivities, which will affect their susceptibility to picking up unwanted noise. Dynamic microphones are generally more forgiving in noisy environments, thanks to their design, which reduces sensitivity to background noise. On the other hand, condenser microphones offer superior audio quality but are more sensitive and may require additional noise cancelling measures.
Proper mic placement is another crucial factor. Pay attention to the distance between the microphone and the sound source. Avoid placing the microphone too far away, as this can increase the likelihood of capturing unwanted noise. Experiment with different positions and angles to find the sweet spot that captures the desired sound while minimizing background noise.
A simple yet effective solution for reducing plosives and controlling unwanted breath sounds is using a pop filter. These specialized screens are placed in front of the microphone to diffuse bursts of air that can cause harsh sounds and distortions. Pop filters are widely available and affordable, making them an essential tool in every content creator’s arsenal.
In addition to physical measures, acoustic treatment can significantly improve the quality of your recordings. This involves creating a controlled environment by addressing room reflections and echoes. Installing sound-absorbing panels, diffusers, and bass traps can help minimize ambient noise and maximize the clarity and focus of your recorded audio.
If you’re looking for a more advanced solution, there are software options available for mic noise cancelling. These programs utilize algorithms and filters to analyze and remove unwanted noise from your recordings. While effective, these solutions may require some technical know-how and can vary in terms of compatibility and performance based on your specific setup and computer specifications.
Lastly, if you’re on a budget or enjoy do-it-yourself projects, there are alternative and creative methods for mic noise cancelling. From building your own sound booth or vocal booth using everyday materials to utilizing noise gates and filters within your recording software, there are plenty of DIY techniques to explore.
Now that we have an overview of the different aspects of mic noise cancelling, let’s delve deeper into each topic to uncover practical tips and tricks for achieving clean and professional audio recordings.
Understanding Mic Noise
Before we delve into the techniques for mic noise cancelling, it’s important to have a solid understanding of what mic noise is and how it can affect your audio recordings. Mic noise refers to any unwanted sound that the microphone captures, apart from the intended audio signal.
There are various types of mic noise that you may encounter during your recording sessions. One common type is electrical interference, which can manifest as hissing, buzzing, or humming sounds. This interference can be caused by nearby electronic devices, poor cable shielding, or grounding issues.
Background noise, such as the hum of traffic, air conditioner noise, or computer fan sounds, can also contribute to mic noise. These sounds can be particularly noticeable if you’re recording in a noisy environment or if you’re using a sensitive microphone.
Another type of mic noise is mechanical vibrations. These vibrations can be transmitted through the microphone stand or surface upon which the microphone is placed. They can result from physical movements, accidental bumps, or even the vibrations of nearby speakers.
Reflections of sound waves in the recording environment can also cause mic noise. When sound waves bounce off walls, ceilings, or other surfaces, they can create echoes, reverberation, or even phase cancellation effects. This can lead to a muddier and less defined audio recording.
Understanding the source of mic noise is crucial in order to address it effectively. Identifying whether the noise is electrical interference, background noise, mechanical vibrations, or room reflections will help you choose the proper techniques to minimize or eliminate that specific type of noise.
In addition to identifying the type of mic noise, it’s important to recognize that different microphones have varying levels of sensitivity to noise. Dynamic microphones, known for their durability and versatility, are less sensitive to background noise and electrical interference compared to condenser microphones. If you frequently record in noisy environments or on location, a dynamic microphone may be an ideal choice.
On the other hand, condenser microphones are renowned for their audio quality and detailed capture. However, their increased sensitivity means they are more likely to pick up background noise and unwanted sounds. If you plan on recording in a controlled and quiet environment, condenser microphones can deliver exceptional recordings.
Ultimately, understanding the different types of mic noise and their causes, as well as knowing the strengths and limitations of different microphones, will lay the foundation for effectively tackling mic noise issues. In the next section, we will explore the process of selecting the right microphone for your specific recording needs.
Choosing the Right Microphone
When it comes to mic noise cancelling, one of the key factors to consider is selecting the right microphone for your specific recording needs. Different microphones have different characteristics and sensitivities, which can significantly impact their performance in capturing clean and high-quality audio.
First and foremost, determine the nature of your recordings. Are you primarily capturing vocals, instruments, or a combination of both? Understanding the primary purpose of your microphone will help you narrow down your options.
Dynamic microphones are often the go-to choice for live performances and recording in noisy environments. These microphones are built to handle high sound pressure levels and are more resistant to background noise. If you’re podcasting from a location with a lot of ambient noise or if you’re in a band performing live gigs, a dynamic microphone might be the ideal solution for you.
Condenser microphones, on the other hand, offer exceptional audio quality and sensitivity. They are commonly used in studio environments for recording vocals, acoustic instruments, and capturing fine details. However, condenser microphones are more sensitive to background noise and may require additional measures, such as proper mic placement and acoustic treatment, to minimize unwanted noise. If you have a quiet recording space and prioritize audio quality, a condenser microphone can be an excellent choice.
Another consideration when choosing the right microphone is the polar pattern. The polar pattern determines the directional sensitivity of the microphone and how it picks up sound from different angles. The most common types of polar patterns are cardioid, omnidirectional, and bidirectional.
A cardioid microphone is the most popular choice for many applications. It picks up sound primarily from the front and rejects sounds from the sides and rear, reducing the chances of capturing unwanted noise. This makes cardioid microphones ideal for single-person recordings or situations where you want to isolate the sound source.
Omnidirectional microphones, as the name suggests, capture sound from all directions equally. They are less susceptible to proximity effect and can be beneficial in capturing ambient sounds or for recording in a controlled environment with minimal ambient noise.
Bidirectional microphones capture sound from the front and back but reject sound from the sides. These microphones are commonly used for interviews or situations where capturing sound from opposite directions is desired.
Lastly, consider your budget and the overall quality you’re aiming for. While it can be tempting to go for the most expensive microphone on the market, it’s important to find a balance between budget and performance. There are excellent microphones available at various price points that can deliver outstanding results.
When choosing the right microphone, consider factors such as the intended use, environment, polar pattern, and budget. By selecting a microphone that aligns with your specific recording needs, you can minimize the chances of picking up unwanted mic noise and achieve professional-quality audio recordings.
Mic Placement Techniques
Once you’ve chosen the right microphone, the next step in mic noise cancelling is to consider proper mic placement. The position of the microphone in relation to the sound source can greatly affect the quality of your recordings and the amount of unwanted noise that gets picked up.
When placing the microphone, consider the distance between the mic and the sound source. In general, it’s recommended to position the microphone as close to the sound source as possible without compromising the desired audio quality. This helps to minimize the amount of background noise and room reflections that the microphone captures.
For vocal recordings, positioning the microphone at a distance of about 6-8 inches (15-20 cm) from the speaker’s mouth is a good starting point. This allows for capturing clear vocals while reducing the chances of picking up unwanted room noise. Experiment with small adjustments to find the sweet spot where the desired sound is captured with minimal interference.
When recording instruments, the placement can vary depending on the specific instrument. For example, when recording acoustic guitars, place the microphone slightly off the sound hole to capture a balanced tone. Experiment with different positions and angles to find the best spot that captures the desired sound while minimizing any unwanted noise or vibrations.
An important technique to consider when dealing with loud instruments or recording in a noisy environment is the proximity effect. This effect refers to the increase in bass response when the microphone is placed very close to the sound source. By utilizing the proximity effect, you can focus on capturing the desired sound while reducing the amount of background noise that gets picked up.
Another consideration is the angle of the microphone. A slight tilt or angle can help reject sounds coming from unwanted directions. Experiment with different angles to find the position that captures the best sound quality while minimizing the capture of unwanted noise.
Furthermore, take into account the directionality of the microphone’s polar pattern. If using a cardioid microphone, ensure that the sound source is positioned in front of the microphone for optimal capture while minimizing noise from the sides and rear. Understanding the polar pattern of your microphone will help you make informed decisions about placement.
It’s worth noting that different microphones have different sweet spots and characteristics when it comes to placement. Some microphones may perform better with closer placement, while others may require a bit more distance. Take the time to experiment and listen critically to find the ideal placement for your specific microphone.
In summary, proper mic placement is crucial for mic noise cancelling. By placing the microphone at an appropriate distance and angle, utilizing the proximity effect, and considering the polar pattern of the microphone, you can capture clear and focused audio while minimizing unwanted noise. Experimentation is key, so don’t be afraid to try different positions and configurations until you achieve the best results.
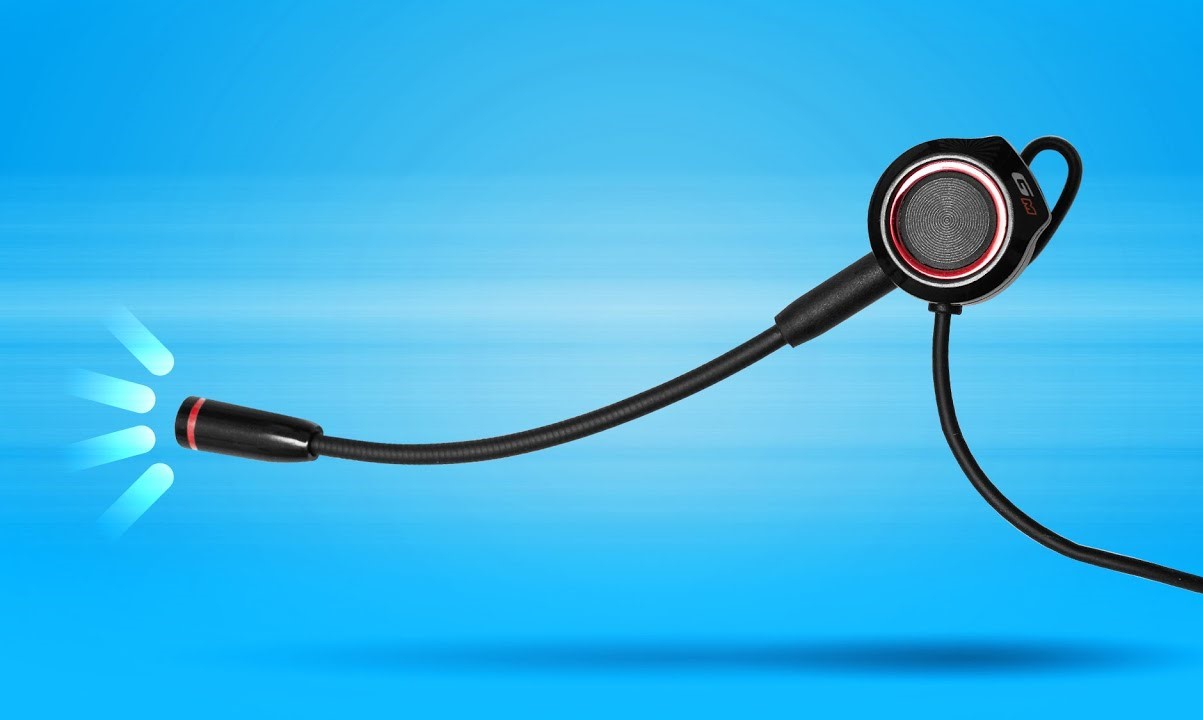
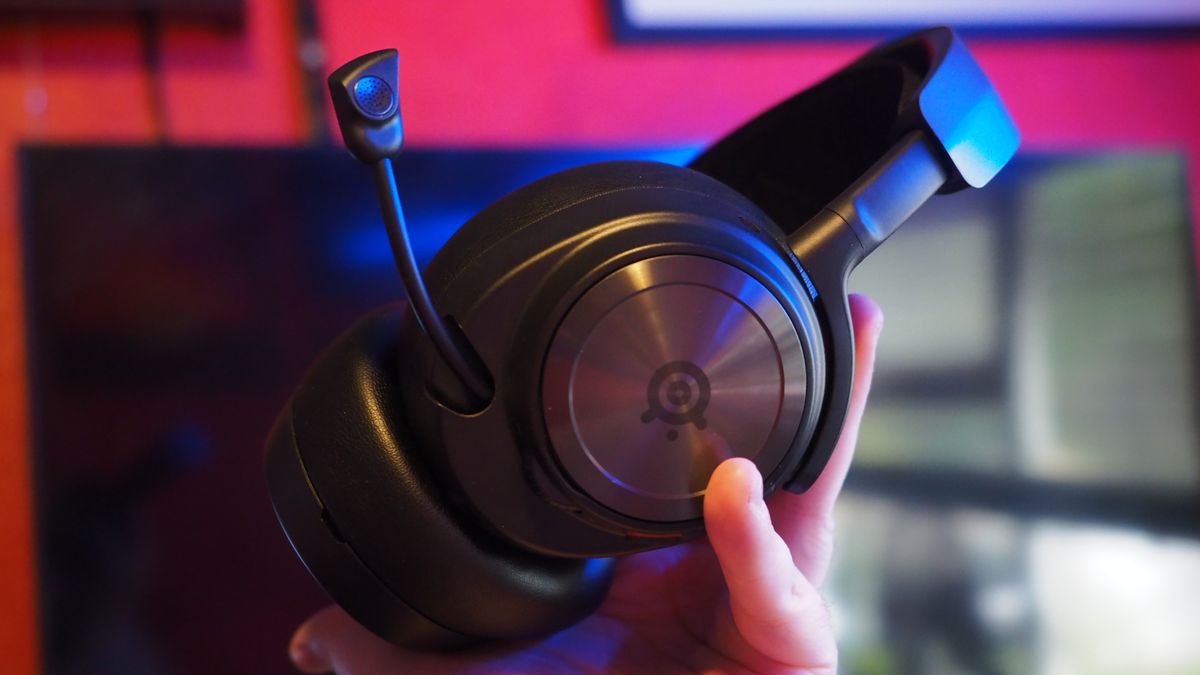
Using a Pop Filter
When it comes to mic noise cancelling, one effective tool that can make a significant difference in the quality of your recordings is a pop filter. Pop filters are simple, yet essential, accessories that help reduce plosive sounds and control unwanted breath noises that can create distortions and harsh sounds in your audio recordings.
A pop filter is a screen or a mesh material that is placed between the sound source and the microphone. Its primary purpose is to diffuse the bursts of air produced when pronouncing sounds like “p” or “b,” which are known as plosives. These plosive sounds can cause harsh peaks in the audio signal and result in unwanted distortion.
By placing a pop filter in front of the microphone, the force of the air expelled during speech is diffused, reducing the impact on the microphone’s diaphragm and preventing the plosive sounds from overwhelming the recording. This results in smoother, more natural-sounding vocals without sacrificing the clarity of the overall audio.
Pop filters are typically constructed using a fine mesh material that allows sound to pass through while diffusing the air. The mesh acts as a barrier, capturing the plosive sounds and evenly distributing the airflow, minimizing their impact on the microphone. The material used for the filter is usually acoustically transparent, ensuring that it doesn’t affect the frequency response of the microphone.
When using a pop filter, it’s important to position it correctly in front of the microphone. The optimal placement is between the speaker and the microphone, typically a few inches away from the microphone. This placement ensures that the filter effectively captures the plosive sounds without interfering with the overall sound quality.
Aside from reducing plosive sounds, pop filters can also help control and minimize breath noises. When speaking or singing close to the microphone, the breath can create unwanted noise, such as gusts of air or a heavy breathing sound. The pop filter acts as a barrier, preventing these breath sounds from reaching the microphone and reducing their impact on the recording.
Pop filters come in various sizes and materials. It’s important to choose one that is compatible with your microphone and suits your recording needs. Some pop filters are designed to be clamped onto the microphone stand, while others have flexible goosenecks that allow for easy positioning.
Overall, using a pop filter is a simple and cost-effective solution for mic noise cancelling. It helps prevent plosive sounds and controls breath noises, resulting in cleaner and more professional-sounding recordings. Whether you’re recording vocals, podcasts, or voiceovers, a pop filter is a valuable tool that can significantly improve the audio quality of your recordings.
Acoustic Treatment
When it comes to mic noise cancelling, one aspect that is often overlooked is the importance of acoustic treatment. Acoustic treatment involves modifying the sound characteristics of a room or space to minimize reflections, echoes, and other unwanted acoustic phenomena that can negatively impact the quality of your audio recordings.
Uncontrolled reflections in a room can cause sound waves from the microphone to bounce off walls, ceilings, and other surfaces, resulting in unwanted echoes and reverberation. These reflections can create a muddier and less defined recording, making it more difficult to isolate and capture the desired sound.
Implementing acoustic treatment involves strategically placing sound-absorbing materials such as foam panels, diffusers, and bass traps in your recording space. These materials are designed to absorb or diffuse sound waves, reducing their reflections and minimizing acoustic issues that can contribute to mic noise.
Sound-absorbing panels are used to absorb and dampen sound waves, preventing them from reflecting back into the recording space. These panels are typically made of materials such as acoustic foam or fiberglass and can be installed on walls, ceilings, and even the back of doors to reduce reflections and improve the overall acoustic environment.
Diffusers are another valuable tool for acoustic treatment. Unlike absorbers, diffusers scatter the sound waves in different directions, helping to break up standing waves and reduce flutter echoes. Diffusers can be placed on walls or ceilings, dispersing sound evenly across the room and providing a more balanced and controlled acoustic environment.
Bass traps are specifically designed to address low-frequency issues. Low frequencies tend to accumulate in corners of a room and can cause uneven bass response and a boomy or muddy sound. Bass traps, typically made of dense materials, absorb these low frequencies and effectively reduce their buildup, resulting in a tighter and more controlled bass response in your recordings.
When implementing acoustic treatment, it’s important to consider the size of your room, the specific acoustic challenges you face, and the type of recordings you will be doing. The placement and quantity of sound-absorbing panels, diffusers, and bass traps will depend on these factors and should be tailored to your specific needs.
While a fully treated professional studio may not be feasible for everyone, even small adjustments can make a significant difference in the quality of your recordings. Consider starting with a few sound-absorbing panels strategically placed around the recording area or utilizing a portable vocal booth to create a more controlled environment for your microphone.
In summary, implementing acoustic treatment techniques can significantly improve the quality of your audio recordings and help in mic noise cancelling. By reducing unwanted reflections, echoes, and bass buildup, acoustic treatment creates a more controlled and balanced recording space, allowing your microphone to capture the desired sound with minimal interference from the room. Consider the specific acoustic challenges of your space and invest in sound-absorbing panels, diffusers, and bass traps to transform your recording environment into a more acoustically pleasant and noise-free space.
Software Solutions for Mic Noise Cancelling
In addition to physical measures, such as mic placement and acoustic treatment, there are also software solutions available for mic noise cancelling. These software programs utilize advanced algorithms and filters to analyze and remove unwanted noise from your recordings, resulting in cleaner and more professional-sounding audio.
One common type of software used for mic noise cancelling is noise reduction plugins. These plugins are available in various digital audio workstations (DAWs) and offer precise control over the amount and type of noise reduction applied to your recordings. They use sophisticated algorithms to detect and suppress background noise, hums, hisses, and other common mic noise issues.
Noise reduction plugins typically work by analyzing the audio and identifying the frequencies that match the unwanted noise. They then apply a process called spectral subtraction, where the frequencies containing the unwanted noise are attenuated or removed from the recording. This helps preserve the clarity of the desired audio while reducing the prominence of the noise.
Some noise reduction plugins also provide additional controls, allowing you to adjust the sensitivity and attack/release times to fine-tune the noise reduction process. This can be particularly useful when dealing with recordings that have varying levels of background noise or when you want to retain certain levels of ambiance or room tone.
Alongside noise reduction plugins, there are also plugins and standalone software specifically designed for removing plosive sounds and breath noises. These tools analyze the audio waveform and detect the instances of plosives or breath noises, applying filters or spectral processing to reduce their impact on the recording. These plugins can be especially helpful for vocals and voiceover work, where plosives and breath noises can be more prominent.
When using software solutions for mic noise cancelling, it’s important to apply these tools judiciously. Over-processing the audio can result in artifacts and unnatural-sounding recordings. It’s advisable to make small adjustments and continuously listen and monitor the output to strike the right balance between noise reduction and maintaining the integrity of the desired audio.
It’s worth noting that the effectiveness of software solutions for mic noise cancelling can vary based on the quality of the recording, the specific type and level of noise, and the capabilities of the software itself. It’s recommended to experiment with different plugins or software options to find the one that best suits your needs and delivers the desired results.
While software solutions can be a powerful tool for mic noise cancelling, they should not be solely relied upon. The best results are usually achieved when combining physical techniques, such as mic placement and acoustic treatment, with software-based noise reduction to create a clean and professional audio recording.
In summary, software solutions for mic noise cancelling offer a convenient and effective way to clean up your audio recordings. Noise reduction plugins and specialized software for plosive and breath noise removal can help minimize unwanted noise and improve the overall quality of your recordings. Combining software solutions with physical measures ensures that you achieve the best possible results in creating clean and noise-free audio recordings.
DIY Mic Noise Cancelling Techniques
If you’re on a budget or enjoy do-it-yourself projects, there are several creative and effective DIY mic noise cancelling techniques that you can implement to improve the quality of your recordings. These techniques utilize readily available materials and simple strategies to minimize unwanted noise without the need for expensive equipment or software.
One common DIY technique is building a DIY sound booth or vocal booth. This involves creating a small enclosed space using inexpensive materials such as PVC pipes and thick blankets or foam panels. The booth acts as a barrier, reducing the amount of external noise and echoes that reach the microphone. This is particularly useful when recording in a noisy environment or if your room has poor acoustic properties.
Another DIY solution for mic noise cancelling is utilizing everyday items as makeshift soundproofing materials. For example, you can use thick curtains or heavy blankets to cover windows or walls, reducing sound reflections and preventing external noise from entering your recording space. Hanging these materials behind the microphone can help absorb reflections and minimize unwanted room noise.
If you’re experiencing electrical interference in your audio recordings, a simple DIY technique is rerouting or separating your audio cables from power sources or other electronics. This can help minimize the chances of picking up electromagnetic interference and reduce unwanted buzzing or humming sounds in your recordings.
Consider utilizing noise gates within your recording software as a DIY noise cancelling technique. Noise gates work by setting a threshold below which any incoming signal is muted. This can be effective in eliminating low-level background noise during silence or when not speaking or playing an instrument. Adjust the gate’s parameters to suit your specific recording needs and to avoid overly cutting off desired audio.
An often overlooked DIY technique for mic noise cancelling is adjusting the angle and direction of the microphone. Experiment with different angles and orientations to find the position that captures the desired audio while minimizing unwanted noise. Additionally, using a microphone with a directional polar pattern, such as a cardioid, can help reject sounds from unwanted directions and further reduce background noise.
It’s important to note that while these DIY mic noise cancelling techniques can be effective, they may not provide the same level of noise reduction as professional-grade solutions. However, they can still significantly improve the quality of your recordings, particularly in home or non-studio environments.
Remember to take the time to test and fine-tune these DIY techniques to find the best setup for your specific recording needs. Every recording space and situation is unique, so experimentation and adaptation are key to achieving optimal mic noise cancelling results.
In summary, DIY mic noise cancelling techniques offer cost-effective solutions to minimize unwanted noise in your audio recordings. Building a DIY sound booth, utilizing makeshift soundproofing materials, rerouting cables, using noise gates, and adjusting microphone angles are all effective approaches to improving recording quality without breaking the bank. While professional-grade solutions may offer superior results, DIY techniques are a great starting point, especially for home and non-studio environments.
Conclusion
Recording high-quality audio requires careful attention to mic noise cancelling to ensure a clean and professional end product. By understanding the different types of mic noise and their causes, choosing the right microphone, employing proper mic placement techniques, using a pop filter, implementing acoustic treatment, exploring software solutions, and leveraging DIY techniques, you can significantly improve the quality of your audio recordings.
Start by identifying the type of mic noise you’re dealing with and selecting the appropriate microphone for your specific recording needs. Experiment with mic placement techniques to find the optimal position that captures the desired sound while minimizing unwanted noise. Utilize a pop filter to control plosive sounds and breath noises, and consider implementing acoustic treatment to minimize reflections and improve the overall quality of your recordings.
If needed, explore software solutions for mic noise cancelling, such as noise reduction plugins, to further refine and enhance your audio recordings. Additionally, consider DIY techniques, including building a DIY sound booth, utilizing makeshift soundproofing materials, rerouting cables, using noise gates, and adjusting microphone angles, to achieve effective noise reduction on a budget.
Remember that achieving optimal mic noise cancelling is a process of experimentation and refinement. Each recording environment is unique, and finding the right combination of techniques and solutions may require some trial and error. Continuously listen and evaluate the results to ensure that you are achieving the desired audio quality.
By incorporating these mic noise cancelling techniques into your recording process, you can elevate the quality of your audio recordings and deliver a more professional and engaging experience to your audience. Whether you’re a podcaster, musician, or content creator, taking the time to address mic noise will ultimately enhance the impact and integrity of your work.